NodeJS & Arduino
What, Why and How
Alex Roche
@alexHacked
What i'm going to be answering today
What is an Arduino?
Why would I use an Arduino?
What can I use an Arduino for?
How can I get started?
Arduino
What is an Arduino?
Open Source
Microcontroller board with addressable GPIO pins
Various form factors depending on need
Communicates with electronics using GPIO pins
Guh-Pee-Oh What?
General Purpose Input and Output
Can be used to receive and transmit current to electronic components
Can also be used to pass messages to serial input
Are how the Microcontroller talks to the outside world
Pins on the Arduino
Normal pins which can be set high or low
Analogue and PWM Pins
Analogue pins which can read values between 0 and 1023
PWM Pins can be set to values between 0 and 255
S.H.I.E.L.D.S.
Not a comic law enforcement agency (in this case)
Add on to an Arduino which extends functionality
Can be stacked, but some care does need to be taken
S.H.I.E.L.D. Requirements
Plugs to the non-GPIO pins need to reach all shields.
Each shield will have outputs which need to be left unconnected to.
Outputs to the Arduino need to be unique.
Programming an Arduino
Breaks down in to two main types
Code that is compiled to C / C++ and uploaded to the microcontroller
Code that communicates with the board and issues commands
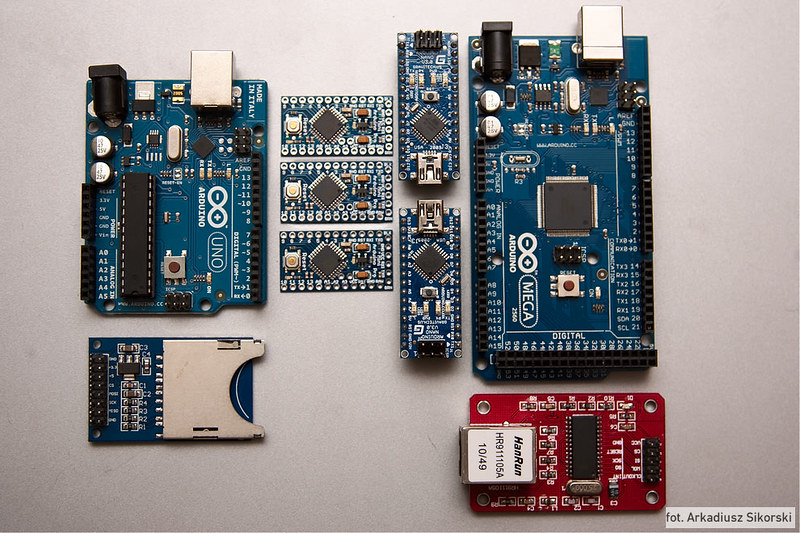
There's HOW Many ?!
Different sizes serve different needs
There's HOW Many ?!
Arduino Uno

There's HOW Many ?!
Arduino Due

There's HOW Many ?!
Arduino Nano

There's HOW Many ?!
Arduino Lilypad

Why the Arduino?
Easy to Use
Works on Linux, Mac and Windows
Large Community
Open Source
Why the Arduino?
Not expensive to use
Lots of starter examples to tinker with
Lots of pre-written libraries
Ideal for Making
What might you learn?
Circuit Design and Electronics
Soldering
Introduction to Programming
Physical Prototyping
Awesome things with
Arduino and NodeJS
Power Glove
By @thieman
Typing Robot
By @tikurahul and @nebrius
Potentiometer and Particles
By @jblanchefr
You had my interest, now you have my attention.
How do I get started?
We use NodeJS
Johnny Five
NodeJS library informed by robotics
Makes turning your arduino in to a robot easy
Noduino
NodeJS library informed by interactive applications
Contains server and client in one codebase
Web pages can access any arduino connected to the computer
Johnny Five

Johnny Five; How?
Pick a directory
npm install johnny-five What does the API look like?
Creating instances of hardware objects and passing initiation properties
var servo = new five.Servo(10);
servo.min(), servo.max(), servo.center(), move(deg), sweep(deg)
Hello World Example
	var five = require("johnny-five"), button, led, litBool;
	var board = new five.Board();
	board.on("ready", function() {
	//Once the board is ready and the callback fires, your code goes here!
	    litBool = false;
	    led = five.Led(13);
	    button = new five.Button(8);
	    button.on("down", function() {
	        if(litBool == false){
	            led.off();
	        }else{
	            led.on();
	        }
	        litBool = !litBool;
	    });
	    button.on("hold", function() {
	        led.strobe();
	    });
	});
Noduino
What is this madness?
Node Framework for Client Side Arduino
Combines Server and Page in to one framework
Allows Arduino to be connected through the webpage
How?
Upload an Arduino sketch to the Arduino
$ > git clone git@github.com:semu/noduino.git
$ > cd noduino
$ > git submodule update --init
$ > npm install
$ > node app.js
What does the API look like?
Creating instances of hardware objects as functions and passing through callbacks
board.withLED(
    {pin: 13},
    function(err, LED) {
        //logic here
    }
);
Hello World Example
var Noduino = new NoduinoObj(
    {debug: true,
    host:'http://localhost:8090'},
Connector);

Noduino.connect(function(err, board) {
  if (err) { return console.log(err); }
  board.withLED({pin: 13}, function(err, LED) {
    if (err) { return console.log(err); }
    LED.blink(250);
    LED.on('on', function() }
      console.log('LED is on!');
    });
  });
});