Second Page Progress 3
Main Story
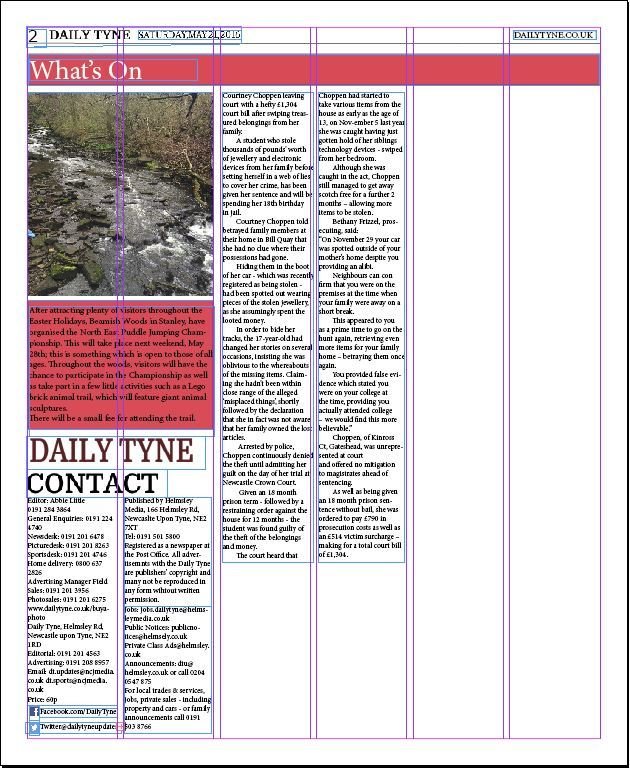
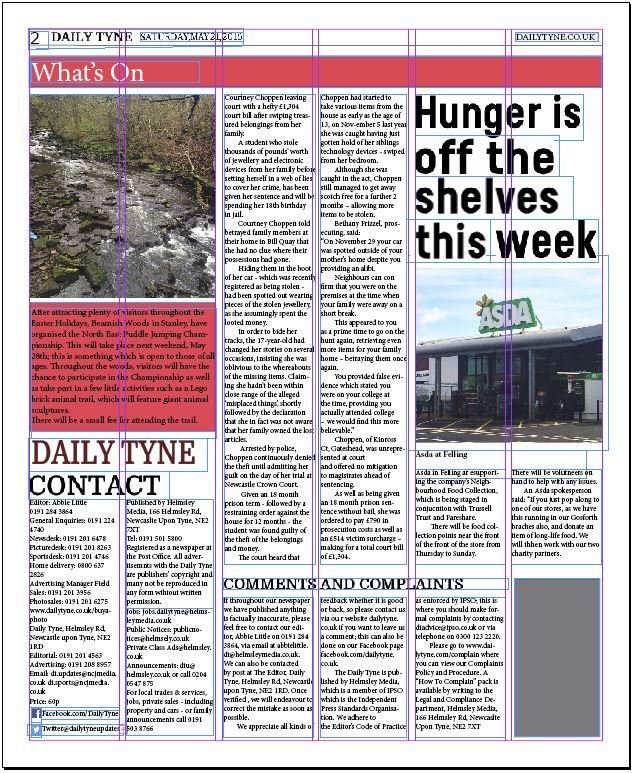
This is a screenshot of my second page once I had added my main story.
This is the story which I created to link in with the story featured on my front cover.
In my style models the main story only took up 2 columns, so I have included this in my piece.
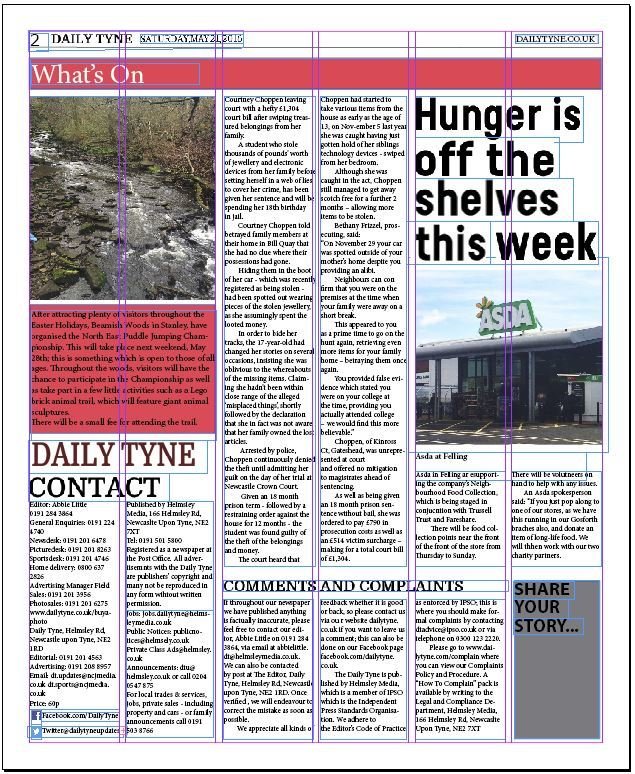
Comments & Complaints
Again, by following the composition of my newspaper I noticed that they had a comments and complaints section. I wanted to add this feature onto my work also.
I used the same font as my title, this is Domine Bold from 1001fonts.com

Comments & Complaints Text
I will include where you can contact those if you wish to complain as well as give suggestions for things to feature.

Headline
As I conducted my research I discovered that most 2nd pages featured a side story.
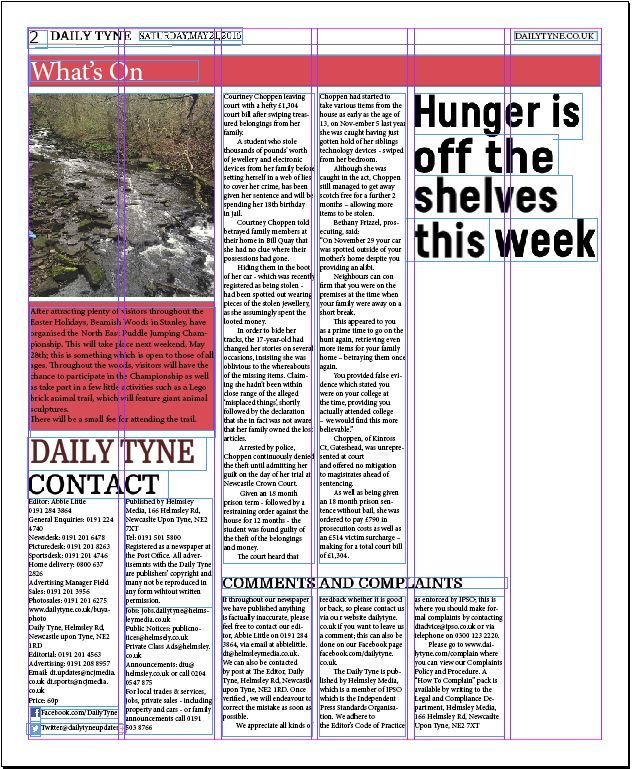
I chose my side story to be about a local supermarket, so I had to choose a headline to situate on the page to draw attention to the story.
Image
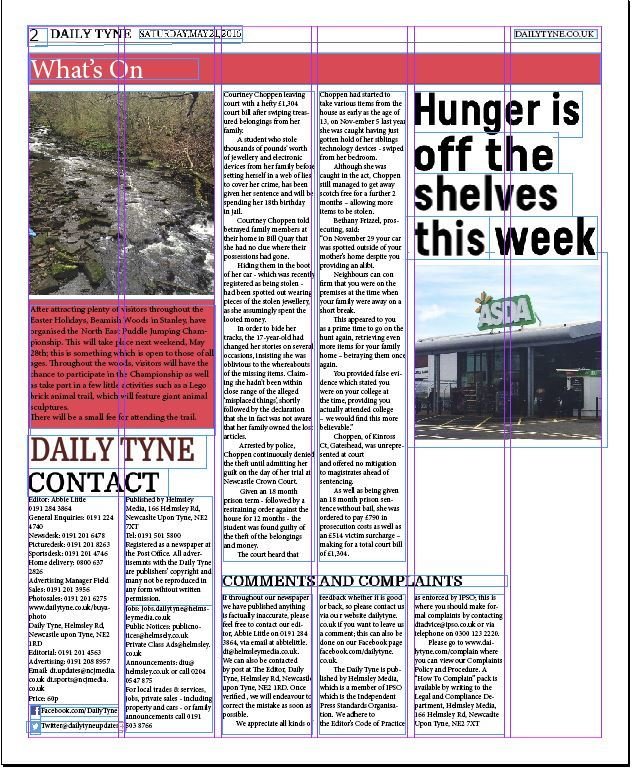
I had to also include an image, this is something which is commonly used on second pages in order to stop it from looking boring, just being full of text.
Because my story was about a local supermarket, that is what I had to go and take images of. This will allow those reading to know what the building looks like that I am talking about.
Caption
Just like most images you see on newspaper, they are all followed by captions.
This is to allow those reading know what the image is at, also where it is located.

Side Story
This is what my page looks like now I have added all the text needed.
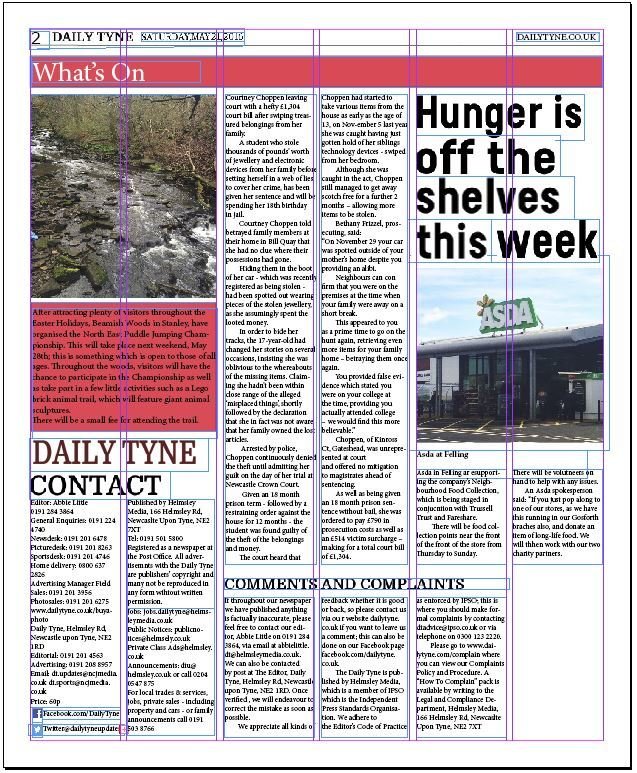
My story just included some basic information about the event that is being held at the shown establishment.
This story is just an added extra so does not need to be as long as my main story, only has to be a few paragraphs.
Grey Block
As seen on one of my style models, I am going to be featuring a small grey block in the bottom right hand side of my second page.
I did not intend on adding this into my page as it was not on my original flat plans, however the space for it appeared.
The first step was to add a grey rectangle block into the available slot.
TEXT
The next step was to add on some text.
I did originally want to use a font I had found on 1001fonts.com but I could not figure out how to remove the white background, so I just used a text found on Indesign.
Images
I did not want to copy the block which was featured on my style model exactly, so the next step I took was to create my images.

I created the images on Adobe Photoshop then transferred them over to Indesign.
Text on Block
The next step was to add the text onto the coloured block, this just included a few lines of text in order to explain what the purpose of situating the box on the page was.
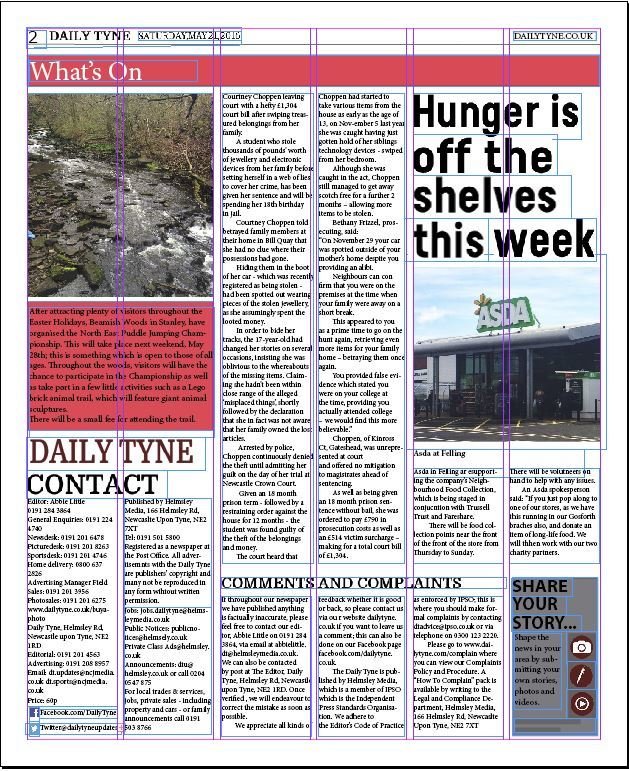
That was also the final step so this is my final piece.