Web World
新手登入
Hi~ My name is...
- Jackie
- 中興大學 資管系
- 第十屆電資營 -- 課程&資訊長
網頁怎麼產生的??
寫網頁會不會很難??இдஇ
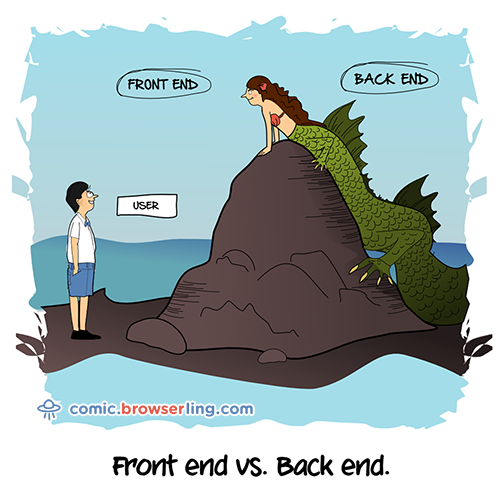
前端後端又是什麼東東?? (´゚д゚`)
我沒打過扣也可以嗎?!
前端工程:
處理應用系統和使用者接觸的部份
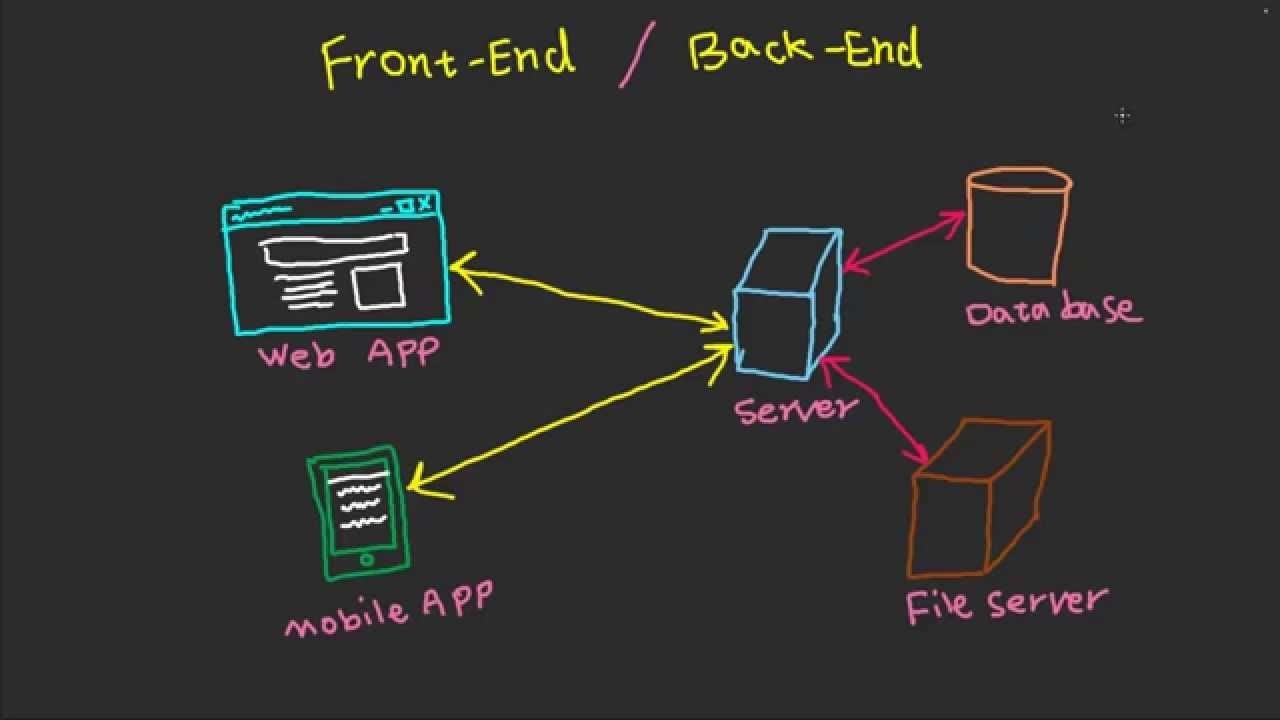
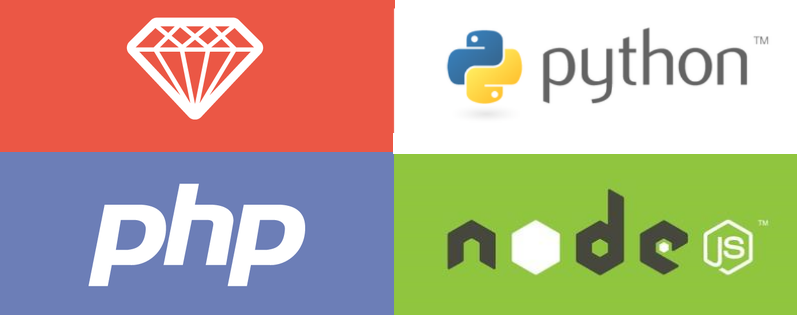
後端工程:
資料的計算、資料庫的操作及存取等,無須直接接觸使用者。
Back-end

伺服器軟體
資料庫
程式語言
Front-end
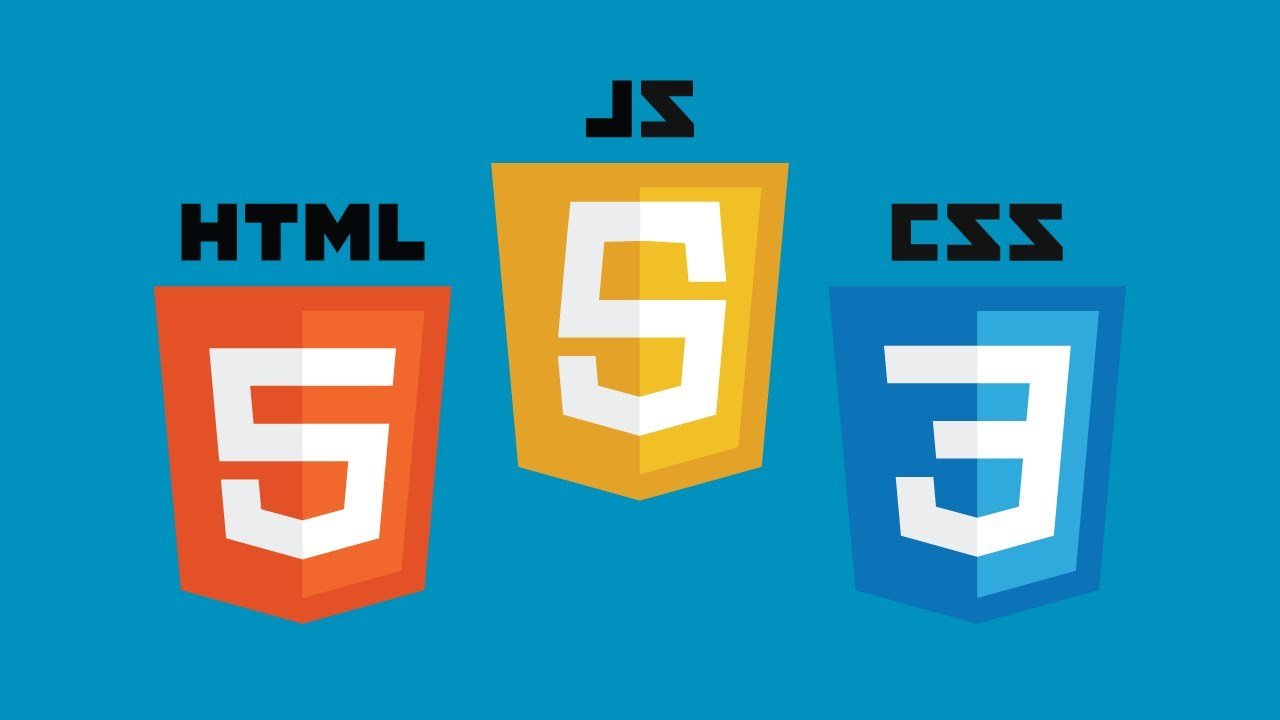


架構
行為
佈局
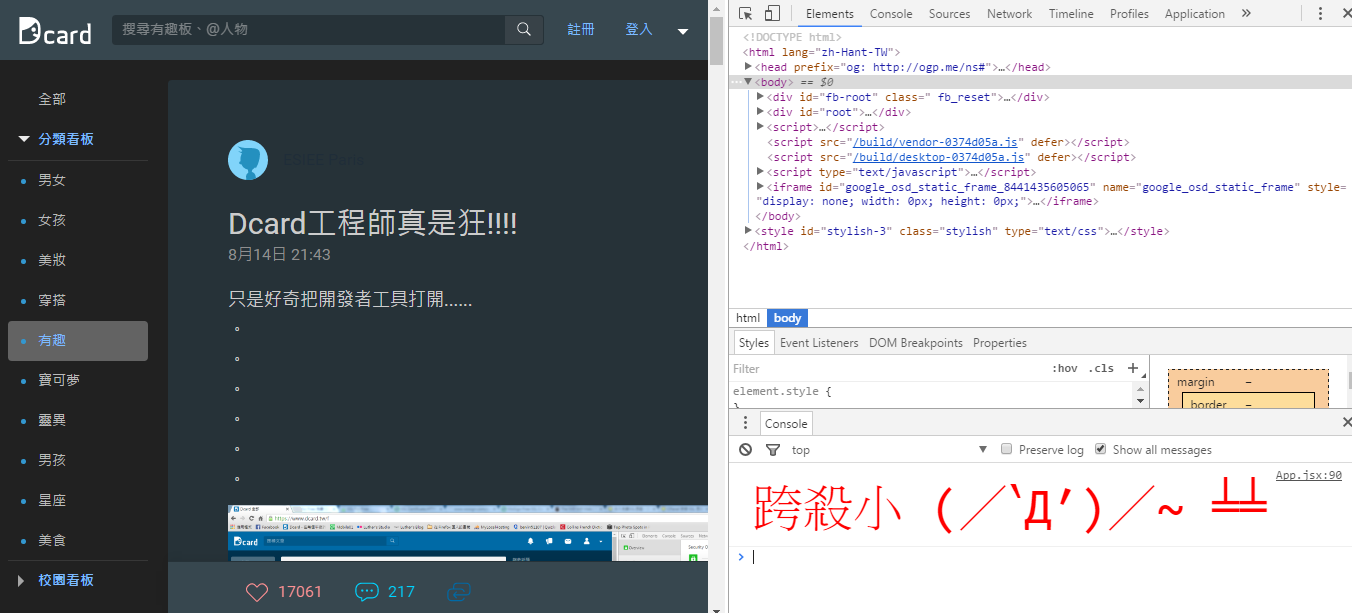
First,
that's see what's
"Inside"
a web page
Press f12
Hyper Text Markup Language

What is HTML?
- 利用標記來描述網頁的架構
- 利用各種HTML元素來建構網頁頁面
- 瀏覽器不顯示HTML標記,而是使用它們來呈現頁面的內容
<!DOCTYPE html>

<html lang="en">

  <head>
    <!-- 文件資料元素 -->
  </head>

  <body>
    <!-- 文件內容 -->
  </body>

</html>
宣告其採用的HTML版本
宣告網頁使用語言
(繁中:zh-TW)
<!-- 註解文字 -->
最簡易的HTML形式
<head>
    <meta charset="UTF-8">
    <!-- 使用萬國碼,避免因為中文而出現亂碼-->
    <meta http-equiv="X-UA-Compatible" content="IE=edge">
    <!--設置IE兼容模式-->
    <meta name="viewport" content="width=device-width, initial-scale=1">
    <!--這個讓行動網頁也可以看-->
    <meta name="google-site-verification" content="GLckJ3t4qBK8yCXQuv610FtjTXSplj9EDfDjLseDldA" />
    <!--google驗證-->

    <title>2017 中興電資營MISsion EmpirE</title>
    <link rel="shortcut icon" href="misee (2).ico">
    <!--電資營icon-->
    <script src="plugin.js"></script>
    <!--javascript-->
</head>
<head> </head>
(來源:中興電資營官網)
<body> </body>
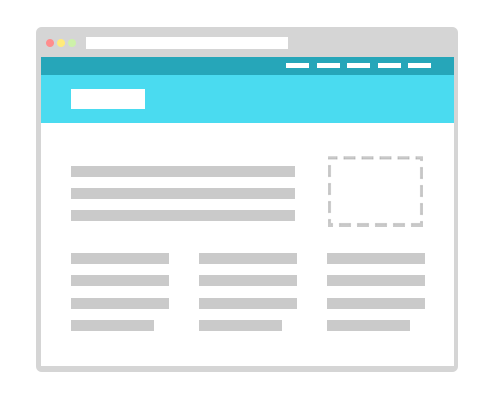
標題
Buttons
內文
圖片
<!DOCTYPE html>
<html>
<body>

<h1>This is heading 1</h1>
<h2>This is heading 2</h2>
<h3>This is heading 3</h3>
<h4>This is heading 4</h4>
<h5>This is heading 5</h5>
<h6>This is heading 6</h6>

<p><b>Hi~~:</b> (。◕∀◕。) </p>

</body>
</html>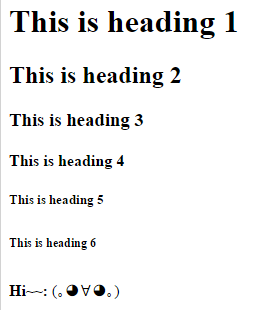
Basic Texting
文字裝飾
-
標記 <mark>PPAP</mark>
-
刪除線 <del>我被刪掉惹</del>
-
底線 <ins>底線,在這裡</ins>
-
縮小字體 <small>邊緣人字體</small>
-
粗體 <strong>簡單</strong>
-
斜體 <em>unbilicus</em>
我被刪掉惹
底線,在這裡
邊緣人字體
就是這麼簡單
肚臍的英文是unbilicus
PP AP
文字排版
有序表單
無序表單
<!DOCTYPE html>
<html>
<body>

<ul>
  <li>Coffee</li>
  <li>Tea</li>
  <li>Milk</li>
</ul>

<ol>
  <li>Coffee</li>
  <li>Tea</li>
  <li>Milk</li>
</ol>
<!-- 加上start可以控制要從多少開始 -->
<ol start="50">
  <li>Coffee</li>
  <li>Tea</li>
  <li>Milk</li>
</ol>

</body>
</html>
- Coffee
- Tea
- Milk
- Coffee
- Tea
- Milk
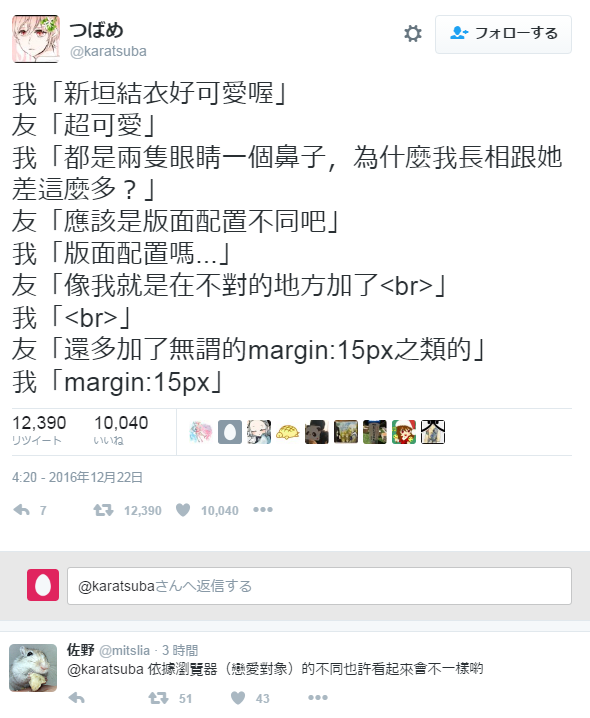
文字控制
強制換行 <br>
分隔線 <hr>
圖片
<!-- 最基本款 -->
<img src="圖檔連結路徑">
<!-- 範例 -->
<img src="smiley.gif" alt="Smiley face" height="42" width="42">
<!-- 範例解說-->
<img src="圖檔連結路徑" alt="若圖檔連結失效會出現的文字" height="多少像素" width="多少像素">
連結
<!-- 範例 -->
<a href="http://sa.mis.nchu.edu.tw/2017EEMIS/">帝國風雲官網</a>
<!-- 範例解說 -->
<a href="連結地址">連結處的文字內容</a>
༼ つ •́ o•̀ ༽つ 點我
加分題: 那麼如何讓圖片也能超聯結呢??
開始要打扣喇~~
利用所學,完成以下要求↓↓↓
產品履歷:
- 範例(連結)
- 產品主題不限(卡通人物、自己、飲料食品 ...)
- 時限:20 分鐘
- 成品必須至少 用上
- 3種以上字體
- 換行 & 分隔線
- 文字編輯至少3種
- 一種表單
- (選擇性)有成功show出圖片大加分!!
- 以小組為單位,於時限內做出越多成品加越多分~~
你往下按了?!
不要吧....
別再按了... 求你
趕快打扣~~
還是說你卡住了??
有問題先問問助教喔~
覺得單調乏味?!

Cascading Style Sheets
What is CSS ?
- 控制在各種媒體上的HTML元素呈現方式
- 節省大量工作,寫一次,可不停重複引用
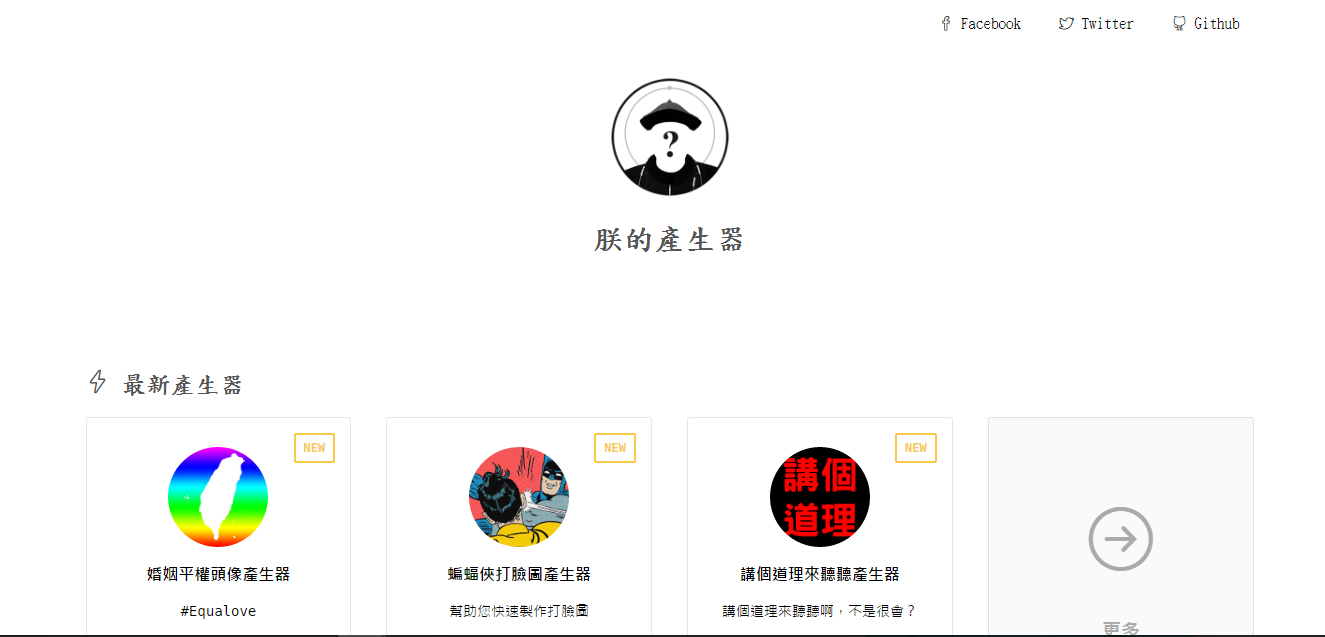
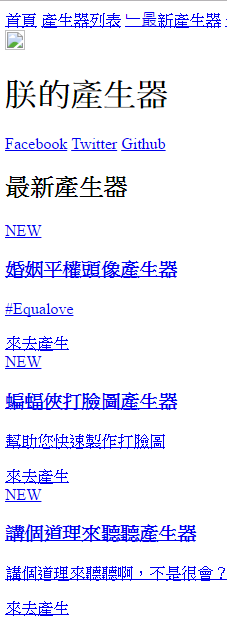
有沒有CSS差很多
CSS
CSS
基本功: 設計style
直接為你的HTML tag 新增一個為style的元素
<h1 style='color: lightblue; font-size: 18px;'>Hello, World!</h1>Hello, World!
文字屬性
-
文字顏色:color: lightblue;
- 顏色可以直接指定(如上),或是
- 使用顏色代碼(例如:#ff7575)
-
文字字體:font-family: '微軟正黑體';
- 有出現在word的字體都可以用
-
文字粗細:font-weight: bolder;
-
normal:也就是預設字體厚度,其實可以不用特別寫出來。
-
bold:常用的粗體字。
-
bolder:比粗體更粗一點。
-
lighter:比一般字體更細。
-
100~900:數字越大越厚,數字小於 500 似乎效果不明顯。
-
- 文字位置:text-align: center;
- 文字大小:font-size: 250%;
參考:顏色對照表
<h2 style='color: lightblue;'>Hi~</h2>
<h2 style='color: lightgreen;'>I'm</h2>
<h2 style='color: #9F4D95;'>Jackie chen</h2>
Hi~
I'm
Jackie chen
<h2> Hi I'm Jackie chen</h2>Hi~
I'm
Jackie chen
一行變三行?! (/‵Д′)/~ ╧╧
但是樣式很多會造成板面太雜亂
而且一樣的東西重複打很多次
How to arrange
Ur CSS properties???
通常是在<head>裡面加一個<style>去宣告CSS屬性
或者是:
直接寫一個CSS檔
然後再到<head>裡面去引用他
<!-- External style sheet -->
<head>
    <link rel="stylesheet" type="text/css" href="mystyle.css">
</head>

<!-- Internal Style Sheet -->
<head>
    <style>

    </style>
</head>

<!-- Inline Styles -->
<body>
    <h1 style="color:blue;margin-left:30px;">HEHEXD</h1>
</body>
三種使用CSS的方式(可混搭)
1
2
3
混用時的優先性
- Inline stlye 最優先
- 內外部的style sheet優先性取決於誰最後才被執行到
ex: 先寫<link> 後寫<style> →→ 最後呈現<style>的東西
先重新再好好介紹一次
<style type="text/css">
    h1 {
	color: red;
        font-size:12px;
        background-color:#403050;
        屬性:數值;
    }
</style>
Selector
(被選擇的元素)
屬性的宣告:
記得用分號 ; 做結尾
-
.class [ 選到class底下的所有元素]
-
#id [ 選到id底下的所有元素]
-
* [ 所有元素 ] -
div [ 所有 div 元素 ] -
div, p [ 所有 div 及所有 p 元素 ] -
div > p [ 直屬 div 的 p 元素( p 為 div 的直屬子元素)] -
div p [ 所有在 div 底下的 p 元素(不論是否直屬 div)] -
div + p [ 所有與 div 相鄰 p 元素 ] -
div ~ p [ 所有在 div 後,與 div 同級的 p 元素 ]
CSS Selectors
說這麼多
先來玩遊戲ㄅ
(ノ>ω<)ノ
click: CSS Diner
最多先玩到第八關就好囉~~
Selector example1
<div class="intro"> <!-- 選到了 -->
    <h1>I'm h1</h1>
    <div>
        <p>I'm p element</p> <!-- 選到了 -->
    </div>
    <p>I'm p element 2</p> <!-- 選到了 -->
</div>
<p>I'm p element 3</p> <!-- 選到了 -->
selector: .intro, p
Selector example2
<div class="intro"> <!-- X -->
    <h1>I'm h1</h1>
    <div>
        <p>I'm p element</p> <!-- X -->
    </div>
    <p>I'm p element 2</p> <!-- 選到了 -->
</div>
<p>I'm p element 3</p> <!-- X -->
selector: .intro > p
selector: intro p
<div class="intro"> <!-- X -->
    <h1>I'm h1</h1>
    <div>
        <p>I'm p element</p> <!-- 選到了 -->
    </div>
    <p>I'm p element 2</p> <!-- 選到了 -->
</div>
<p>I'm p element 3</p> <!-- X -->
哇嗚(゚д⊙)等等.....
感覺一下子多了很多東西@@
我們先來了解一下,只用CSS可以做多少事~
click:The Simpsons in CSS
CSS
click: Pokemon ball
Time to code~~

Work Demand~
- 將你的第一份作品套上CSS版型
-
版型需要看懂並做出至少3處的修改
- 版型們 點我

What's JS?
JavaScript is the programming language of HTML and the Web.
Why Google use JS? (文章連結)
在 2004 年,JavaScript 就得到了一次契機:Google 推出了使用 Ajax 技術的Gmail信箱,那堪比桌面的無刷體驗,引發了業界轟動和模仿浪潮。而 Ajax 的操作核心就是 JavaScript。此後,JS 在瀏覽器中的地位變得十分穩固,已經成了事實標準。
jquery
The purpose of jQuery is to make it much easier to use JavaScript on your website.
js的一組好用libery
Present Ur Work

Steps
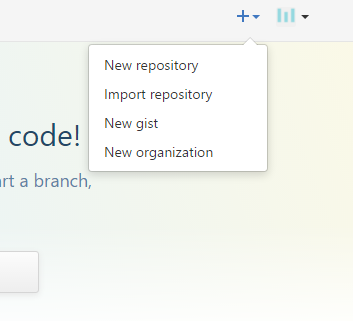
- Sign In \ Sign up on github (Include verify email)
- Create a repository
- Create a README.md
- Named your hompage as index.html
-
Upload it
-
…and you're done!
Fire up a browser and go to
-
http://username.github.io.
-
給你魚吃不如給根釣竿
自學網頁好資源
-
w3school
-
MDN
-
HTML5 Tutorial
-
JSFiddle
-
Google
我不想自己慢慢刻~~
有沒有現成的工具??
如果......
還是想要更輕鬆地寫網頁架網站
有這麼好的事嗎???? (≧∀≦)ゞ