Implement Bite Box Navigation

Business Scenario
Welcome Back, Developer!
In the previous lab, you successfully
connected your project to GitHub and
made it live online.

But imagine this…
- A user visits your website, but cannot easily find where to go next.
- The navigation is unclear, making it difficult to explore different sections.
- At the same time, the website looks plain and lacks visual appeal.

The Problem …
-
Poor navigation leads to a bad user experience
-
Users may feel lost and unable to find the information they need.

That’s where a well-structured navigation bar comes into the picture.
HTML helps create and organize the navigation menu
It allows users to easily move between different pages\
Pre-Lab Preparation
Working with a Text and List in HTML
1] Power of HTML text tags
2] Customizing your style with CSS
3] HTML Link up , attributes of tag, block vs inline elements
git pull origin branchName
Git Pull
A well-structured and styled website ensures better
usability and a great user experience.
Task 1: Creating the Navigation Bar
“A navigation bar helps users move between different
sections of a website like Home, About, Contact, etc.”
Before we start building the navigation bar, let’s understand what a navigation bar is…e.
Now let’s build the navigation bar for your website.
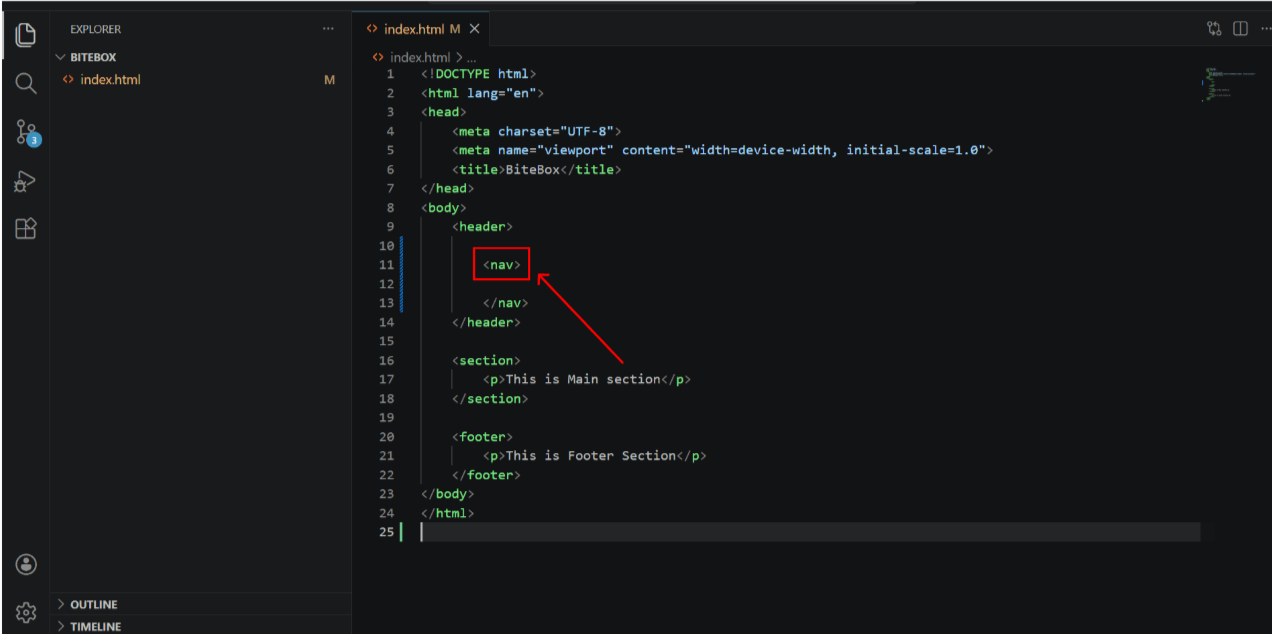
Add Nav tag inside header tag
1
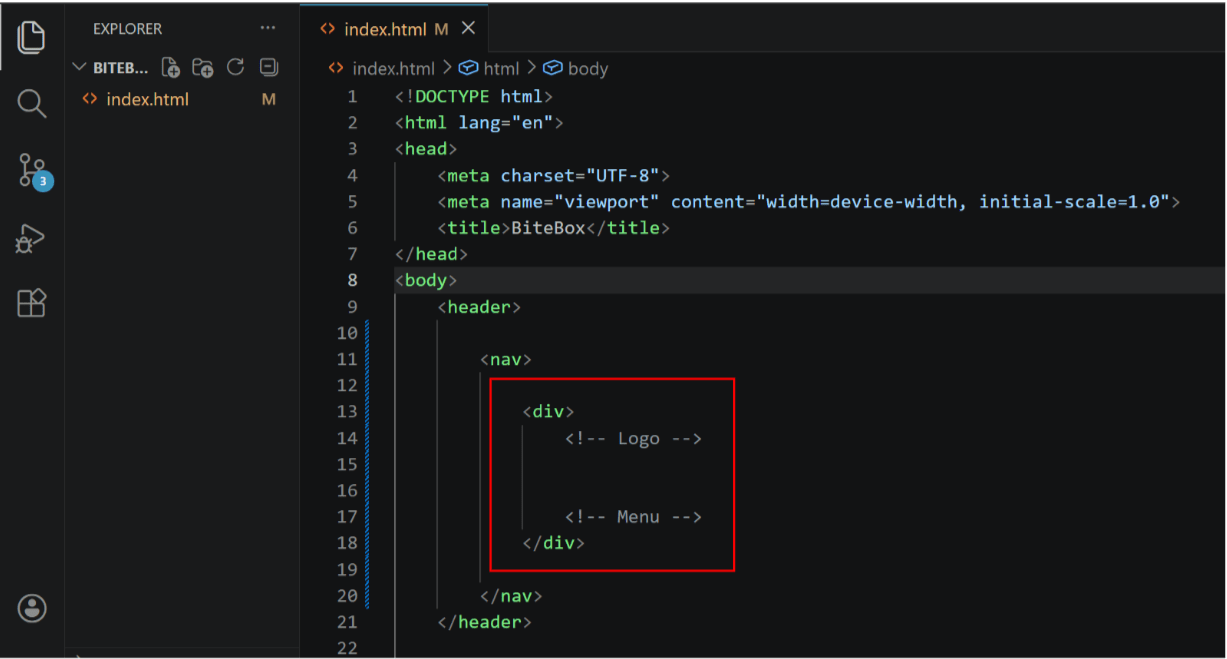
Add a container for Logo and Menu items
2
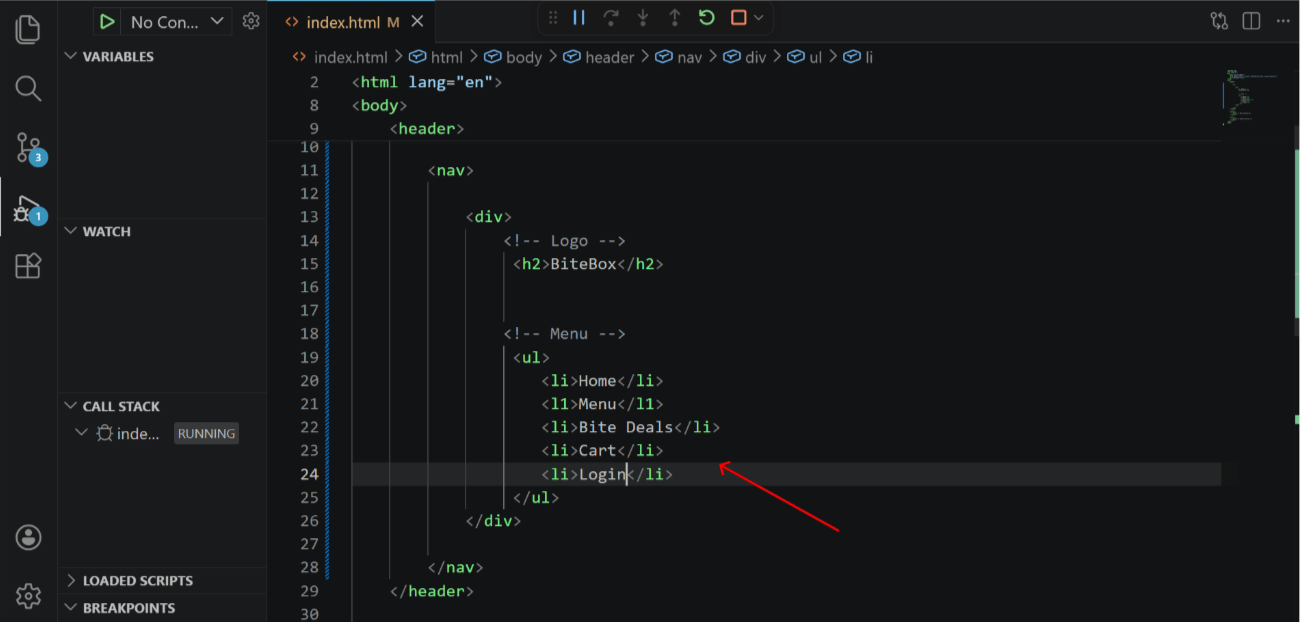
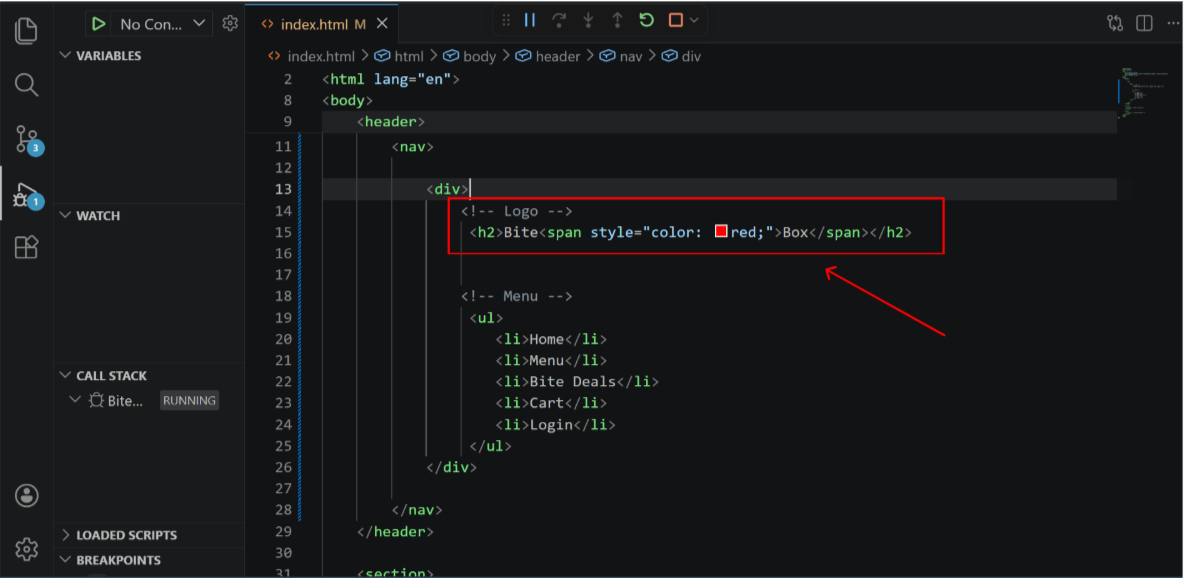
Add Company Logo (TEXT) and Navigation items
3
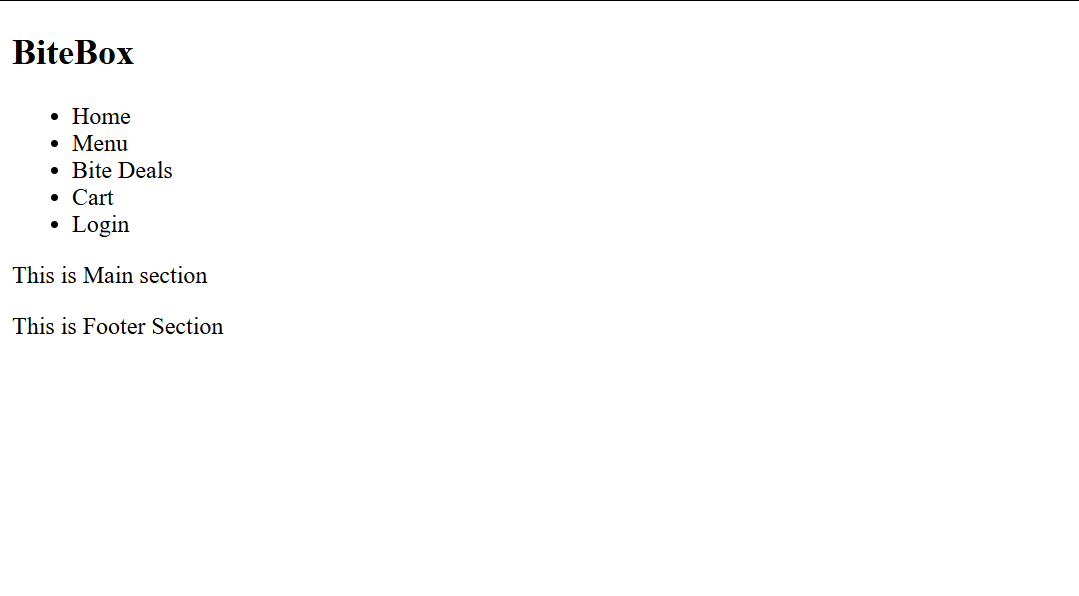
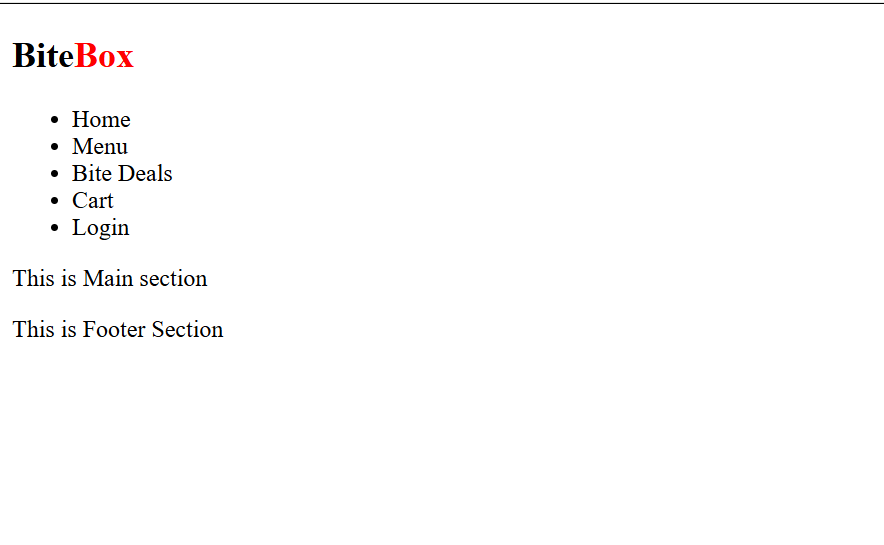
Output
In an unordered list (<ul>), you can use different bullet
(pointer) styles instead of the default dots.
You can change them using the list-style-type property in CSS .
Add inline css and span tag for logo color change
1
Task 2: Apply Styling & Connect Pages
Output
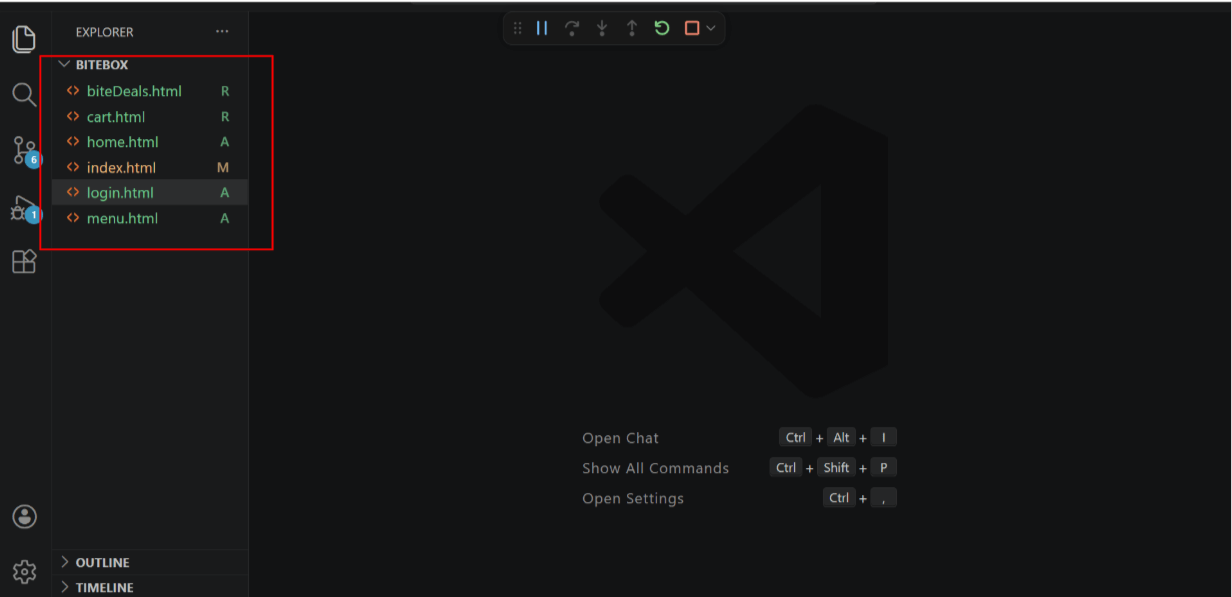
Add pages for navigation
2
Create a basic structure for each page

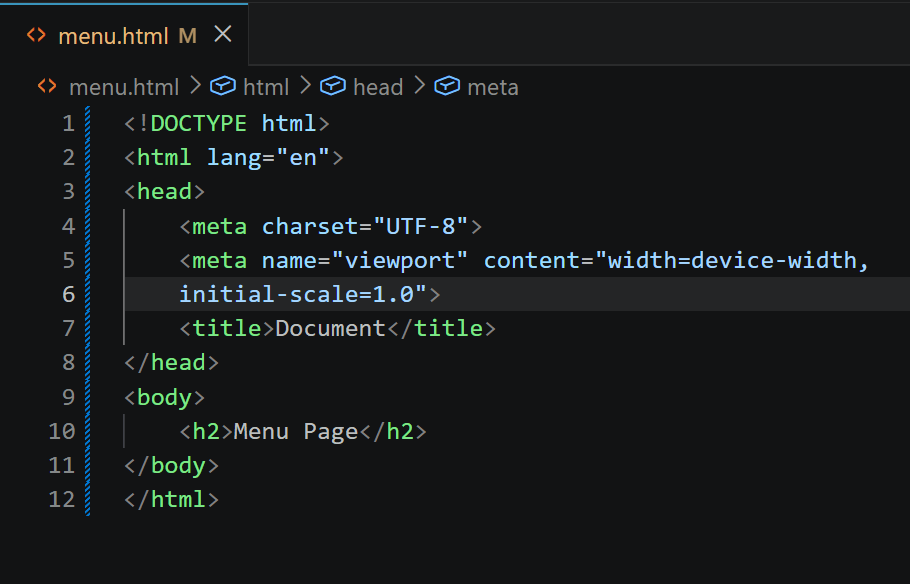
menu.html
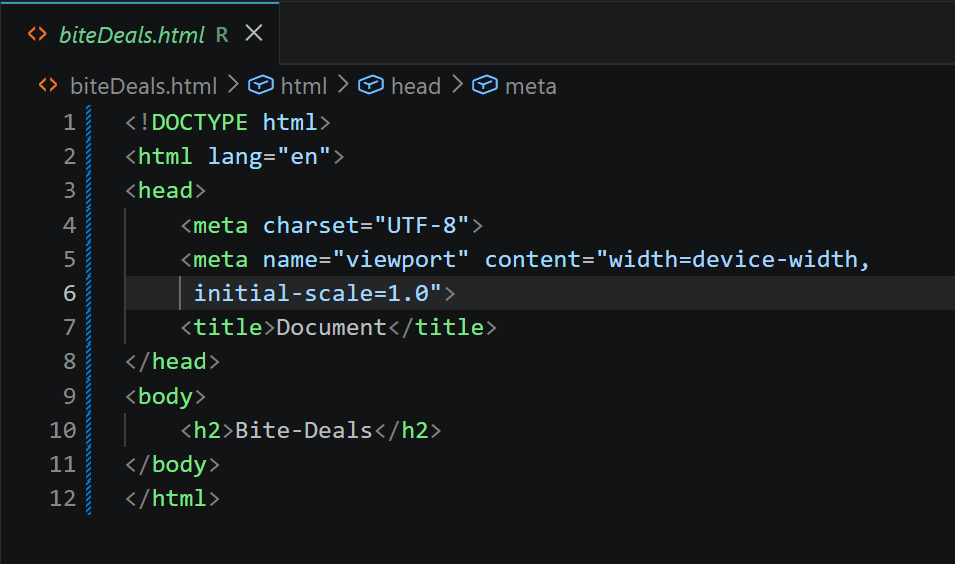
biteDeals.html
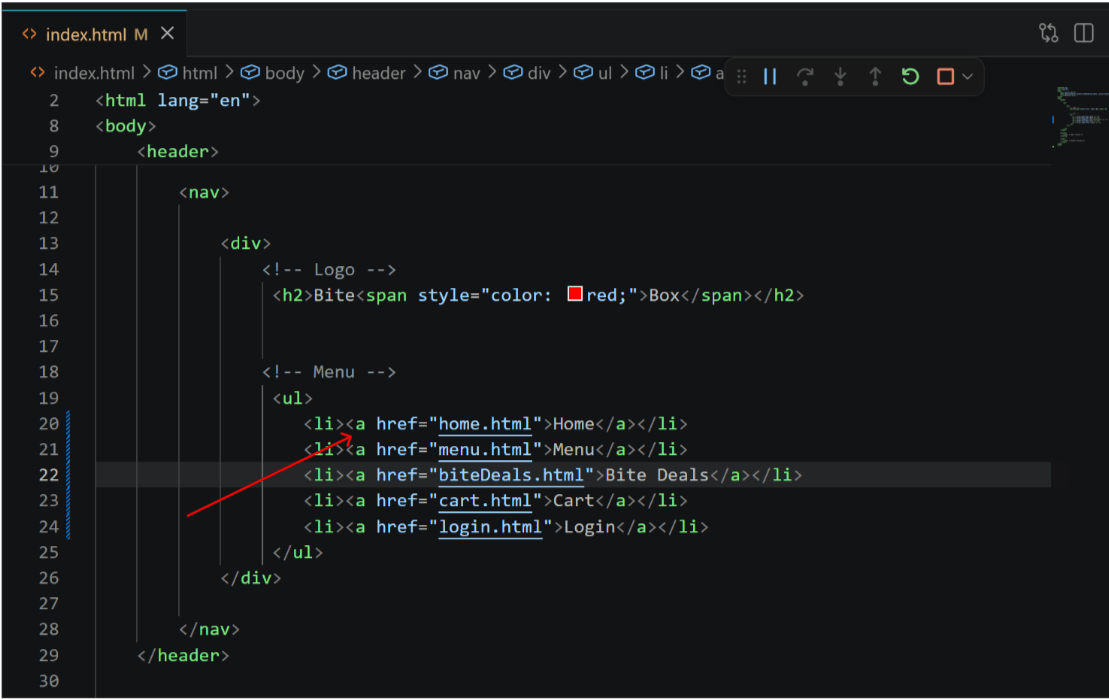
Link pages using anchor tag
3
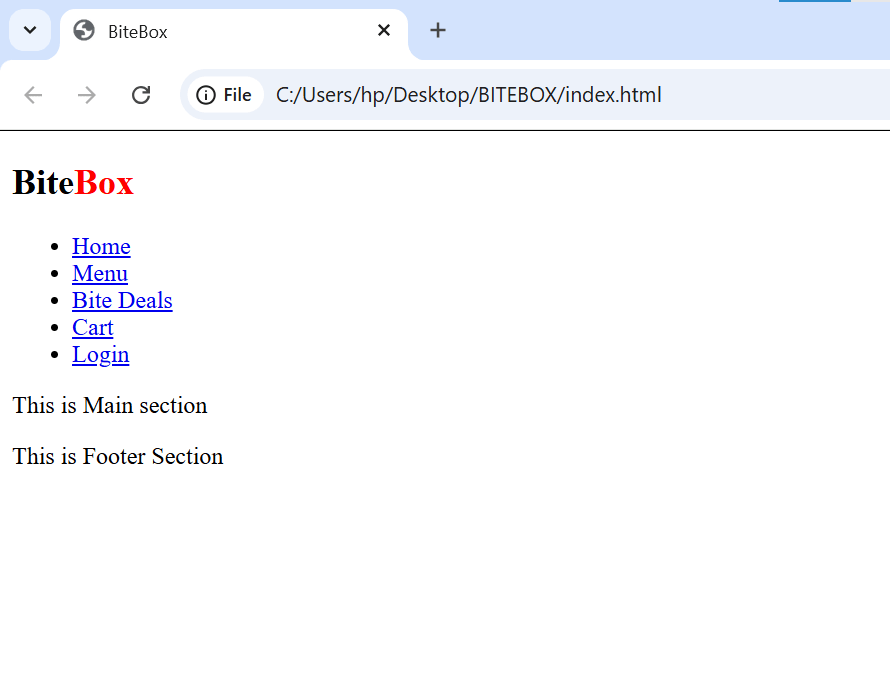
Output
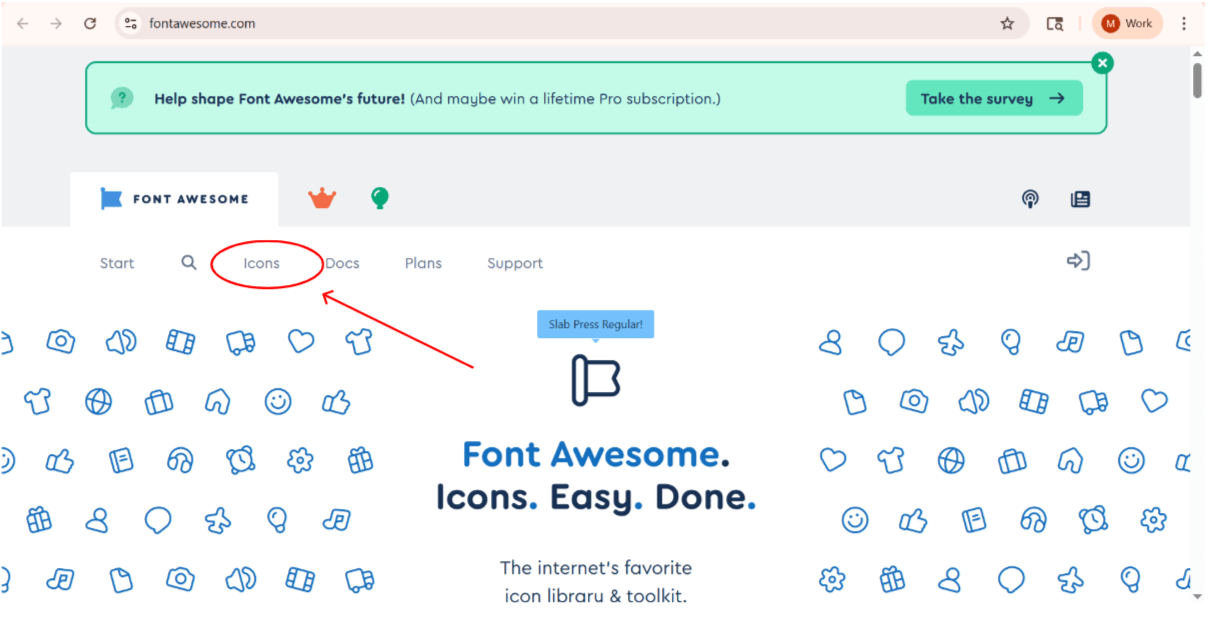
Add font awesome icons
-
Visit - https://fontawesome.com/
-
Click on icons tab
4
Search for cart icon( select any free cart )
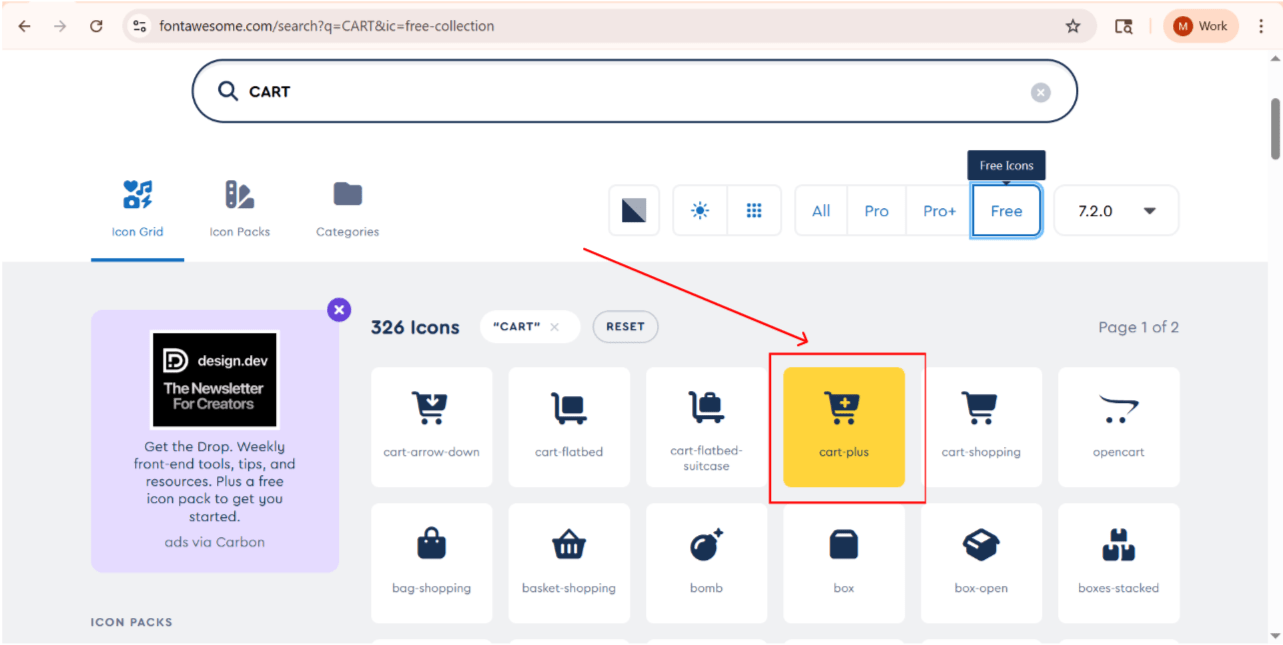

5
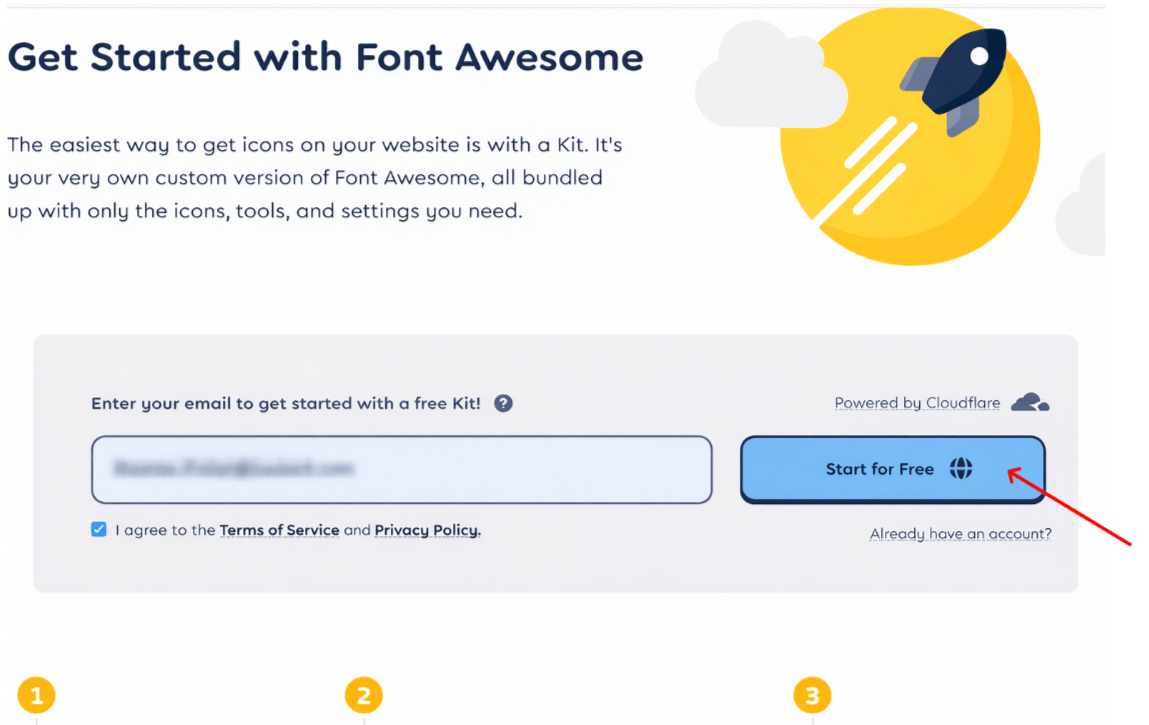
confirm your email
Choose a password for your new account
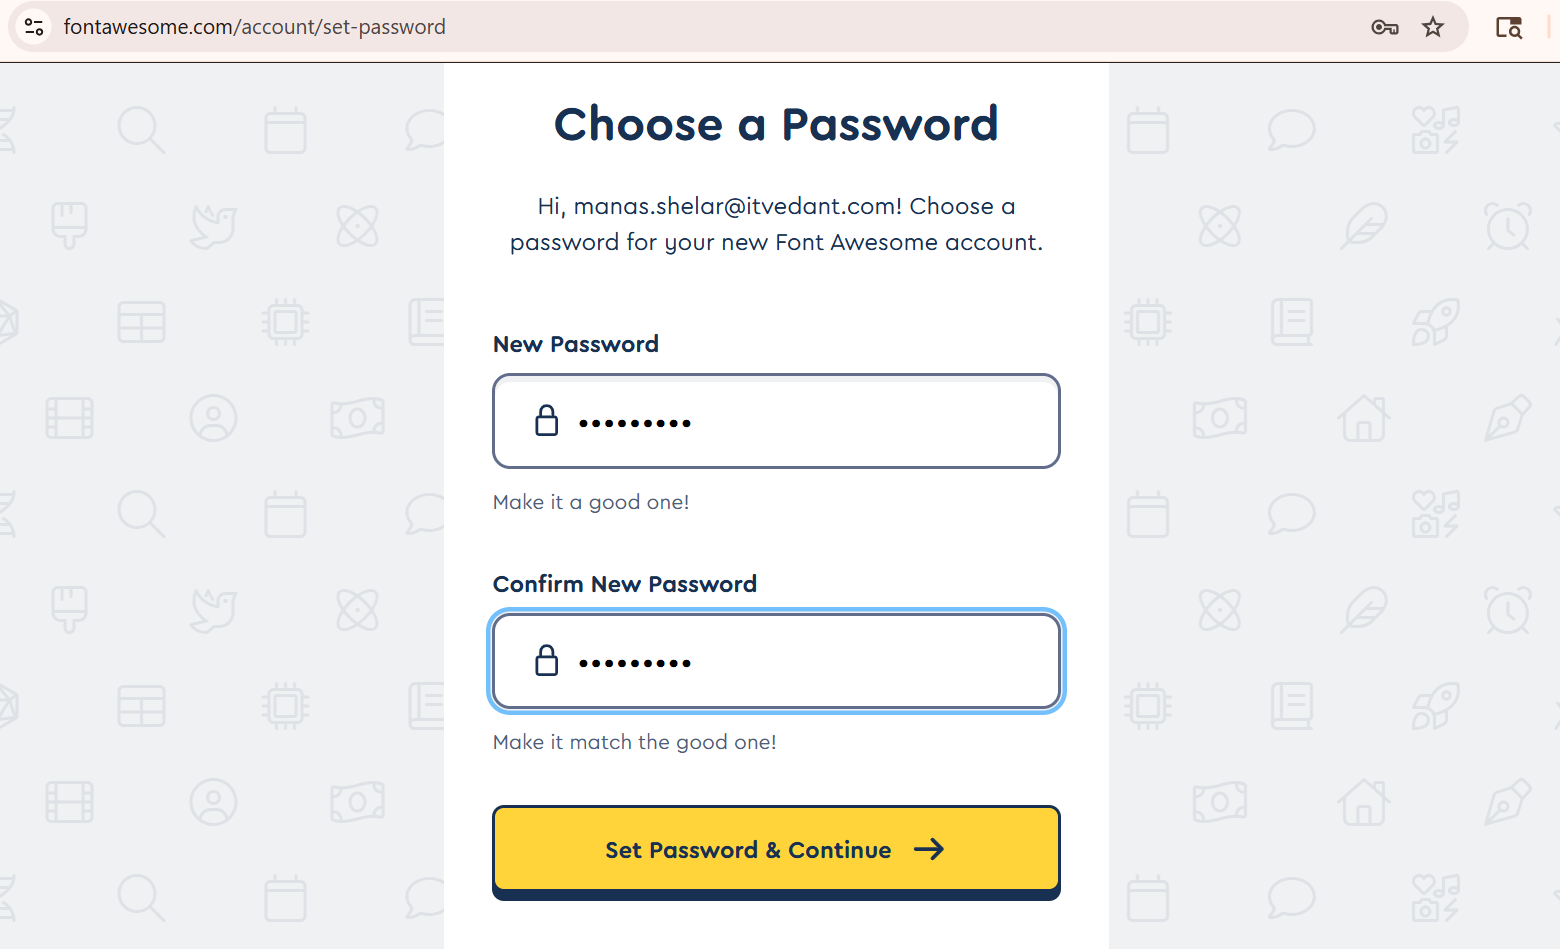
6
5
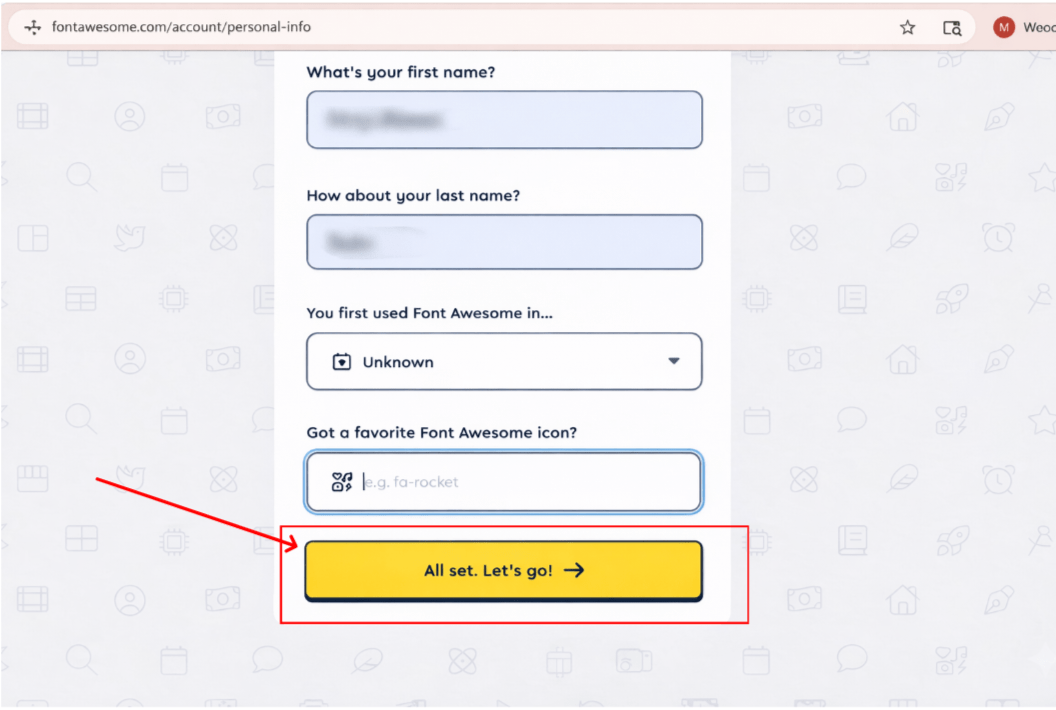
Enter your personal details and then press the button
ADD NEW KIT
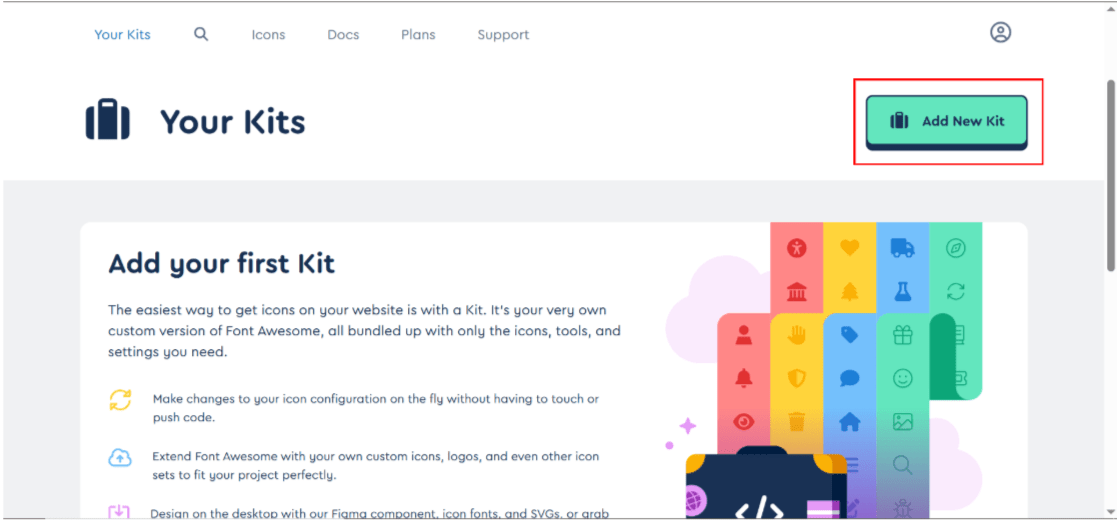
8
7
Select free style kit and click on next
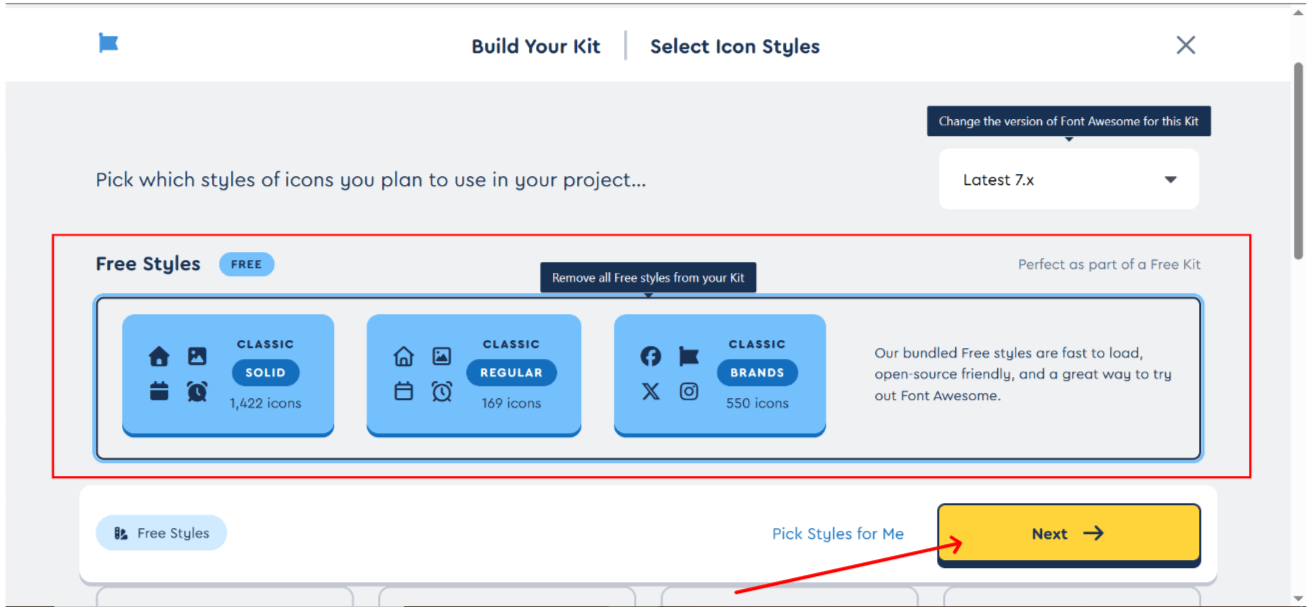
9
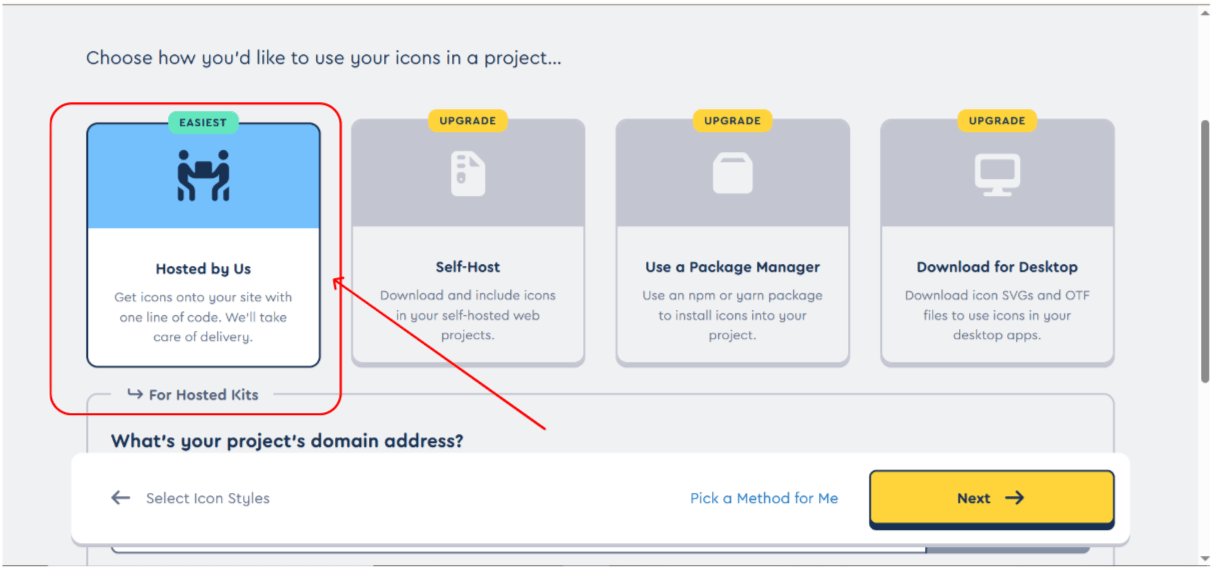
Set a name for your kit (optional)

Your Font Awesome Kit is Successfully Created
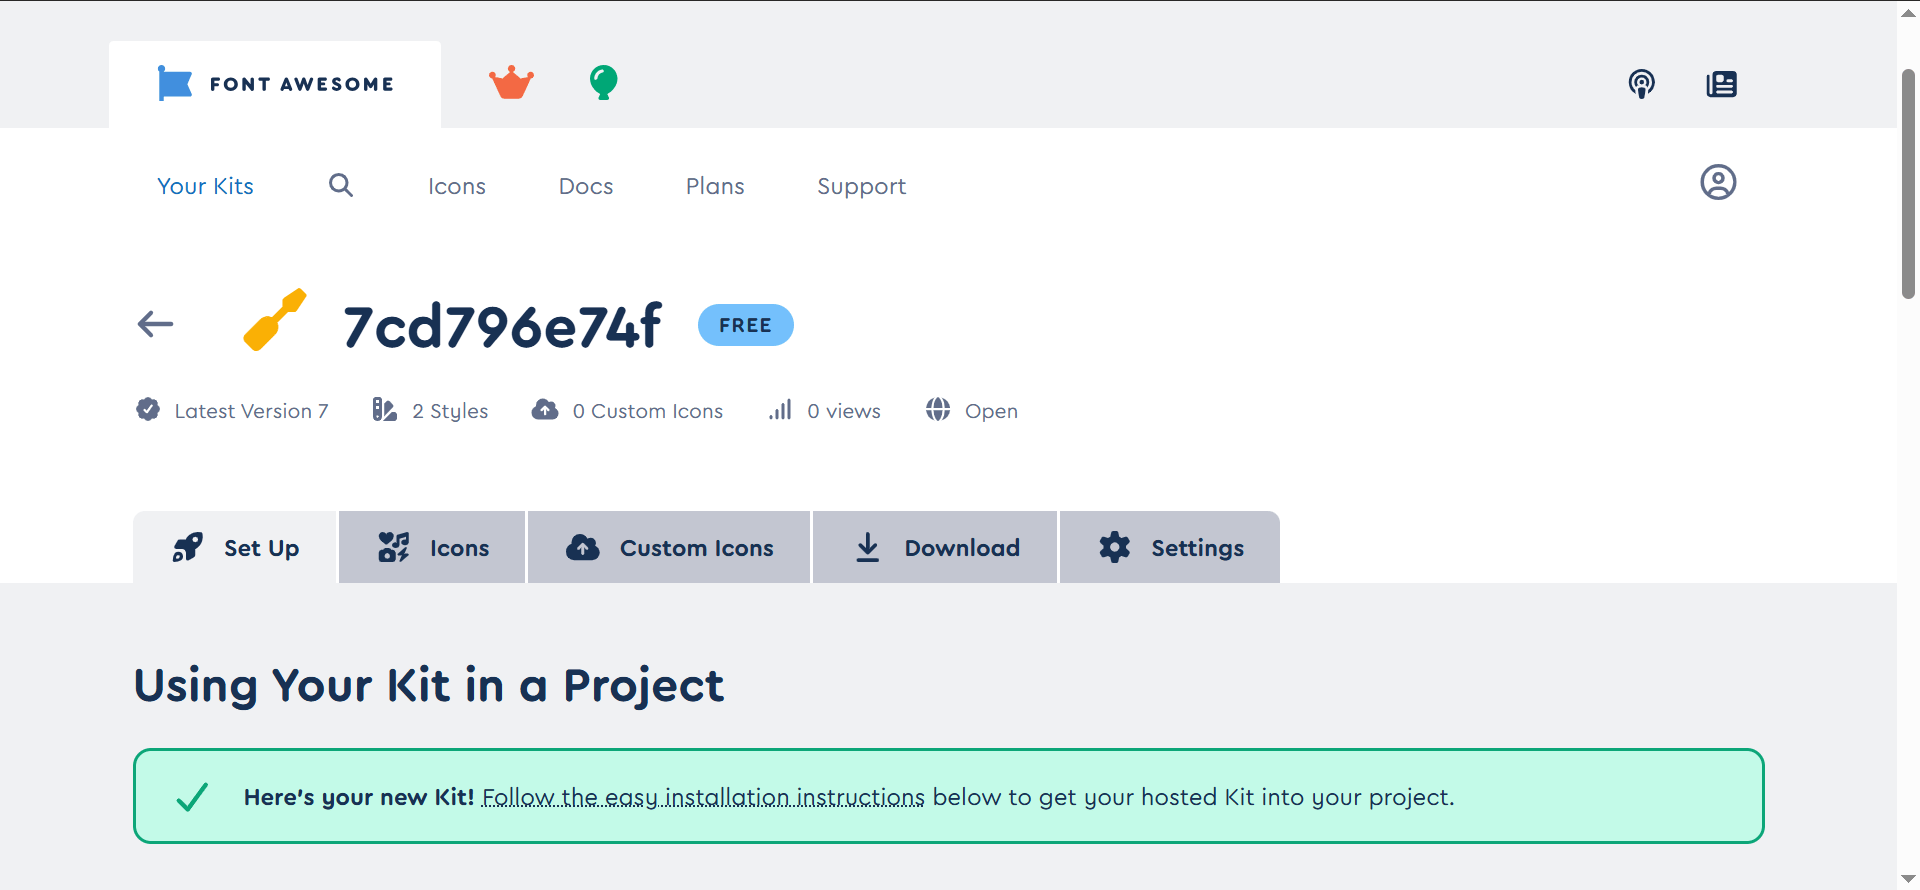
11
10
Copy your Kit's unique embed code
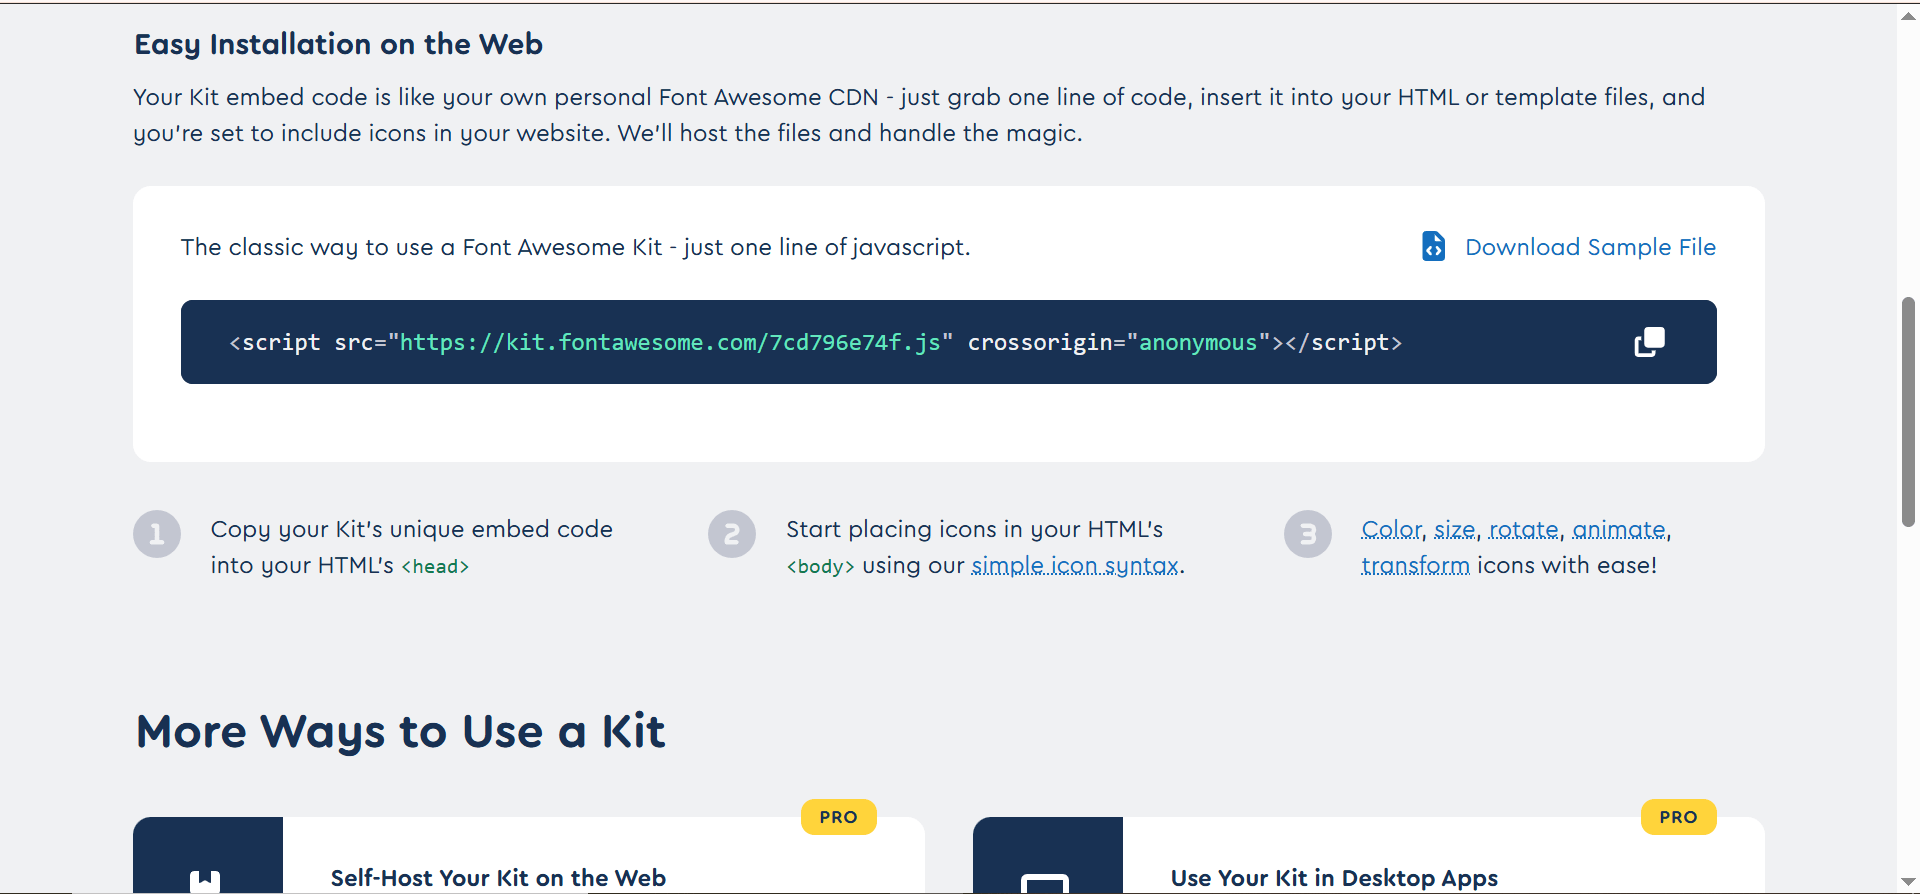
12
Paste in head section of index.html file

13
Now , Select icon and copy i tag for cart and login.
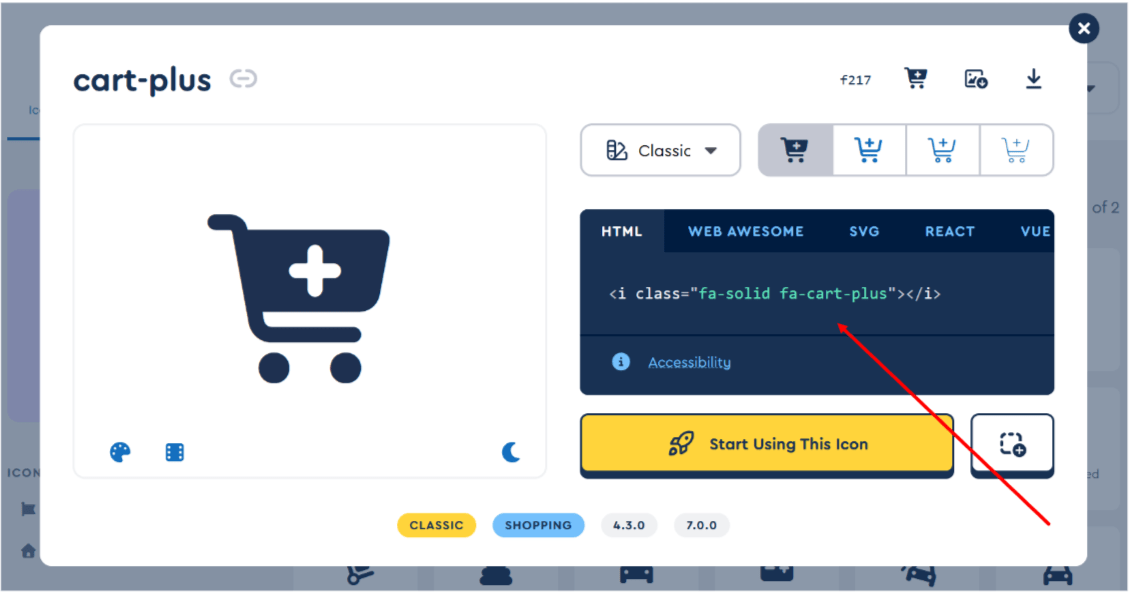
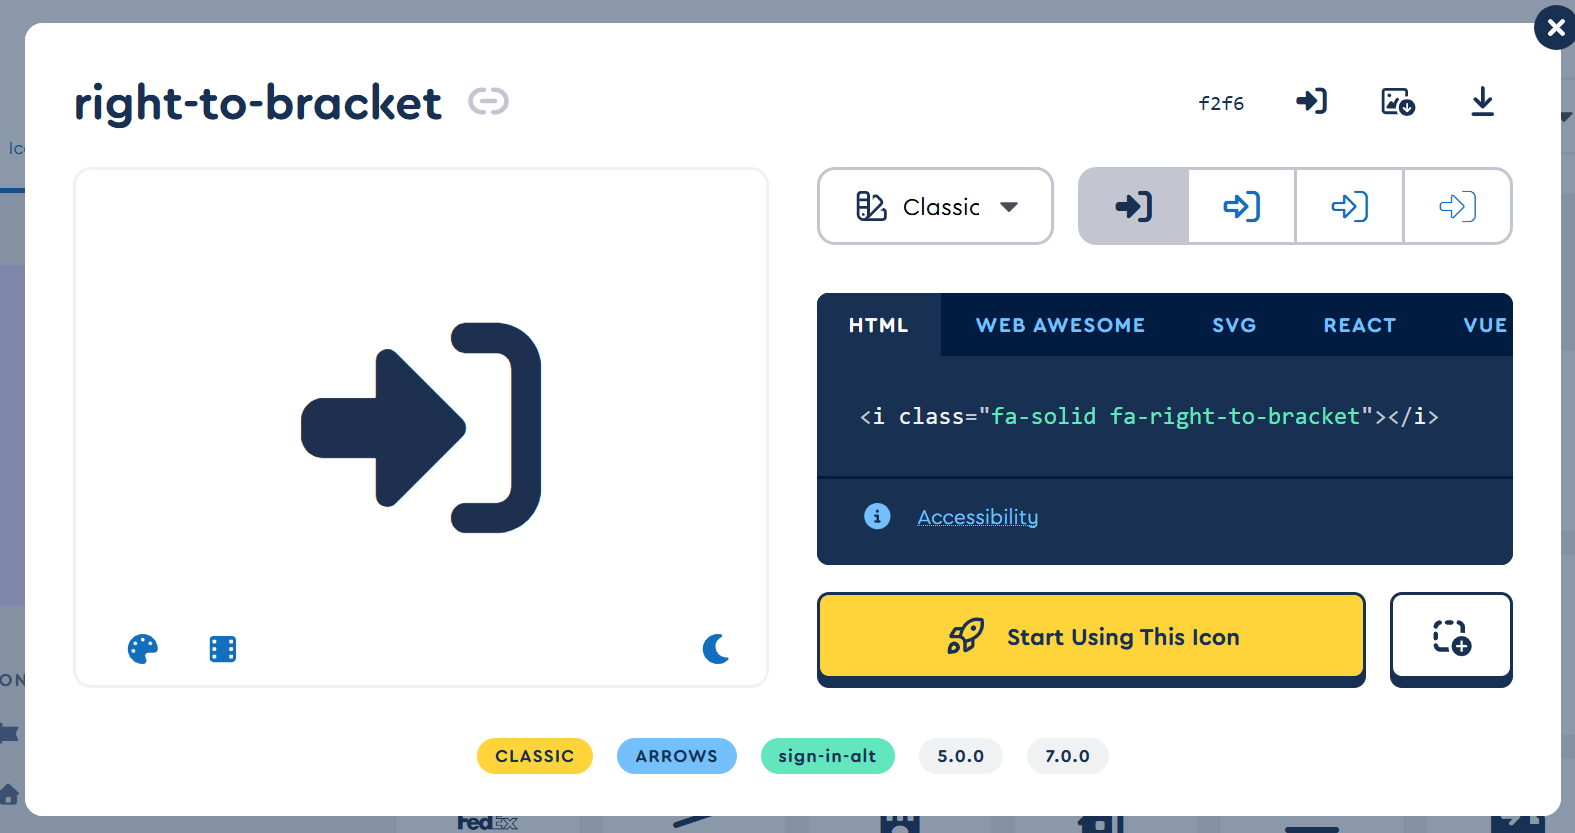
13
Inside index.html file , paste i tag in place of text
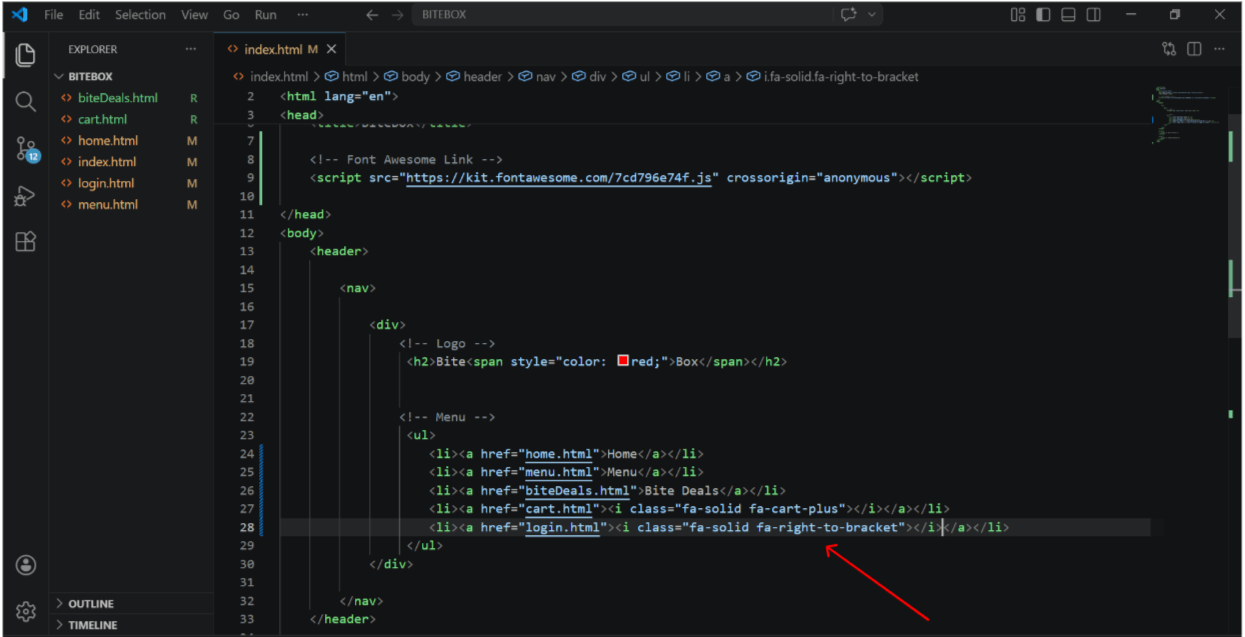
14
Output
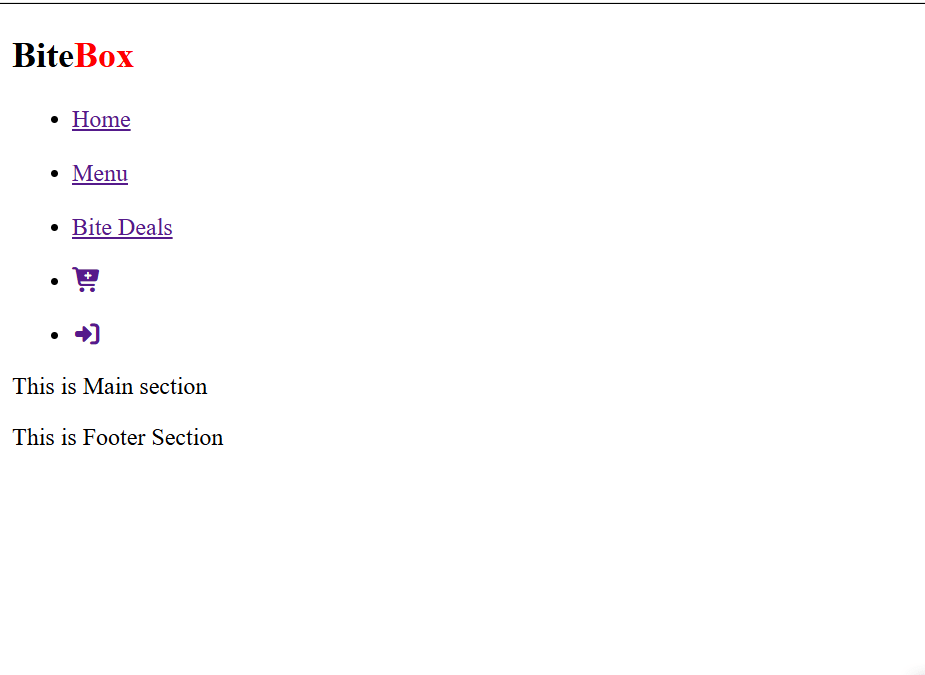
Great work!
You can now navigate between different pages of your website.
Checkpoint
Next-Lab Preparation
Git Push
git push origin branchNameBefore starting the next lab, make sure you revise the following topics:
-
External css , css selectors (class ,id , element , Descendant selector , Pseudo-classes,Pseudo-elements,universal,image tag