Launching Your App with Scrum & PythonAnywhere

Deploying Your App with PythonAnywhere


Learning Outcome
4
Test the live Django app and fix common deployment issues
3
Deploy a Django project
2
Manually create and configure a Django web app on PythonAnywhere
1
Understand PythonAnywhere and its role in deploying Django applications

Imagine you have created an e-commerce website on your laptop.
You can see the homepage, browse products, and even place orders.
But only on your own system.

But how will customers from other cities or countries open your website?

As long as the website runs only on your laptop, no one else can access it.

To make it public, You need to upload your website to an online server.

Once hosted on a server, anyone can access my website using a URL.
In the same way, a Django project works locally on our system
But to make it accessible to real users, we must deploy it on a hosting platform like PythonAnywhere.

Introduction to PythonAnywhere

- PythonAnywhere is a popular platform used to deploy Python applications
- It supports Django projects and provides both free and paid hosting options
- It allows beginners to deploy applications without complex server setup
let us begin by creating an account on the platform.
Setting Up a PythonAnywhere Account
Visit the official PythonAnywhere website
Click on Sign Up
-
Choose an account type:
Free plan (suitable for learning and practice)
Paid plan (for advanced usage)
Complete registration by entering required details
Once the account is successfully created, the next step is to set up a new web application where our Django project will run.

Creating a New Web App
After creating the web app, we need to upload our Django project files so that PythonAnywhere can access our code.

Uploading Your Django Project
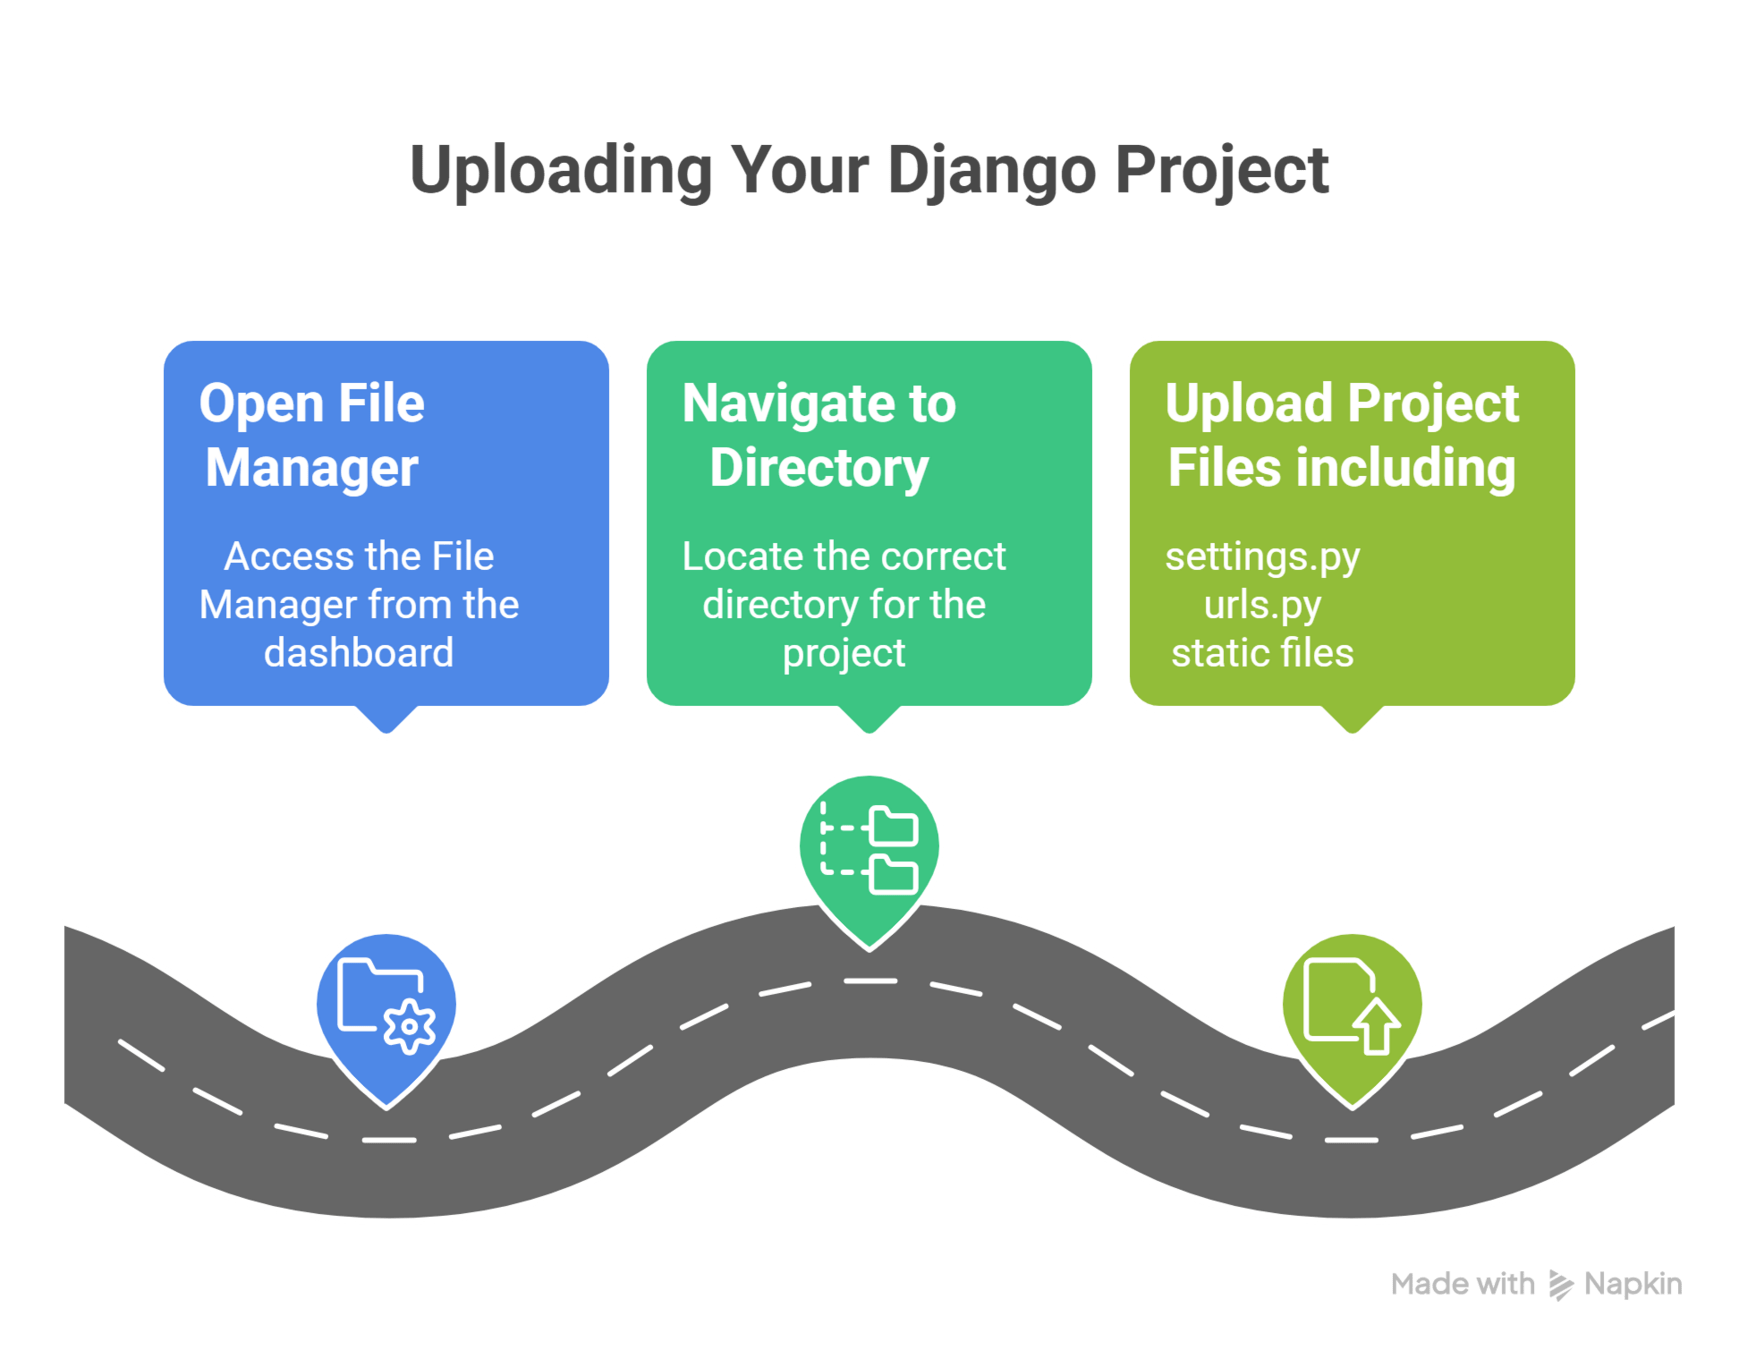
we must now configure the web app to tell PythonAnywhere how to run our Django project.
Configuring the Web App
The next step is to connect and configure the database used by our Django application.
Configuring the Web App
-
Set the WSGI file to point to the project’s wsgi.py
-
Update the source code directory to the project root folder
-
Modify sys.path to include the project directory
-
WSGI file is important because it tells PythonAnywhere how to run the Django application

Setting Up the Database
PythonAnywhere supports multiple databases
-
For beginners:
-
Upload the .sqlite3 database file
-
-
For MySQL:
-
Update the DATABASES configuration inside settings.py
-
Choose database setup based on project needs

After setting up the database, we need to ensure that static and media files are properly served to users.
Static and Media Files Configuration
-
Go to web app Settings
-
Add required environment variables
-
Common example:
-
SECRET_KEY
-
-
Store sensitive information securely outside the codebase
Setting Up Environment Variables

-
Map URLs properly:
-
/static/ → static files directory
-
/media/ → media files directory
-
-
In the Static files section:
-
Set static directory path
-
Example: /home/username/myproject/static
-
- Ensure media uploads are served correctly by mapping media URL

Finalizing the Deployment
-
Open Bash console on PythonAnywhere
-
Run database migrations:
-
python manage.py migrate
-
-
Collect static files:
-
python manage.py collectstatic
-
- Reload the web app from the dashboard to apply changes

After deployment, it is important to test the application and resolve any issues that may arise

Testing and Troubleshooting
-
Testing:
-
Visit the web app URL provided by PythonAnywhere
-

-
Common issues:
-
500 Internal Server Error
Check error logs in the Web tab
-
Static files not loading
Verify static files configuration and paths
-

Summary
4
Final deployment includes migrations, collecting static files, and testing
3
Database, static files, and media files must be configured properly
2
Manual web app configuration provides flexibility
1
PythonAnywhere is used to deploy Django applications online
Quiz
Which file tells PythonAnywhere how to run a Django project?
A. settings.py
B. urls.py
C. wsgi.py
D. manage.py

Which file tells PythonAnywhere how to run a Django project?
A. settings.py
B. urls.py
C. wsgi.py
D. manage.py

Quiz-Answer