Manage and Analyze Security Logs Using File Handling

Business Scenario
Welcome!
You are working as a Cybersecurity Intern at a company, where you need to analyze and manage systems like the Inventory Record System, Customer Feedback Storage System, and Employee Attendance Log System.
Your task is to study how data is stored, updated, retrieved, and secured for efficient data management.


Pre-Lab Preparation
Topic : File Handling and Libraries in Python
1) File handling in Python.
2) Working with Python libraries
Task 1: Inventory Record System
Your task is to create an Inventory Record System that can store and manage product details using files.
The system should:
-
Create a file for storing inventory records
-
Add and store product information in a structured format
- Read and display the stored inventory data
-
Update product stock without deleting old records
-
Use file handling modes such as
w,r, anda -
Maintain records efficiently like a real inventory management system
file_name = "inventory.txt"


with open(file_name, "w") as file:
   file.write("Laptop - 10\n")
   file.write("Mouse - 50\n")
   file.write("Keyboard - 30\n")

print("Inventory created.\n")


print("--- Current Inventory ---")
with open(file_name, "r") as file:
   print(file.read())


with open(file_name, "a") as file:
   file.write("Monitor - 20\n")

print("New stock added.\n")


print("--- Updated Inventory ---")
with open(file_name, "r") as file:
print(file.read())
1
Program code:
file_name = "inventory.txt"


with open(file_name, "w") as file:
   file.write("Laptop - 10\n")
   file.write("Mouse - 50\n")
   file.write("Keyboard - 30\n")

print("Inventory created.\n")


print("--- Current Inventory ---")
with open(file_name, "r") as file:
   print(file.read())


with open(file_name, "a") as file:
   file.write("Monitor - 20\n")

print("New stock added.\n")


print("--- Updated Inventory ---")
with open(file_name, "r") as file:
print(file.read())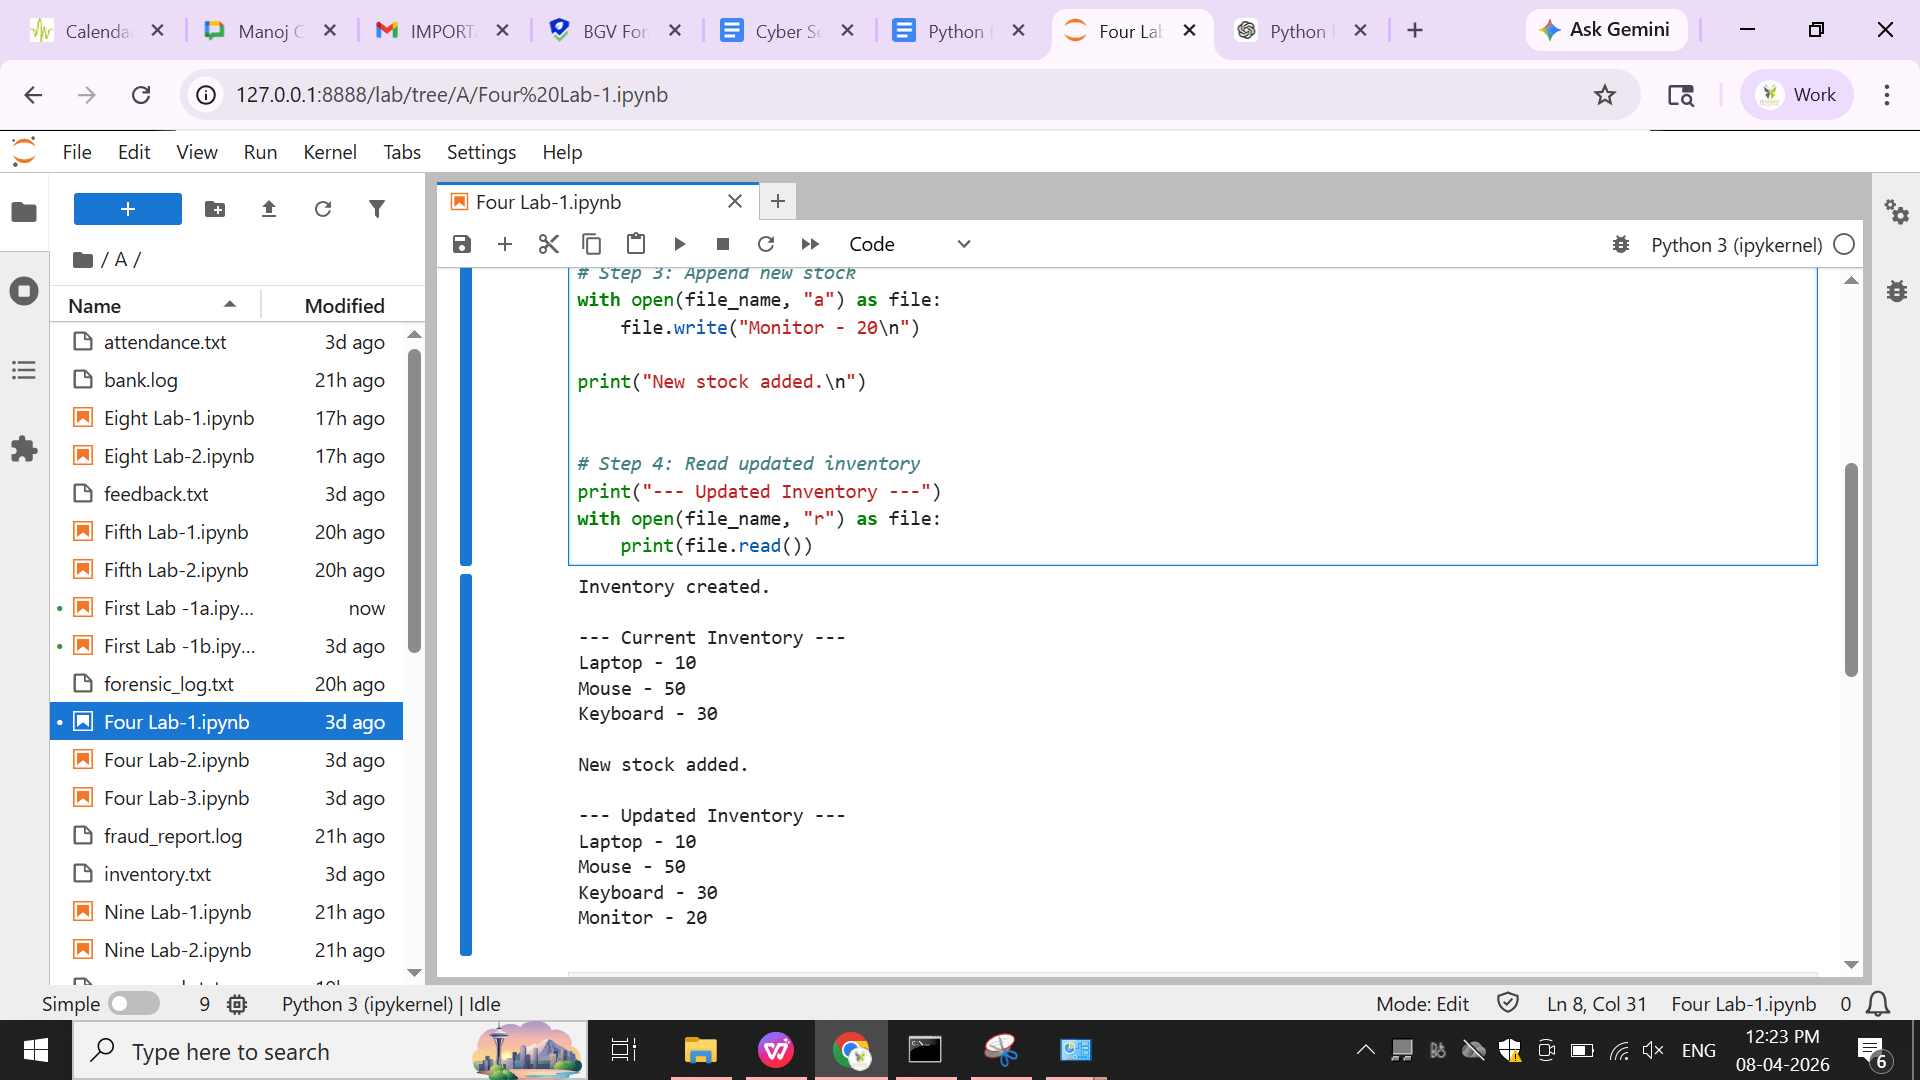
Output:
Task 2: Customer Feedback Storage System
Your task is to create a Customer Feedback Storage System that can store and manage customer feedback using files.
The system should:
- Add new customer feedback
- View all stored feedback
- Keep feedback history safe
1
Program code:
file_name = "feedback.txt"

while True:
    print("\n1. Add Feedback")
    print("2. View Feedback")
    print("3. Exit")

    choice = input("Enter choice: ")

    if choice == "1":
        feedback = input("Enter customer feedback: ")

        with open(file_name, "a") as file:
            file.write(feedback + "\n")

        print("Feedback saved successfully.")

    elif choice == "2":
        print("\n--- All Feedback ---")

        try:
            with open(file_name, "r") as file:
                print(file.read())

        except FileNotFoundError:
            print("No feedback found.")

    elif choice == "3":
        print("System Closed.")
        break

    else:
        print("Invalid choice! Try again.")
file_name = "feedback.txt"
while True:
print("\n1. Add Feedback")
print("2. View Feedback")
print("3. Exit")
choice = input("Enter choice: ")
if choice == "1":
feedback = input("Enter customer feedback: ")
with open(file_name, "a") as file:
file.write(feedback + "\n")
print("Feedback saved successfully.")
elif choice == "2":
print("\n--- All Feedback ---")
try:
with open(file_name, "r") as file:
print(file.read())
except FileNotFoundError:
print("No feedback found.")
elif choice == "3":
print("System Closed.")
break
else:
print("Invalid choice! Try again.")Output:
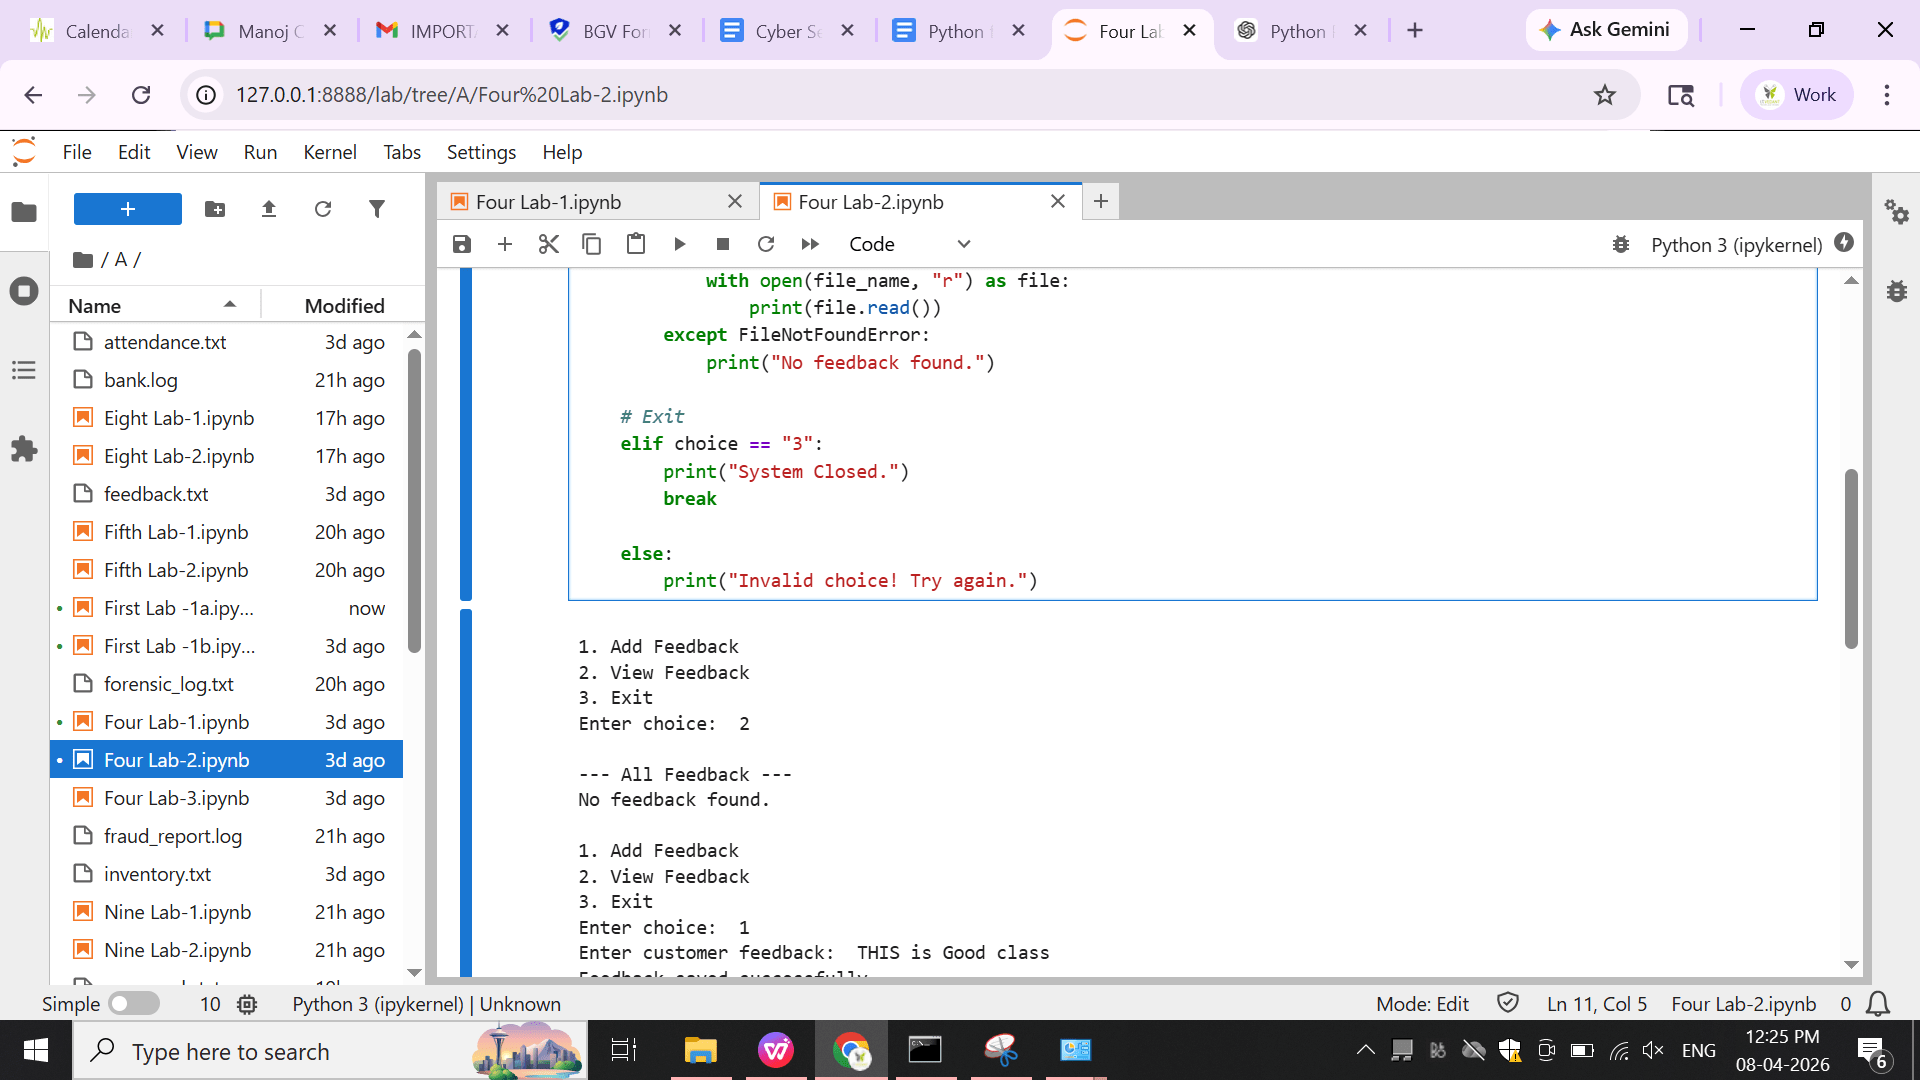
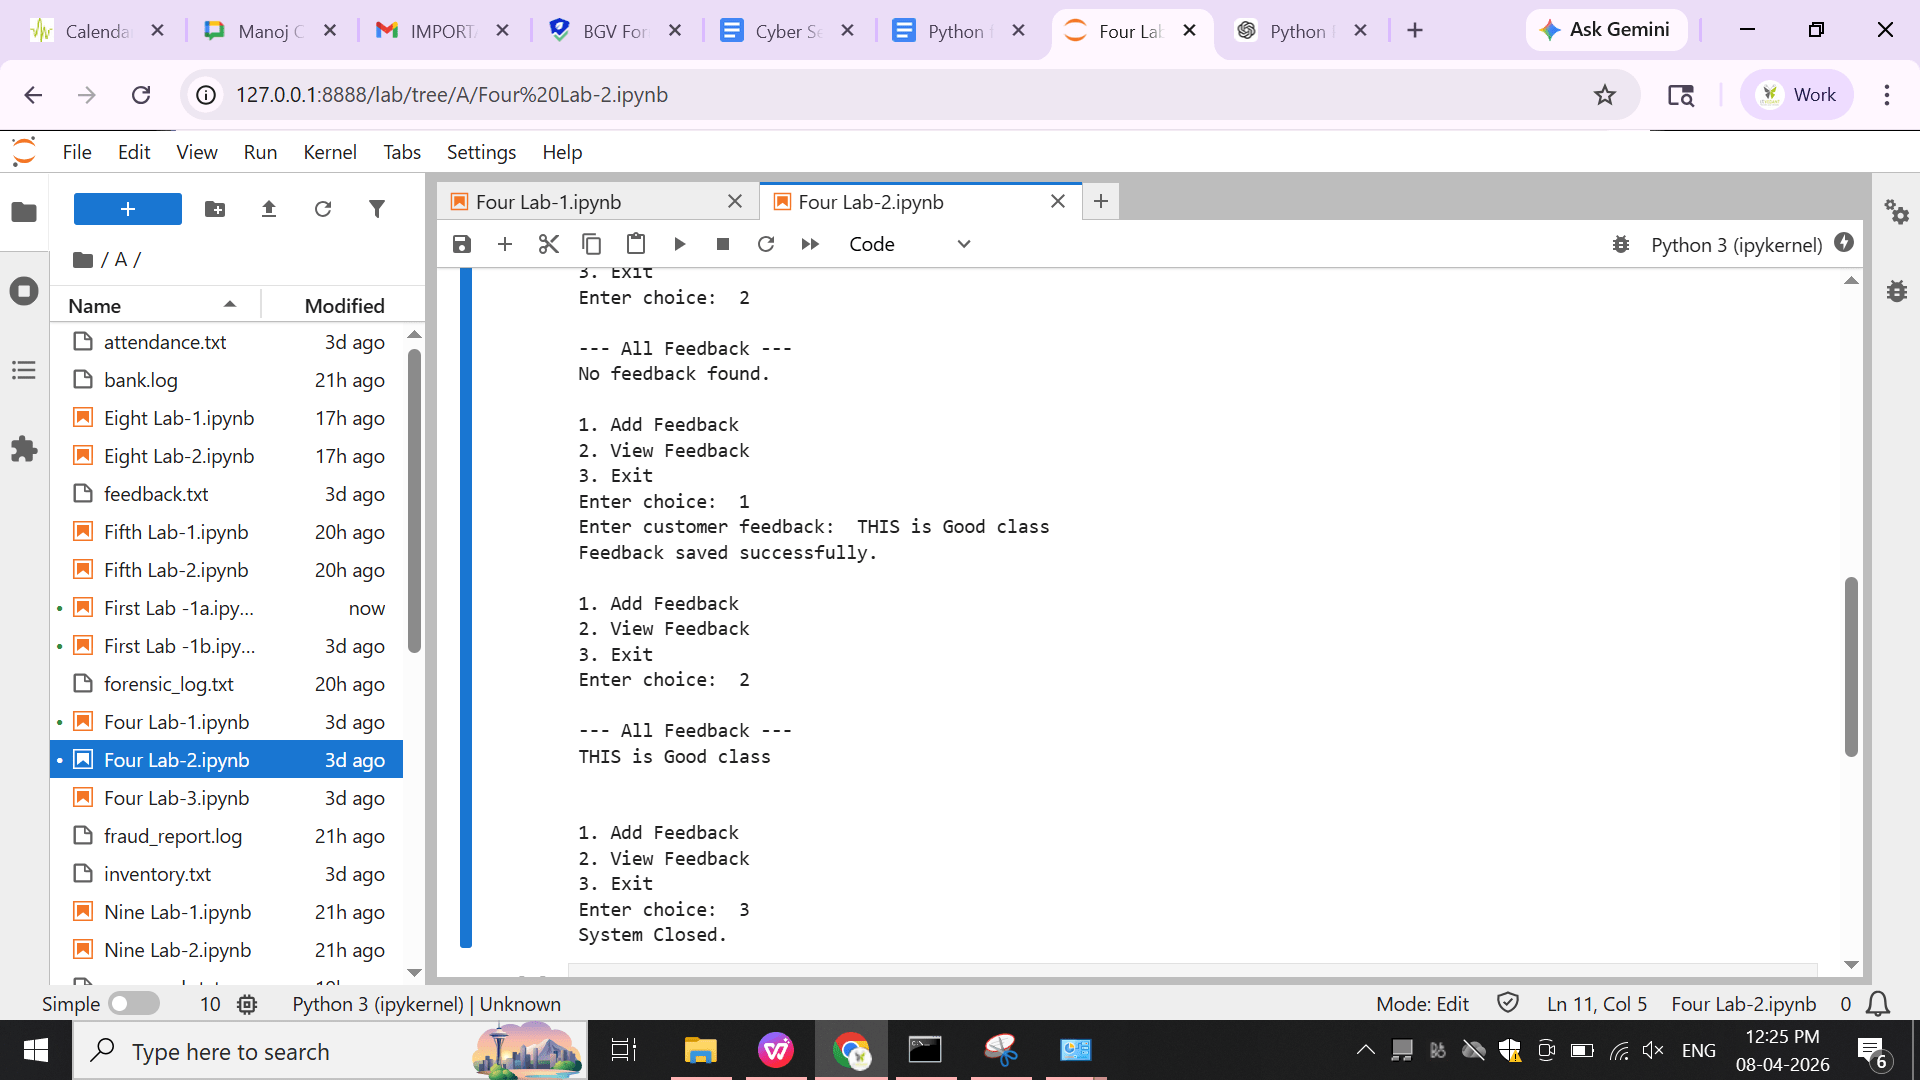
Task 3: Employee Attendance Log System
Text
6
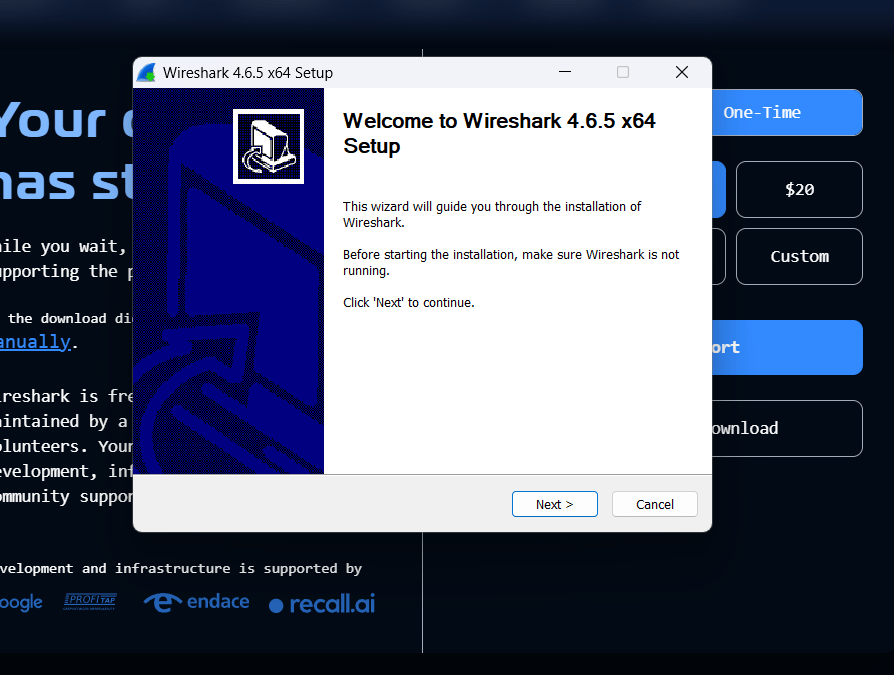
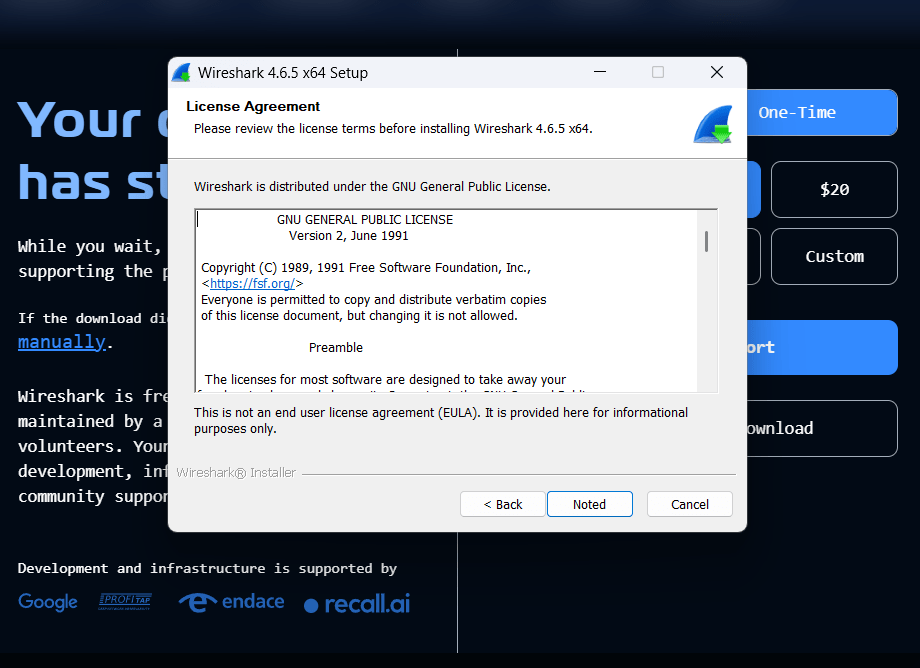
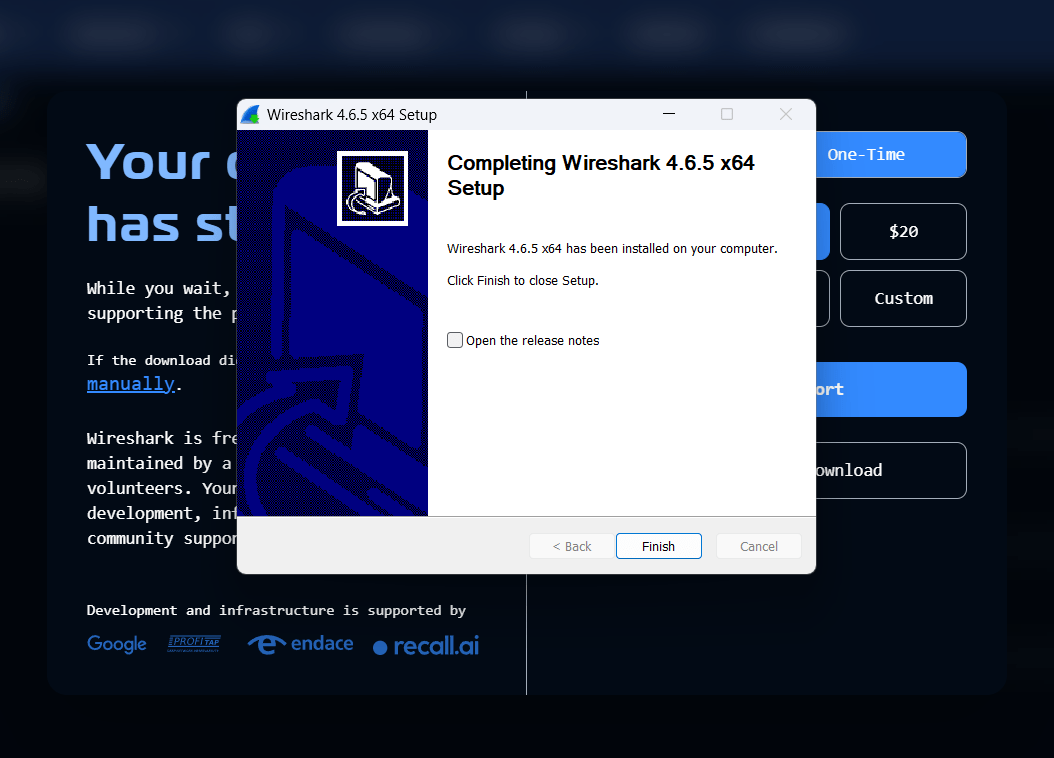
Accept the License Agreement
Read the license agreement and click Noted to proceed.
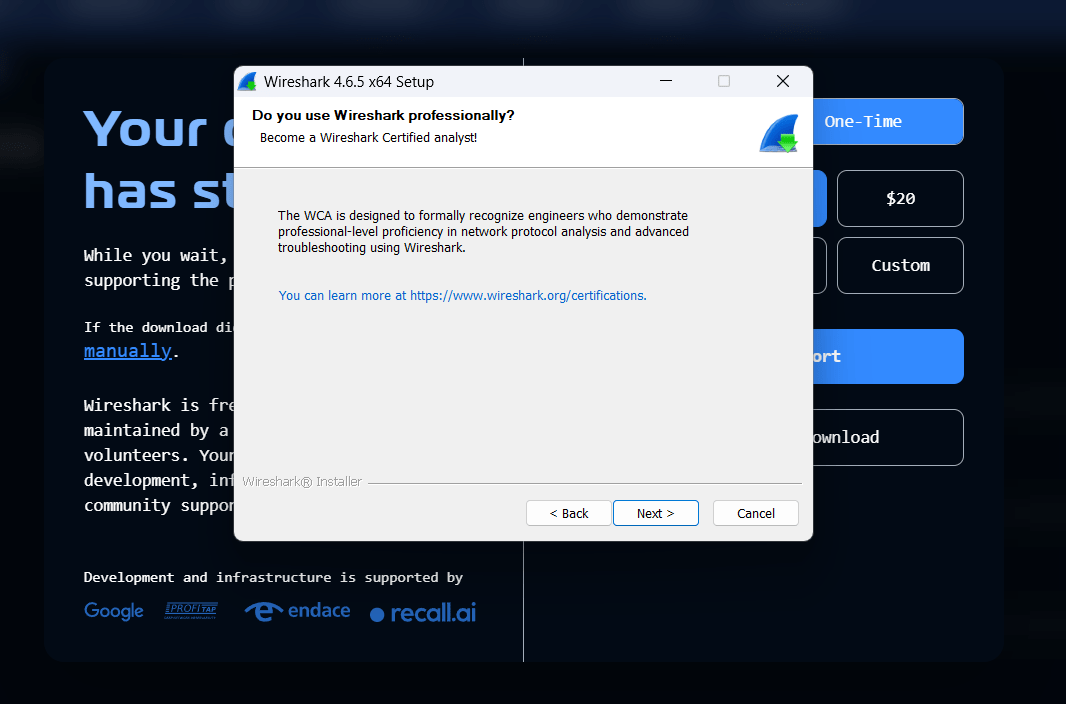
7
Continue Installation Setup
Click Next on the professional usage information screen.
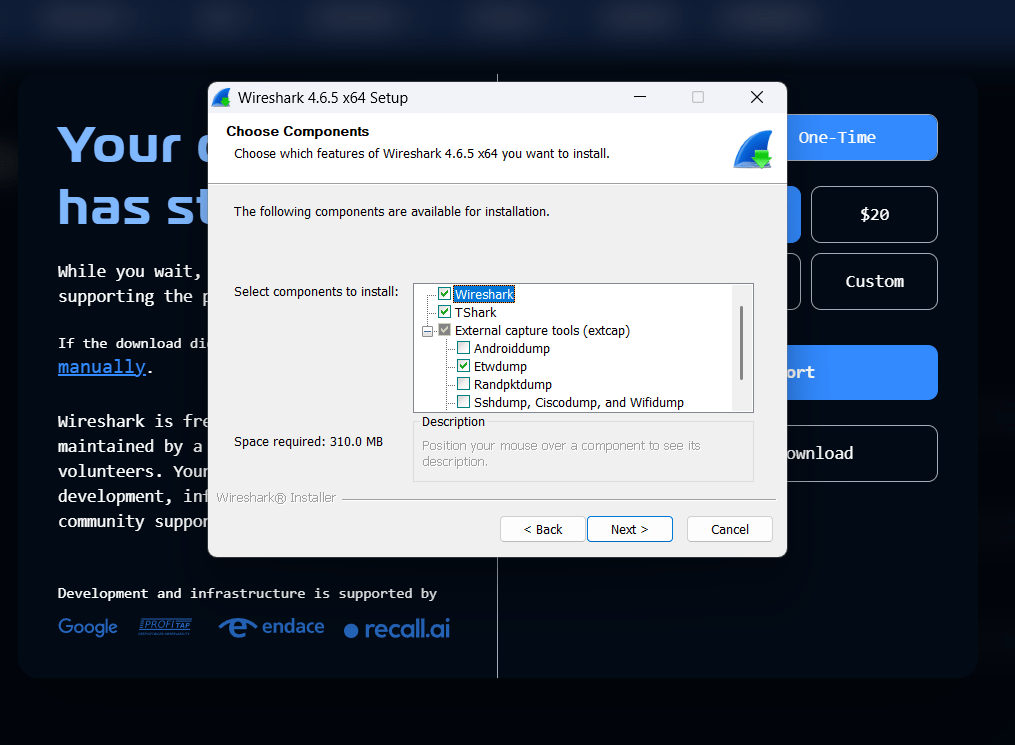
8
Choose Installation Components
Keep the default selected components and click Next.
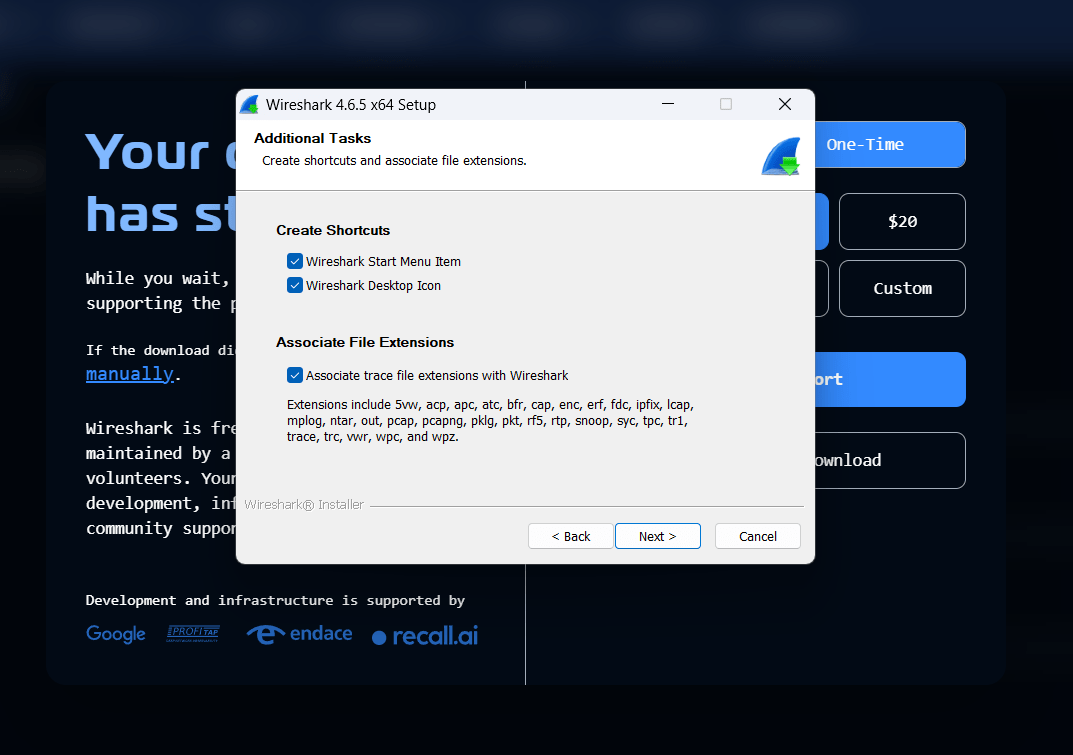
9
Select Additional Tasks
Choose shortcut and file association options, then click Next.
10
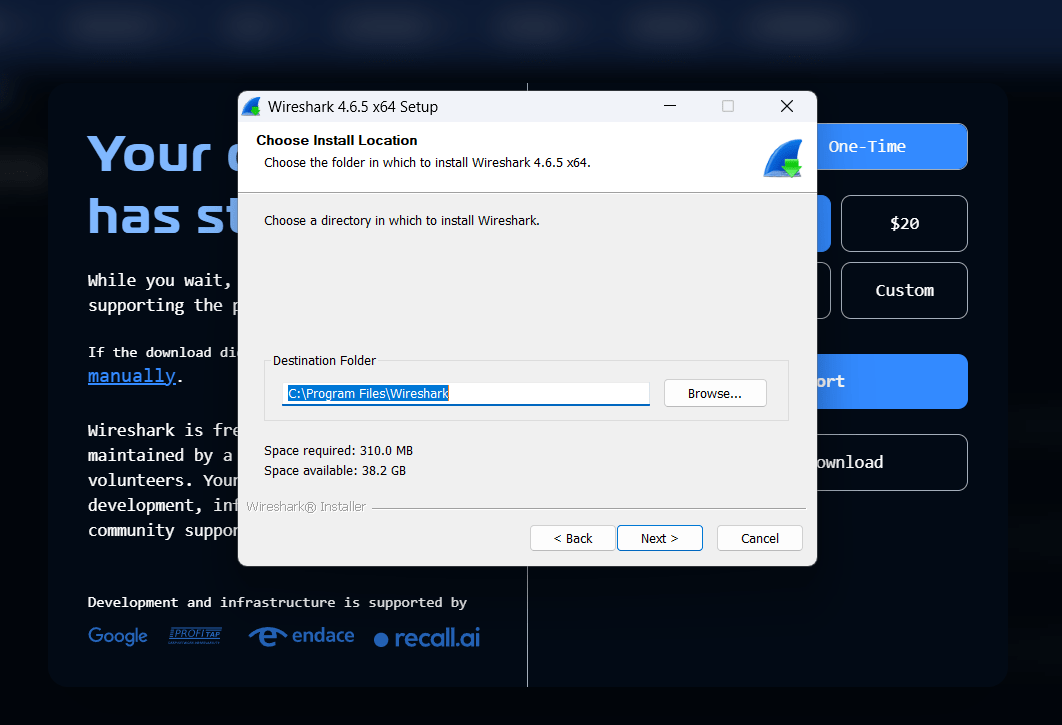
Choose Installation Location
Select the installation folder or keep the default path and click Next.
11
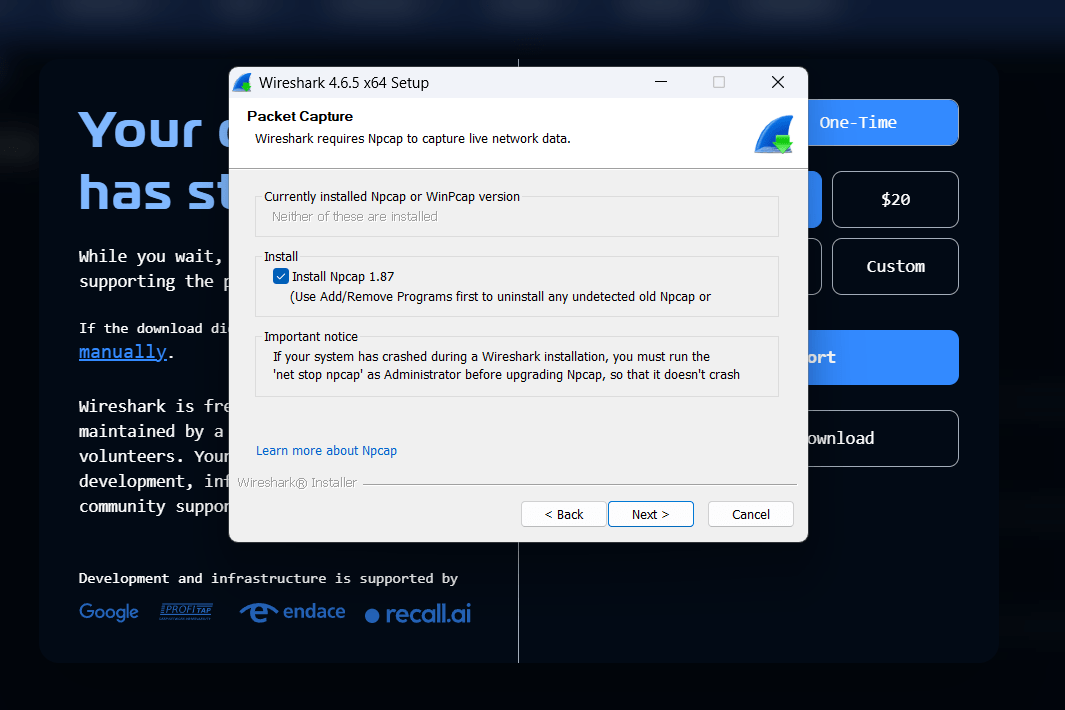
Install Npcap
Keep Install Npcap selected because it is required for packet capturing.
12
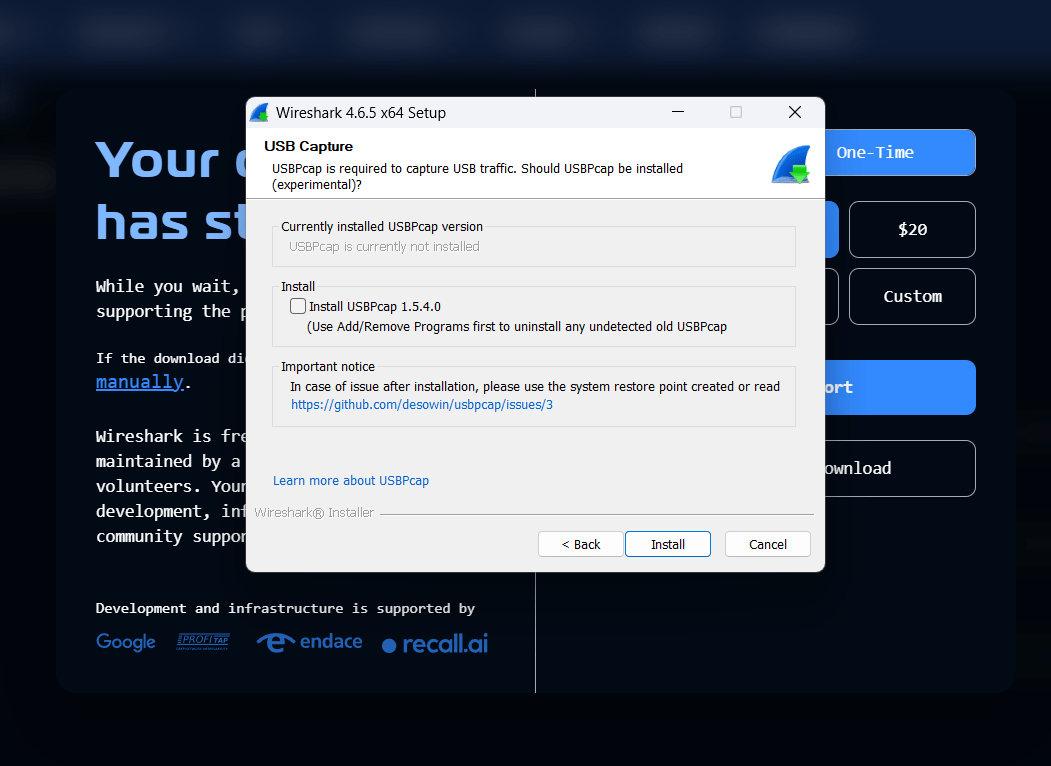
USBPcap Installation Option
Leave USBPcap unchecked unless USB traffic capturing is needed, then click Install.
13
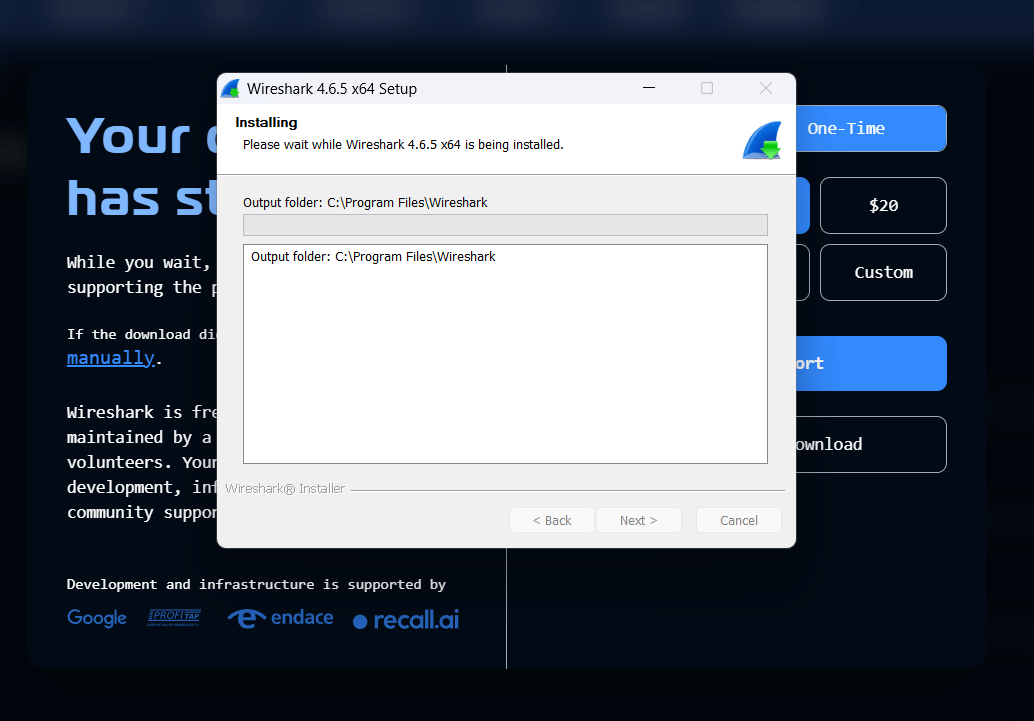
Wireshark Installation Starts
Wait while Wireshark copies files and installs required components.
14
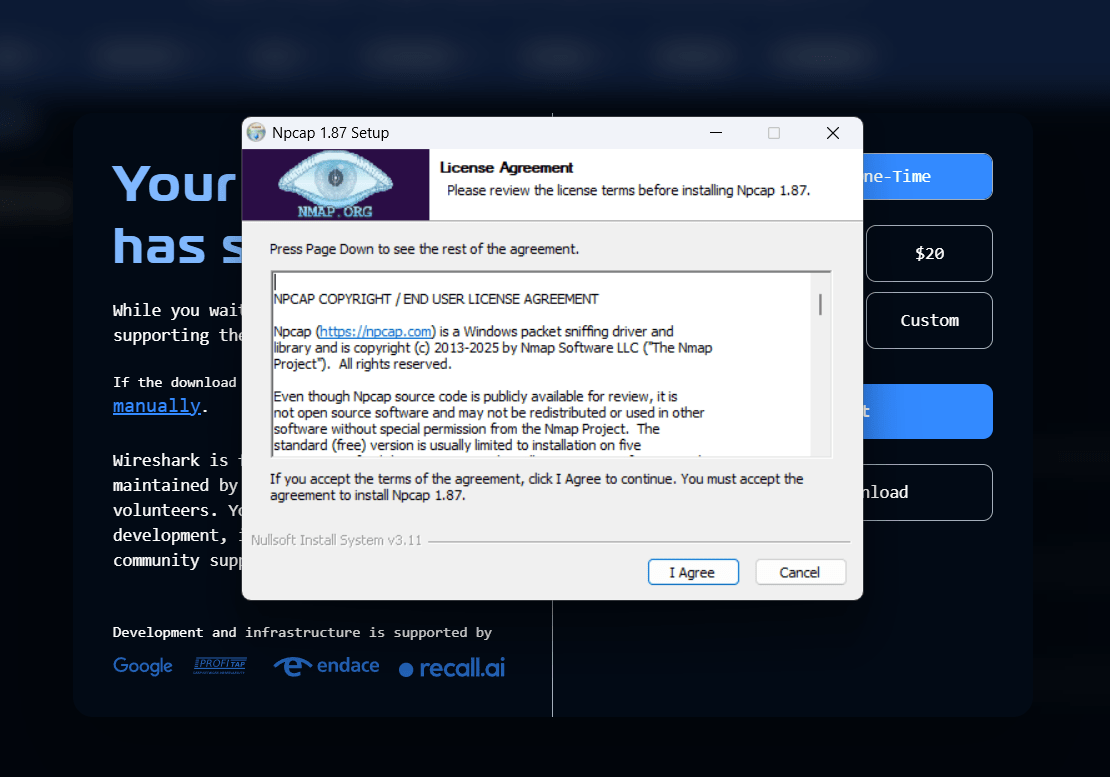
Accept Npcap License Agreement
Click I Agree to continue installing Npcap.
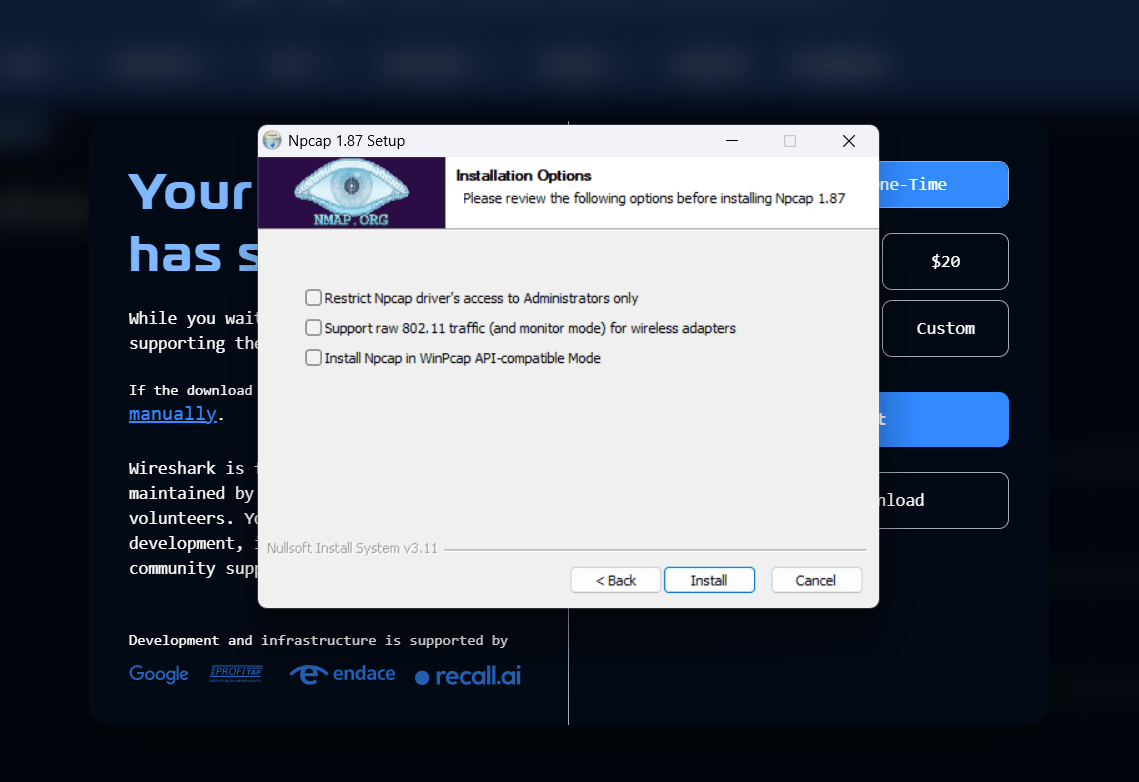
15
Select Npcap Installation Options
Keep the default Npcap settings and click Install.
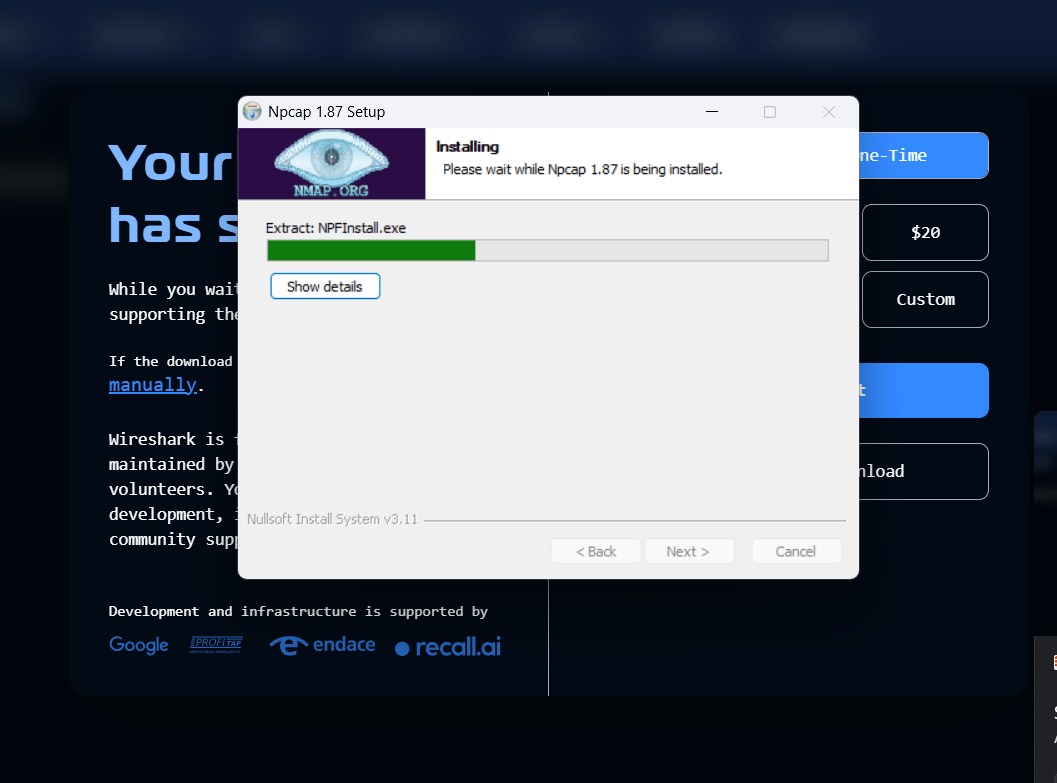
16
Npcap Installation in Progress
Wait for Npcap installation to complete successfully.
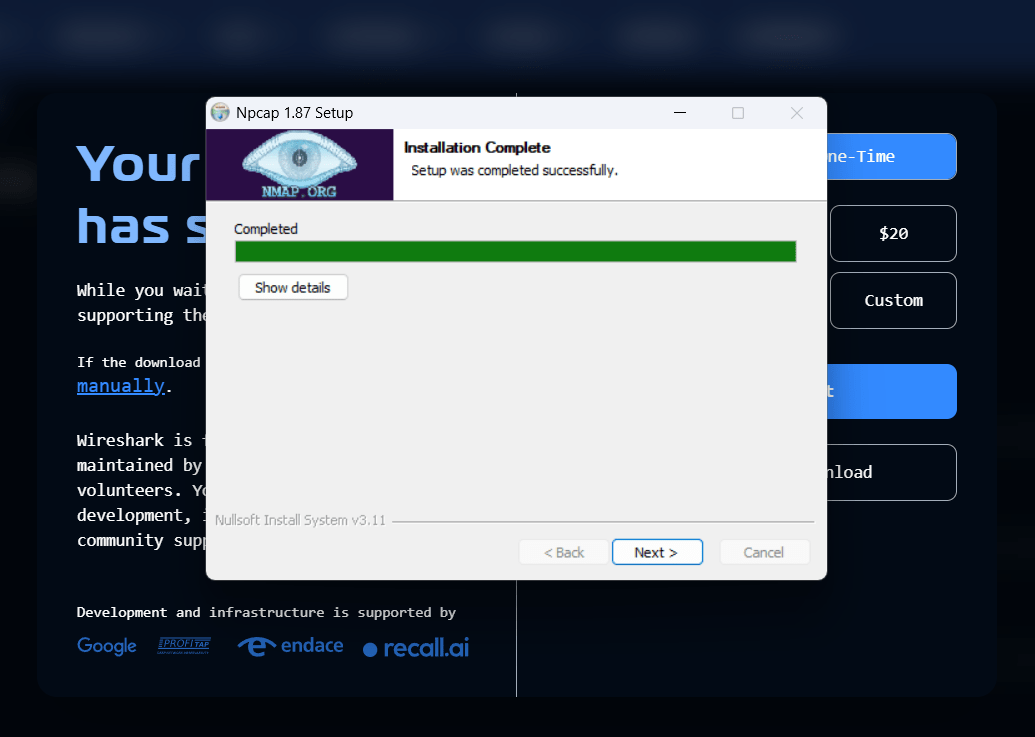
17
Npcap Installation Complete
Click Next after the Npcap installation finishes.
18
Finish Npcap Setup
Click Finish to close the Npcap installer.
Task 2: Understand how DNS converts domain → IP
1
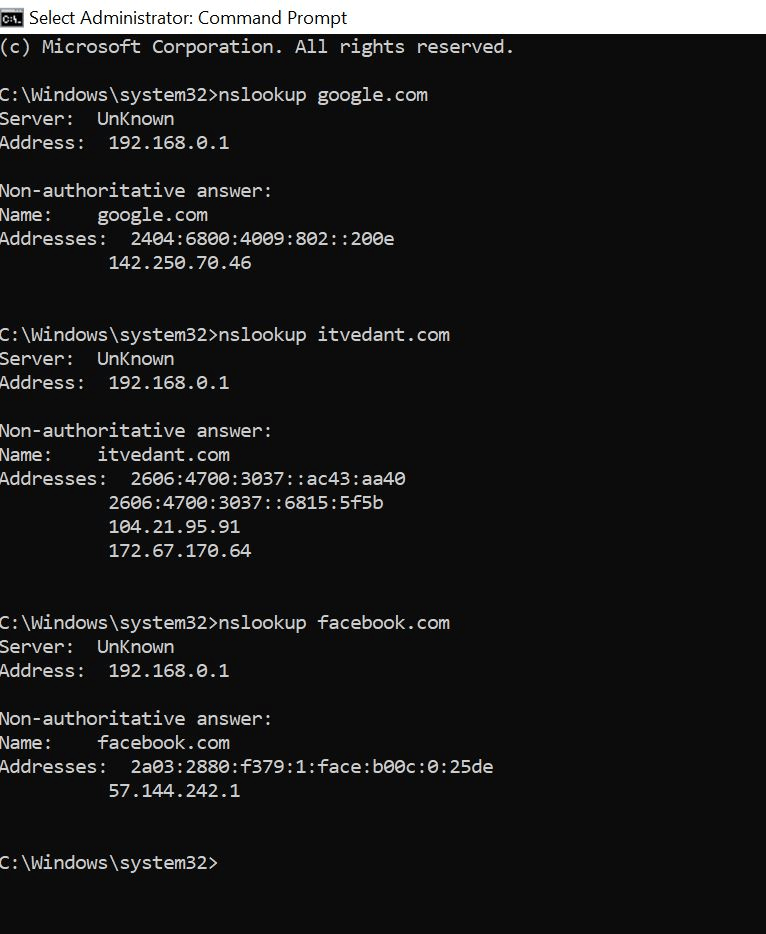
Use nslookup
Open Command Prompt and type:
Observe:
-
DNS Server used
-
IP address of domain
nslookup google.com
nslookup itvedant.com
nslookup facebook.com
Open Command Prompt and type:
file_name = "inventory.txt"


with open(file_name, "w") as file:
   file.write("Laptop - 10\n")
   file.write("Mouse - 50\n")
   file.write("Keyboard - 30\n")

print("Inventory created.\n")


print("--- Current Inventory ---")
with open(file_name, "r") as file:
   print(file.read())


with open(file_name, "a") as file:
   file.write("Monitor - 20\n")

print("New stock added.\n")


print("--- Updated Inventory ---")
with open(file_name, "r") as file:
print(file.read())
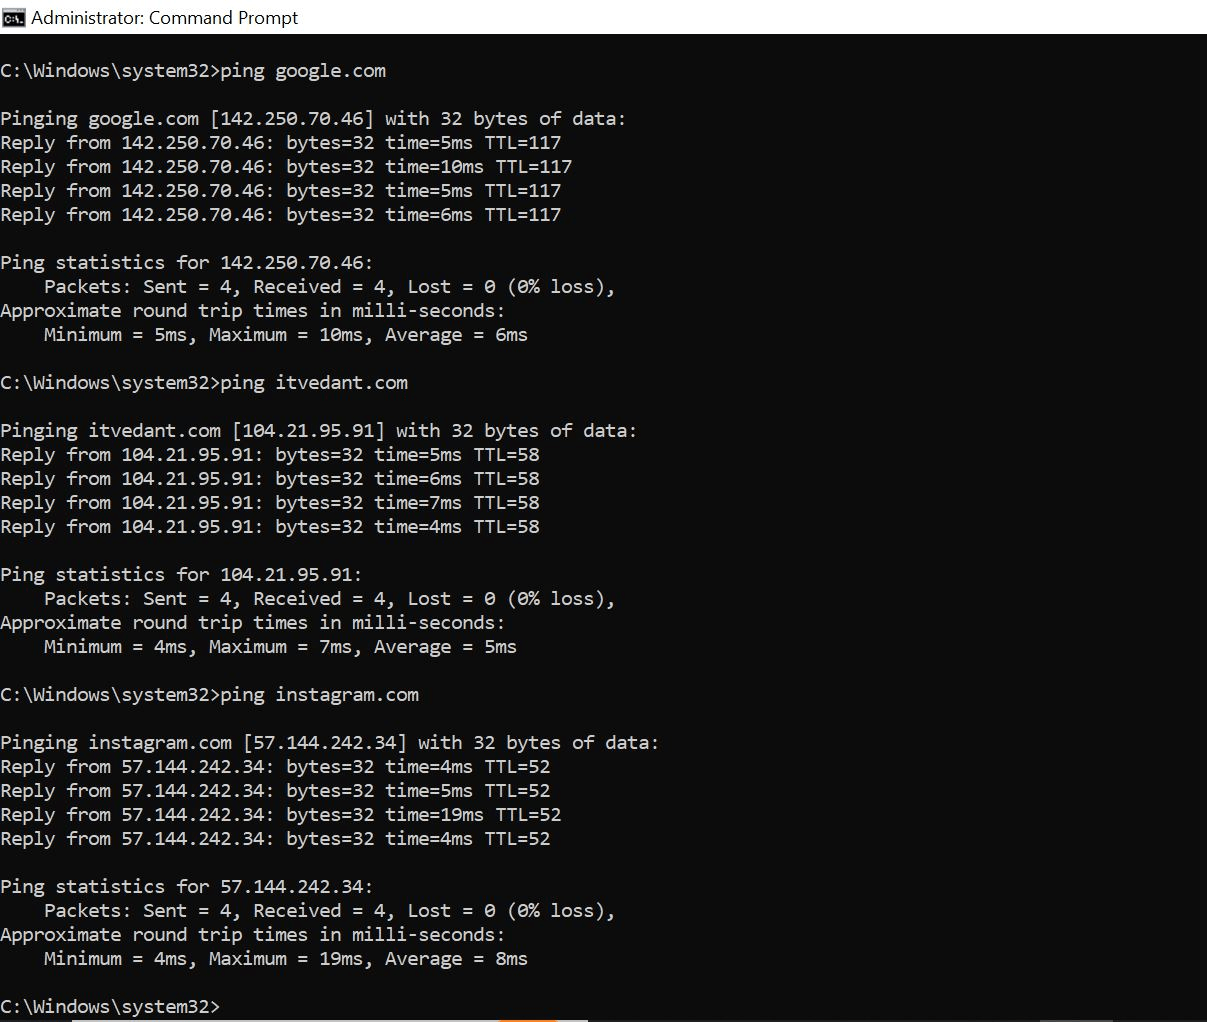
Use ping
2
Observe:
-
Domain automatically resolved to IP
-
Response time
Packet Capture (Wireshark)
3
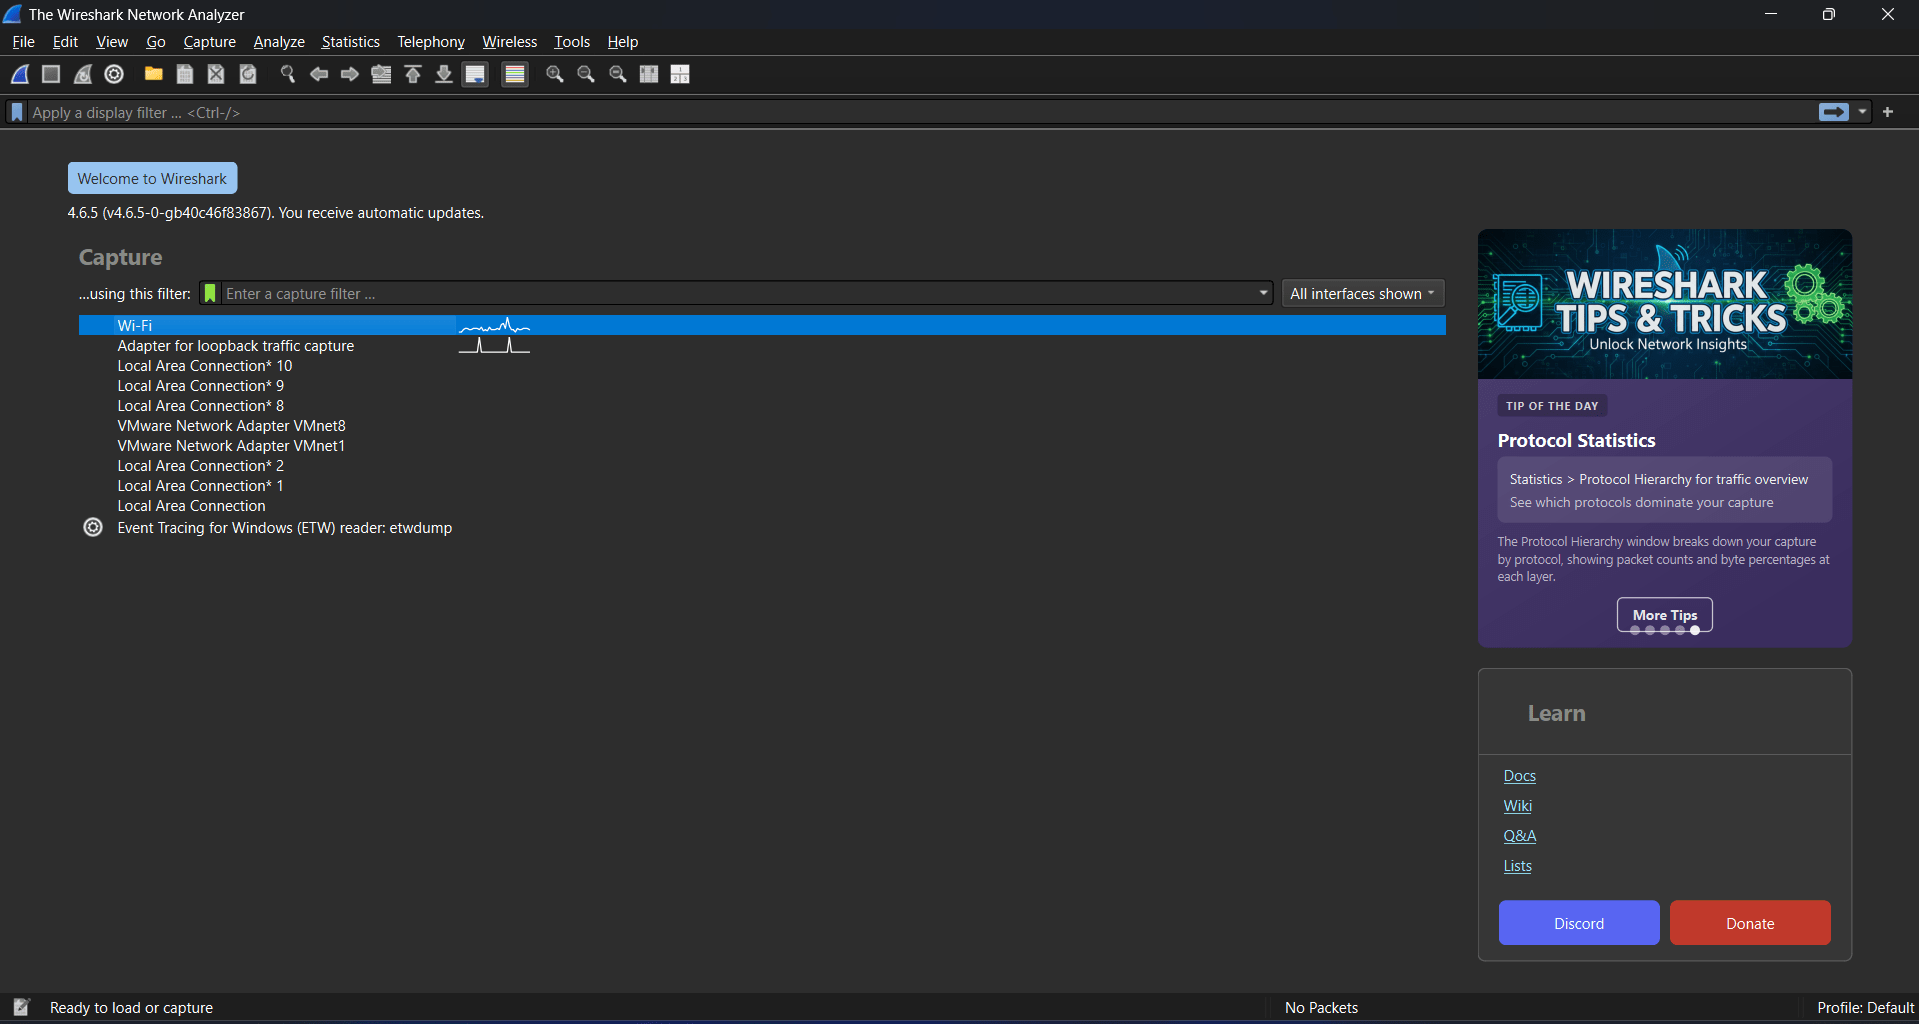
Start Wireshark → select network interface → Start capture
a
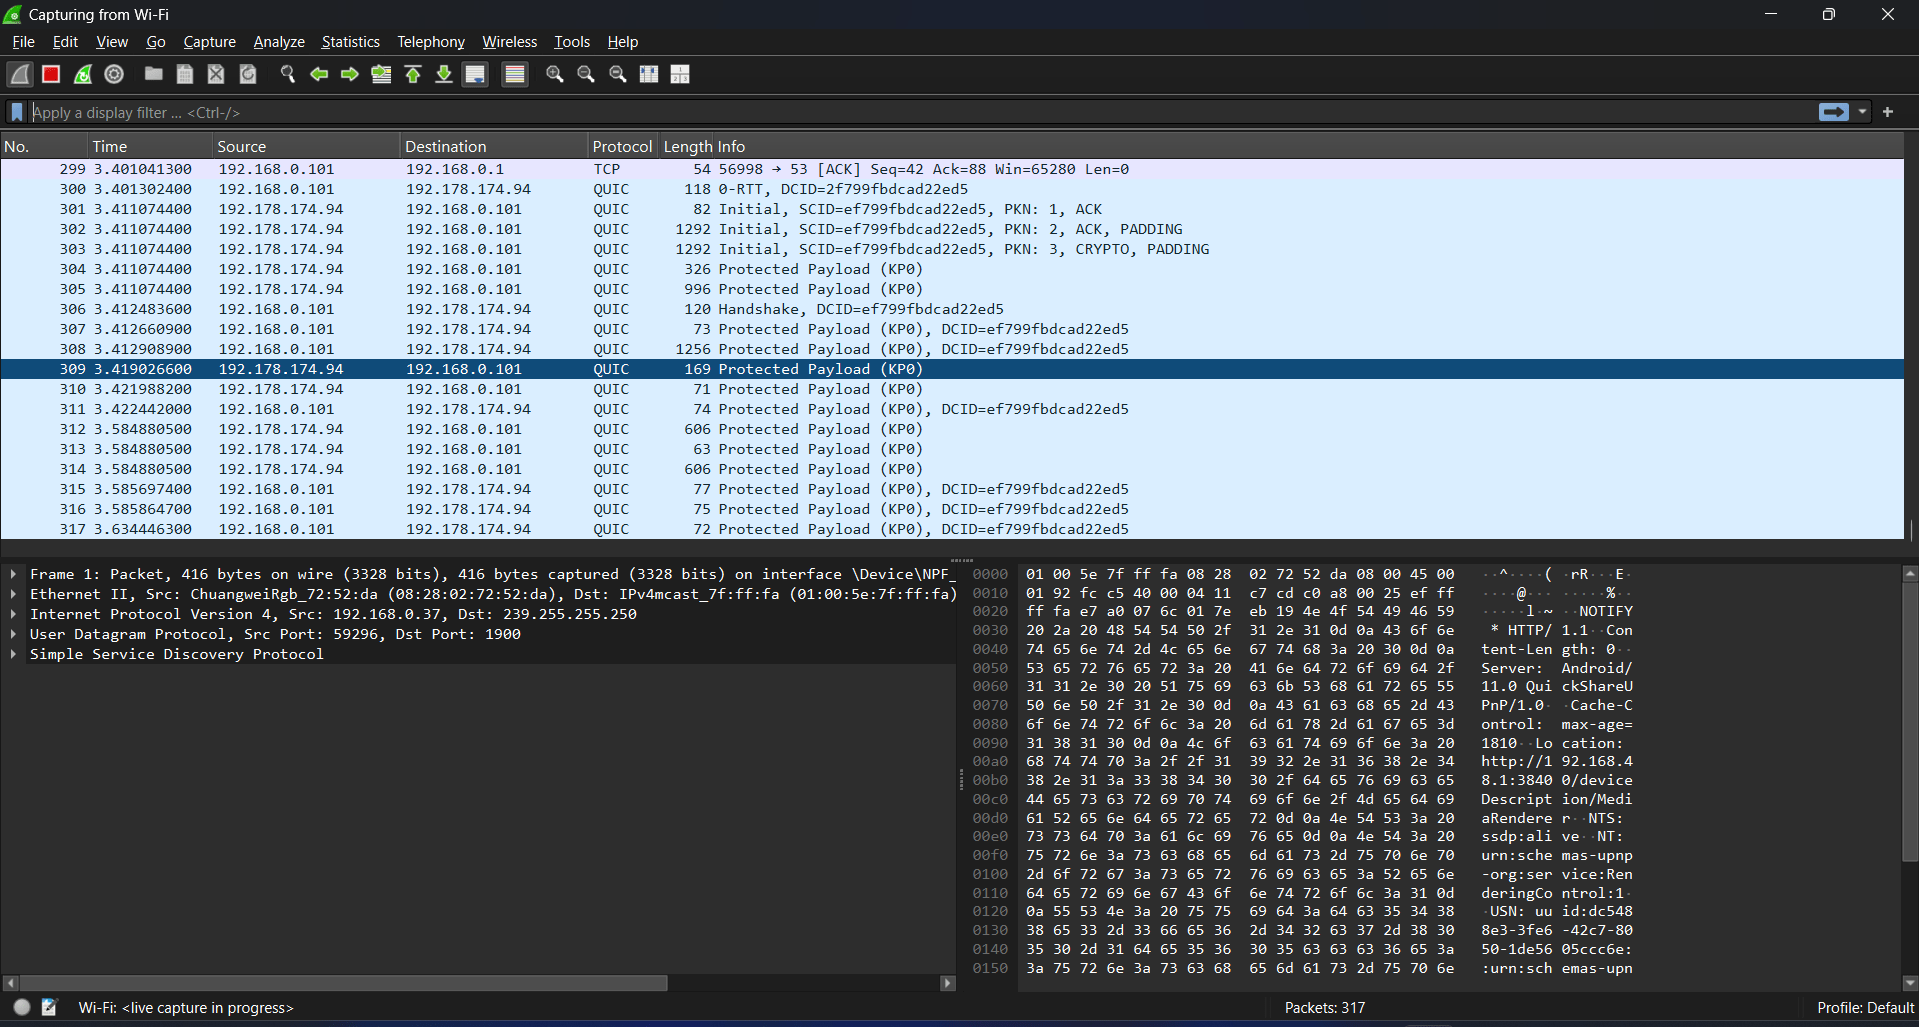
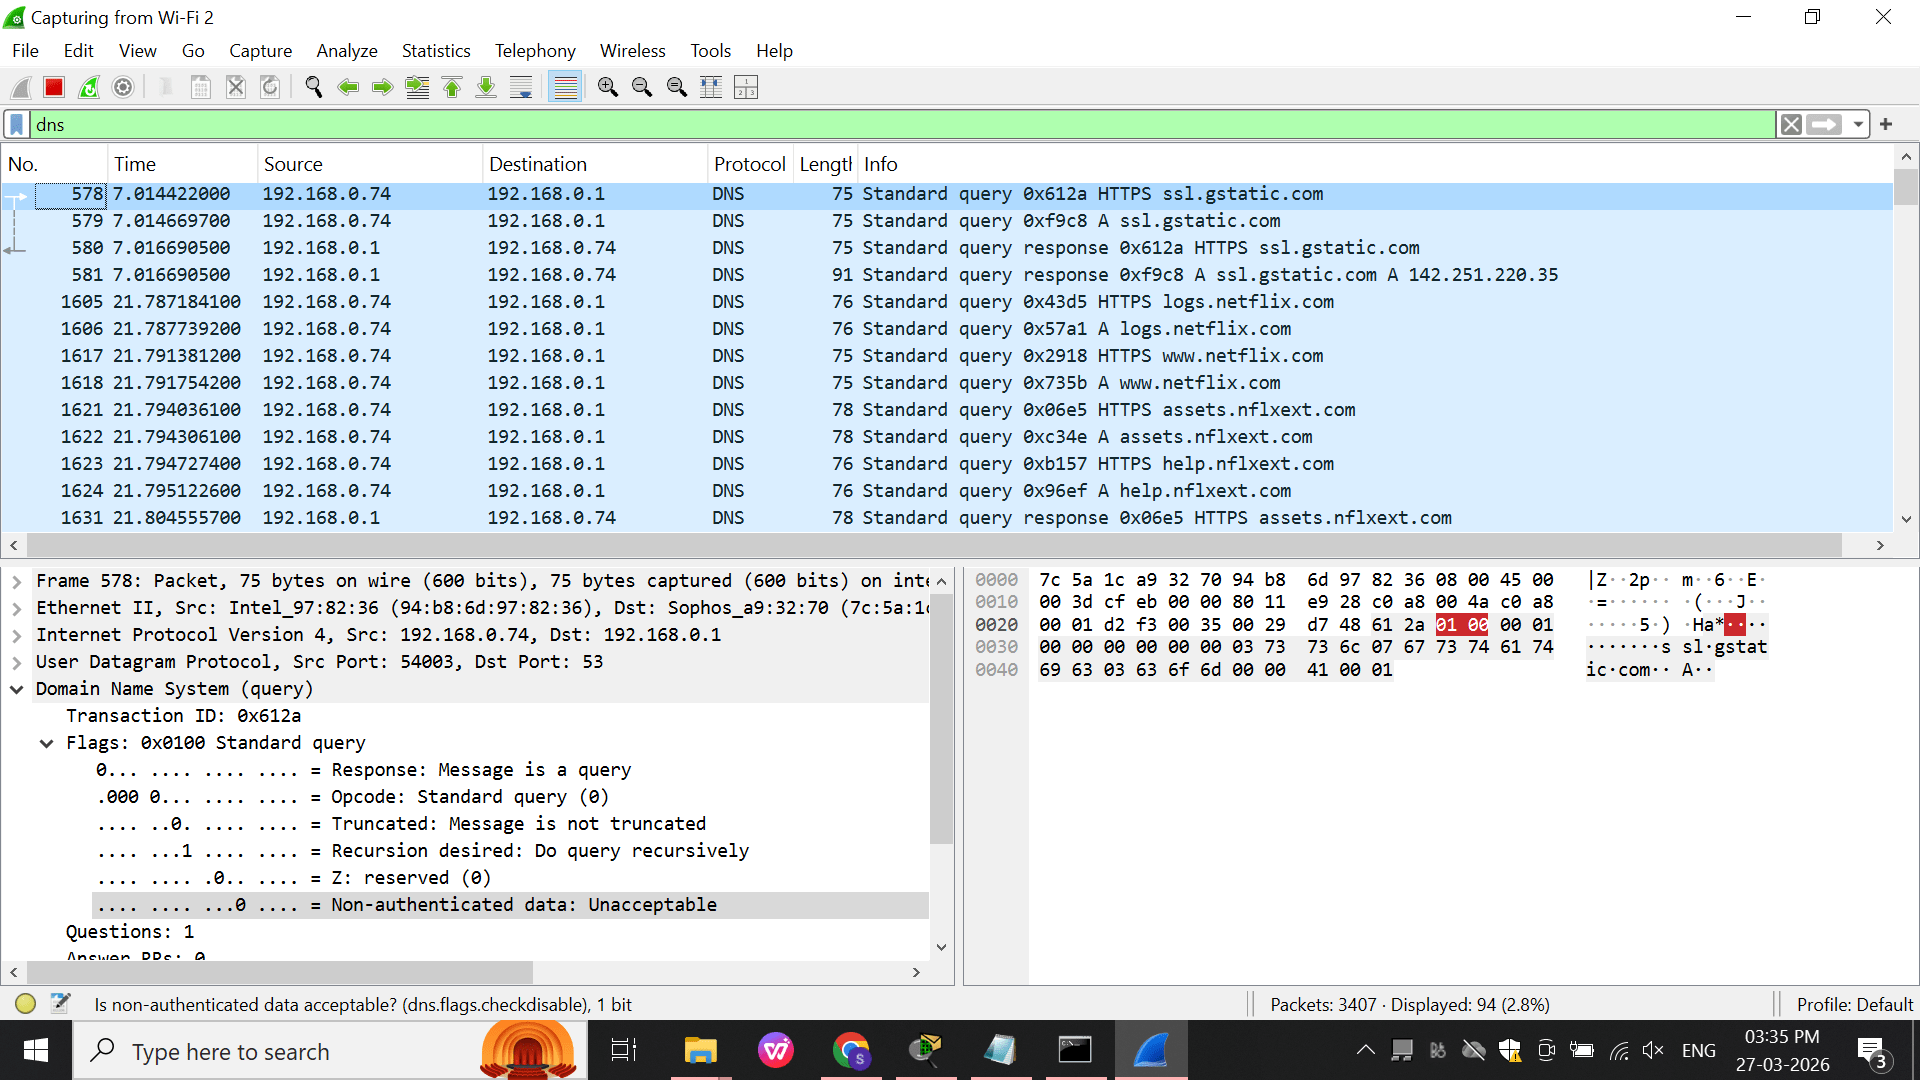
Apply filter: dns
b
Now open browser and visit: any Website
c
Observe:
-
DNS Query (A record request)
-
DNS Response (IP returned)
Task 3: DNS Practical Lab – Understanding DNS Records
- Identify different DNS record types (A, AAAA, MX, NS)
-
Verify IP addresses and services linked to a domain
Open DNS Lookup Tool
1
Open browser (Chrome/Edge)
a
Go to: DNSChecker
b
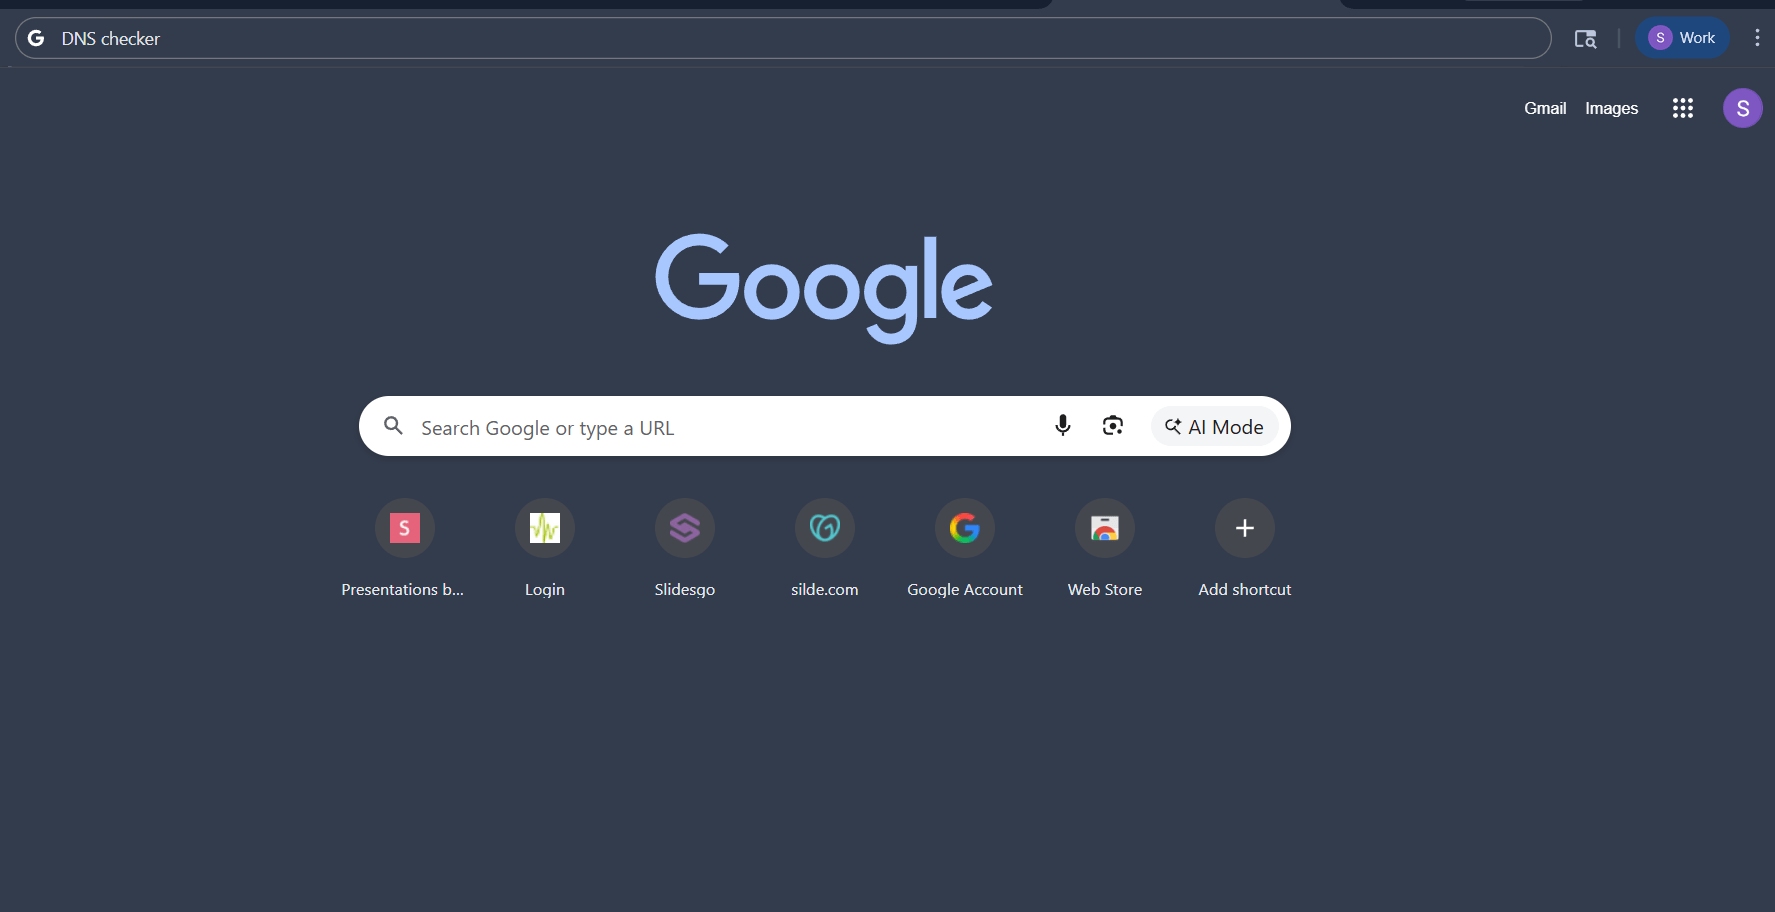
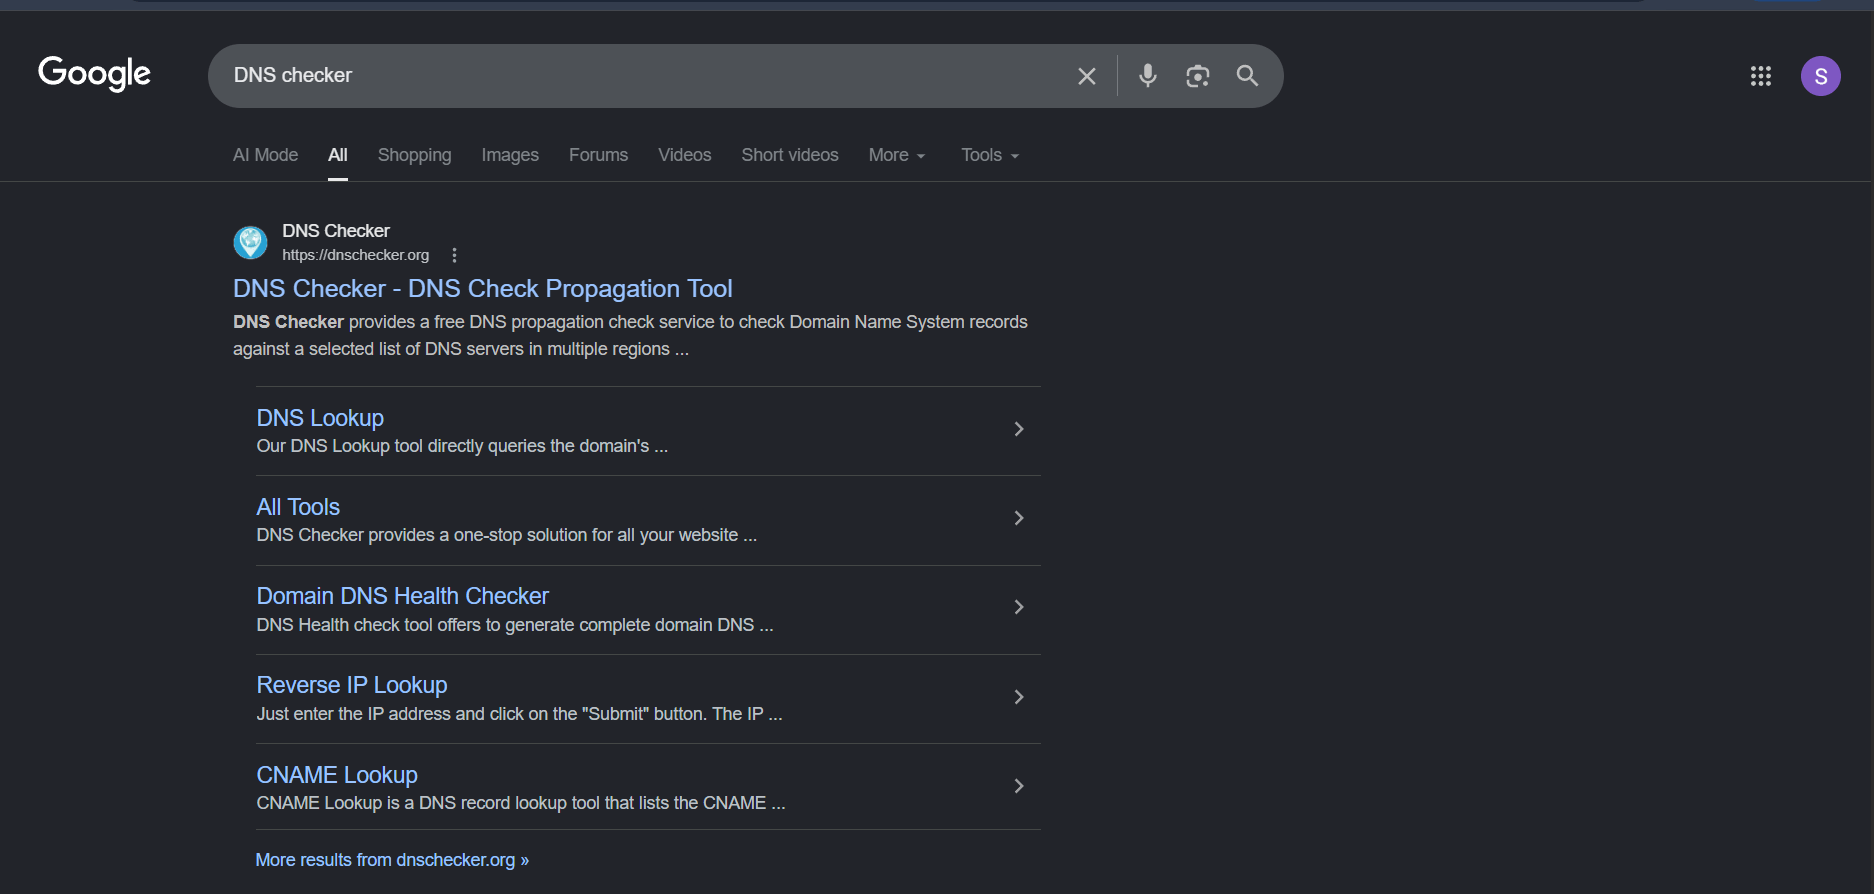
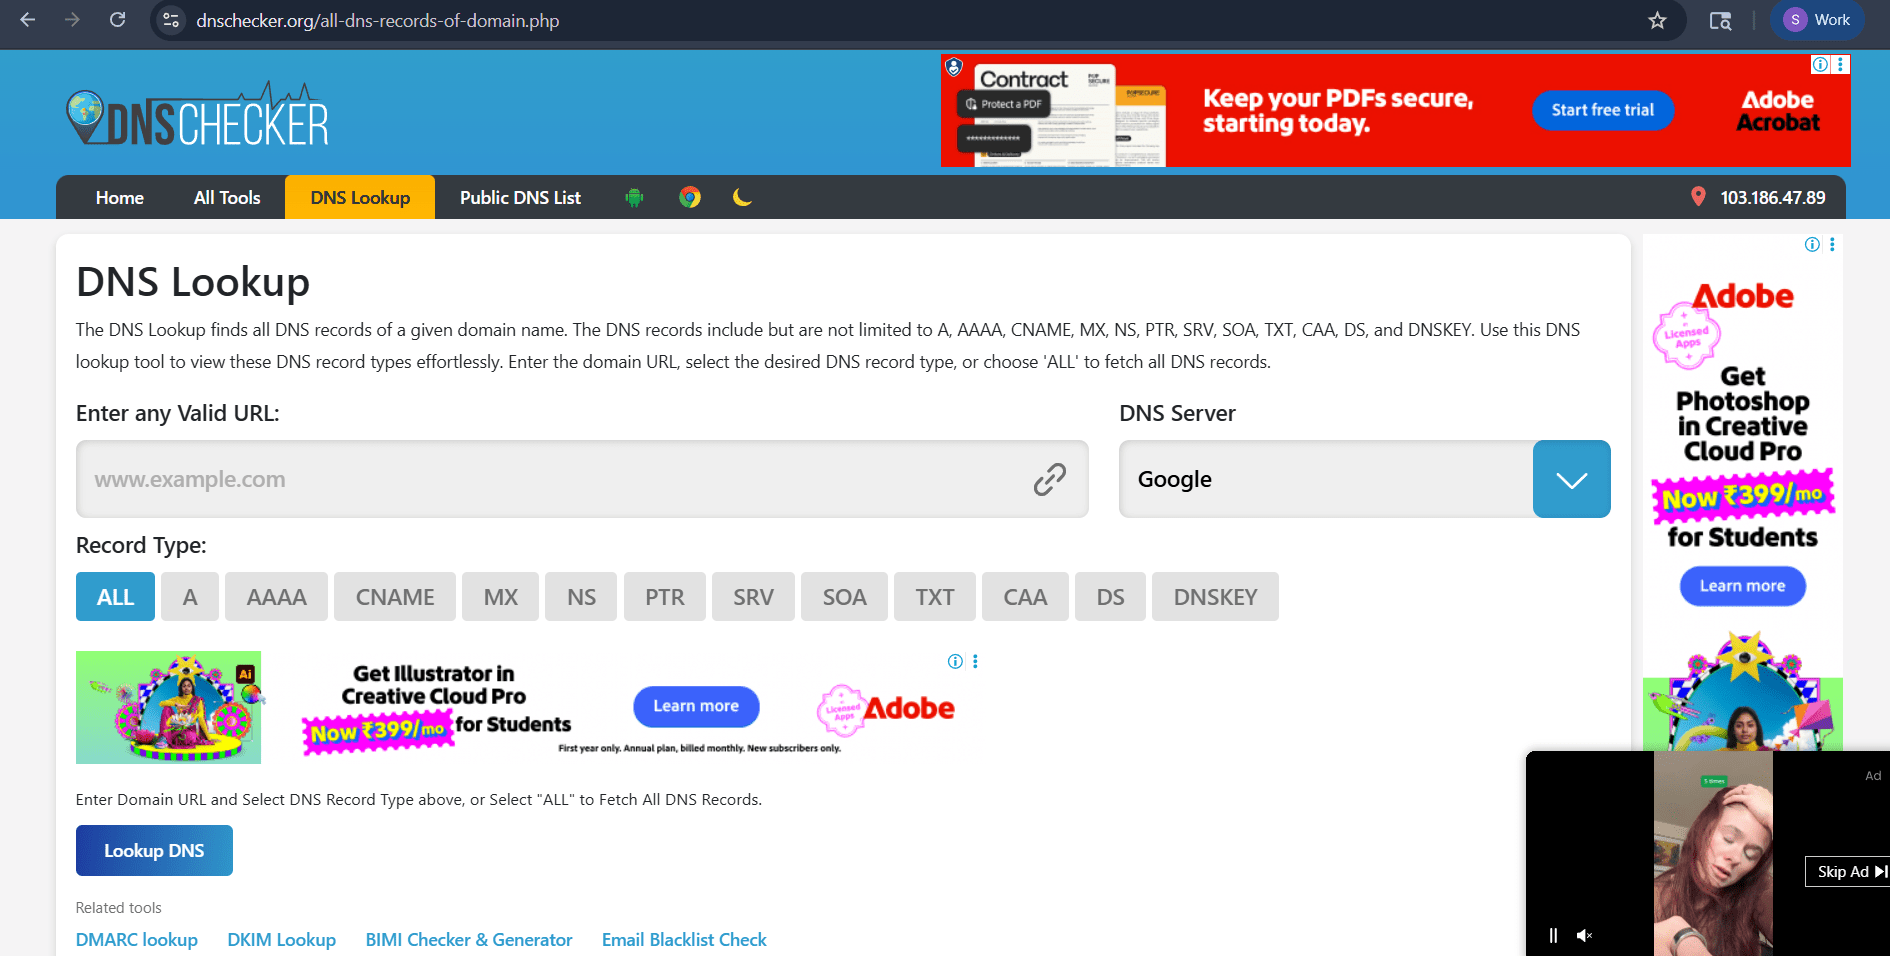
Enter Domain
2
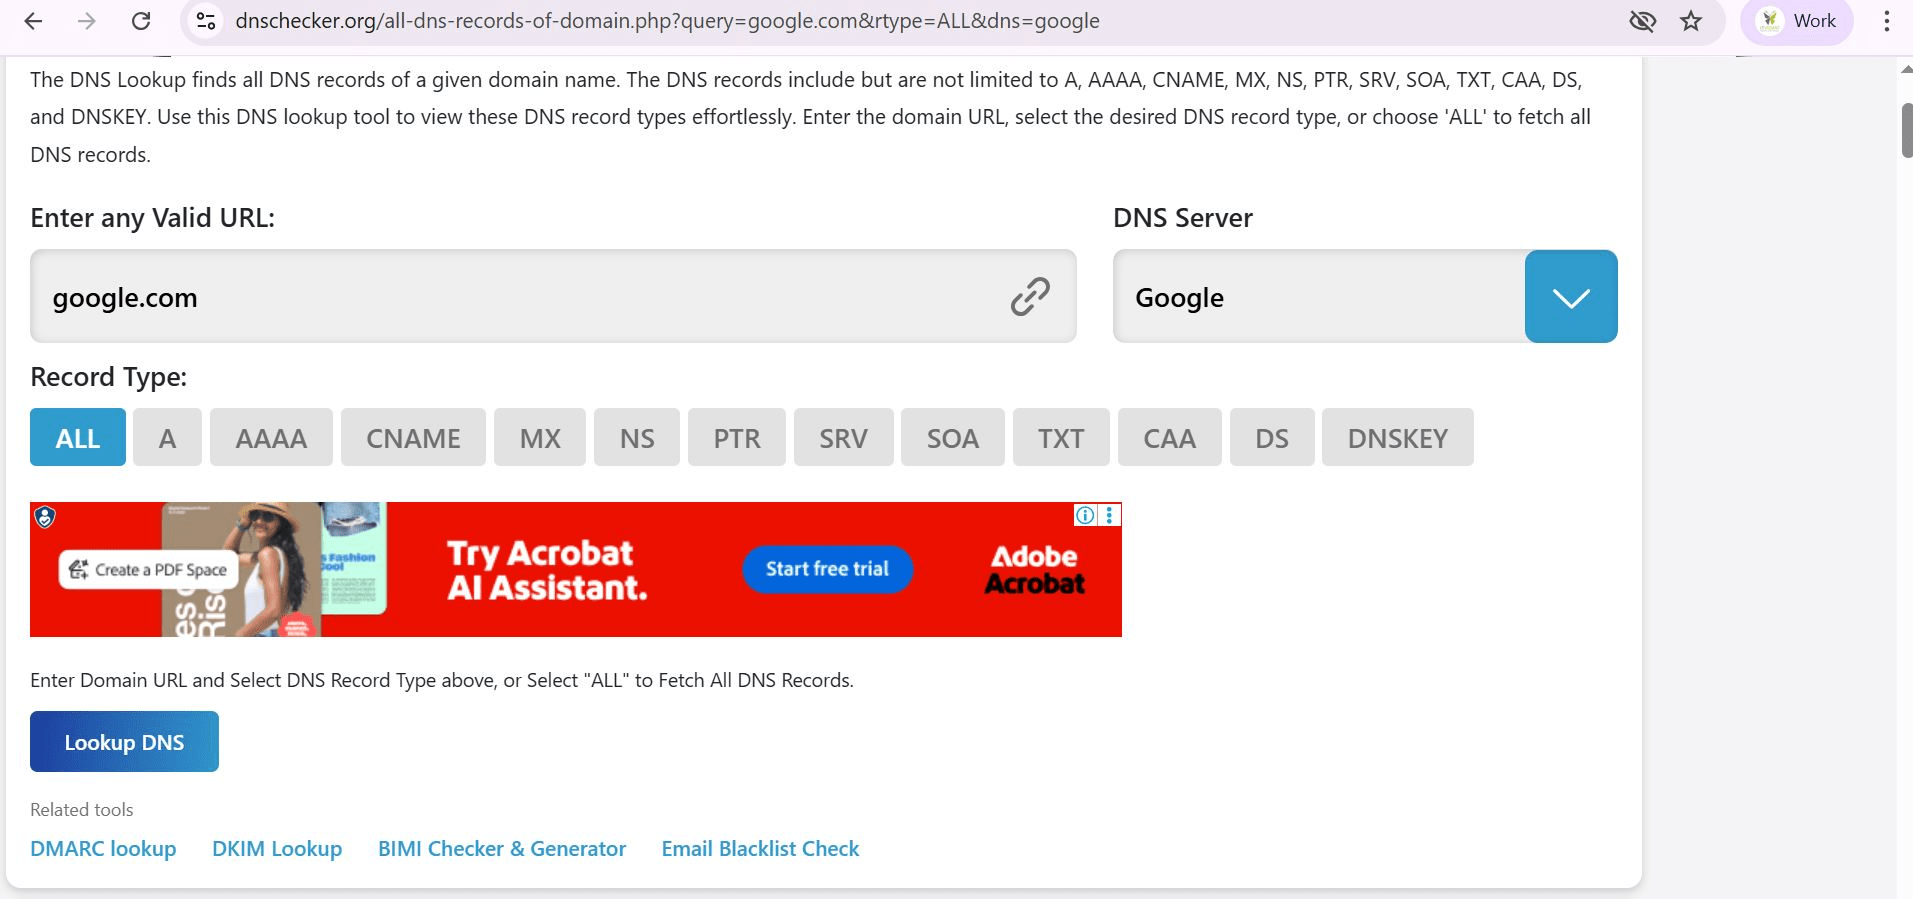
In Enter any Valid URL, type: google.com
a
Select: Record Type = ALL
b
Click: Lookup DNS
c
You will see:
3
Domain input box
a
Record type options (A, AAAA, MX, NS, etc.)
b
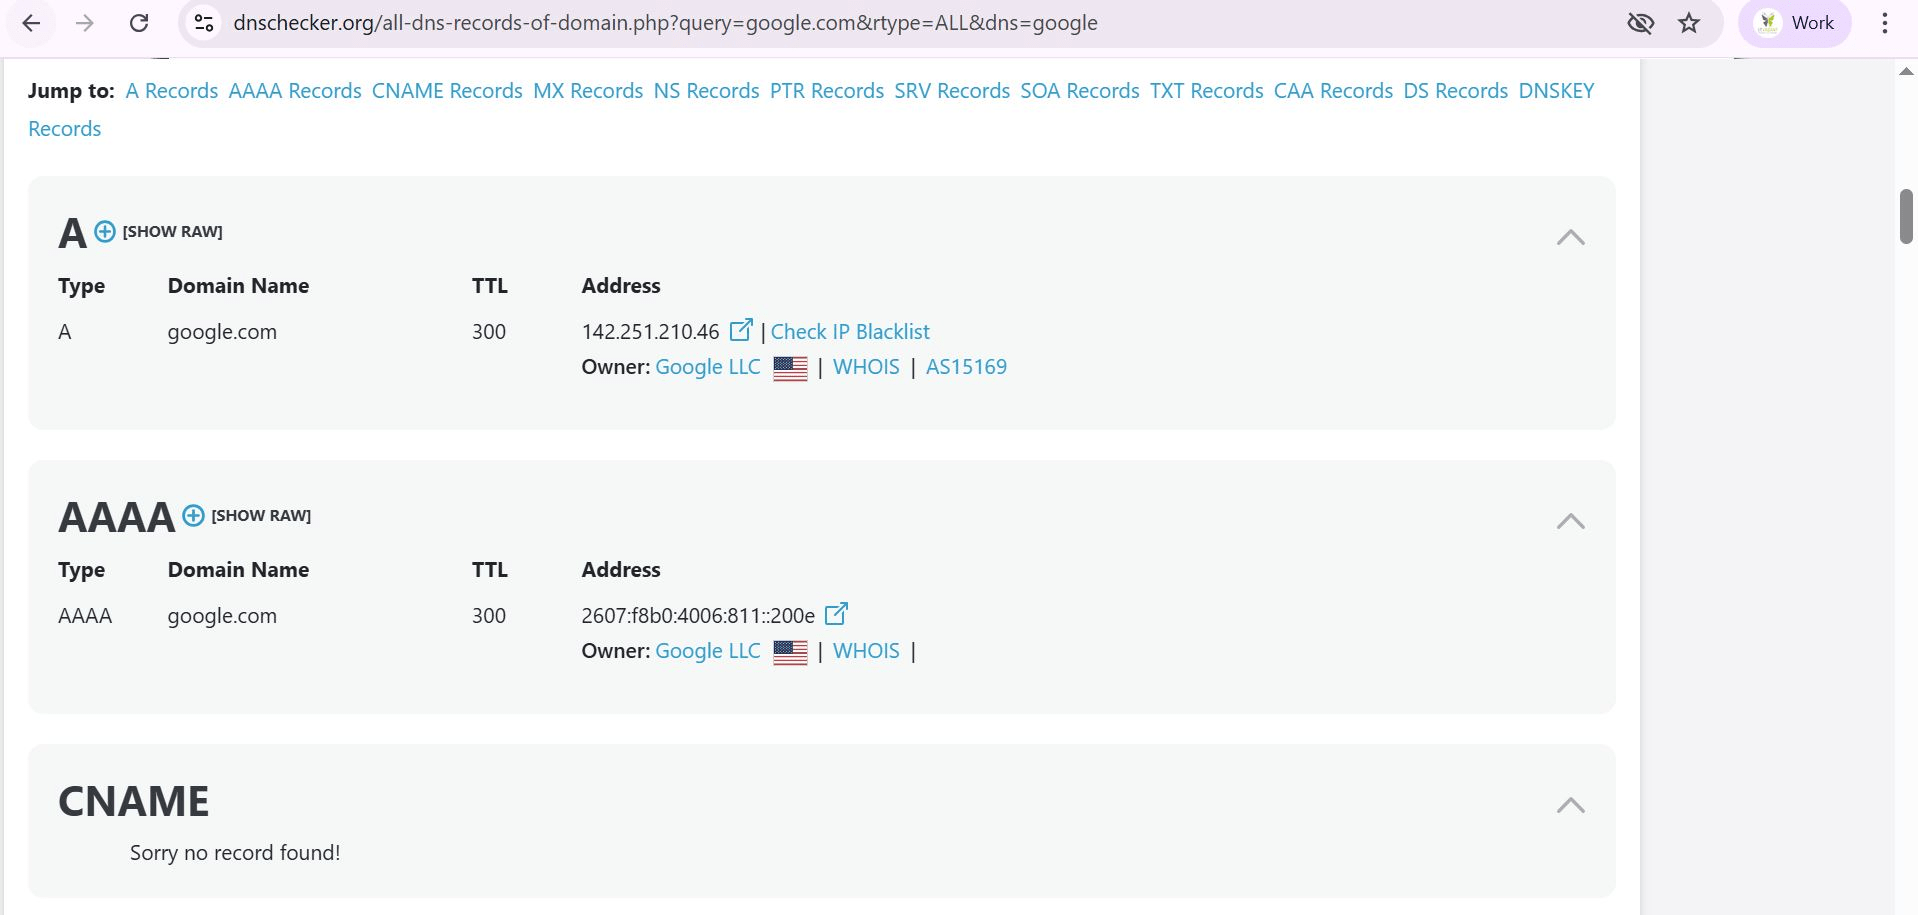
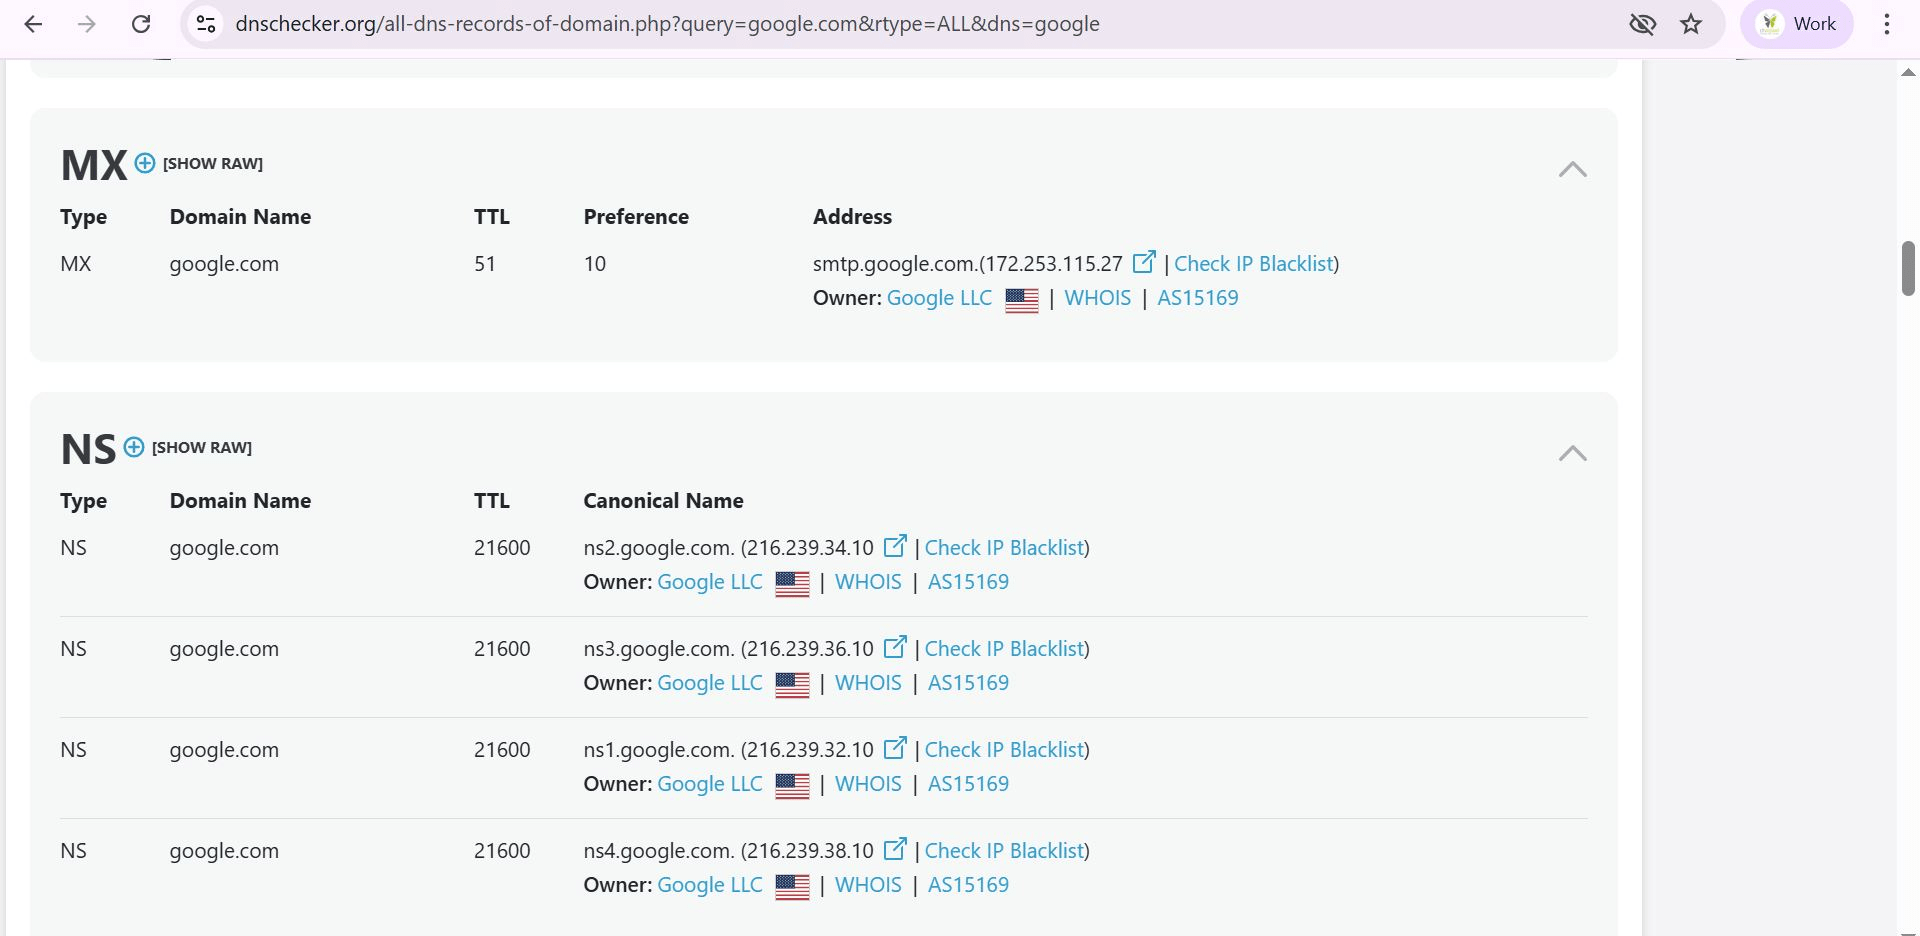
When a user types google.com:
-
DNS query is sent
-
NS server responds
-
A/AAAA record gives IP
-
System connects to server
This is called DNS Resolution Process.
Task 4: Observe HTTP vs HTTPS communication Analyze real web traffic
Visit HTTP Site
1
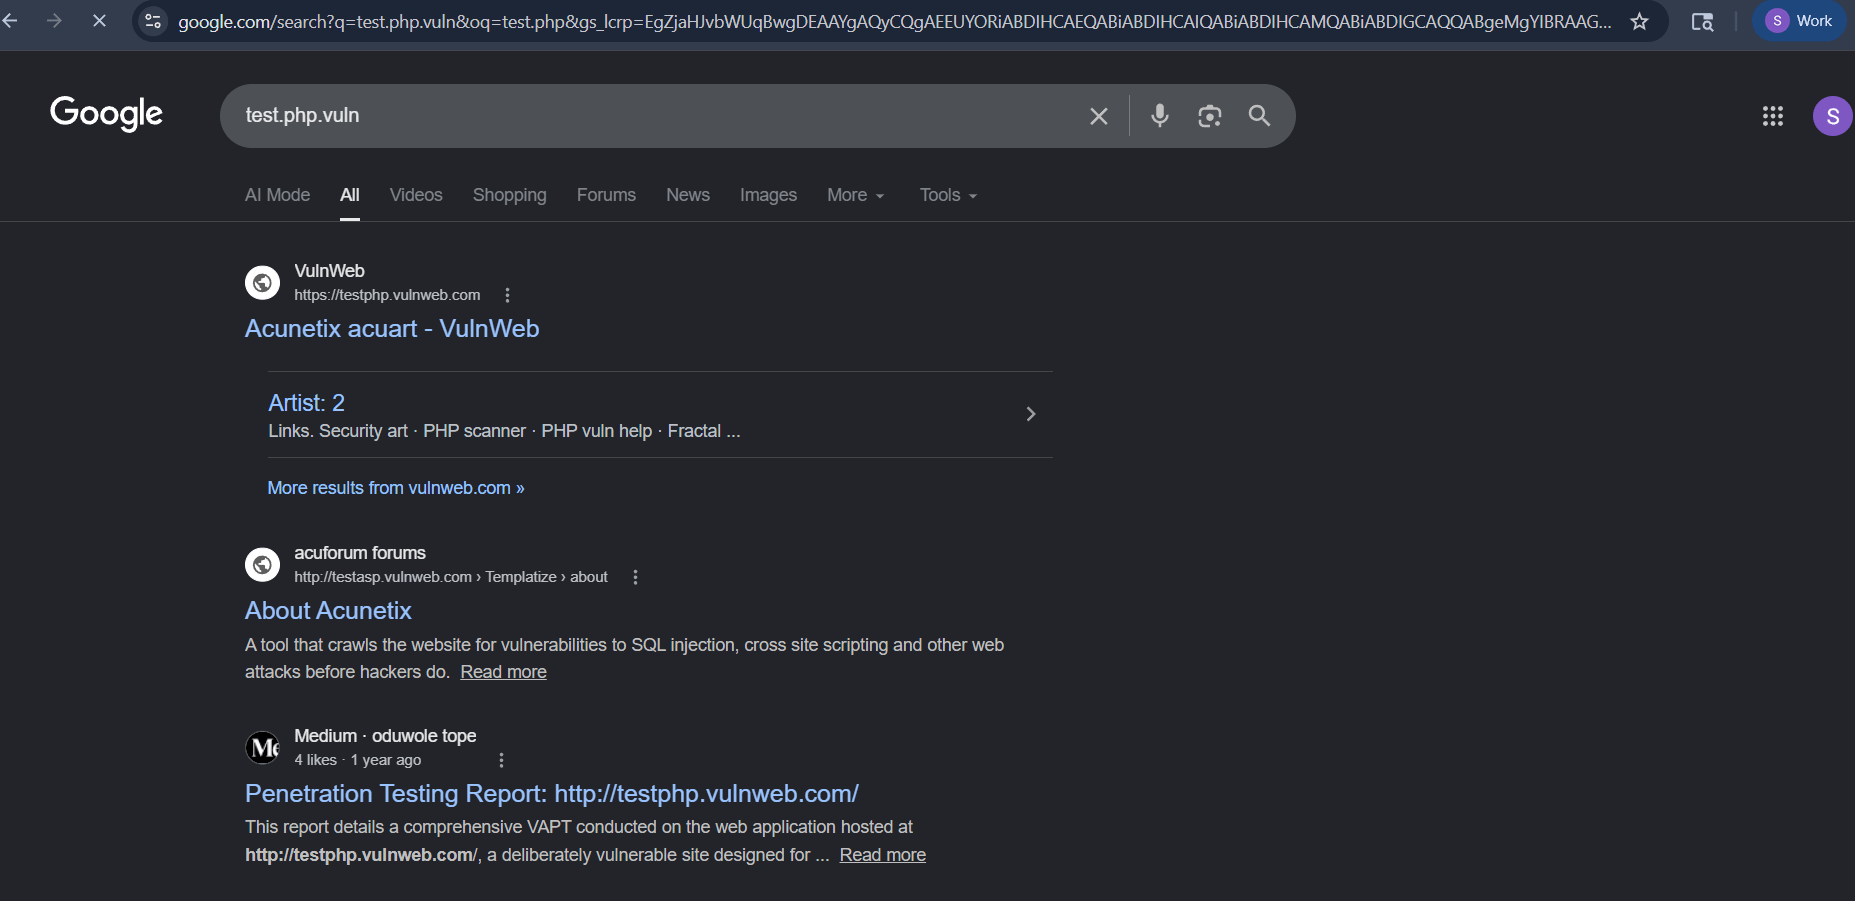
Open Website : testaspnet.vulnweb.com
a
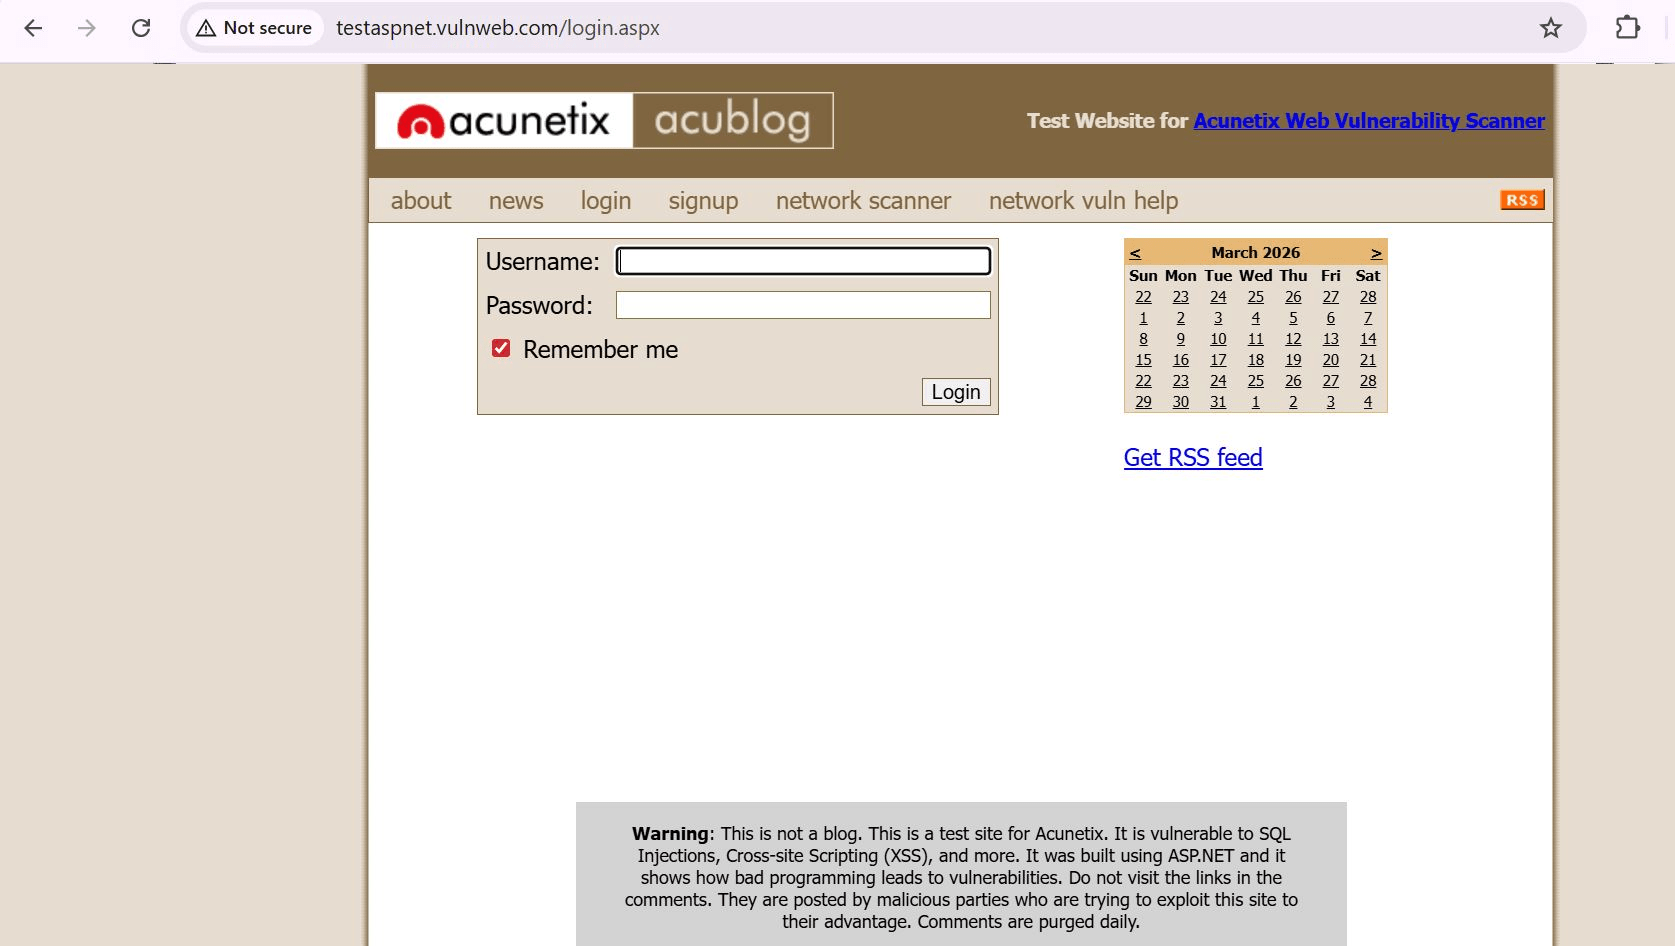
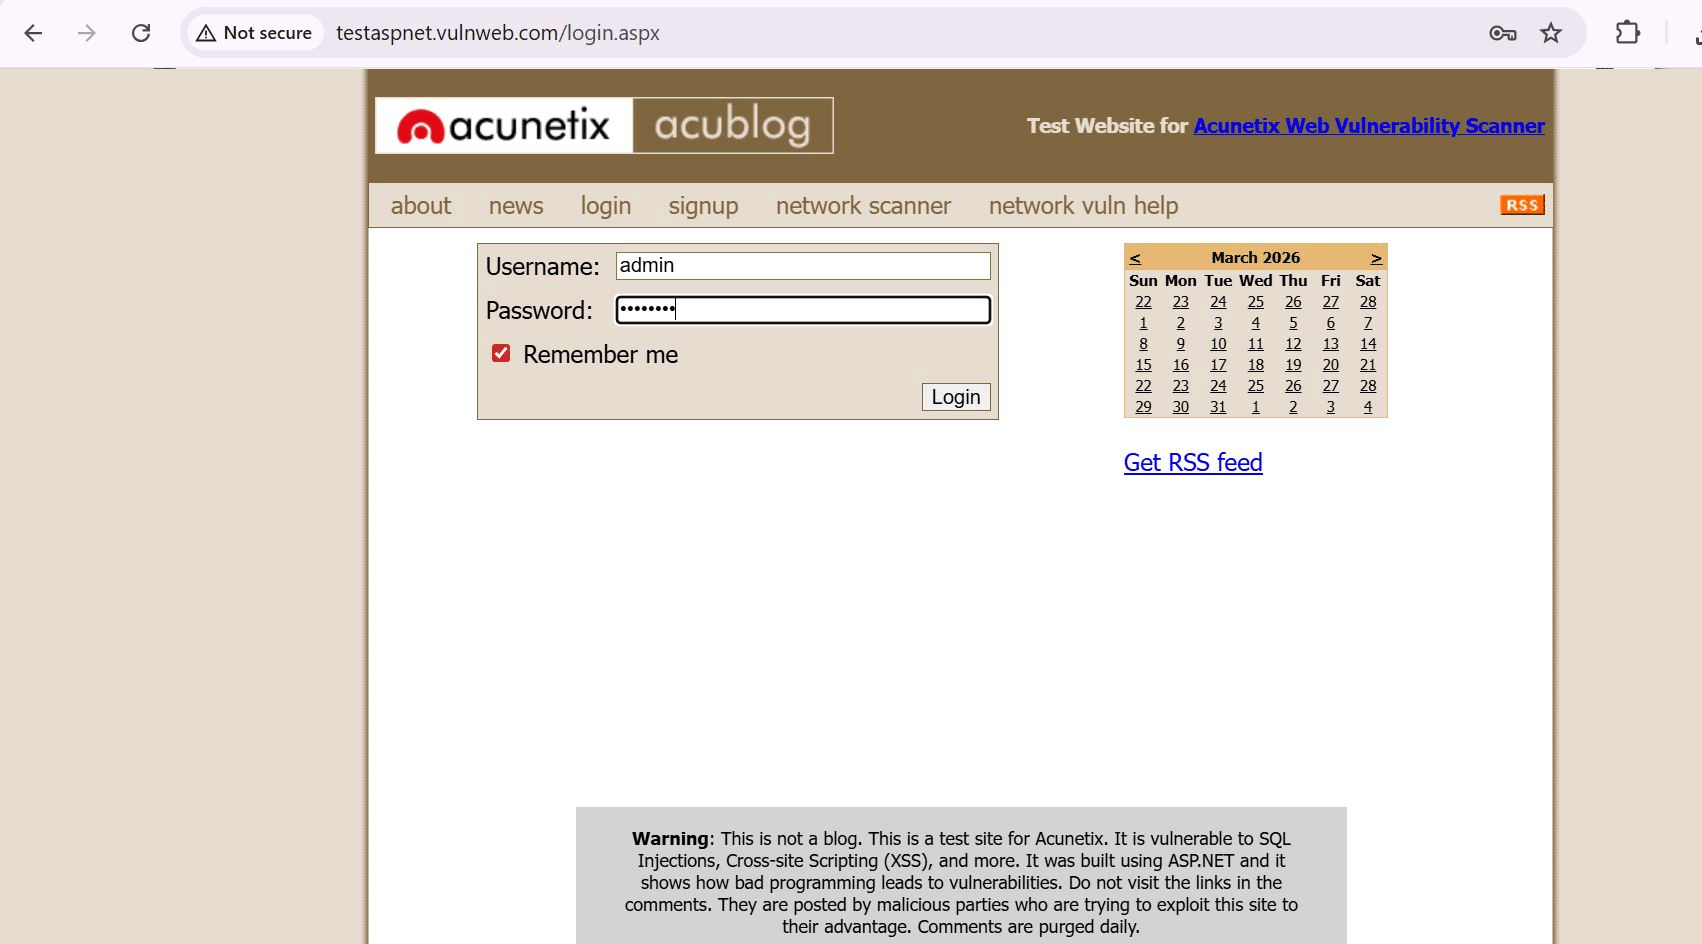
Enter Username and Password
b
Observe:
-
Plain text requests
-
GET request visible
-
No encryption
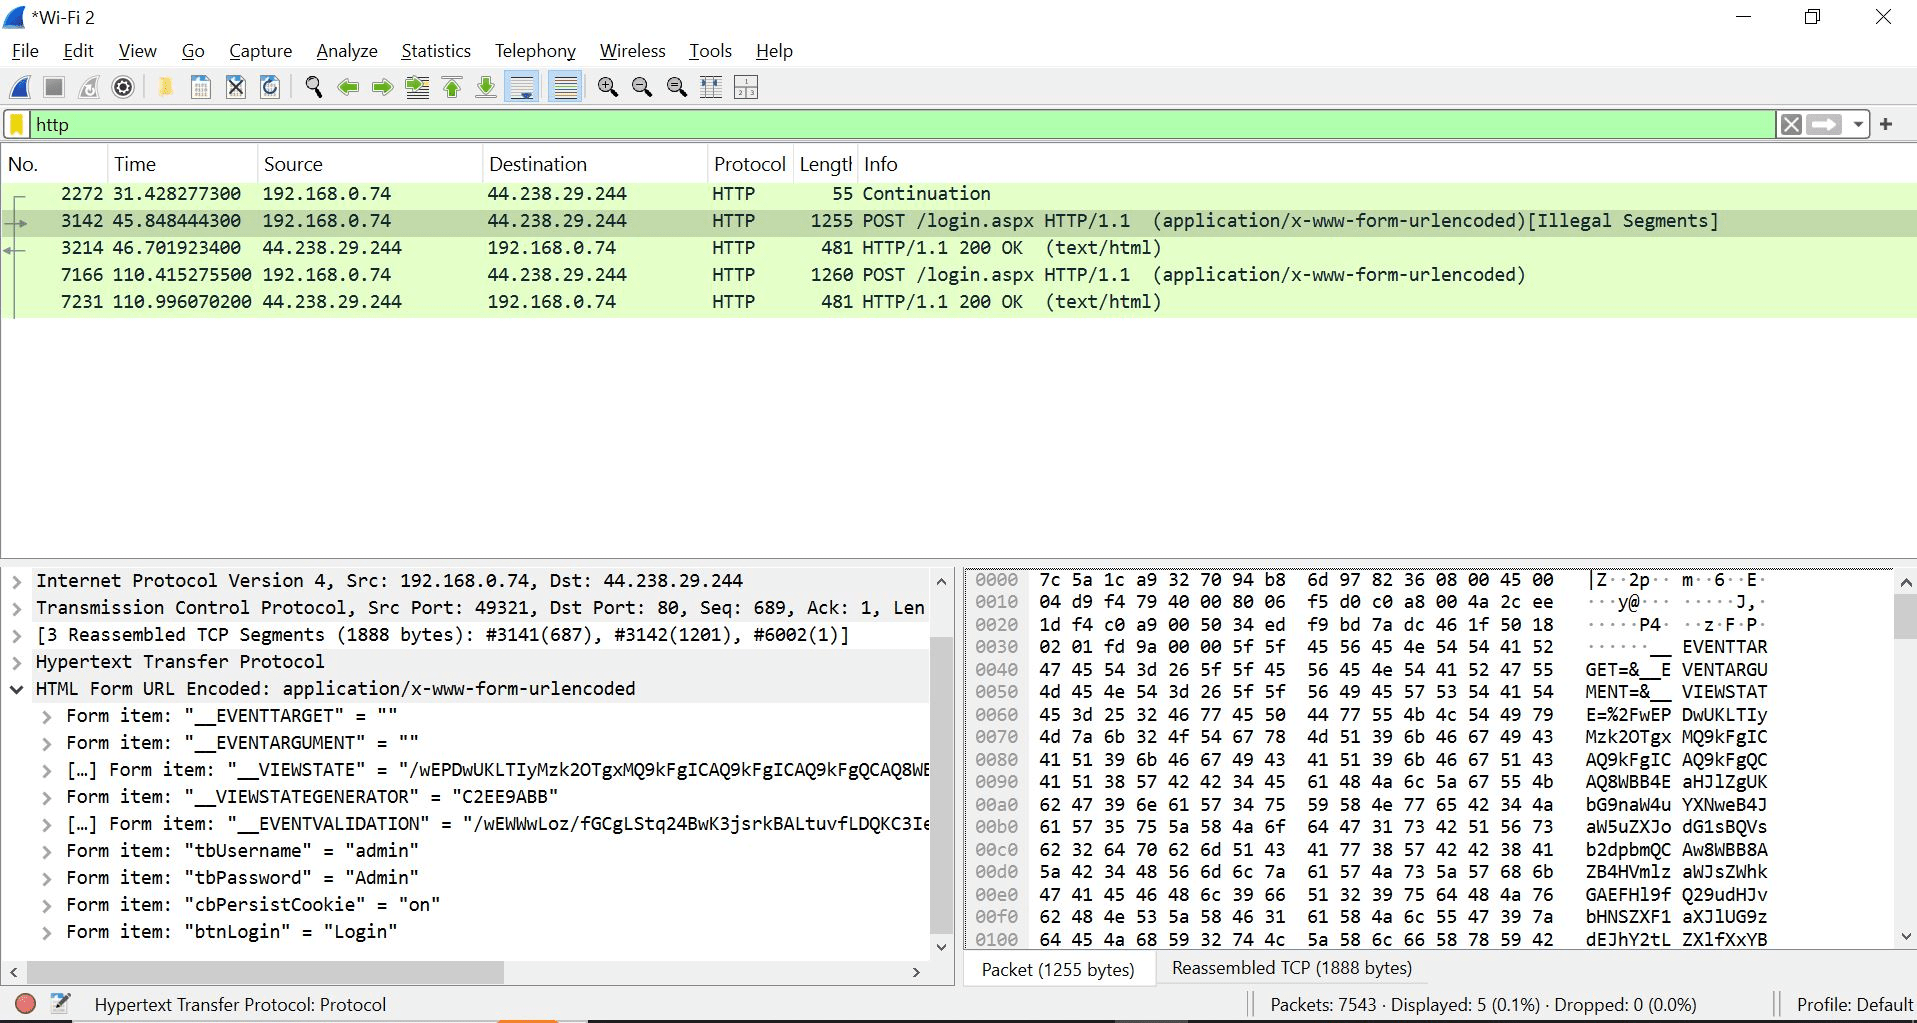
Open the Wireshark In filter search - http
Visit HTTPS Site
2
Open Website : https://google.com
a
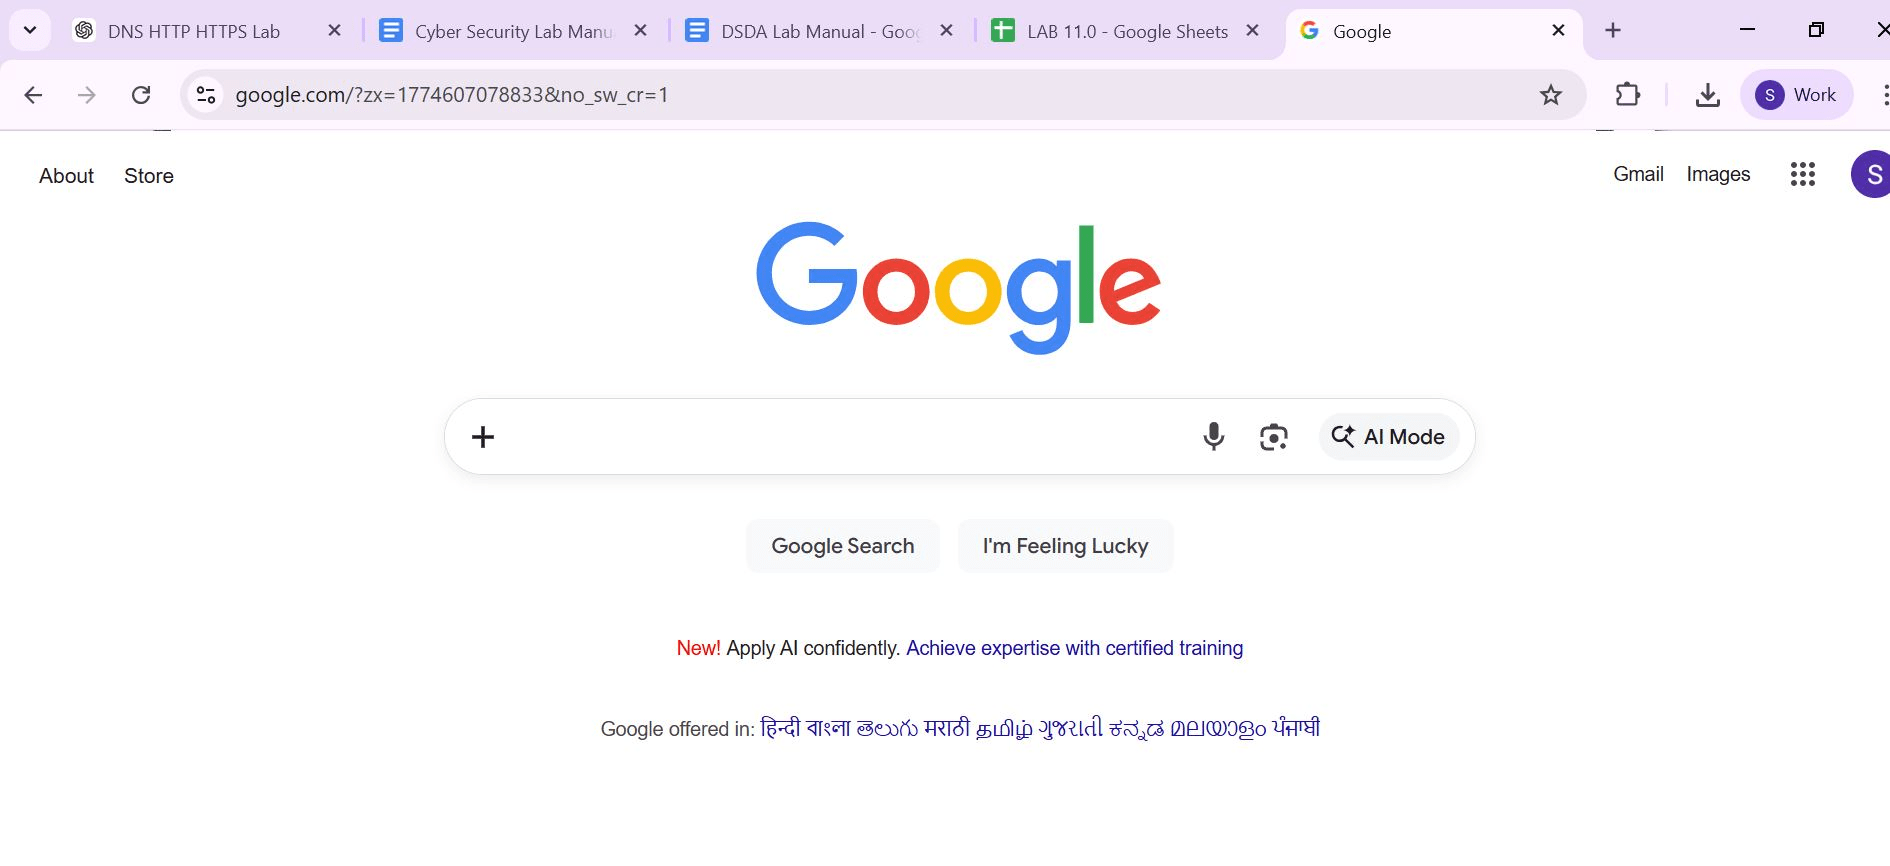
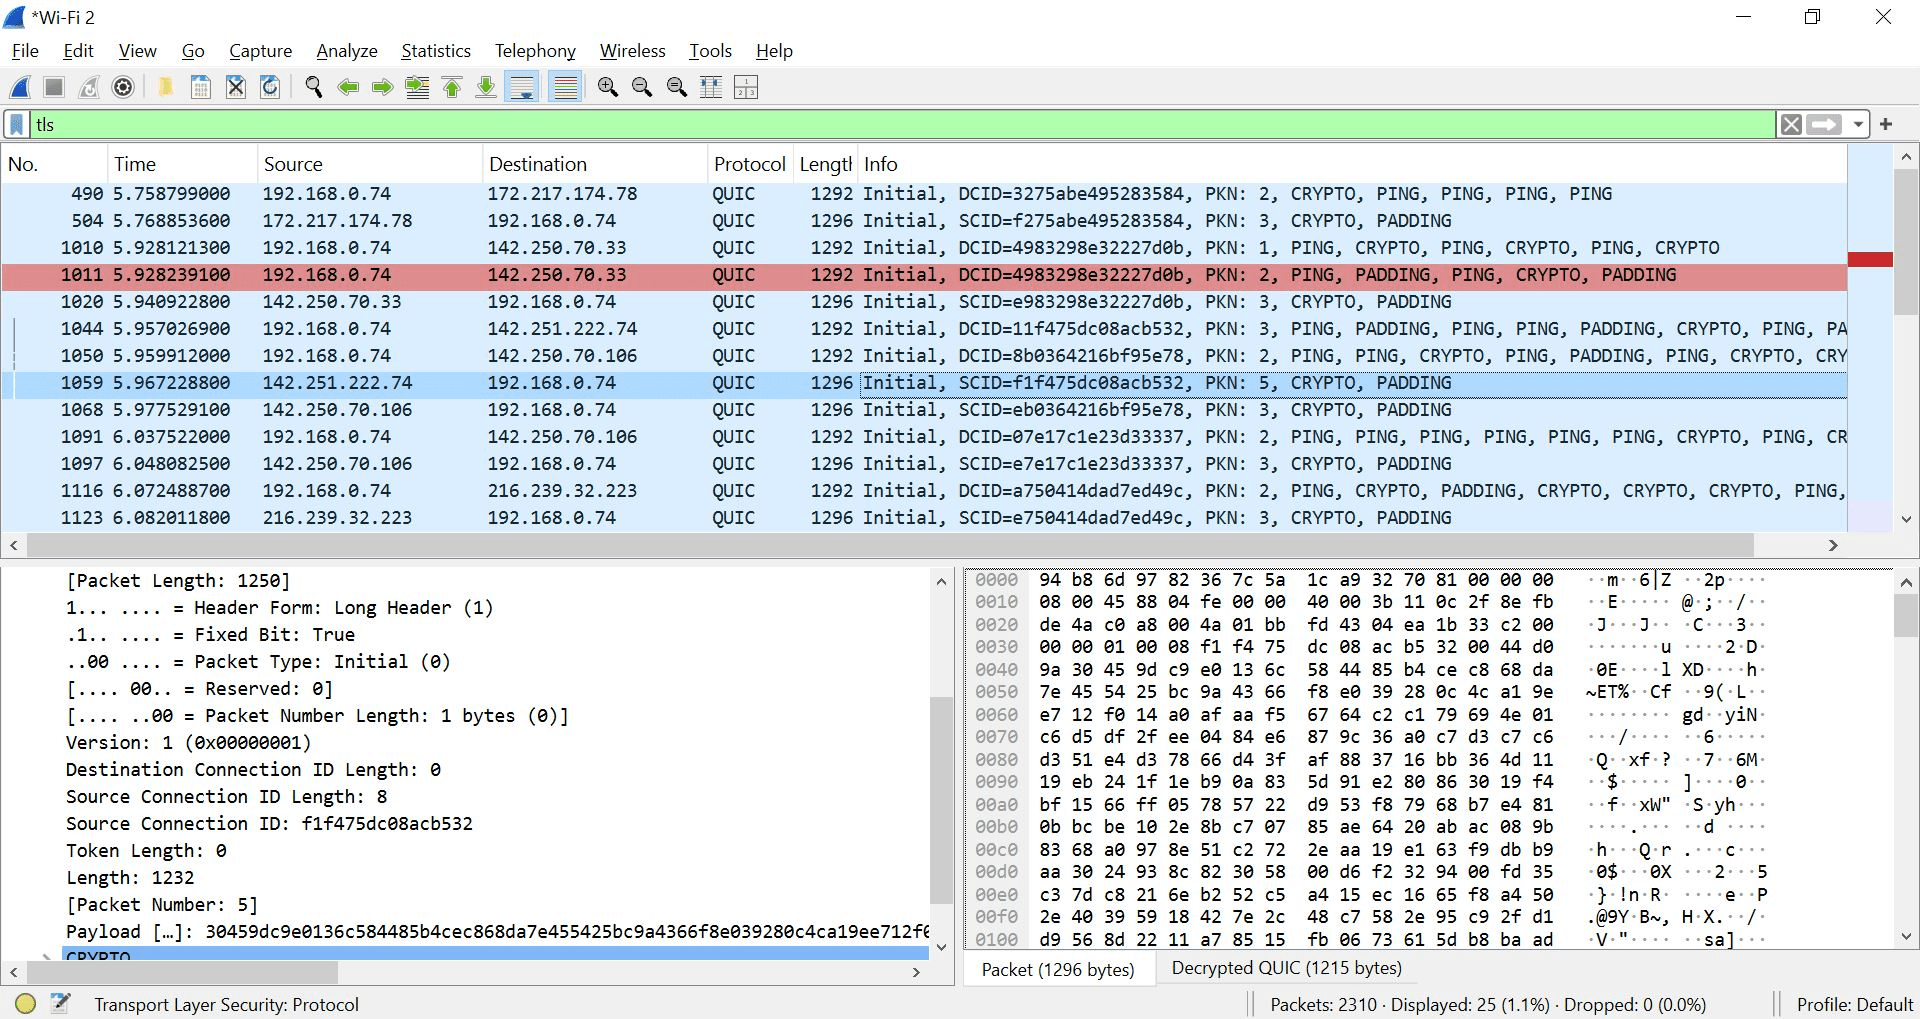
Open the Wireshark and Apply filter: tls
b
Observe:
-
TLS handshake
-
Encrypted packets
-
No readable content
Great job!
You have successfully completed your lab on DNS and Secure Web Communication.
In this lab, you have: Understood DNS Resolution (Domain → IP), Used nslookup and ping tools, Captured traffic using Wireshark, Compared HTTP (Insecure) vs HTTPS (Encrypted) communication
You are now ready to move to the next stage of Network Security Analysis
Checkpoint
Next-Lab Preparation
Topic : Core Internet Technologies
1) TCP/IP And OSI Model
2) Ports and common network protocols