Initiating SkyReserve System with Development Setup & Workflow Design

Business Scenario
Welcome Developers!

In the previous lab, we installed the Java Development Kit (JDK), which gave our computer the ability to understand and execute Java programs.
However, writing Java code directly in the Command Prompt is not convenient for building real-world applications.
Your next task is to set up a professional development environment using Eclipse IDE. Once the setup is complete, you'll write and execute your very first Java program—Hello World!—marking the beginning of your software development journey.

Pre-Lab Preparation
Topic :
1) Getting Started with Java
2) Java Architecture
3) Mastering Java Setup
4) Getting Started: Your First Java Program
git pull origin branchName
Git Pull
Task 1: Installation of Eclipse
Before installing eclipse, create a new folder “My Java Projects” on desktop (or anywhere else). This is called as workspace. We will store all the Java Projects in this folder
1
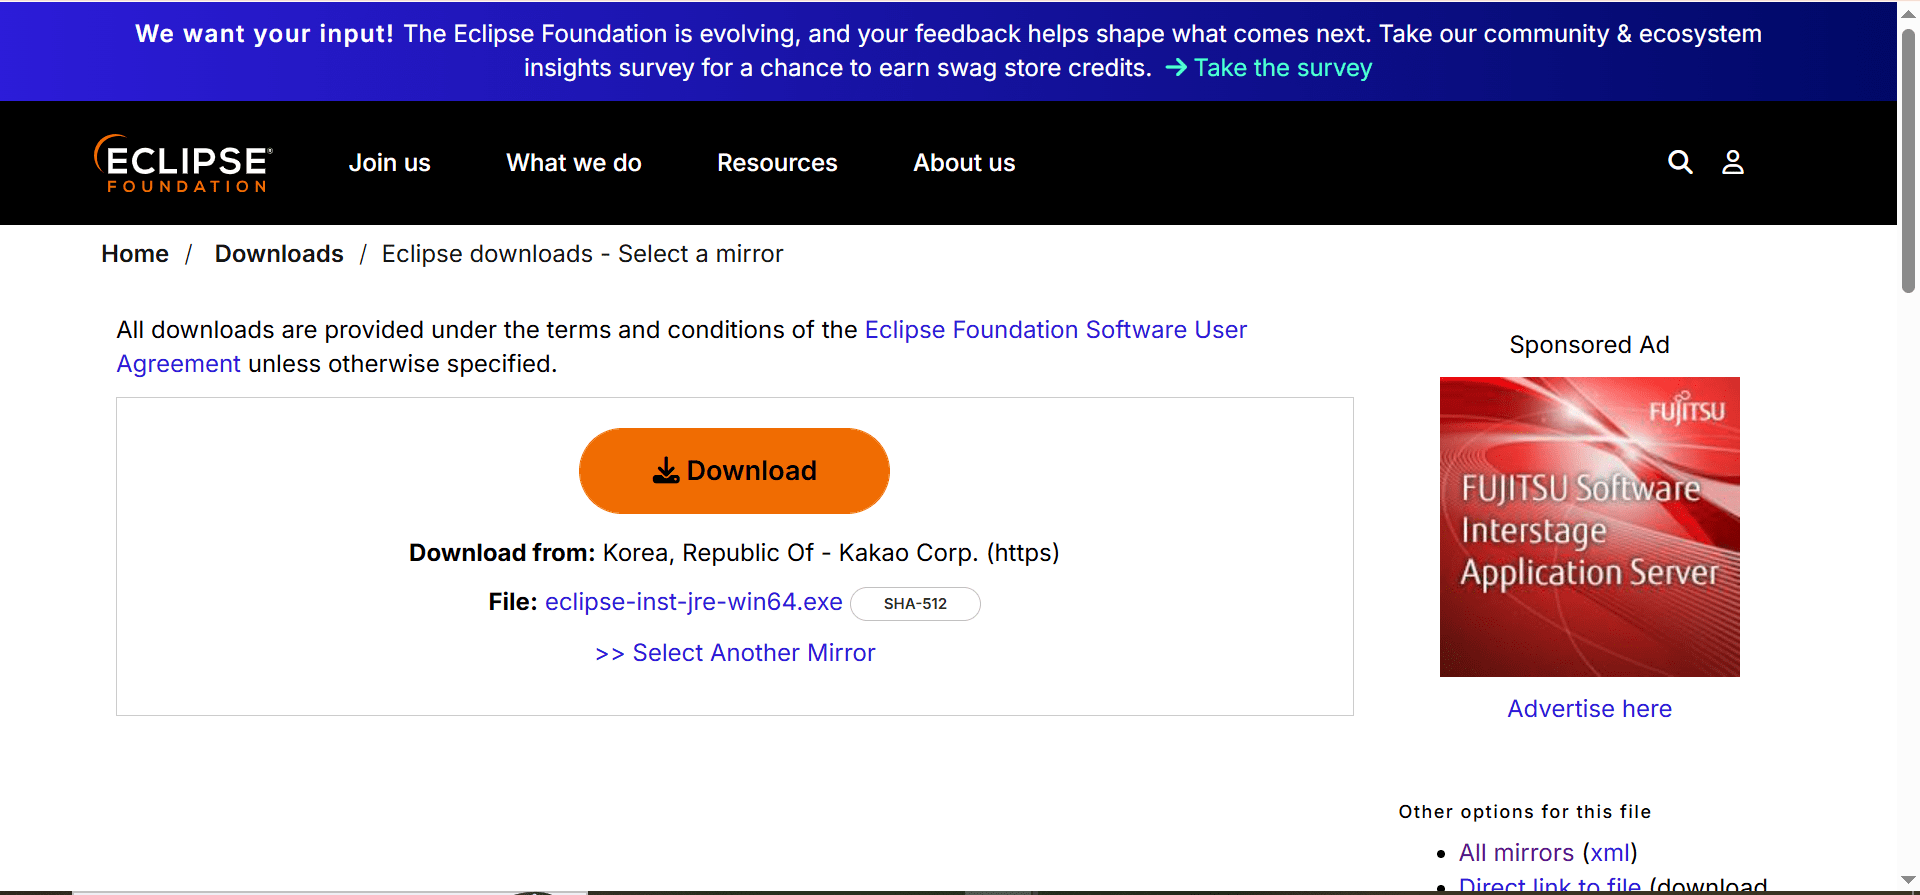
Download Eclipse : Go to the official website of Eclipse and download it.
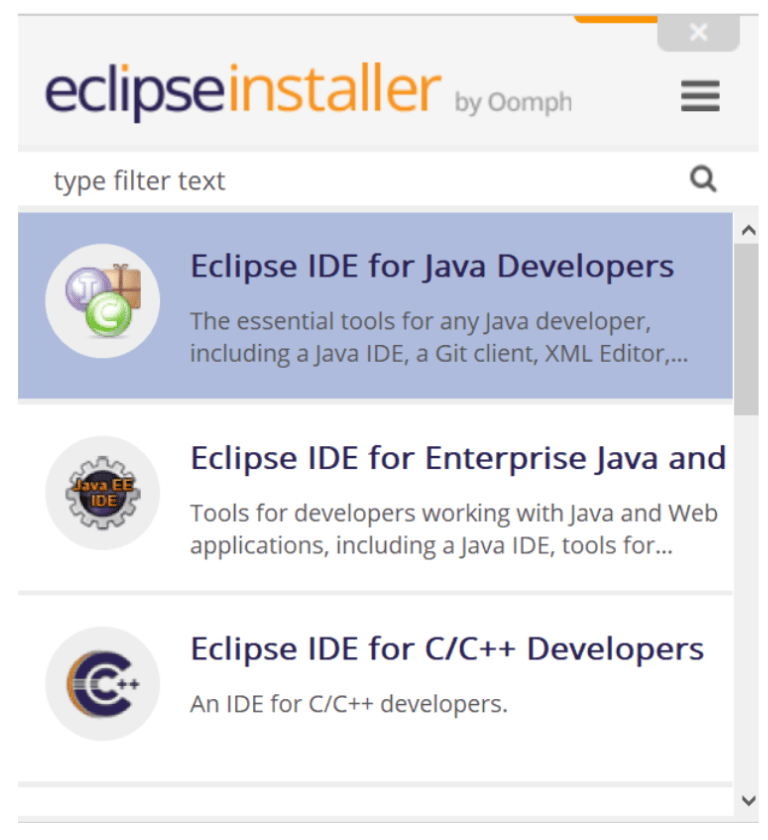
Go to downloads and run the downloaded installer and Select the first option “Eclipse IDE for Java Developers”
3
2
2
2
In the next window, click on “Install”.
Wait for the progress bar to complete the installation.
Once installation is complete, it will show “Launch” option. Click on Launch
2
4
2
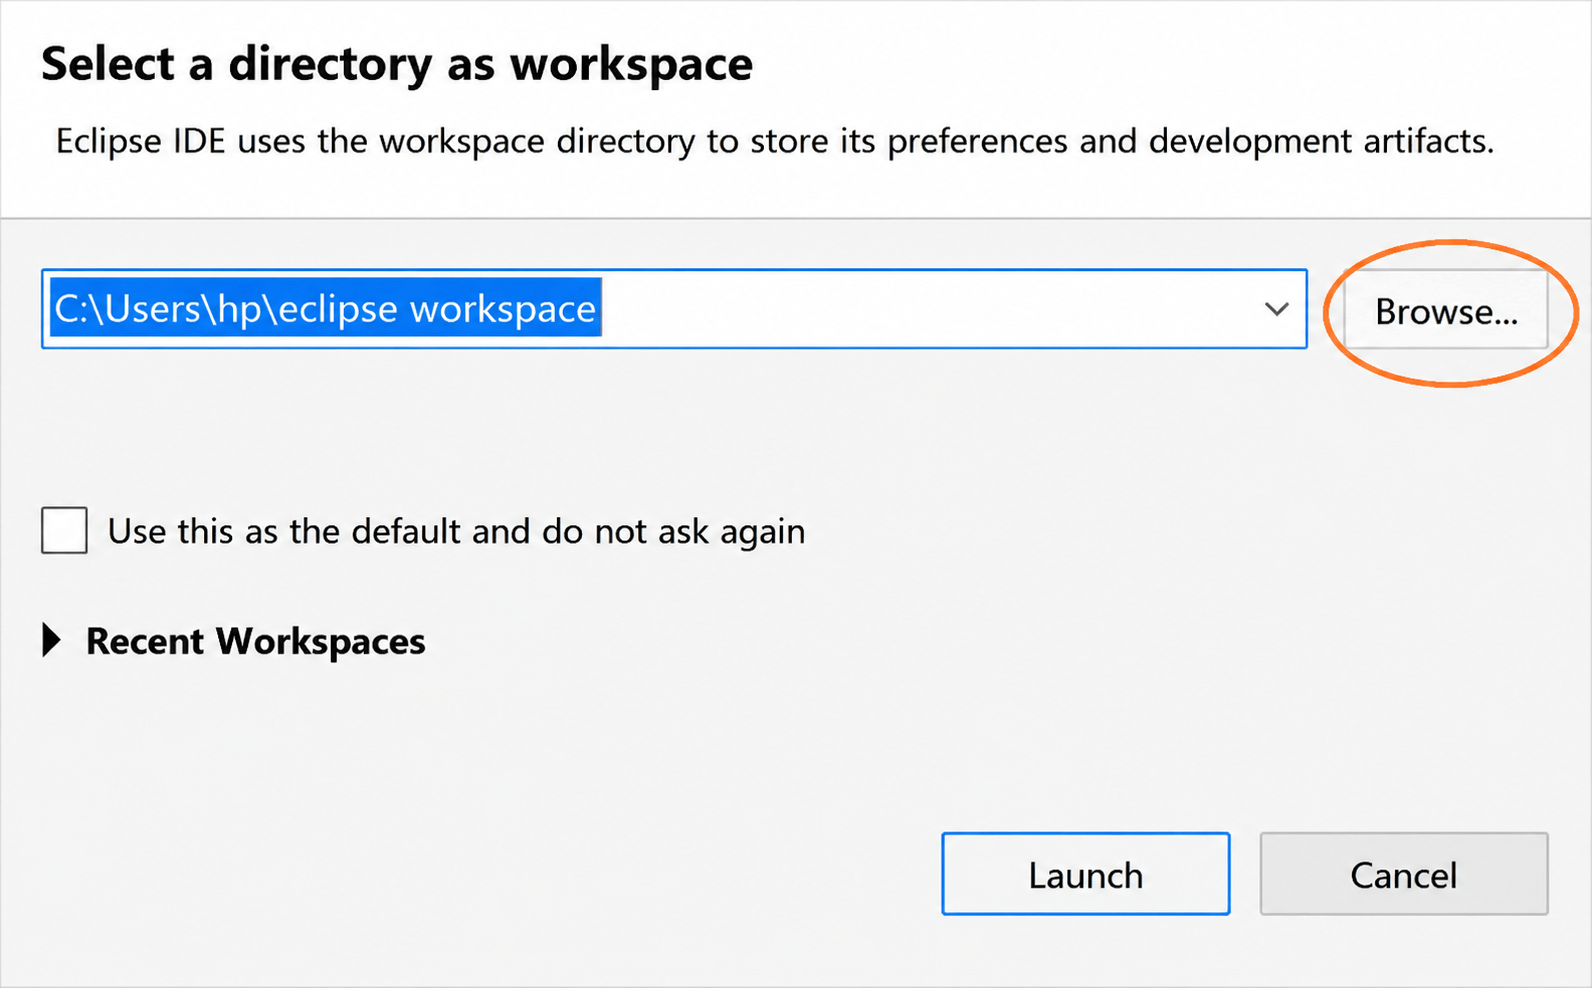
Click on browse and select “My Java Projects” from desktop and Click on Launch.
The Eclipse will open in this folder
5
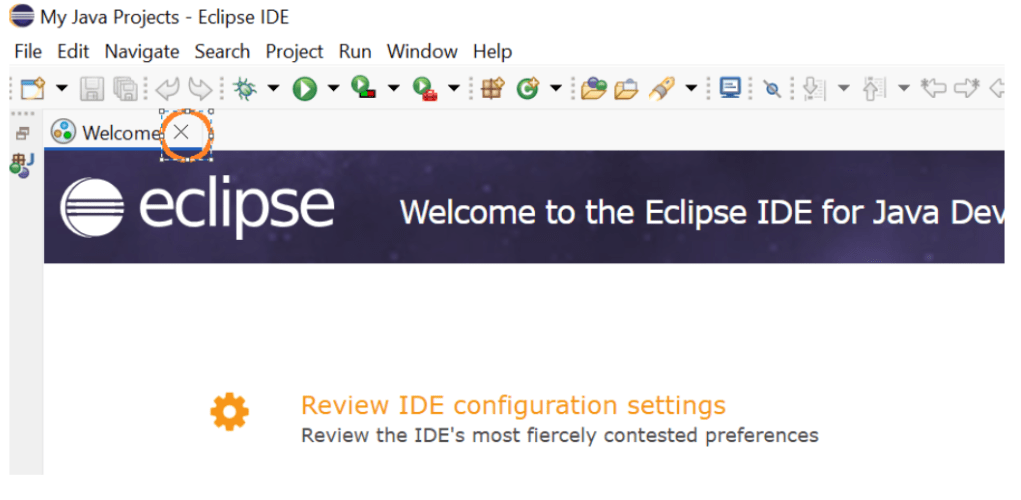
Click on close, besides Welcome
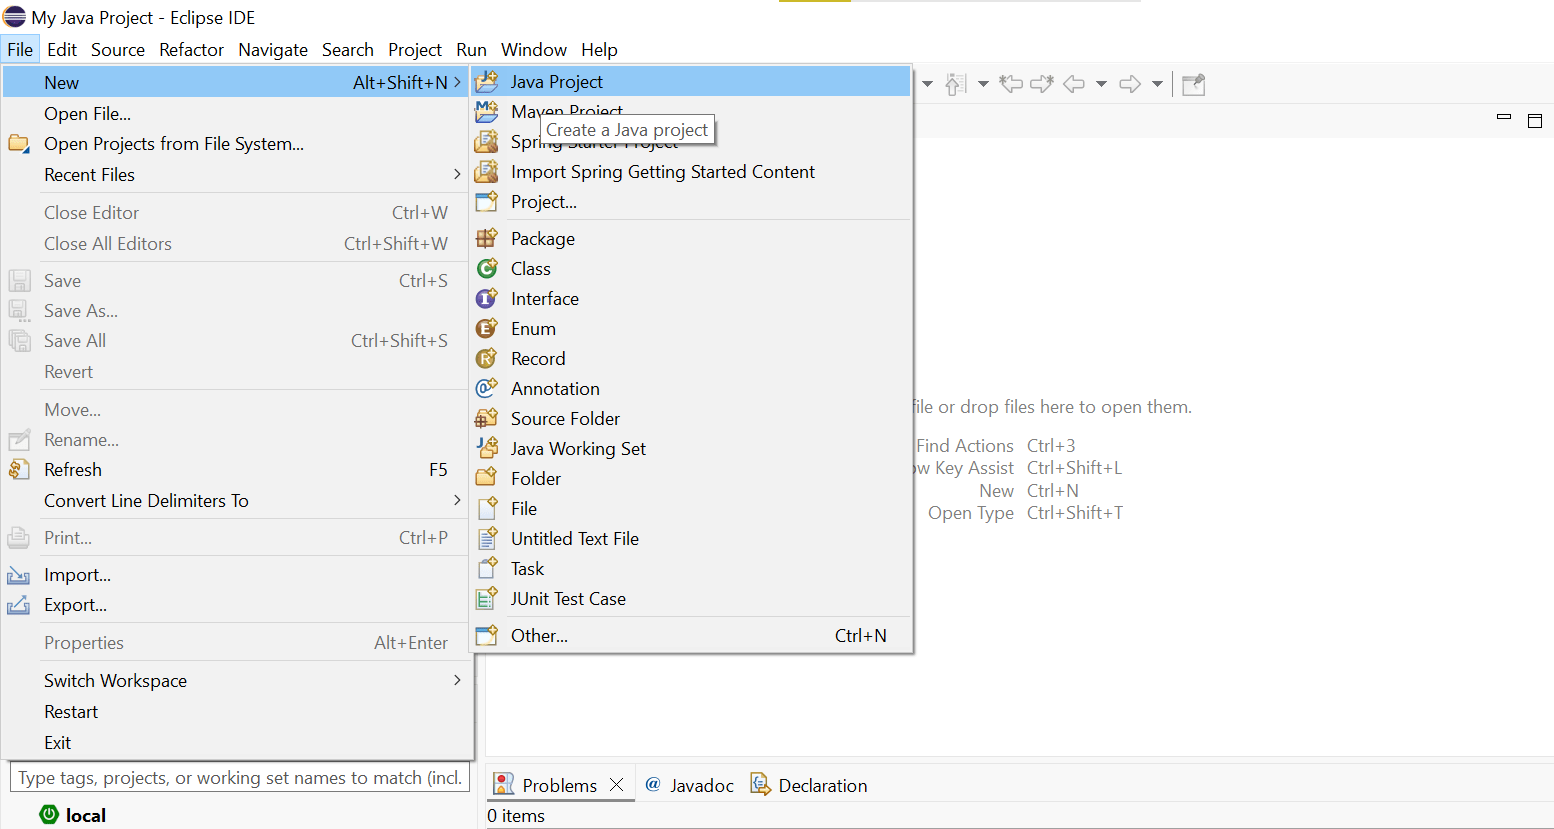
Task 3: Creating the first project
Open Eclipse -> Click on File -> New -> Java Project
1
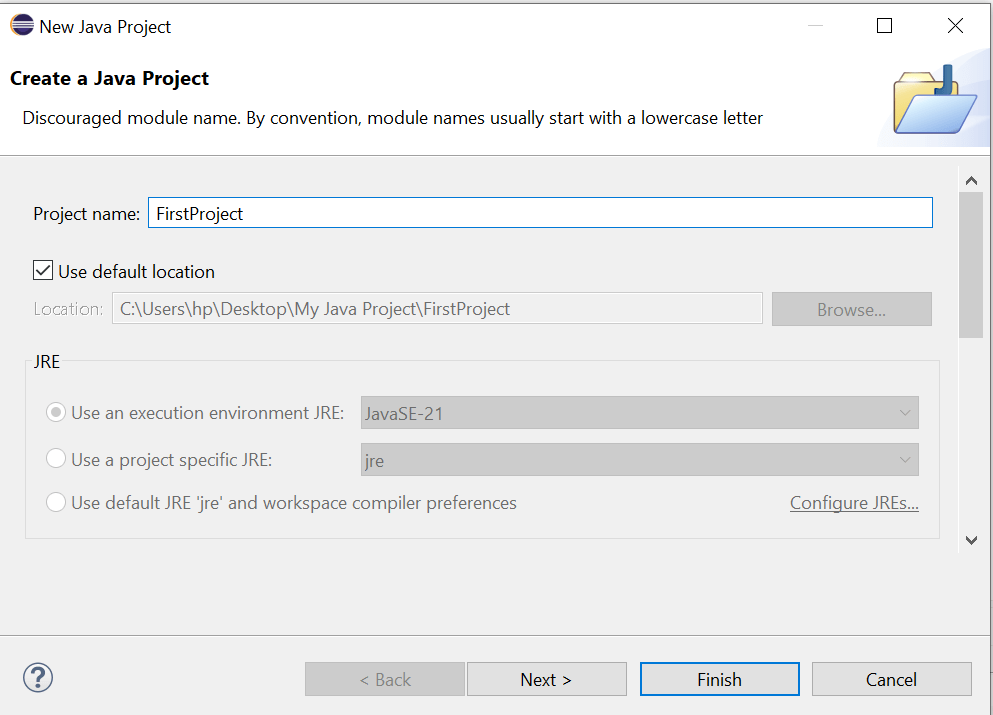
Enter the project name “FirstProject” and click on finish
2
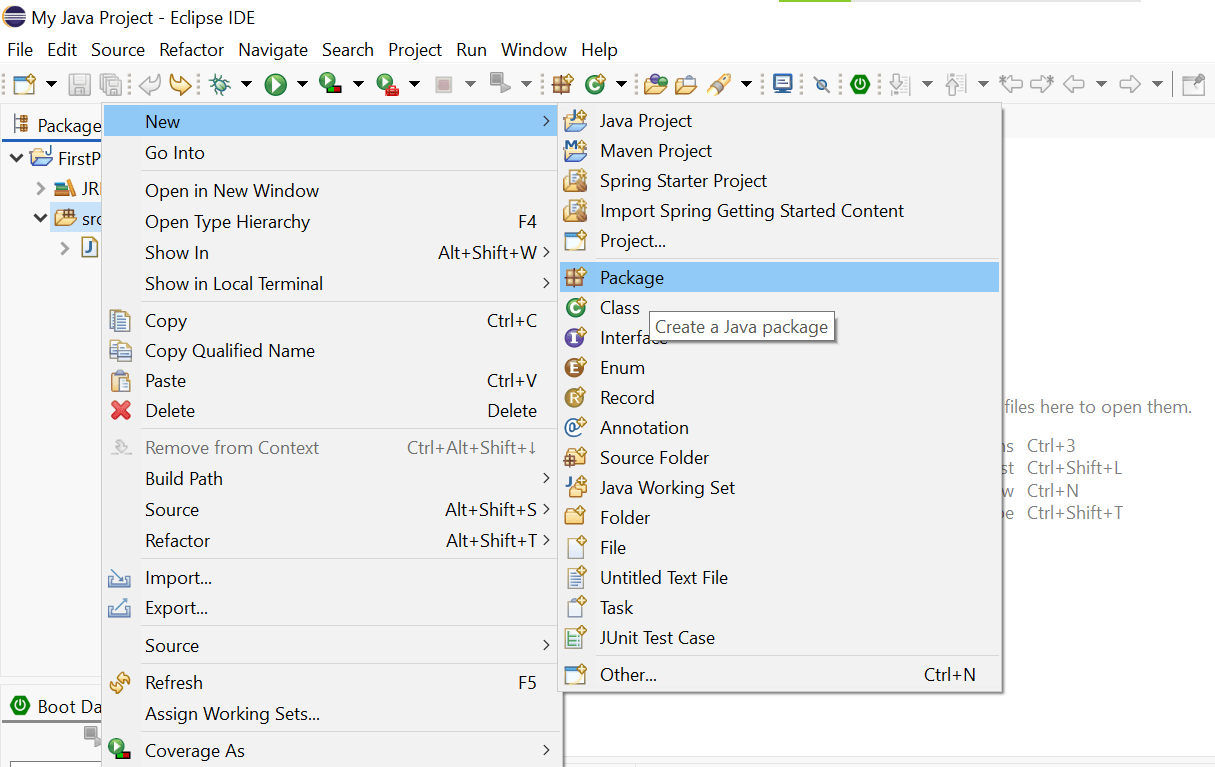
Right click on src and click on new -> package.
3
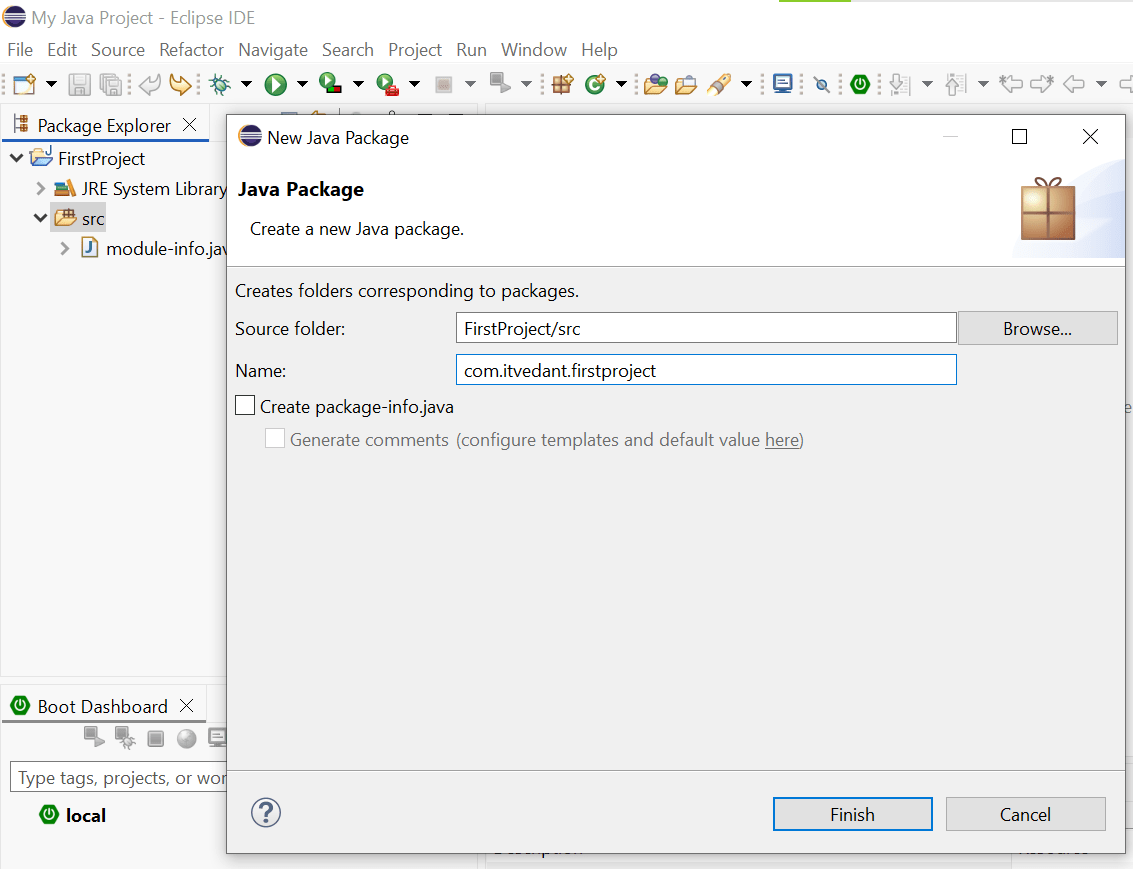
Enter package name “com.itvedant.firstproject”
4
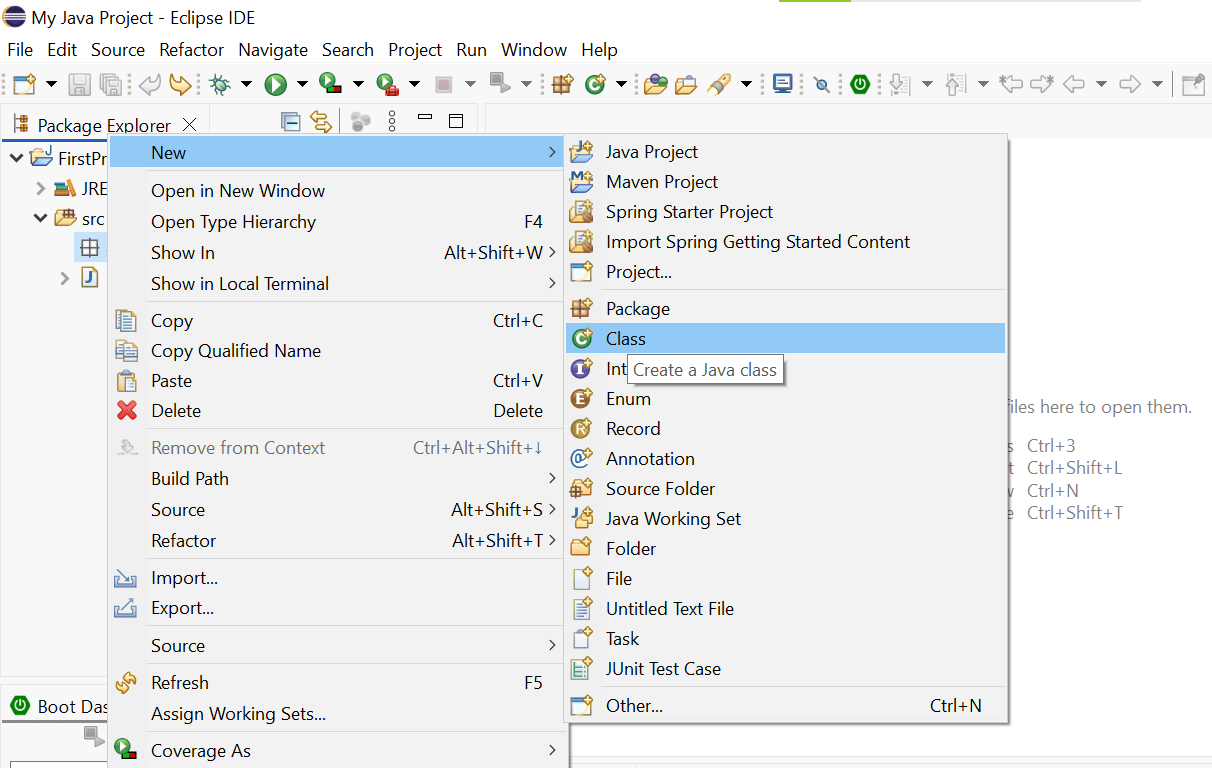
To create a new class, right click on package -> new -> class
5
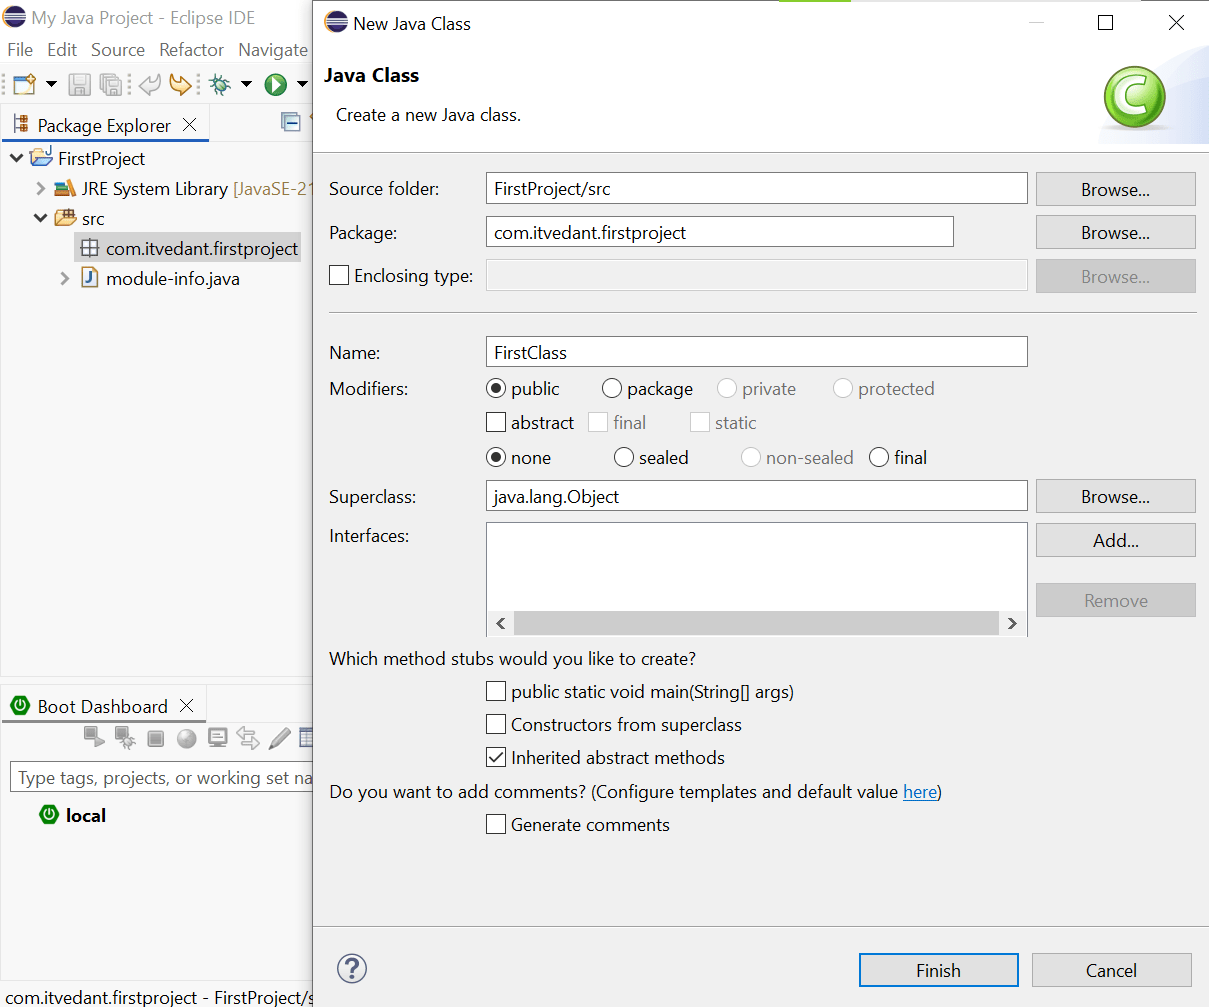
Enter the class name as “FirstClass” and click finish
6
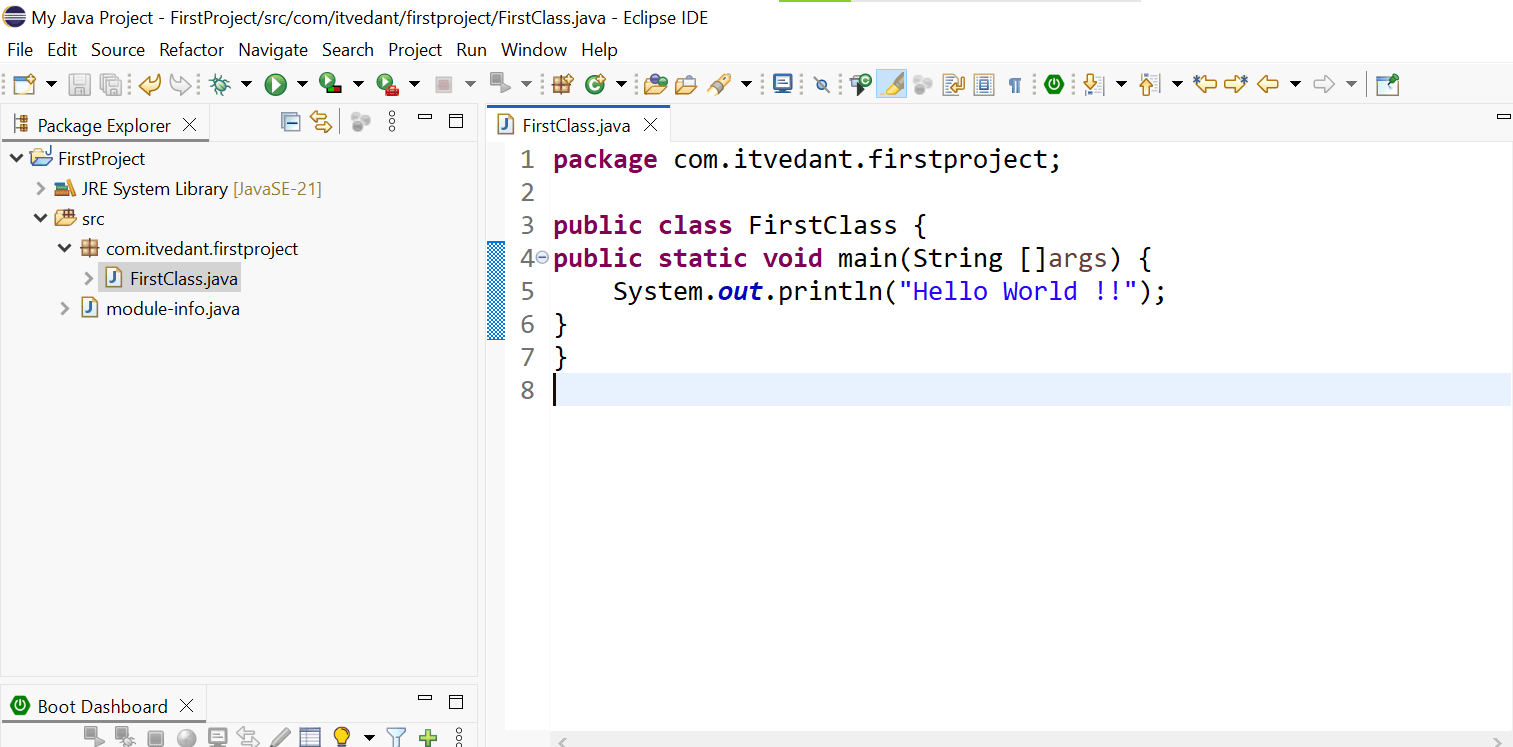
Within the class, define the “main” method as shown below and within main method,
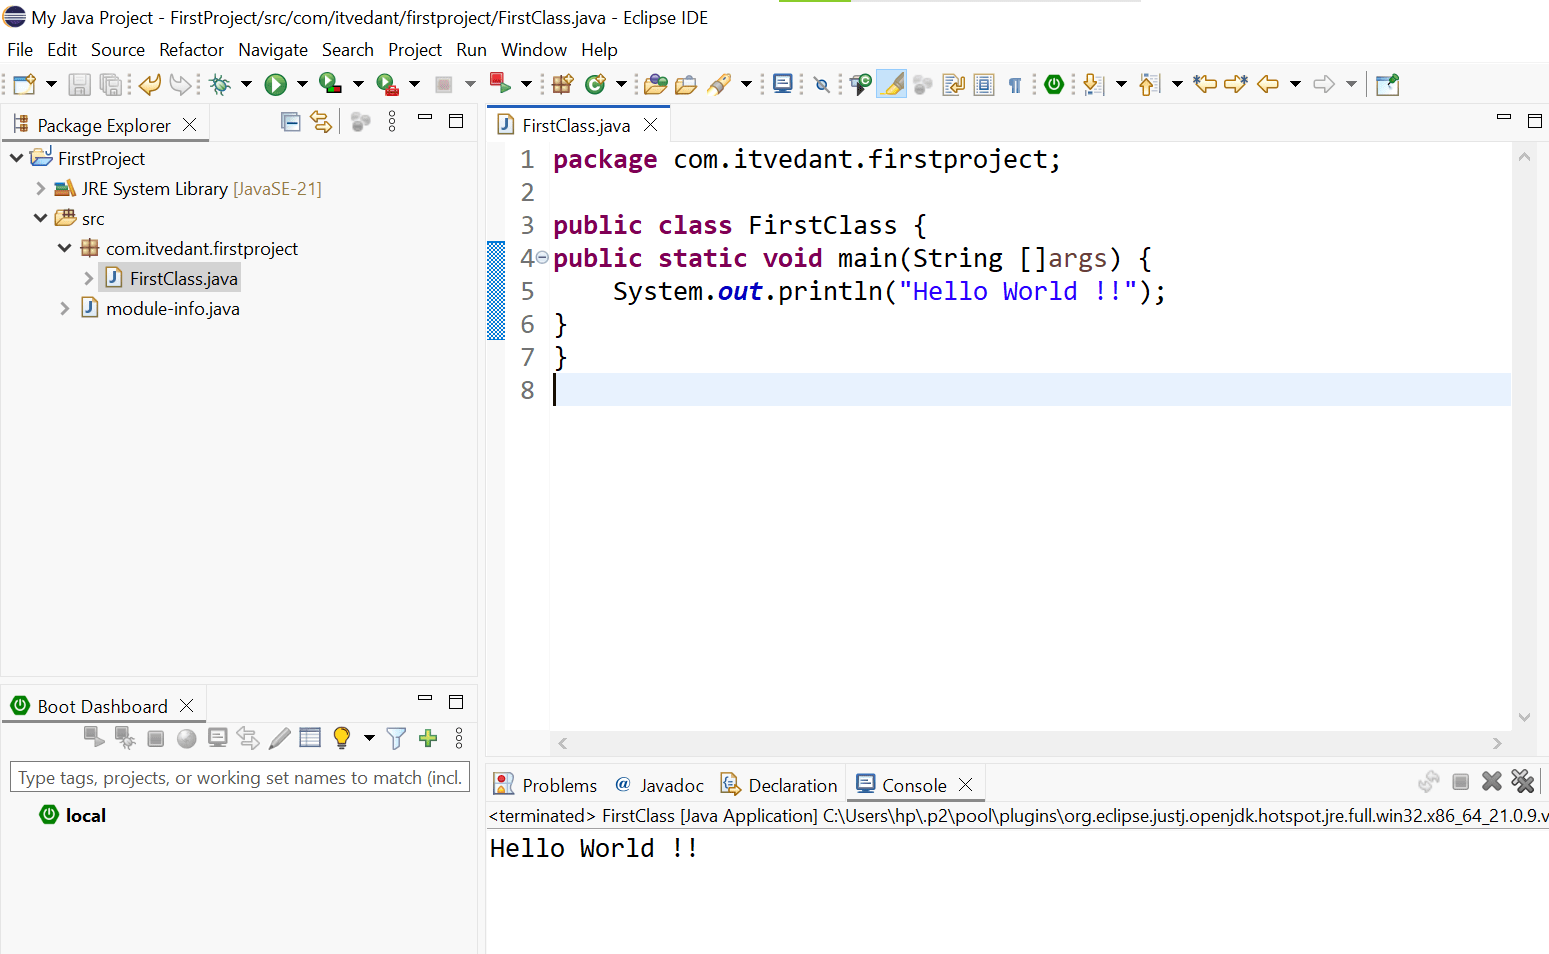
write the “System.out.println” to display the message and click on run button
6
Output :
7
Great job!
You have successfully configured your Java development environment and executed your first Java program. Your SkyReserve project is now ready for the exciting development journey ahead.
Checkpoint
Git Push
git push origin branchNameNext-Lab Preparation
Topic : Java Essentials
1) Data Types, Variables, and Literals