Jenkins Infrastructure Setup for CartForge CI/CD Pipeline

Business Scenario
At CartForge, after deciding to implement CI/CD automation, the next challenge was building the right infrastructure to support it.
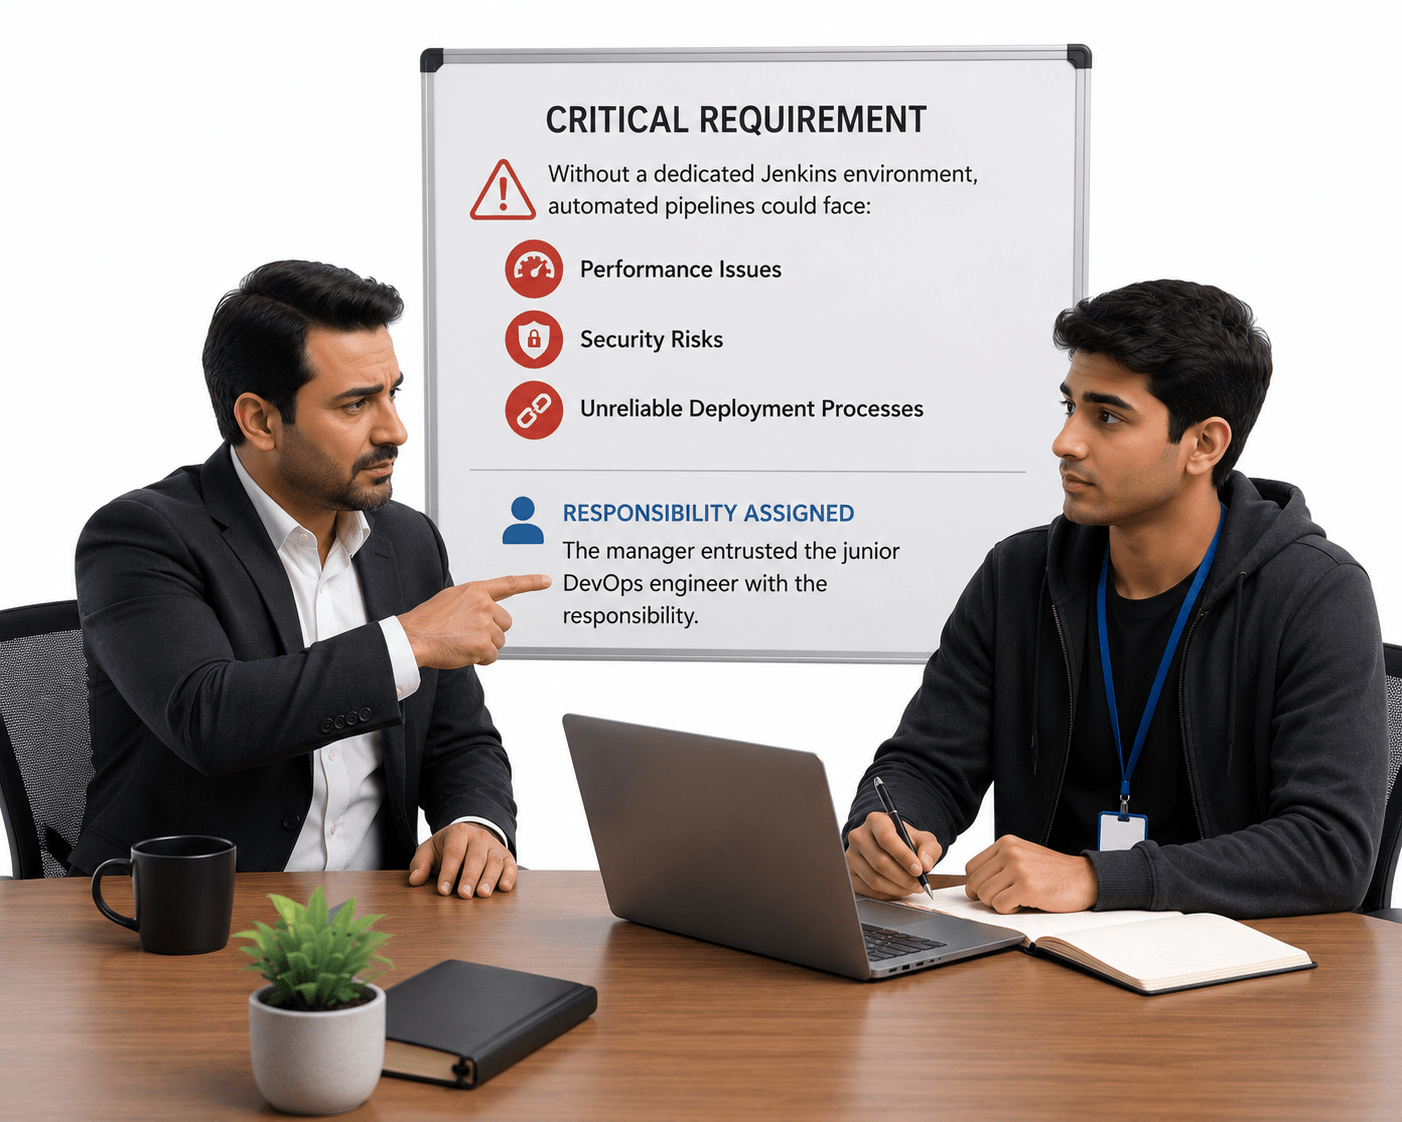
The manager identified a critical requirement:
Without a dedicated Jenkins environment, automated pipelines could face performance issues, security risks, and unreliable deployment processes.
He entrusted the junior DevOps engineer with the responsibility.

After assessing the system requirements, the DevOps engineer proposed the ideal solution:
Set up a dedicated Jenkins infrastructure with secure server provisioning, proper access controls, and optimized configurations to support scalable CI/CD operations.

The DevOps engineer then presented the strategy to the team:
By establishing a strong Jenkins infrastructure, CartForge could ensure reliable automation, secure pipeline management, faster software delivery, and a solid foundation for continuous deployment success.

Pre-Lab Preparation
Before starting, you should understand:
-
Basic Jenkins setup and access
-
What is CI/CD pipeline
-
Basic Linux commands
-
SSH connectivity
-
What is a server and how services run
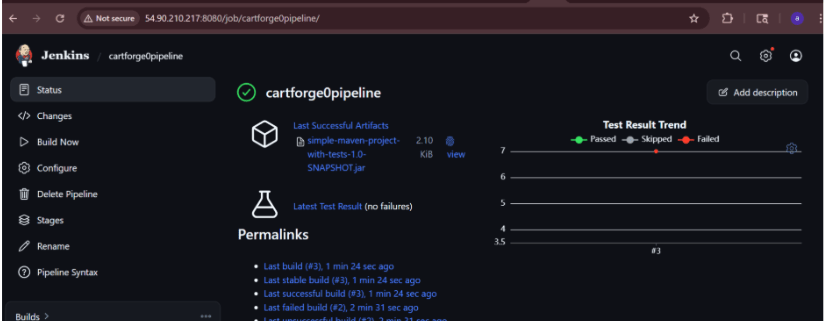
Task 1: Manage CartForge CI/CD via Jenkins Dashboard
Access Jenkins
1
Open browser:https://your-public-ip:8080
Dashboard Overview
You will see:
-
Jobs (your pipelines)
-
Build history
-
Status (Success/Failure)
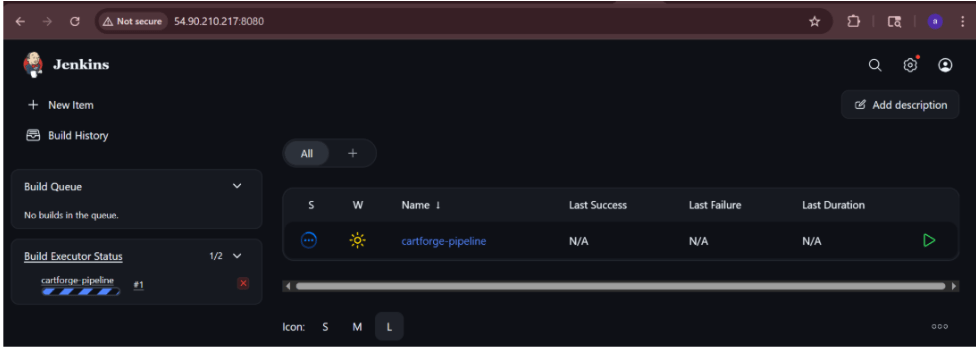
Open Your Project (Click:cartforge-pipeline)

2
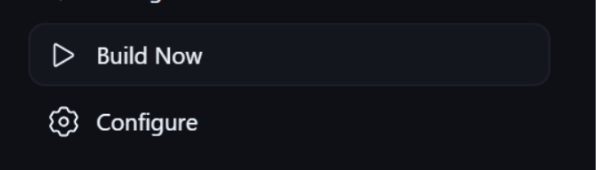
Run Build
Click:Build Now

3
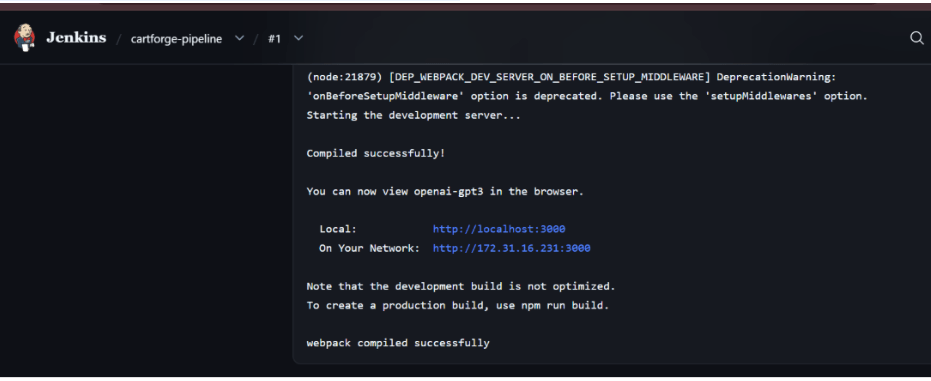
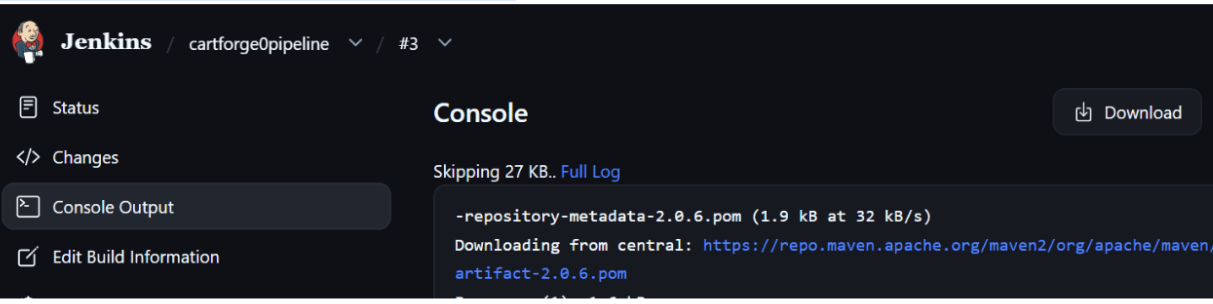
Check Logs
Click build number → Console Output
Task 2: Configure Jenkins Agent (Distributed Build)
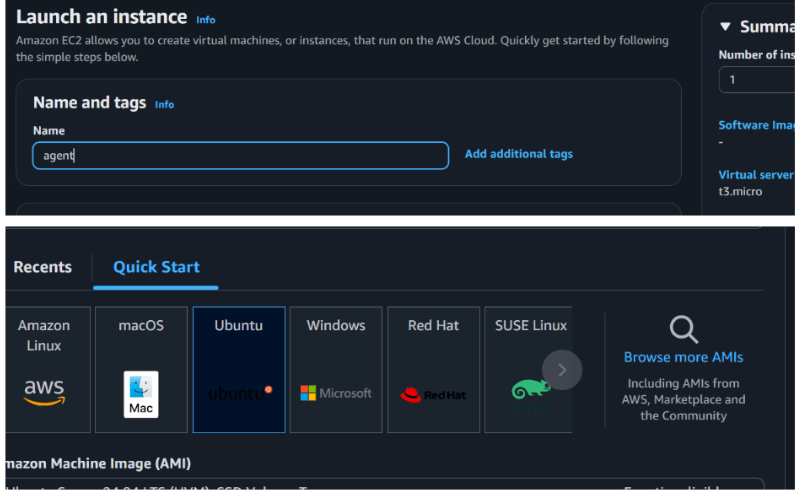
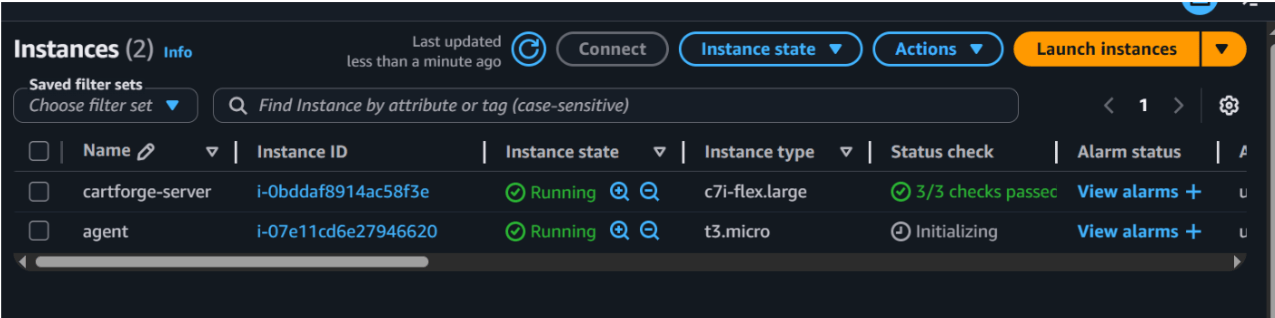
1
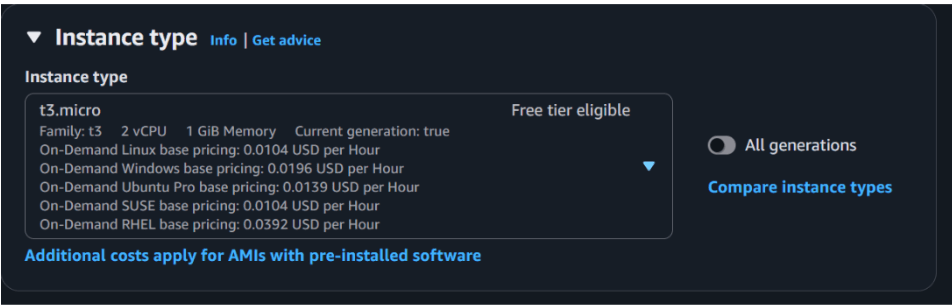
Launch New EC2 Instance
Create a new instance:
-
Name: jenkins-agent
-
AMI: Ubuntu
-
Instance type: t2.micro
Allow port:
-
SSH (22)
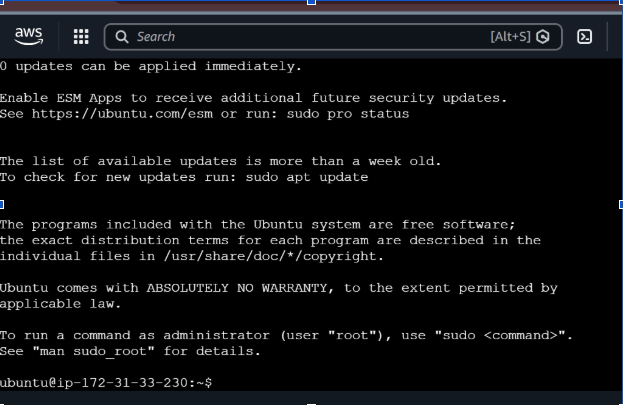
2
Connect to Agent Server
ssh -i key.pem ubuntu@agent-ip
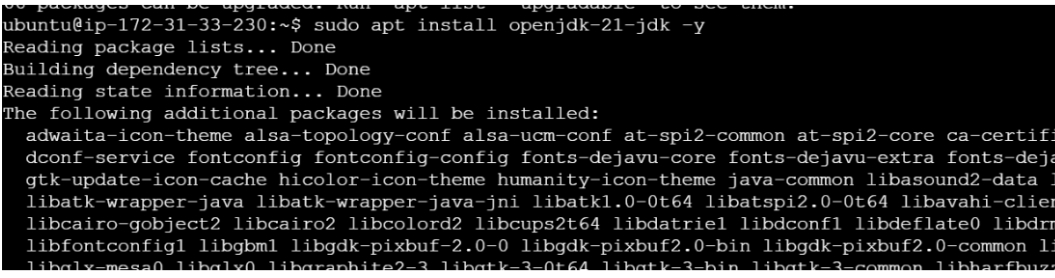
3
Install Java on Agent
sudo apt update
sudo apt install openjdk-21-jdk -y
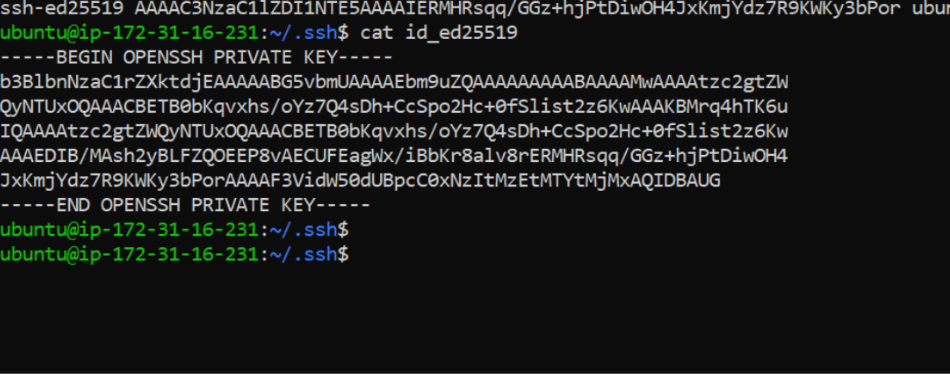
In your master type
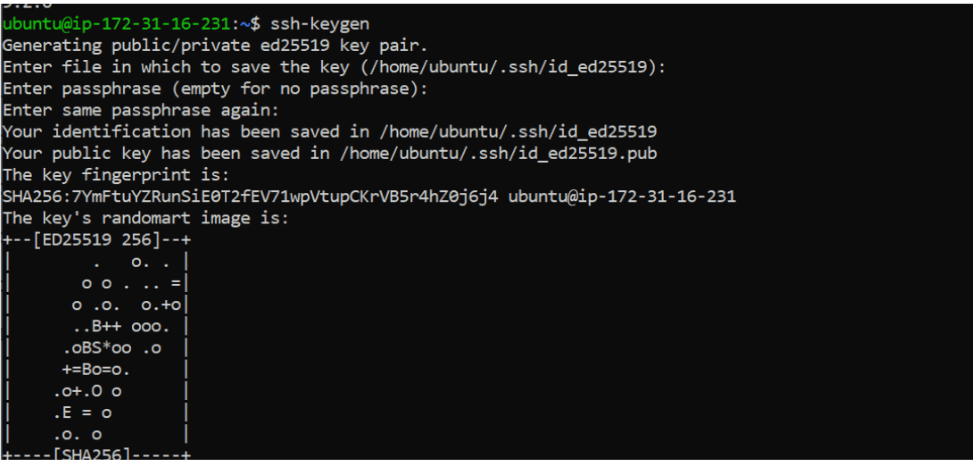
ssh-keygen
Now Add these eky in your agent server
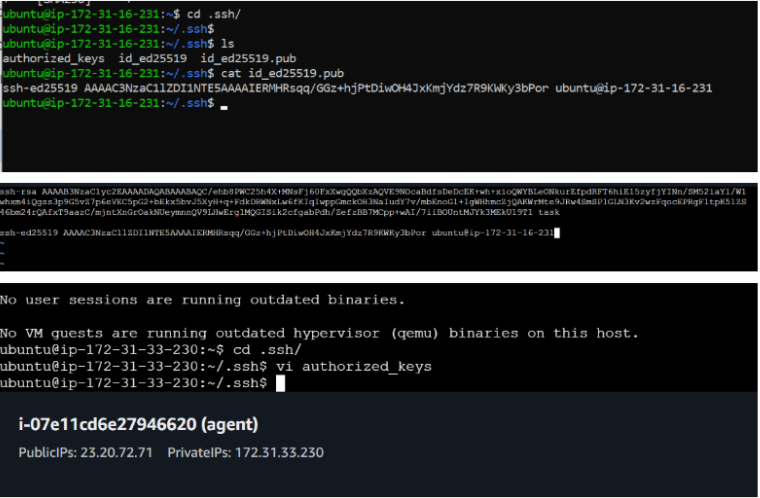
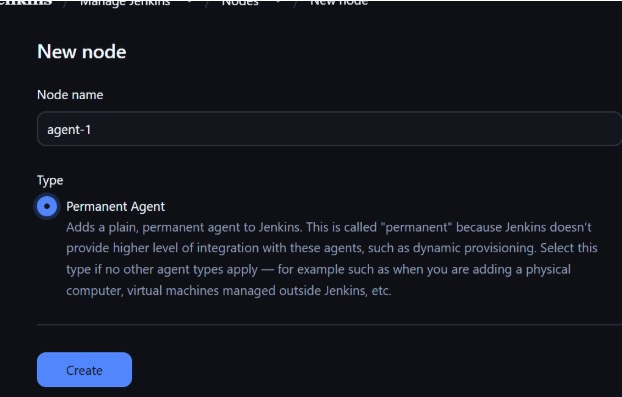
4
Configure Agent in Jenkins
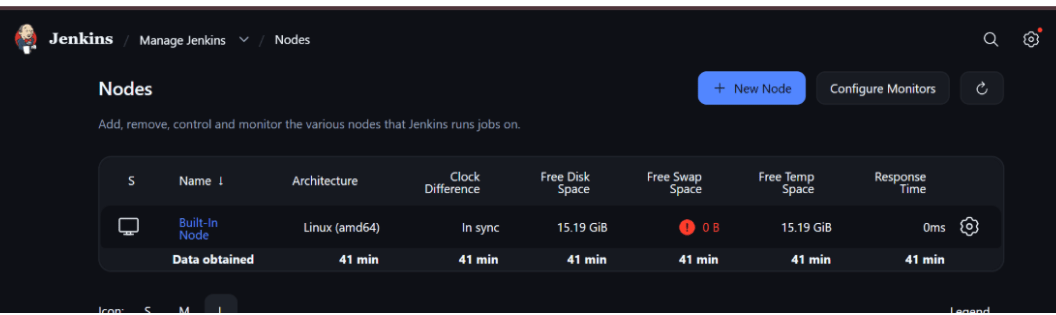
Go to Jenkins Dashboard:
-
Manage Jenkins
-
Nodes
-
New Node
Create Node
-
Name: agent-1
-
Type: Permanent Agent
Configure Details
-
Remote root directory: /home/ubuntu
-
Labels: linux-agent
-
Usage: Use this node as much as possible

Launch Method
-
Launch agents via SSH

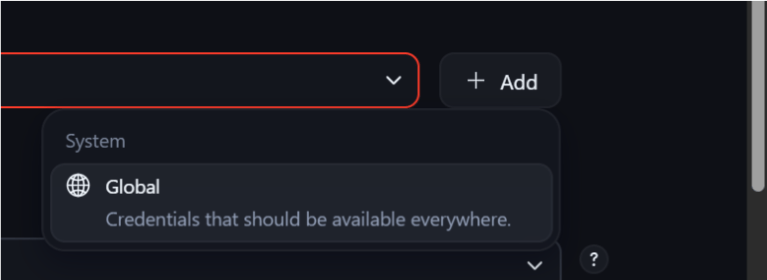
Add Credentials
-
Add SSH credentials
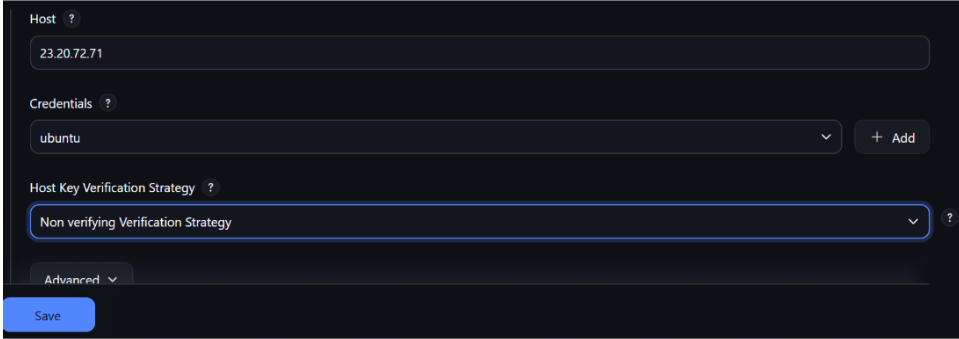
-
Username: ubuntu
-
Private key: paste key content
Save configuration
5
Connect Agent
Jenkins will automatically try to connect
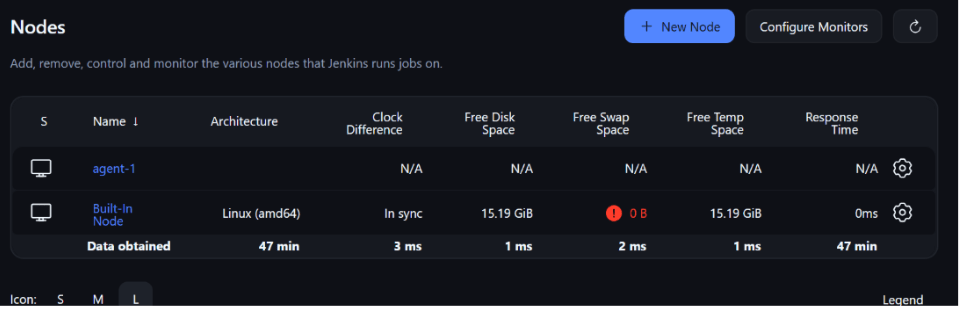
If successful:
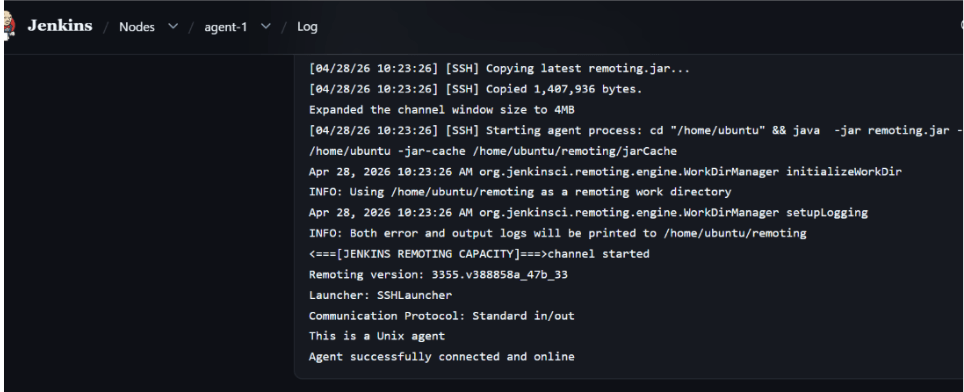
Status → Online

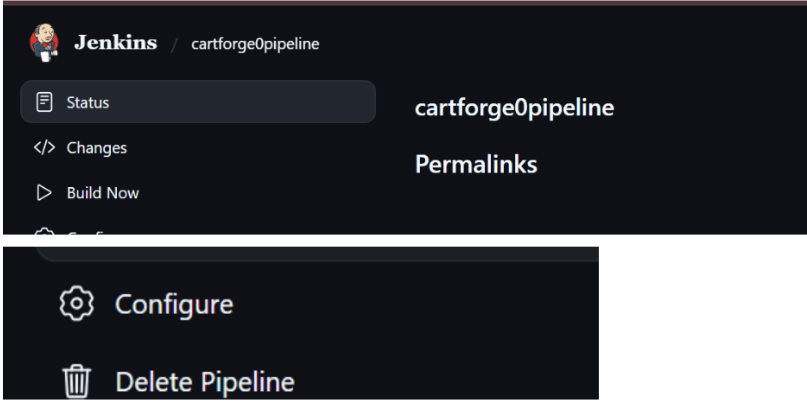
Task 3: Assign Job to Agent
Modify Existing Job
Go to:
-
cartforge-pipeline → Configure
1
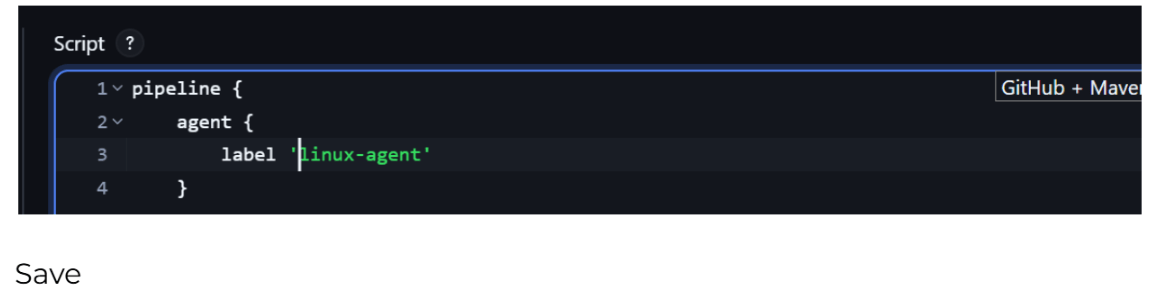
Restrict Build
2
Enable:Restrict where this project can be run
Add label:linux-agent
3
Run Build Again
Click Build Now
4
Observe
Build runs on agent, not master.
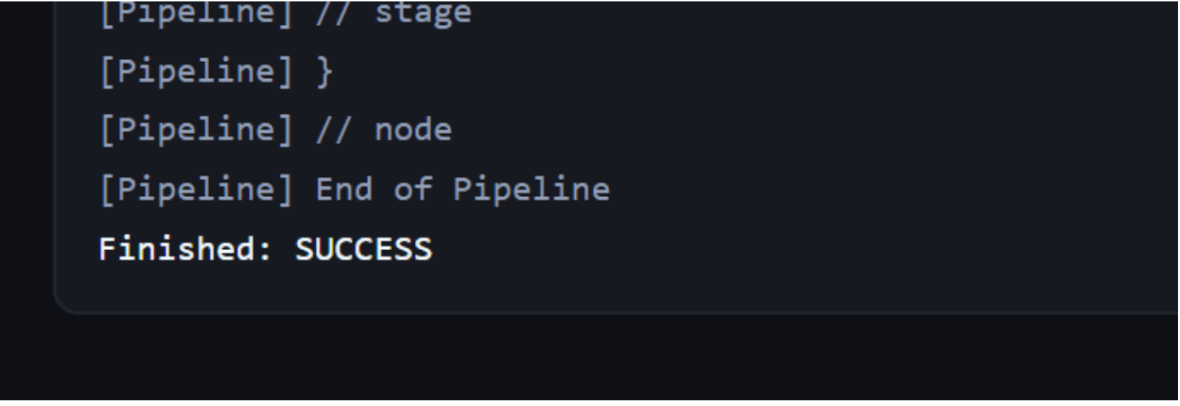
On your agent you can see the output
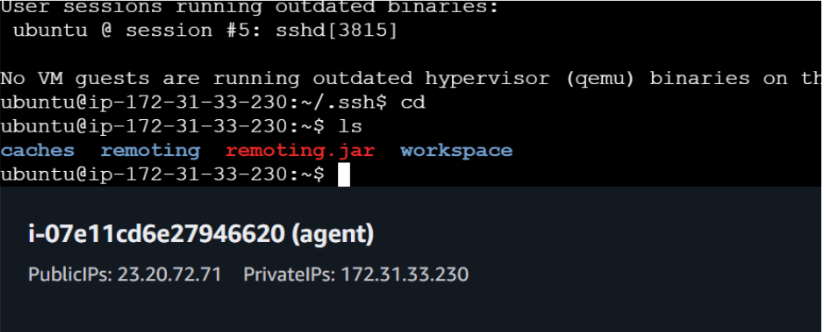
And its done
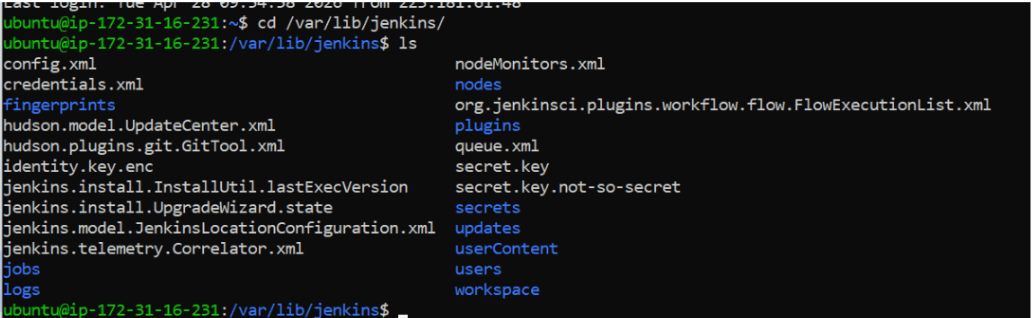
Task 4: Implement Backup Strategy
1
Backup Jenkins Directory
Main directory:/var/lib/jenkins
Create Backup Folder
mkdir ~/jenkins-backup

Take Backup
sudo cp -r /var/lib/jenkins/* ~/jenkins-backup/

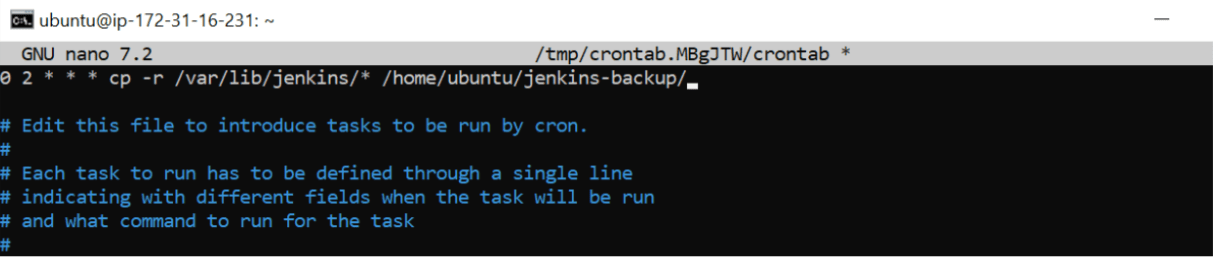
2
Automate Backup (Optional)
Edit crontab:
crontab -eAdd:
0 2 * * * cp -r /var/lib/jenkins/* /home/ubuntu/jenkins-backup/
Check Backup
ls ~/jenkins-backup
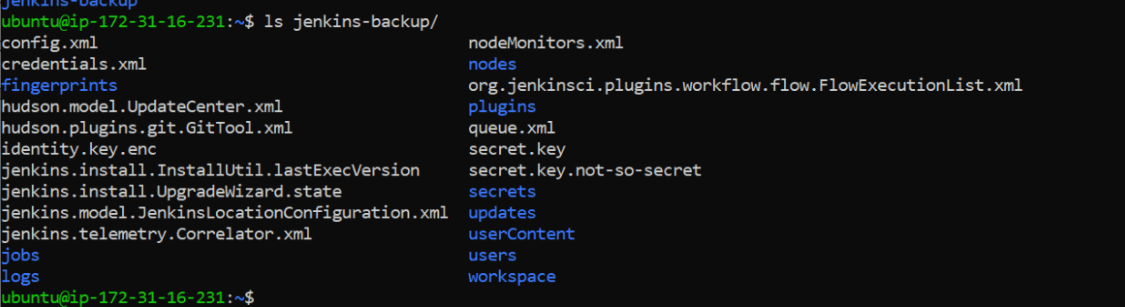
Files should be present
Great job!
Built and managed a secure, scalable Jenkins infrastructure that supports distributed builds, optimized performance, and real-world CI/CD automation.
Checkpoint
Next-Lab Preparation
Before starting, you should understand:
-
Basic Jenkins setup and access
-
What is CI/CD
-
Git and repository usage
-
Basic Linux commands
-
Jenkins job creation