Installing Docker and Managing Docker Daemon for OpsMate (Windows)

Business Scenario
Manager:
Great work team! The CI/CD pipeline has been successfully implemented, and deployments are now automated. However, the next challenge is setting up a proper containerized environment for the applications.

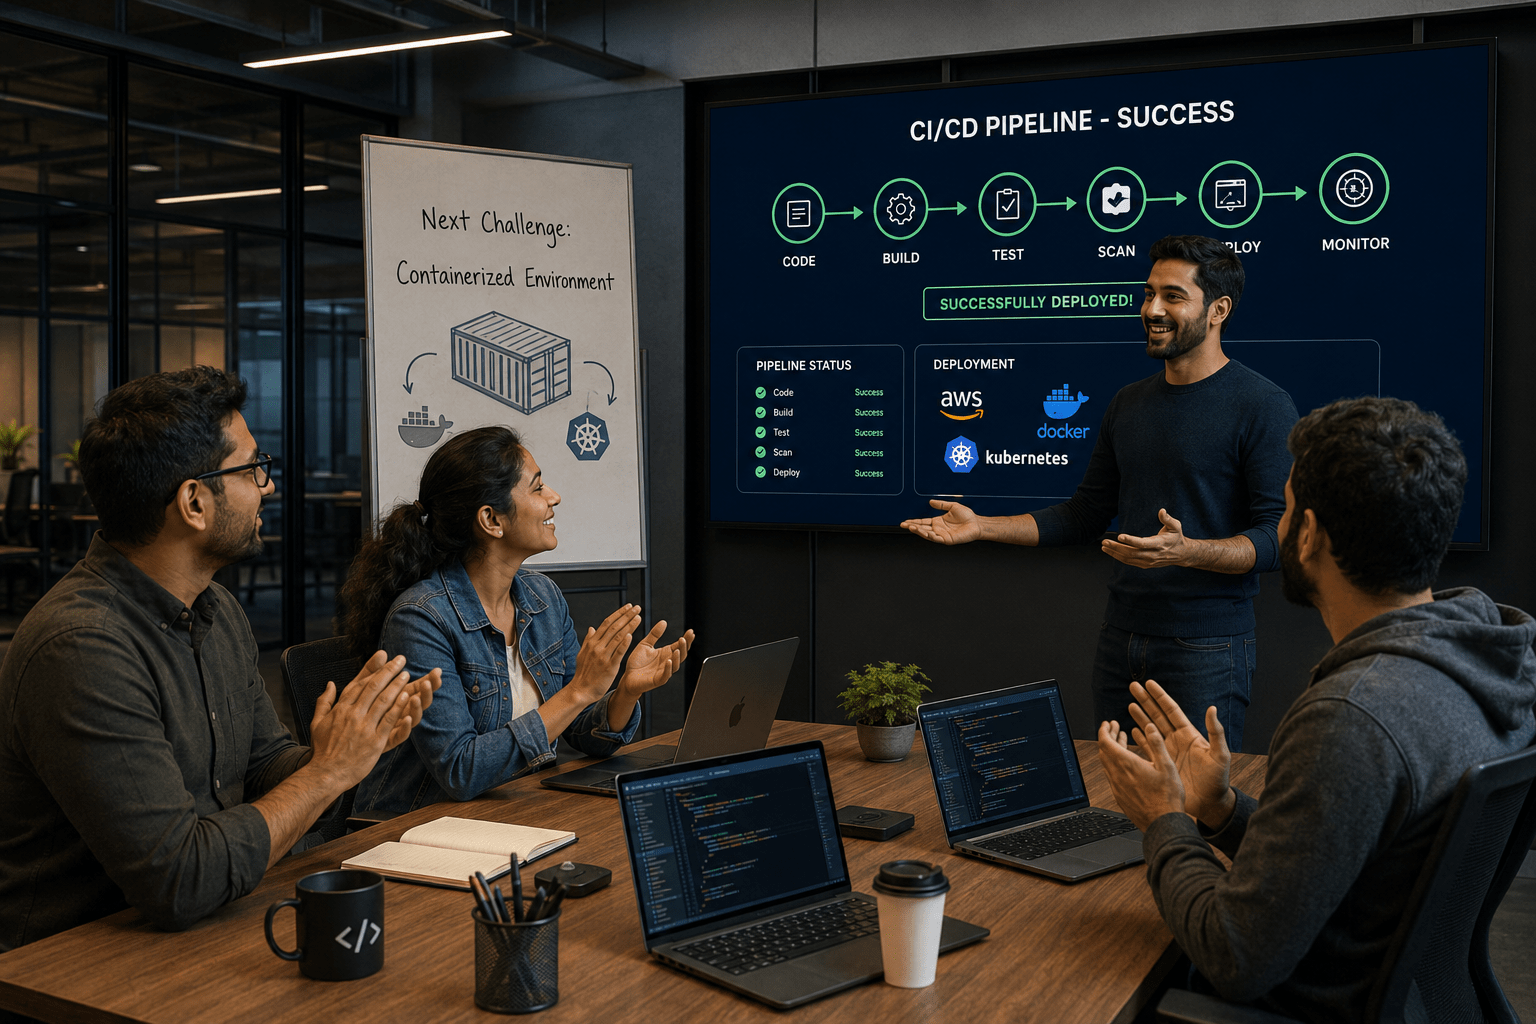
Manager:
We need Docker installation and proper Docker daemon management to ensure containers run efficiently and securely. Let’s discuss this with the DevOps Engineer.
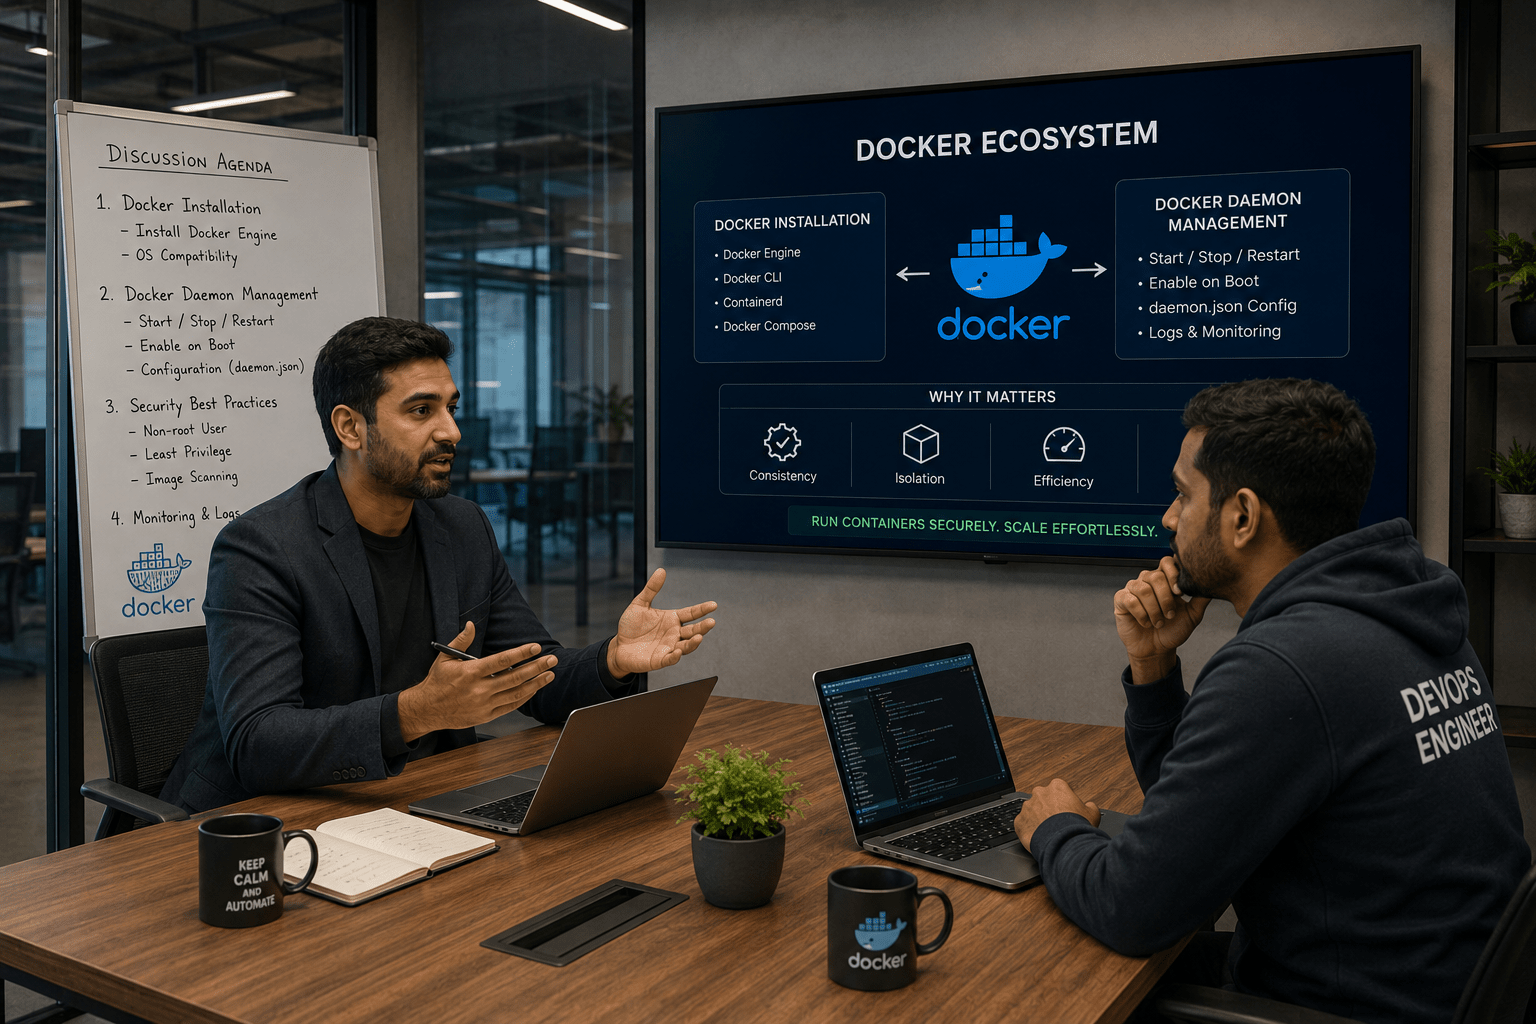
DevOps Engineer:
Yes, Docker will help us create lightweight and portable containers for our applications. First, we need to install Docker on all required servers and configure the Docker daemon properly for stable container management.
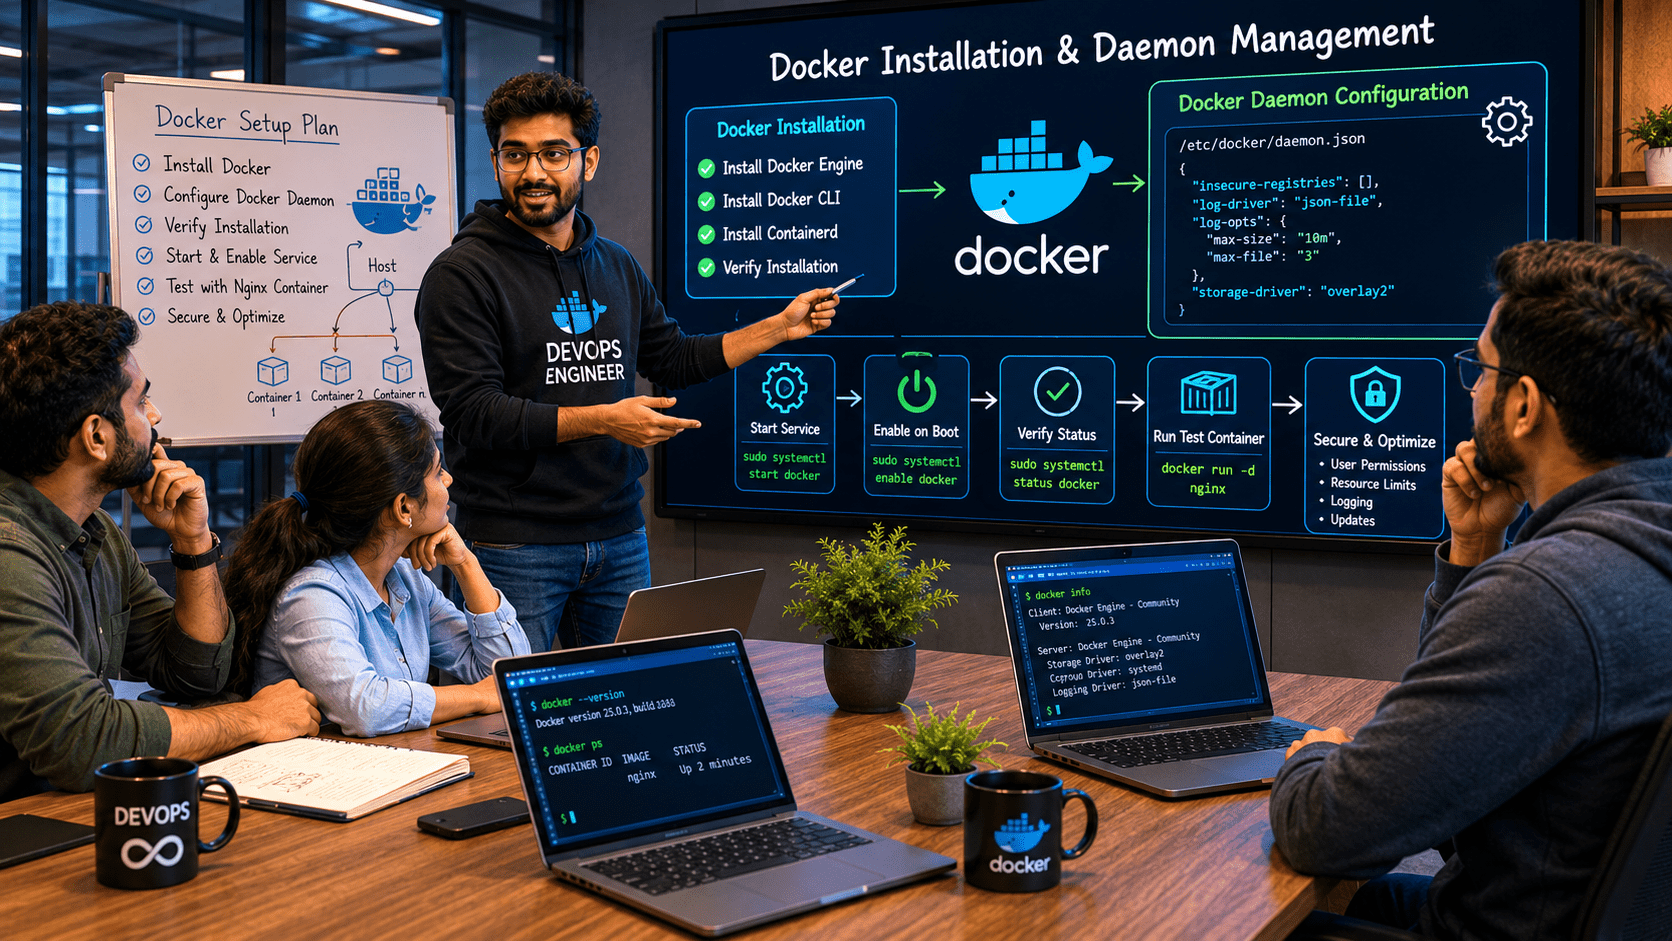
Manager:
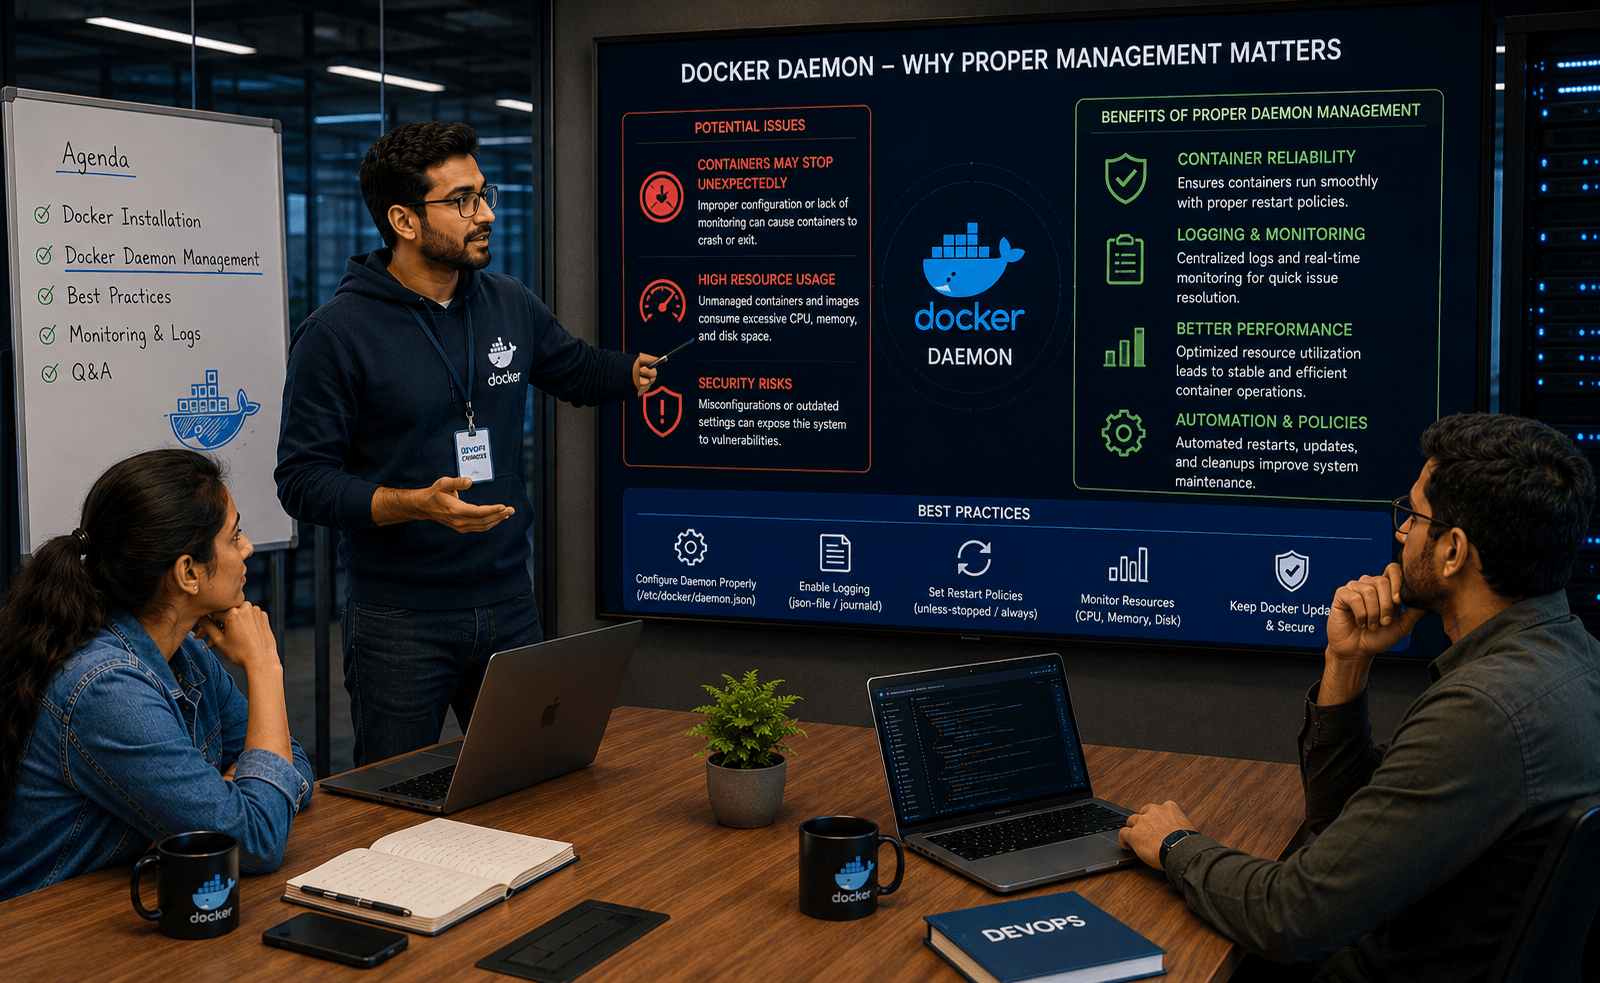
What issues can occur if the Docker daemon is not maintained correctly?
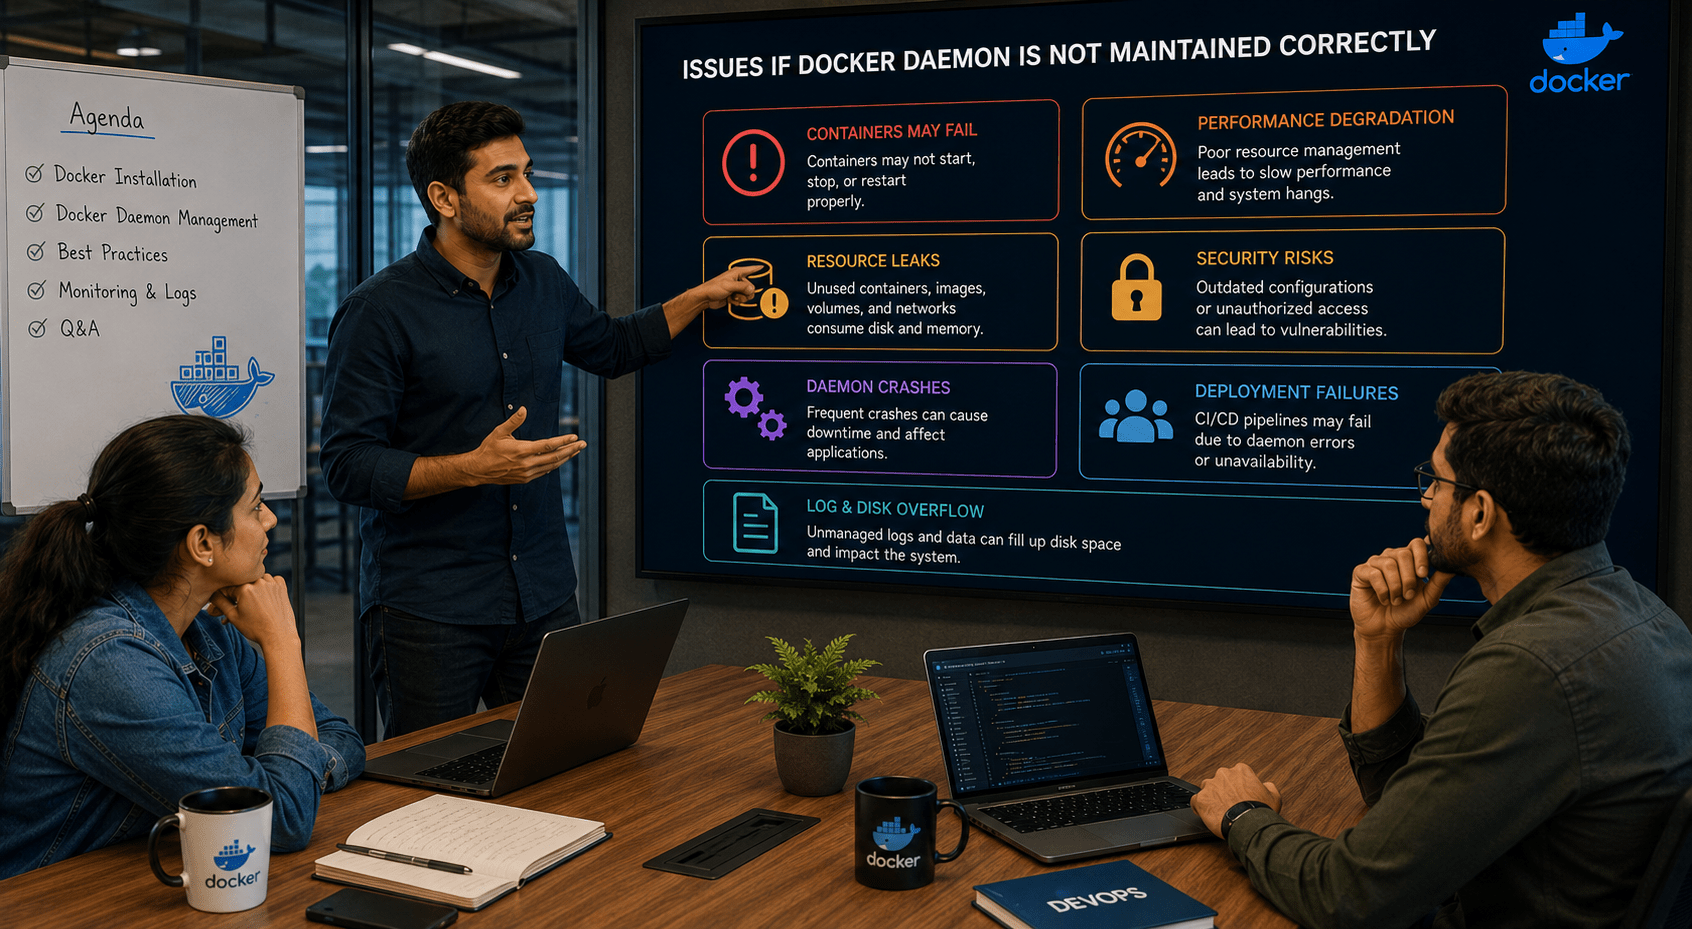
DevOps Engineer:
If the Docker daemon is not monitored or configured properly, containers may stop unexpectedly, resource usage can increase, and security risks may occur. Proper daemon management ensures container reliability, logging, restart policies, and better performance.
DevOps Engineer to Team:
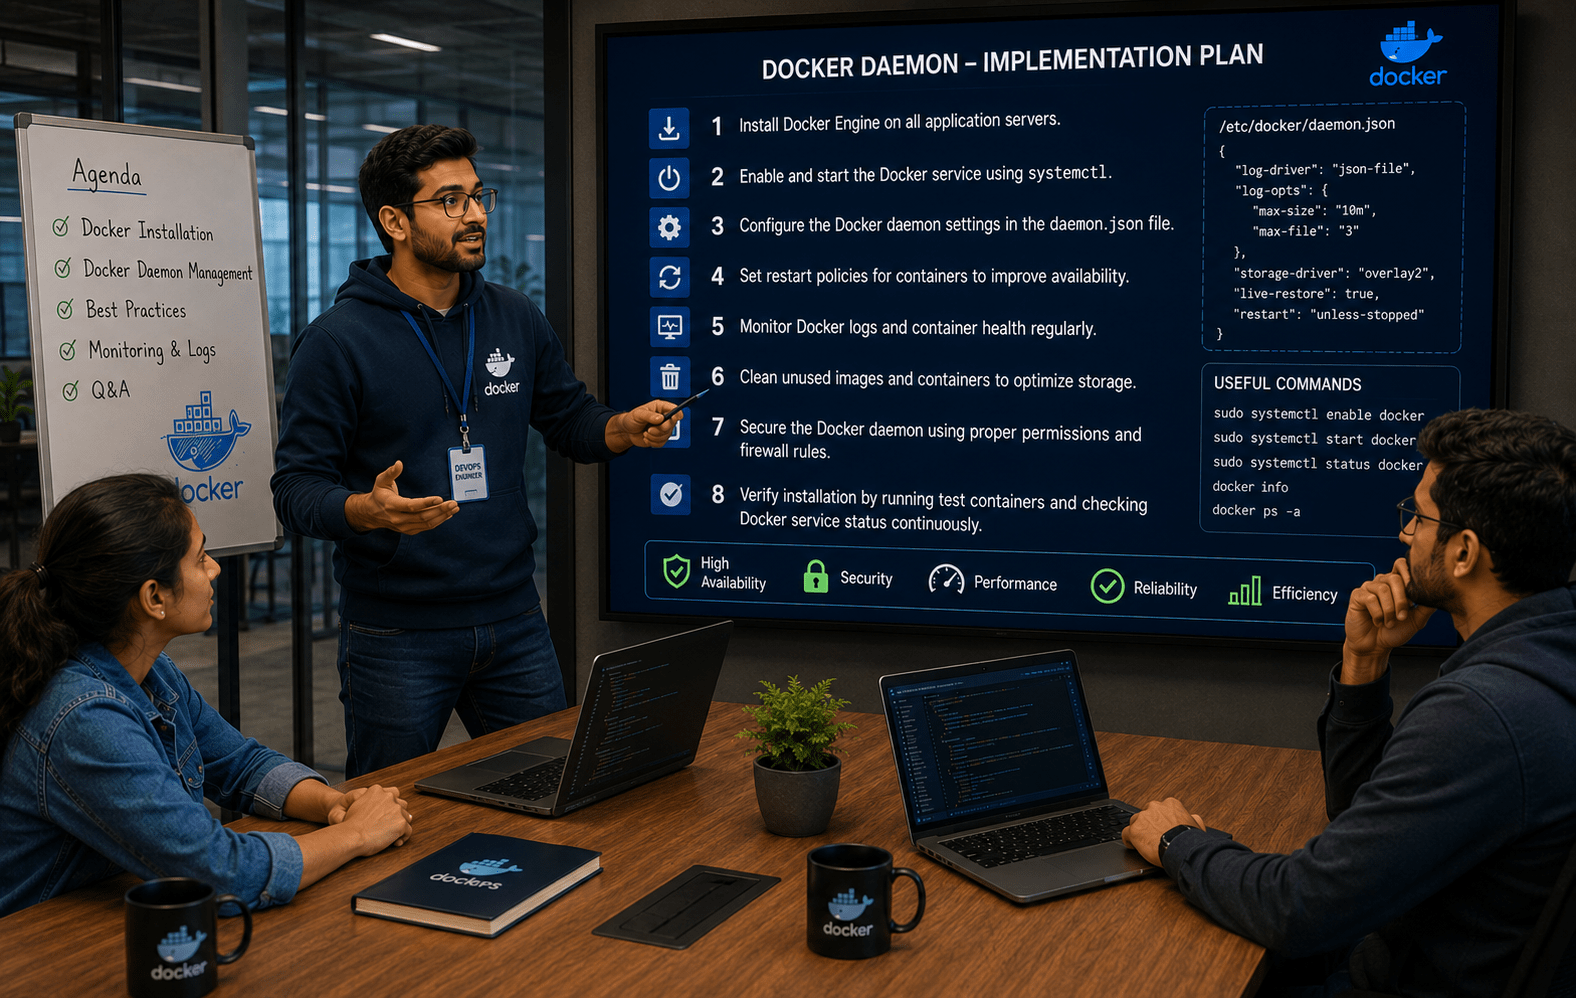
Team, here is the implementation plan:
- Install Docker Engine on all application servers.
- Enable and start the Docker service using systemctl.
- Configure the Docker daemon settings in the
daemon.jsonfile. - Set restart policies for containers to improve availability.
- Monitor Docker logs and container health regularly.
- Clean unused images and containers to optimize storage.
- Secure the Docker daemon using proper permissions and firewall rules.
We will also verify the installation by running test containers and checking Docker service status continuously.
Team:
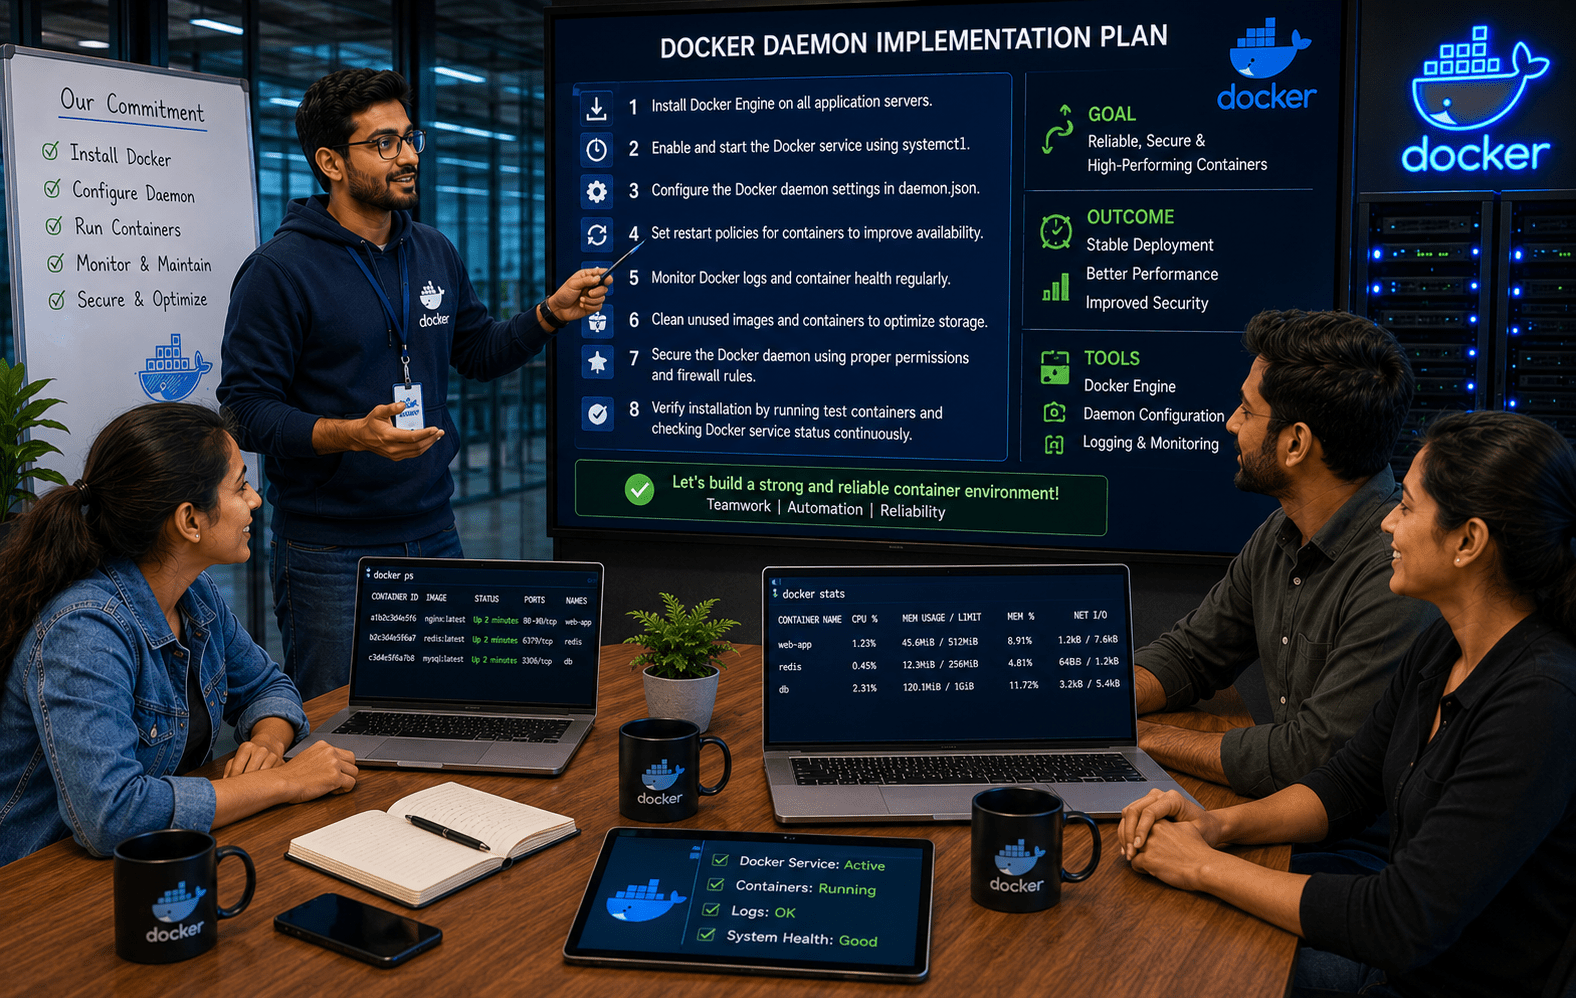
Understood. We will begin Docker installation, configure the Docker daemon, and ensure all containers are running properly with regular monitoring.
Pre-Lab Preparation
Topic : Weaving the world of Web
1) Navigating the world of Web
2) Building Blocks of Website,
3) Tag Titans: Fundamental Web Construct.
Task 1: Setup Docker on Windows and Verify Installation
1
Verify System Requirements
Before installing Docker, ensure:
-
Windows 10/11 (64-bit)
-
Virtualization enabled in BIOS
-
WSL2 feature enabled
-
At least 4 GB RAM
2
Enable WSL
Open PowerShell as Administrator and run
wsl --install

Restart the system after installation.
3
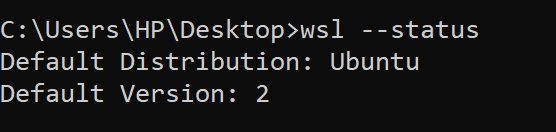
Verify WSL Installation
wsl --status
4
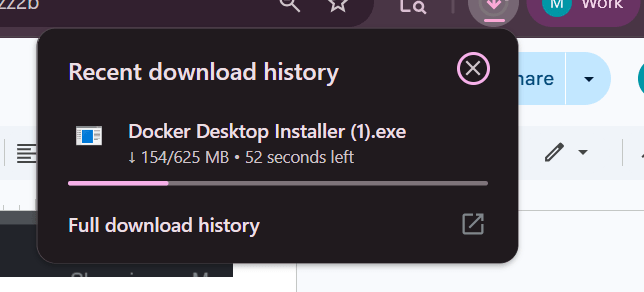
Download Docker Desktop
-
Open browser
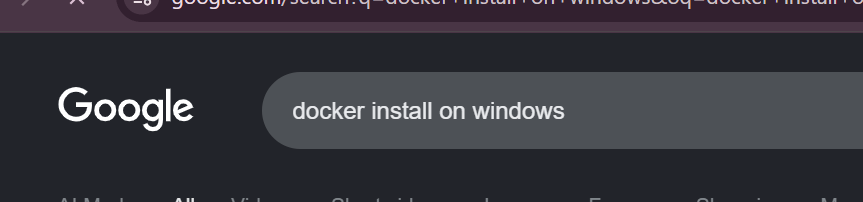

- Download Docker Desktop for Windows

5
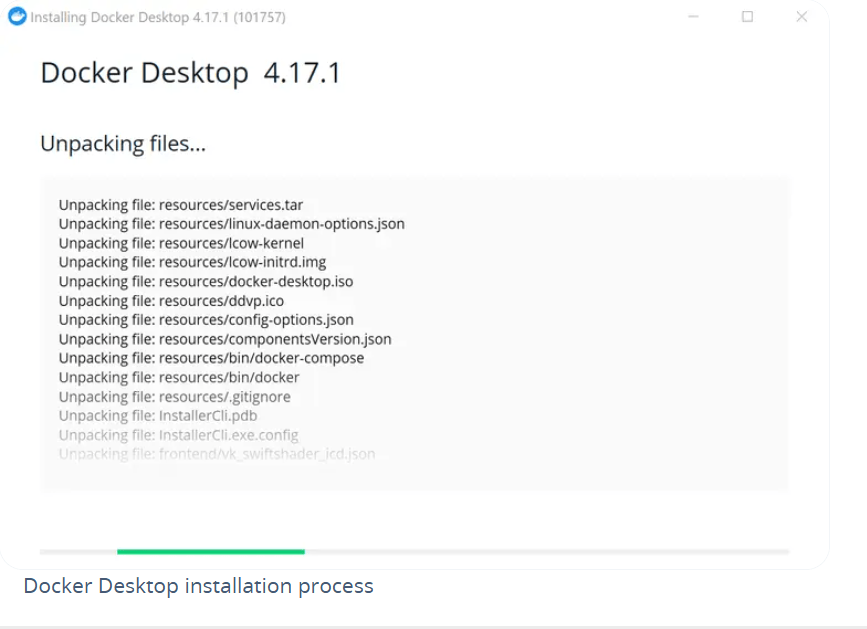
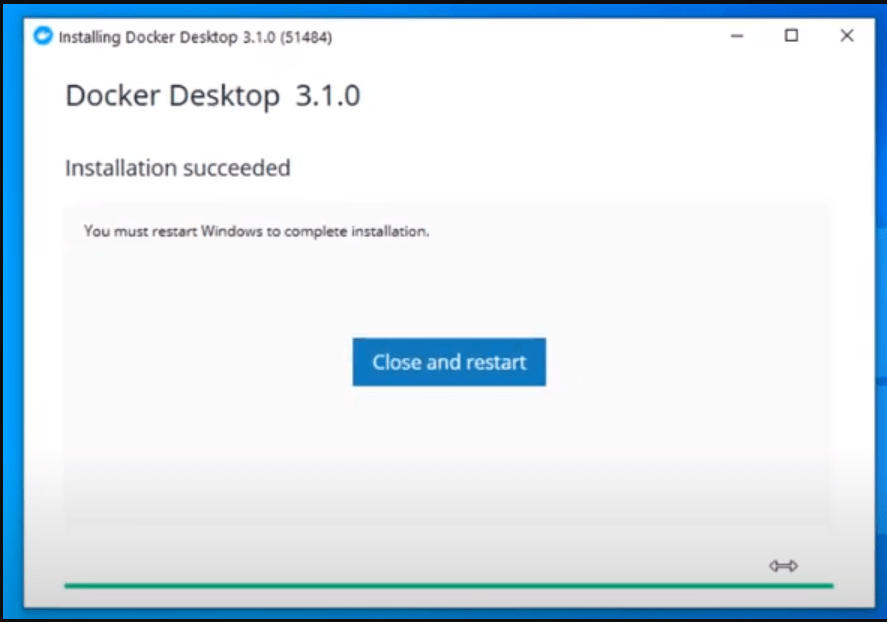
Install Docker Desktop
-
Run the installer
-
Keep default options selected
-
Enable:
-
Use WSL 2 instead of Hyper-V
-
-
Click Install
-
Restart system if prompted
6
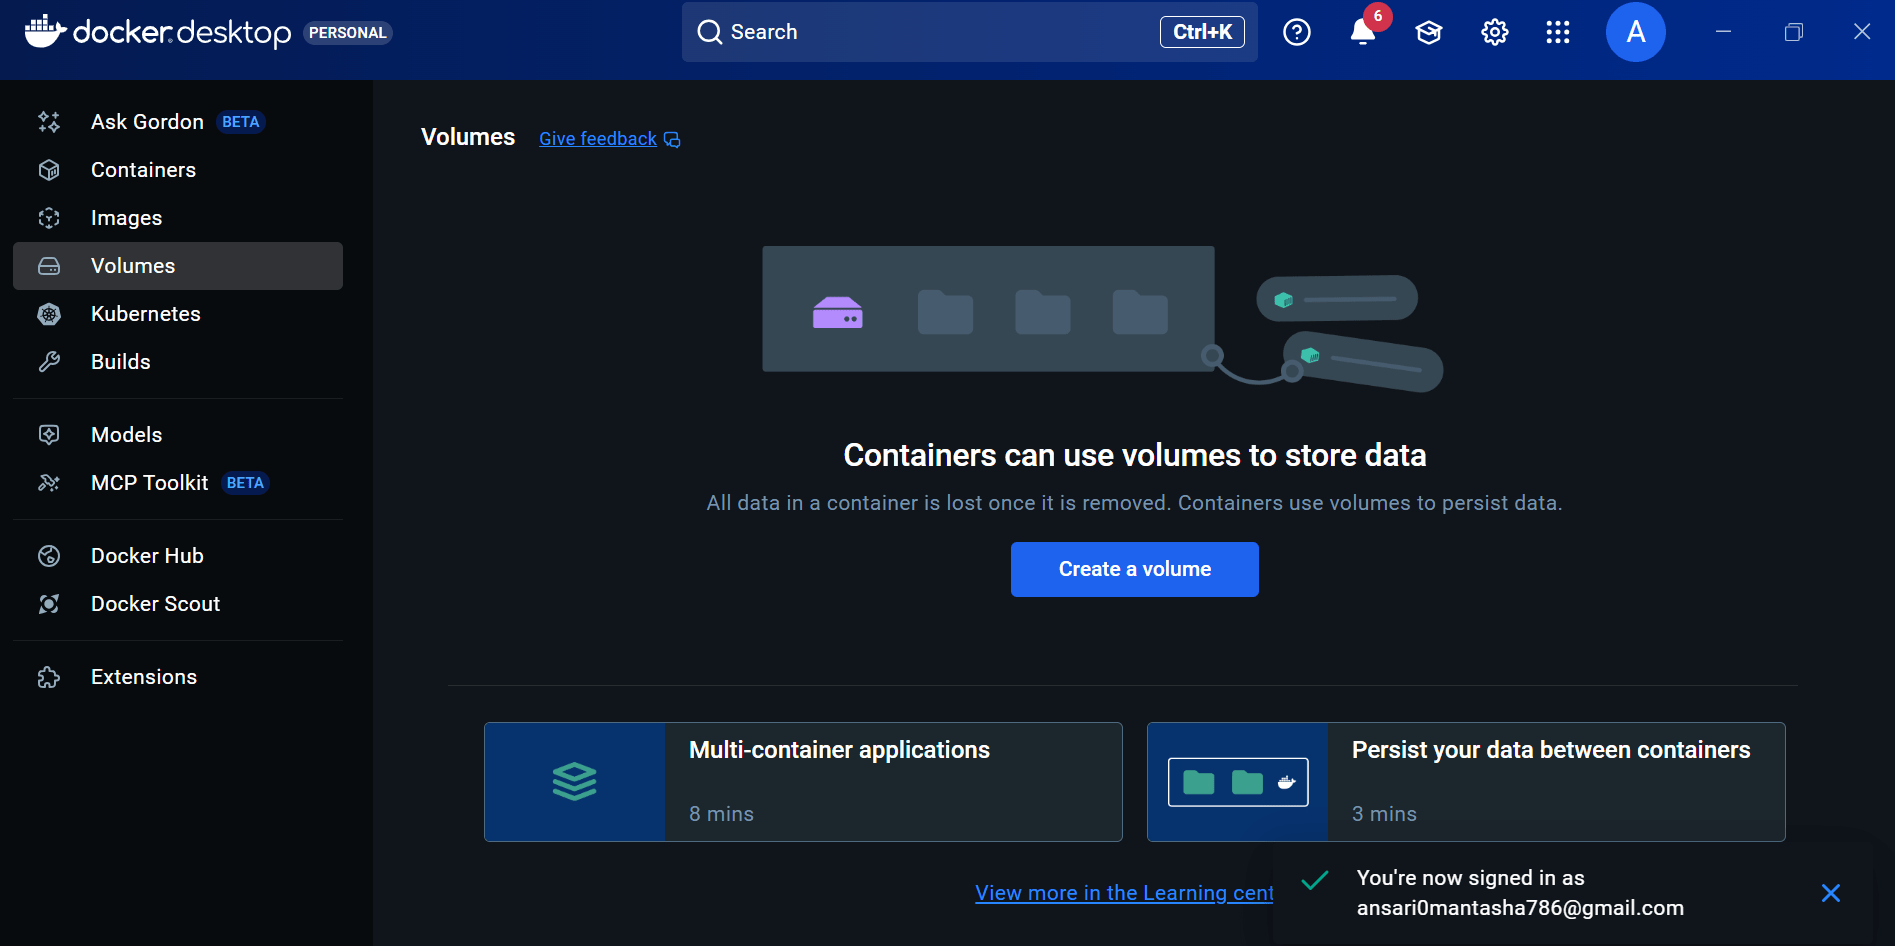
Launch Docker Desktop
Open:Docker Desktop
Wait until Docker shows: Docker Desktop is running
9
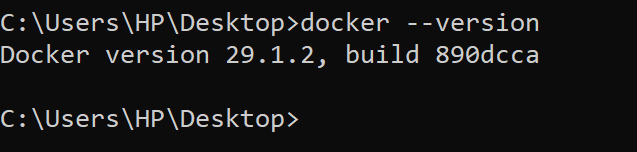
Verify Docker Installation
Open PowerShell
docker --version
7
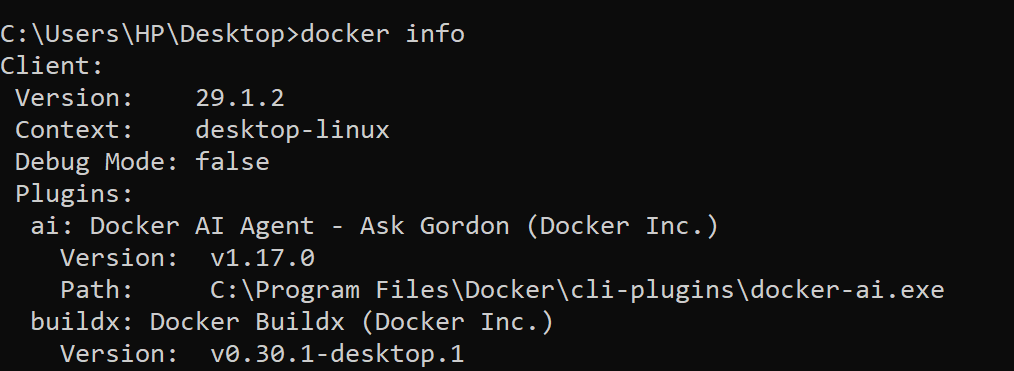
Verify Docker Engine
docker info
8
Verify Docker Service
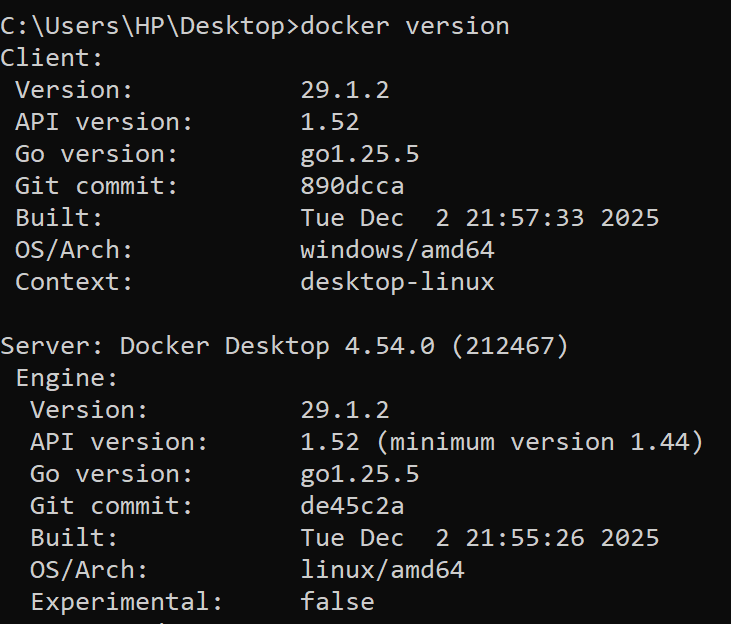
docker version
You should see:
-
Client Information
-
Server Information
10
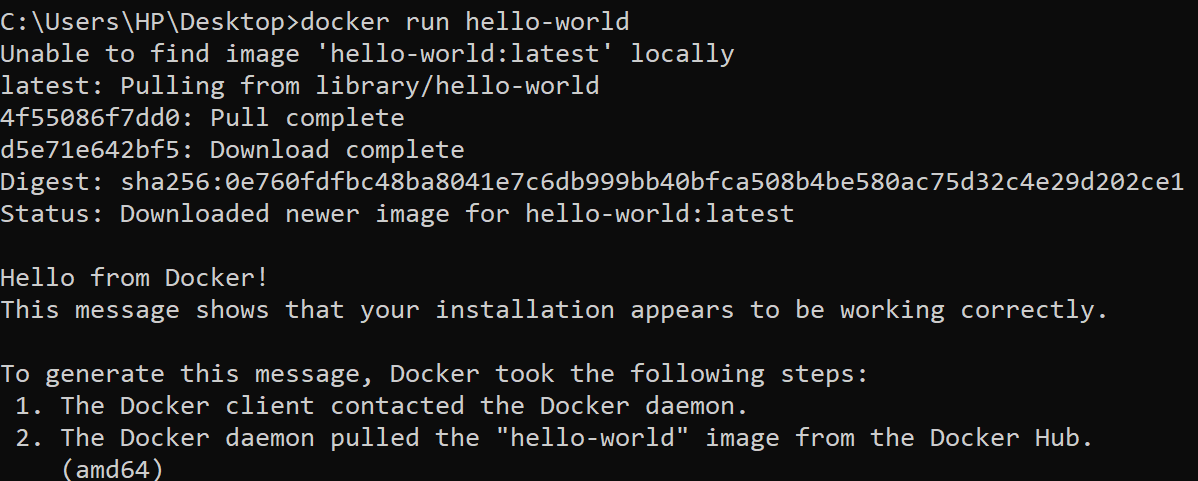
Test Docker Installation
docker run hello-world
Expected message: Hello from Docker!
Task 2: Manage Docker Daemon
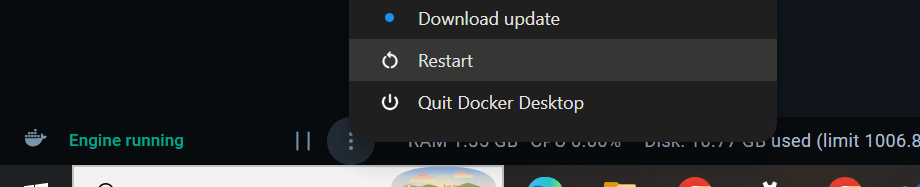
View Docker Desktop Status
Open Docker Desktop and verify: Engine Running

Restart Docker Engine
Docker Desktop → Troubleshoot → Restart Docker Desktop
OR Restart-Service com.docker.service
Stop Docker Service
Stop-Service com.docker.service

Start Docker Service
Start-Service com.docker.service

Task 3: Run and Manage Containers for OpsMate Environment
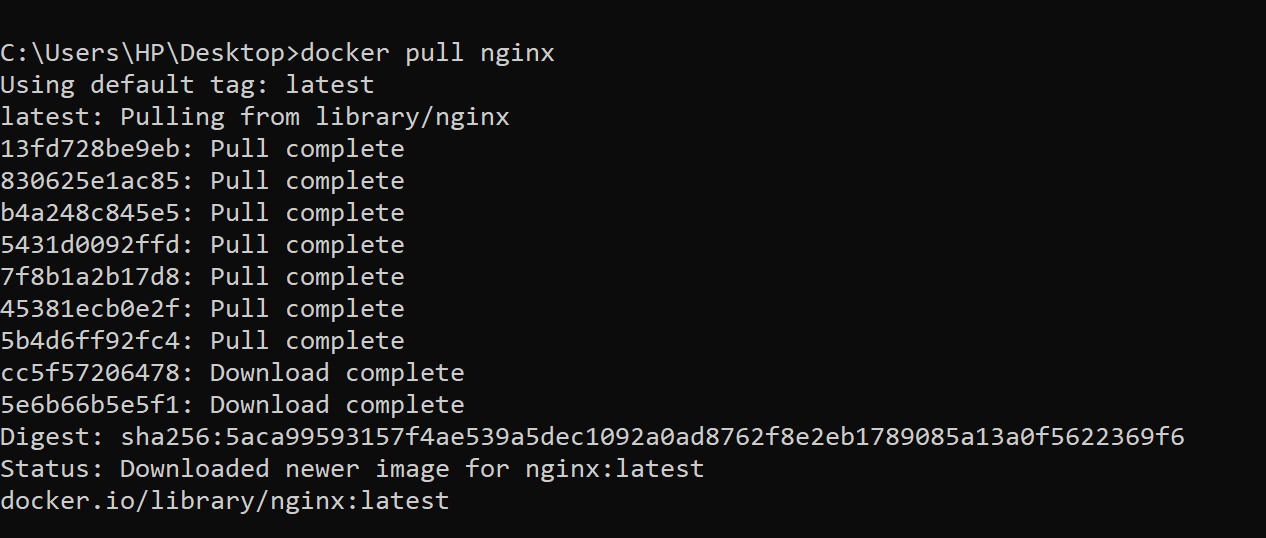
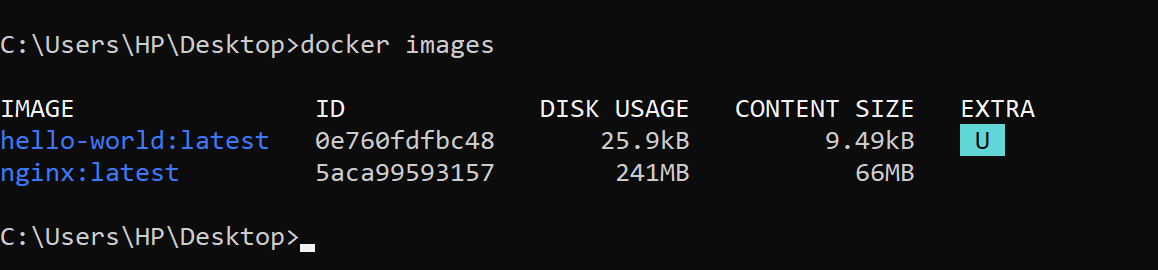
Download Nginx Image
docker pull nginx
View Available Images
docker images
Run Nginx Container
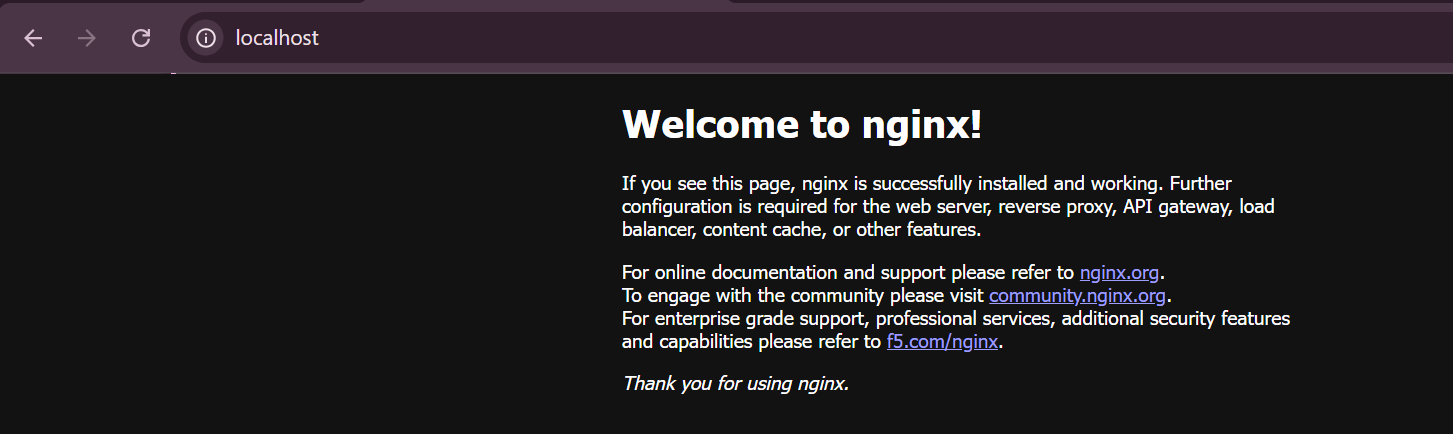
docker run -d --name opsmate-nginx -p 80:80 nginx
Verify Running Container
docker ps

Open browser:http://localhost
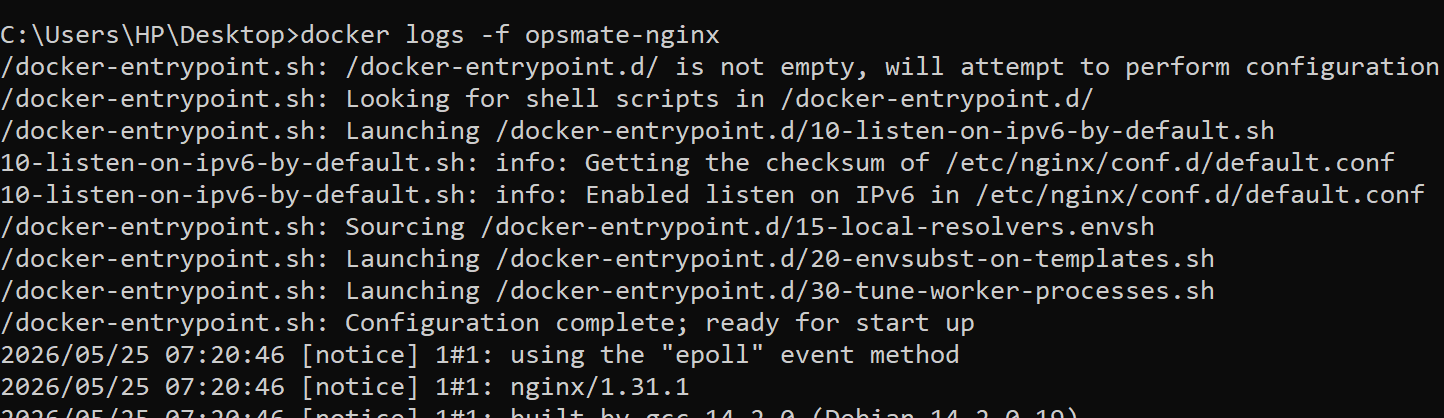
View Container Logs
docker logs opsmate-nginx
Monitor Logs
docker logs -f opsmate-nginx
Access Container Terminal
Pre-Lab Preparation
- Explore different restaurants
-
View food items and menus
-
Add items to cart
-
Place orders online
Topic : Weaving the world of Web
1) Navigating the world of Web
2) Building Blocks of Website,
3) Tag Titans: Fundamental Web Construct.
git pull origin branchName
Git Pull
Task 1: Understanding BRD
Before you start building anything, you need to clearly understand what the client actually wants.So, let’s begin by understanding the BRD (Business Requirement Document) shared by the client.
BRD Full Form is Business Requirement Details.BRD like a plan for building a house. This plan helps the builder understand what to build.In the same way,BRD tells developers what the client wants to build
Click to download BRD : BiteBox_BRD.pdf
Activity
After going through BRD list down the Core Features and Web Pages in the tabulated Format as shown Below.
| Col 1 | Col 2 | Col 3 |
|---|---|---|
| Row 1 | ||
| Row 2 | ||
| Row 3 |
Formula
Profit = Revenue - Cost
Task 2: Create WireFrame
Now that you understand the requirements, don’t jump into coding yet. Before development, we always visualize the layout.
Now lets create a simple wireframe for the homepage.
A wireframe is like a layout plan of a house. Before building, you decide where rooms, doors, and windows will be placed.Similarly, a wireframe helps you plan where elements like headers, images, and buttons will appear on a webpage—before adding design or colours.
Task 3: Code Editor Installation
Good work on completing the planning phase.
Now we will start development. Before that, make sure your system is ready with the required tools.
In this step we will install the VS code editor that will help to Write code efficiently,Organize files , Run and test your application
Go to the visual studio code official website
1
Click to download Homepage Wireframe : Homepage Wireframe
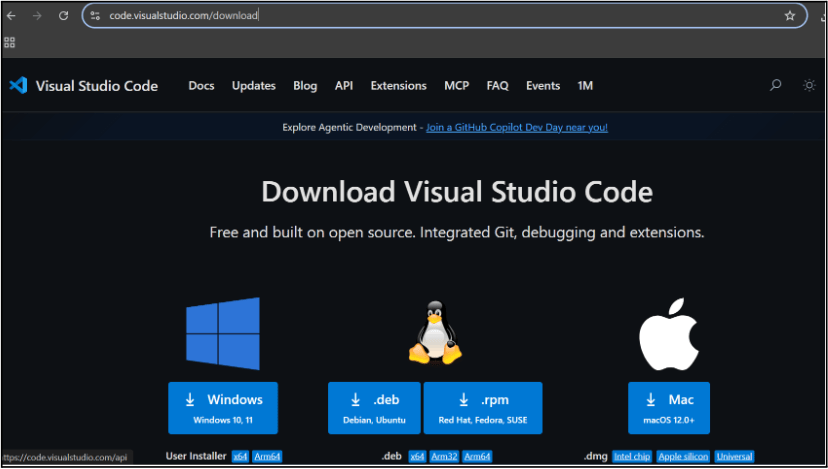
Choose your operating system(windows / Mac) and download the installation file.
Double click on the download app and Accept the agreement and click next
2
It is a long established fact that a reader will be distracted
b
Sub Steps
a
Double click on the download app and Accept the agreement and click next
public class MathSample {
    public static void main(String[] args) {
        int x = 10;
        int y = 20;
        int sum = x + y;

        System.out.println("The sum is: " + sum);
    }
}
public class MathSample {
public static void main(String[] args) {
int x = 10;
int y = 20;
int sum = x + y;
System.out.println("The sum is: " + sum);
}
}
public class MathSample {
public static void main(String[] args) {
int x = 10;
int y = 20;
int sum = x + y;
System.out.println("The sum is: " + sum);
}
}
Great job!
You have successfully completed your first lab on BiteBox Project Onboarding.
In this lab, you have: Understood the BRD, Created a wireframe, Set up your development environment, Organised your project structure, Run your first program
You are now ready to move to the next stage of development
Checkpoint
Next-Lab Preparation
Git Push
git push origin branchNameTopic : Working with a Text and Listin HTML
1) Power of HTML text tags
2) Customizing your style with CSS
3) Listing it right using HTML
4) HTML Link up , attributes of tag, block vs inline elements
Text box Width : 887
Business Scenario, Pre-lab Preparation, Next-lab Preparation, Task, Activity, Checkpoint : 90%.
Steps : 1,2,3 [Sub Steps - a,b,c]
Normal Text, Topic Name : 80%
Subtopic : 70%
Code Box font Size : 16px