ShopKart Project Onboarding

Business Scenario
Understanding the Need for Proper Project Setup Before Development
To understand the importance of project onboarding, let’s look at a conversation between a manager and an employee.

Manager:
We have created the React application for ShopKart. Can we start building features like products and cart now?

Employee:
Yes, we can start creating components directly.

Manager:
But do we have everything set up? For example, styling, navigation, and form handling?

Employee:
Not yet. We haven’t installed Bootstrap, React Router, or form libraries.

Manager:
If we start development without these, will the project remain organized and scalable?

Employee:
No, it may become difficult to manage as the application grows.

Manager:
So what should be our first step?

Employee:
We should configure all required dependencies like Bootstrap for UI, React Router for navigation, and React Hook Form for managing forms.

Manager:
What about organizing the project?
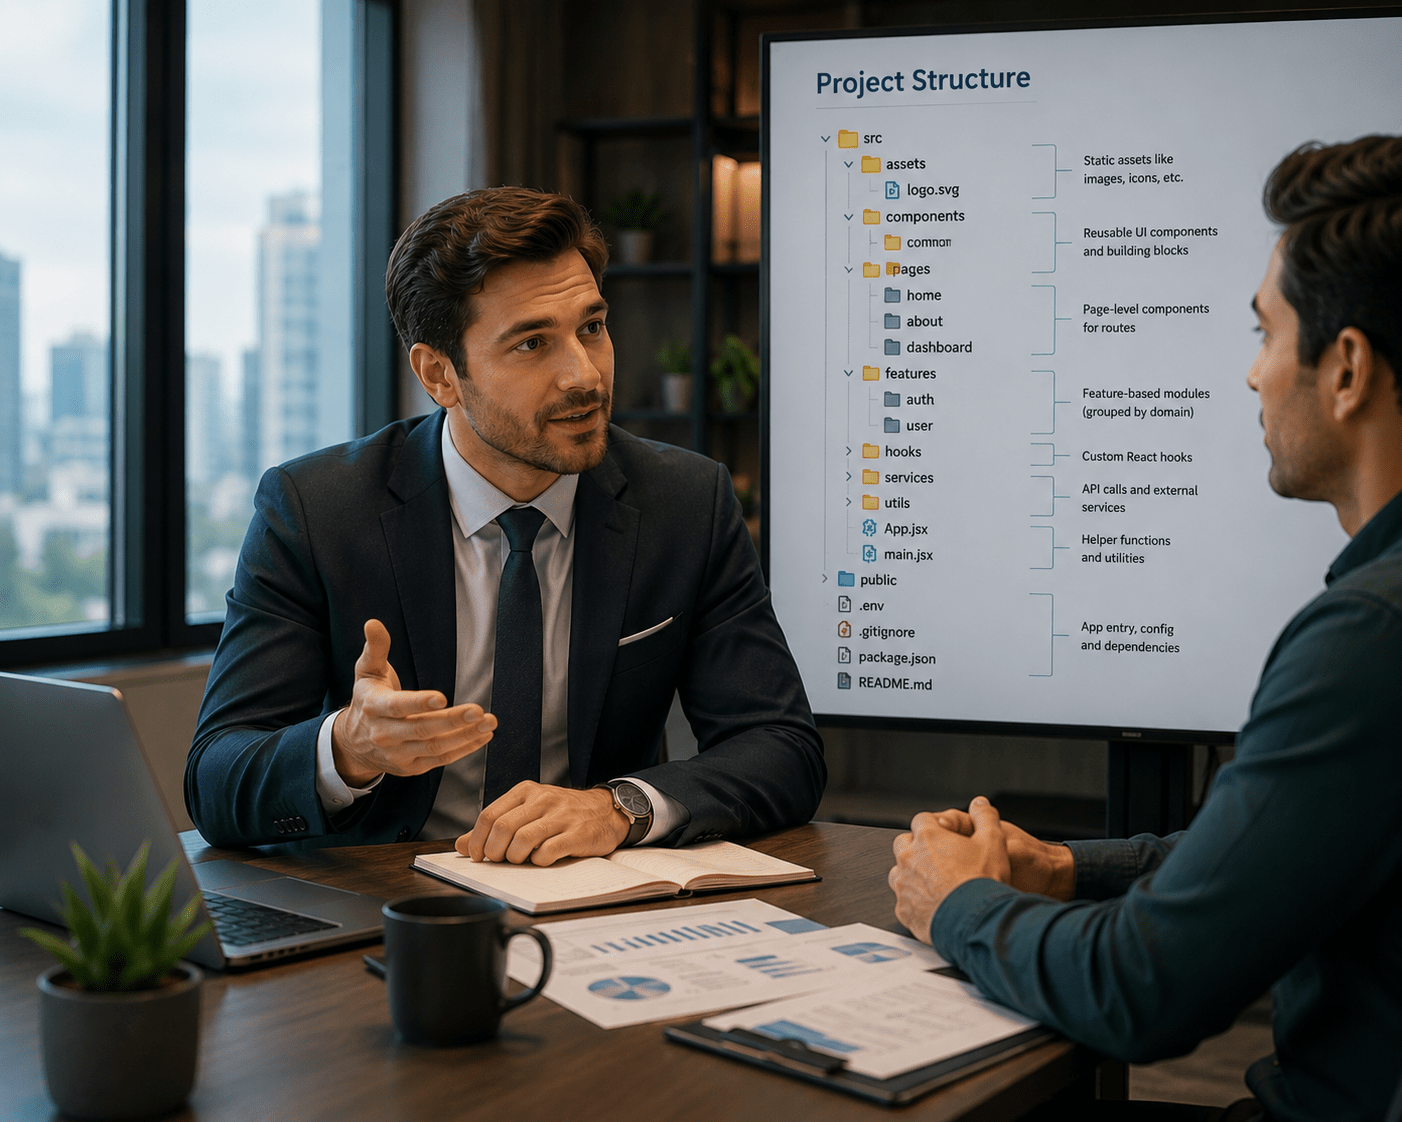
Employee:
We should define a proper folder structure such as components, pages, services, and routes to maintain clean and structured code.

Manager:
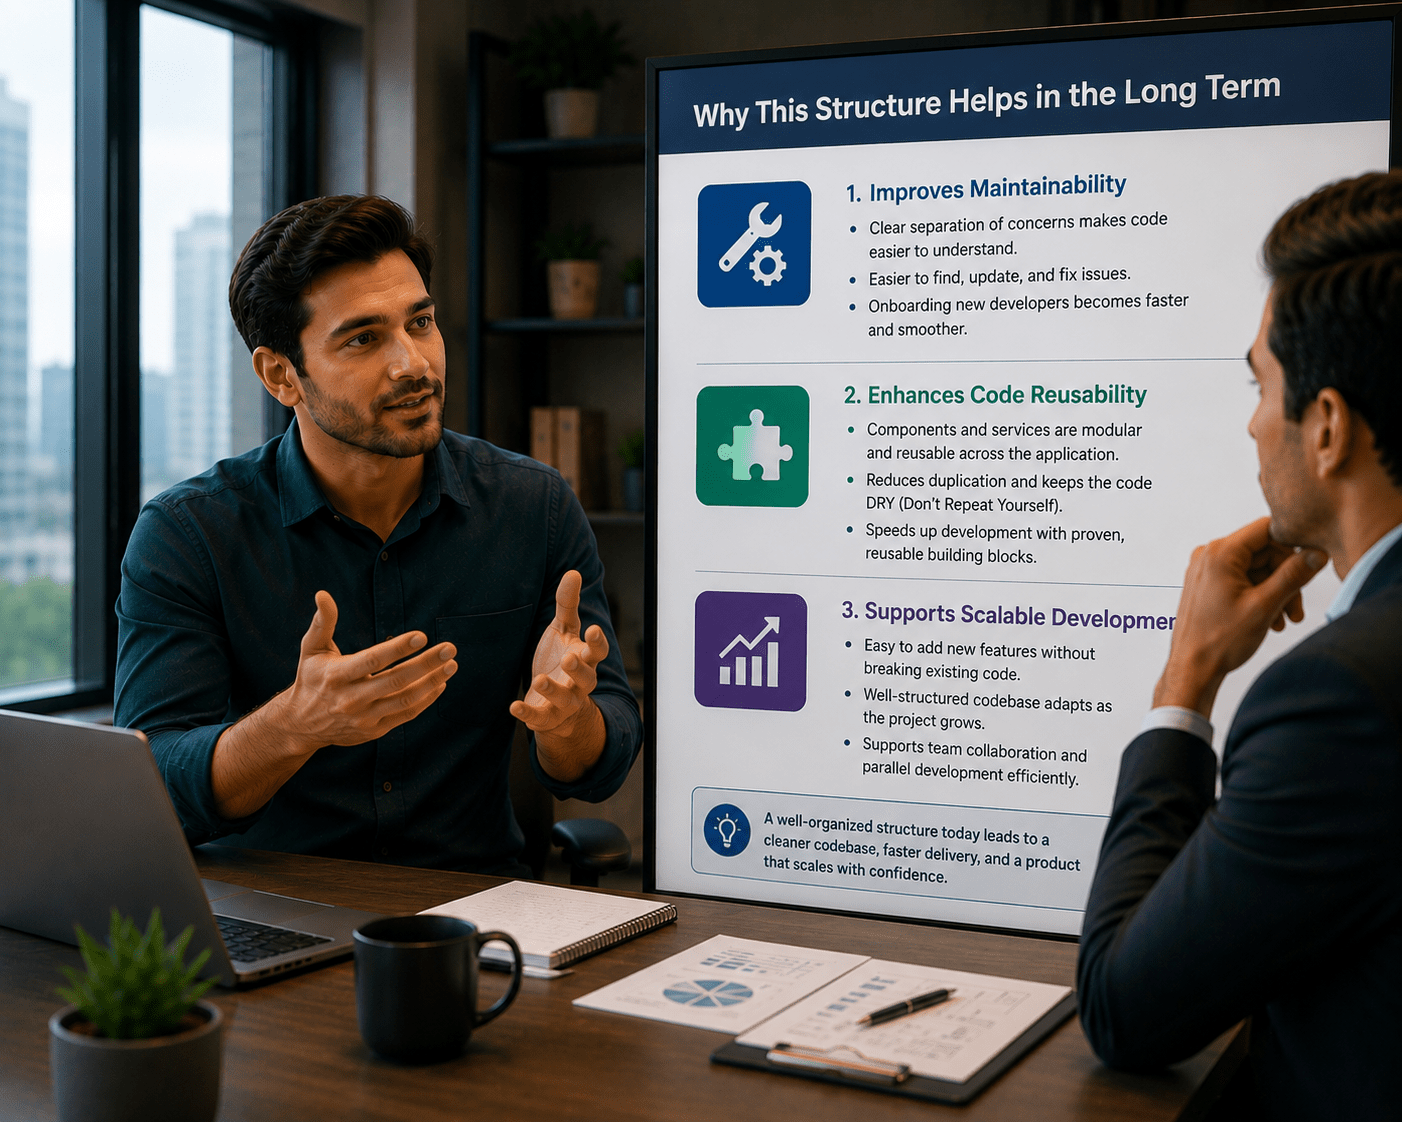
How does this help in the long term?

Employee:
It improves maintainability, enhances code reusability, and supports scalable development.
Manager:
Good. Let’s complete the project onboarding before moving to feature development.
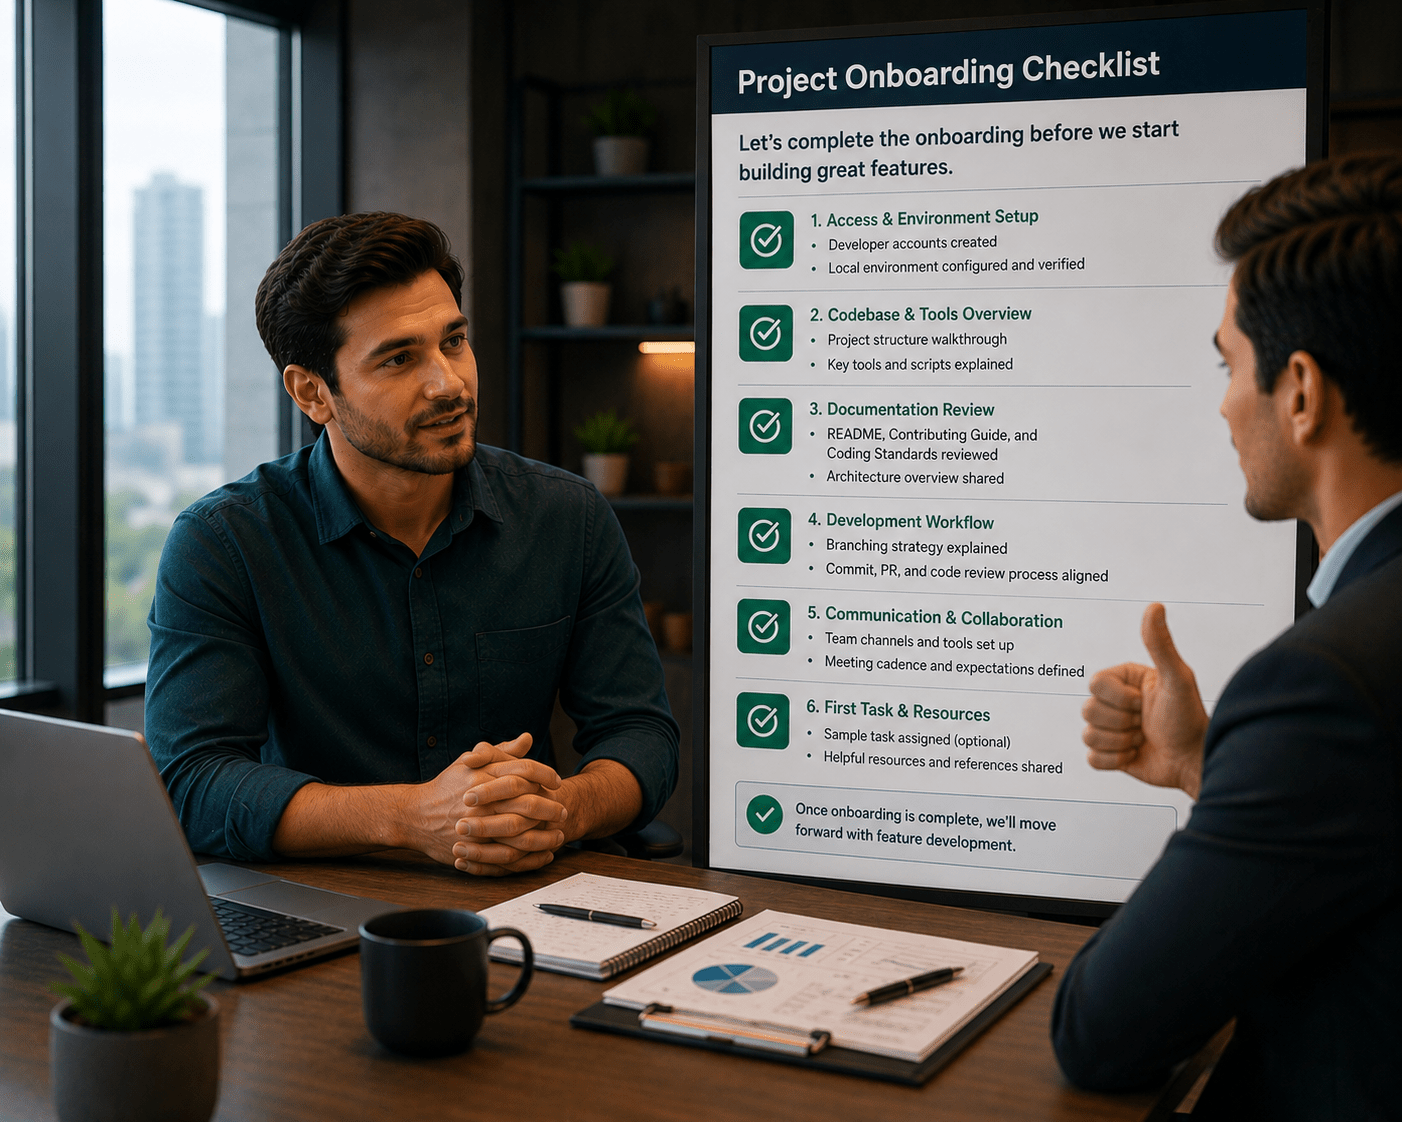
This setup ensures that the application is ready for building features like product listing, cart, and user authentication.
Pre-Lab Preparation
-
What is React Component Architecture
-
What is Routing in React
-
What is Bootstrap
-
What is Form Handling in React
Task 1: Install Required Dependencies
1
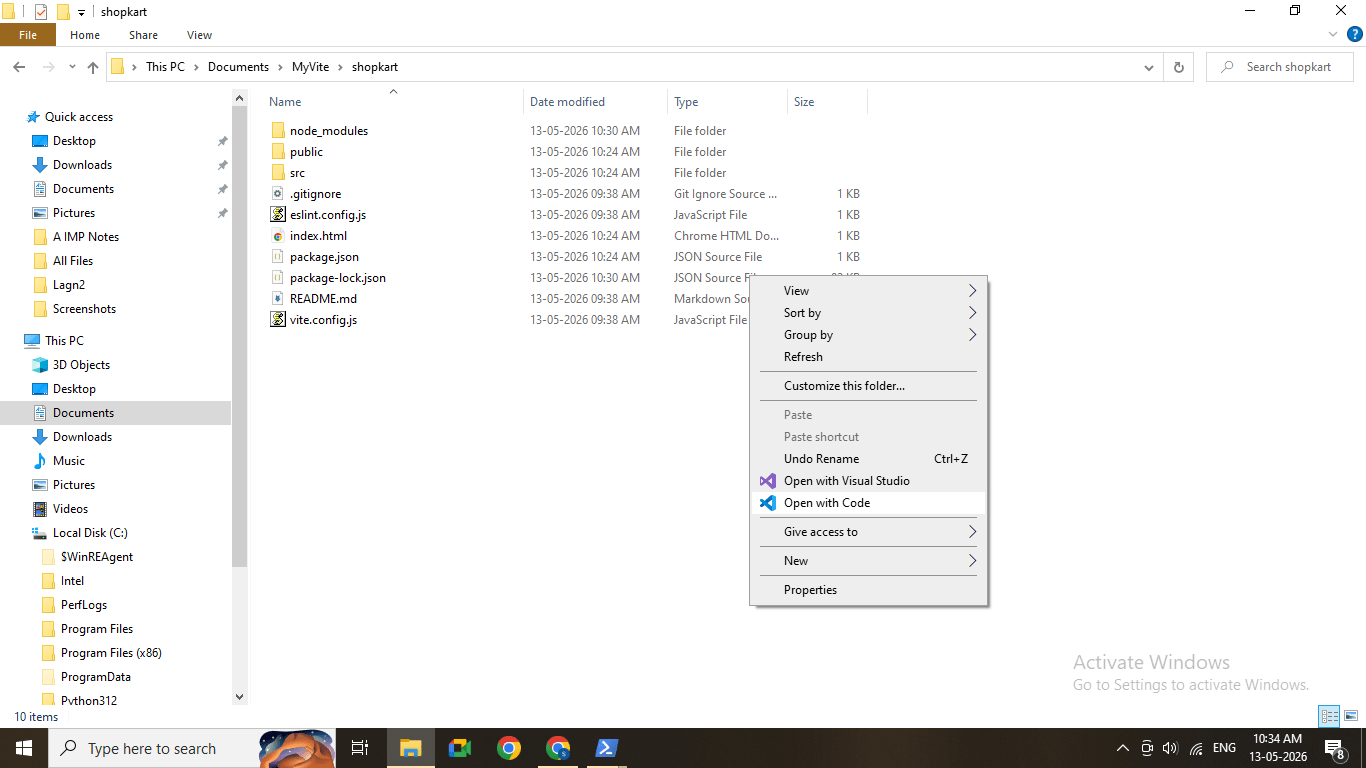
Open your project in VS Code
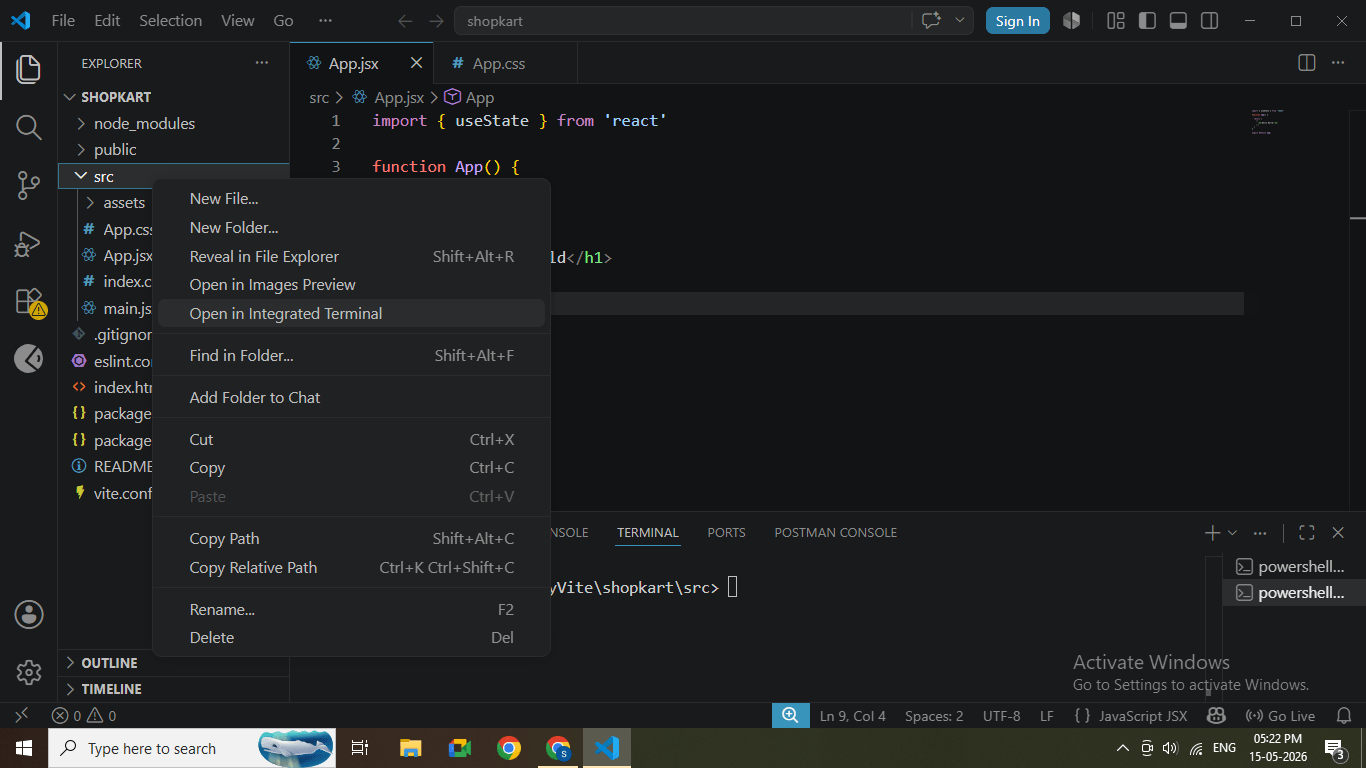
2
Open terminal inside VS Code
(Menu → Terminal → New Terminal)
3
Install Bootstrap
Run the command:
npm install bootstrap
Bootstrap installation completed
4
Install React Router DOM
npm install react-router-dom
5
Install React Hook Form
npm install react-hook-form
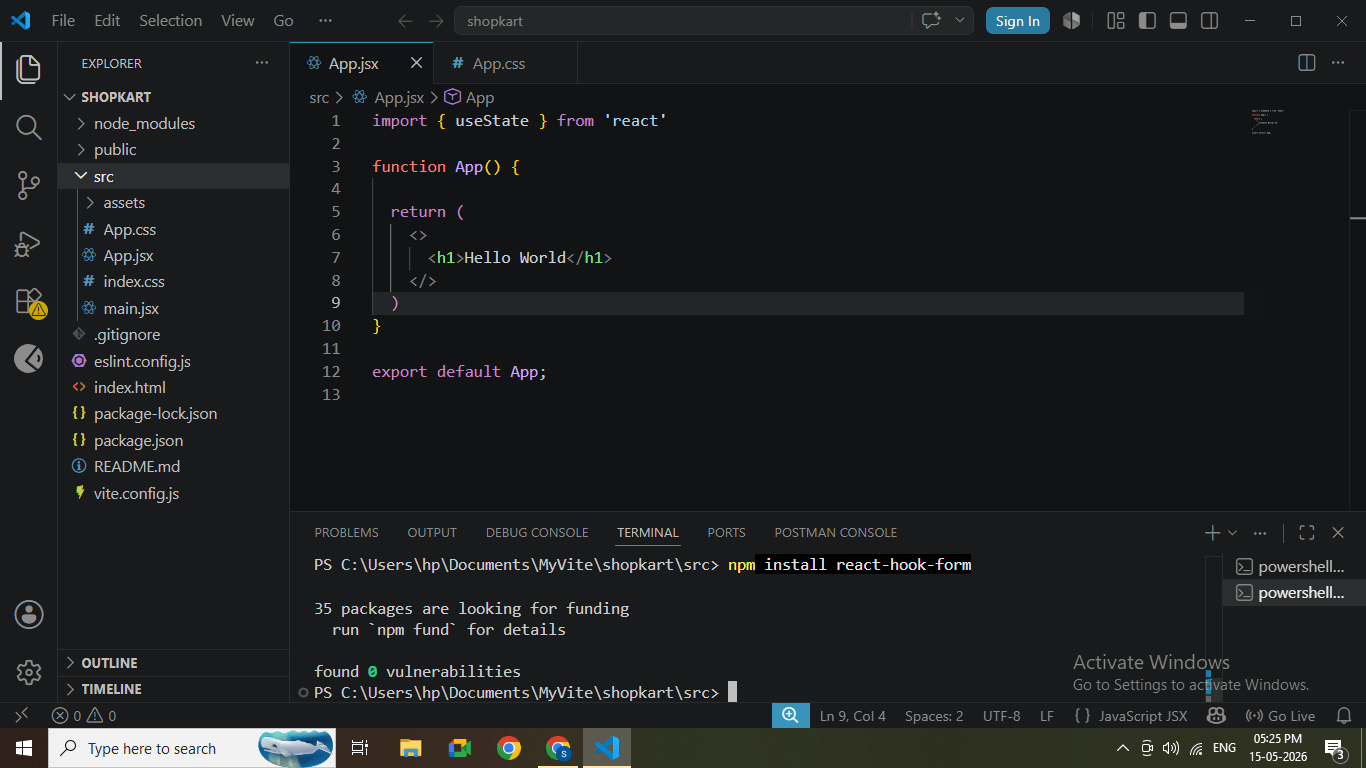
Form library installation
Task 2: Configure Bootstrap
1
Open file:
src/main.jsx
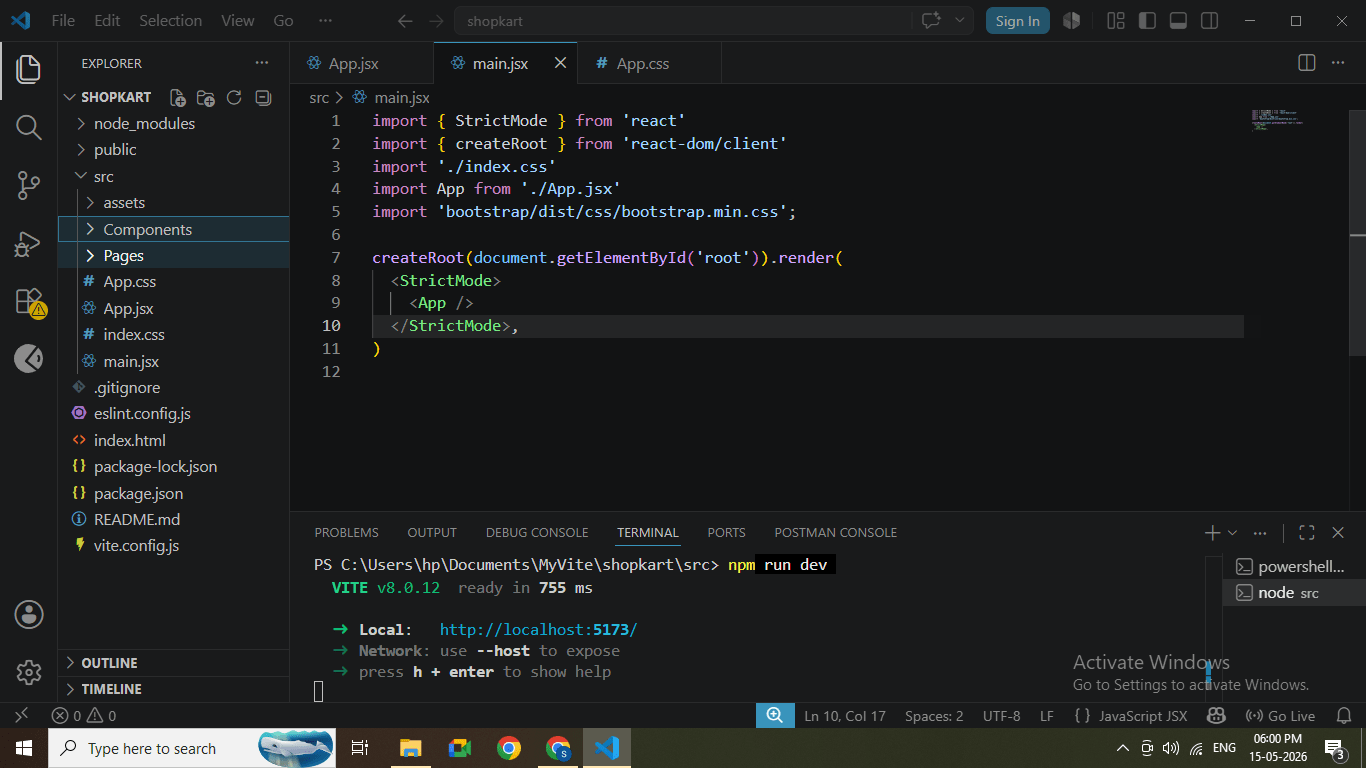
2
Add Bootstrap import at the top:
import 'bootstrap/dist/css/bootstrap.min.css';

Bootstrap import added in main.jsx
Task 3: Define Project Domain Structure
1
Inside src folder, create following folders:
components/
pages/
Folder structure created in VS Code
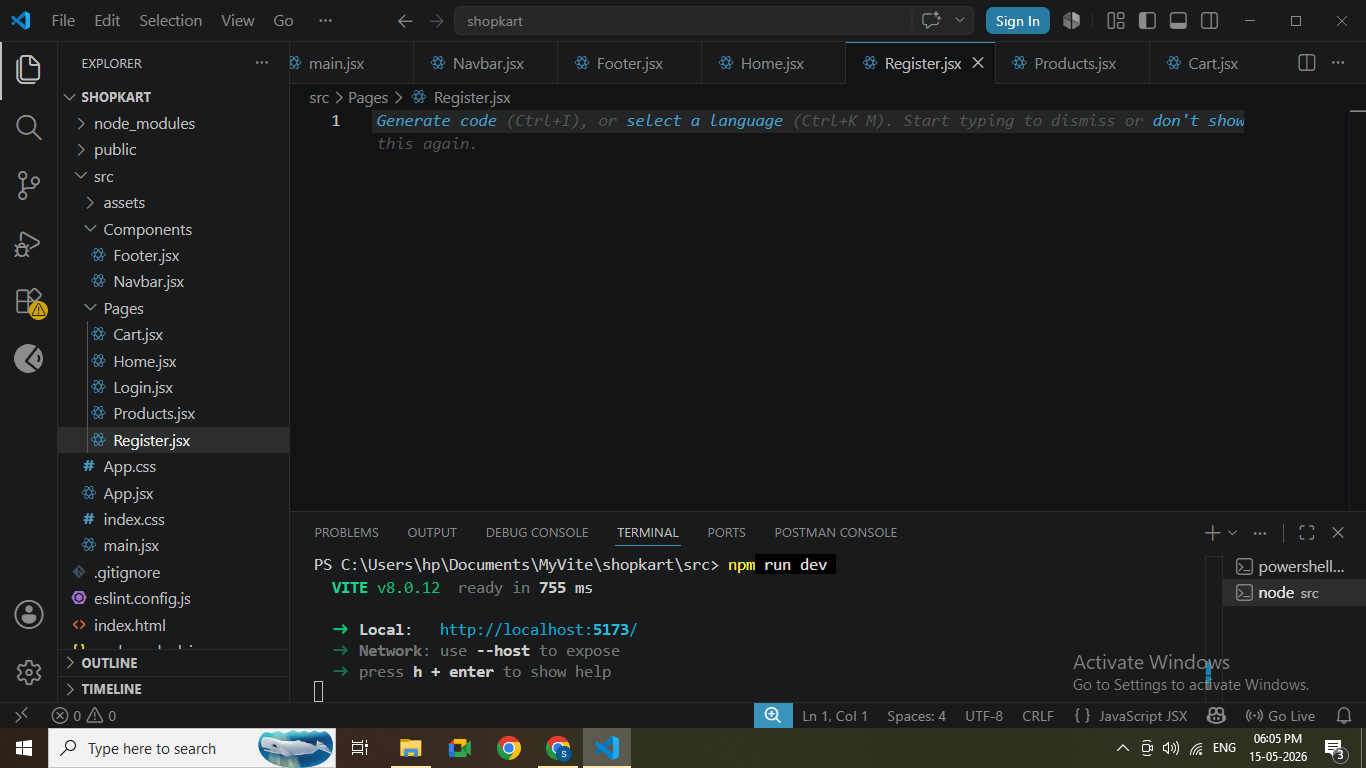
2
Create basic files:
Inside components/
-
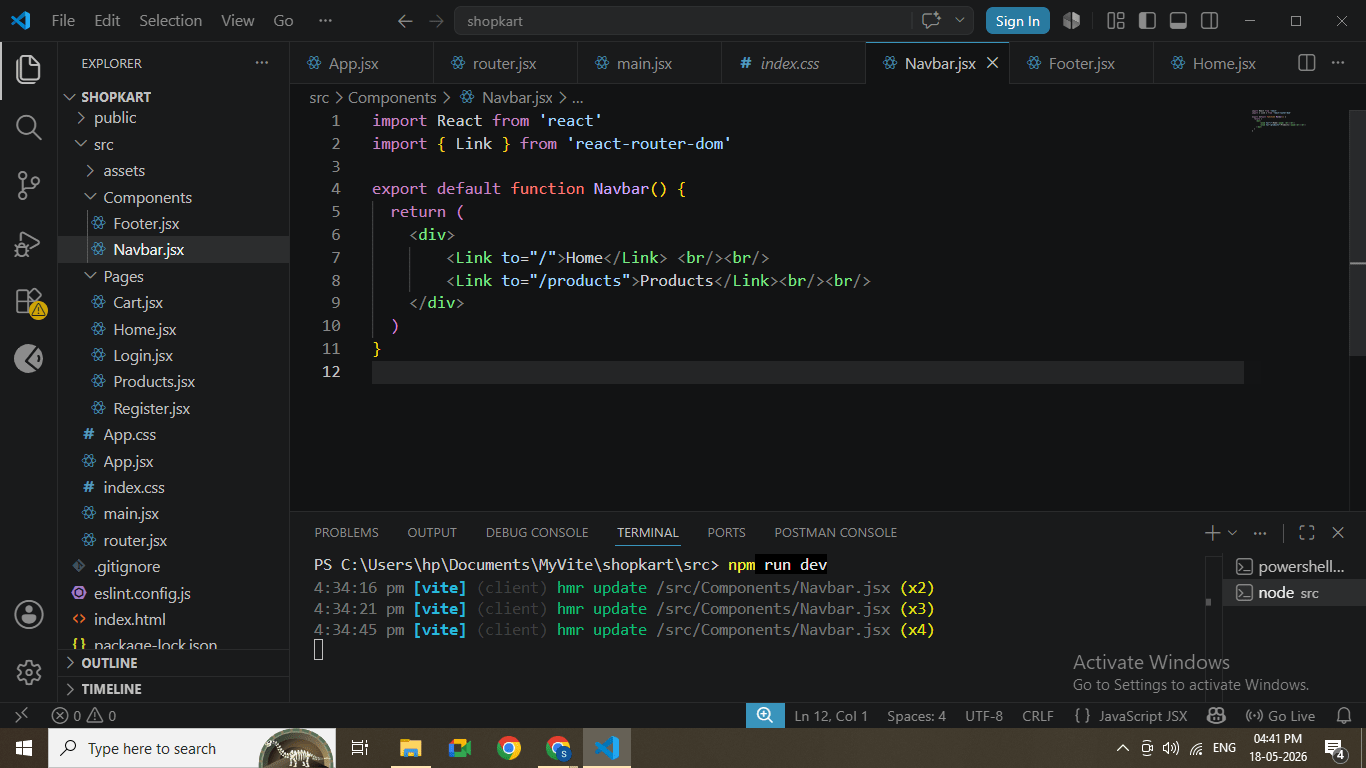
Navbar.jsx
-
Footer.jsx
Inside pages/
-
Home.jsx
-
Products.jsx
-
Cart.jsx
-
Login.jsx
-
Register.jsx
Task 4: Understanding BRD
1
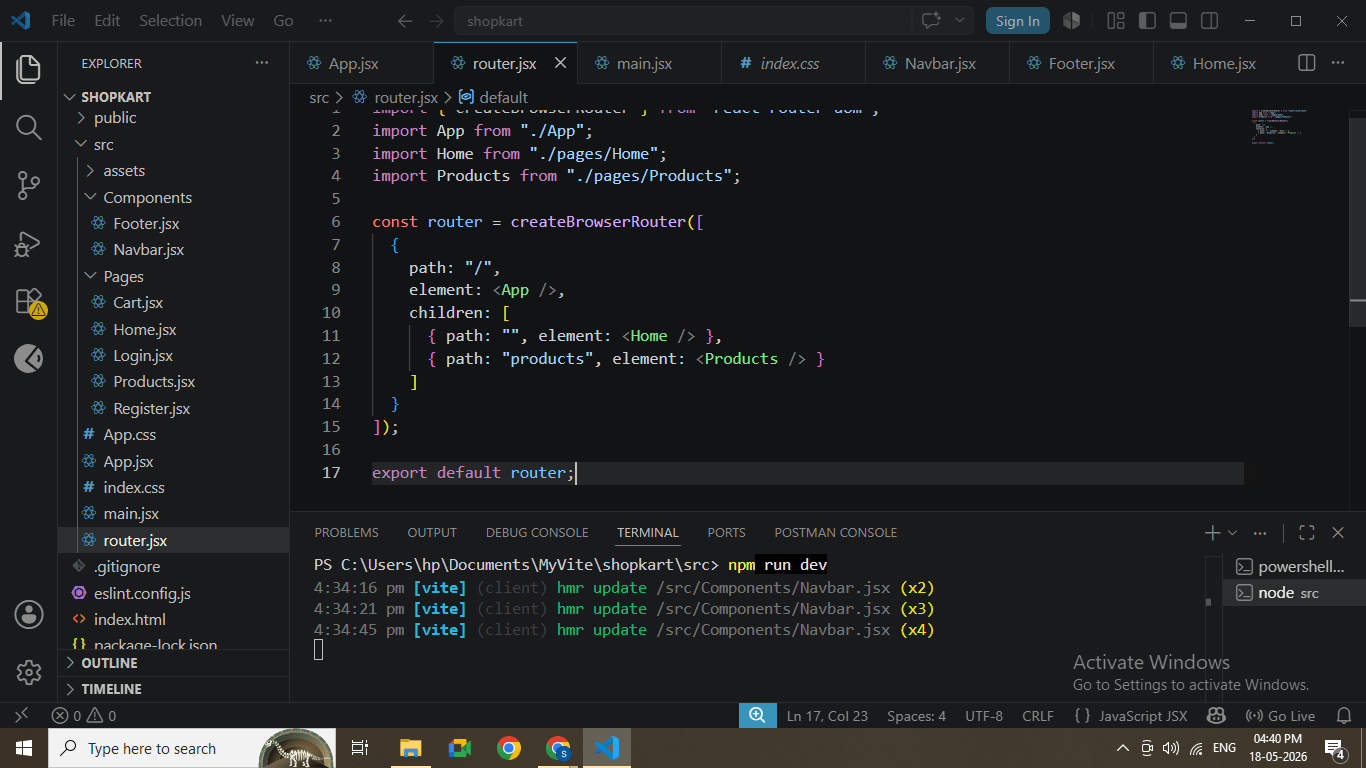
Open main.jsx and wrap App with BrowserRouter
import React from "react";
import ReactDOM from "react-dom/client";
import { RouterProvider } from "react-router-dom";
import router from "./router";


ReactDOM.createRoot(document.getElementById("root")).render(
  <RouterProvider router={router} />
BrowserRouter configured
2
Open App.jsx and define routes
import { Outlet } from "react-router-dom";
import Navbar from "./Components/Navbar";


function App() {
  return (
    <div>
      <Navbar />
      <Outlet />
    </div>
  );
}


export default App;

Routes configured in App.jsx
Task 1: Run Application
1
Run the project
npm run dev
2
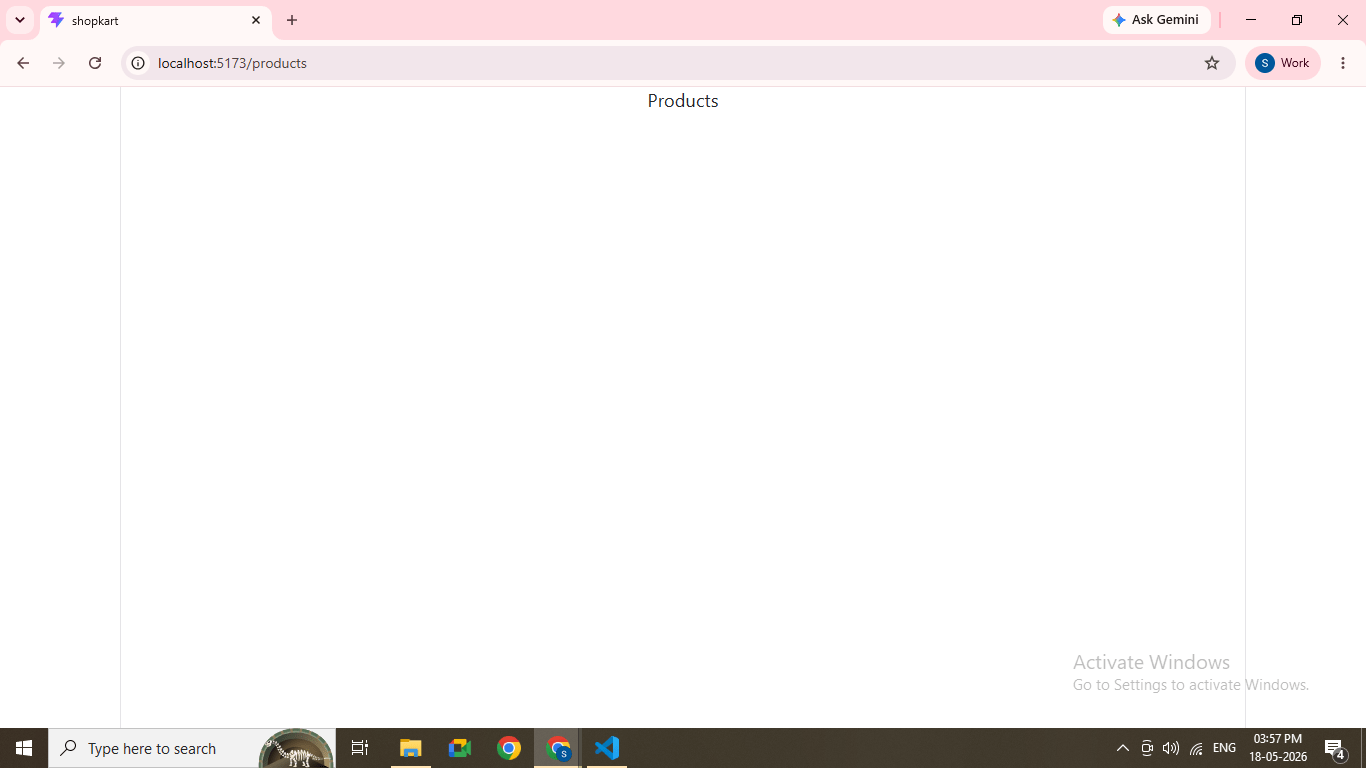
Open browser
http://localhost:5173
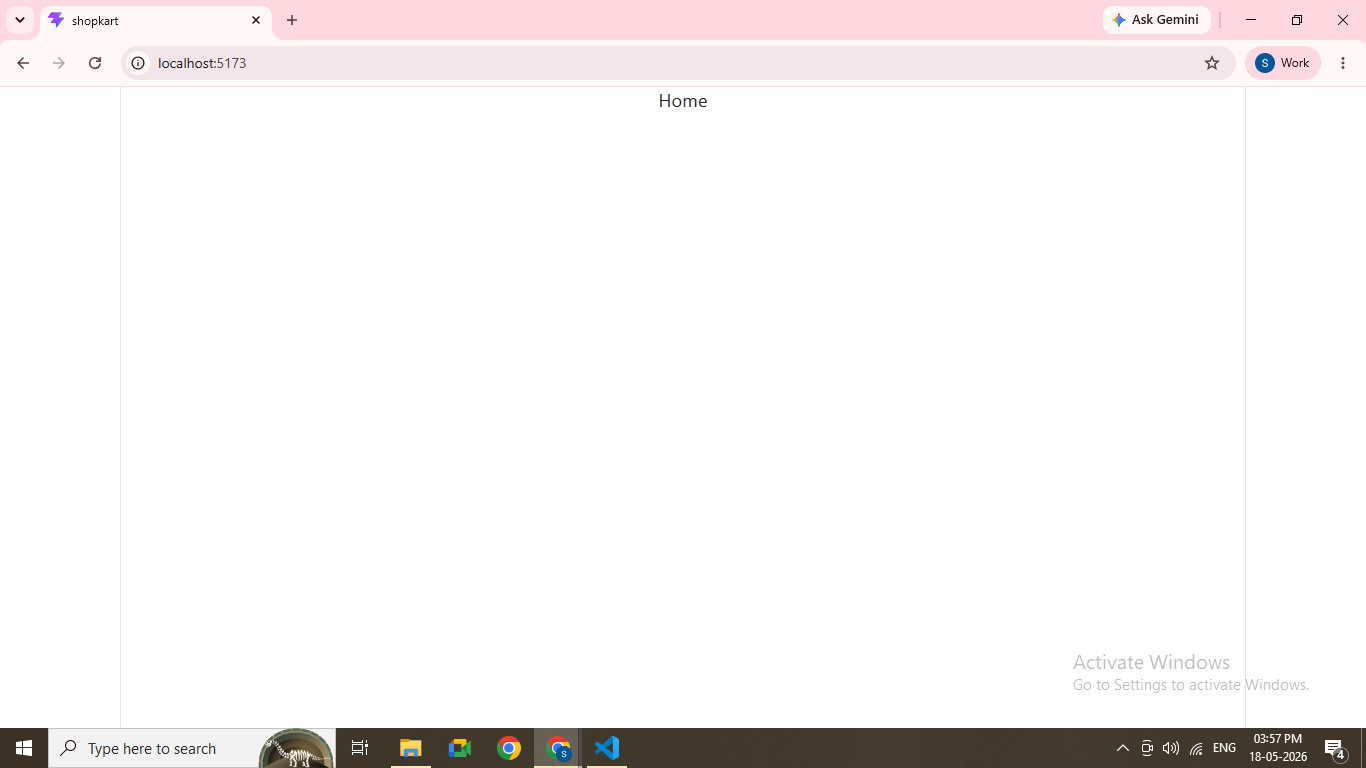
Great job!
-
Installed Bootstrap, React Router, and React Hook Form
-
Configured global Bootstrap styling
-
Created a scalable folder structure
-
Implemented basic routing
-
Prepared project for feature development
Checkpoint
Next-Lab Preparation
-
Creating UI Components (Navbar, Product Card)
-
Props and State
-
API Integration (Spring Boot Backend)