Learn and exploit different types of XSS vulnerabilities

Business Scenario
Welcome!
Today is your first day as a Security Tester at our company. Today, we received a project from a client.
Before launching the application to the public, the client wants to ensure that it is secure against common web attacks, especially Cross-Site Scripting (XSS) vulnerabilities.

Pre-Lab Preparation
Your task is to perform a security assessment of the application by identifying and exploiting different types of XSS vulnerabilities, including Stored XSS, Reflected XSS, and DOM-Based XSS.
Topic : Common Web Vulnerabilities
1) SQL Injection concepts and examples
2) Cross Site Scripting (XSS)
3) Broken authentication vulnerabilities
4) File upload vulnerabilities
5) Session management issues
Task 1: Reflected XSS
Reflected XSS (non-persistent cross-site scripting) is a web security vulnerability where a malicious script in an HTTP request is immediately echoed back by an unsafe web application response. It requires tricking a victim into clicking a crafted link, rather than saving the code on a server.
To identify and exploit a Reflected Cross-Site Scripting (XSS) vulnerability in a vulnerable web application using the PortSwigger Web Security Academy lab.
Open the PortSwigger Web Security Academy
1
Visit the PortSwigger Web Security Academy website.
b
Sub Open your web browser.
a
Click Access the Lab to launch the vulnerable application.
d
Search for the Reflected XSS lab.
c
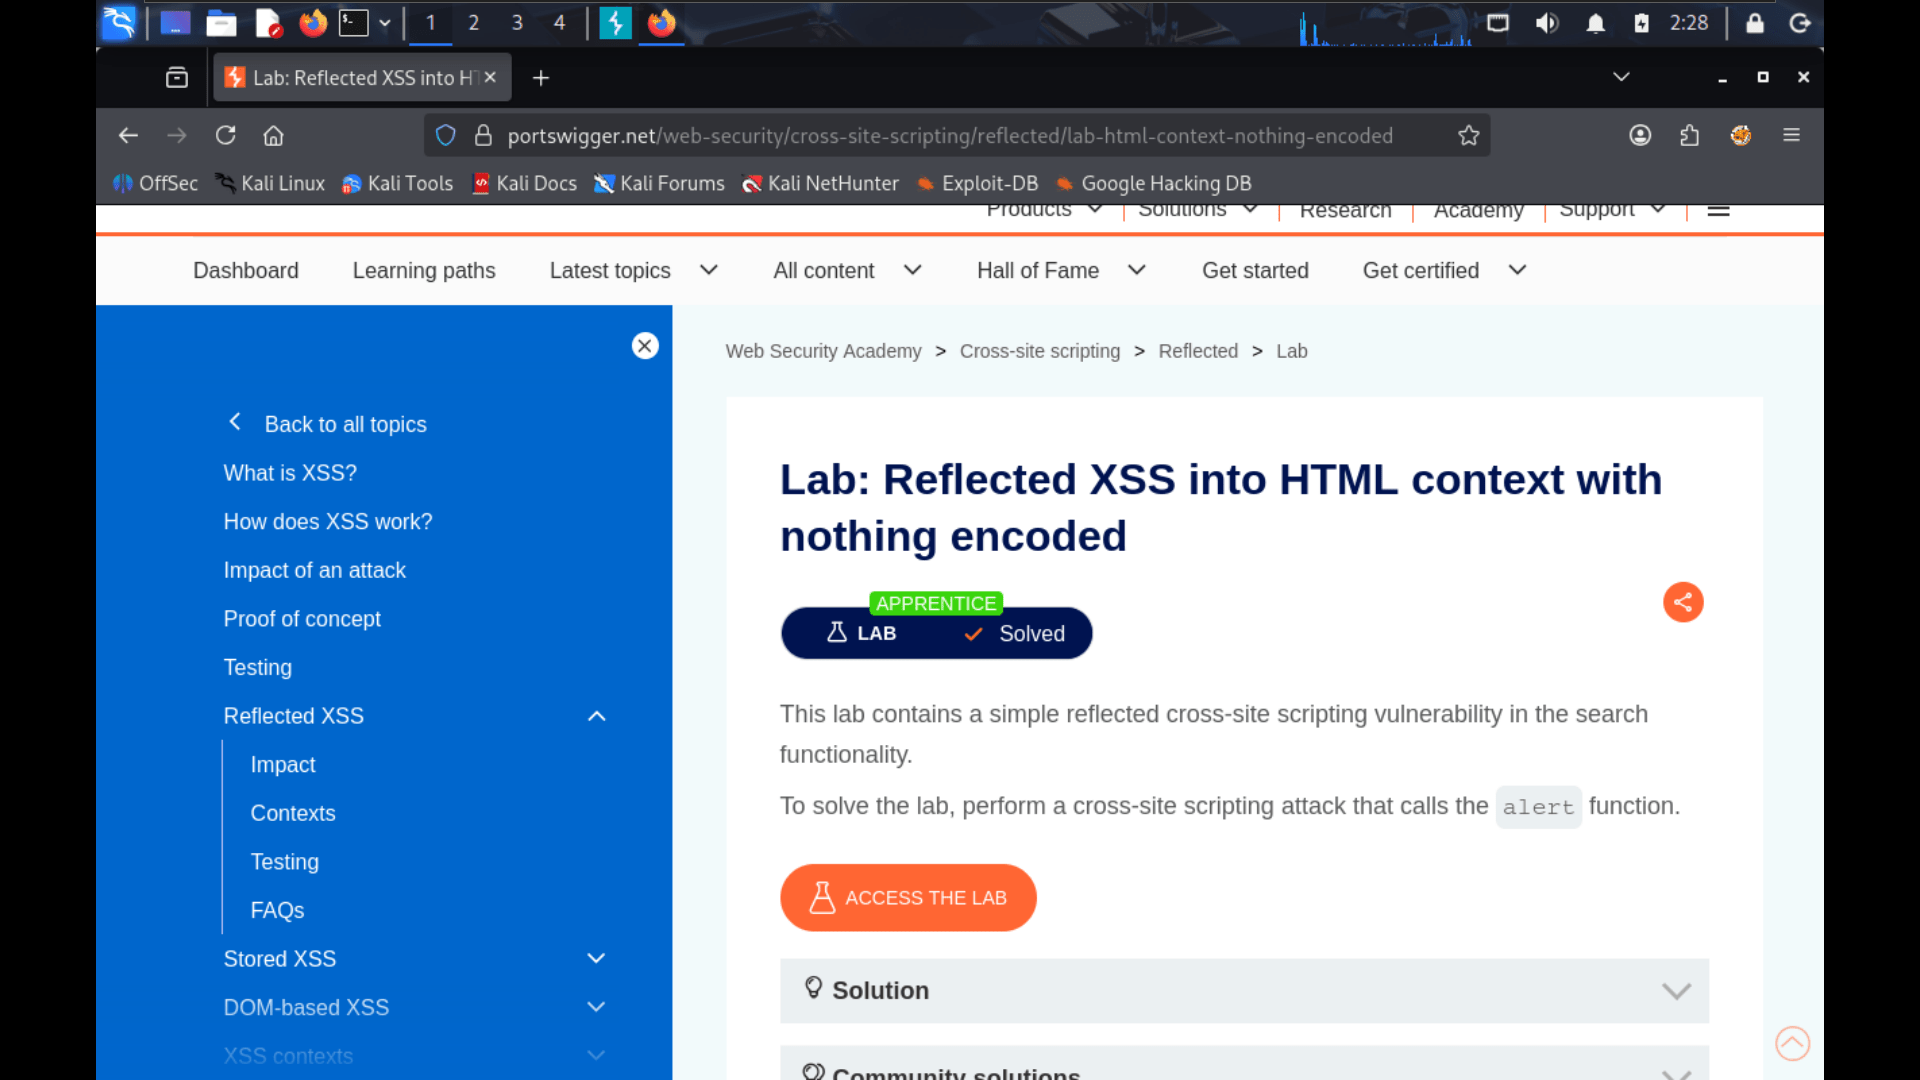
Explore the Application
2
Locate the Search functionality.
b
After accessing the lab, you will be redirected to the vulnerable web application.
a
Click the Search button.
d
Enter a simple word such as:
c
Hello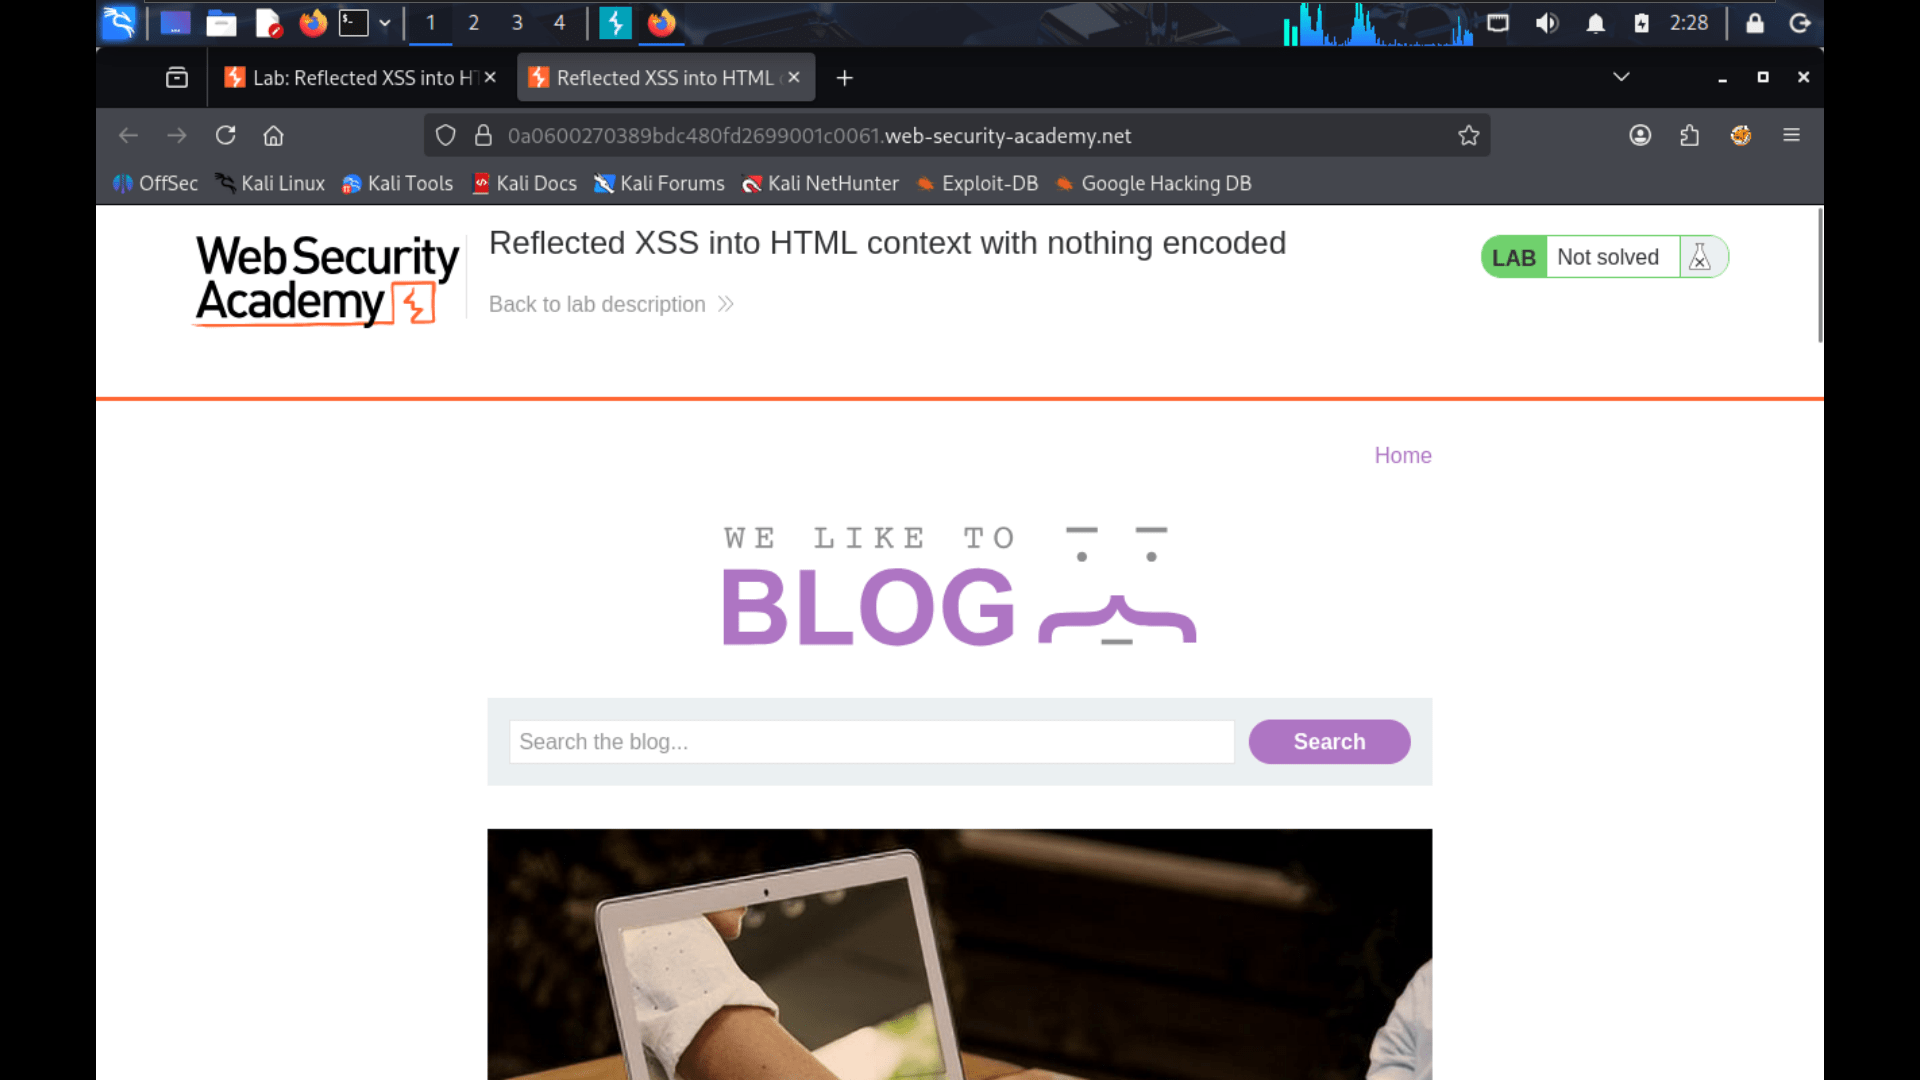
Identify User Input Reflection
3
Check whether the text you entered (Hello) appears on the webpage.
b
Observe the search results.
a
If the input is immediately displayed in the response, the application may be vulnerable to Reflected XSS.
c
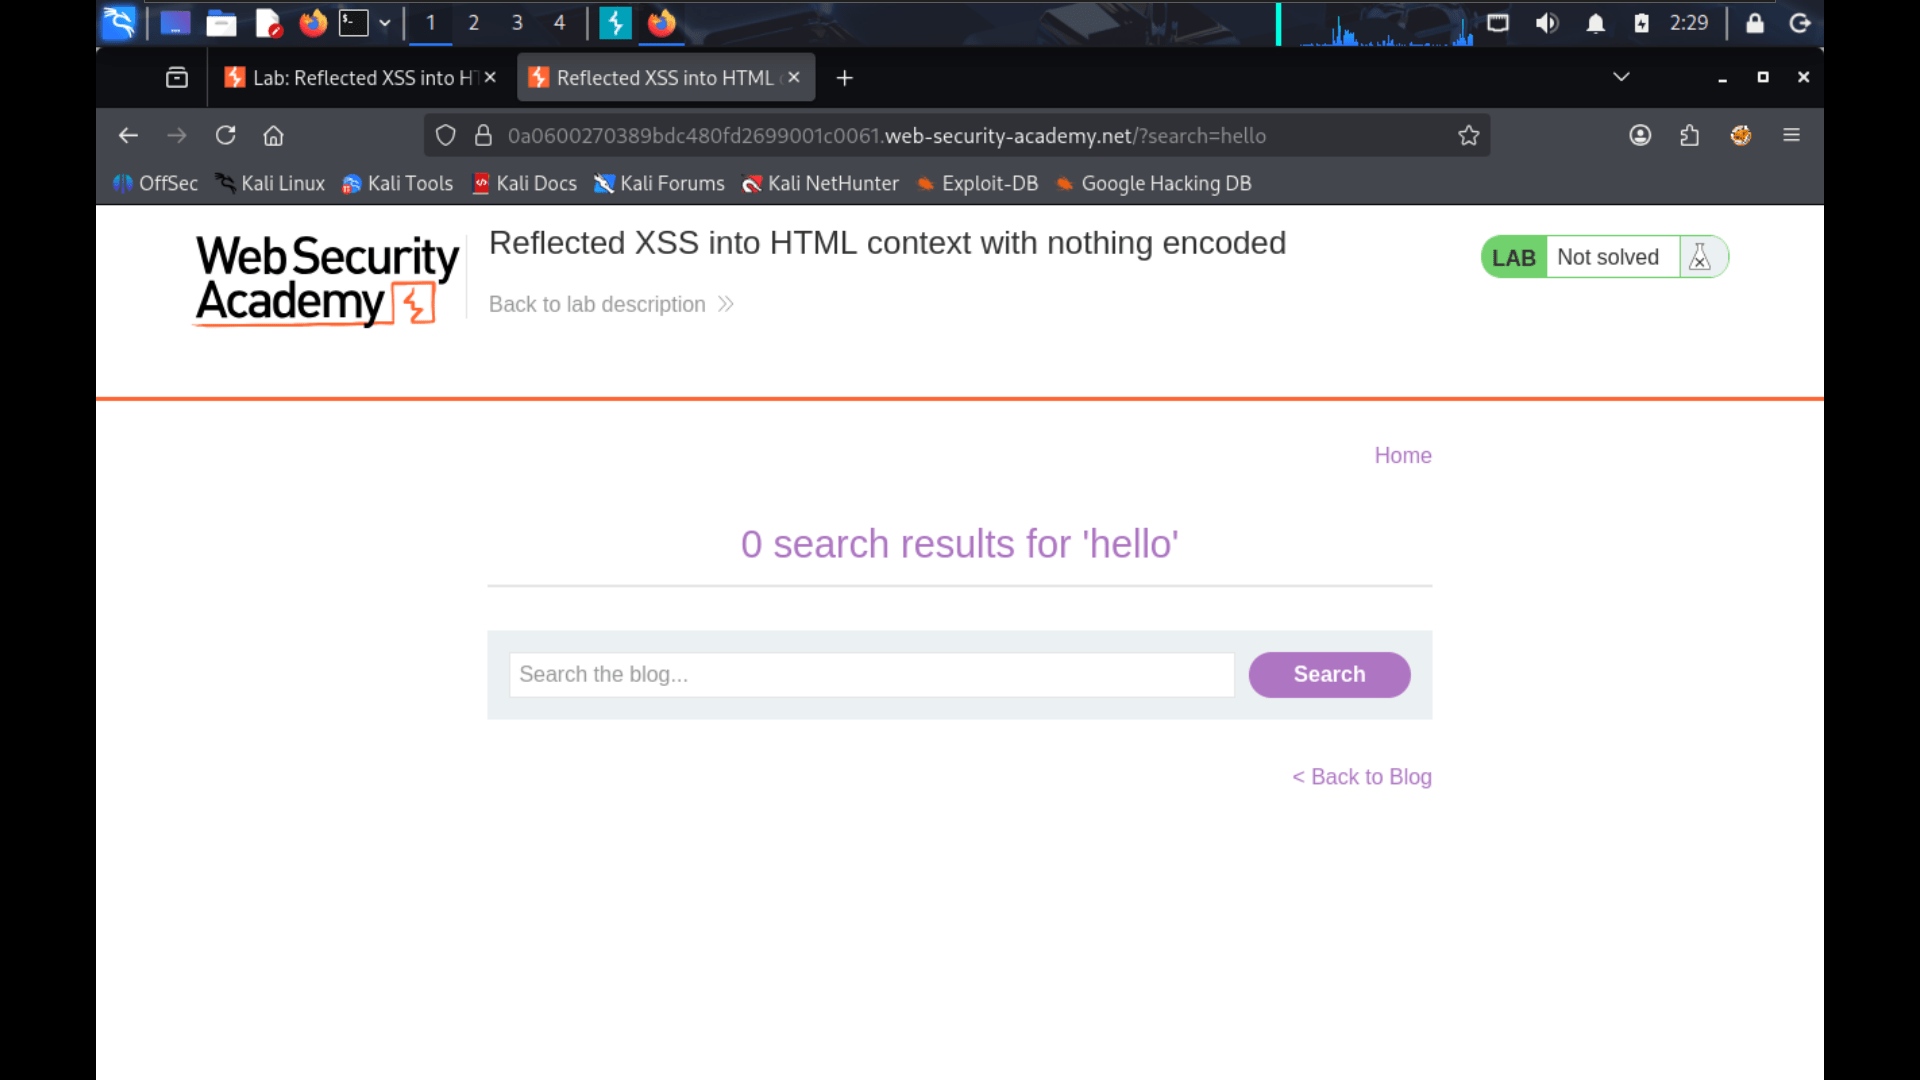
Test for Reflected XSS
4
Replace the previous search term with the following payload:
a
<script>alert("You got hacked")</script>Click Search again.
b
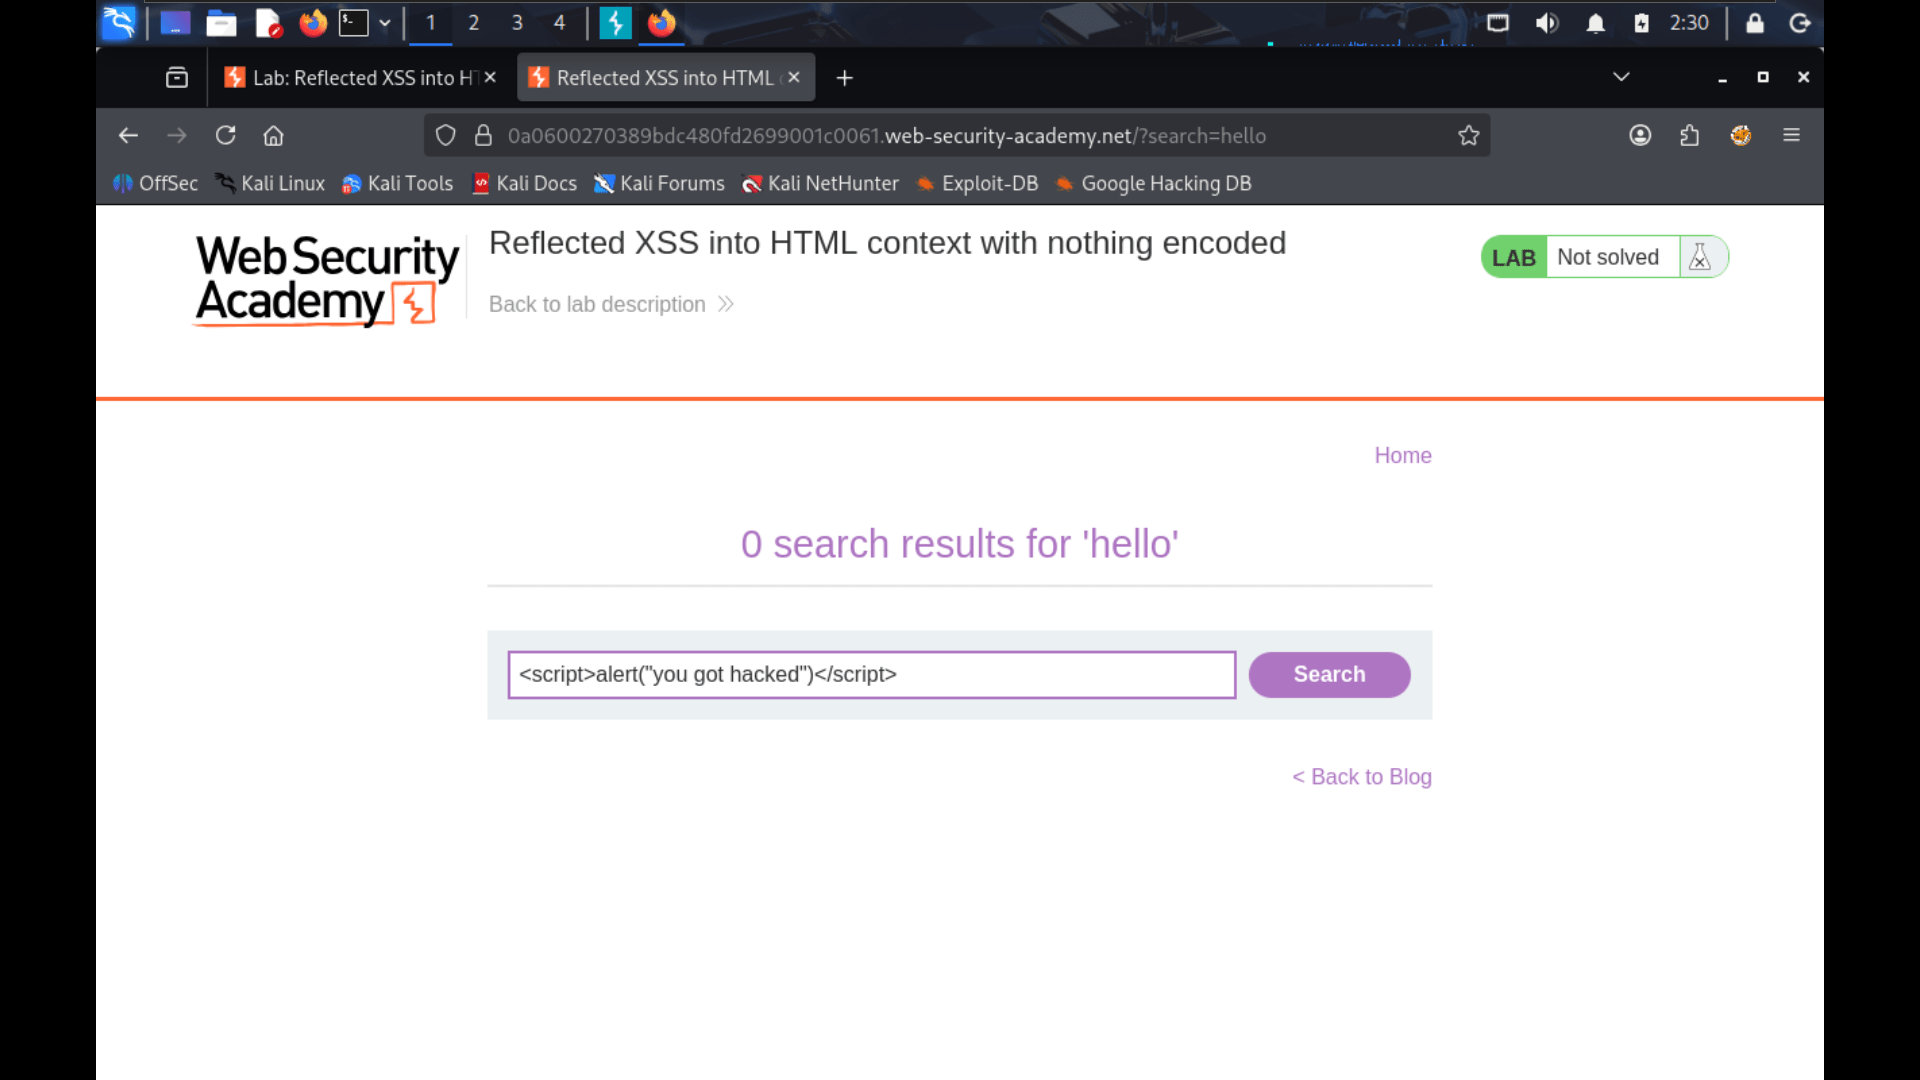
<script>alert("You got hacked")</script>Click Search again.
b
Observe the Result
1
An alert box displaying:
b
If the application is vulnerable, the browser will execute the JavaScript code.
a
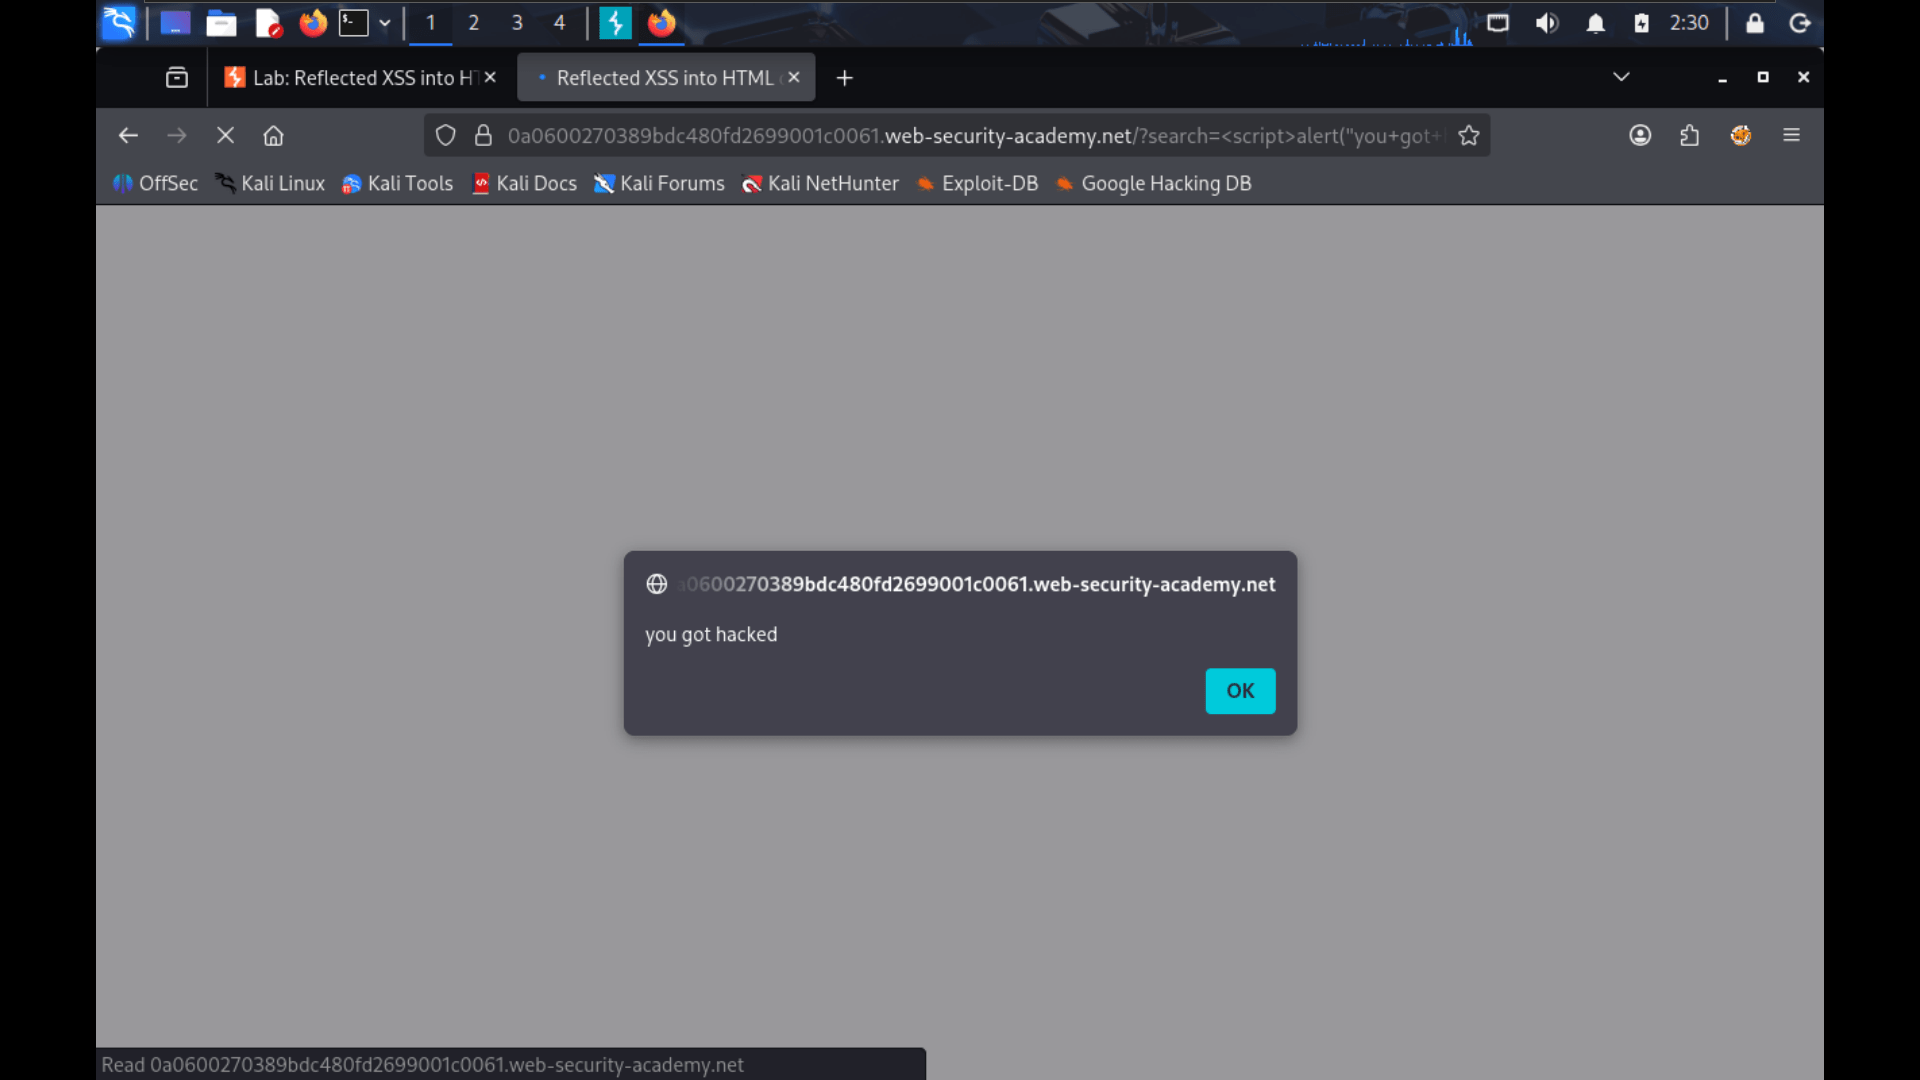
This confirms the presence of a Reflected Cross-Site Scripting (XSS) vulnerability
Task 2: Stored XSS
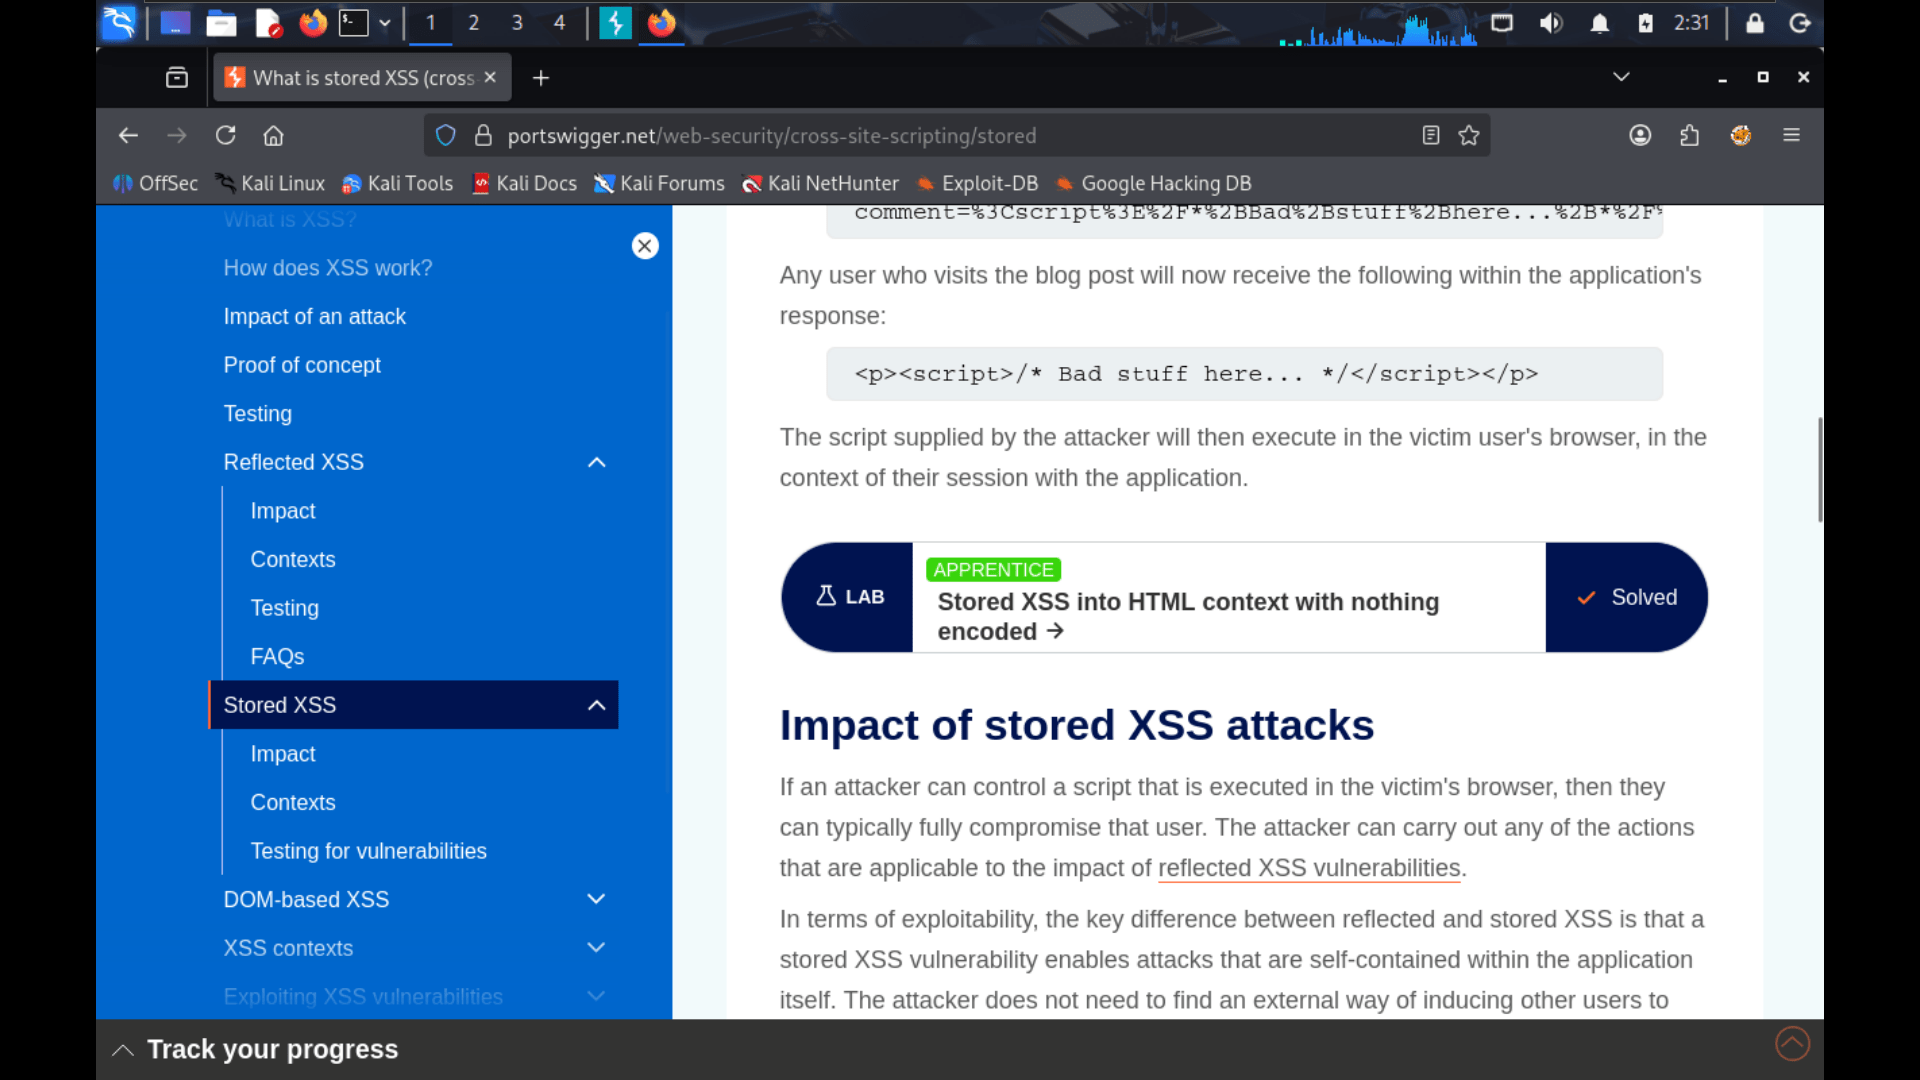
Stored XSS (Cross-Site Scripting) occurs when an application receives untrusted data, stores it in a database, and later embeds that data into a webpage unsafely. When a victim views the affected page, the injected malicious script executes automatically in their browser.
Open the Lab
1
Visit the PortSwigger Web Security Academy.
b
Open your web browser.
a
Click Access the Lab.
d
Search for the lab "Stored XSS into HTML context with nothing encoded."
c
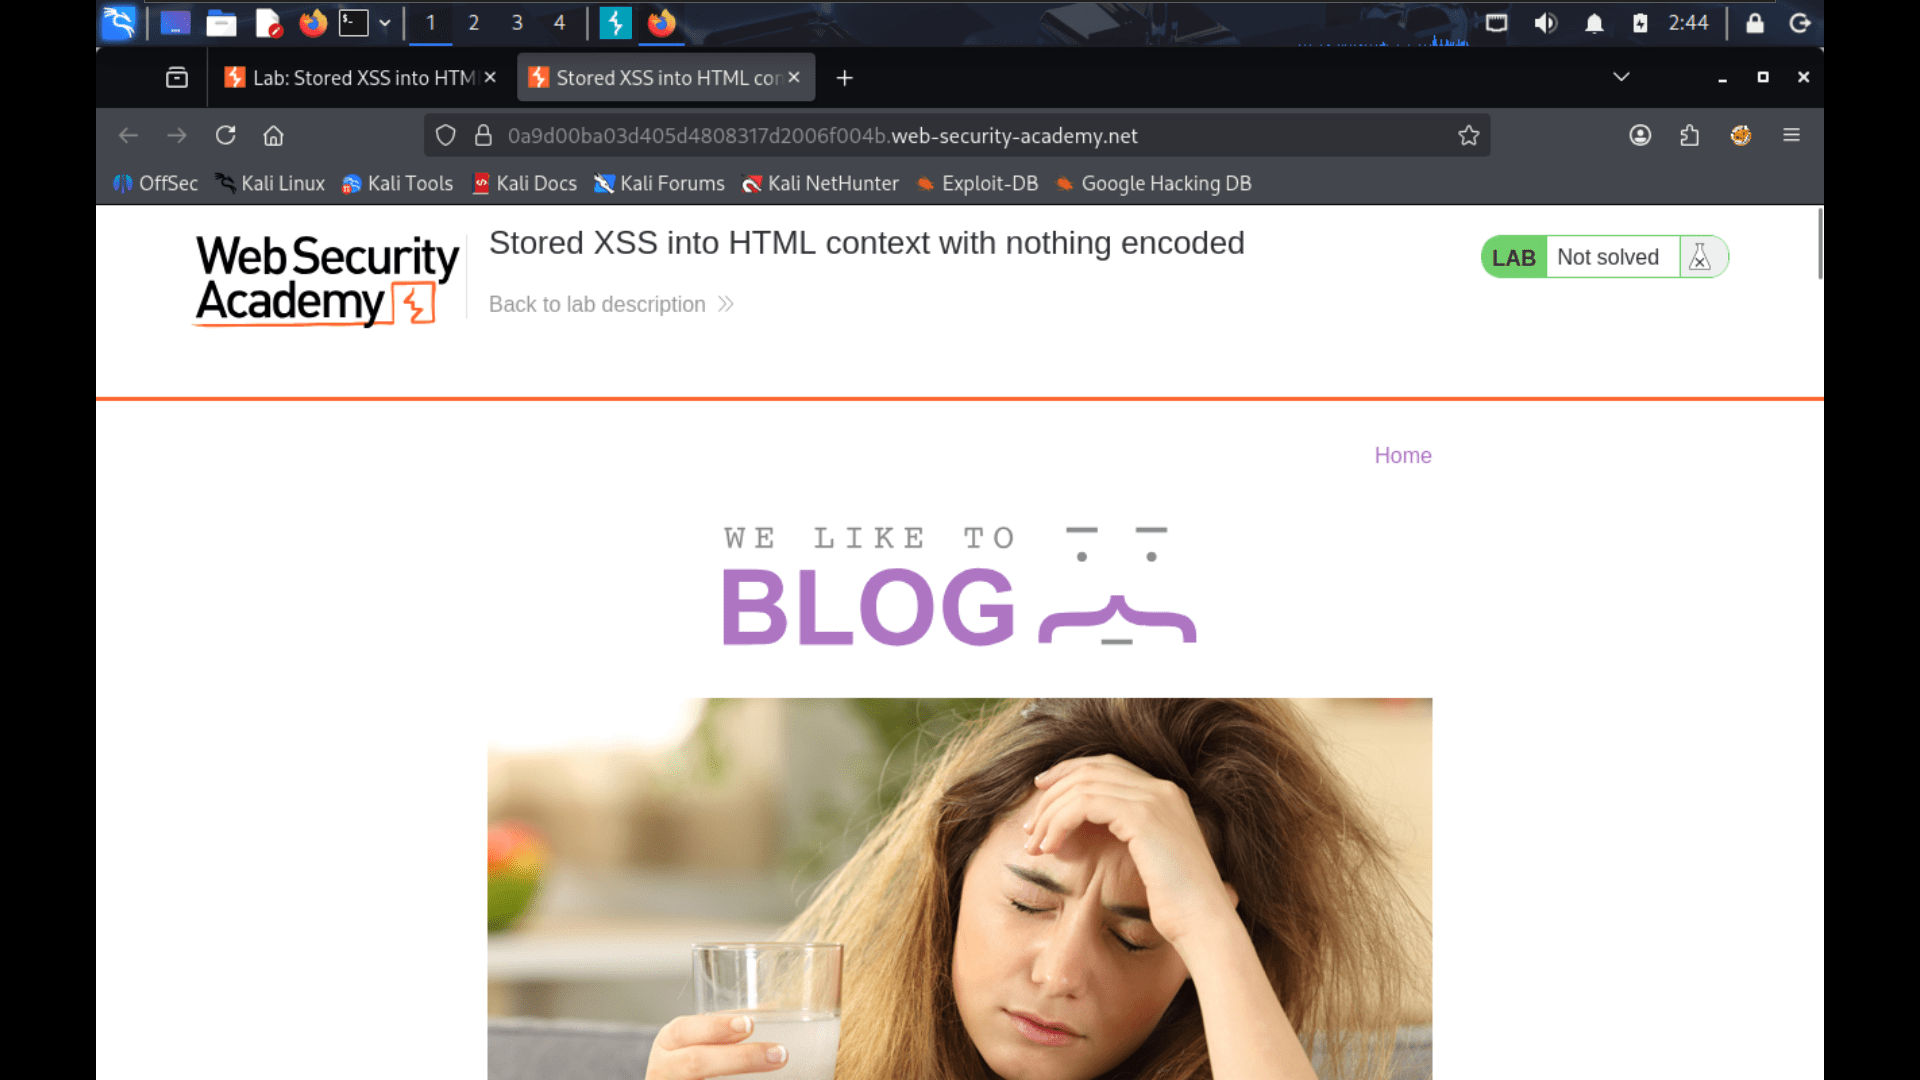
Open a Blog Post
2
You will see:
b
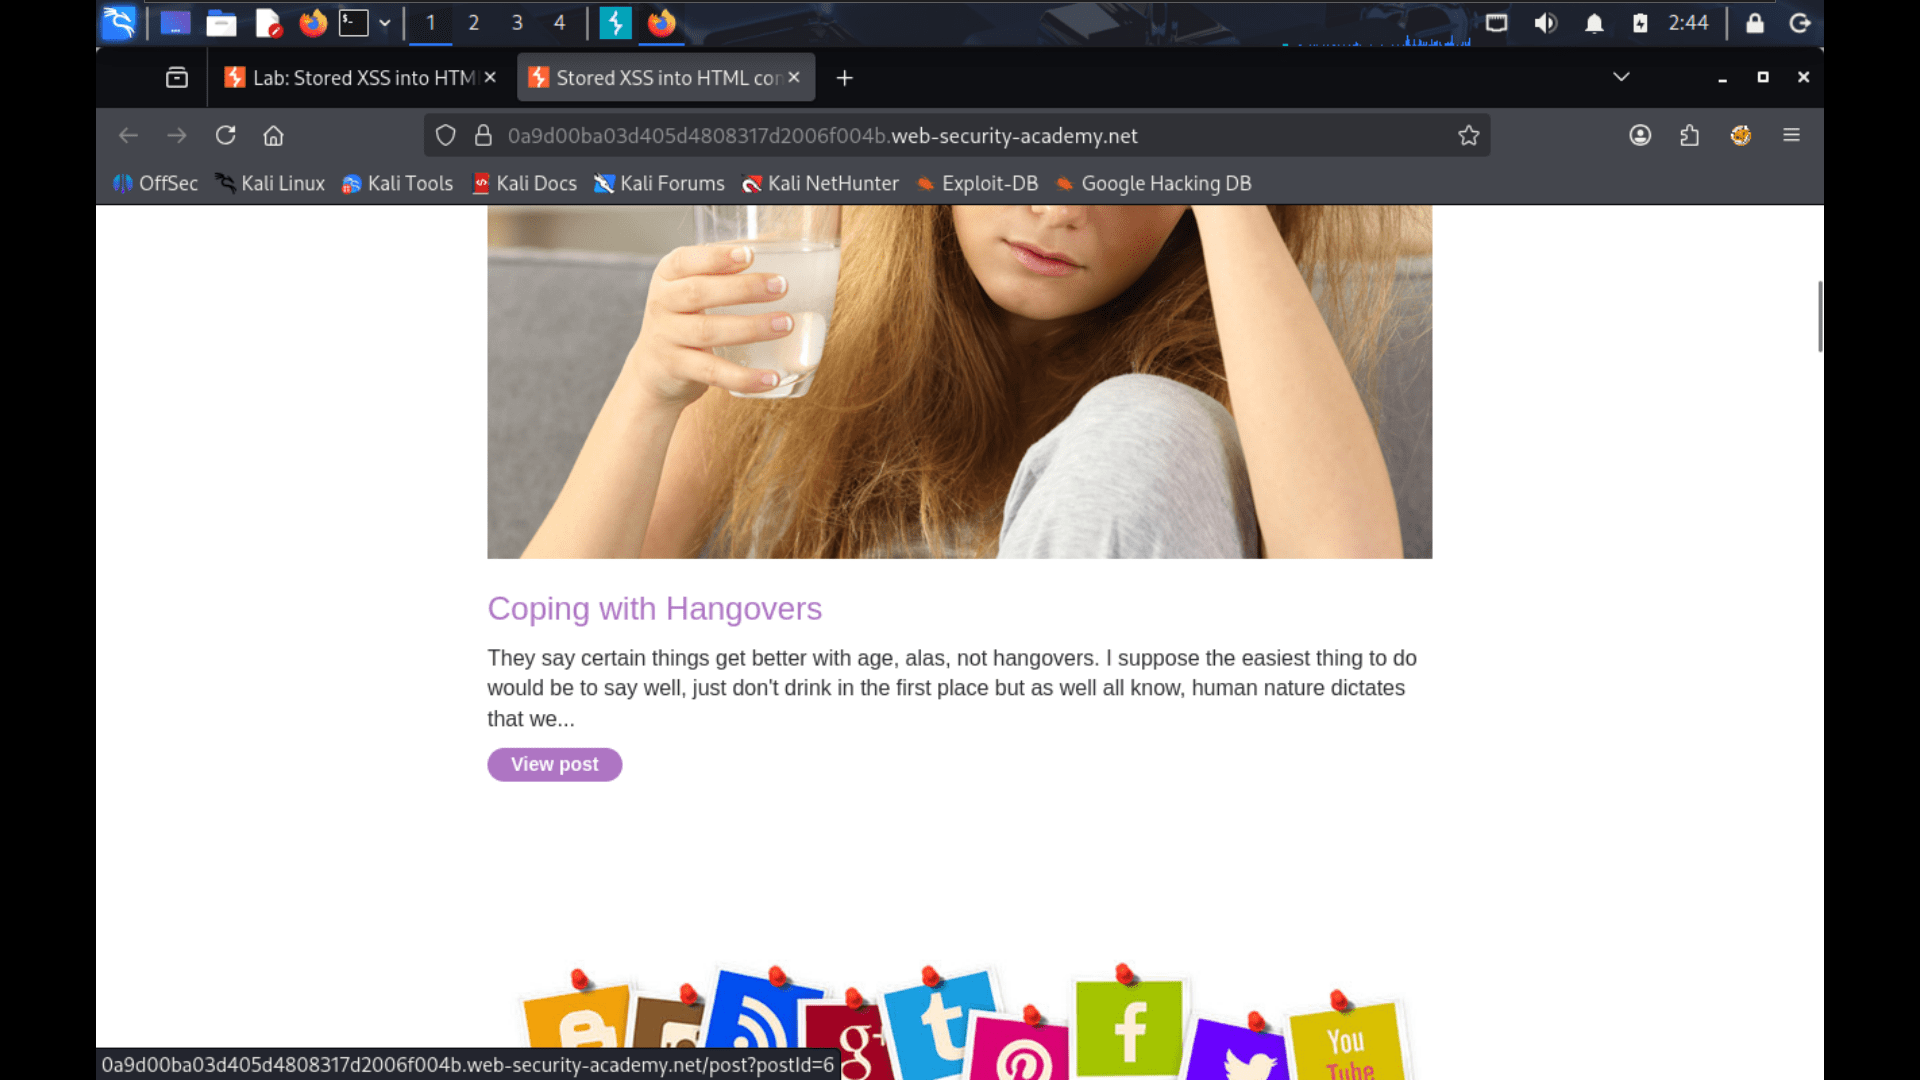
Once the lab loads, click View Post for any available blog article.
a
- Existing comments
- A Leave a comment section
- Input fields for:
- Comment
- Name
- Website
Submit a Normal Comment
3
Before testing for XSS, enter a normal comment using the following details:
a
| Field | Value |
|---|---|
| Comment | Hello Everyone! |
| Name | Student |
| student@mail.com | |
| Website | https://example.com |
Click Post Comment.
b
| Col 1 | Col 2 | Col 3 |
|---|---|---|
| Row 1 | ||
| Row 2 | ||
| Row 3 |
Formula
Profit = Revenue - Cost
Task 2: Create WireFrame
Now that you understand the requirements, don’t jump into coding yet. Before development, we always visualize the layout.
Now lets create a simple wireframe for the homepage.
A wireframe is like a layout plan of a house. Before building, you decide where rooms, doors, and windows will be placed.Similarly, a wireframe helps you plan where elements like headers, images, and buttons will appear on a webpage—before adding design or colours.
Task 3: Code Editor Installation
Good work on completing the planning phase.
Now we will start development. Before that, make sure your system is ready with the required tools.
In this step we will install the VS code editor that will help to Write code efficiently,Organize files , Run and test your application
Go to the visual studio code official website
1
Click to download Homepage Wireframe : Homepage Wireframe
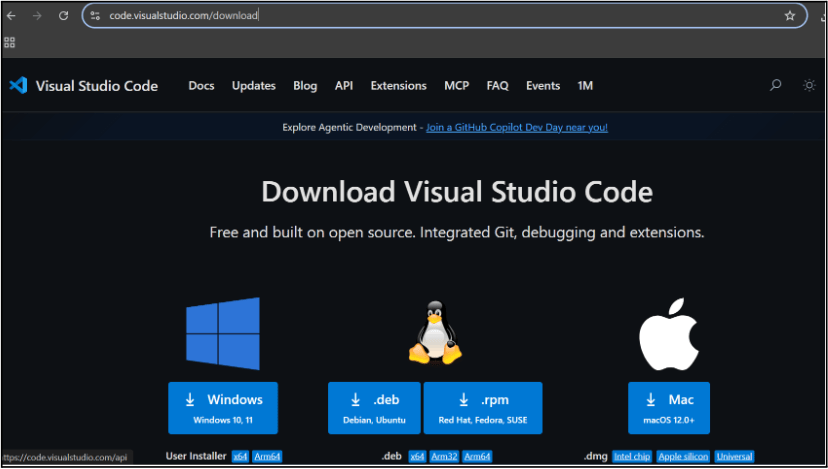
Choose your operating system(windows / Mac) and download the installation file.
Double click on the download app and Accept the agreement and click next
2
It is a long established fact that a reader will be distracted
b
Sub Steps
a
Double click on the download app and Accept the agreement and click next
public class MathSample {
    public static void main(String[] args) {
        int x = 10;
        int y = 20;
        int sum = x + y;

        System.out.println("The sum is: " + sum);
    }
}
public class MathSample {
public static void main(String[] args) {
int x = 10;
int y = 20;
int sum = x + y;
System.out.println("The sum is: " + sum);
}
}
public class MathSample {
public static void main(String[] args) {
int x = 10;
int y = 20;
int sum = x + y;
System.out.println("The sum is: " + sum);
}
}
Great job!
You have successfully completed your first lab on BiteBox Project Onboarding.
In this lab, you have: Understood the BRD, Created a wireframe, Set up your development environment, Organised your project structure, Run your first program
You are now ready to move to the next stage of development
Checkpoint

Next-Lab Preparation
Git Push
git push origin branchNameTopic : Working with a Text and Listin HTML
1) Power of HTML text tags
2) Customizing your style with CSS
3) Listing it right using HTML
4) HTML Link up , attributes of tag, block vs inline elements
Text box Width : 887
Business Scenario, Pre-lab Preparation, Next-lab Preparation, Task, Activity, Checkpoint : 90%.
Steps : 1,2,3 [Sub Steps - a,b,c]
Normal Text, Topic Name : 80%
Subtopic : 70%
Code Box font Size : 16px