Cartforge GitHub Repository Integration and Branch Management

Business Scenario
After Installing Git Properly we need Git Hub Repository

Pre-Lab Preparation
- Understand Git & GitHub basics, version control, and common commands (init, clone, add, commit, push, pull)
- Set up Git (install + config) and create a GitHub repository
- Learn branching concepts (create, switch, merge branches) and basic merge conflict idea
Task 1: Create a GitHub Repository
1
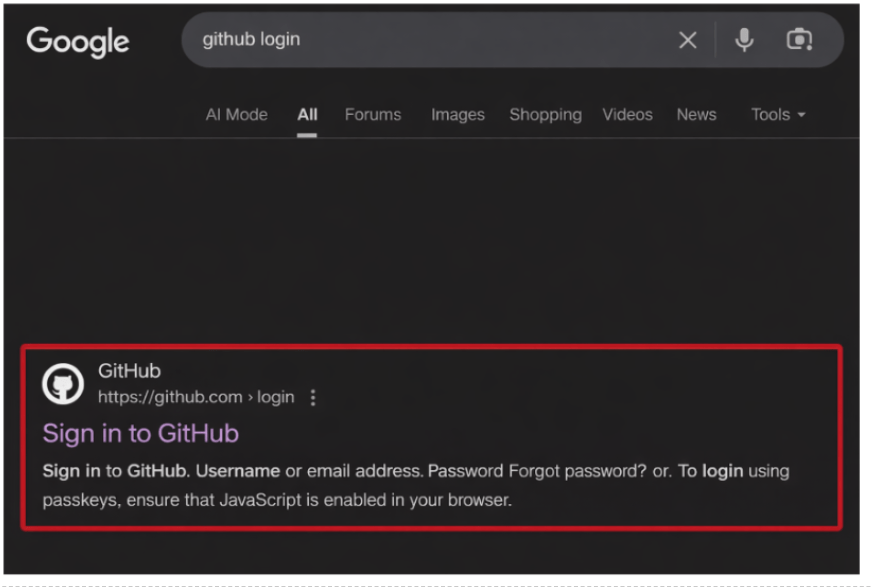
Visit www.github.com
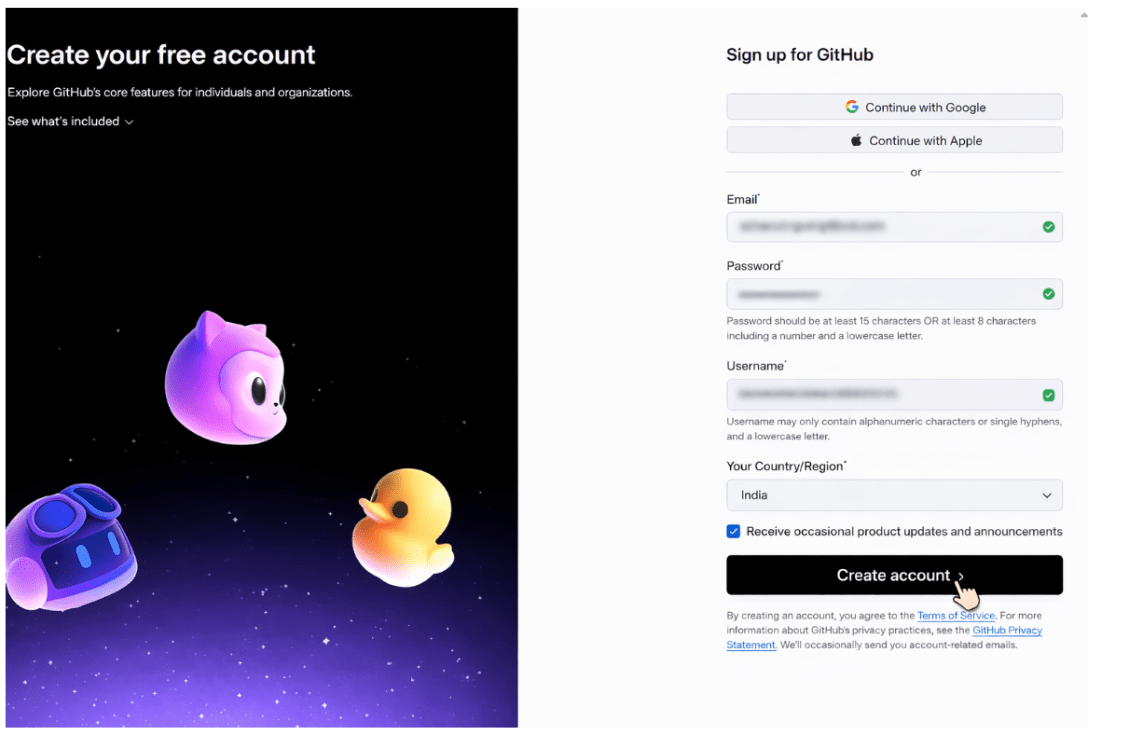
2
Create your github Accoun
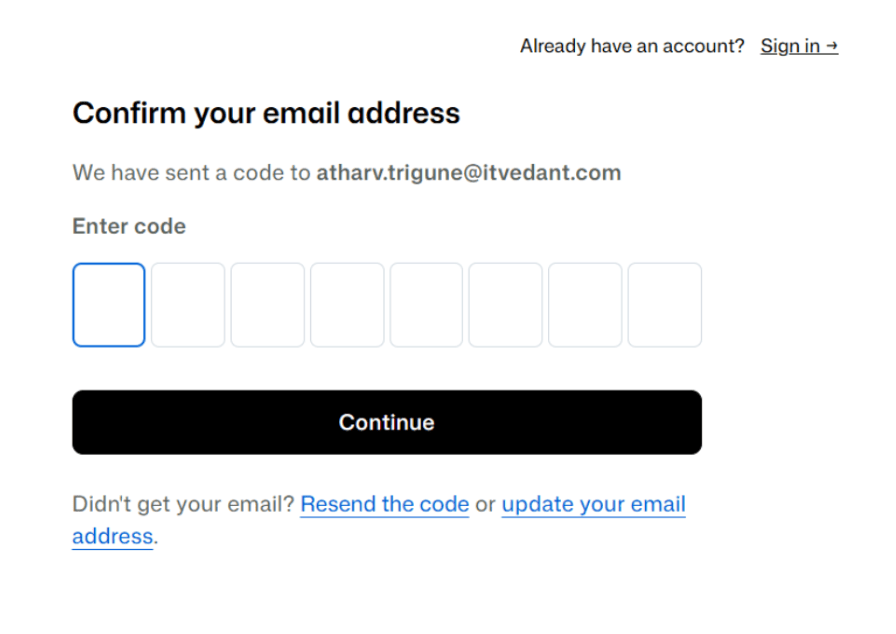
3
After click on Create Account Button You will verify the Email
4
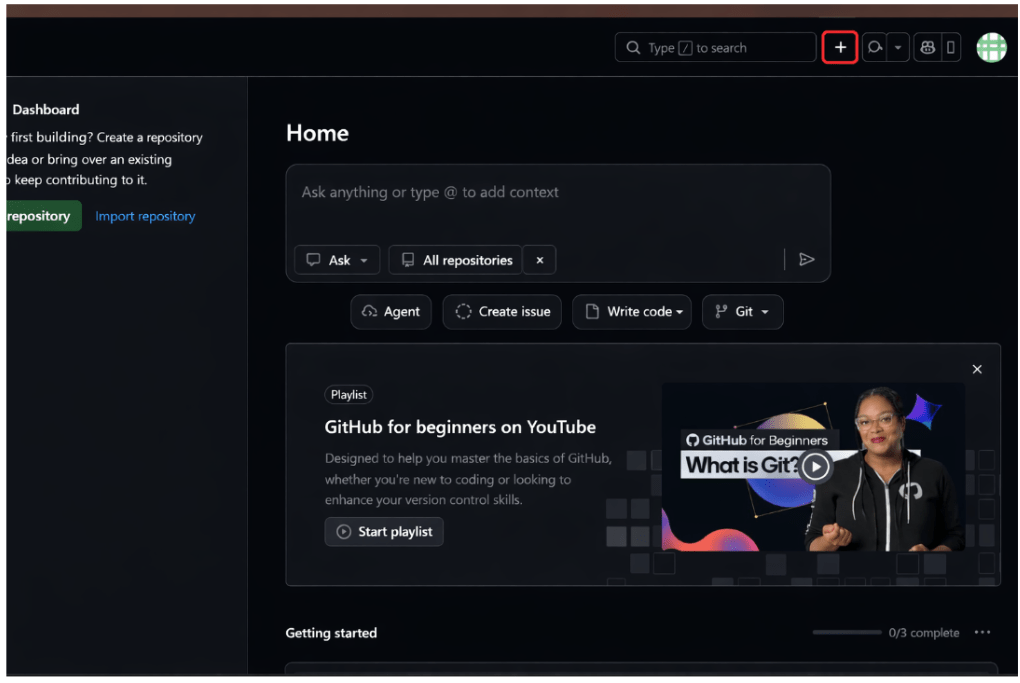
After Verifying the Email You See The Github Dashboard on that there is “+” icon
5
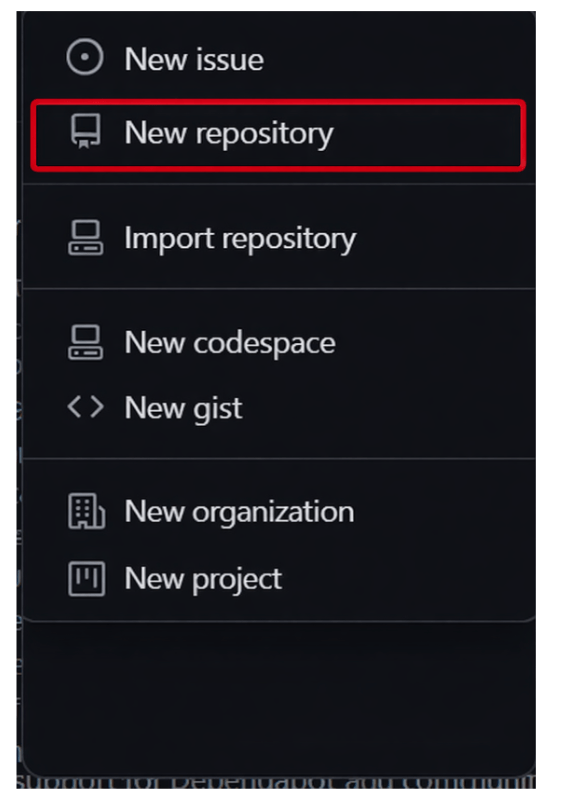
After Click On the “+” icon you will see the new Repository option
6
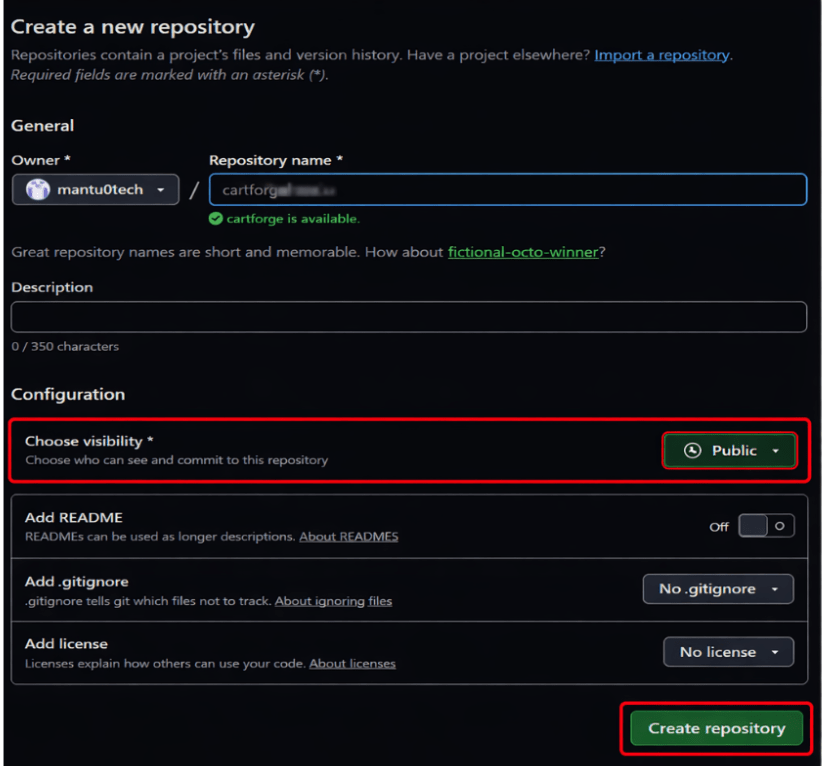
After Click on the New Repository Fill the all the details
a
Repository Name → cartforge
b
Description → (optional)
c
Select → Public
d
Click Create Repository
5
Create one folder with your Project name on your machine and right click on the folder and open it in Git bash
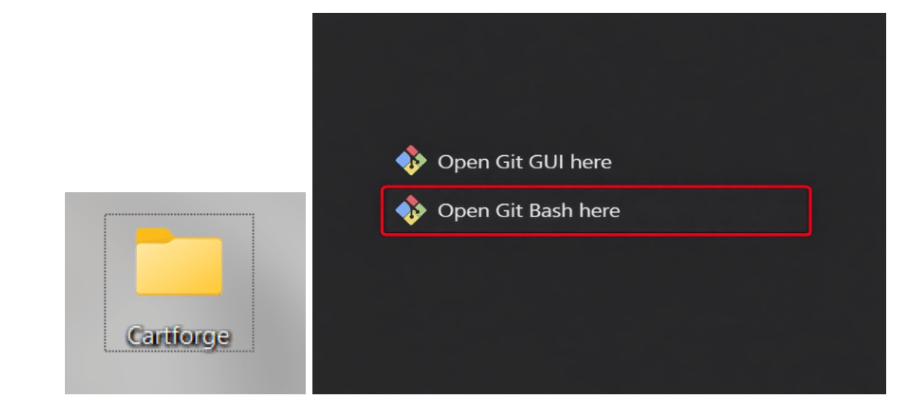
6
Open terminal inside your CartForge project

7
Initialize Git by running following command
git init 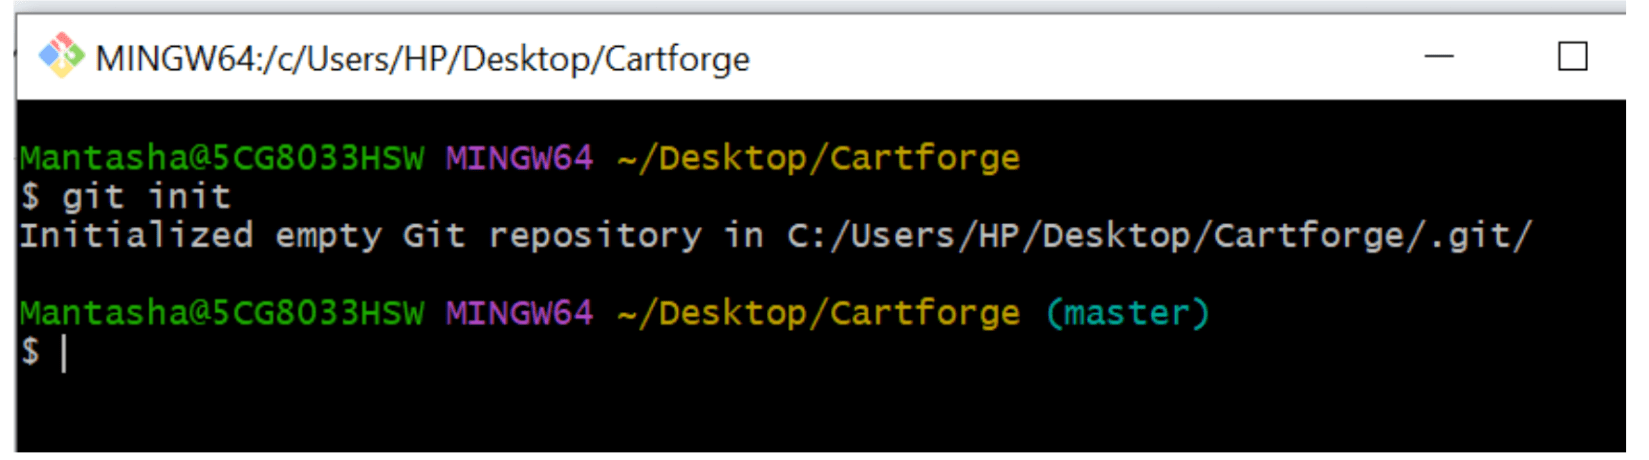
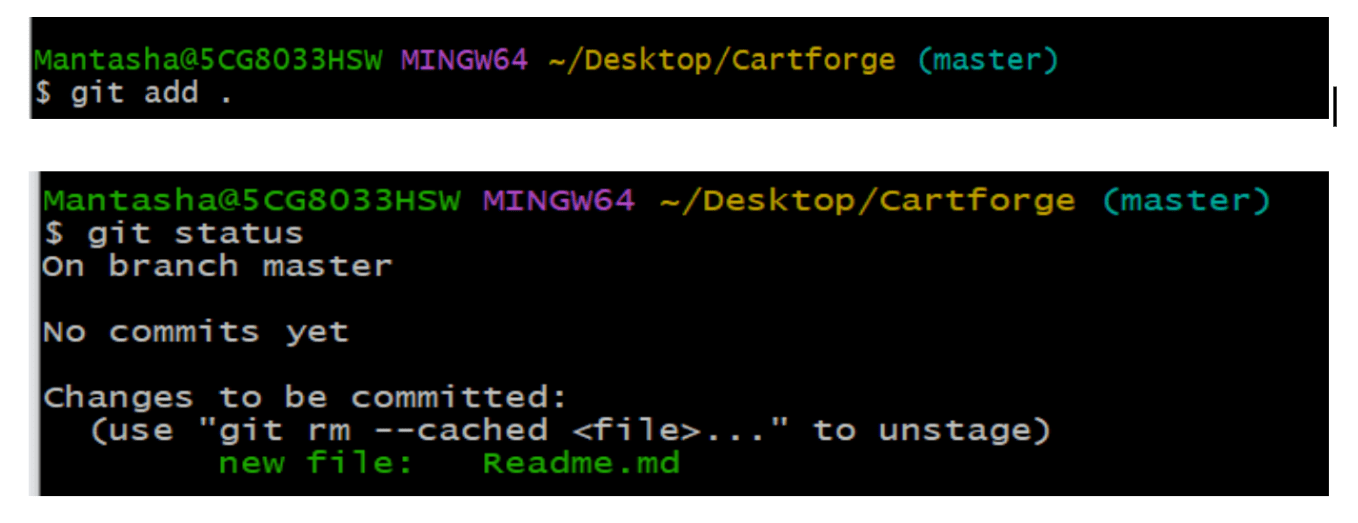
8
Check the Status of the repository from running Following Command
git status 
9
After run the following command File Add to the git
git add .
10
Below Command Add the Comment to the Repository
git commit -m "Initial commit - CartForge project setup
11
Connect to GitHub (Remote Repository)
https://github.com/your-username/cartforge.git
12
Run the command

13
Push the code to the Github
git branch -M main
git push -u origin main
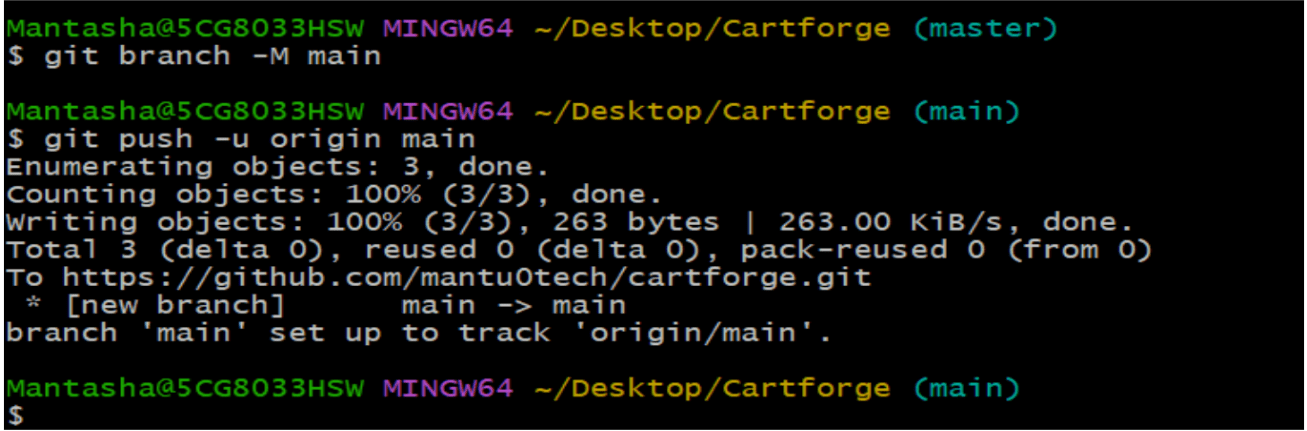
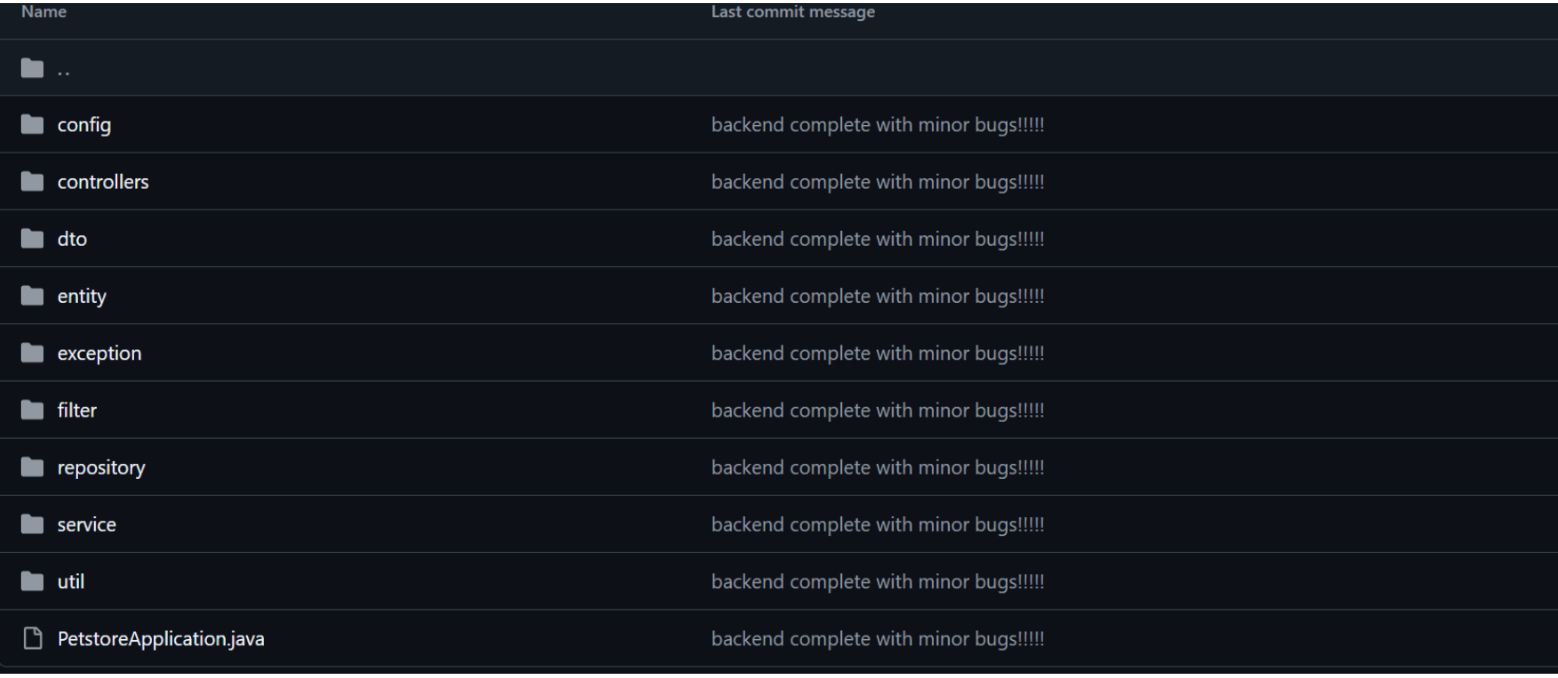
After this Push command, now your code is stored on Github and can be accessed from anywhere by all the team members as and when required, and the same can be seen on the Github repository that was created by you as shown below.
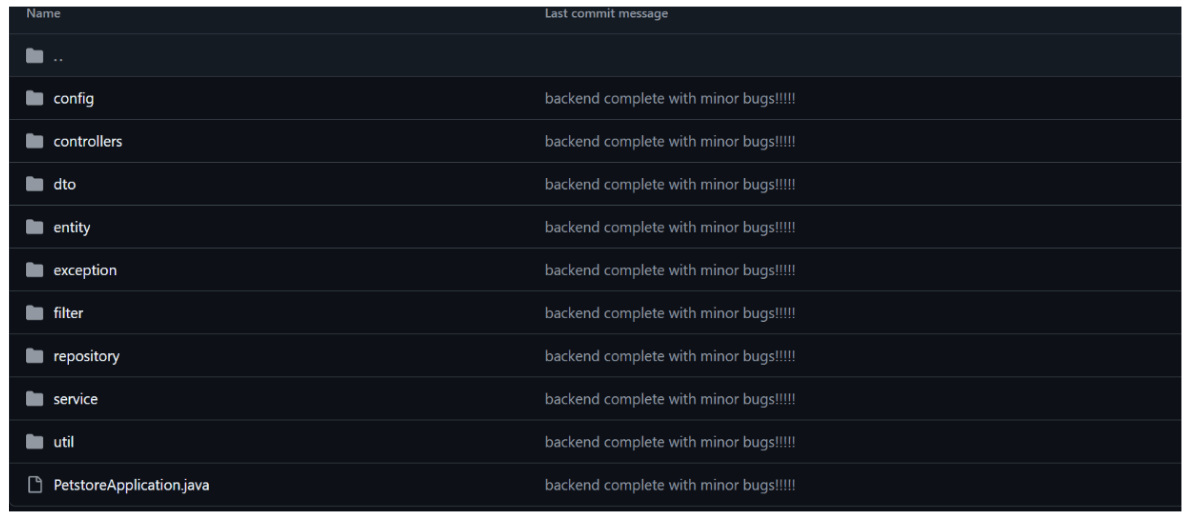
After successfully pushing the project to GitHub and running it properly, everything is working smoothly. But
Future Updates (Very Important)
Whenever you make changes:
1
Check changes :
git status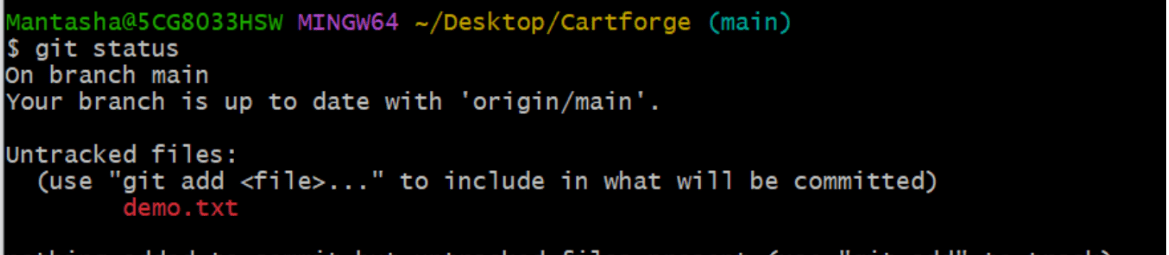
2
Add changes
git add .
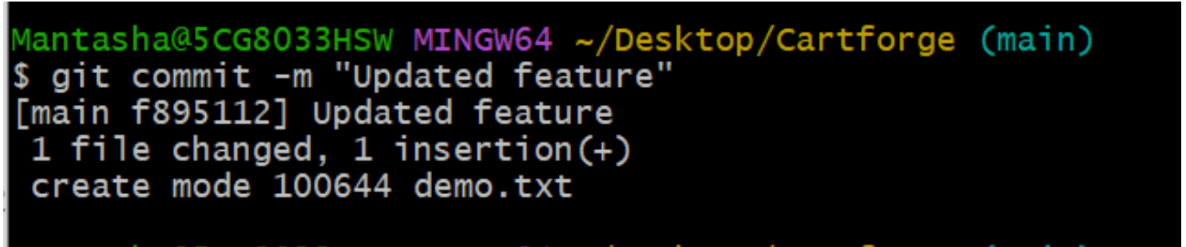
3
Commit changes
git commit -m "Updated feature"
4
Push changes
git push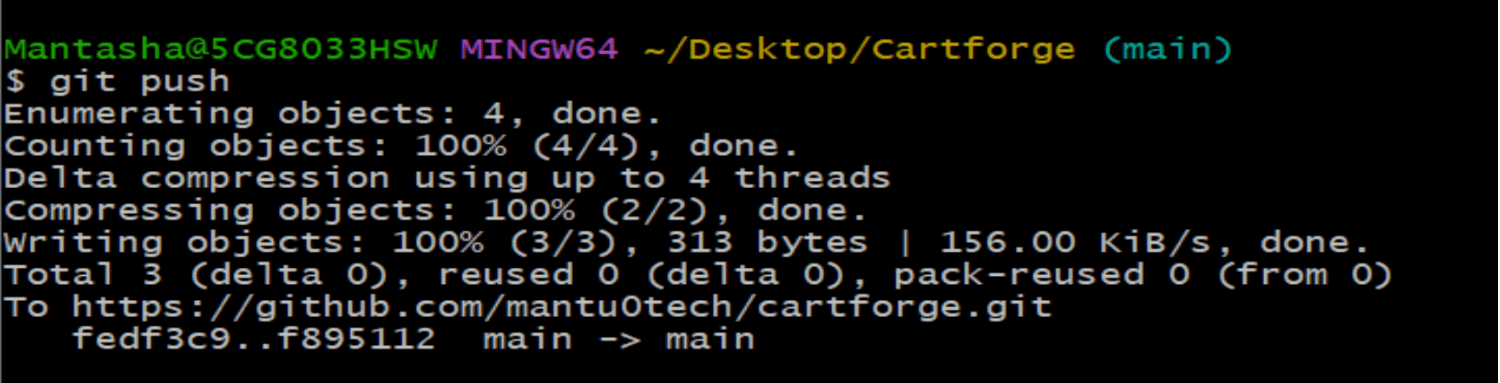

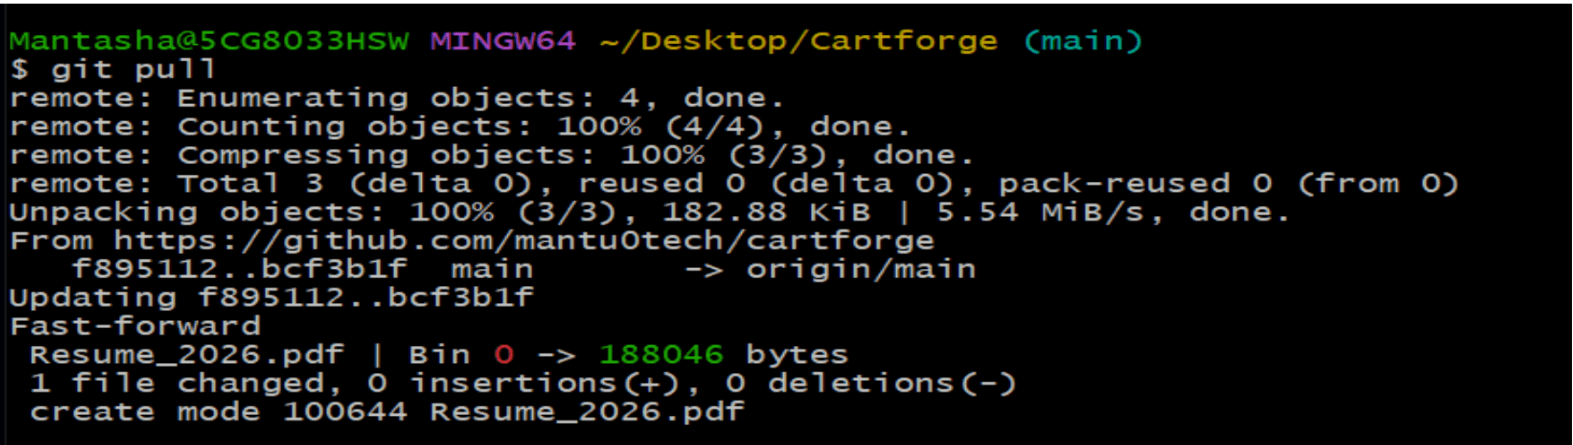
Git Pull
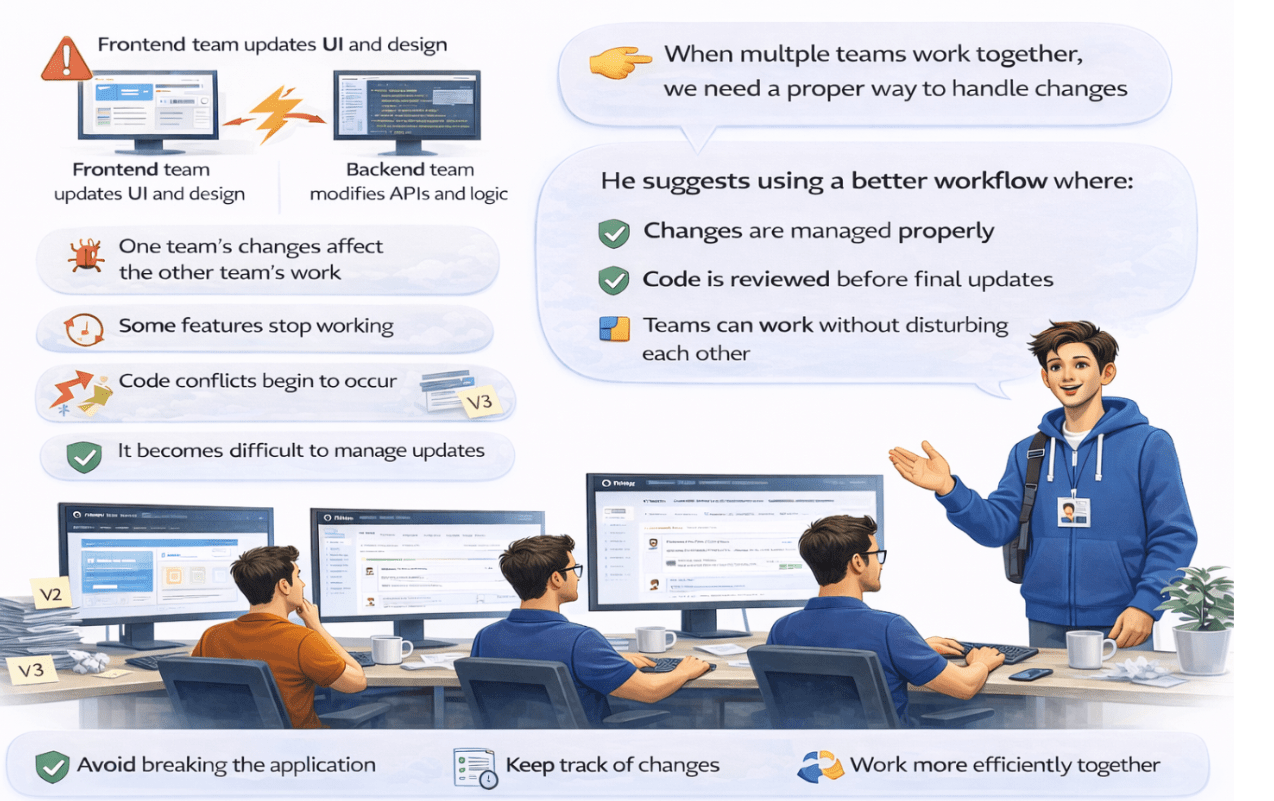
Task 2: Use branching for safe development.
After facing multiple issues due to frontend and backend changes, the team realizes that working on the same code directly is creating problems.
The manager notices these recurring issues—features breaking, conflicts increasing, and instability in the main code.
He calls the Junior DevOps Engineer and explains:
“We need a way to work on changes without affecting the main project.”
He then introduces the concept of branching in GitHub.

Lets begin
1
Check Current Branch
git branch
2
Create a Development Branch
git checkout -b dev
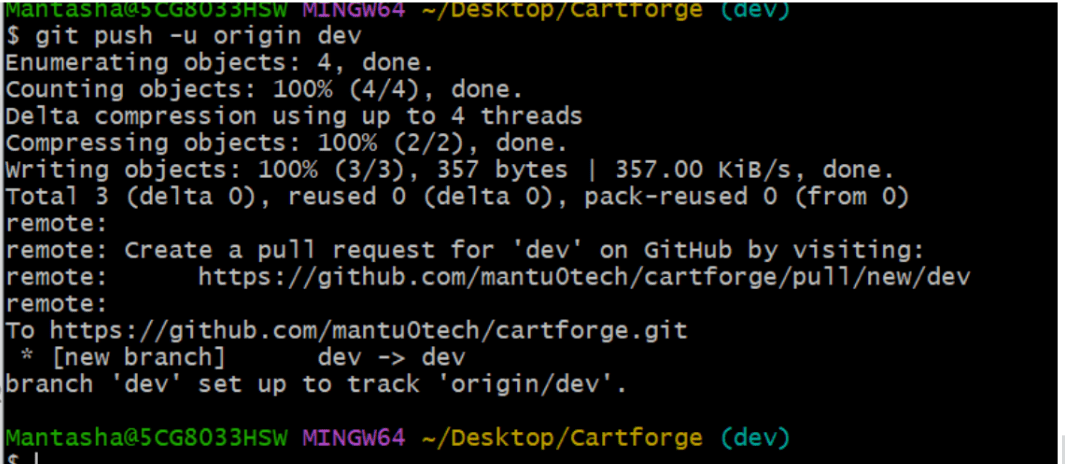
3
Push Dev Branch to GitHub
git push -u origin dev
4
Create a Feature BranchNow let’s say you are working on a login feature.
git checkout -b feature-login

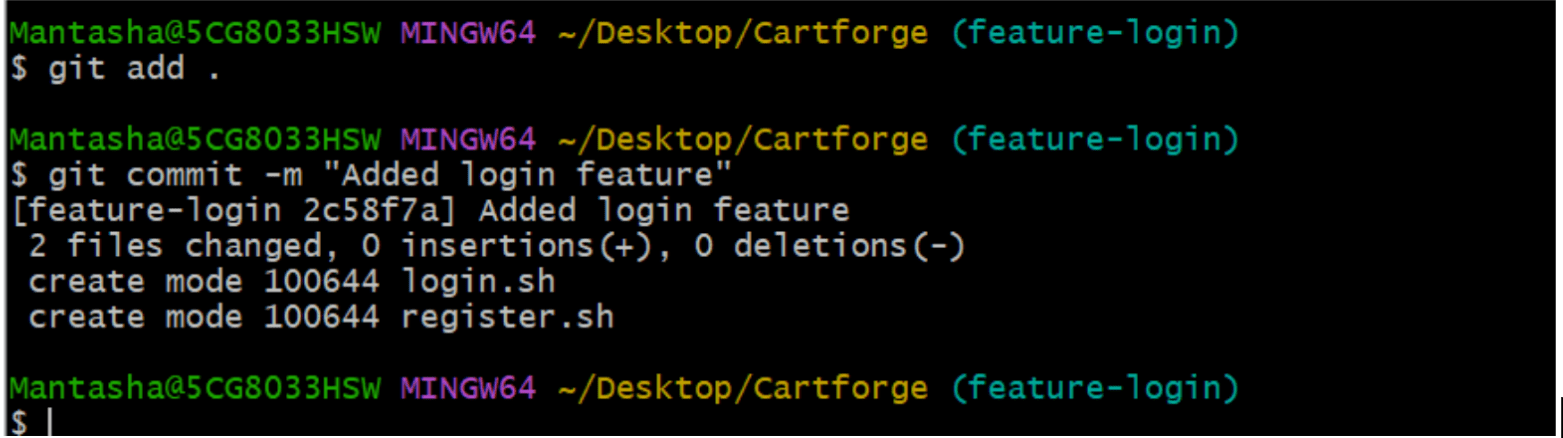
5
Make Changes ,Add some code / modify files ,Then run
git add .
git commit -m "Added login feature"
6
Push Feature Branch
git push -u origin feature-login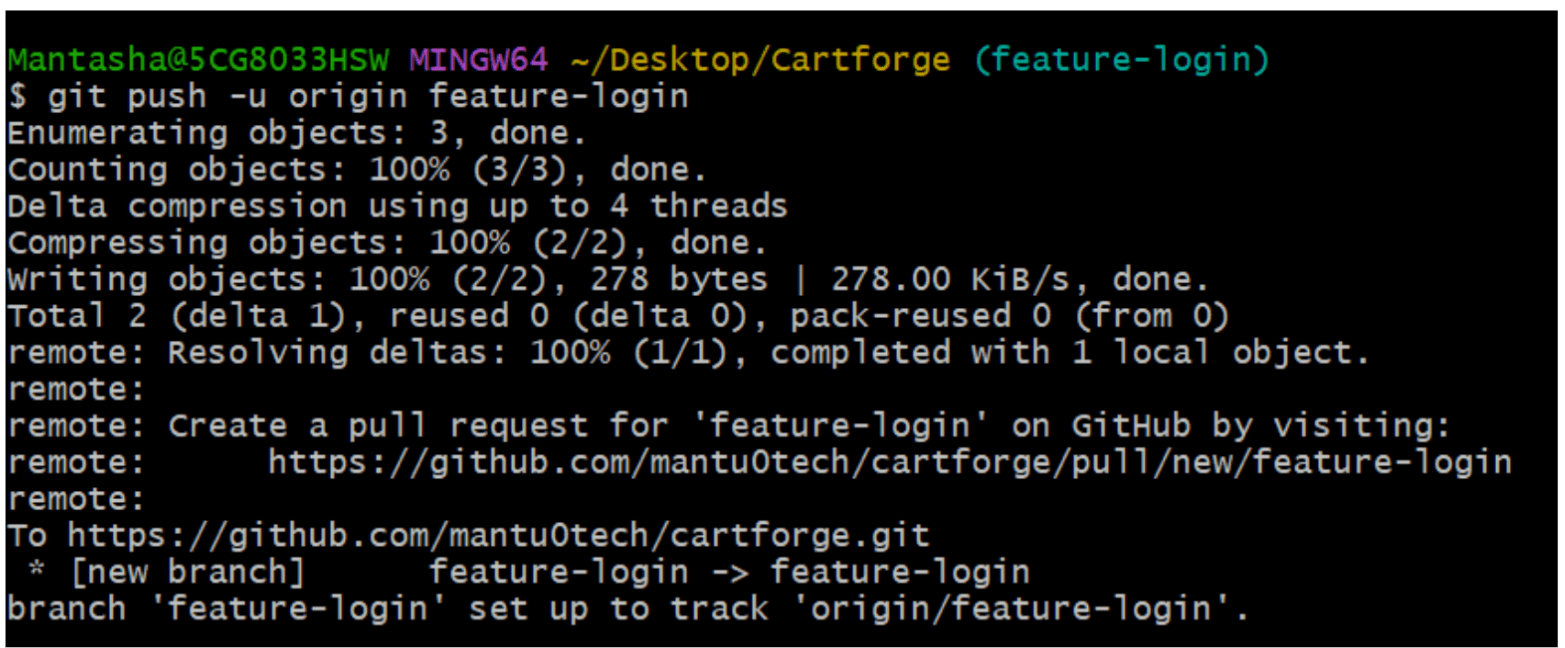
7
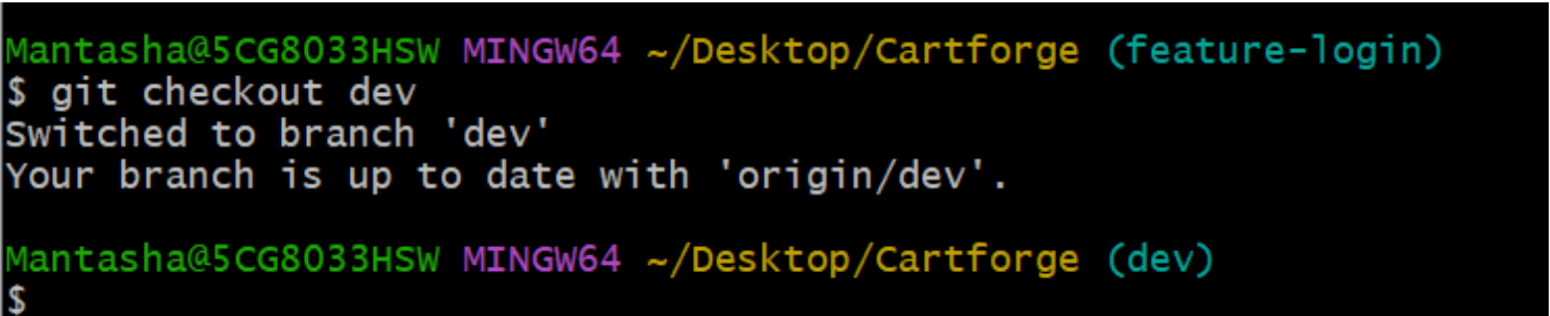
Merge Feature into Dev ,Now your feature is ready., First go to dev branch:
git checkout dev
8
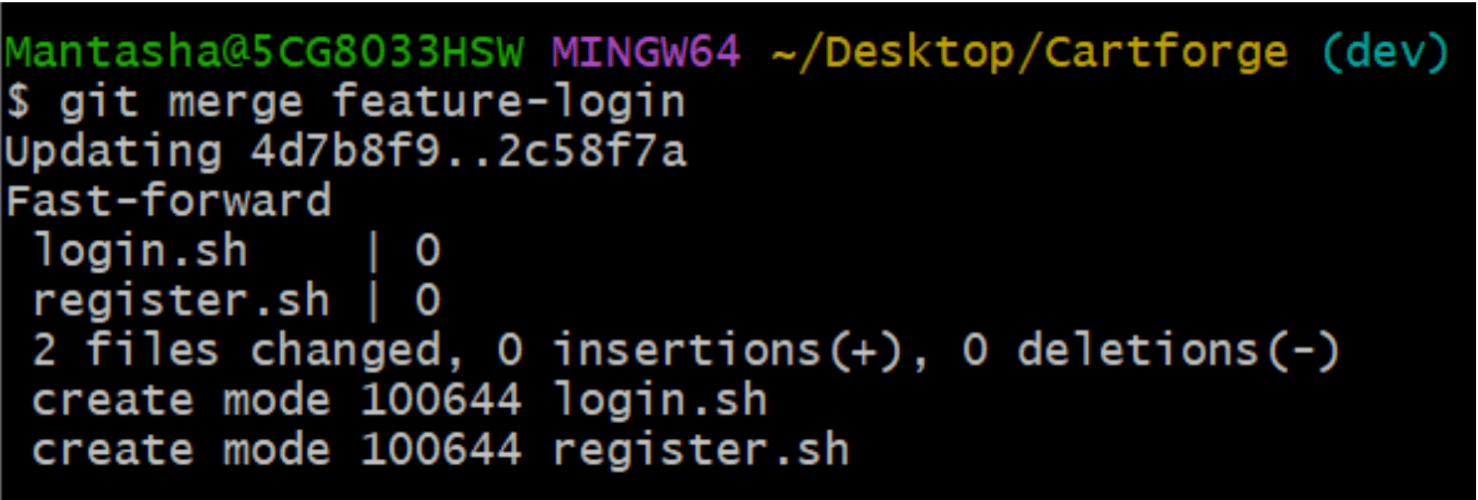
Merge command:
git merge feature-login
9
Push Updated Dev Branch
git push

10
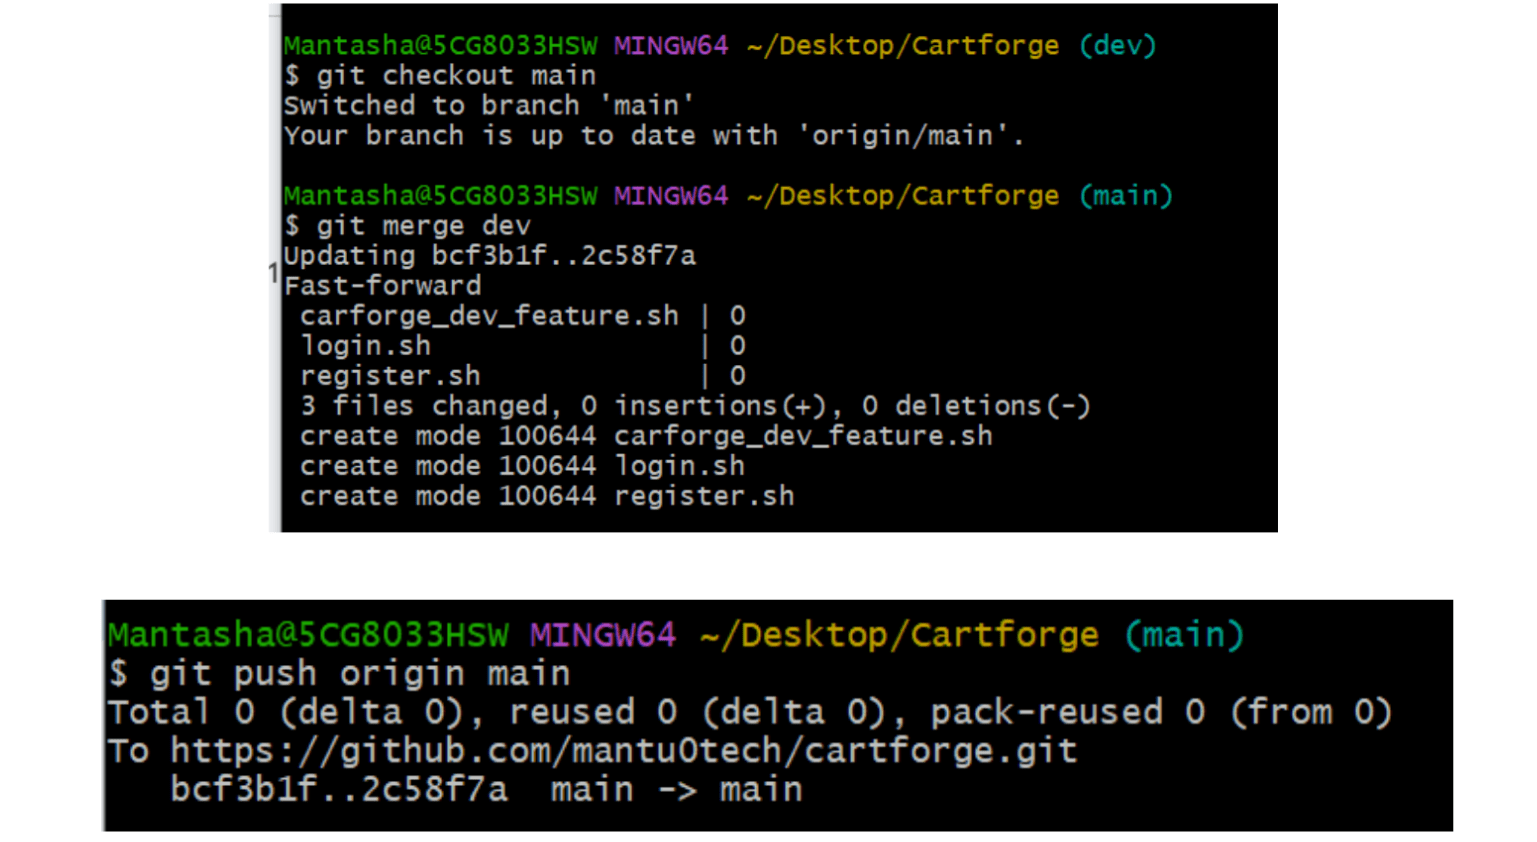
Merge Dev into Main (Release) , Now when everything is tested
git checkout main
git merge dev
git push
11
Feature Branch (Clean Up)
After merge
git branch -d feature-login
git push origin --delete feature-login
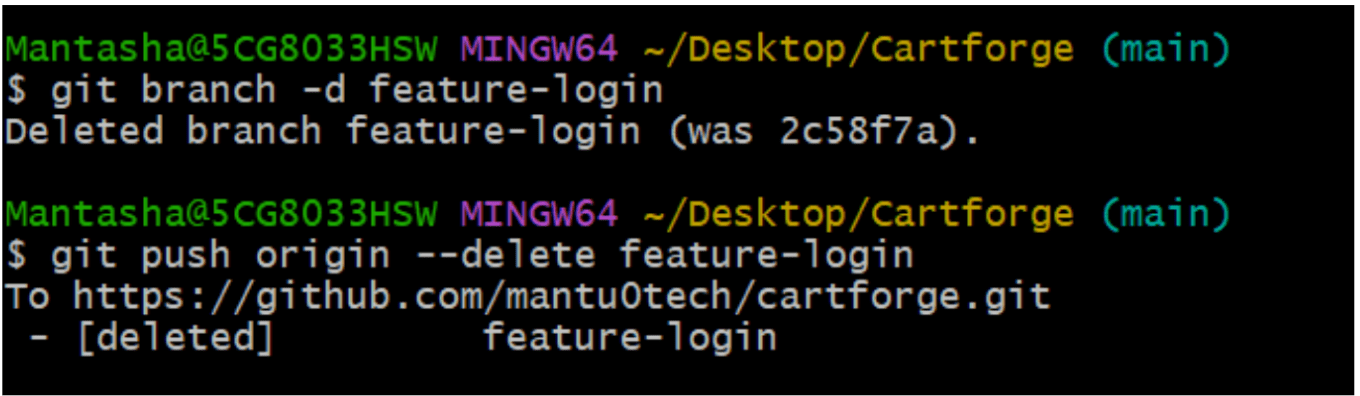
You can verify in your GITHUB here
Great job!
- Identified risks of working on the same codebase and direct main branch changes
- Implemented branching with pull requests for safe, parallel development
- Ensured stable, scalable code with efficient team collaboration
Checkpoint
Next-Lab Preparation
What is Linux? Why Linux?
Linux Architecture, and File Permissions