How to install a HTML signature in Mac Mail OS X Mavericks 10.9

Brought to you by Email Signature Rescue

What you will need
Before you begin, you will need:
Your HTML email signature file saved to your computer.
HTML reading software like TextEdit or TextMate2, or any other HTML reading software is fine.
Mac Mail running on Mavericks OS X 10.9.
Brought to you by Email Signature Rescue


Watch Video
If you would like to watch a video of the installation process, you can do so here.
If you prefer written instructions, please continue on to the next slide.
Brought to you by Email Signature Rescue
Step 1
Open your HTML email signature file using TextEdit or TextMate2 or if you have different HTML reading/writing software, any one is fine.
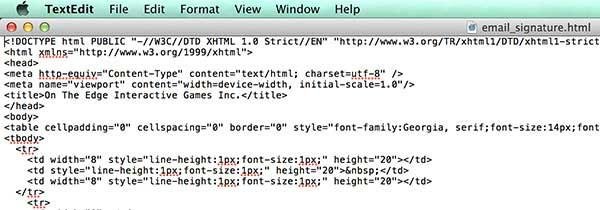
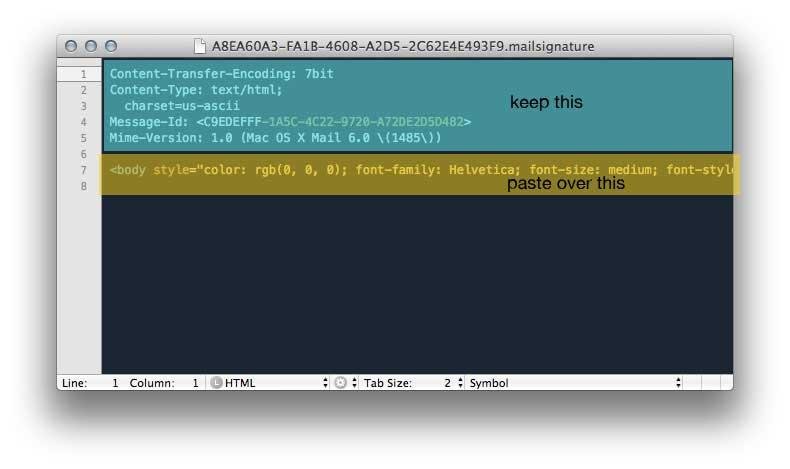
Your file should show HTML code like this example when it's open:

If you are using TextEdit and you do not see HTML code when you open this file like the example above, you may need to change some preferences in TextEdit. This can be done by going to the top toolbar and selecting TextEdit > Preferences - Click on Restore All Defaults button at the bottom. Then under Format settings at the top select the "Plain Text" radio button. Click on the "Open and Save" tab at the top, and tick "Display HTML files as HTML code" at the top of this page. You will only need to do this, if your TextEdit program does NOT show html code the first time you open it.
Brought to you by Email Signature Rescue
Step 2
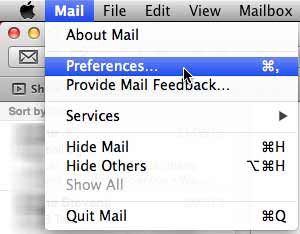
Open your Mac Mail software and create a new signature.
To create an email signature, go to your top toolbar and select
Mail > Preferences
Brought to you by Email Signature Rescue
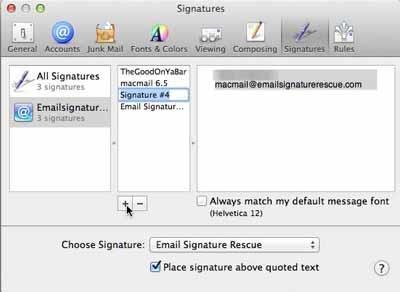
Step 3
Click on the "Signatures" tab to the top right. You should then see your email accounts in the left hand side of this window.
Select the email account that you would like your email signature to be associated with, highlight it and then press the + icon at the bottom to create a new signature.
Brought to you by Email Signature Rescue
Step 4
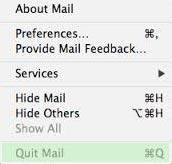
Save the signature then close the Mac Mail program.
This is important, Mac Mail must be closed now so we can edit the email signature we just created.
Quit Mail
Or Command Q to quit
Brought to you by Email Signature Rescue
Step 5
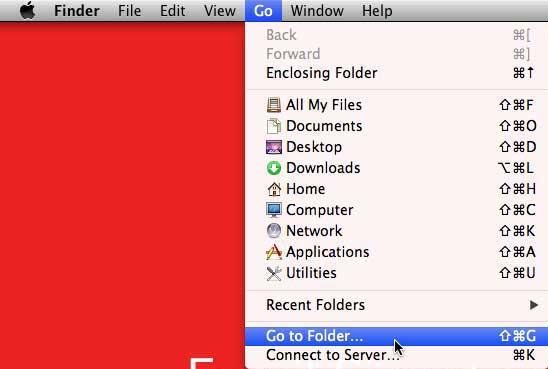
Open Finder. In the Finder menu options.
Click on "Go"
and then select "Go to Folder".
Brought to you by Email Signature Rescue
Step 6
In the Go to the Folder window enter the following exactly as it's shown:
~/Library/Mail/V2/MailData/SignaturesNot using iCloud
Using iCloud
~/Library/Mobile Documents/com~apple~mail/Data/MailData/Signatures/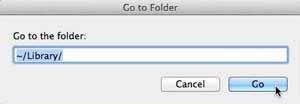
If you cannot find this folder or .mailsignature file, double check that you are using OS X Mavericks 10.9
If you are using a different OS X version, the files will be located elsewhere and called .webarchive files.
Brought to you by Email Signature Rescue
Step 7
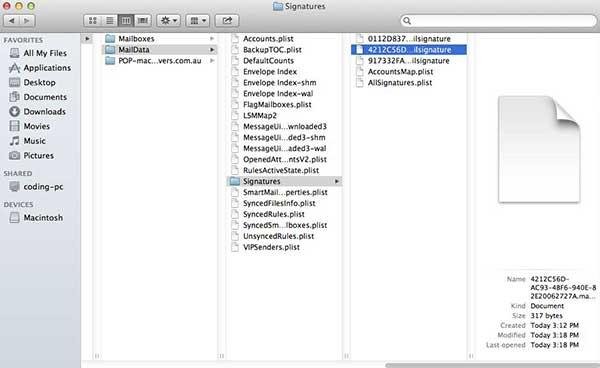
Now find the signature you just created. The file you are looking for ends in .mailsignature
For example:
D879F2D5-CCA1-4BCA-AA5F-5EEB54995957.mailsignature
It will be created on today's date.
If you cannot find this folder or .mailsignature file, double check that you are using OS X Mavericks 10.9
If you are using a different OS X version, the files will be located elsewhere and called .webarchive files.
Brought to you by Email Signature Rescue
Step 8
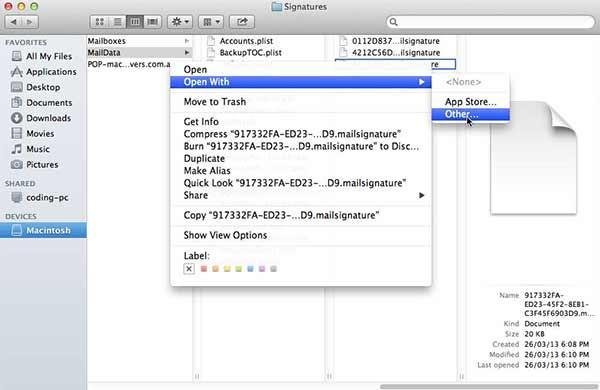
Open the .mailsignature file using TextEdit or TextMate2.
Open With > Other > Applications > TextEdit.
If you cannot find this folder or .mailsignature file, double check that you are using OS X Mavericks 10.9
If you are using a different OS X version, the files will be located elsewhere and called .webarchive files.
Brought to you by Email Signature Rescue
Step 9
Go back to your email signature HTML file that is also open in TextEdit or TextMate2.
Select all of the code
Command A
Copy all of the code
Command C
Brought to you by Email Signature Rescue
Step 10
Now go to your .mailsignature file open in TextEdit or TextMate2 and paste in all of the HTML from your email signature file. Leave the header in place like the image.
Paste your email signature into the .mailsignature file, leaving the header in place.
Command V
Save the .mailsignature file and close it.
Brought to you by Email Signature Rescue
Step 11
Not using iCloud
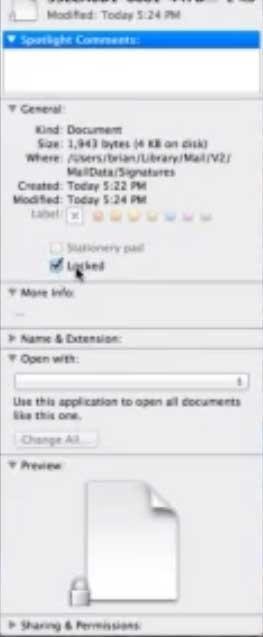
This is important, you need to lock the .mailsignature file. Click on the .mailsignature file in Finder and press Command I. Tick the Locked checkbox and close the window.
Using iCloud
Do not lock the file.
Brought to you by Email Signature Rescue
Step 12
Using iCloud
If using iCloud and your signature does not show, you need to go to:
System Preferences > iCloud > and uncheck "Documents & Data"
That's it!
Now start Mac Mail again and compose a new email and your signature will show.
Please note:
Images do not show in the signature settings box in Mac Mail, but they will work when you compose a new message.
Brought to you by Email Signature Rescue