Getting started with
Igloo Core Engine

Learning how to use the canvas ui

Getting started with Igloo Core Engine, learning how to use the Canvas UI to create a session.


Getting started with
Igloo Core Engine

Learning how to use the canvas ui

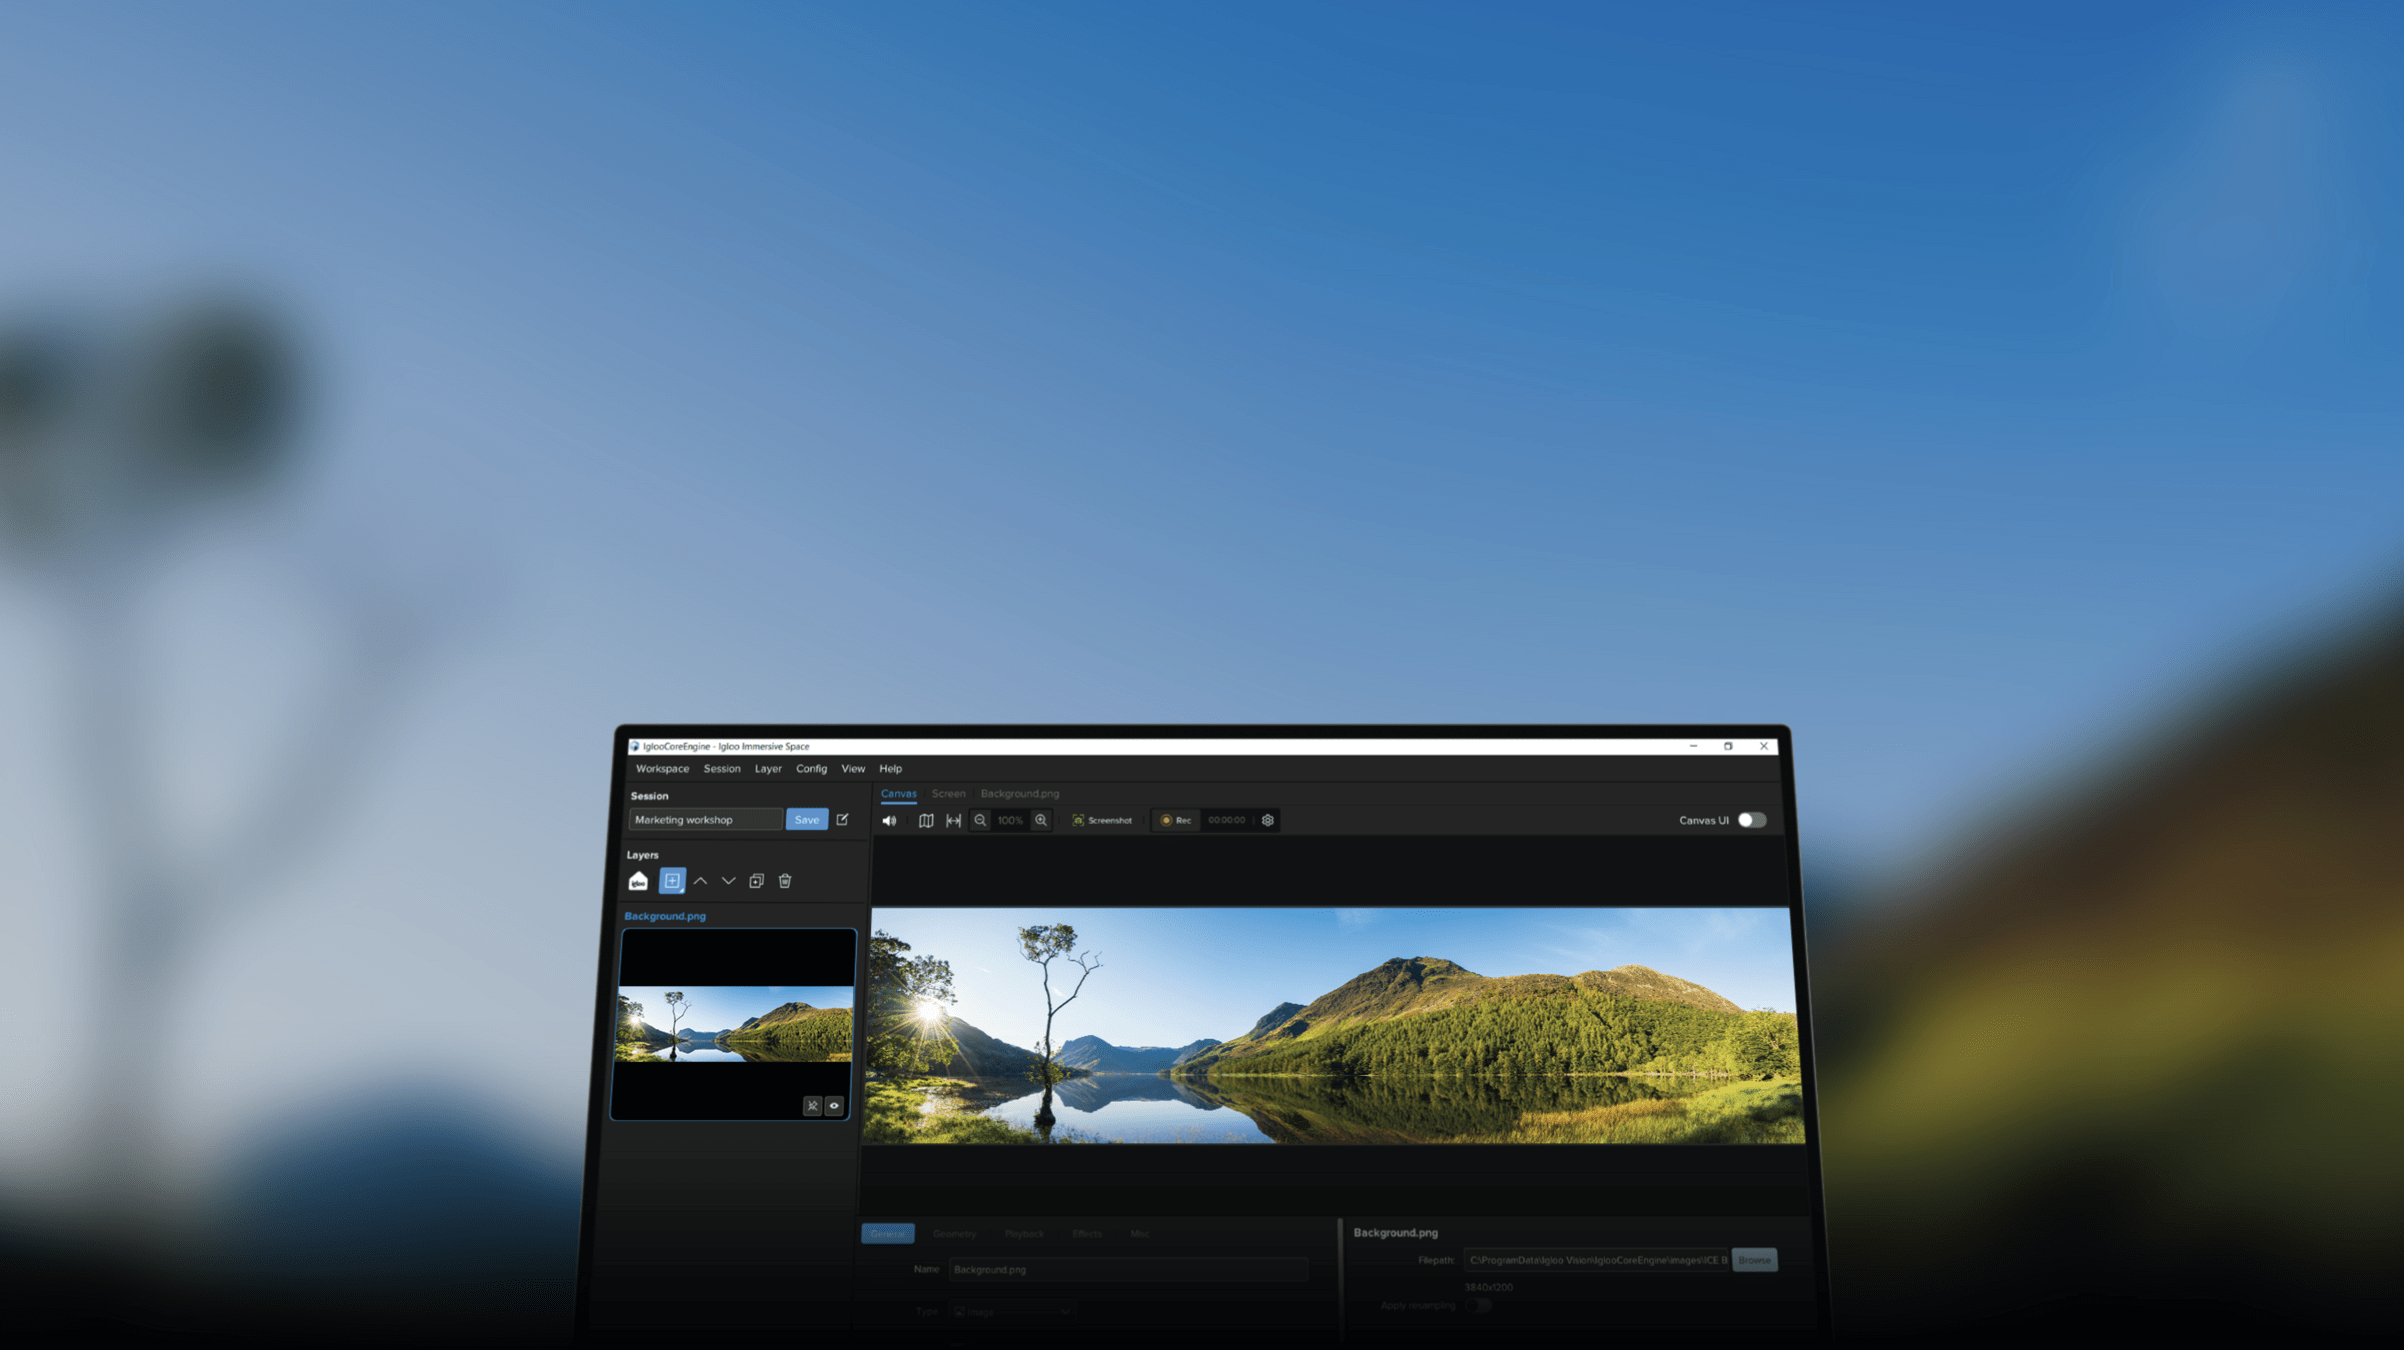
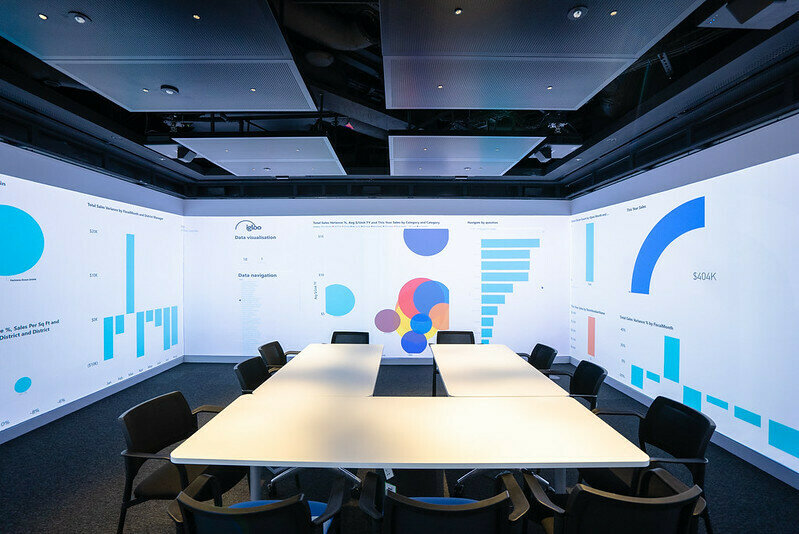
Igloo Core Engine (or Core Engine for short) is the software platform powering immersive spaces.

2
Getting started with
Igloo Core Engine

Learning how to use the canvas ui


The Canvas UI toolbar
Lets go into how you can add, play, edit position and save your content and sessions through the canvas ui toolbar.


3
Getting started with
Igloo Core Engine

Learning how to use the canvas ui

THE CANVAS UI TOOLBAR

Home
The first icon on the toolbar allows you to return to the Igloo Core Engine homescreen to access pre-saved sessions. Just click on the home button but be sure to save your active session and as you create them to recall.
A session is one or more layers which you can save from either the Canvas UI or on the Desktop UI.
Once saved it can appear as a tile on the Homescreen which is where you click on it to trigger the content. You can edit what content tiles you can access from the homescreen.





4
Getting started with
Igloo Core Engine

Learning how to use the canvas ui

THE CANVAS UI TOOLBAR
How do I add content?

Content library
Directly from the canvas UI toolbar, you can browse the content library for previous sessions, images, videos. Once clicked on it will appear as a layer on the canvas. Also by adding "tags" you can browser content more efficiently.



5


Getting started with
Igloo Core Engine

Learning how to use the canvas ui

THE CANVAS UI TOOLBAR

How do I add content?

Webviews
Or add a webview which will load any website. You can even draw the webview size with our "Draw new region" feature to get started. Your default website will load where you can then edit the url to start browsing, just like any other smart device you use.
The webview url toolbar can now can be moved to any position on the webview layer or even reduced to a smaller version. This optimises your viewing and clicking ability.




6
Getting started with
Igloo Core Engine

Learning how to use the canvas ui

THE CANVAS UI TOOLBAR

How do I add content?

NDI layers
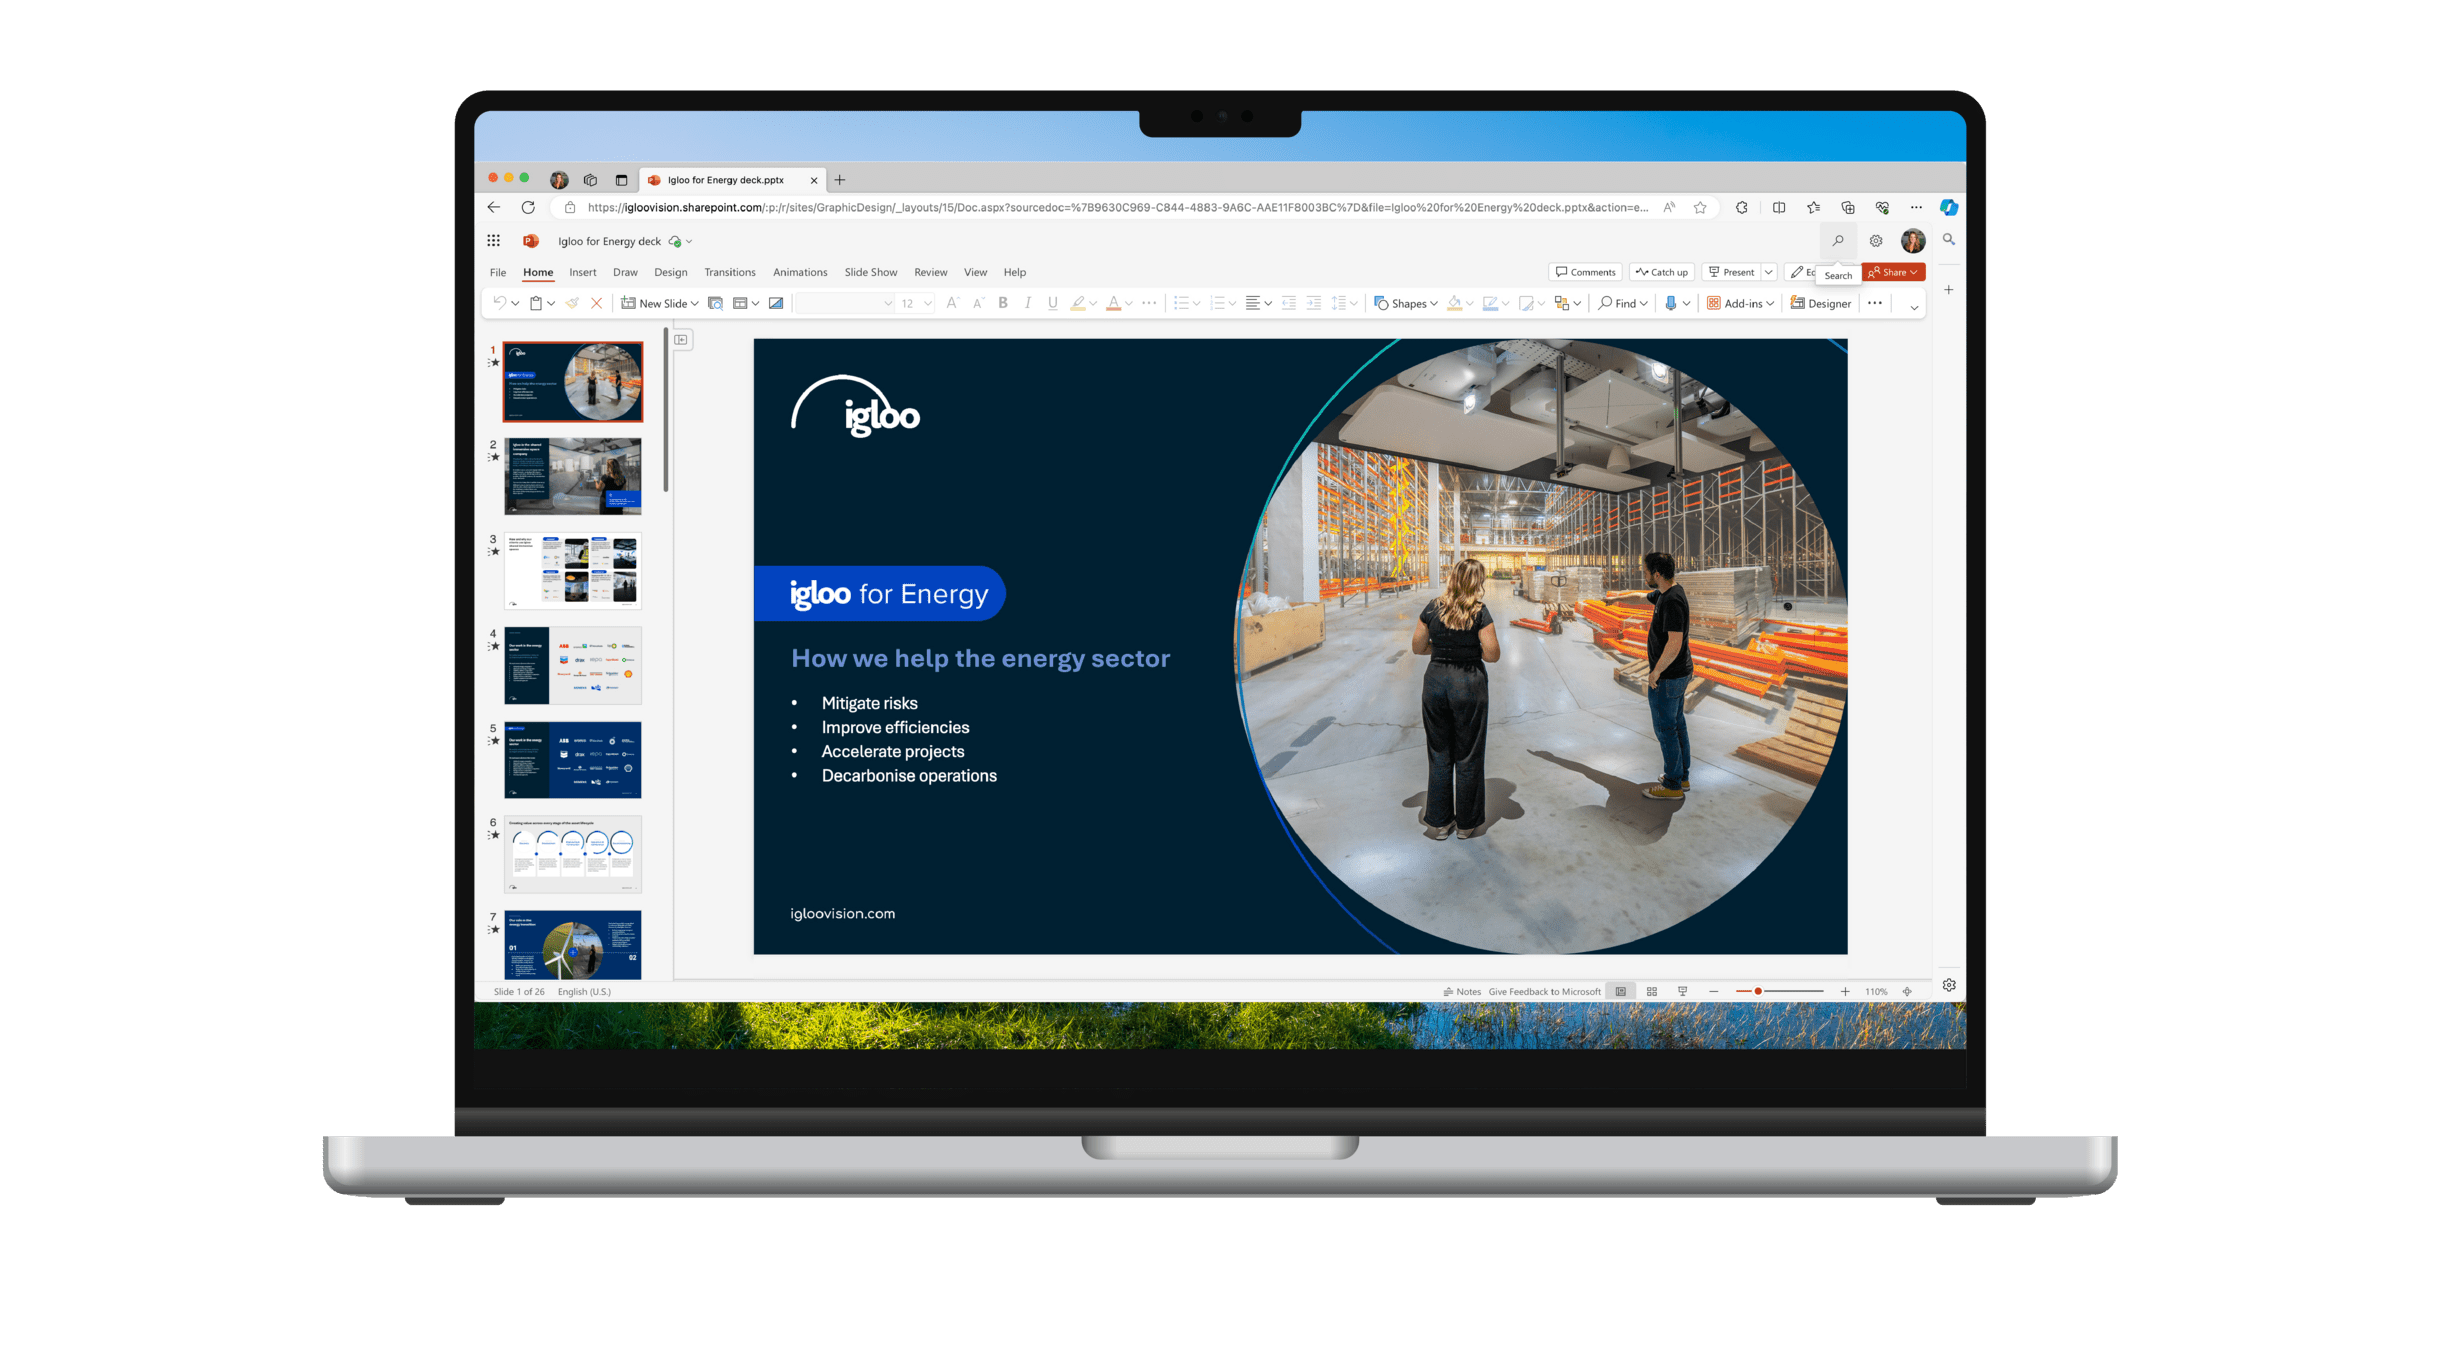
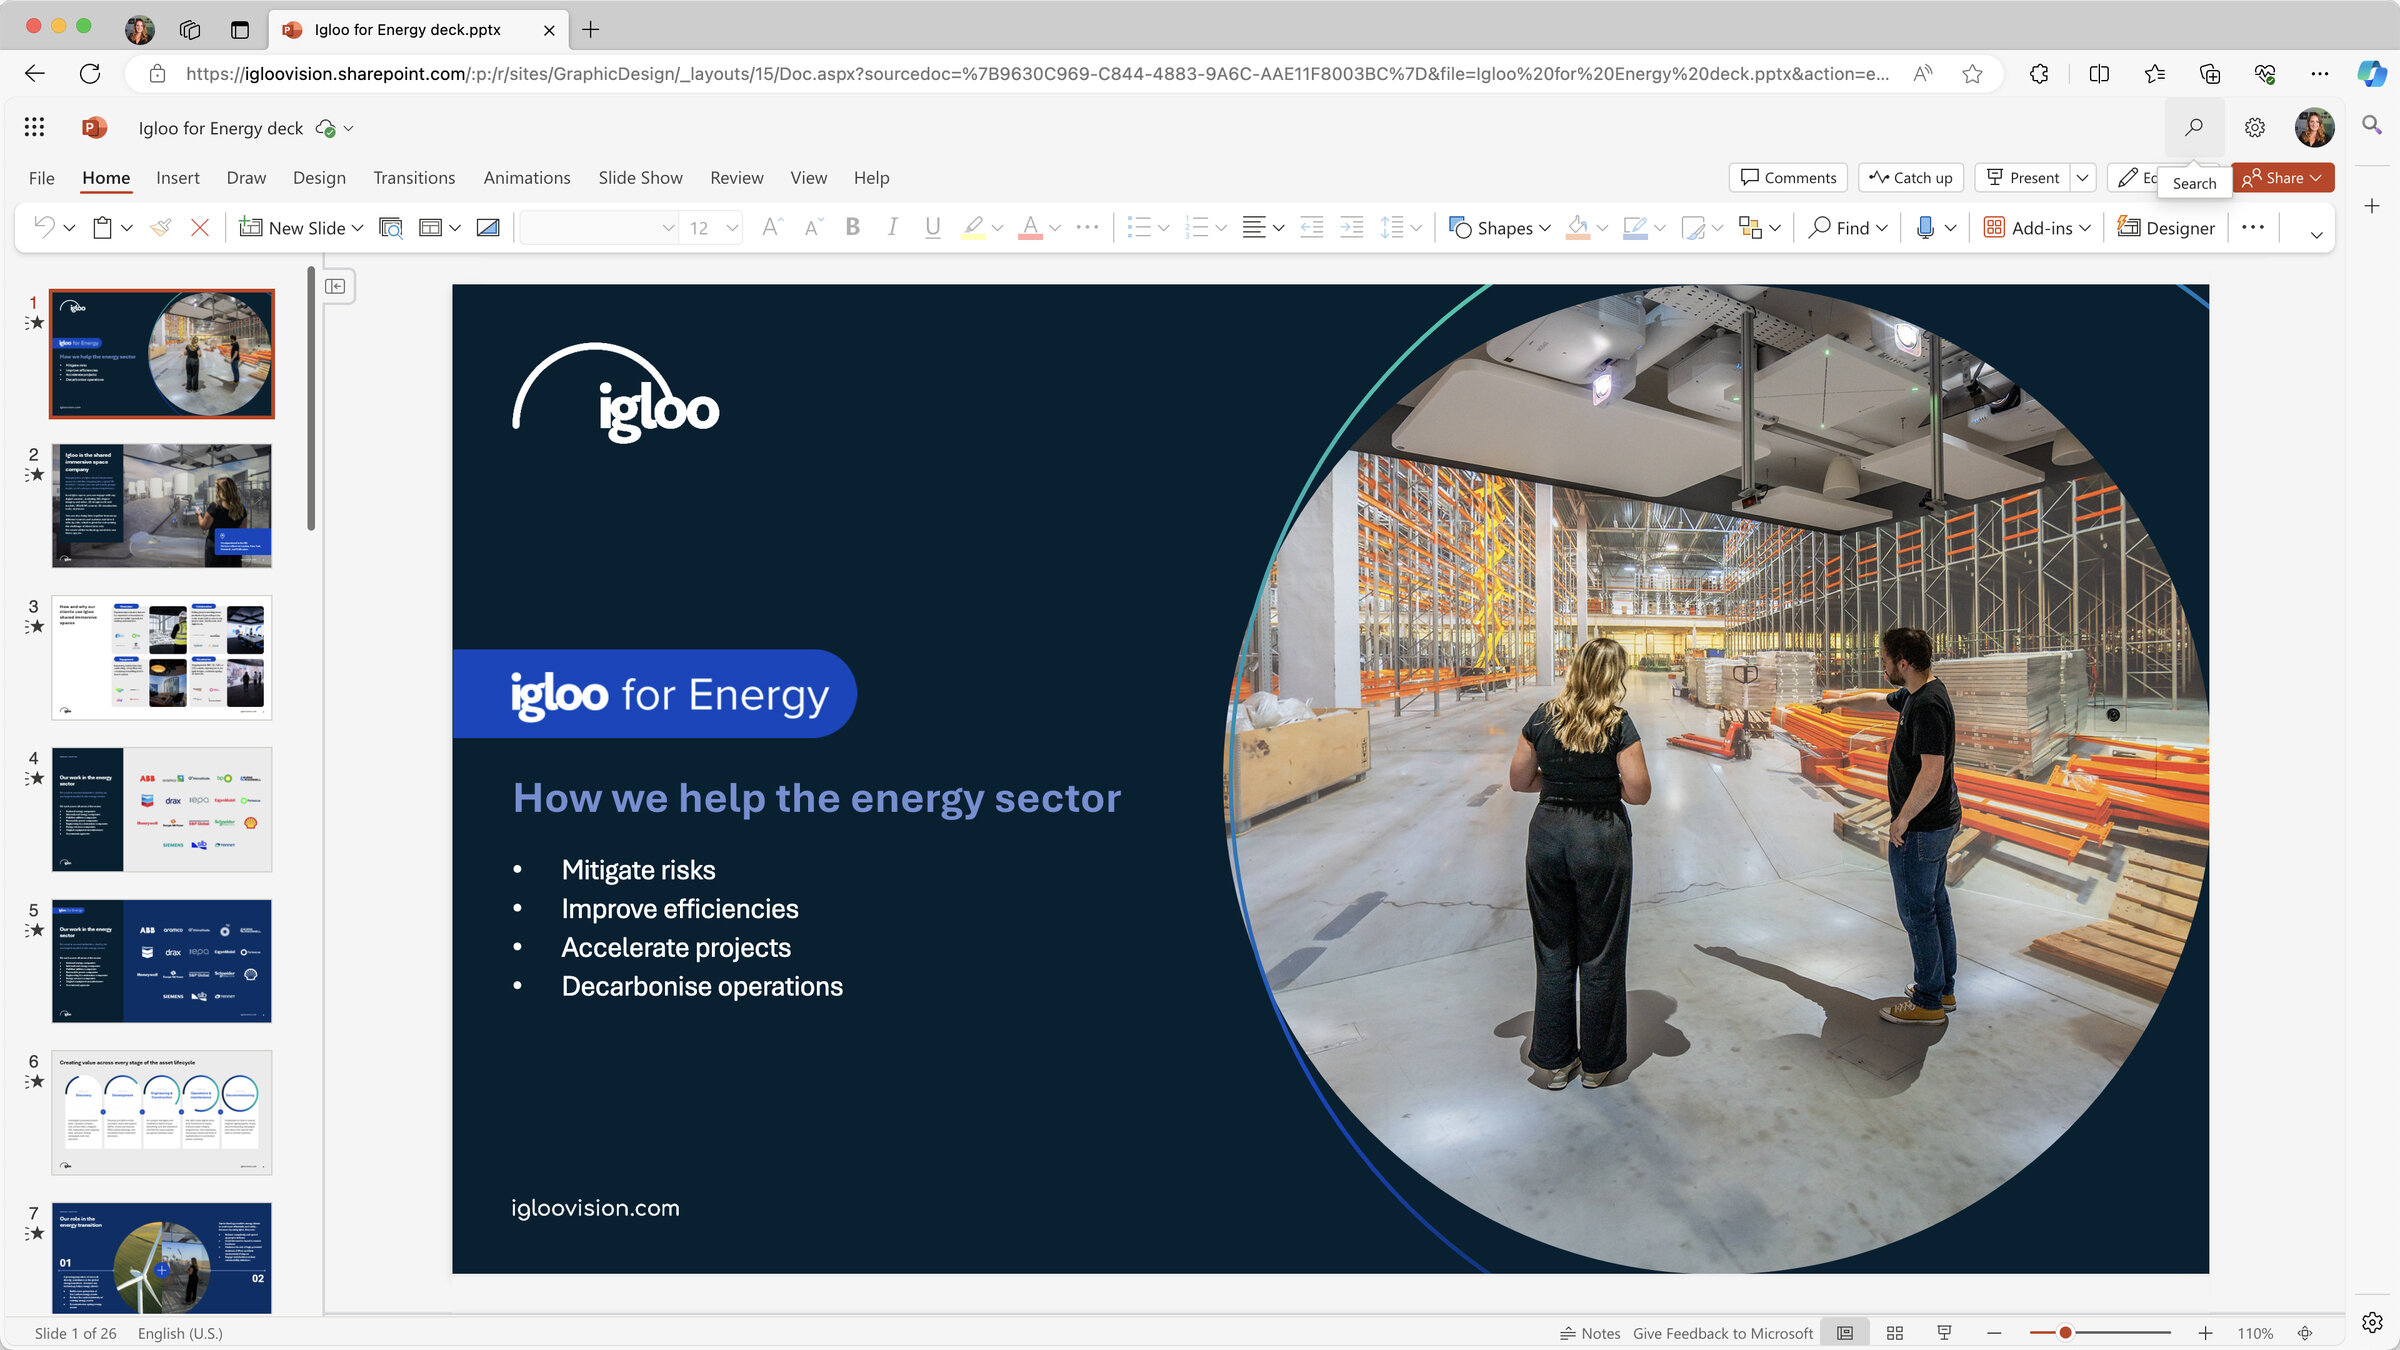
You can connect and share a window from any device sharing a NDI sender. See what's available after clicking on the "NDI Layer" menu.



7
Getting started with
Igloo Core Engine

Learning how to use the canvas ui

THE CANVAS UI TOOLBAR

Editing your layers
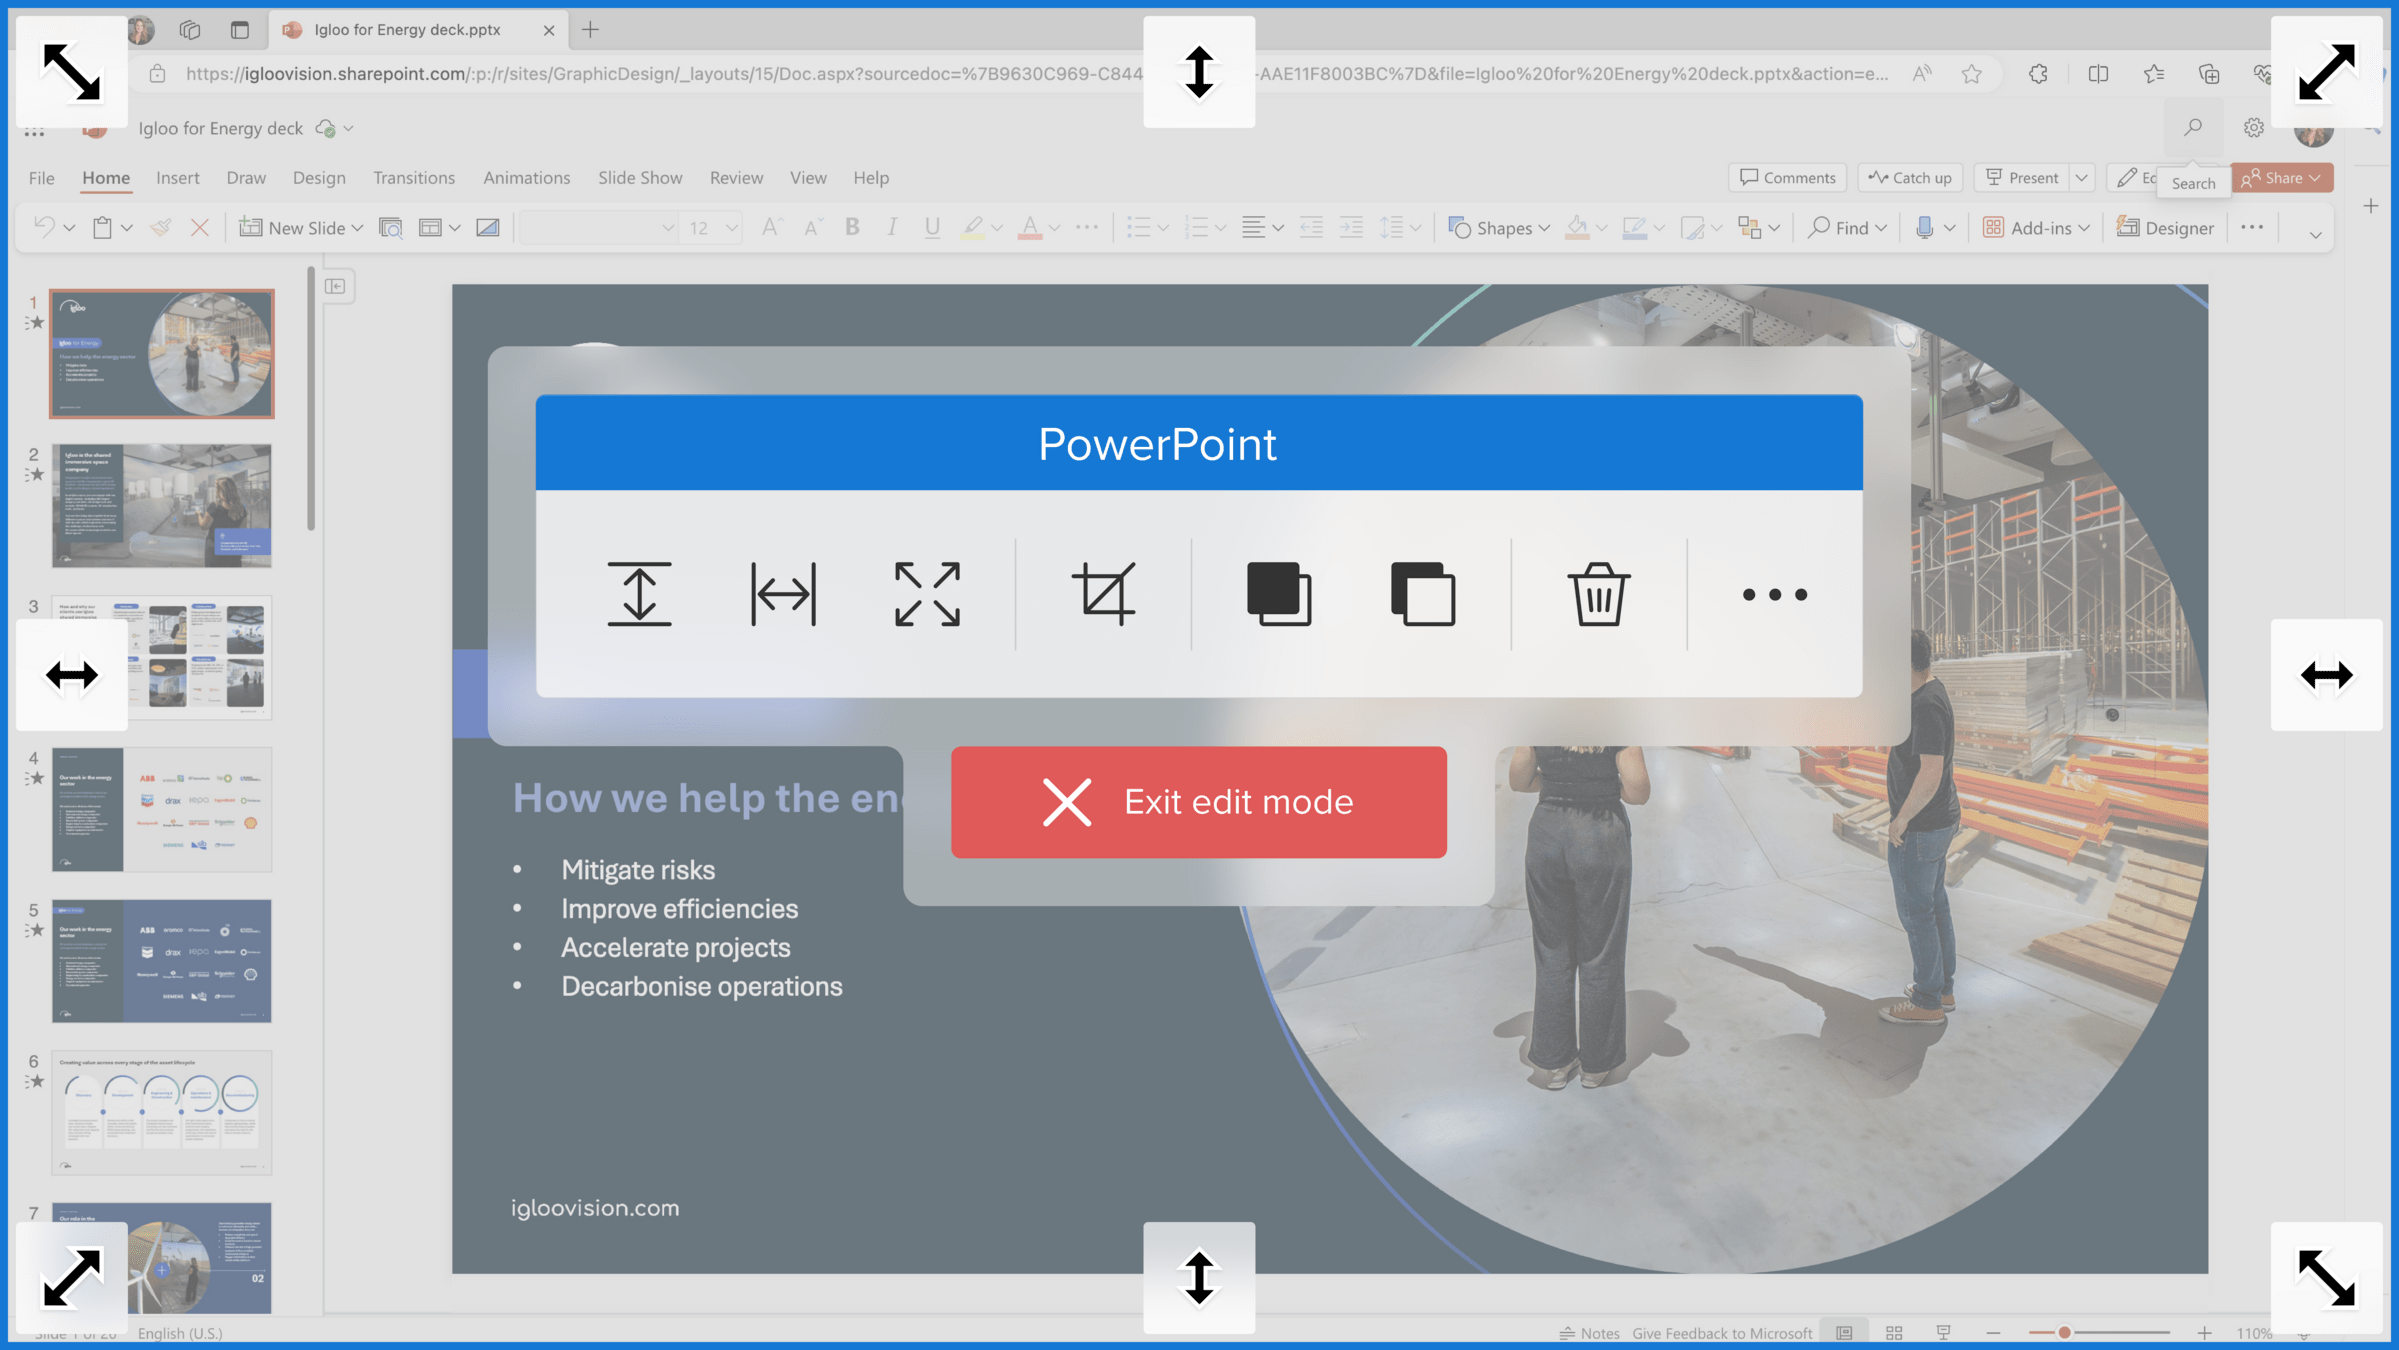
You can re-size and reposition your layer on the canvas by clicking on edit mode or using the geometry tools in the layers panel.

You can edit any layer on the canvas from the toolbar. You can adjust size, crop of the image or video. Use the True Perspective feature to change your pitch and heading of your 360º content live in the space.




8
Getting started with
Igloo Core Engine

Learning how to use the canvas ui

THE CANVAS UI TOOLBAR

Save your layers as a session
Once you've arranged out your layers now is the time to save them. Saving your sessions are important, as you can then configure these to appear on your home screen to recall them as needed.


8




Getting started with
Igloo Core Engine

Learning how to use the canvas ui

THE CANVAS UI TOOLBAR

Lets create a session now
You can create add new layers alongside this Canvas UI guide layer which you can then re-save as a new example session.
06
Click on the home icon on the toolbar to reacess this saved session.
01
Wiggle your cursor
via Igloo Control panel to bring up the "real" toolbar.
Now lets start!! Add a new webview by clicking on the
Add content button.
02
Once the page had loaded edit it's position using the Edit mode button. Once happy with the position, click Exit Edit Mode which will allow you to now interact with that layer as a normal web page i.e click on links on the webview.
03
Now add an Image layer from the Content Library. Accessed from the Add content button. Browse the Content library and select an image (or video) to add in. You can then repeat the previous step and use Edit Mode to edit the image fit the canvas as you like.
04
By now you have this Canvas UI guide layer, a web layer and an image layer. You can keep adding and repeating the previous steps, even add an NDI layer if there is a "sender" available (refer to page 7). Once you're happy, save your session now and you will be able to recall this on the Home screen content grids or the Content library.

9
Congratulations! You've created your first session.
Refer back to this Canvas UI guide again if you need a reminder.
