Uploading and Editing Images and Media
In this lesson you will learn how to upload and edit images and media on your Drupal site.
Use the arrow keys or spacebar to go to the next slide.
Make this presentation full screen for best effect.
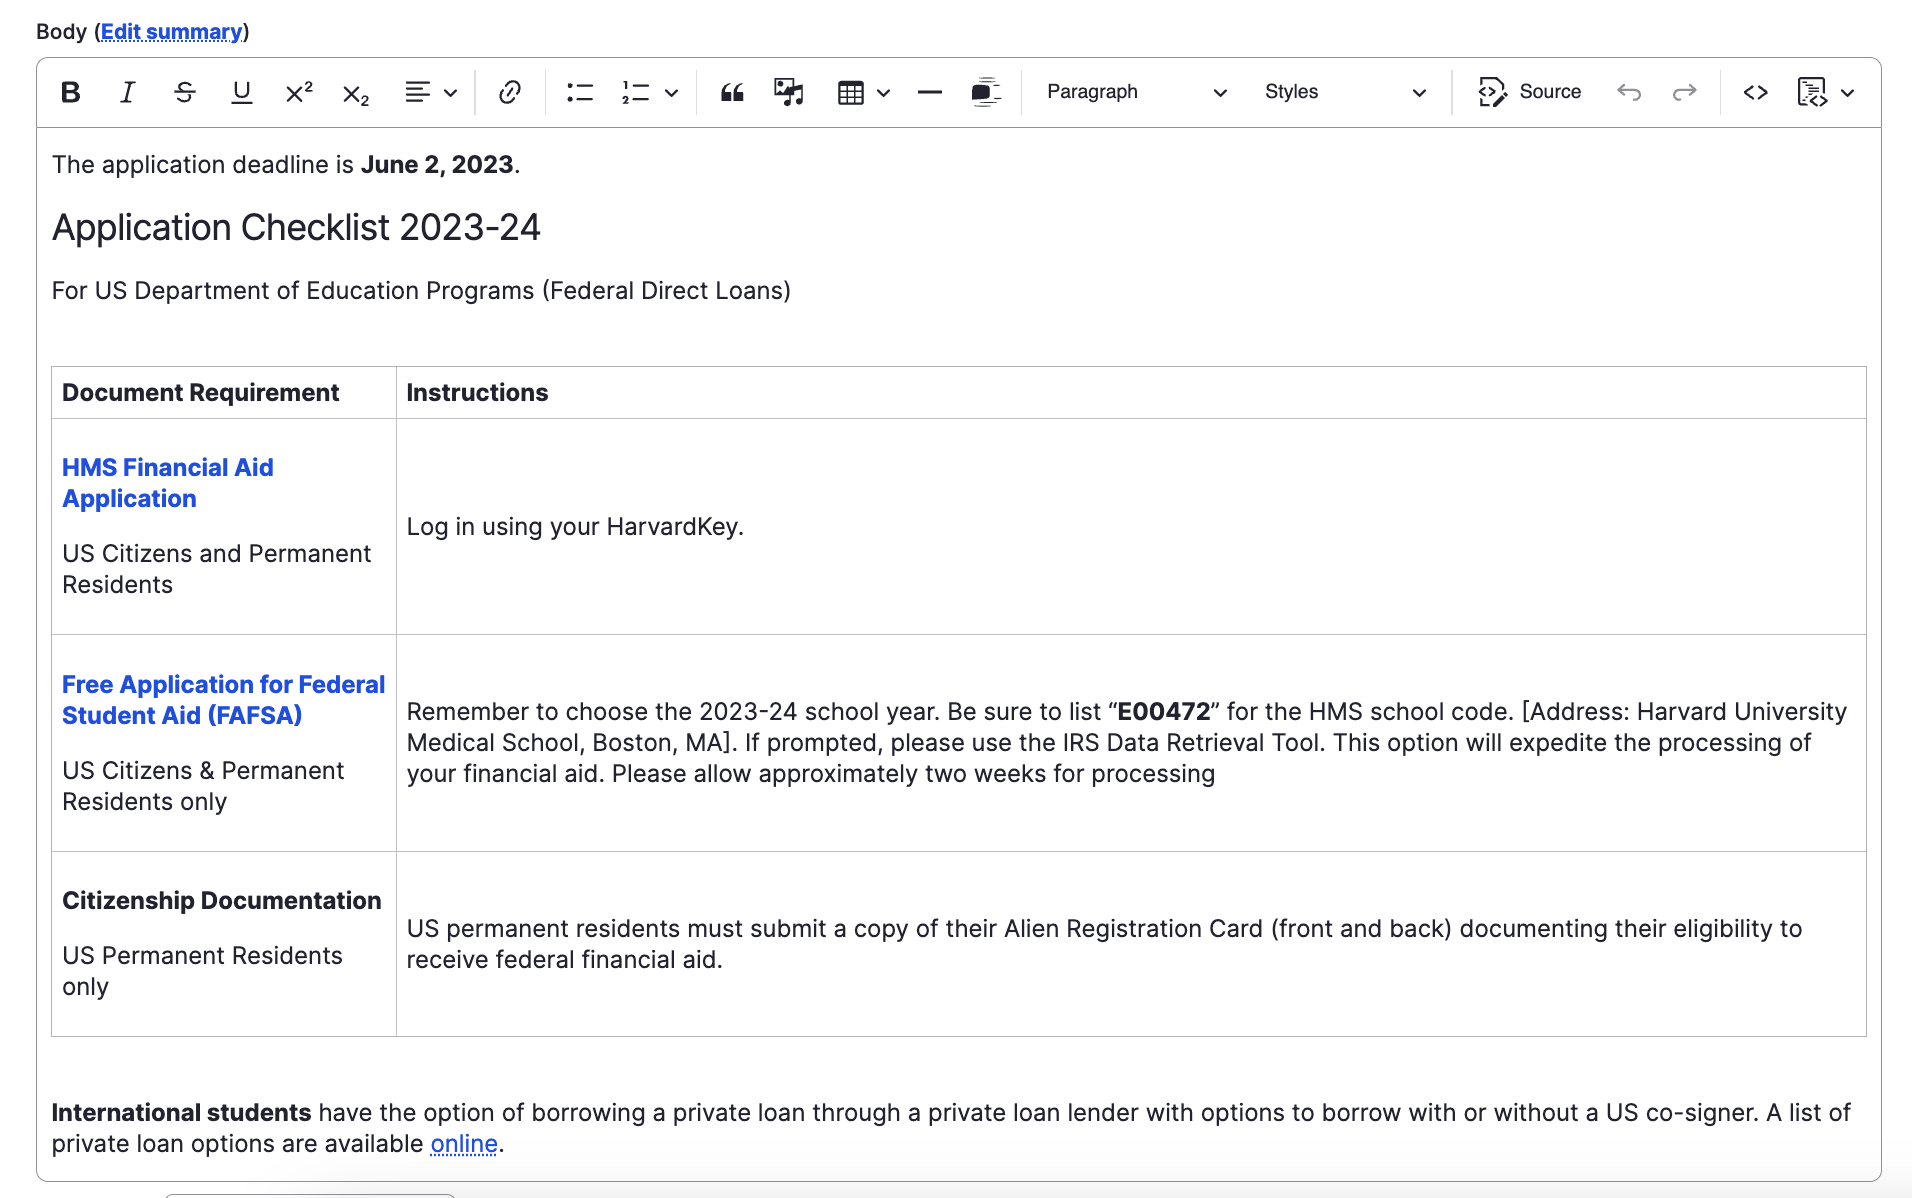
To upload an image within your content, go to the Body WYSIWYG and in the toolbar you will see a little image of a photo. That is the module used within Drupal to upload images and other media items. Click that to enter the file browser and server interface.
This pop-up window will appear when the photo icon is clicked. There are a few different items to go over, but first we want to get the media uploaded to the file server. If the piece of content you want is already on the website you can scroll down and find a list of all images on the site.
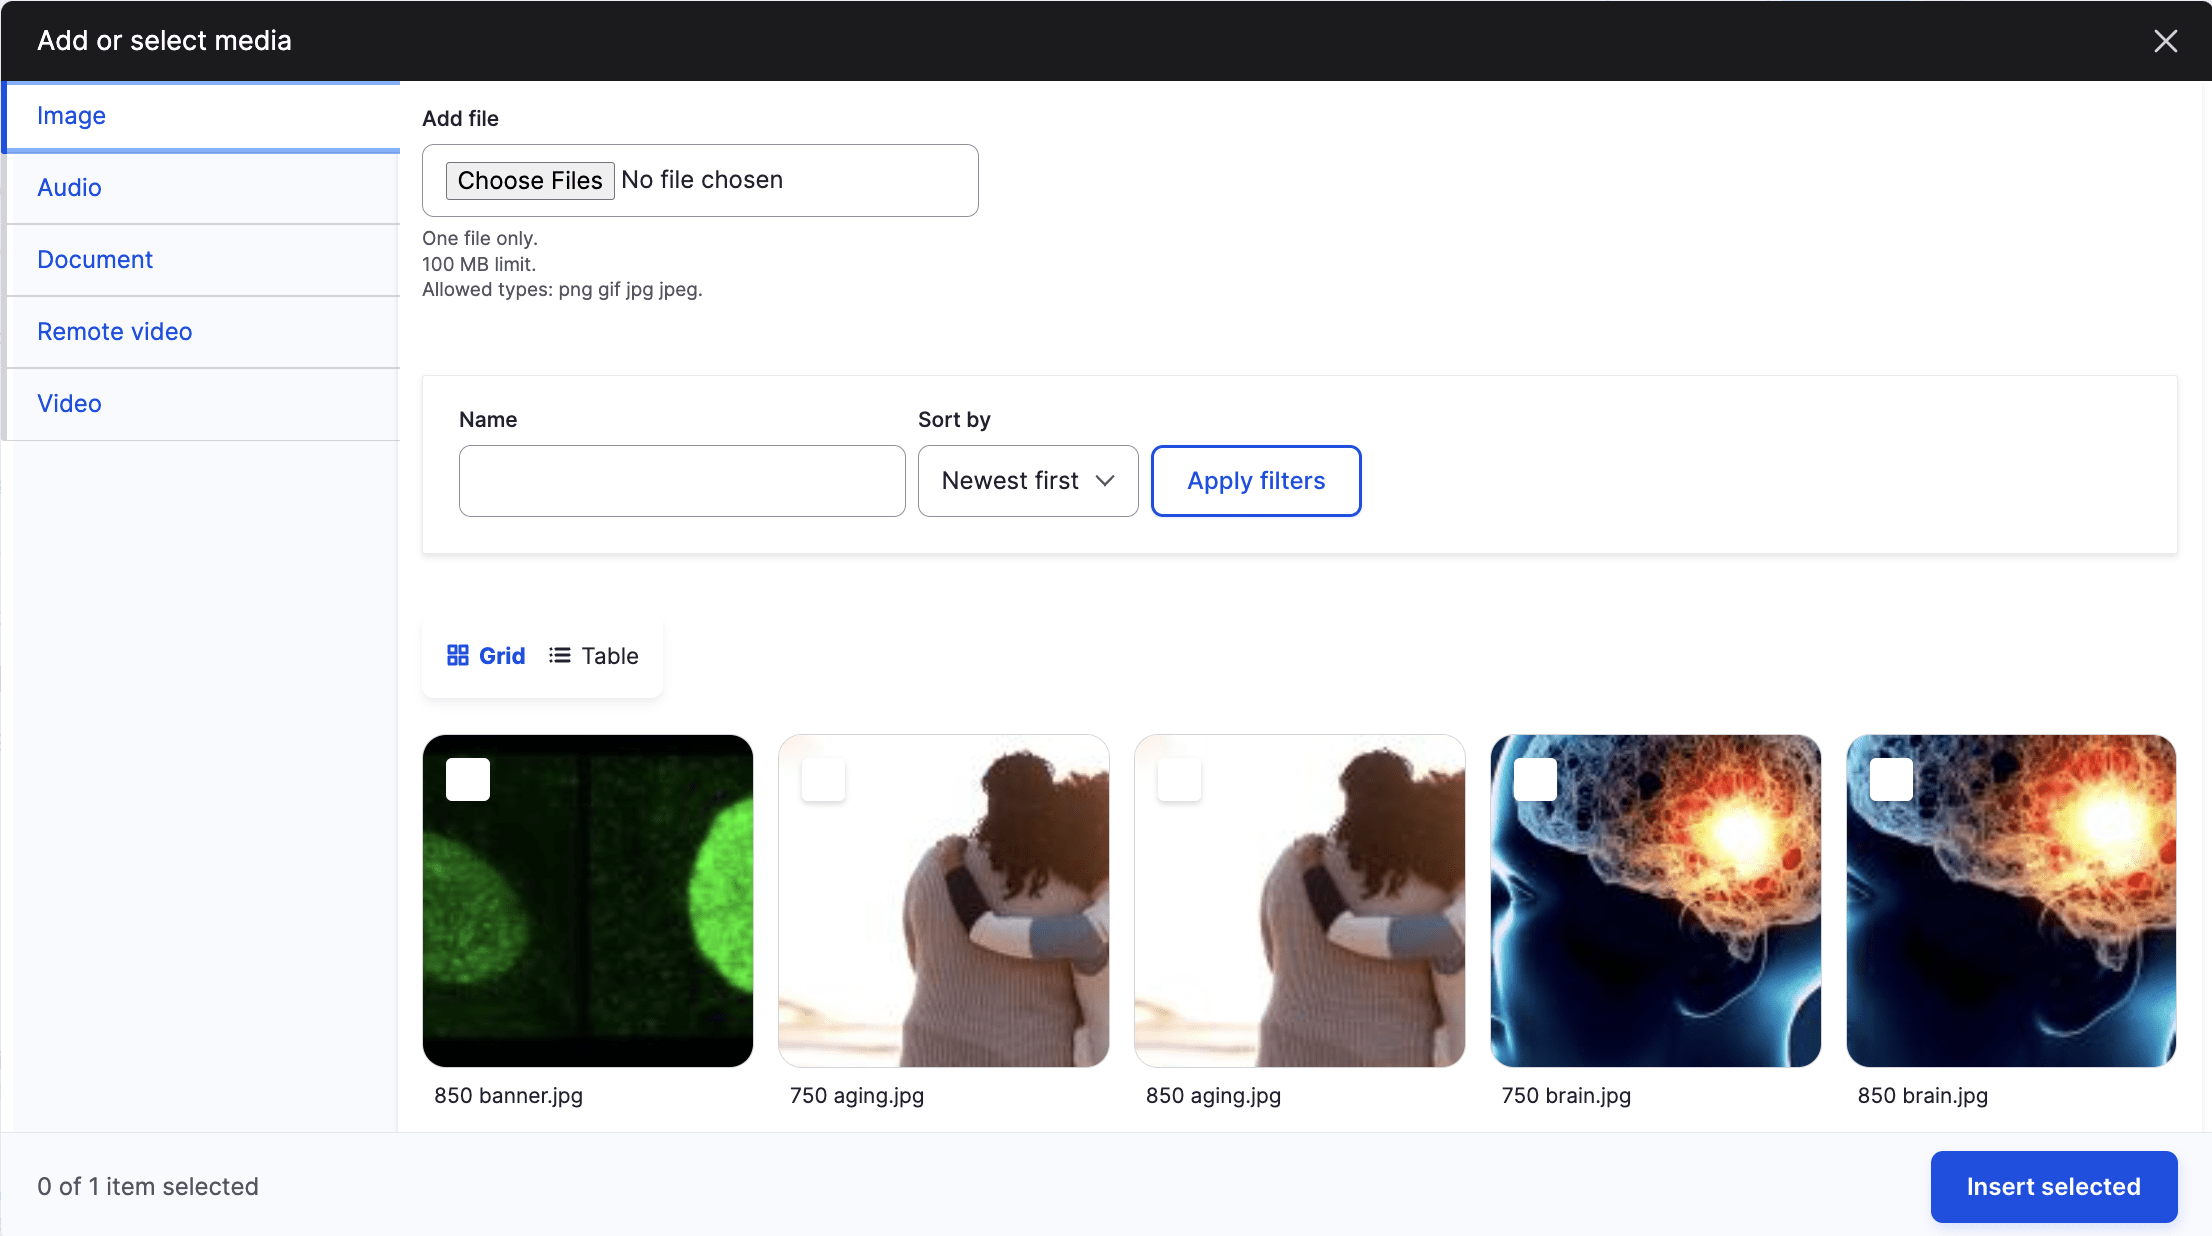
If you want to upload a new image, click on the "Choose Files" button under the add file section of this pop up.
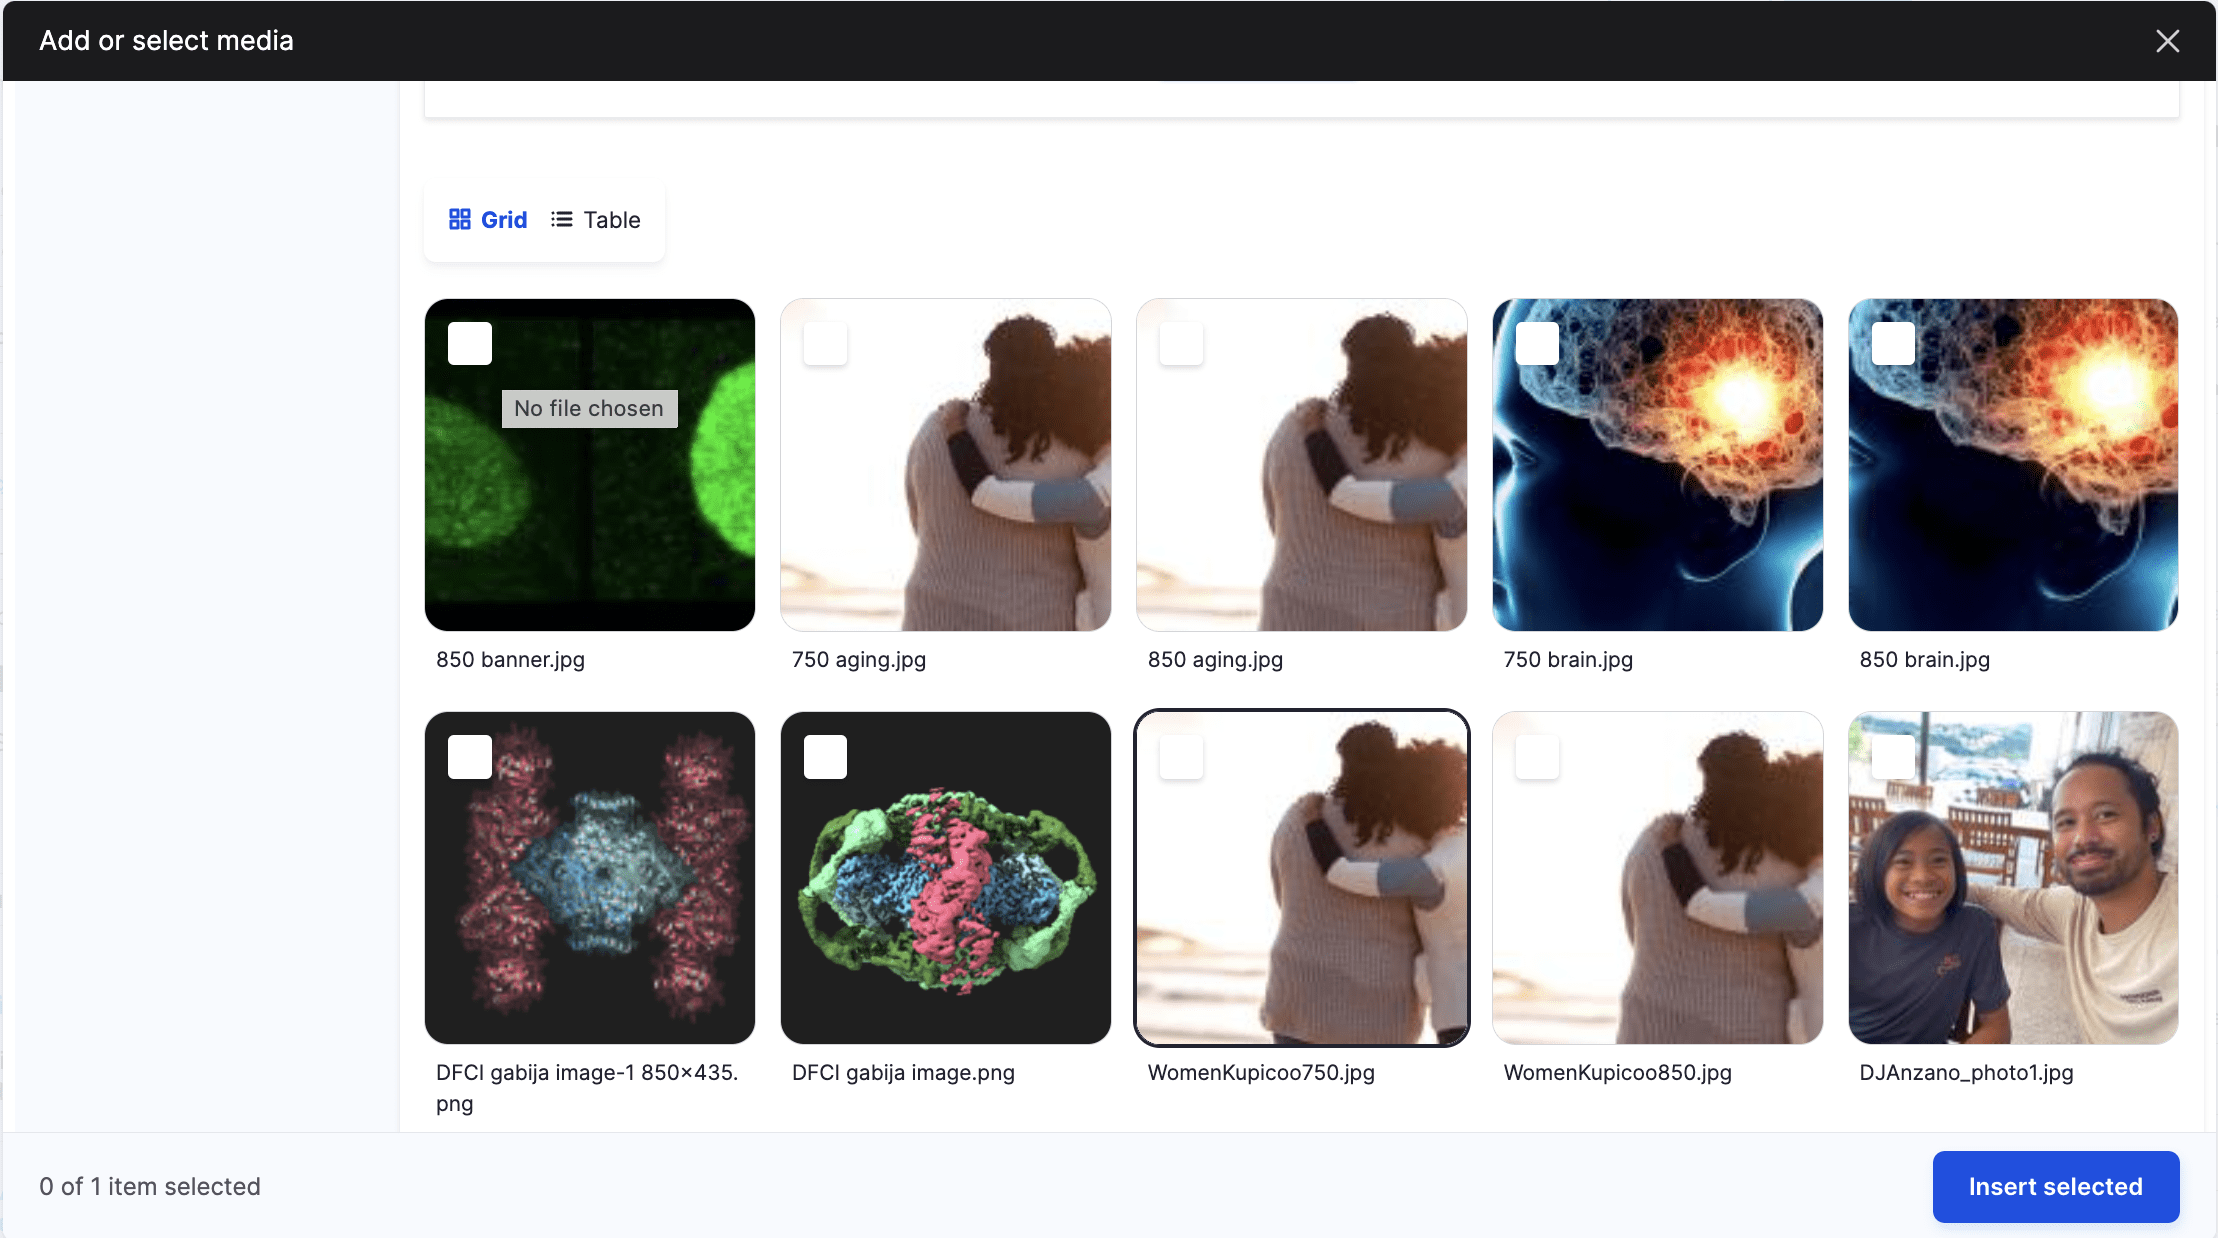
The media item that was just uploaded will then appear in the folder and also be displayed as a preview, you can then select Select and then the Insert Selected button at the button of the pop up.
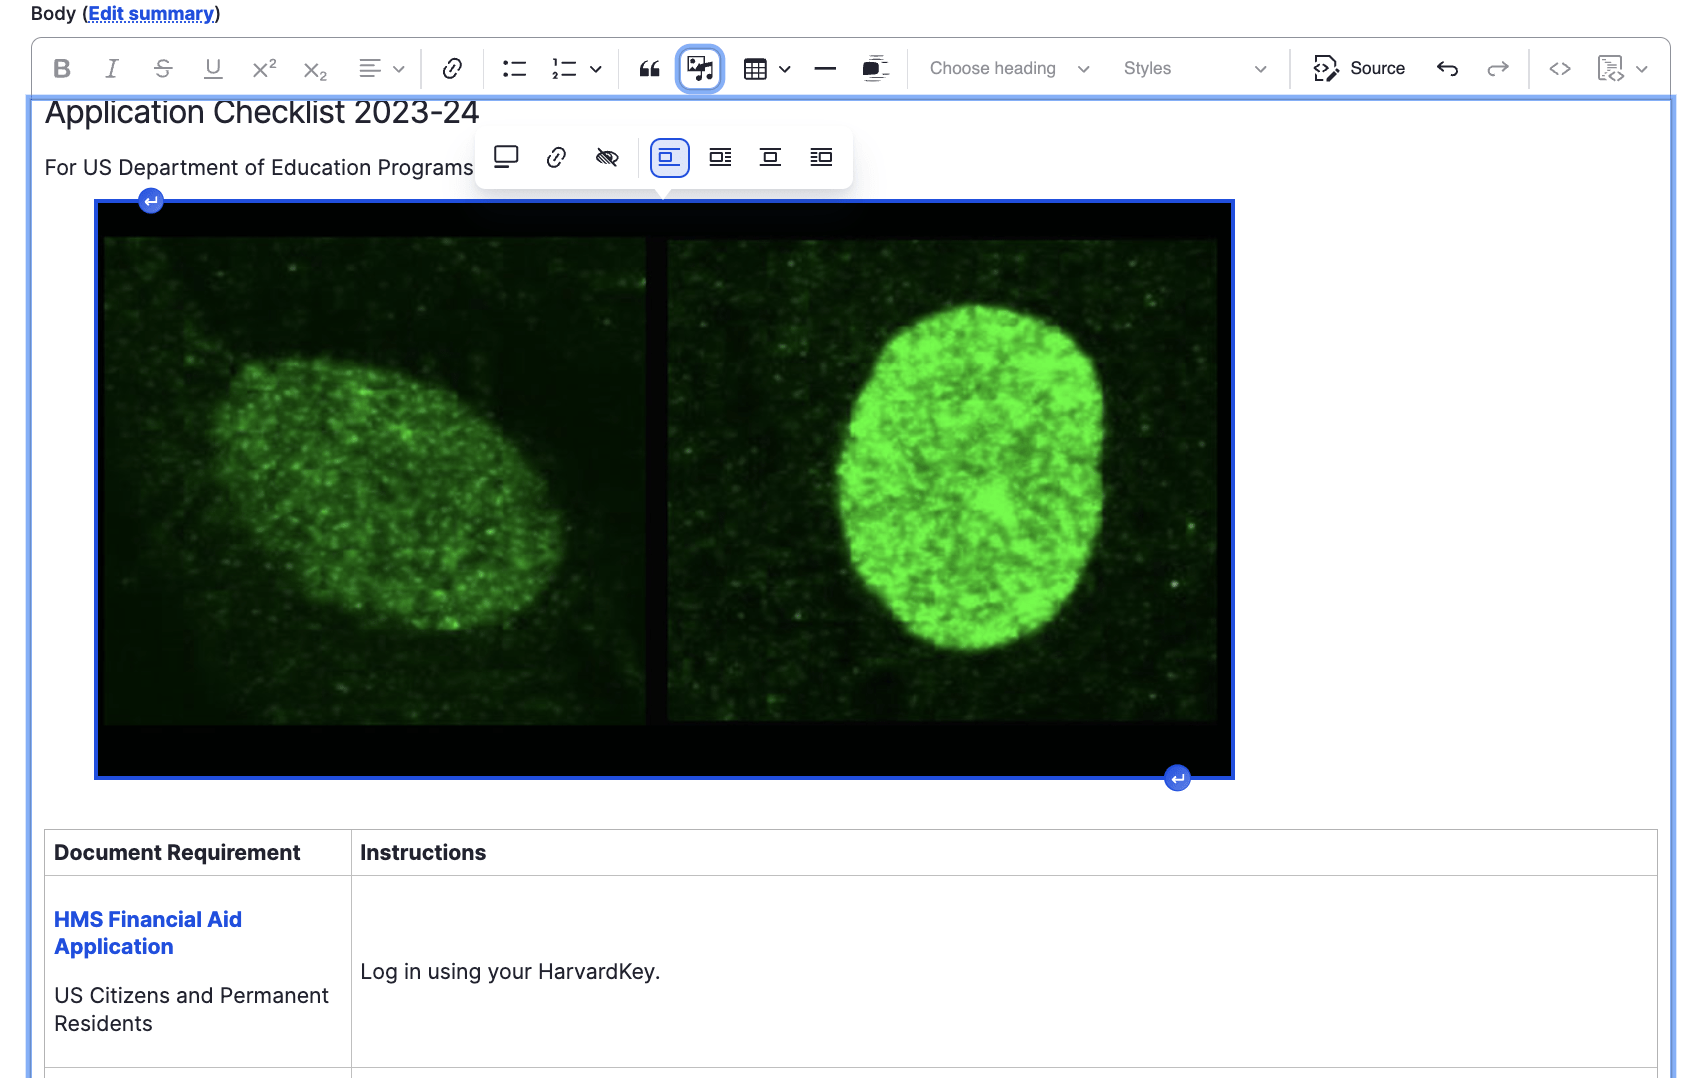
The file server has now closed and you are back to the body section with the newly added image within it. You also have options to align the image, as well as adding a caption. When everything is to your liking, click Save to save the content.
Congratulations!
You have completed the
Adding Media and Images Walkthrough
use the back button to go back to where you were