WYSIWYG Editor
In this lesson you will learn to use features of the What You See Is What You Get (WYSIWYG) editor.
Use the arrow keys or spacebar to go to the next slide.
The WYSIWYG is tool that simplifies web content creation. It's an editor that brings common word processor features to the web site.
The activities in this walkthrough can only be undertaken if you have already logged in and started to create or edit a piece of content.
Use the arrow keys or spacebar to go to the next slide.
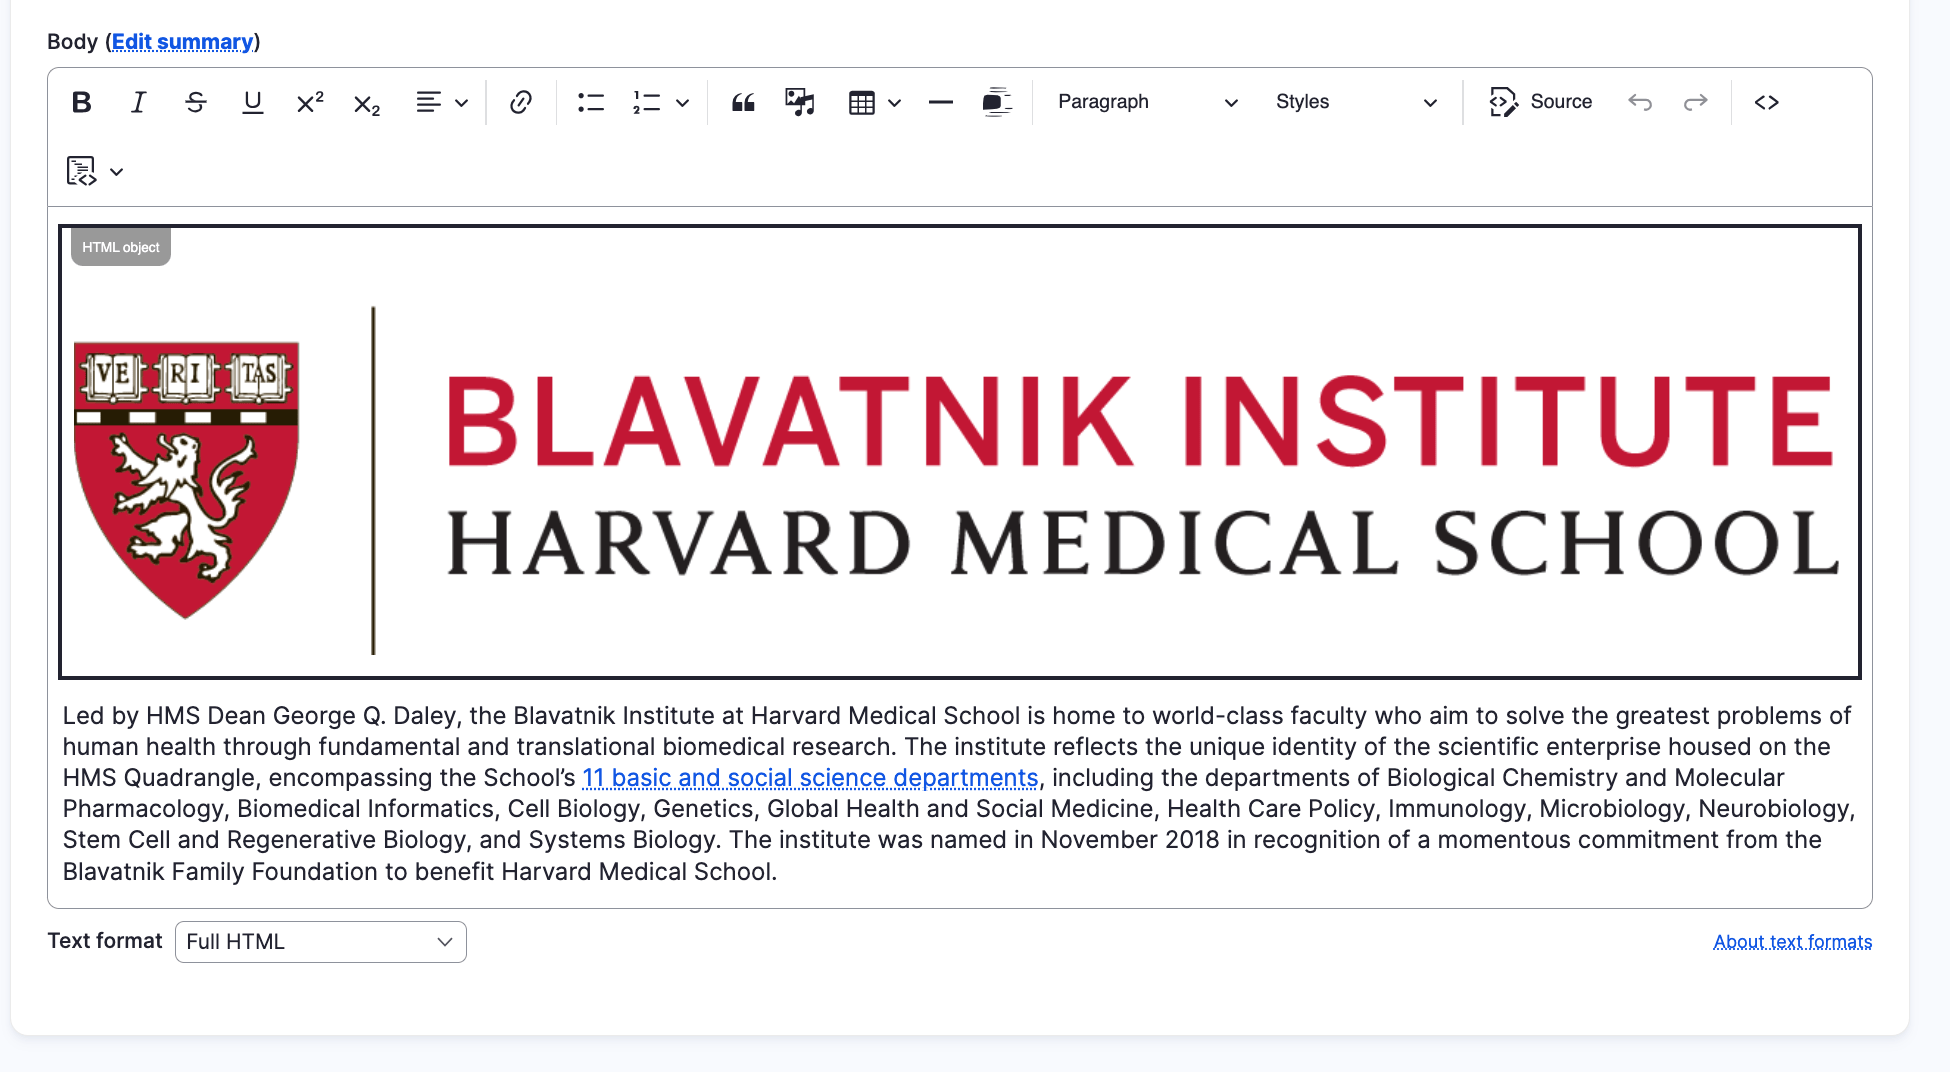
Step 1 of 13 - WYSIWYG Toolbar
The WYSIWYG in Drupal 10 has many familiar looking tools available to users when creating or managing content. These tools all have icons across the top of the Body WYSIWYG, with each providing a different way of assistance.
Step 2 of 13 - Adding Text
You may enter text directly into the editor. Be aware that until you save the piece of content you are editing, all of your edits are temporary as there is no autosave. So creating your content in an outside editor or document is a good practice to follow.
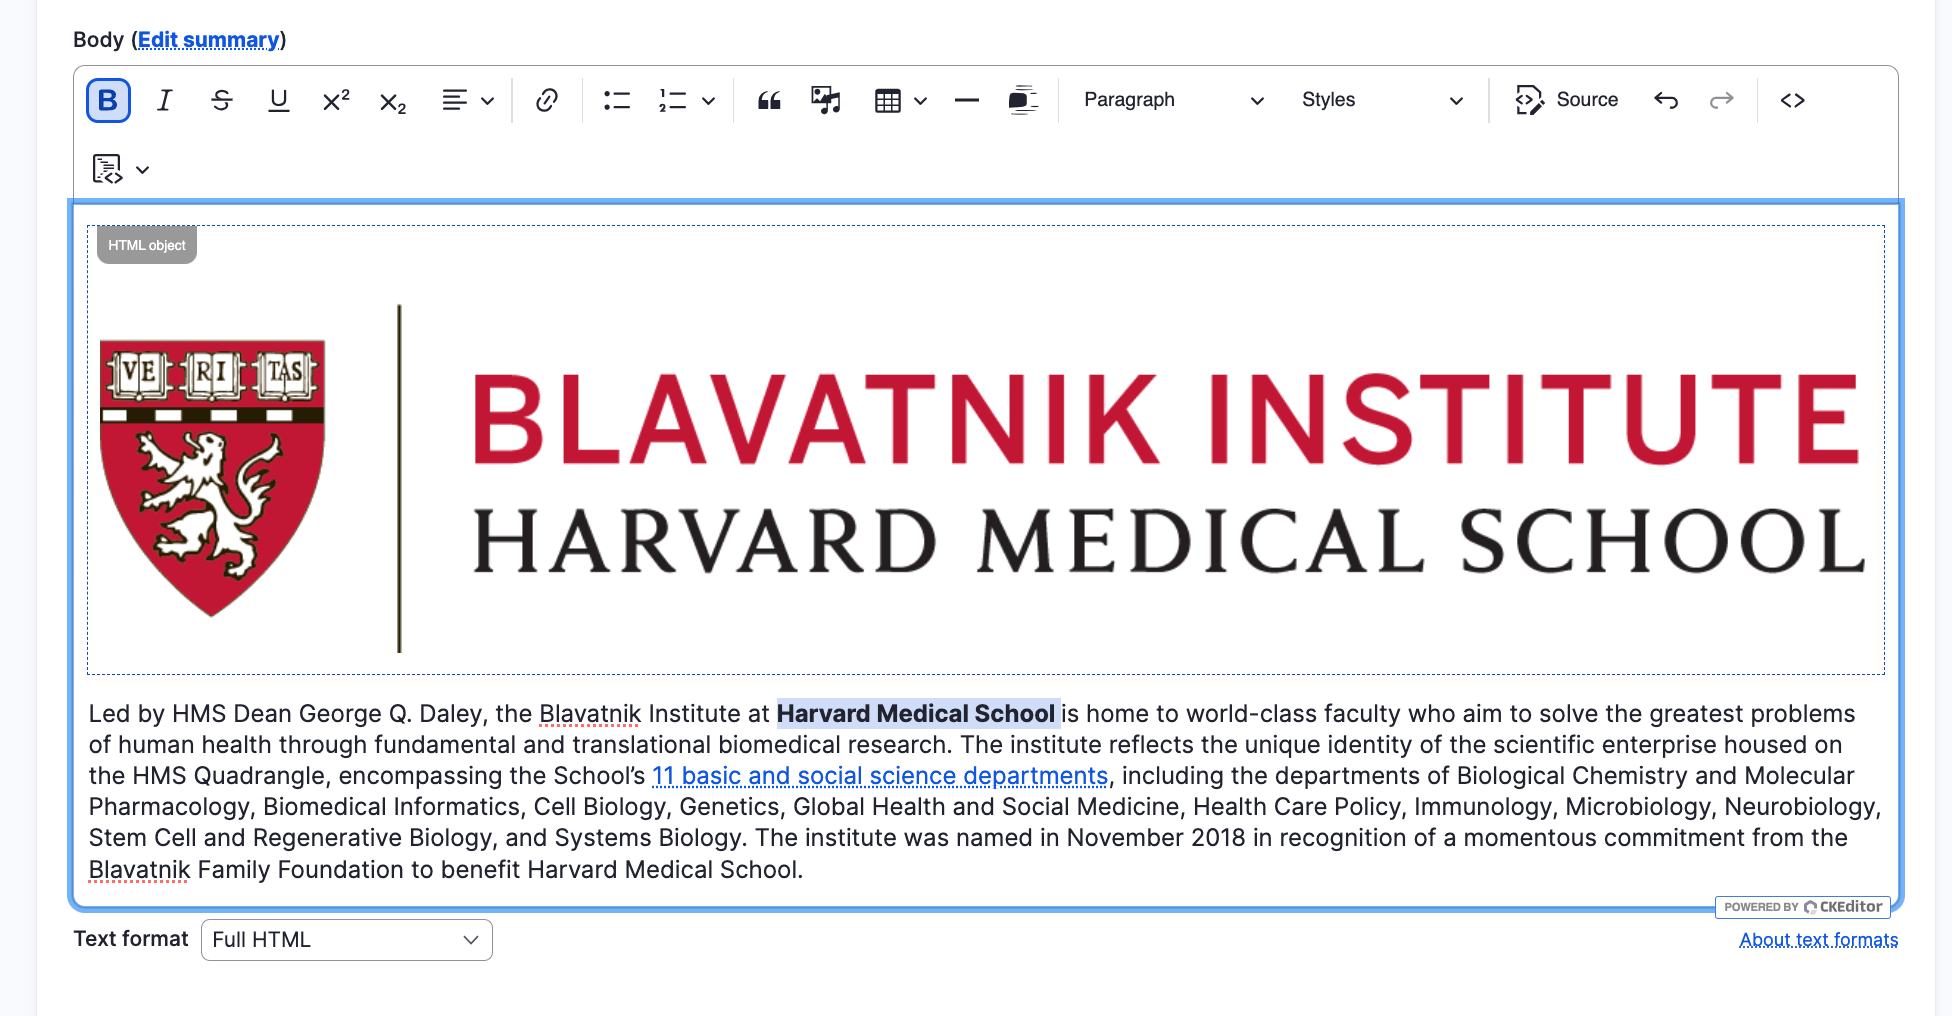
Step 3 of 13 - Bold
To create bold text, you will first want to highlight the text you want to edit. Once you have that selected, you will want to click the bold B in the toolbar. When doing that, it will make the highlighted text bold.
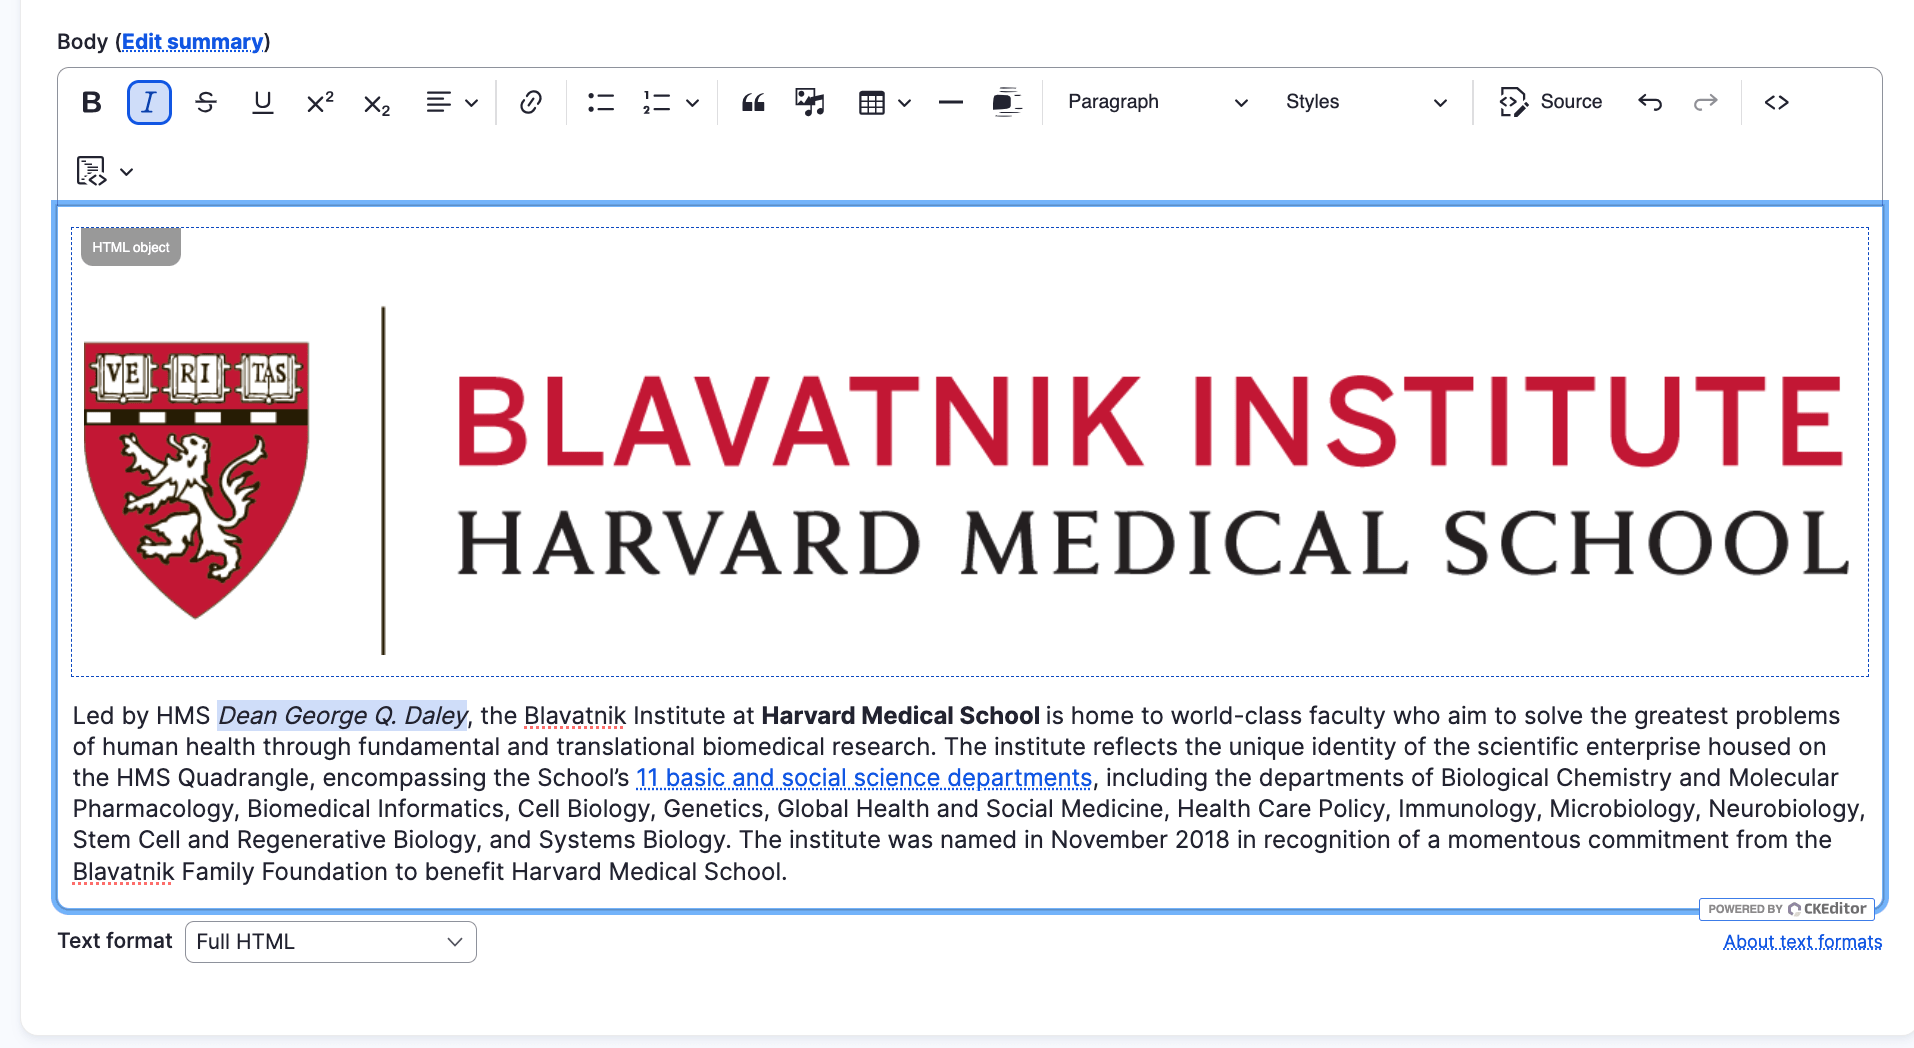
Step 4 of 13 - Italic
To create italic text, you will first want to highlight the text you want to edit. Once you have that selected, you will want to click the Italic I in the toolbar. When doing that, it will make the highlighted text italic.
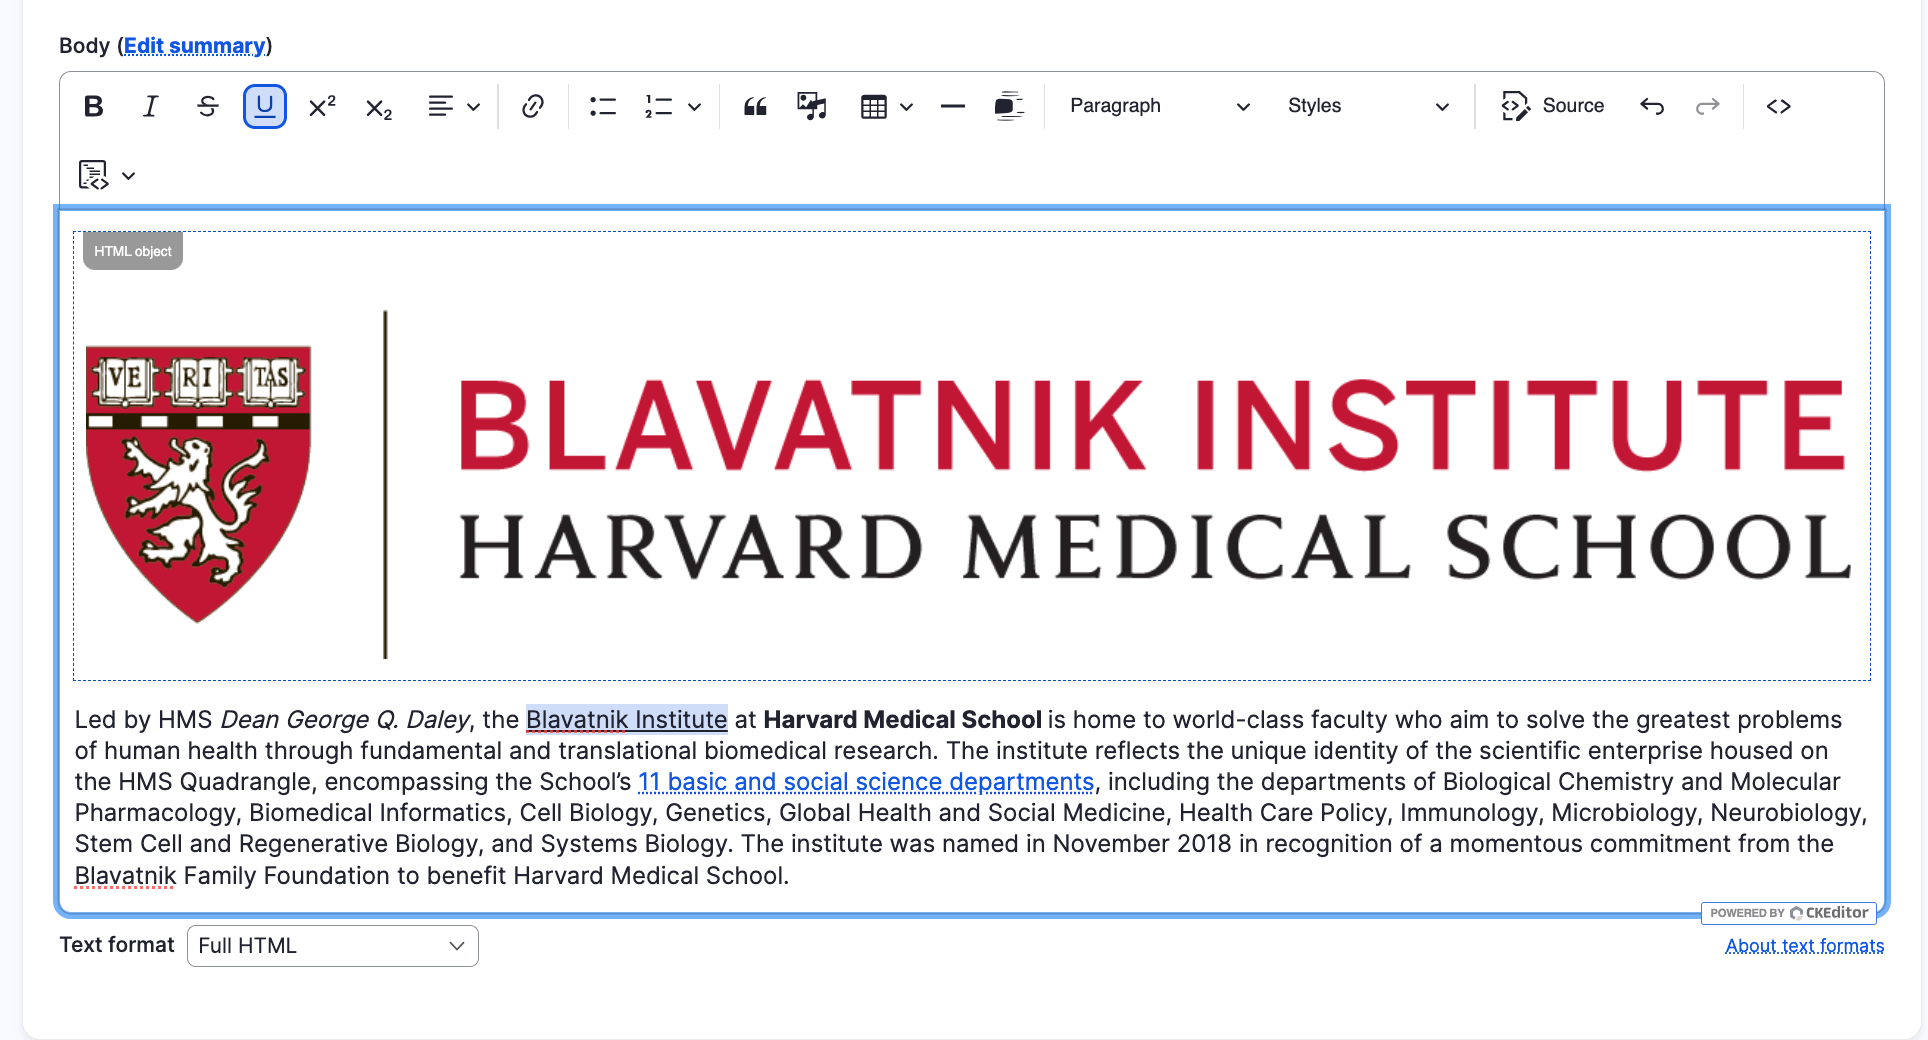
Step 5 of 13 - Underline
To create underlined text, you will first want to highlight the text you want to edit. Once you have that selected, you will want to click the underlined U in the toolbar. When doing that, it will make the highlighted text underlined.
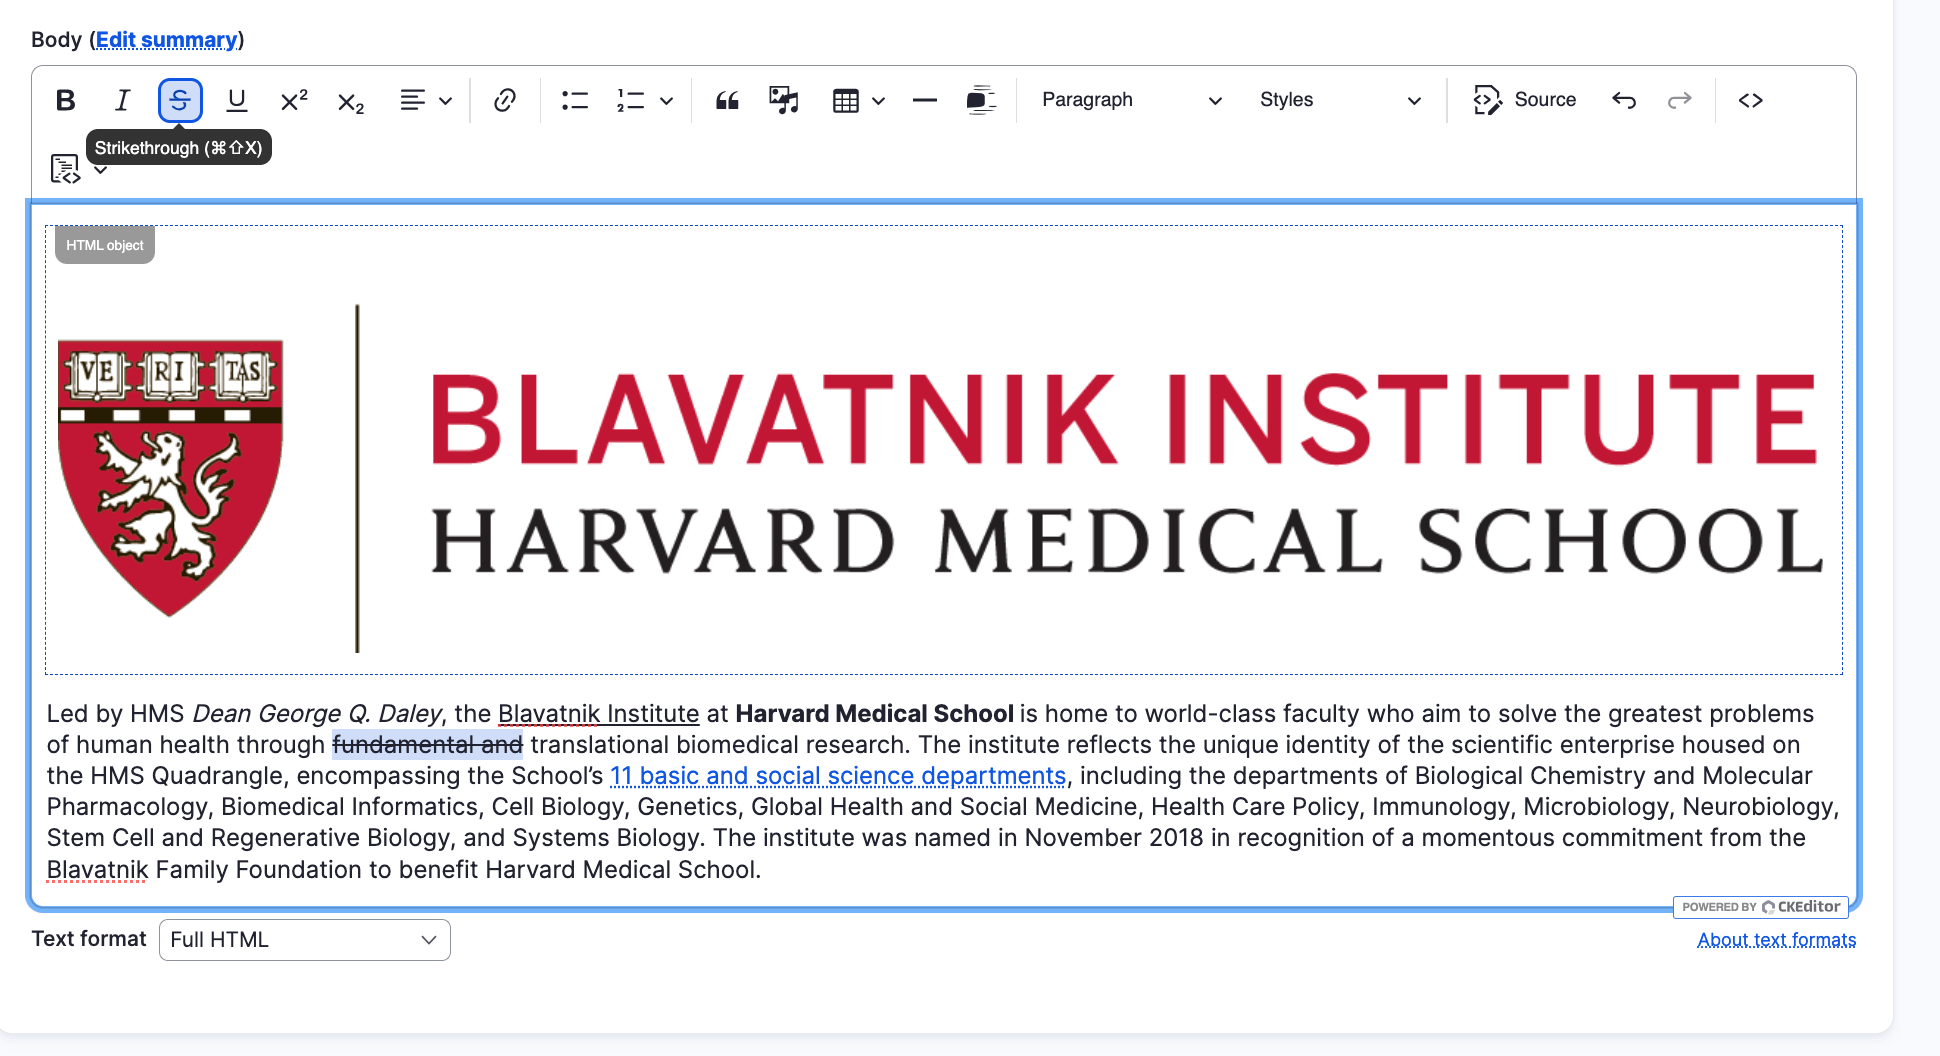
Step 6 of 13 - Strikethrough
To create strikethrough text, you will first want to highlight the text you want to edit. Once you have that selected, you will want to click the S with a line through it in the toolbar. When doing that, it will make the highlighted text strikethrough text.
Step 7 of 13 - Alignment
WYSIWYG now have alignment options for users to select how they would like text to align on his/her page. The three options for alignment are: Left (first paragraph), Center (second paragraph), Right (third paragraph)
1
2
3

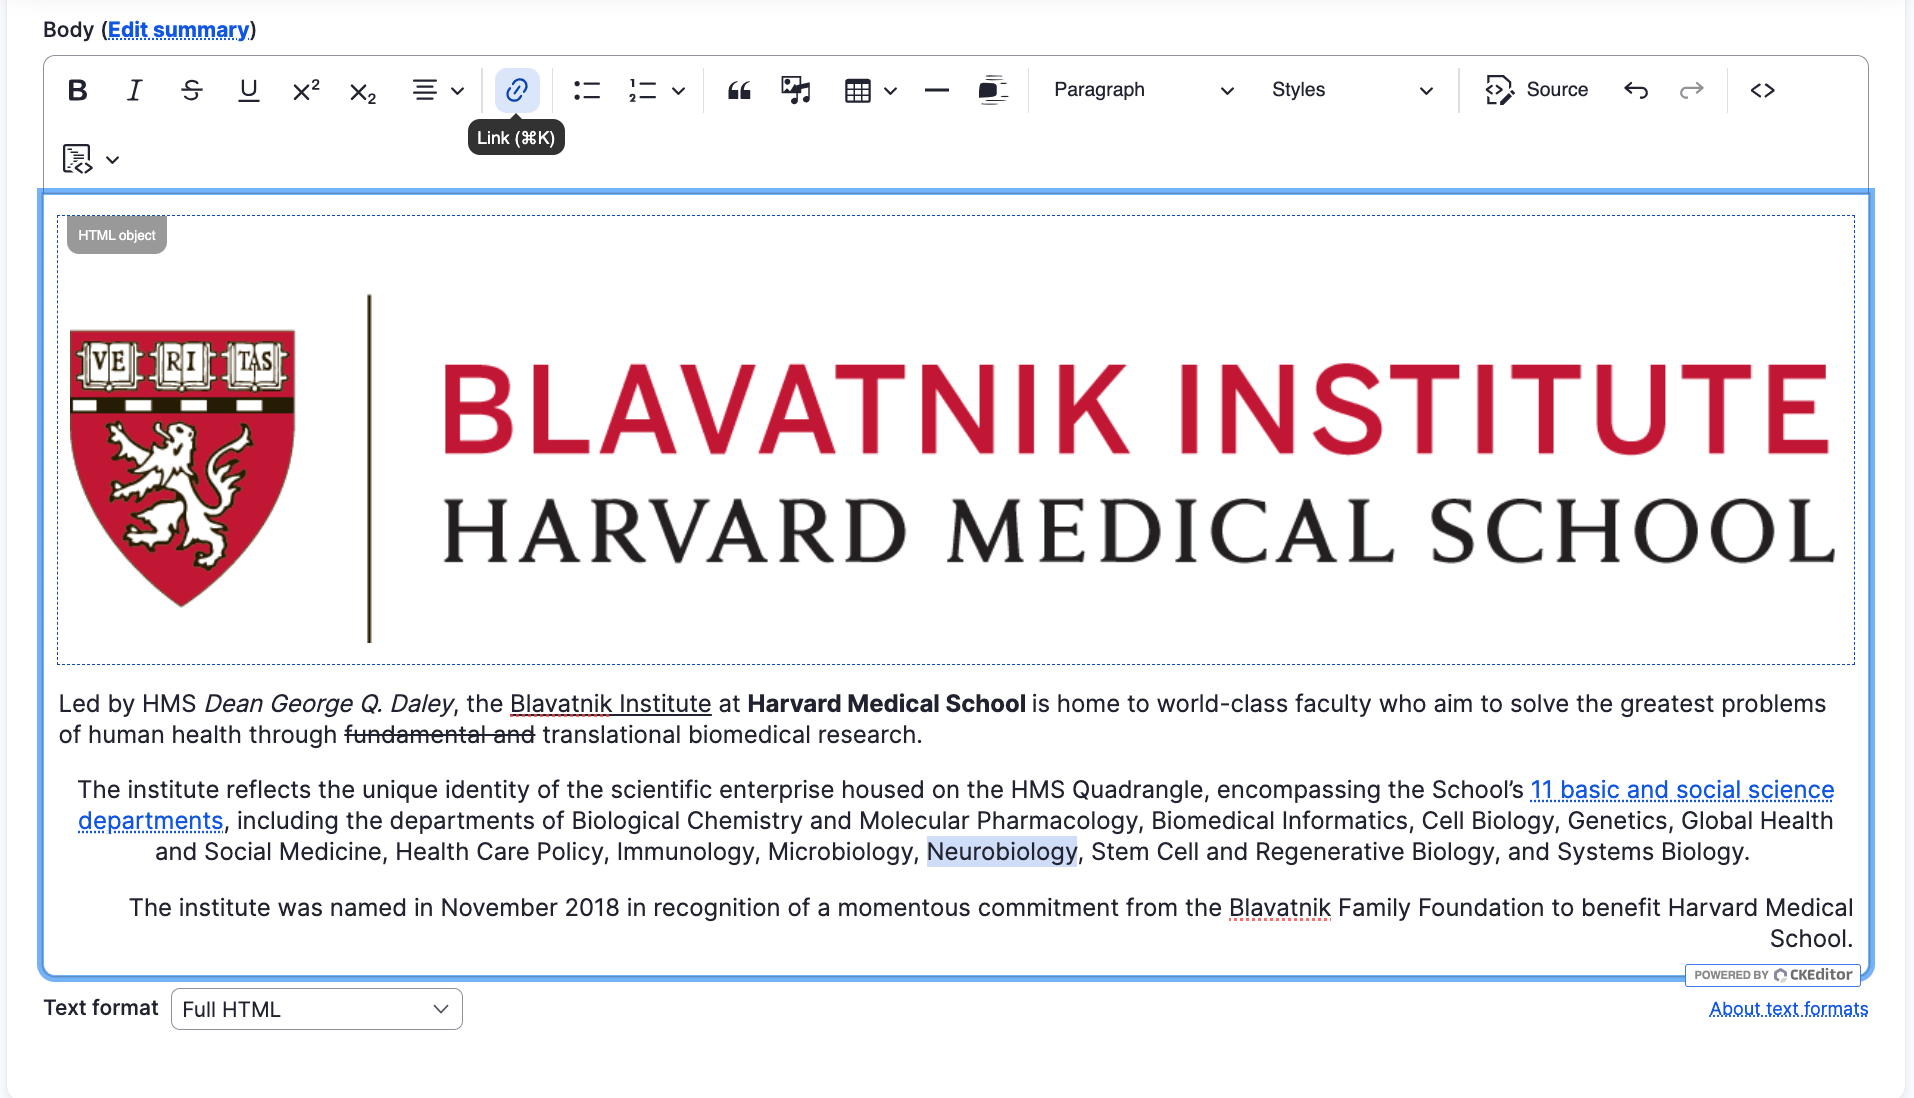
Step 8 of 13 - Link
To create a hyperlink, highlight the text you would like to turn into a link and then link on the Link icon in the toolbar.
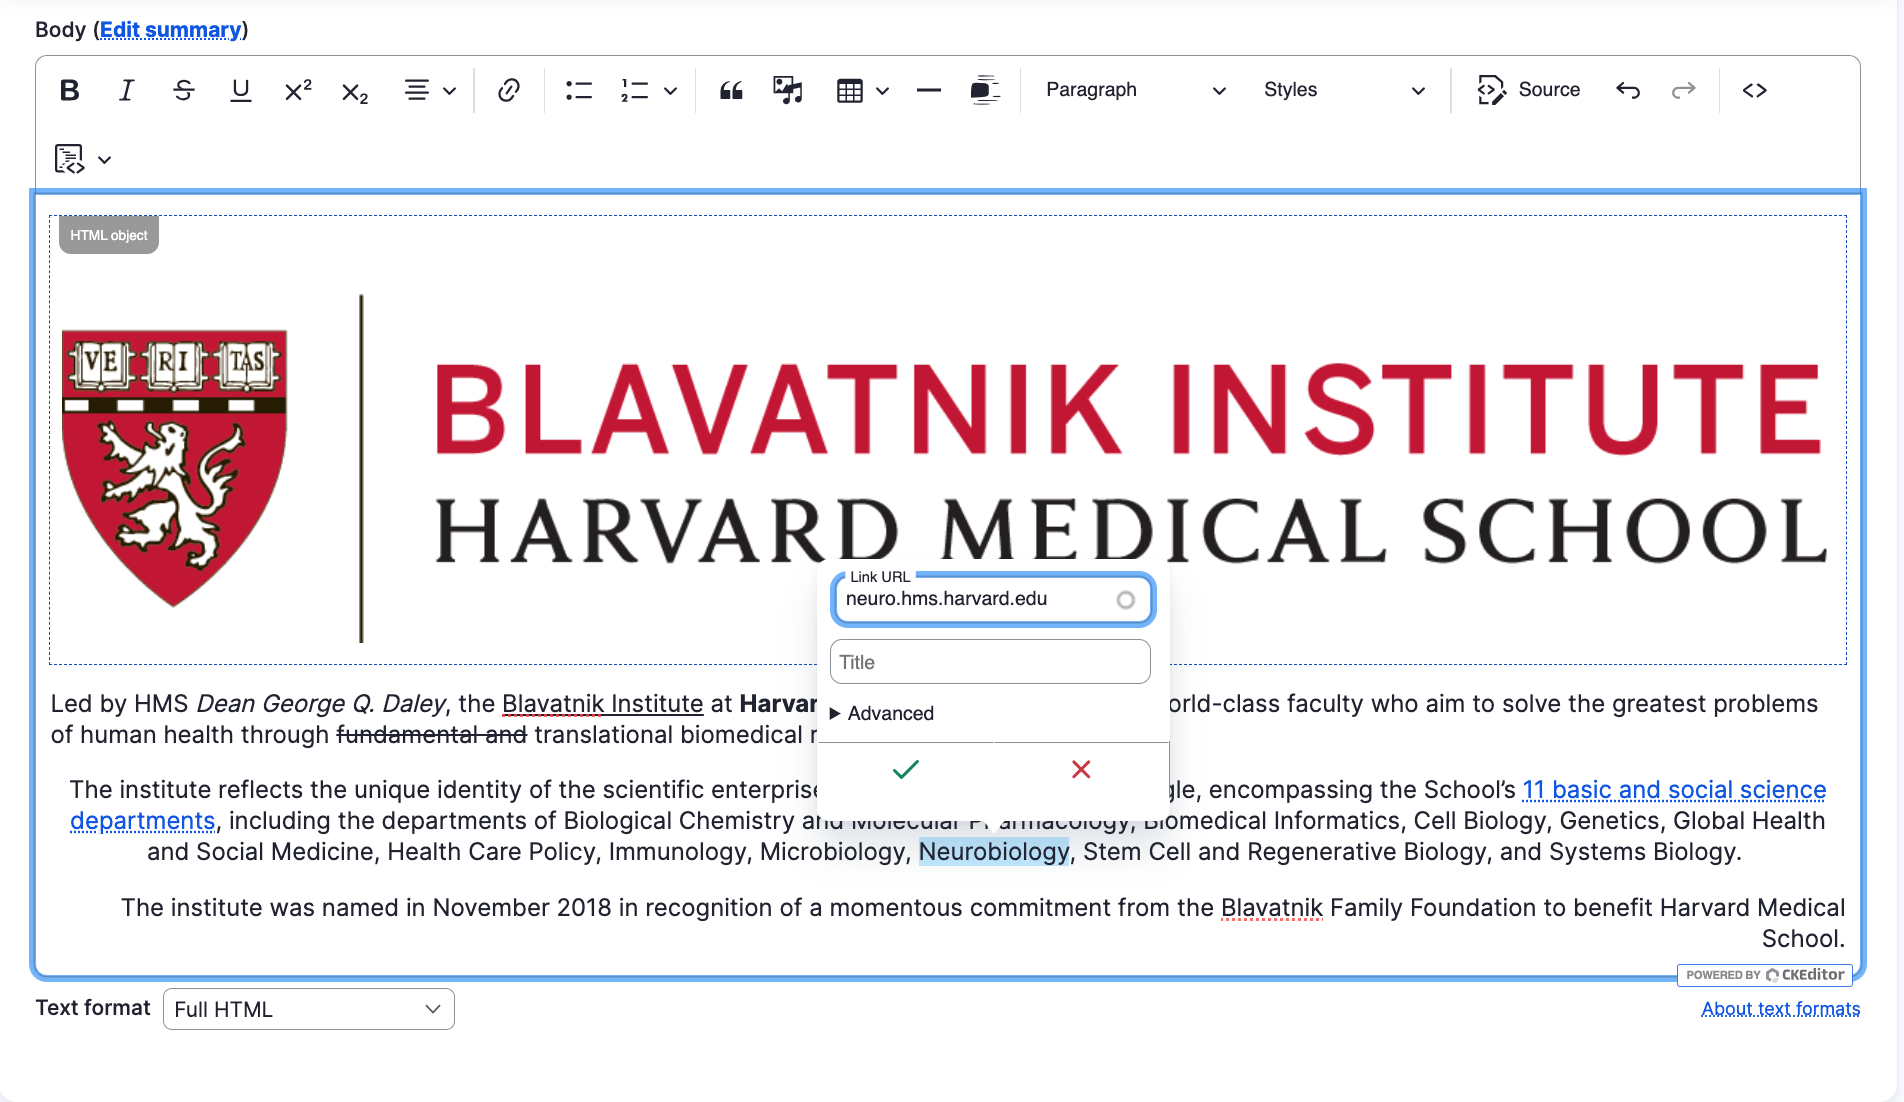
Step 9 of 13 - Link
A window will now appear, which is where you will type in the URL of the destination of the link you are creating. If it is an internal link (meaning the link is going to lead the user to another page on the site you are currently on) all you need to do is start typing the Title of page or content. In this example, we are bringing a user to an external site, so we would type in (or paste in) the URL of the site we are bringing the user to if the link is clicked
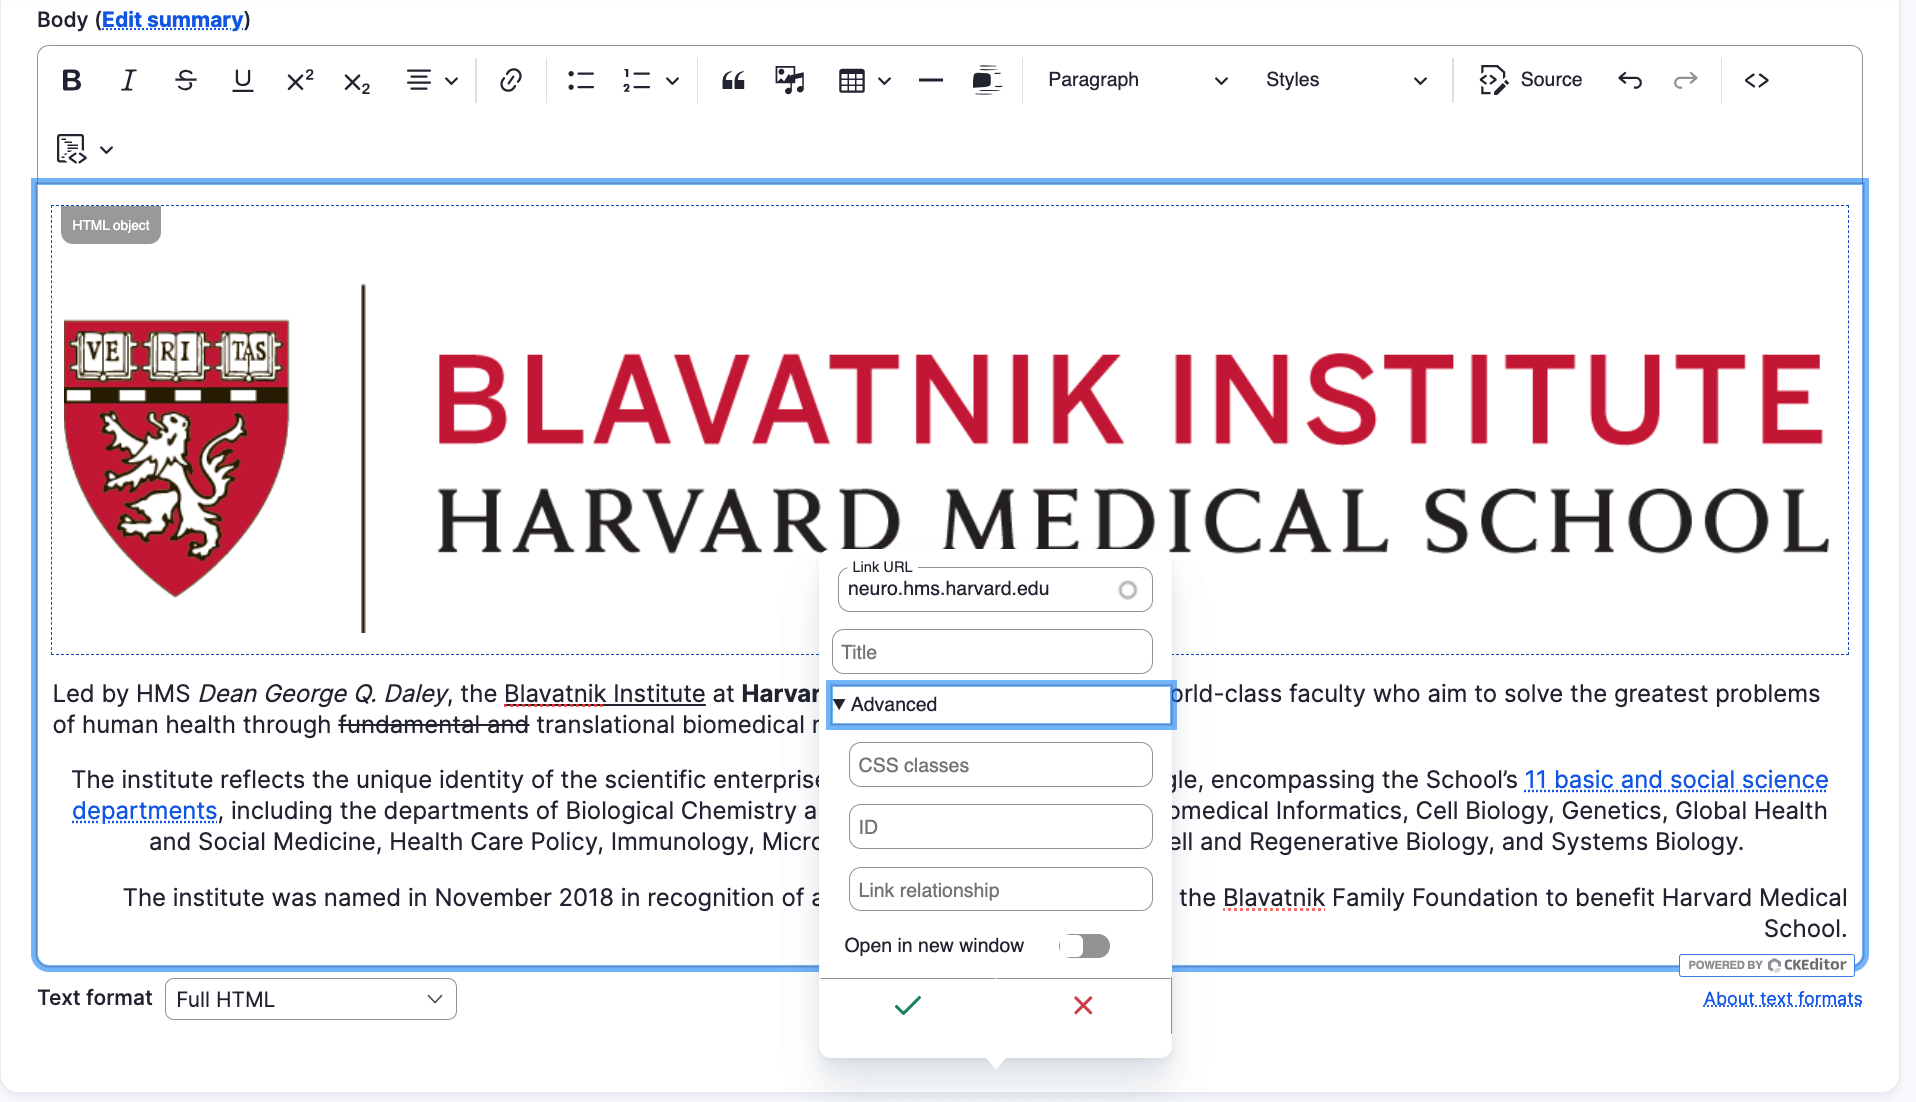
Step 10 of 13 - Link
Under the Advanced tab, there is going to be in an option that a user can either check, or leave unchecked. This option is going to be called "Open in new window". If the link is going to an internal page or content, leave this unchecked. If the link is going to an external site, then this option should be checked. Once this step is completed, click Save.
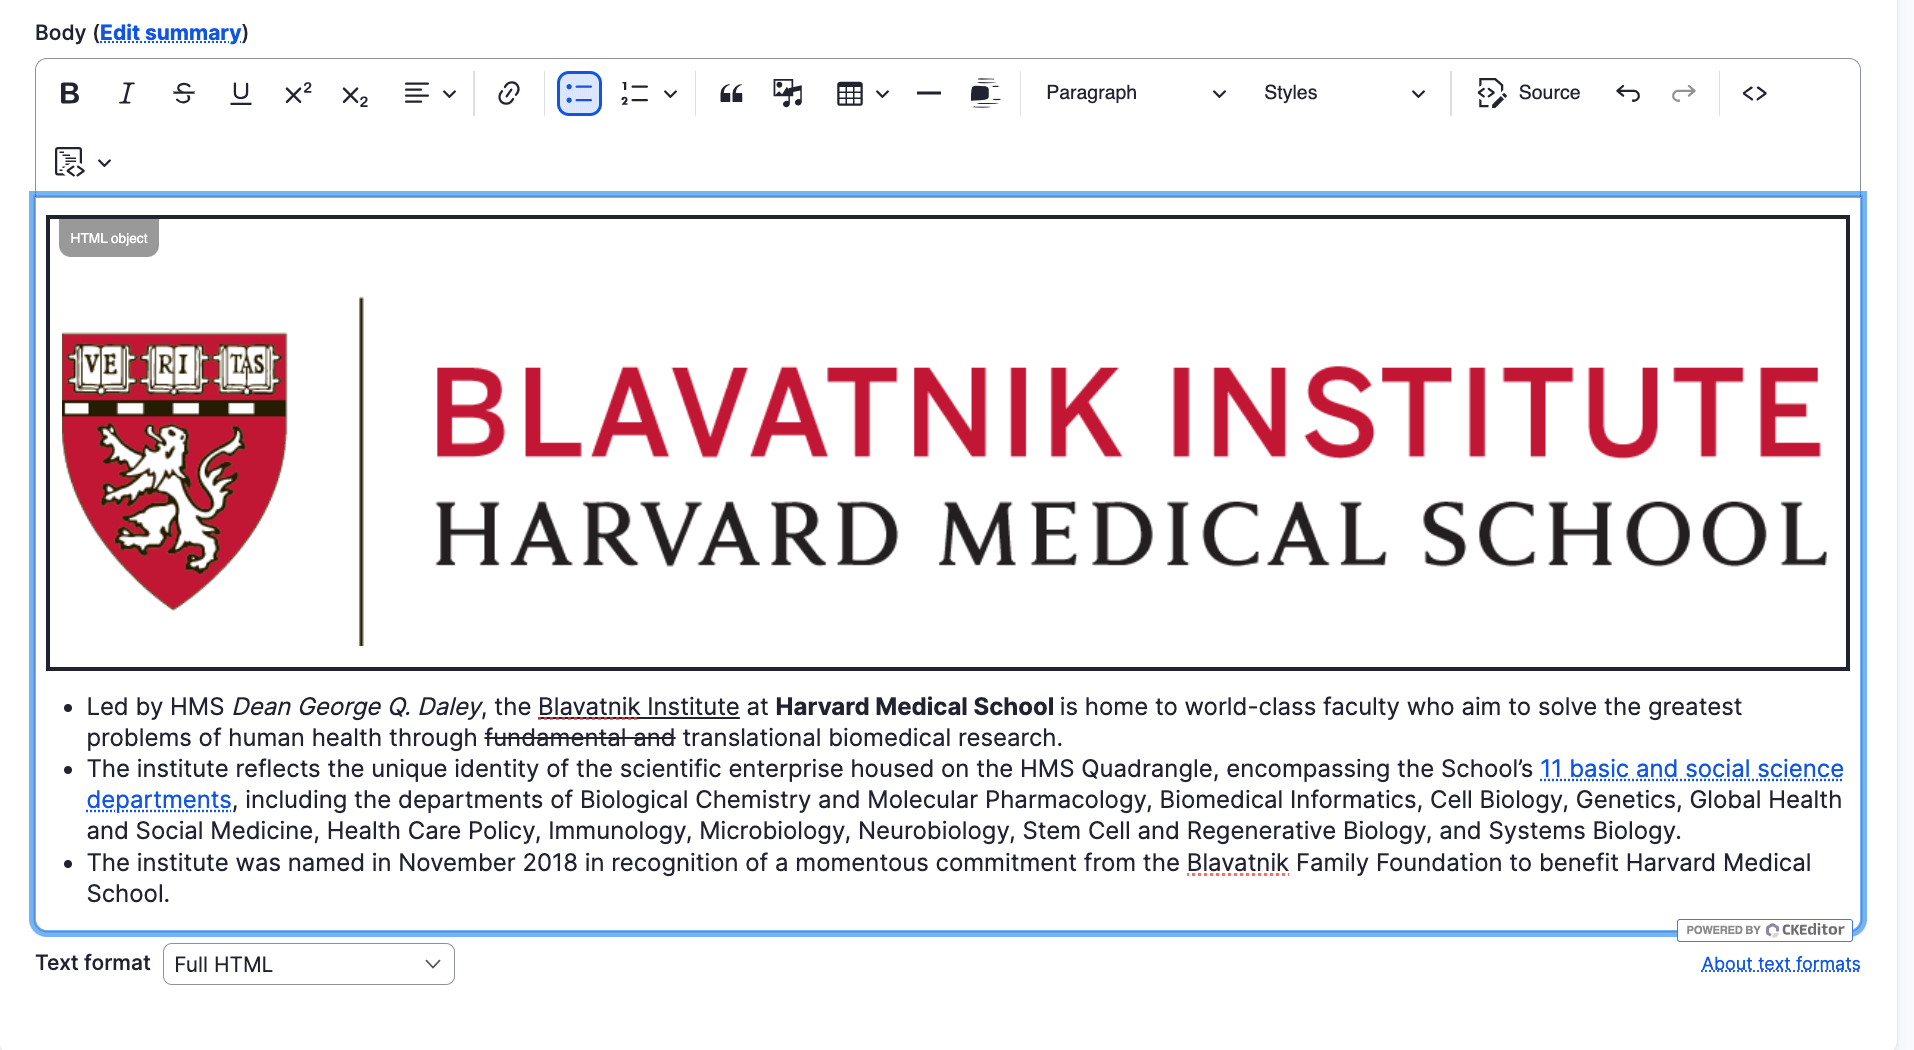
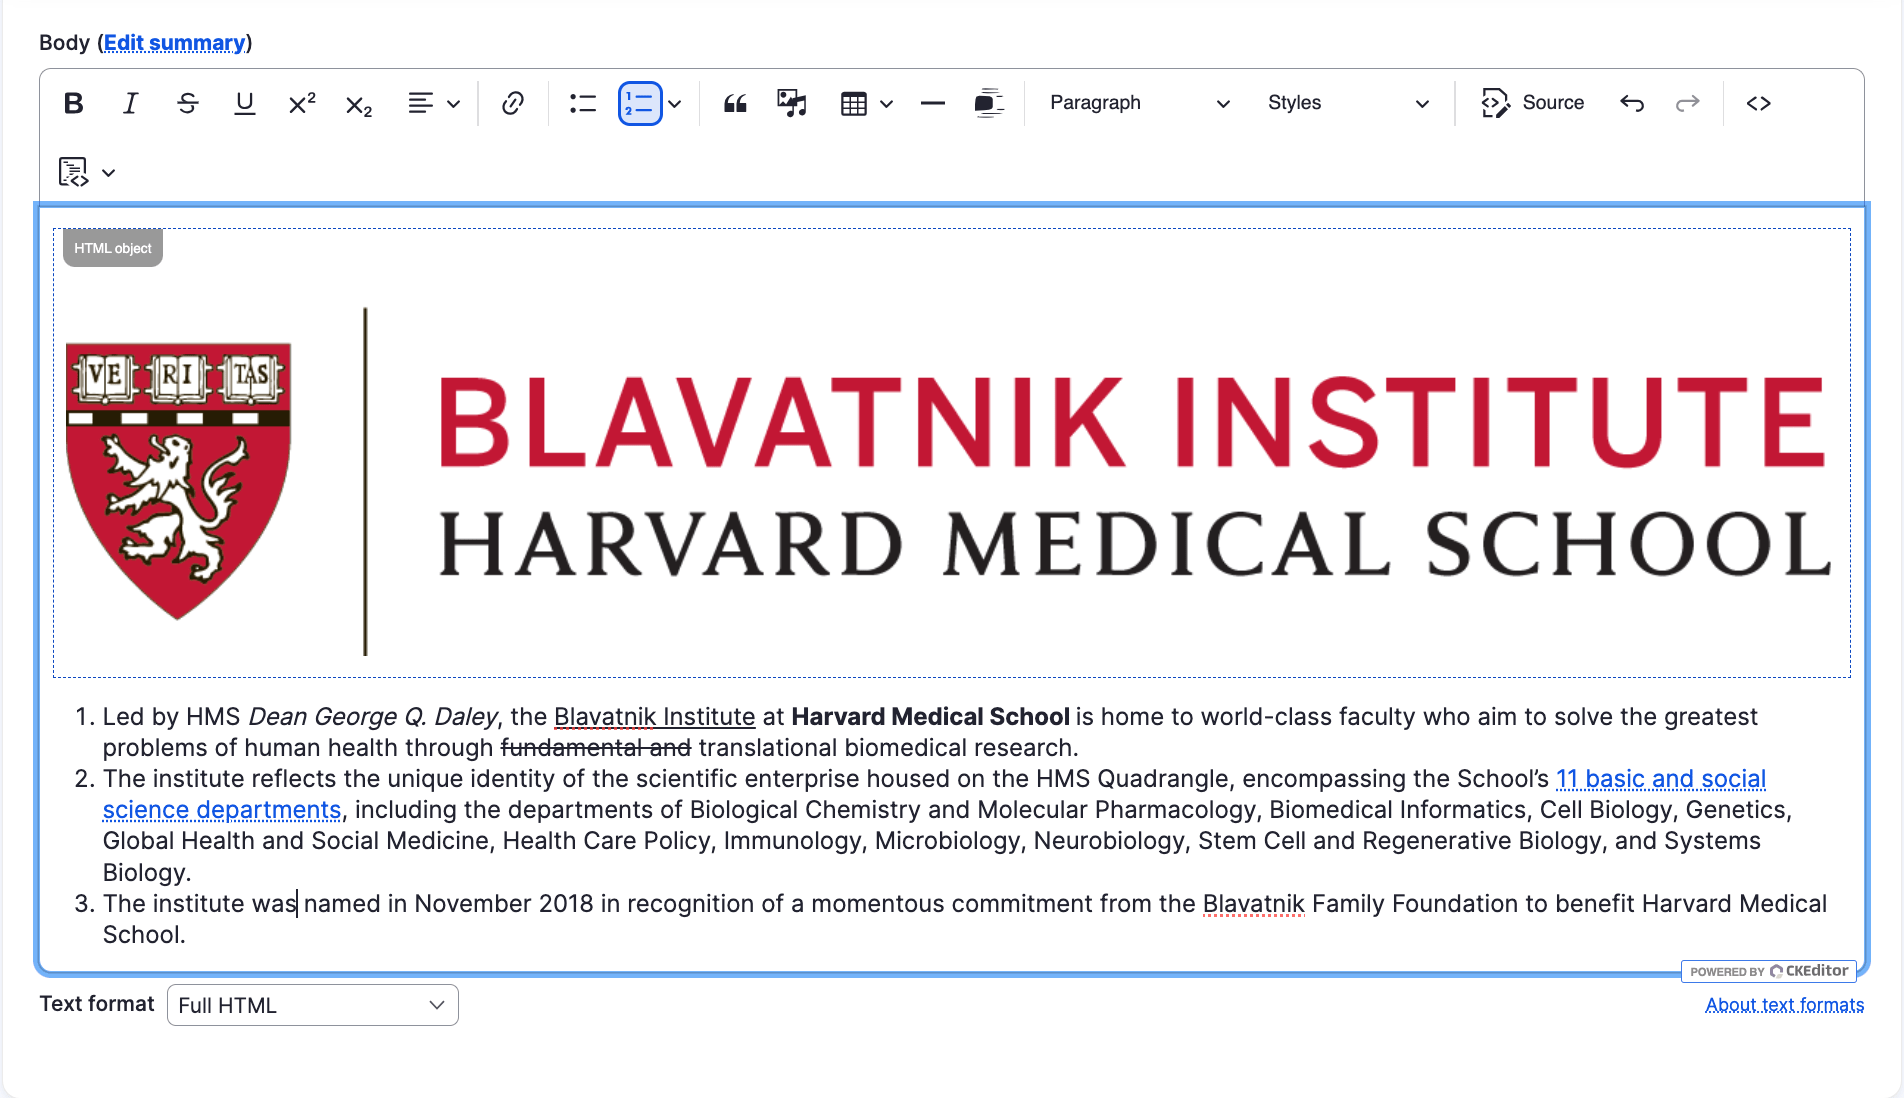
Step 11 of 13 - Lists
To make a bullet or numbered list, first enter text on separate lines, one for each bullet. Then, select all the lines that are going to be a part of the list being created. You can then click the icon for either bullet list or numbered list and it will be created.
Numbered List
Bullet List
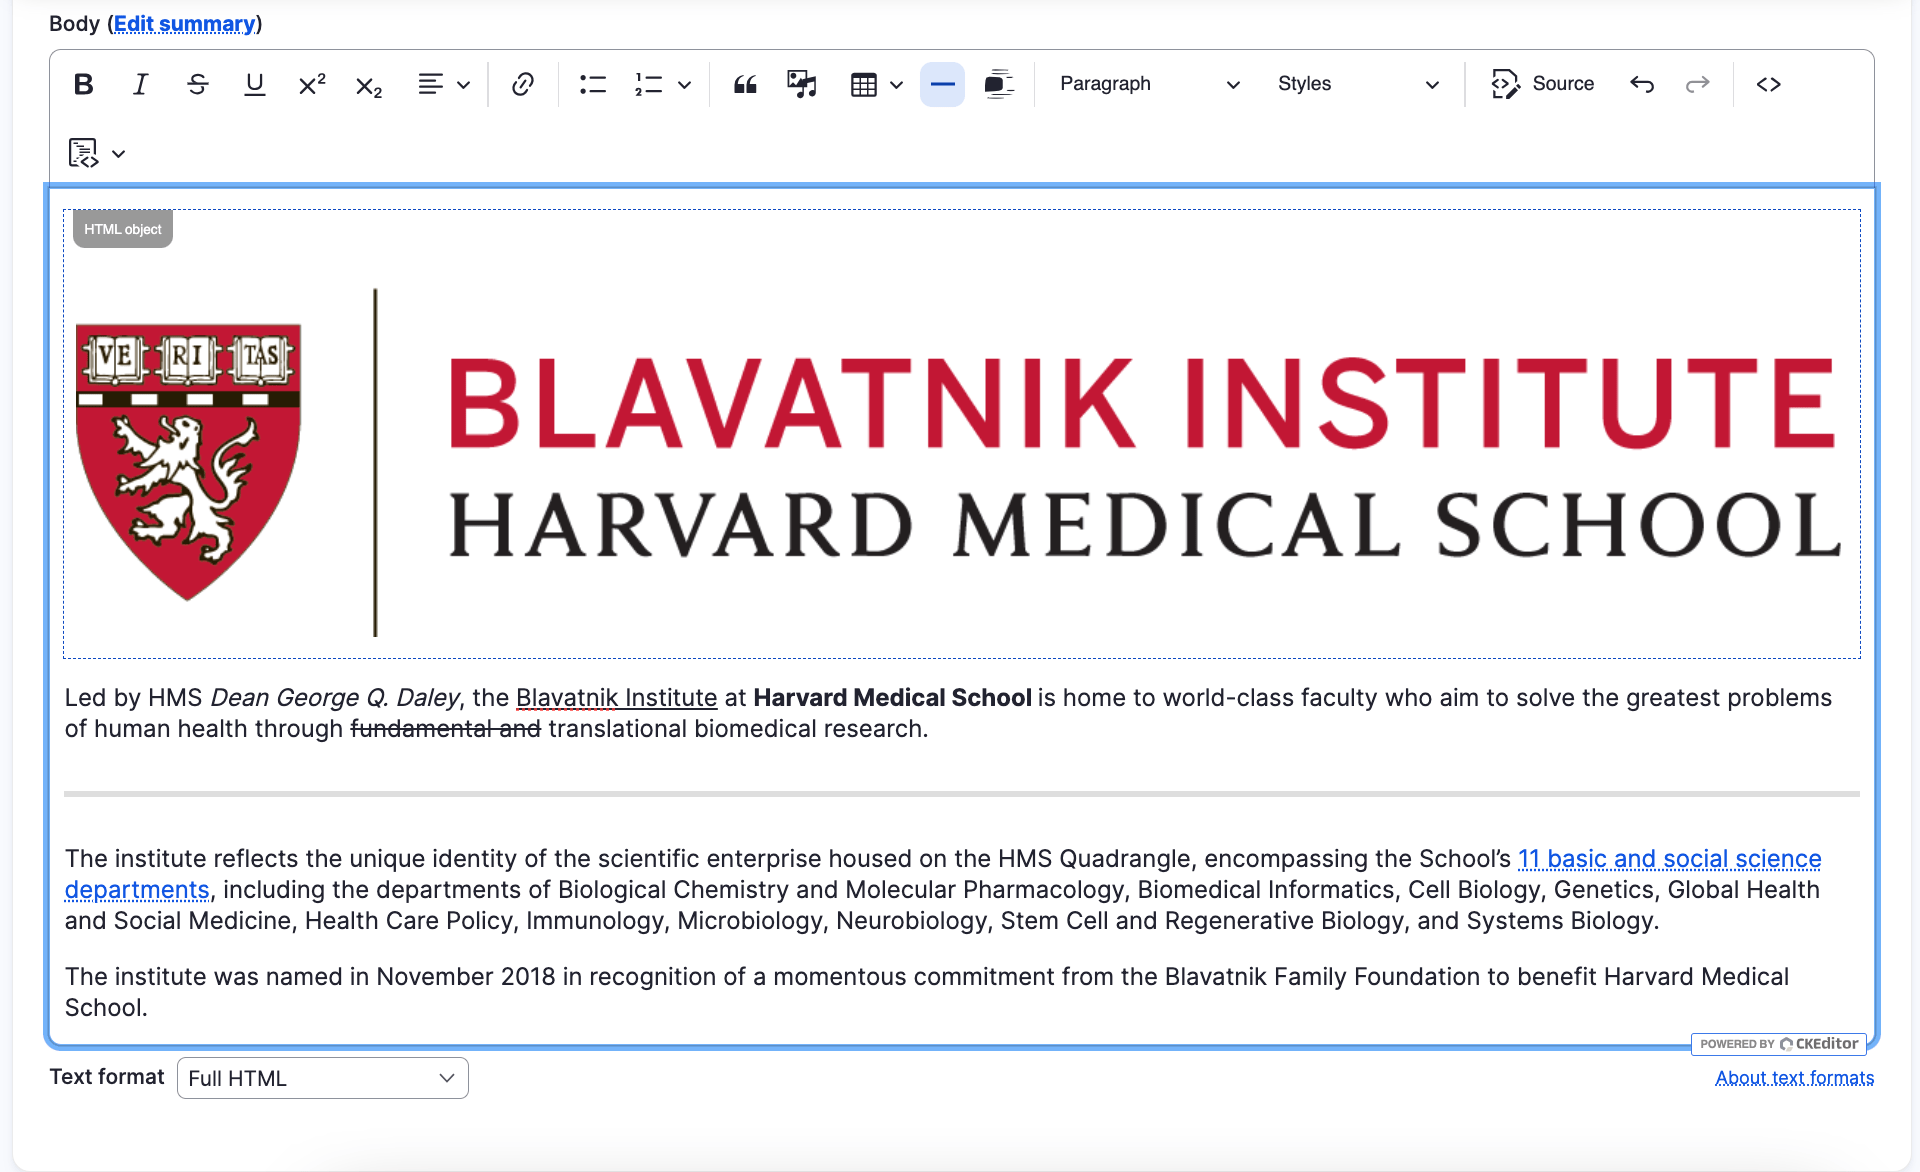
Step 12 of 13 - Horizontal Lines
To break up sections of your page, you can insert a responsive horizontal line. To complete this, you will click in the WYSIWYG to the line you want the line to appear. Once your mouse cursor is there, click the Insert Horizontal Line icon and it will appear.
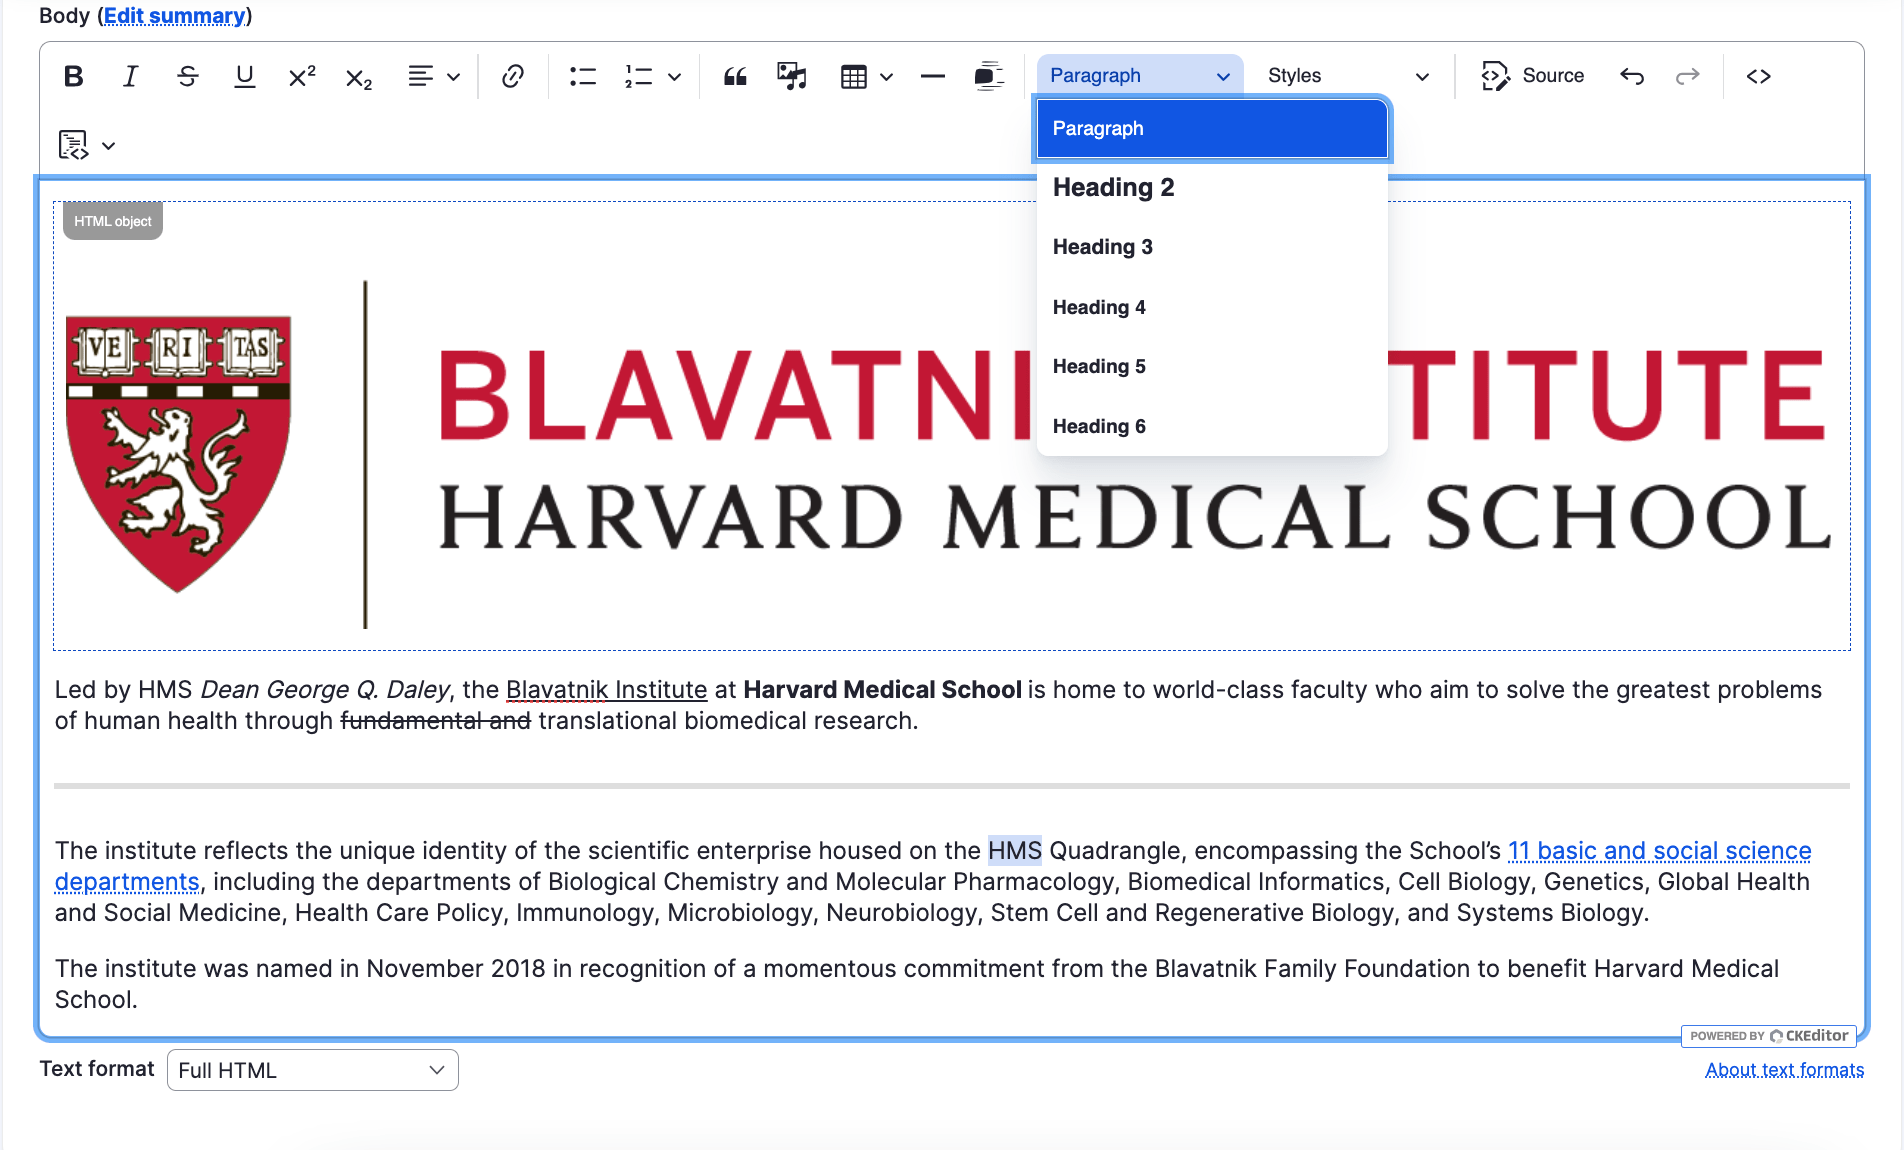
Step 13 of 13 - Headings
There are built in heading formats in various font sizes available for the users to use on his/her content. If you would like to add a heading, select the text that would be the header, and click on the dropdown that says "Paragraph" and play around with the different heading styles to see which one meets your needs.
Congratulations!
You have completed the
WYSIWYG Walkthrough
use the back button to go back to where you were