Publishing with Jekyll and Github
Plan for Tonight
- Start installing stuffs
- Talk about static sites
- Configure Github
- Hope that command line tools has downloaded
- Install more things
- Create a Jekyll project
- Anatomy lesson
- Publish on Github
MacOSX
(Using Terminal)
xcode-select --install
- Select the highlighted "Install" option.
Windows
http://rubyinstaller.org/
- Make sure to check the “Add Ruby executables to your PATH” box.
Install Homebrew
/usr/bin/ruby -e "$(curl -fsSL https://raw.githubusercontent.com/Homebrew/install/master/install)"
brew install ruby
Install Ruby DevKit
http://rubyinstaller.org/downloads/
Set
C:\RubyDevKit\
as the destination for the DevKit files
(Using PowerShell)
cd C:\RubyDevKit
ruby dk.rb init
ruby dk.rb install
So what's the deal?
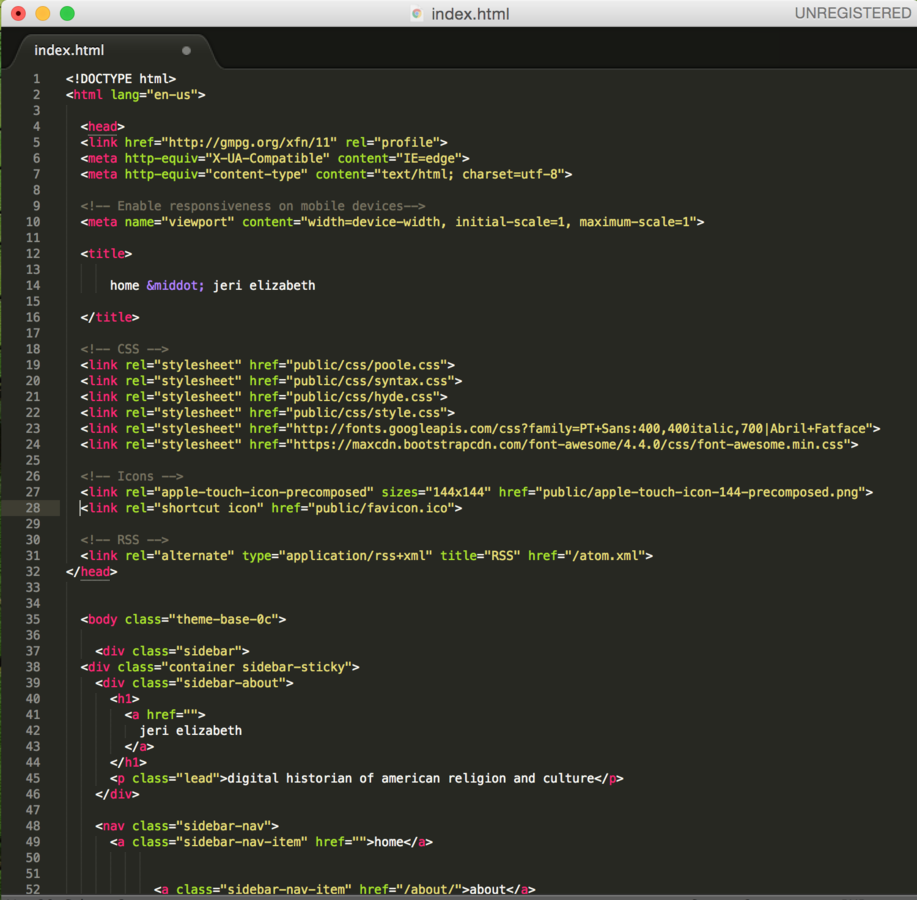
Static Site - Jekyll
- Uses an application that runs on local machine.
- No database required; no server side programming languages required.
- HTML files live fully assembled on the server.
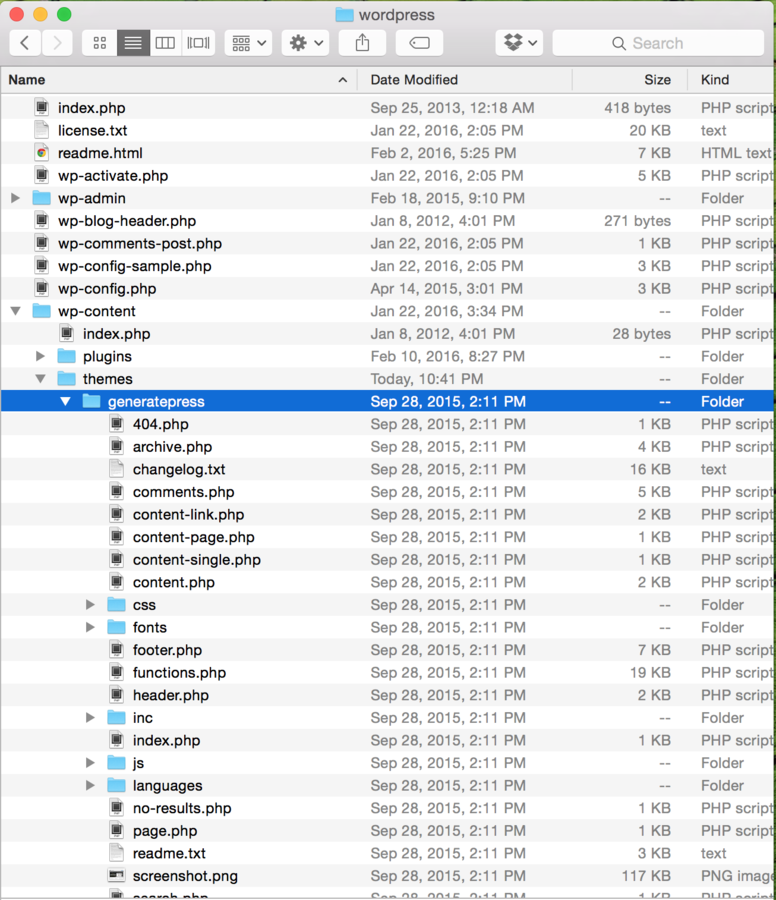
CMS - WordPress
- Application that runs on a web server.
- Requires database; server side programming language required.
- HTML files are generated "on the fly" when requested by users.
Static Site - Jekyll
CMS - WordPress
Advantages
Advantages
- Minimal server requirements.
- Fast loading time.
- No database or code to be hacked.
- Easy to move between servers.
- If hosted, no need to work directly with the code.
- Code and databases enable user-generated content.
- Easy to switch between themes.
Static Site - Jekyll
CMS - WordPress
Disadvantages
Disadvantages
- Requires managing local development environment.
- Themes are separate versions of Jekyll.
- Stability depends on keeping software and infrastructure (including languages) up to date.
- More vulnerable to being hacked.
Static Site
CMS - WordPress
Static Site
CMS - WordPress
So Let's Do This!
Make Project Folder
Create a folder that will be your home for tonights work (or digital work in general.)
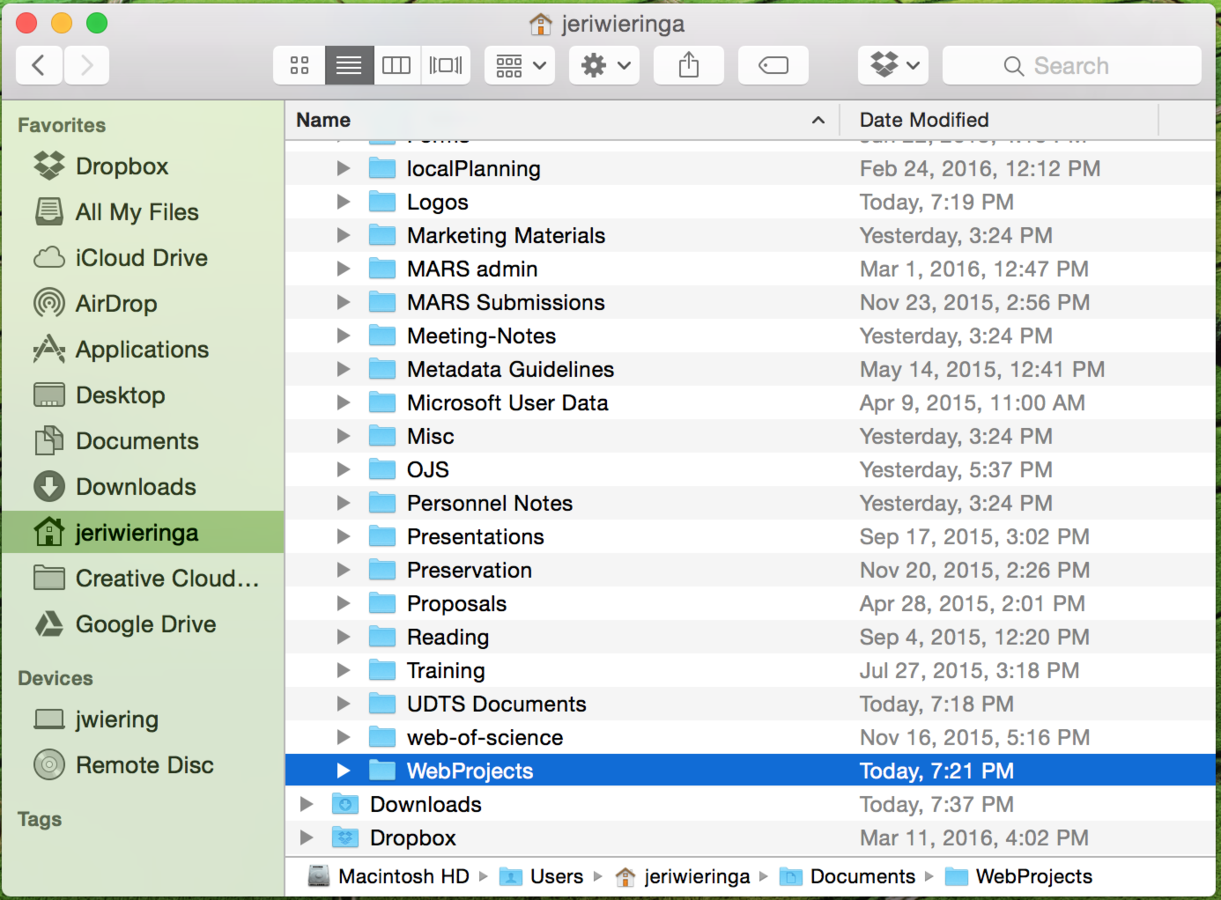
Users/jeriwieringa/Documents/WebProjects
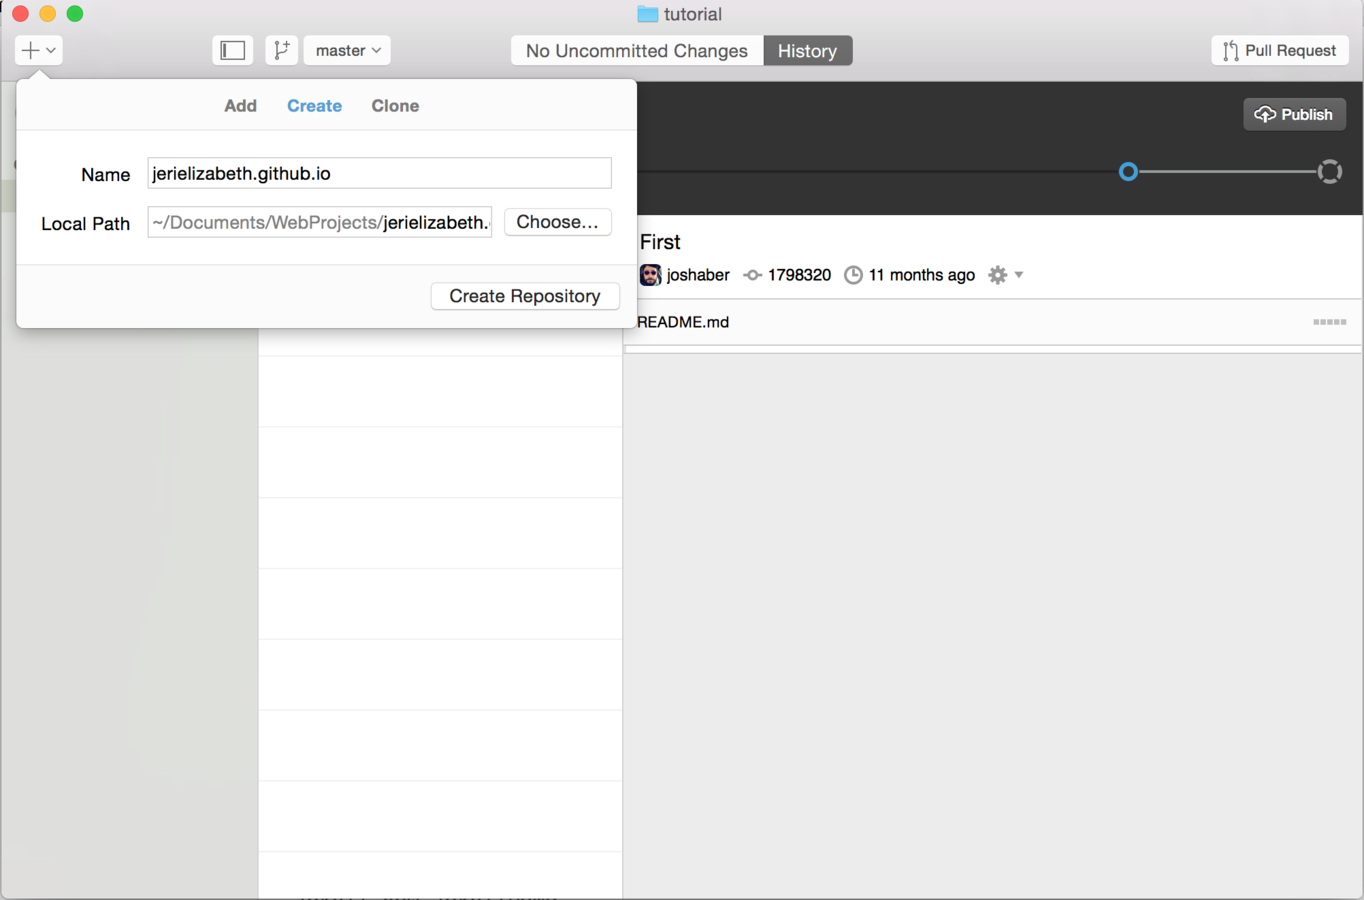
Configure Github
- Log in to your Github account
- Follow the configuration steps
- Use the '+' button and 'choose' to select your new project folder
- Name your repository username.github.io
A word about Github magic
username.github.io
- special Github repo for Jekyll sites
- Github expects site to be on master branch
All other repositories
- can have an associated website
- username.github.io/repo-name
- Github expects site to be on gh-pages branch
MacOSX
(Using Terminal)
xcode-select --install
- Select the highlighted "Install" option.
Windows
http://rubyinstaller.org/
- Make sure to check the “Add Ruby executables to your PATH” box.
Install Homebrew
/usr/bin/ruby -e "$(curl -fsSL https://raw.githubusercontent.com/Homebrew/install/master/install)"
brew install ruby
Install Ruby DevKit
http://rubyinstaller.org/downloads/
Set
C:\RubyDevKit\
as the destination for the DevKit files
(Using PowerShell)
cd C:\RubyDevKit
ruby dk.rb init
ruby dk.rb install
Everyone
gem install bundler
Everyone
gem install jekyll
Everyone
jekyll new .
In your username.github.io directory:
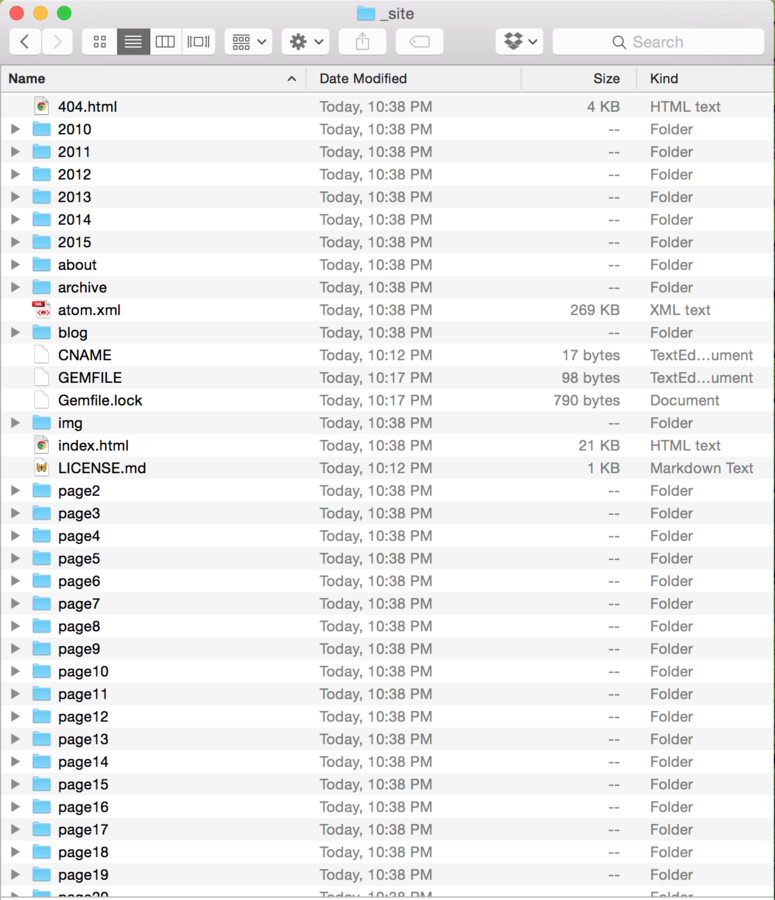
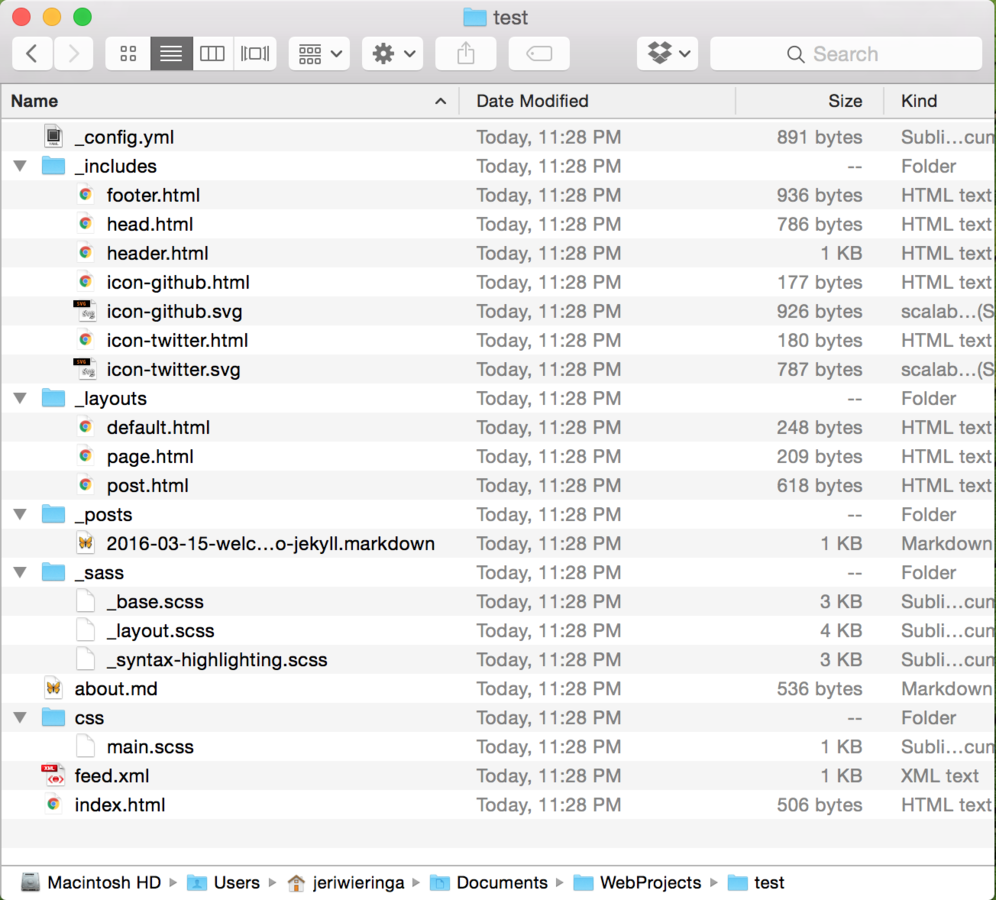
What did we make?
-
_includes:
- elements shared by all pages
-
_layouts:
- standardized page structures
- _posts:
- where posts go
- _sass:
- design elements
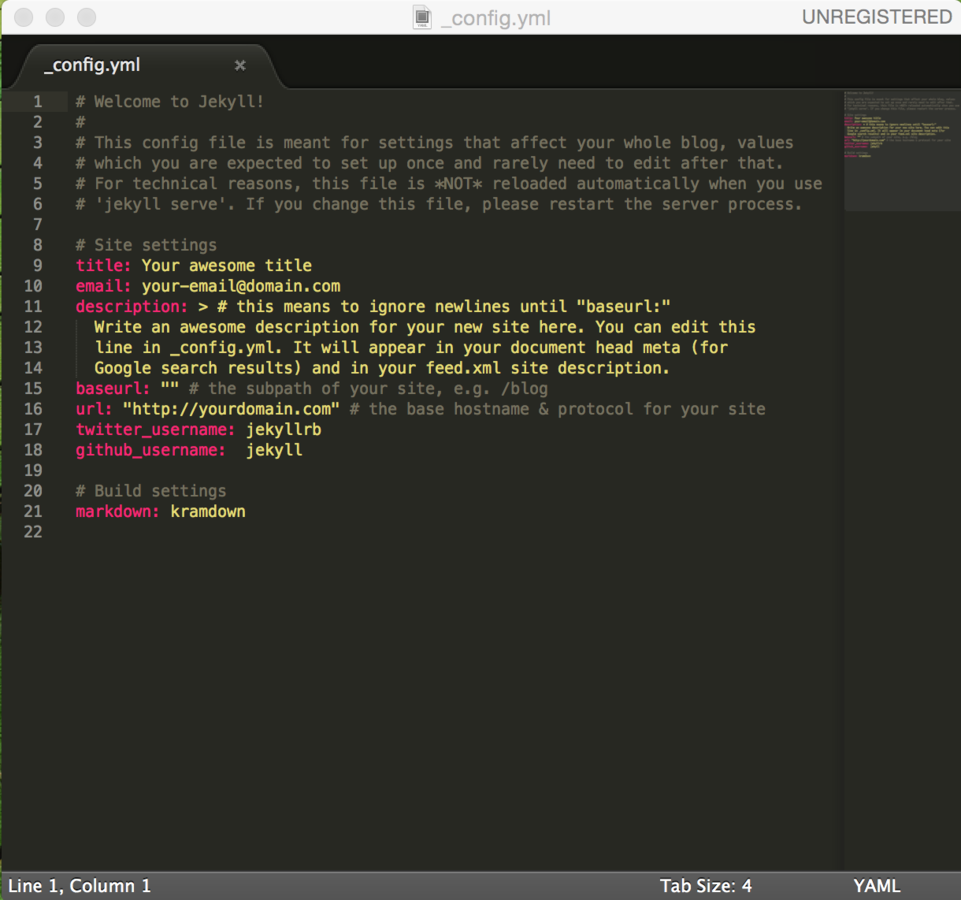
_config.yml
Format: YAML
Where you control the settings of your site.
These variables can be called into other areas of your site.
_posts/
Format: Markdown and YAML
Filename: [date]-title.markdown
Head Information (YAML):

---
layout: post
title:  "Welcome to Jekyll!"
date:   2016-03-15 23:28:38 -0400
categories: jekyll update
---
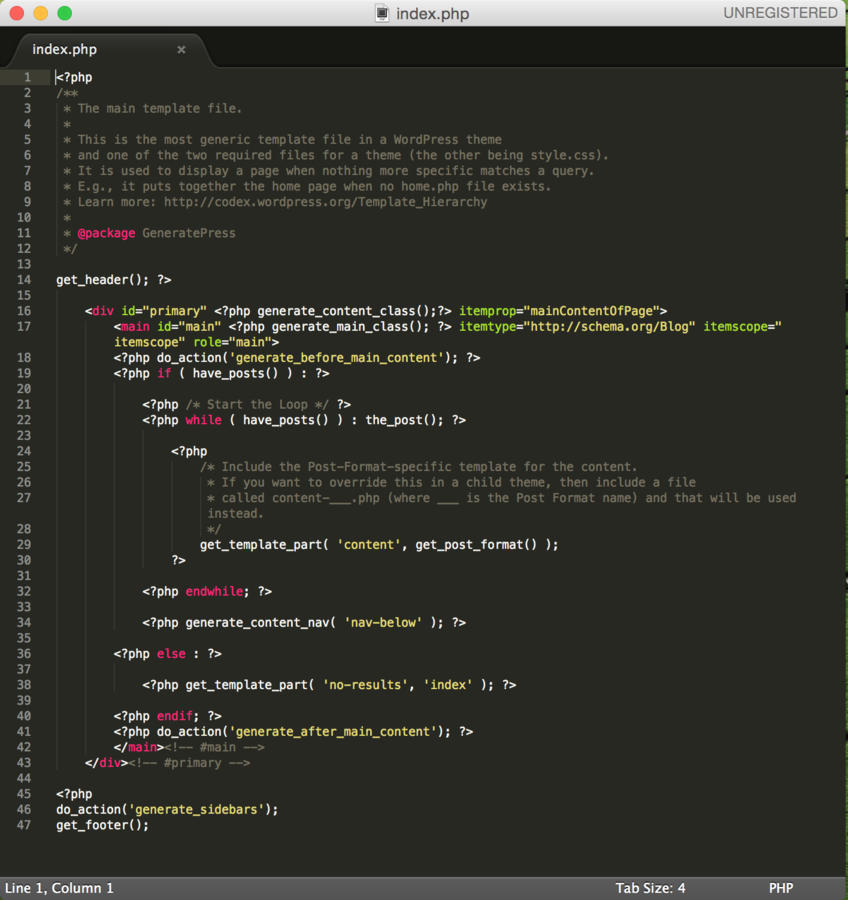
_layouts/
Format: HTML and Liquid
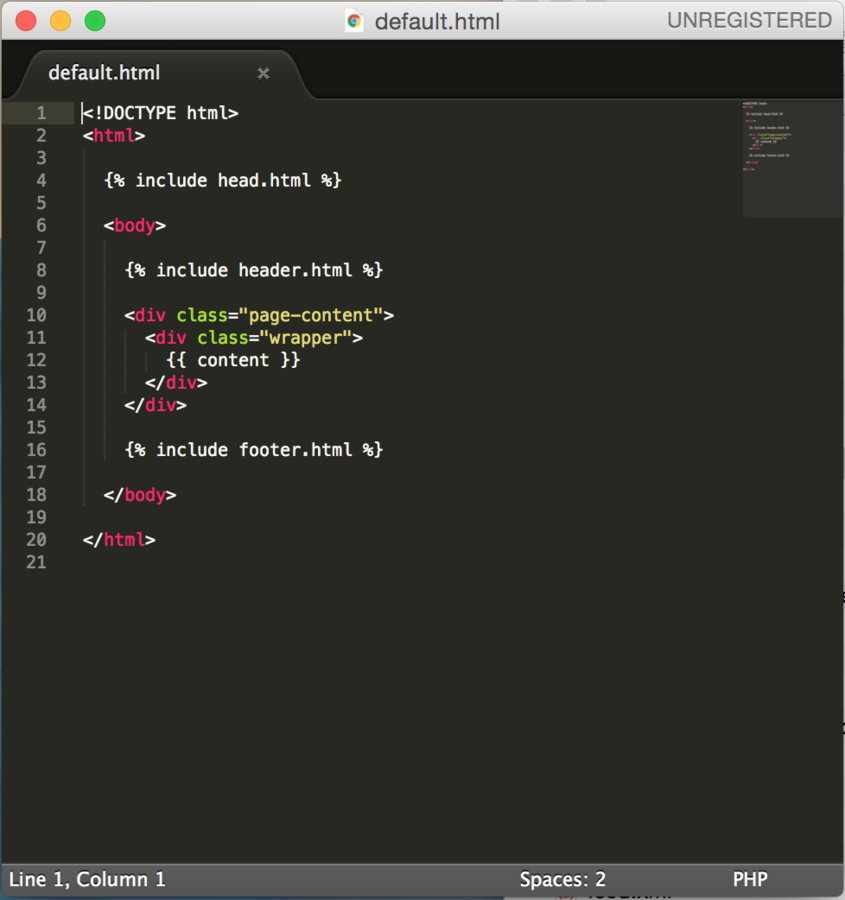
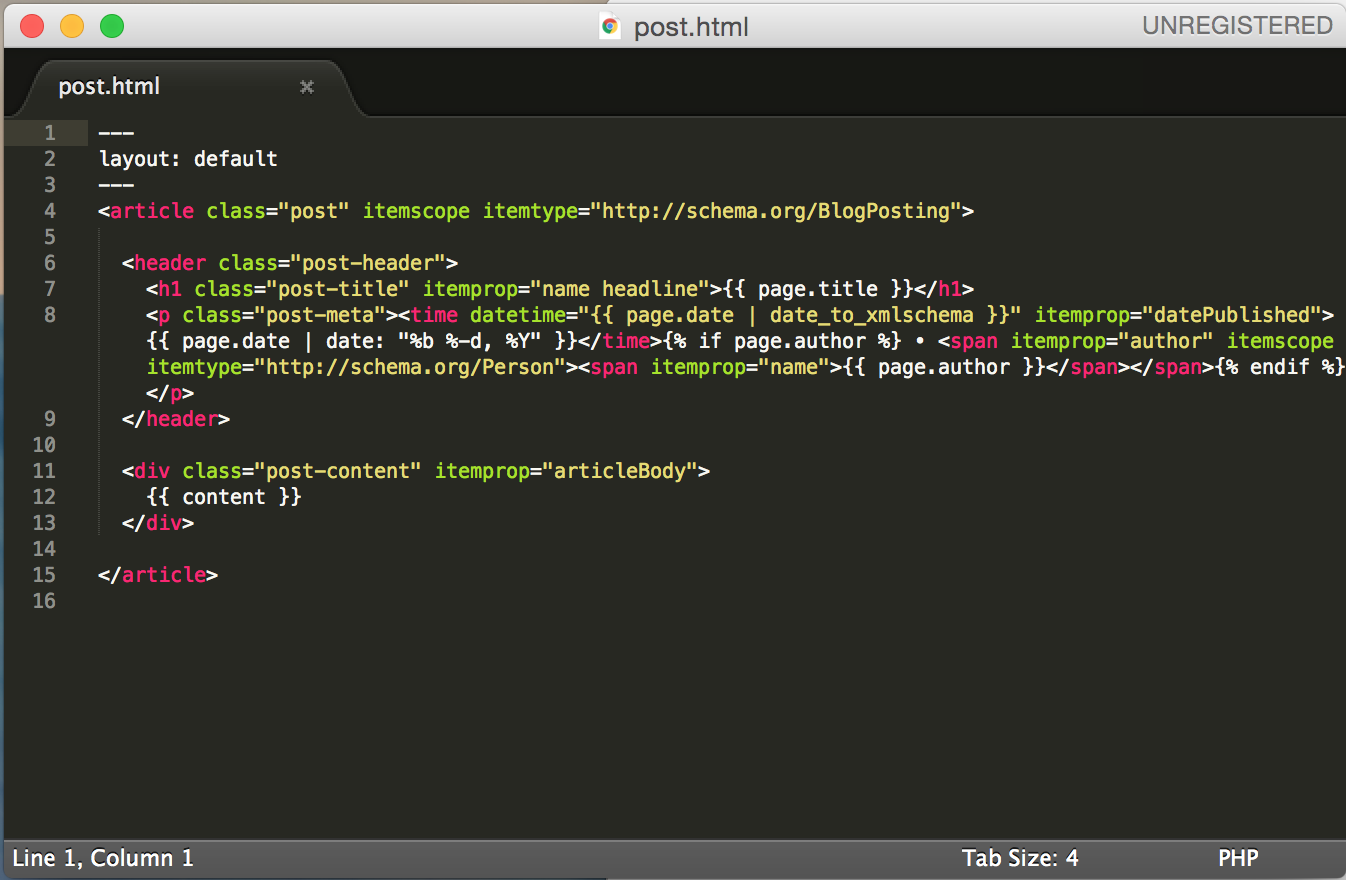
Output markup:
{{ resolves to content }}
Takes filters
Tag markup:
{% action or logic %}
_sass/ | _css/
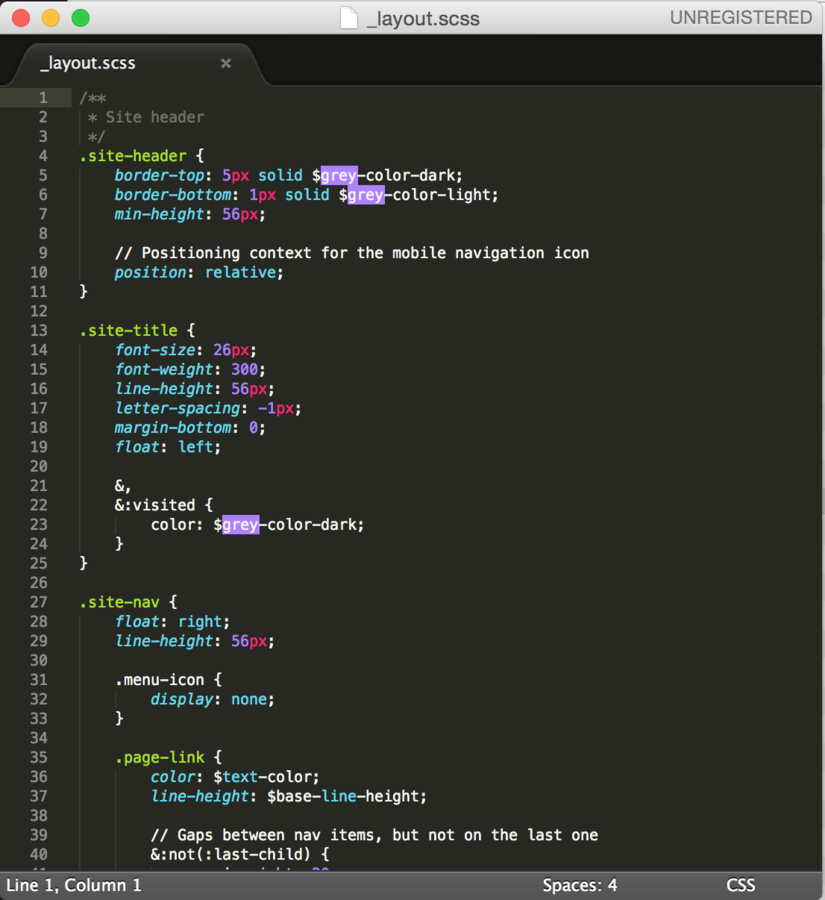
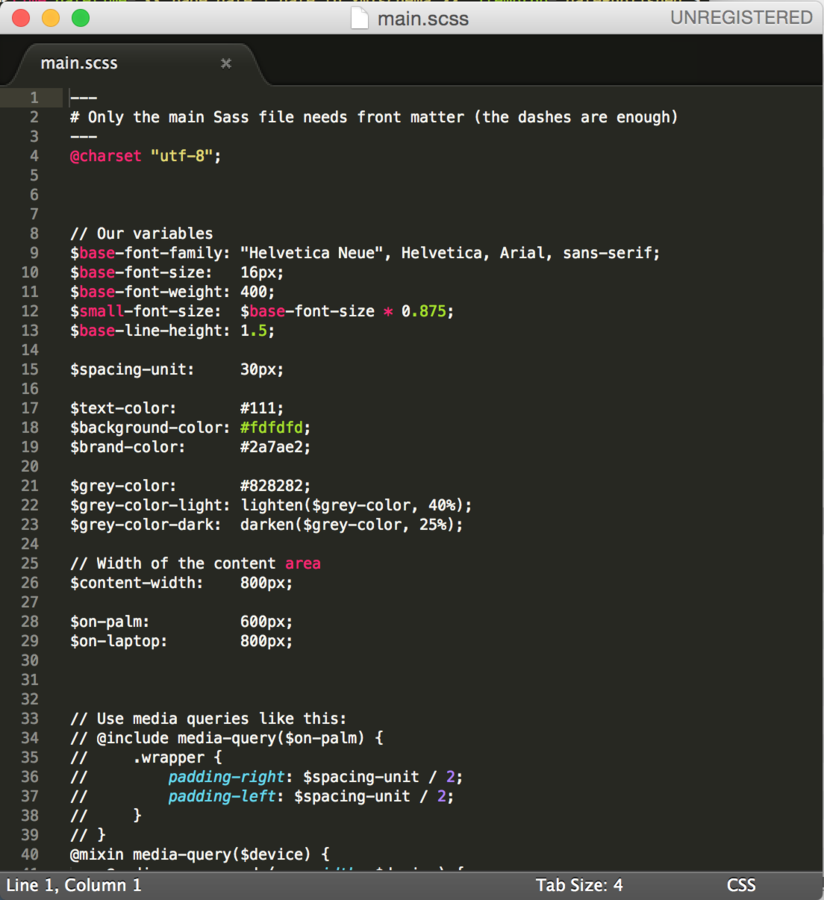
Format: SASS with SCSS syntax
_css/main.scss is the file that pulls everything together. This is the final stylesheet that gets linked in `head.html`
_sass/ allows you to split your design into multiple files
Everyone
jekyll serve
to turn off the server:
ctrl-c
Everyone
Customize your Jekyll project
Everyone
bundle init
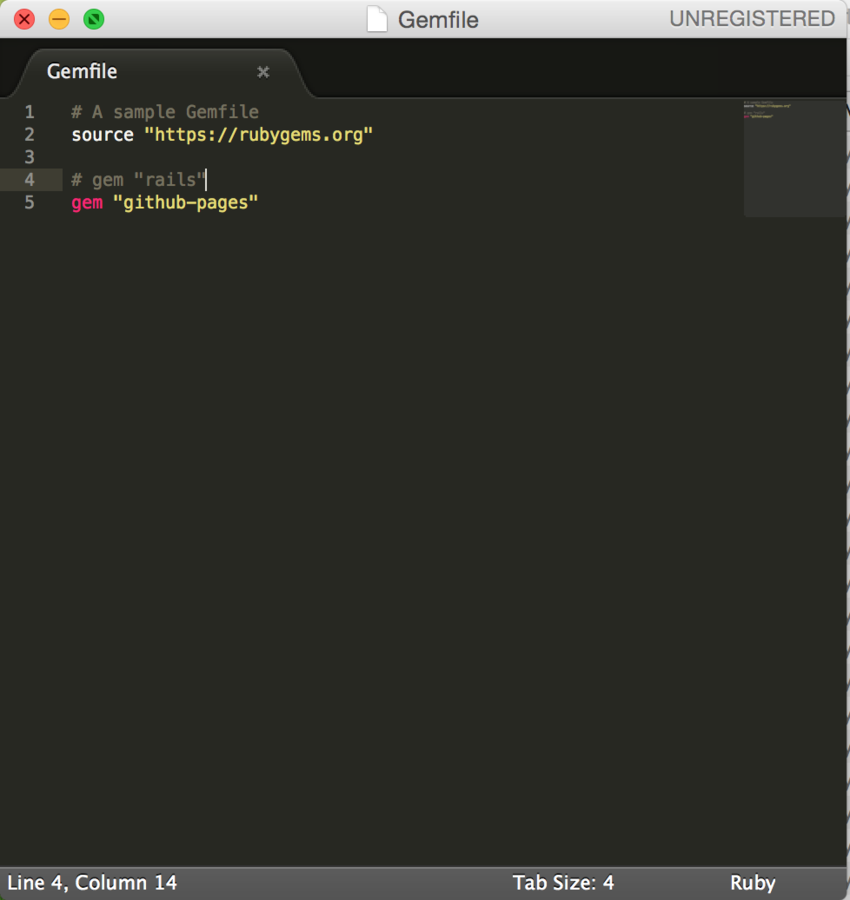
Edit your Gemfile
Add
gem "github-pages"
to Gemfile.
- Be sure to use a plain text editor (Text Wrangler, Notepad++)
- More complicated Jekyll blogs can include many gems.
Windows Users
Also add
gem "wdm"
to your Gemfile.
Everyone
bundle install
Everyone
bundle exec jekyll build --safe
Everyone
bundle exec jekyll serve
Now that you've installed gems using bundler, you have to type
bundle exec
before all jekyll commands.
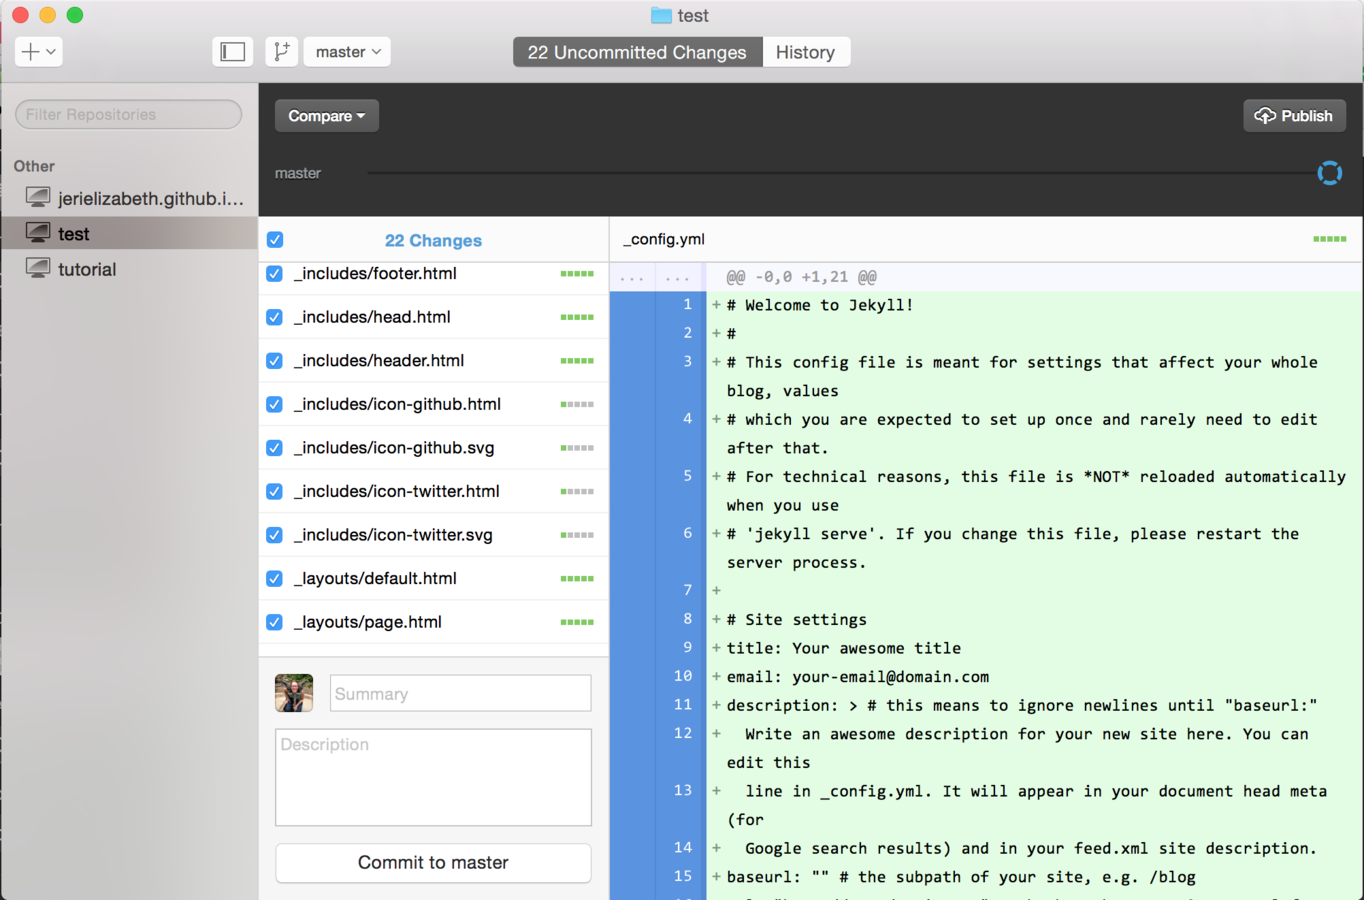
Get Ready to Publish
Git tracks all changes taking place in a directory.
"Commit" the changes to capture snapshots of a project.
All commits require a message. These messages are public and should be useful for understanding why the snapshot was made.
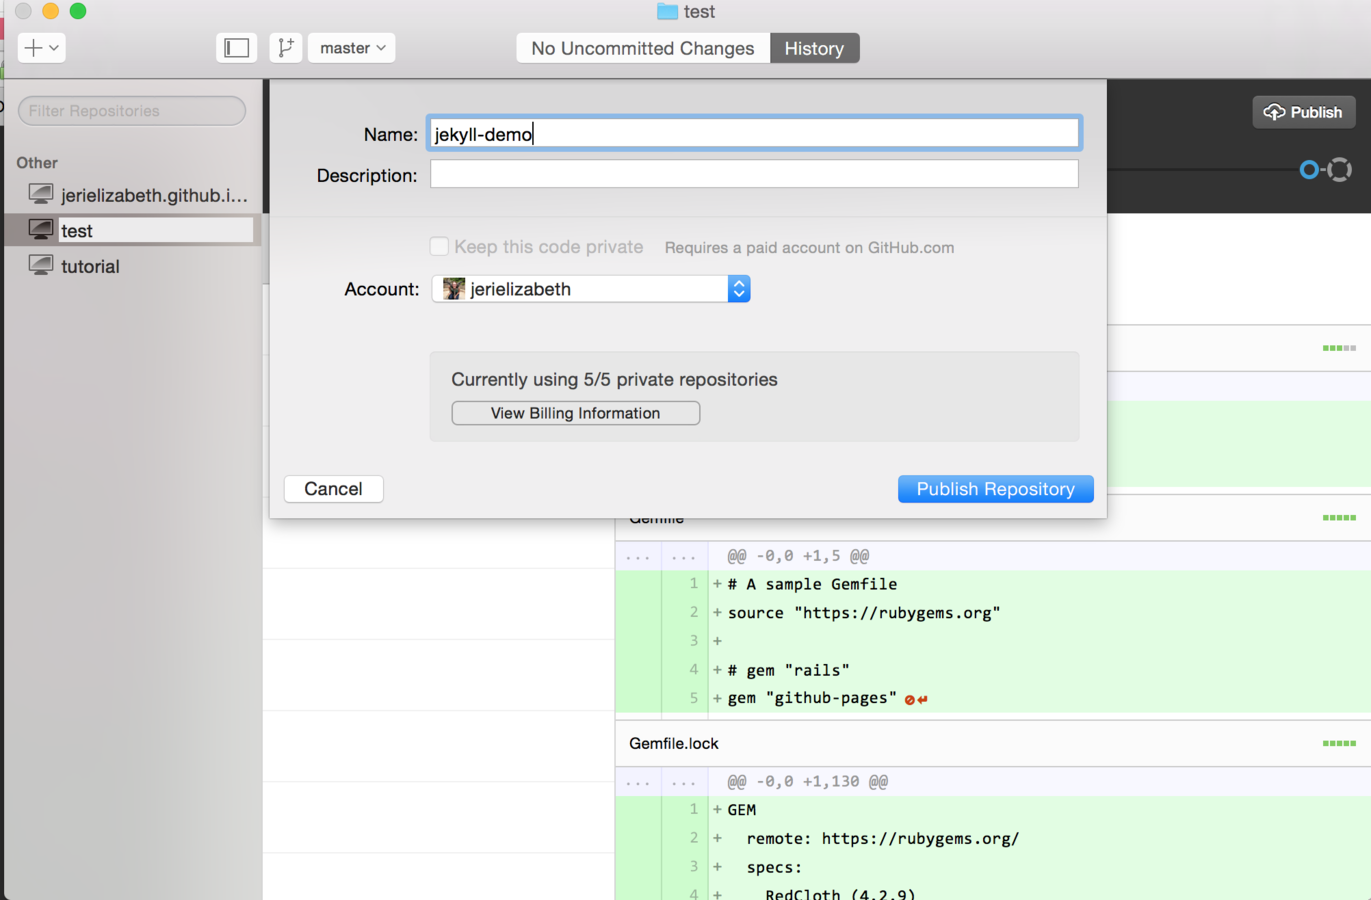
Publish ...
Click "Publish" to push all of your files up to Github. Leave the directory name as it appears.
(do as I say, not as I did.)
And View!
Go to:
http://username.github.io
Resources
- Github's Documentation
- Jekyll Docs
- Jekyll for Windows
- Jekyll Themes
Other Static Site Generators
- Hugo (Go)
- Middleman (Ruby)
- Wintersmith (Node.js)
- Pelican (Python)
- Nikola (Python)