Dabbling with Crypto:
Part 1: Setting up a Metamask wallet
Katya Malinova
Step 0:
what is a blockchain wallet?
the following slides are background information and not necessary for the hands-on exercise
- blockchains are built on public-private key cryptography
- the public key is derived from the private key
- you use the private key to sign transactions and prove ownership of a public key
- you must never reveal the private key to a third party
- crypto-assets are associated with a public key
- public keys are also referred as public addresses (this is not 100% precise, there is a subtle difference which I will skip over)
Public/Private Key Cryptography
- a wallet is a piece of software that allows you to use and control your private keys and sign transactions
- often the terms wallets and addresses are used interchangeably \(\to\) not accurate because a wallet can control multiple keys
- a wallet does not contain crypto-assets, it contains the private keys that control the assets
-
wallets are "constructed" with a seed phrase (usually 12+ words)
- if you lose the password to the wallet you can rebuild the wallet with the seed phrase
- if you lose the seed phrase but have access to the wallet, you can obtain the seed phrase or private key
- if someone gets hold of your seed phrase (or private key) they can rebuild the wallet and steal your assets
Cryptography & Wallets
-
there are many different types of wallets
- hot wallets: browser extensions and smartphone apps that are connected to the internet
- cold storage wallets: software and other means that store private keys and that are never connected to the internet
- hardware wallets: physical items (e.g., USB sticks) that connect to the internet only temporarily
- multi-sig wallets: multiple parties need to sign for a transaction to be processed
- wallets can be hacked, and there are incessant phishing attempts
Types of Wallets
-
Custodial vs. self-custody wallets
-
by default, users alone have control over their private keys
- \(\to\) self-custody
-
crypto-exchanges assign their users a public address for crypto withdrawals/deposits but the exchange controls the private keys
- \(\to\) custodial wallet
-
by default, users alone have control over their private keys
-
users of crypto-exchanges have to go through KYC
- \(\to\) custodial wallet \(=\) KYC-ed wallet
-
creation of a self-custody wallet is instantaneous and requires no-one's permission
- \(\to\) self-custody \(=\) pseudo-anonymous & non-KYC-ed
Wallet KYC
- BUT: wallet \(\not=\) address!
- Smart contracts/decentralized applications etc all have public addresses
- Owner of a contract may not be continuously identifiable
- Transfers between addresses are visible & traceable
-
Note: crypto-assets
- are *not* exclusive for investment purposes
- have utility in applications
- need to be pledged for many uses (e.g., voting)
- are necessary to pay for blockchain services (e.g., cryptocurrencies)
-
If governments/regulators require that transfers must be between KYC-ed wallets
- people lose all privacy
- people cannot access or use decentralized applications
KYC/AML vs. privacy & utility
Step 1:
getting a hot wallet
Note that the steps may look a tad differently on different browsers (and even different browser versions). Some screenshots are only for Firefox, but Chrome looks very very similar for those!
Unless you know better, I suggest that you follow the "recommended" steps (e.g., Metamask asks you to watch a short video on why keeping the 12-word phrase is super important and then asks you to secure your wallet by making sure that you actually do know it!)
For the next few slides, the browser for which the screenshot is taken will be identified in a turquoise box like this one
Step 1.1:
getting a browser extension (Chrome)
1. navigate to metamask.io
2. click here
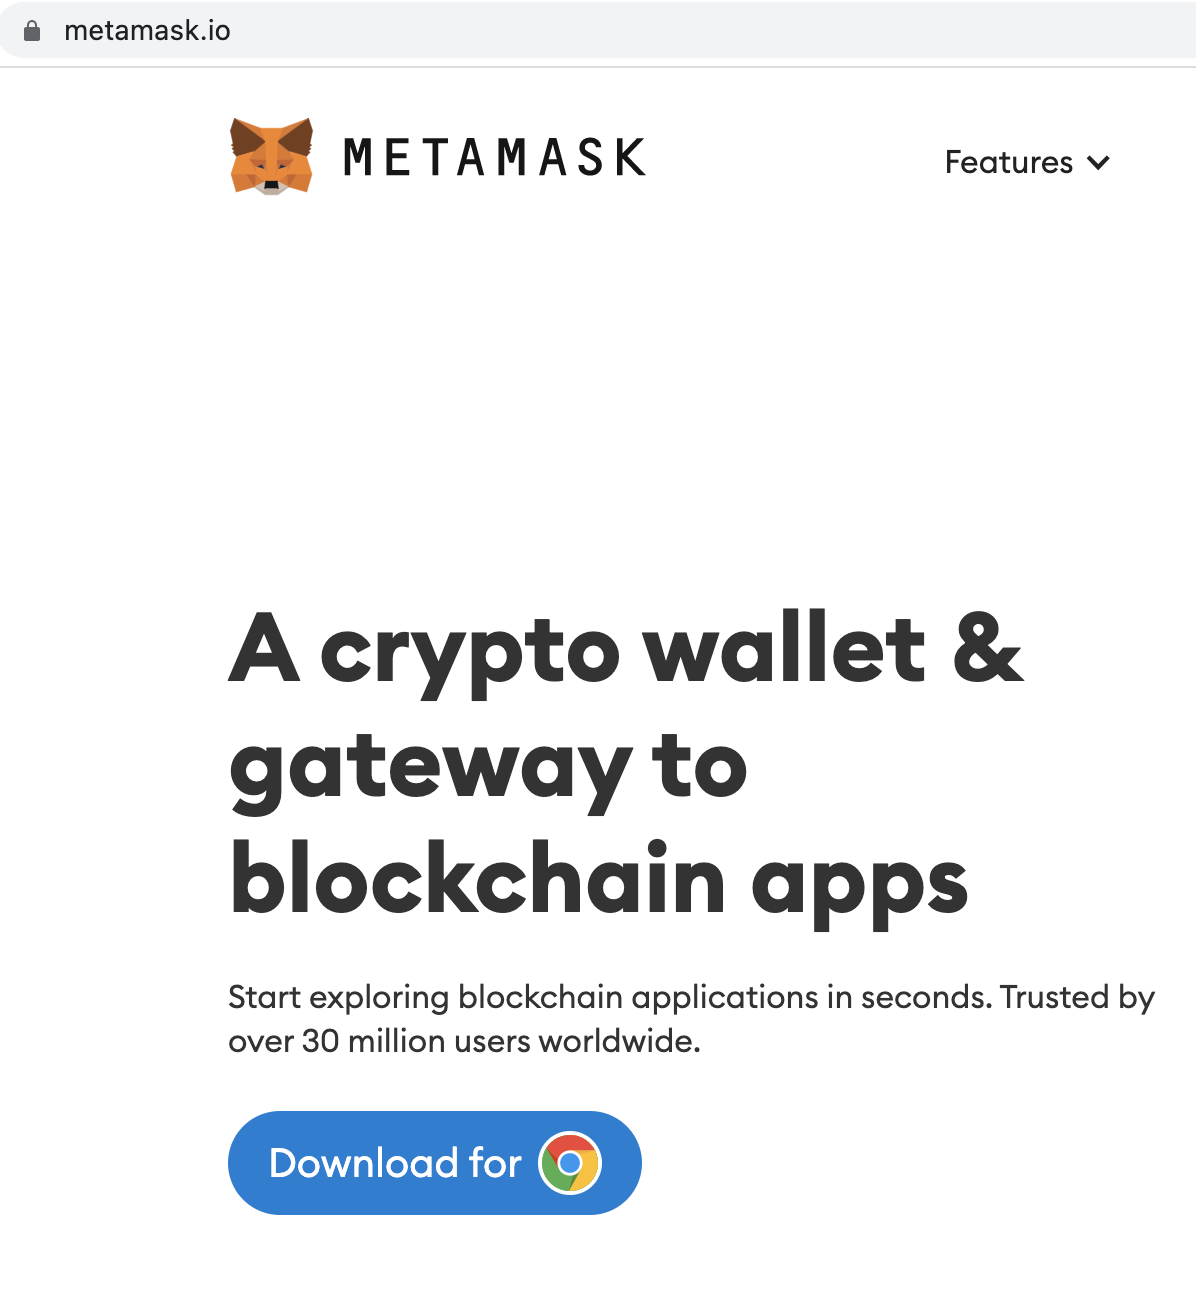
3. follow the installation instructions to install for your browser
This is for Chrome
Please don't google "metamask" but type in the address - to ensure that you are getting the correct wallet!
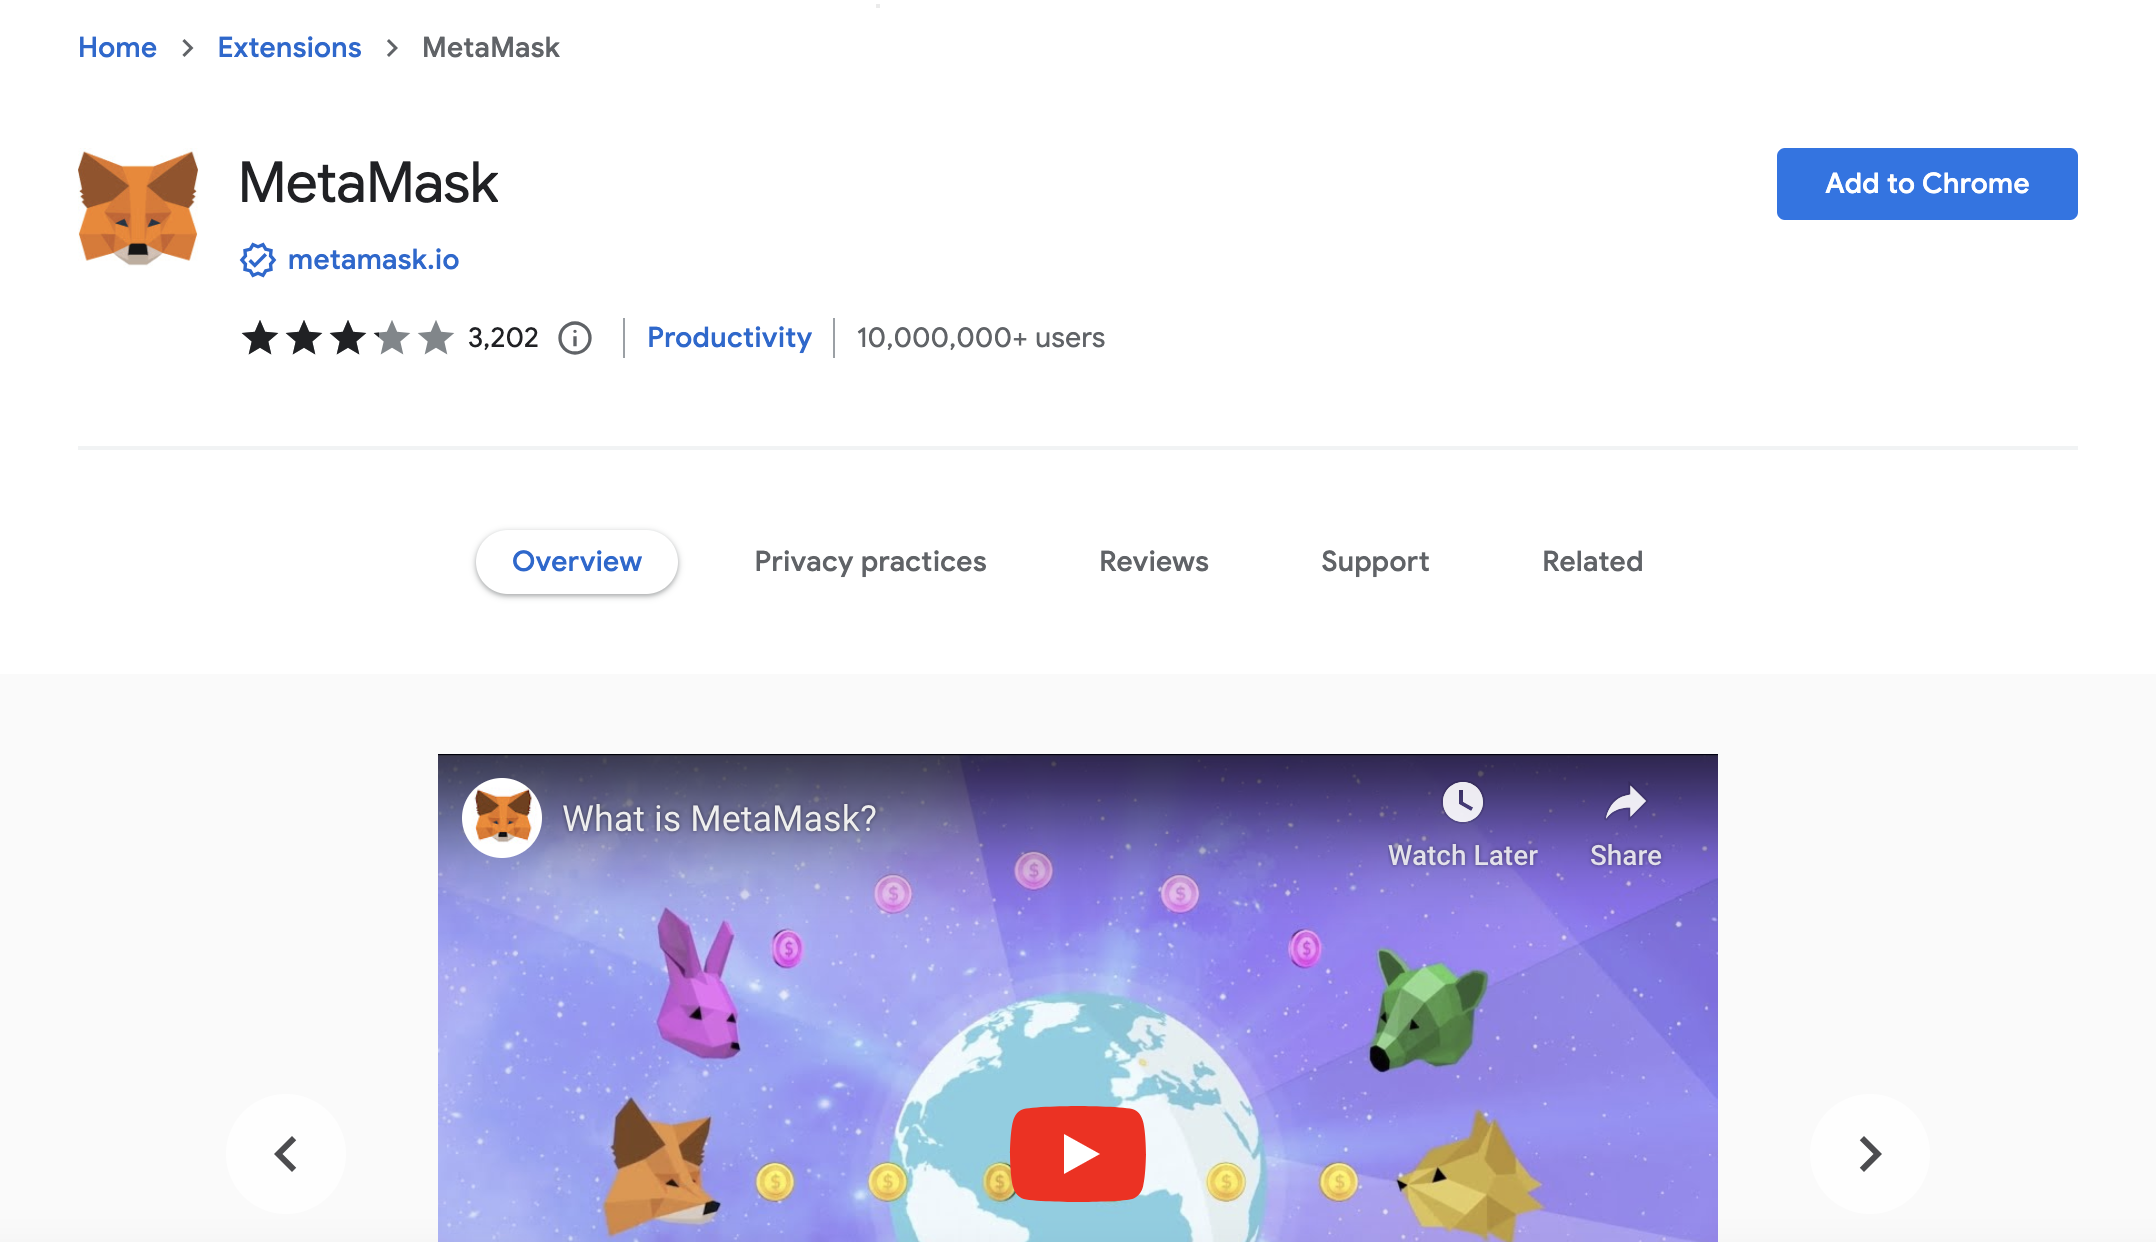
This is for Chrome
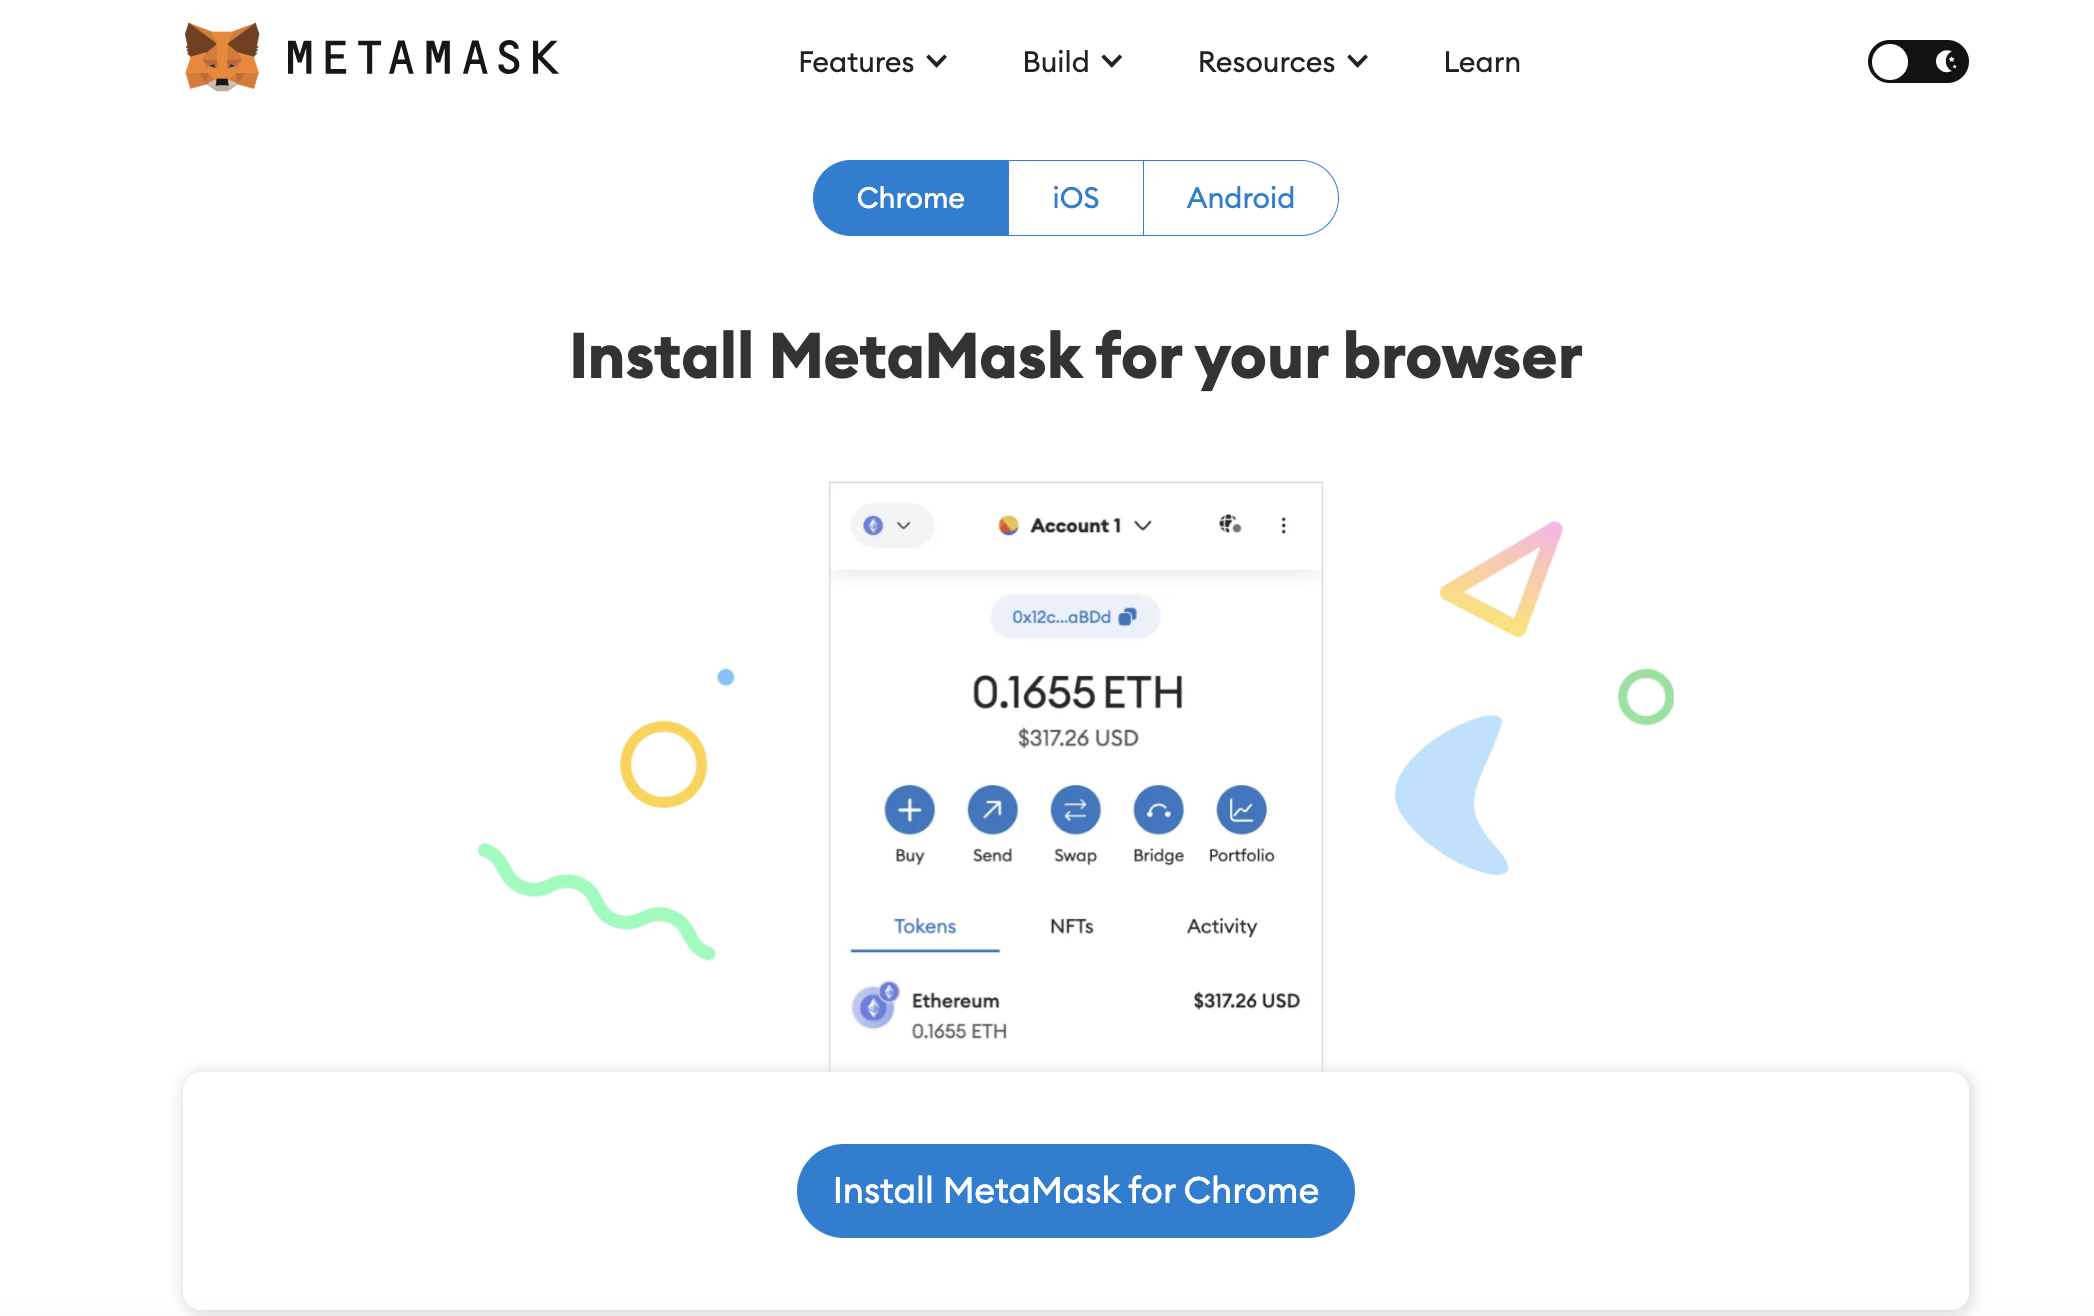
You may or may not see this on your screen - but regardless, just keep following the instructions to install the browser extension
This is for Chrome
Step 1.1:
getting a browser extension
(Firefox)
click here and go through the steps

NB: works with the Firefox and Chrome browsers
This is for Firefox
Step 1.2:
creating a wallet

your wallet should be visible among your browser apps
now click on the icon
looks different in different browsers
see Firefox next
This is for Chrome
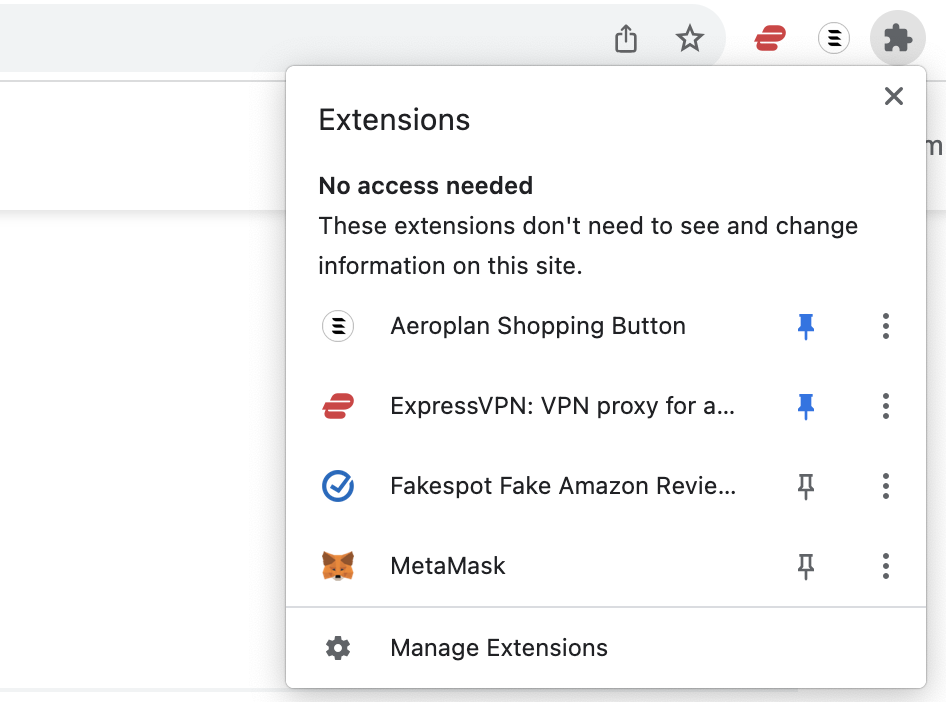
If you cannot see it and want to, you can find it here
And then pin it
your wallet should be visible among your browser apps
now click on the icon

This is for Firefox
your wallet should be visible among your browser apps
now click on the icon

This is for Firefox
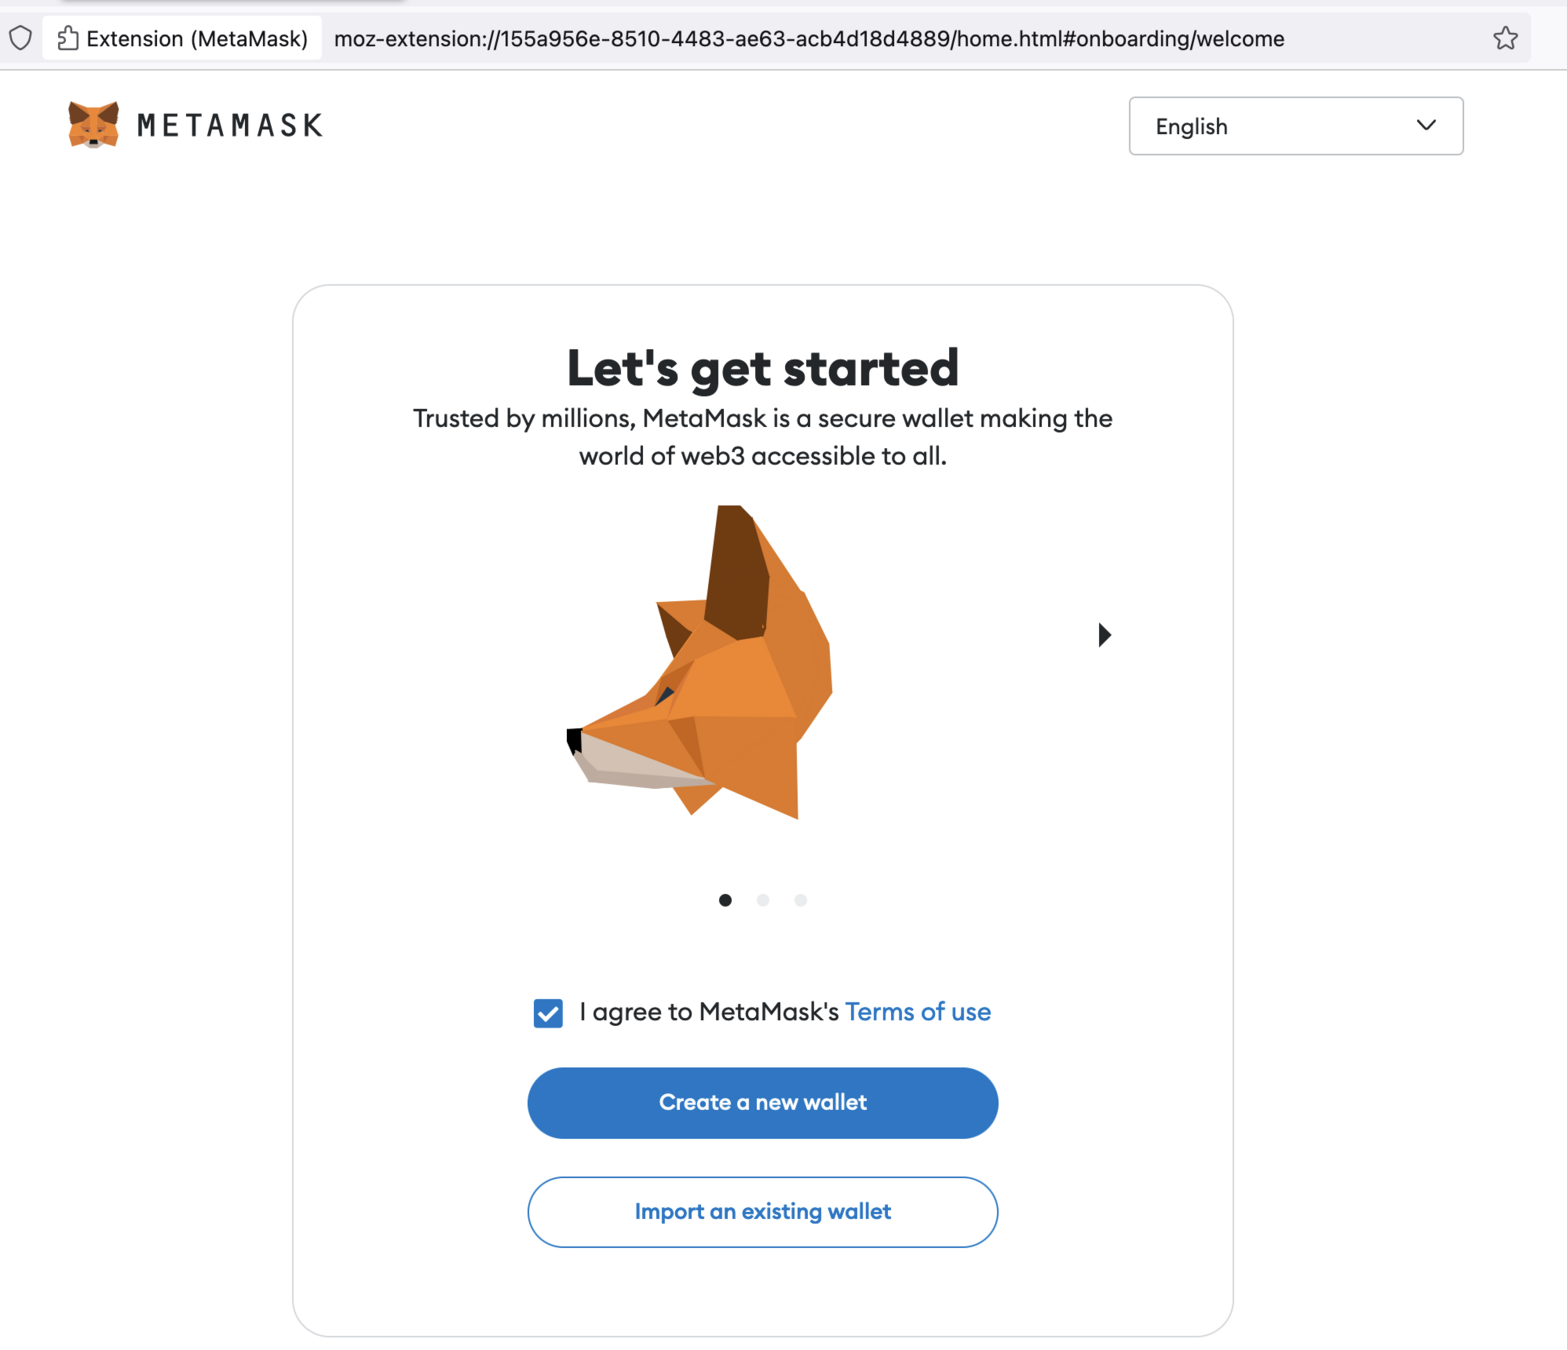
This is for Firefox
click here after agreeing to the terms
This is for Firefox
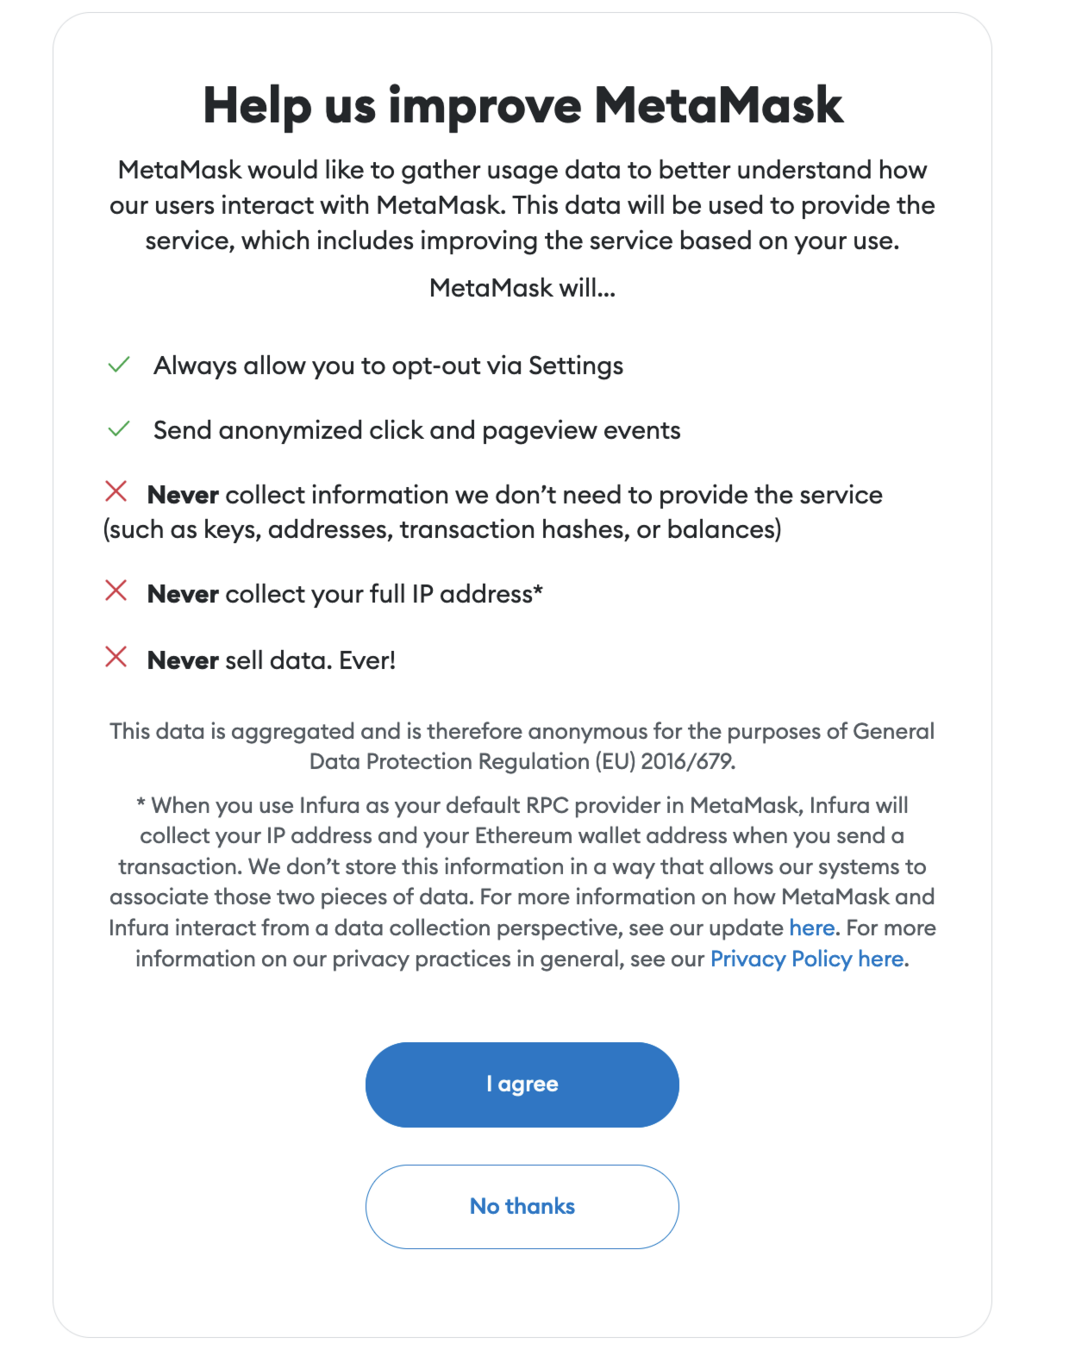
up to you how to answer this
This is for Firefox
create a password
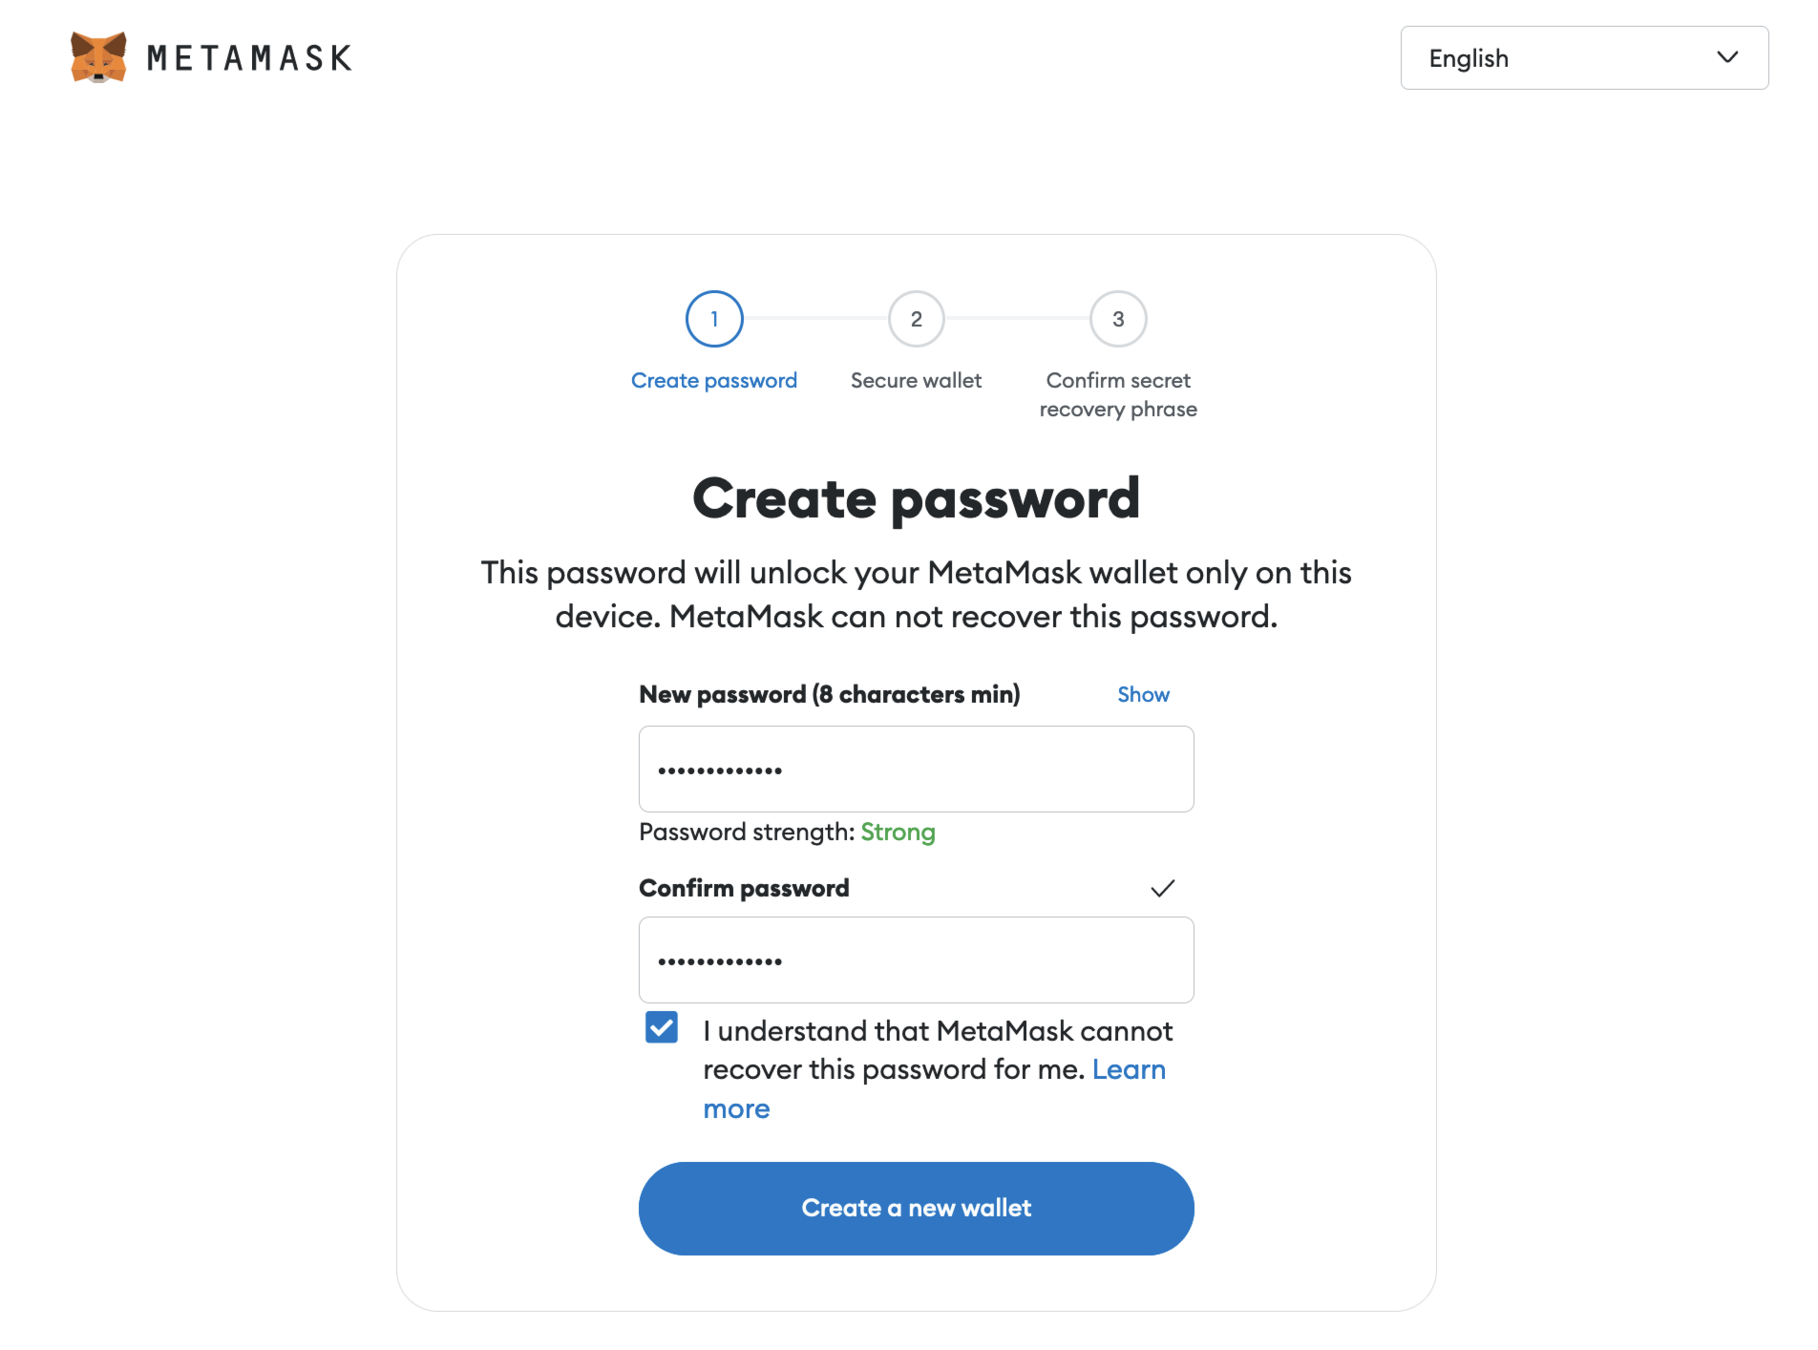
note that Metamask cannot recover it for you but you can - see the next step
This is for Firefox
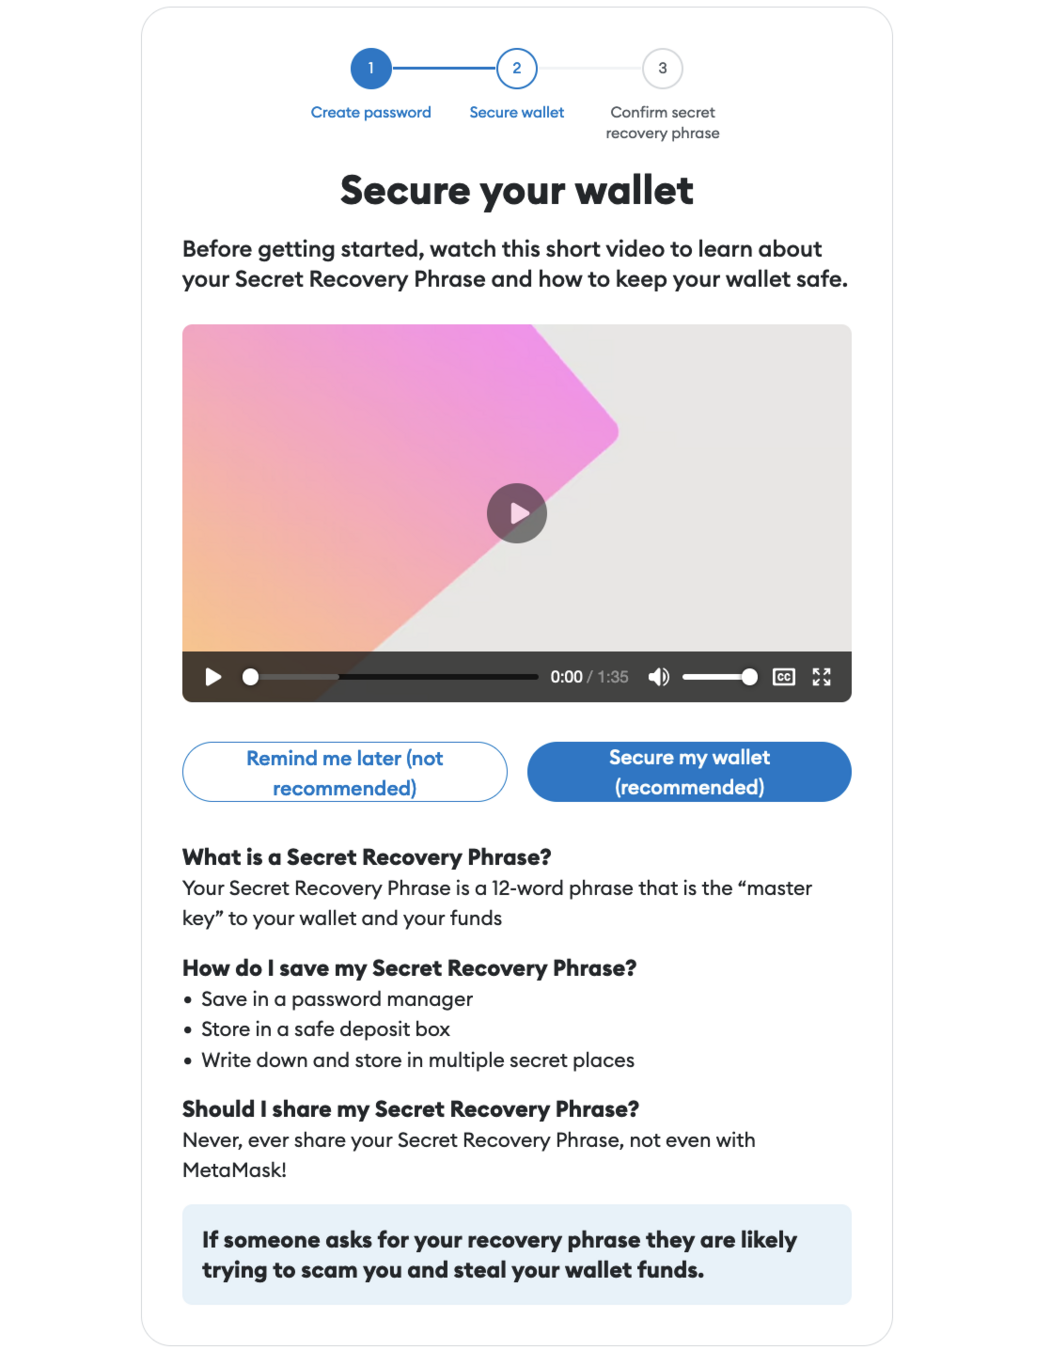
Strongly suggest that you watch the video
Definitely secure your wallet = get the 12 words (next slide)!
This is for Firefox
Get the 12 words, write them down, keep them safe
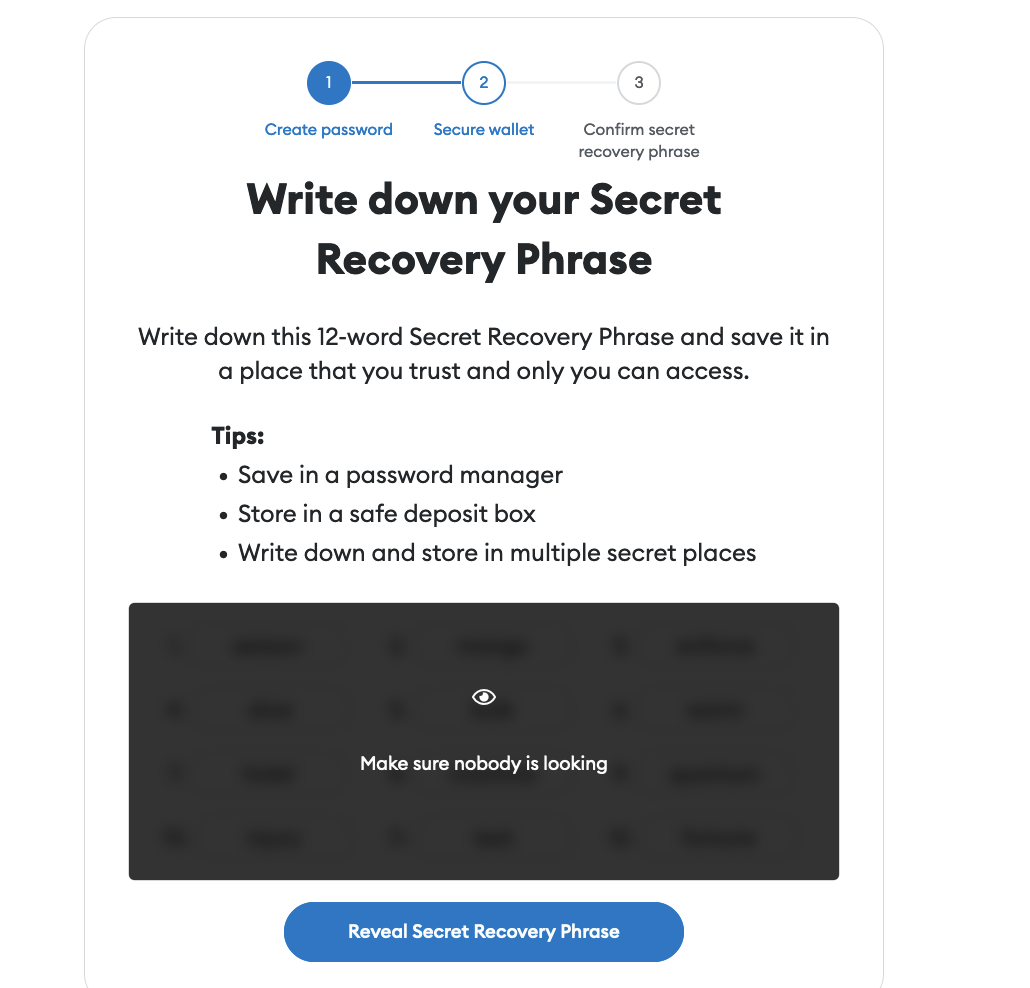
When you reveal the phrase and press "next", the browser will test you and ask you to fill in the gaps - so keep the words handy
This is for Firefox
once you put the missing words in place, you are done.
Note: these words are in order, don't "shuffle" them
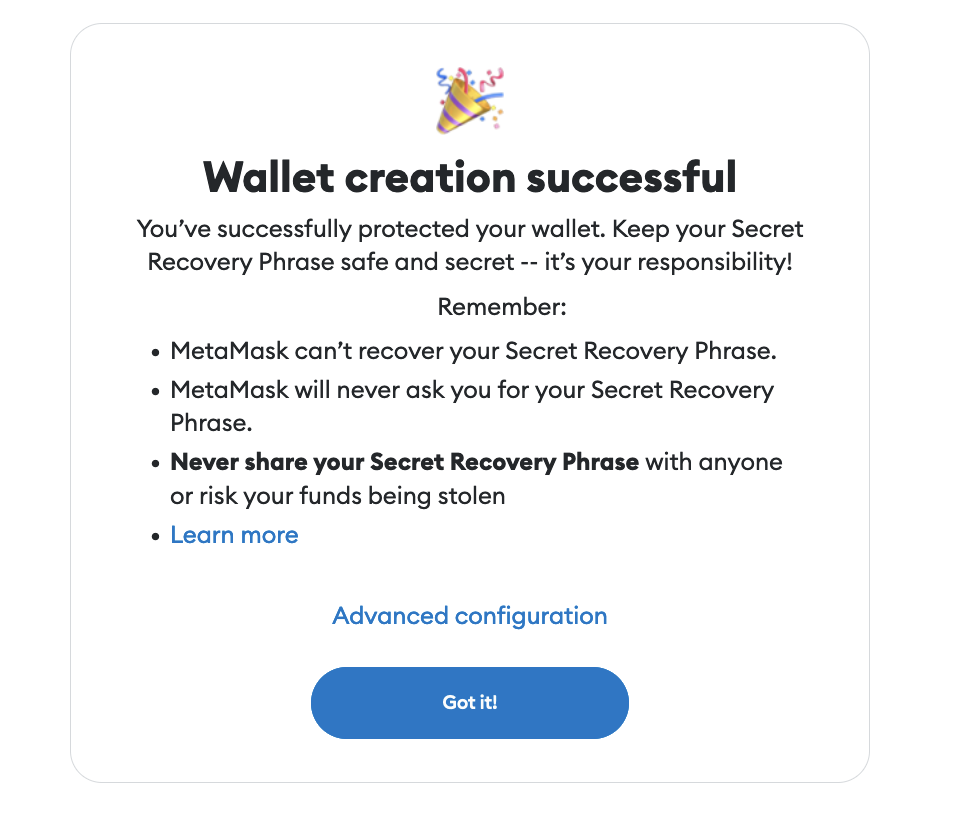
Step 2:
enable testnets

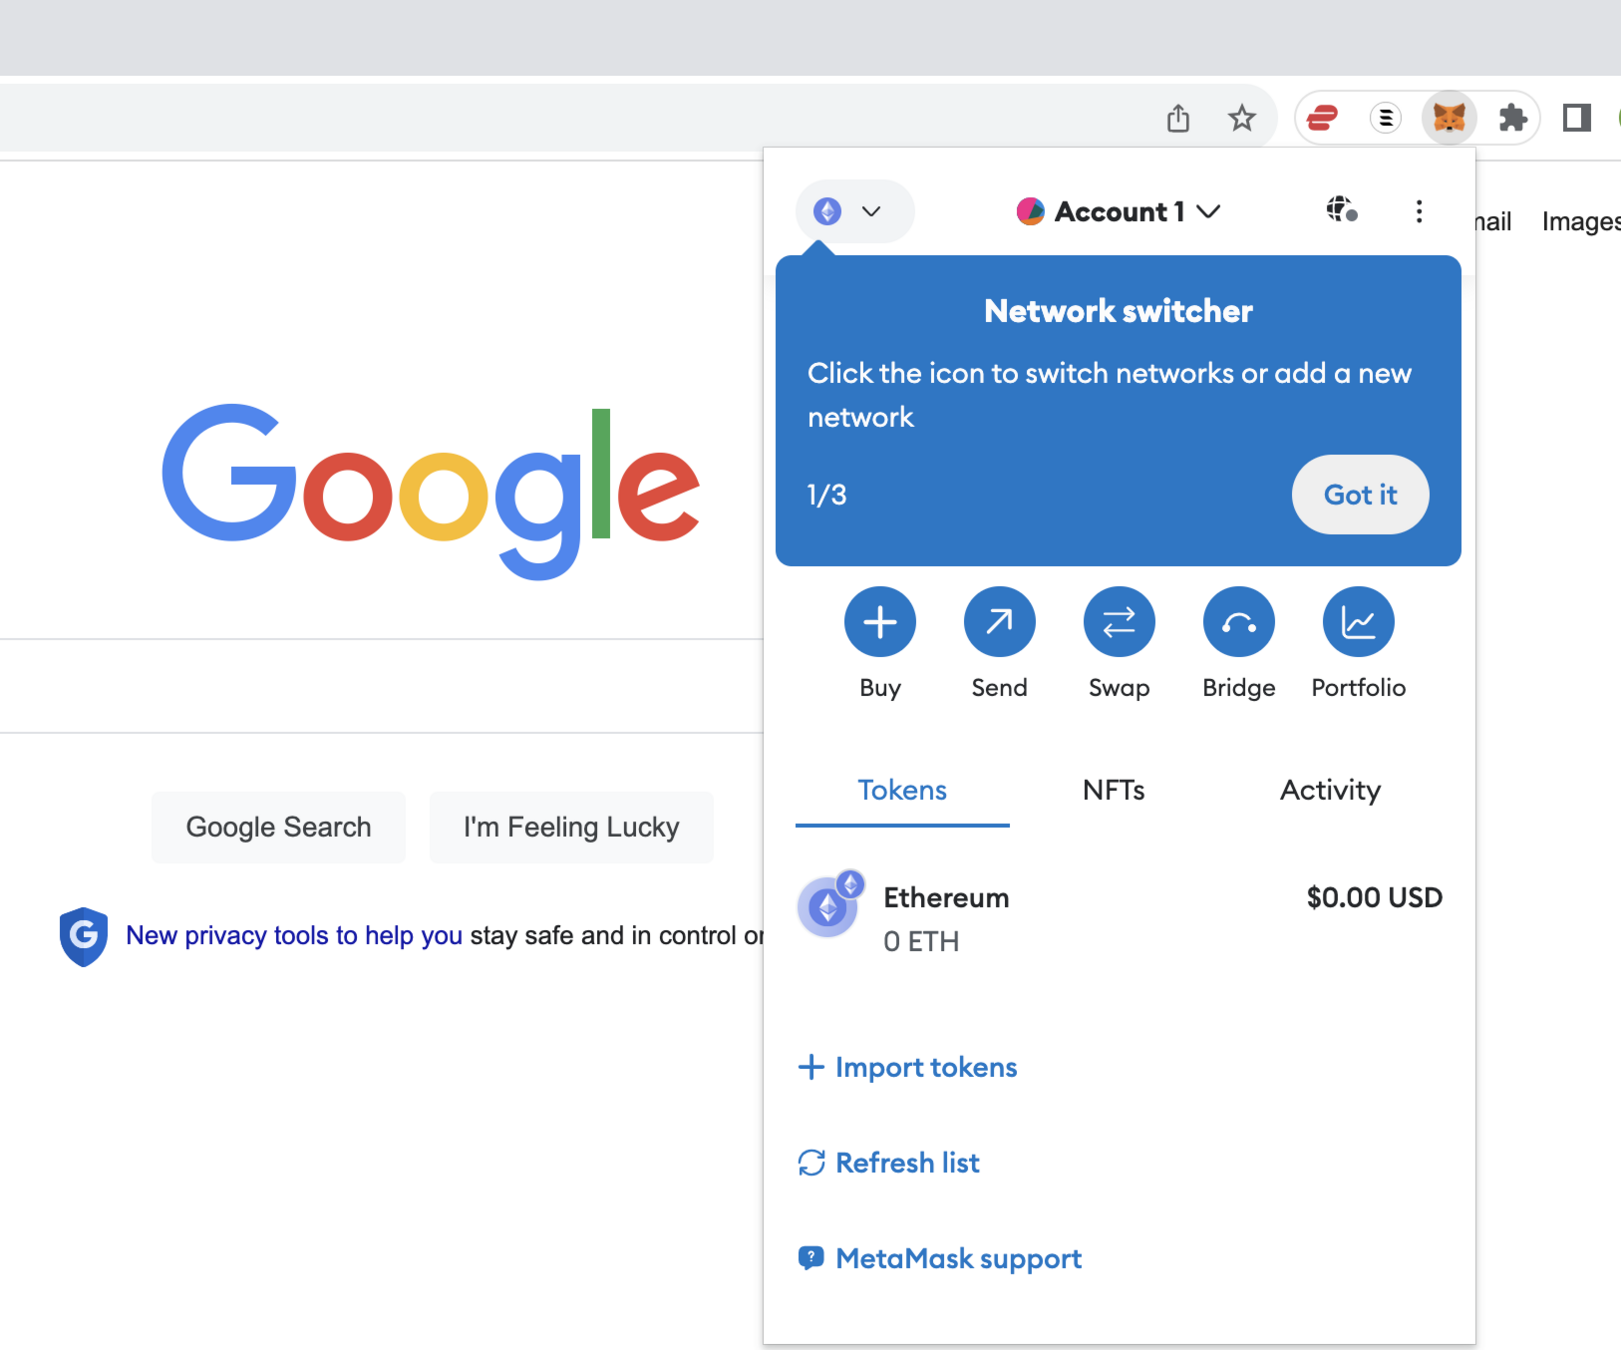
when you reach this screen or similar, your wallet has been created!
if you click on the icon, it will look like this
- in the next step, we want to get test crypto
- this is *not* the real thing, it's on a test network where developers can try their code without committing "real" money to it
- first, we need to connect to a test network

- up here it says which network your MetaMask wallet is connected to
- MetaMask can connect to various networks, not just Ethereum
- click on the dropdown arrow
- we will use a testnet but these networks are not shown by default
- click on "show/hide"
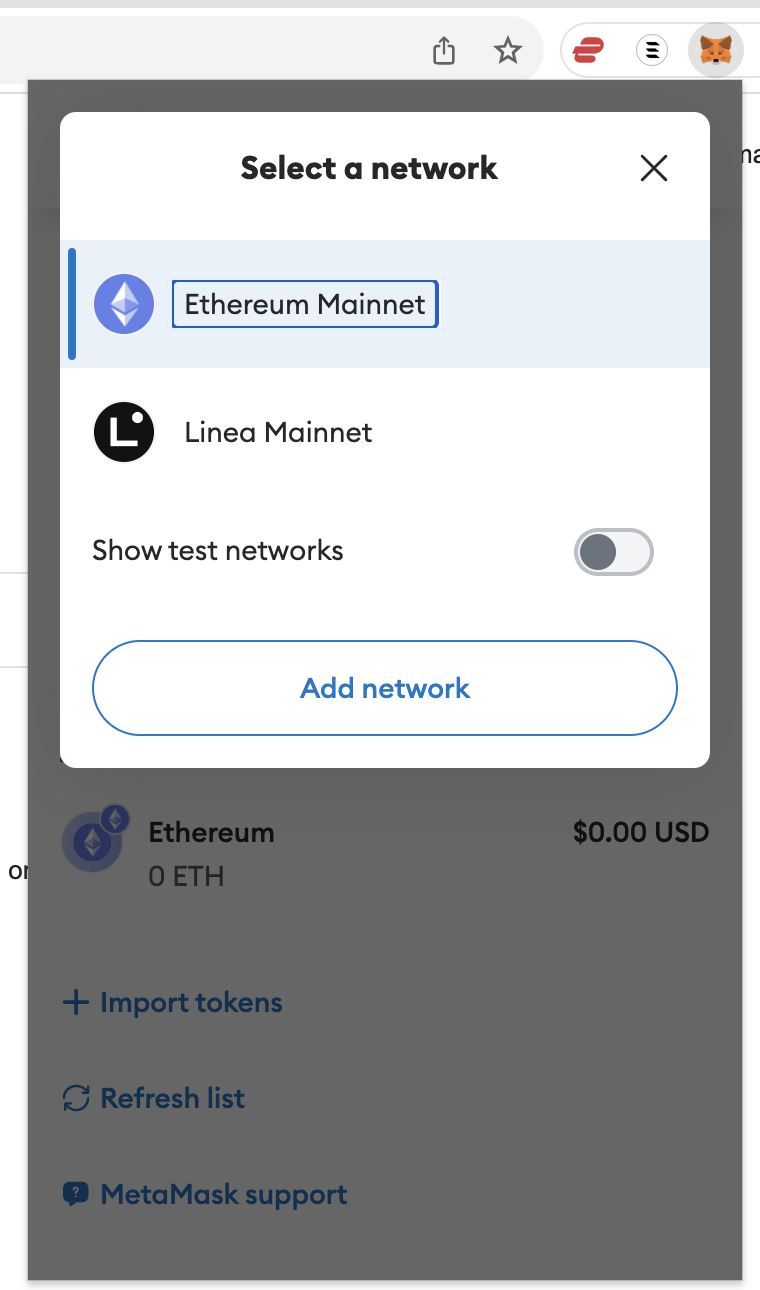
- select "sepolia"
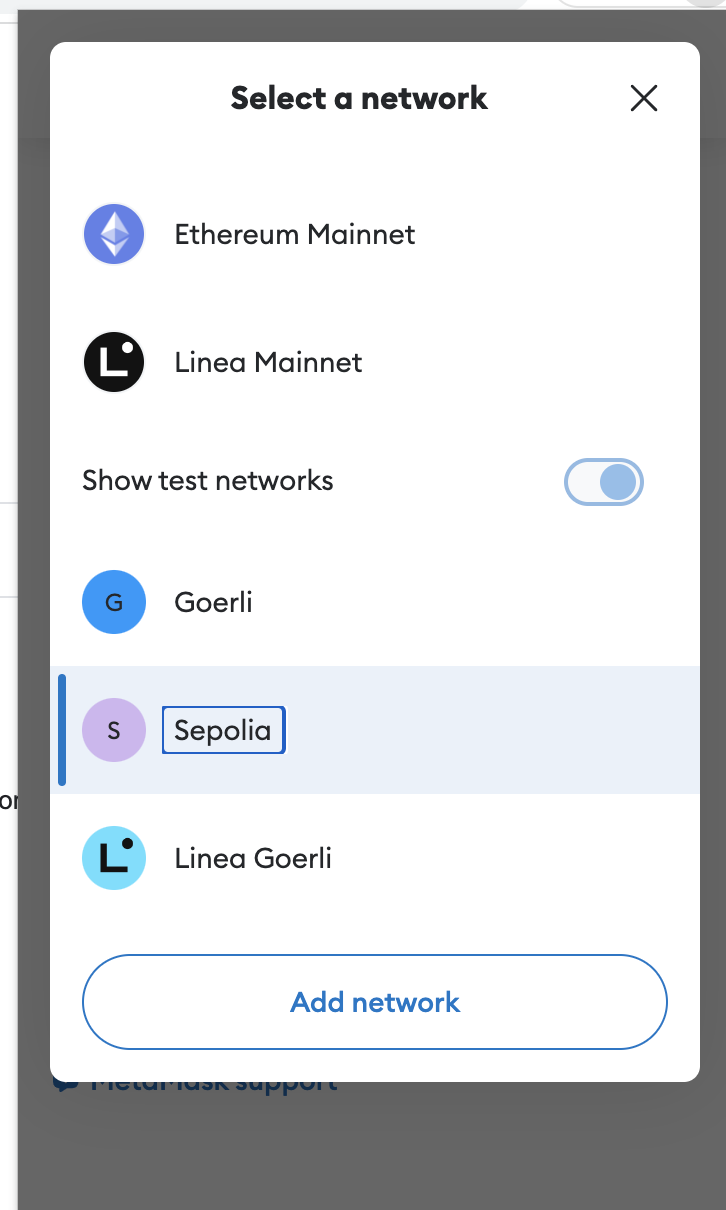
Step 3:
getting test crypto
Several test networks exist, we will use Sepolia
navigate to
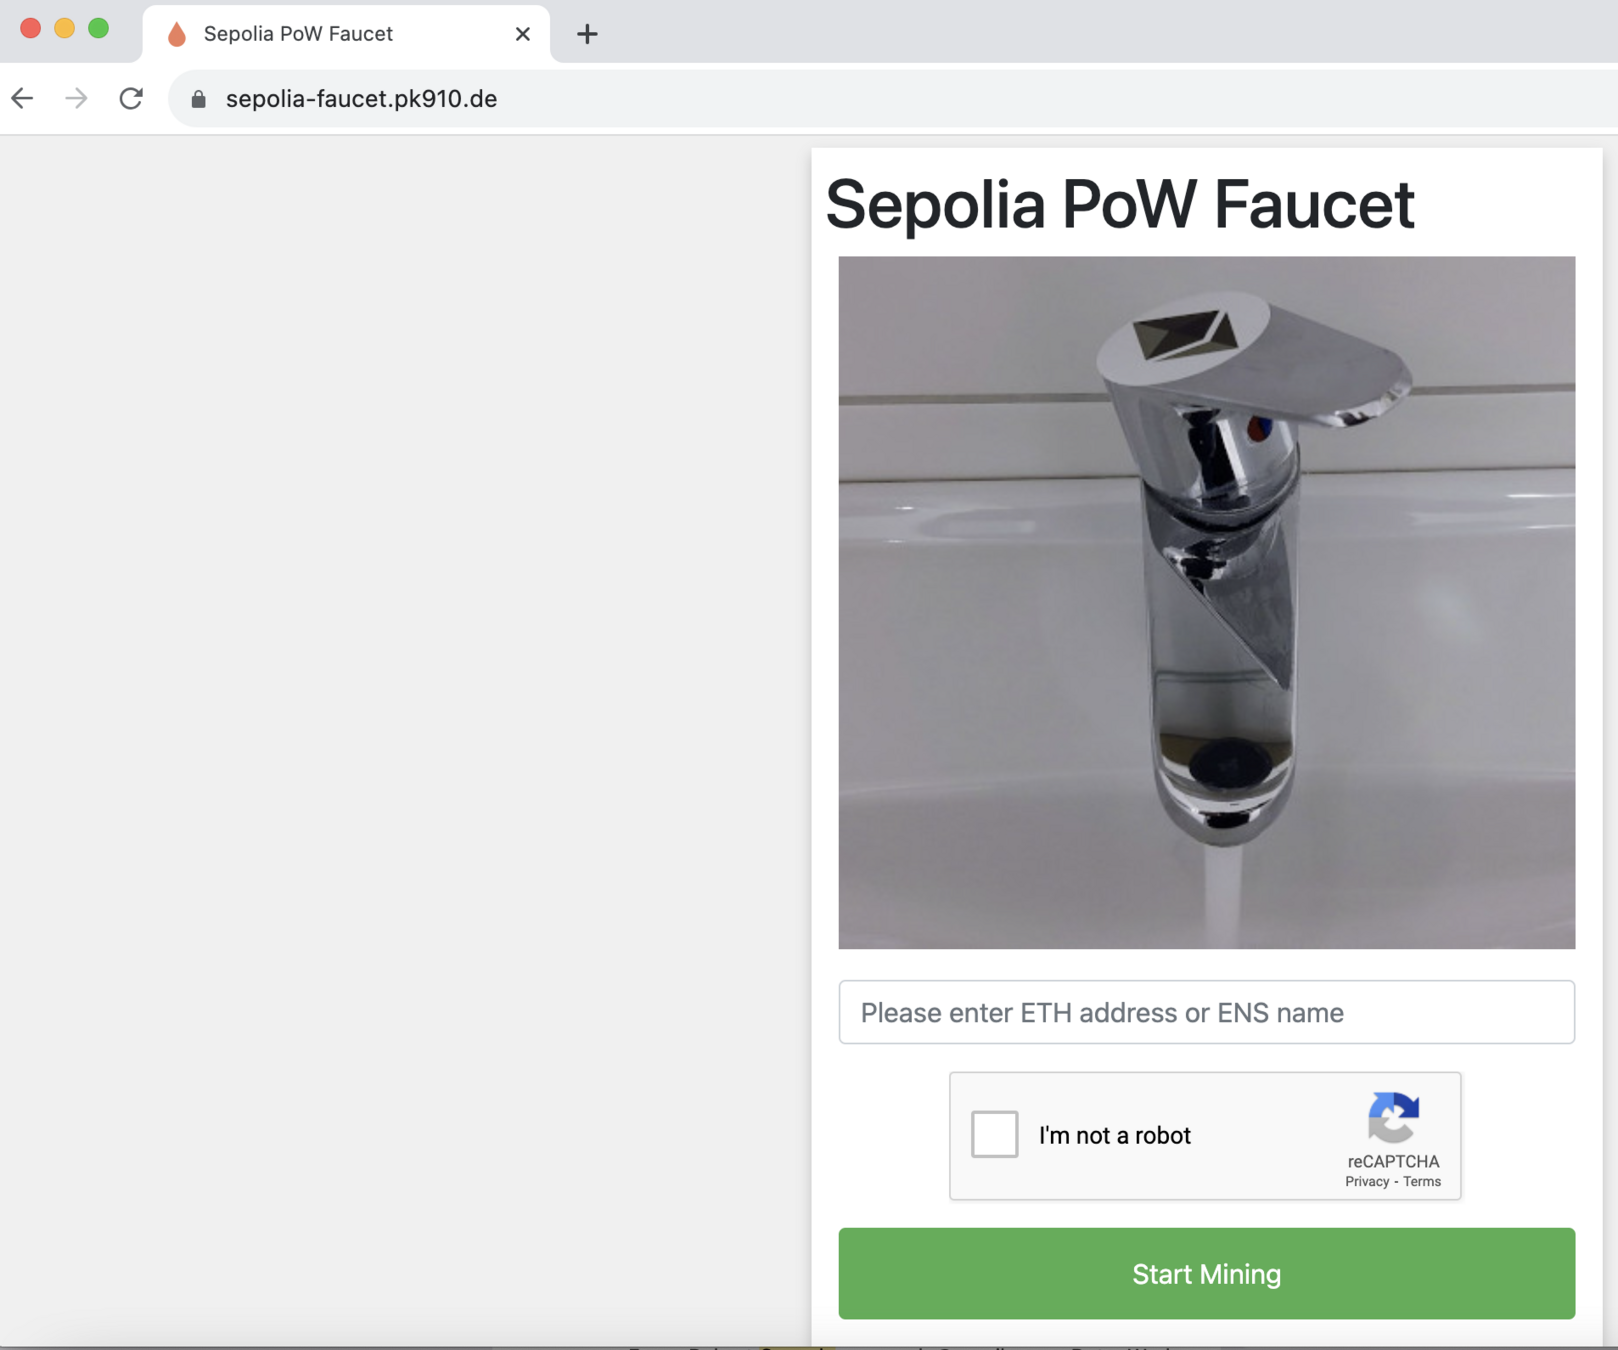
1. click here to copy your wallet's address
2. paste that address to here
0. click here to open your MetaMask wallet
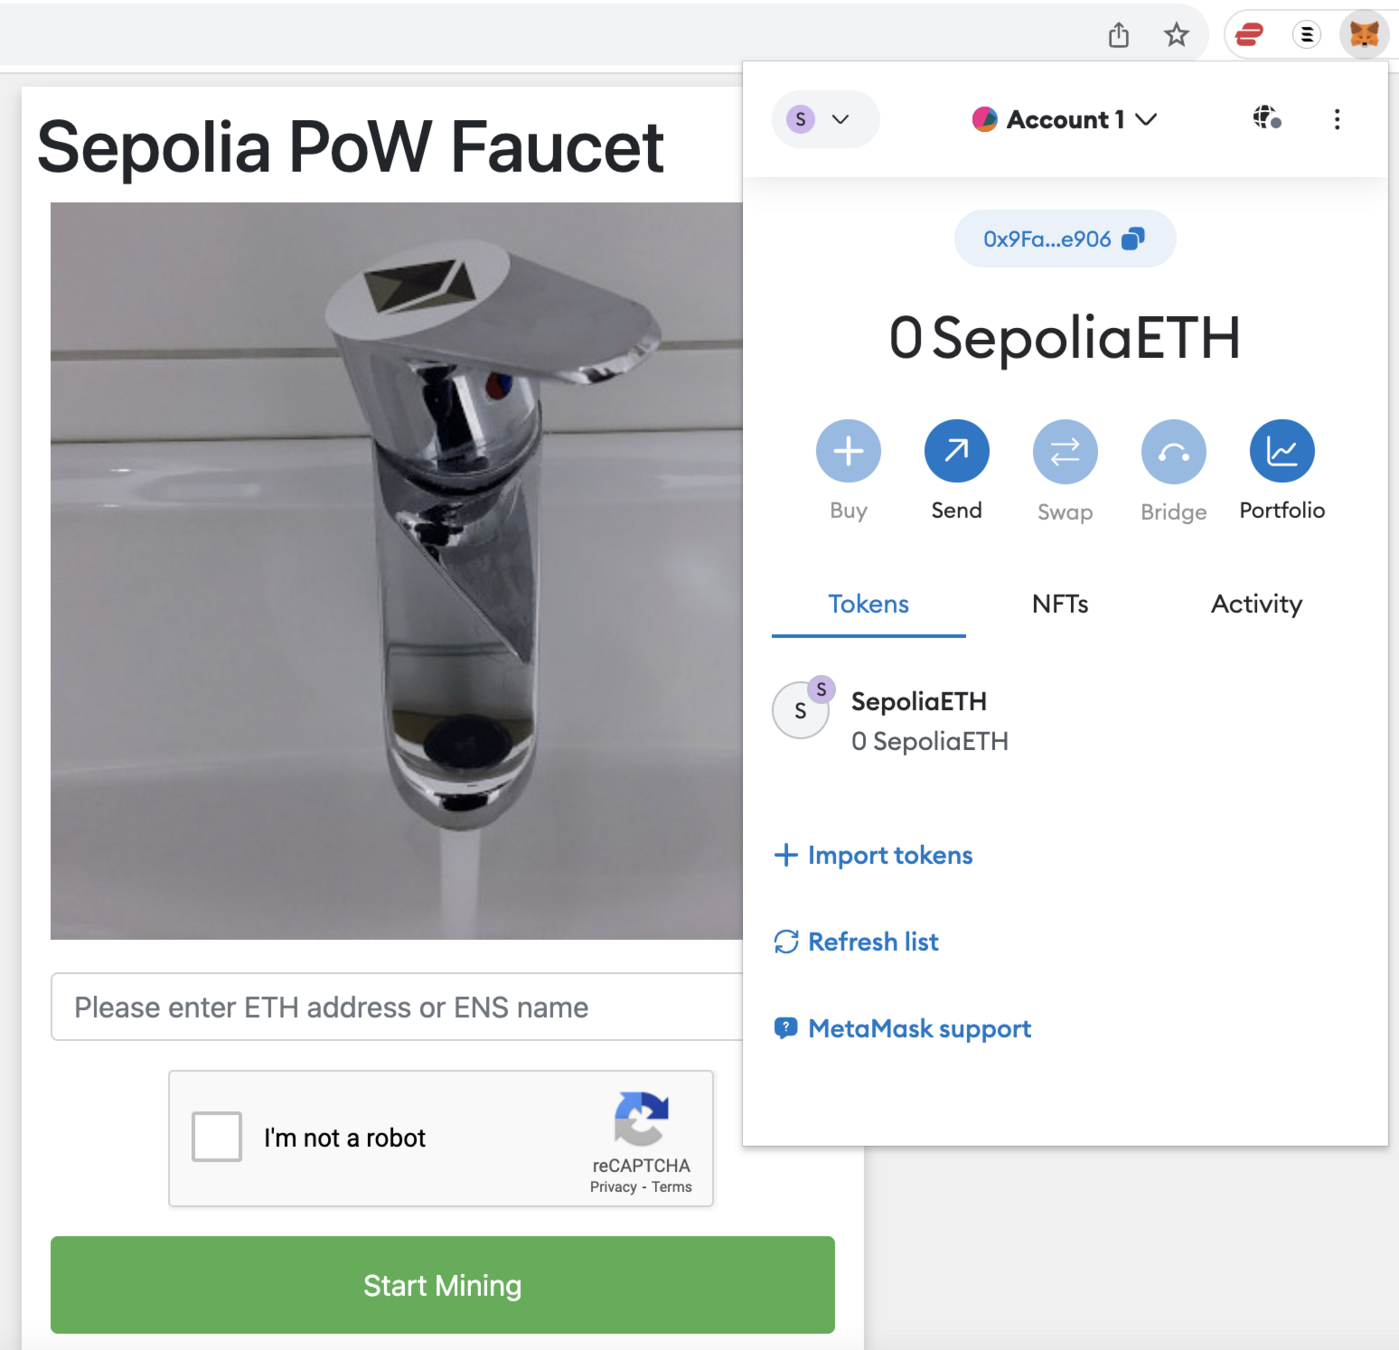
1. prove that you aren't a robot
2. start mining to get enough Sepolia ETH to play with (let it run on the background for 20-30 min?) - 0.1 ETH should be plenty, for instance.
It does take some computer energy, so if you are doing something important, please don't mine at the same time.
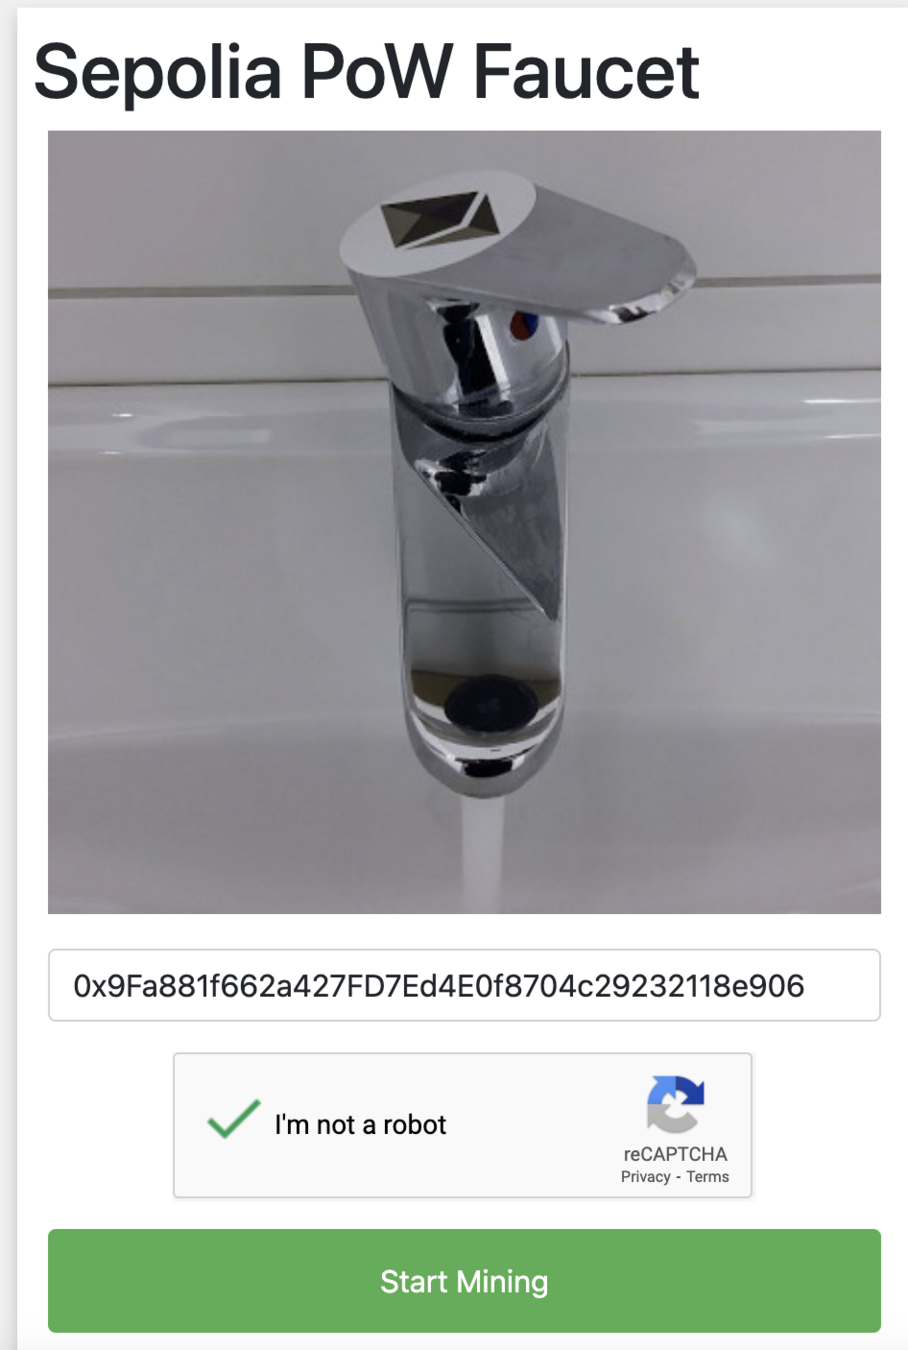
You may withraw as soon as you have mined over 0.05 Sepolia ETH. If you computer hates the process, withdraw and return to mine again another day.
End of part 1
In class, we will use your wallets to lend and borrow on Aave and maybe to trade on Uniswap.