Introduction to Blender
Form 3 - Computer
2023-2024
Floor 4 - Computer Room
Mr. Peter

Outline
Outline
Classroom
1
Building Steps
2
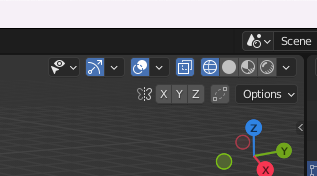
Shortcuts in Blender
Shortcuts in Blender
Shift + A keys (Add object)
1.
Tab key (Editing the object)
2.
E key (Extrude face)
3.
S key (Scaling object or face)
4.
X/Y/Z key (Lock to Axis)
7.
R key (Rotating object)
5.
Shift + X/Y/Z (Lock except the axis)
8.
T key (Tool Shelf)
9.
G key (Grab and move object)
6.
F12 (Render view)
10.
X key (Delete)
11.
Ctrl + R keys (Loop cut functions)
12.
Shift + D keys (Duplicate)
13.
Ctrl + Z keys (Undo)
14.
Ctrl + Shift + Z keys (Redo)
15.
A key (Selecting all models)
16.
Ctrl + B (Bevel)
17.
Ex12 - Classroom
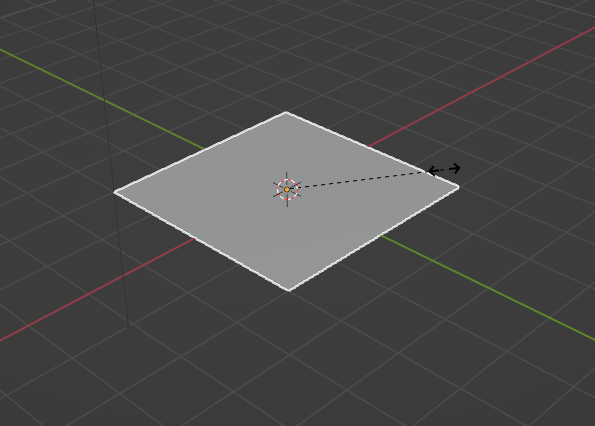
1. Press Shift + A
2. Select Mesh
3. Select Plane

Ex12 - Classroom
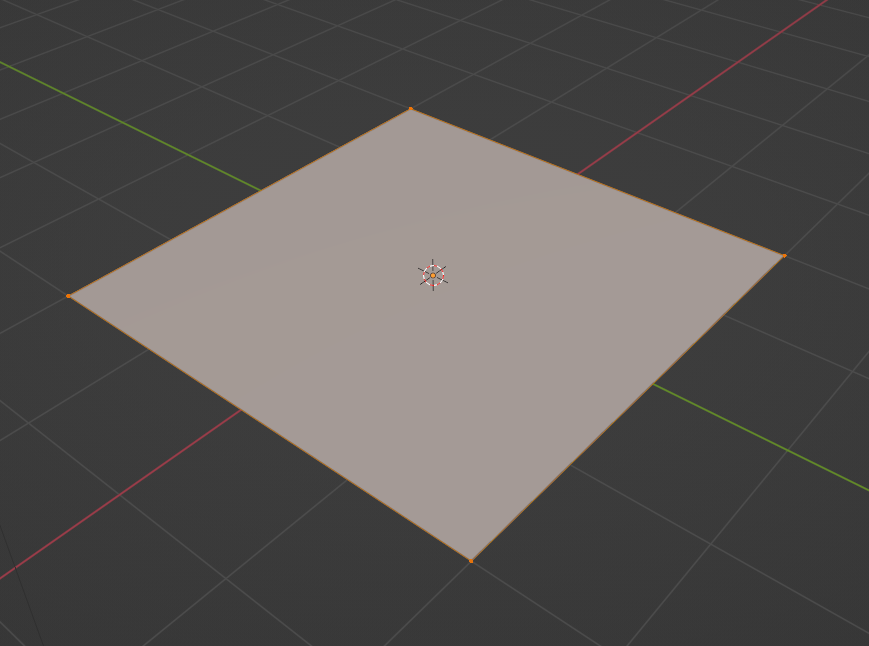
Press S key to scale it
1.
Input 2 as the scaling size
2.
Ex12 - Classroom
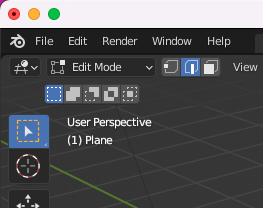
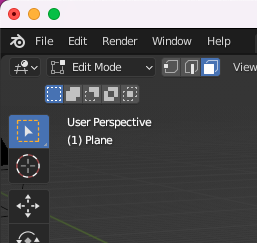
Press Tab key to edit the object
1.
Ex12 - Classroom
Change to line mode
Ex12 - Classroom

Hold the Shift key to select three edges of the plane
1.
Ex12 - Classroom

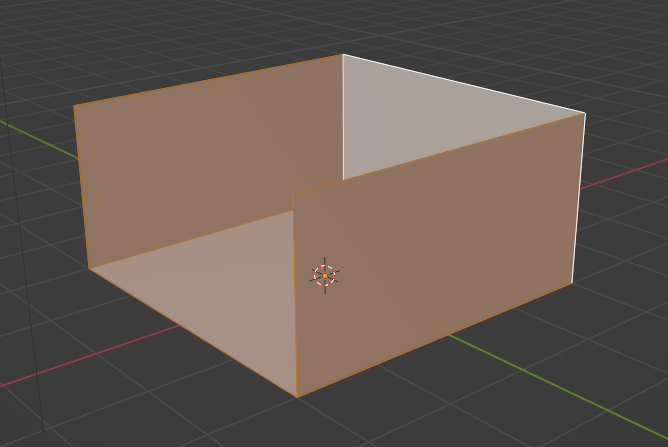
Press E key to extrude it
1.
Press Z key to pull it up along with Z axis
2.
Input 2 as the distance
3.
Ex12 - Classroom
Change face mode to select face of objects
1.
Ex12 - Classroom
Select all faces
Ex12 - Classroom
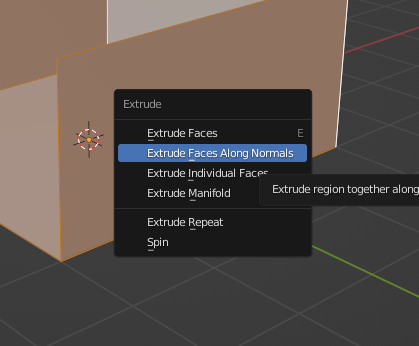
Press Alt + E keys to show up the Extrude menu
1.
Select Extrude Faces Along Normals
2.
Input -0.05 as the thickness
3.
Ex12 - Classroom
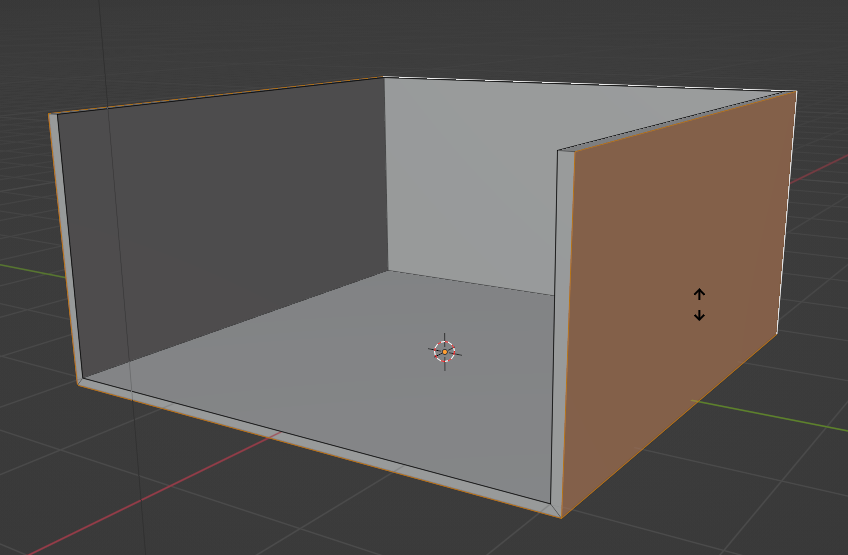
Input -0.05 as the thickness
Ex12 - Classroom
Change to transparent view
1.
Ex12 - Classroom
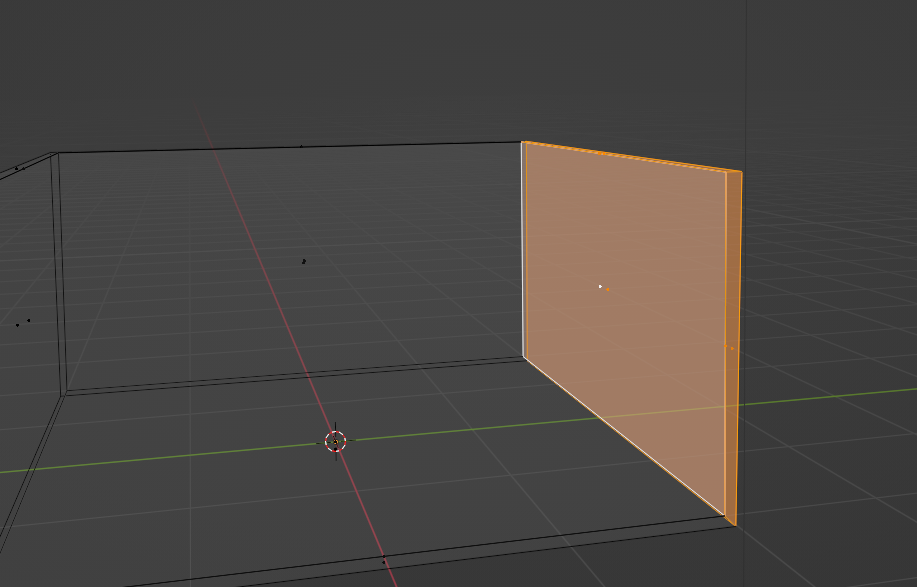
Select all faces of the wall
1.
Ex12 - Classroom
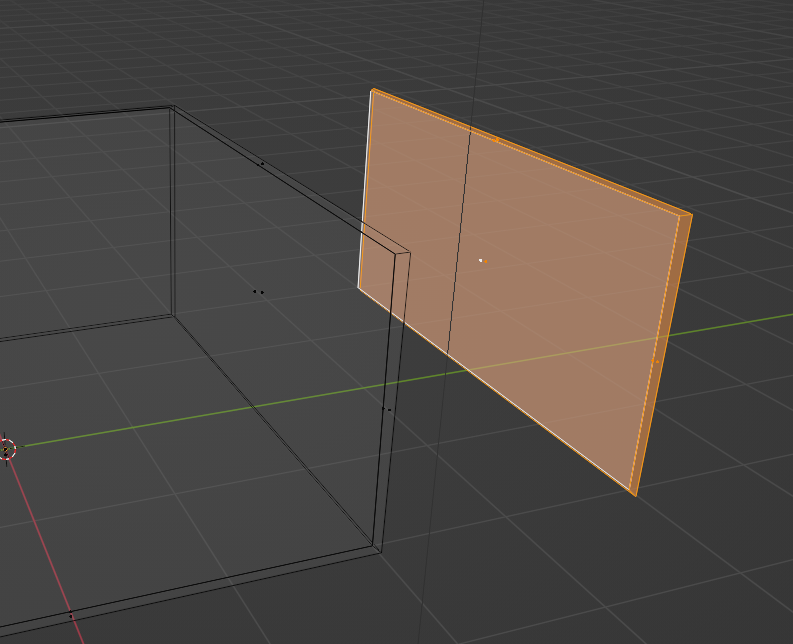
Press Shift + D to duplicate the wall
1.
Press Y key to move it along with Y axis (Right hand side)
2.
Input 2 as the distance
3.
Ex12 - Classroom
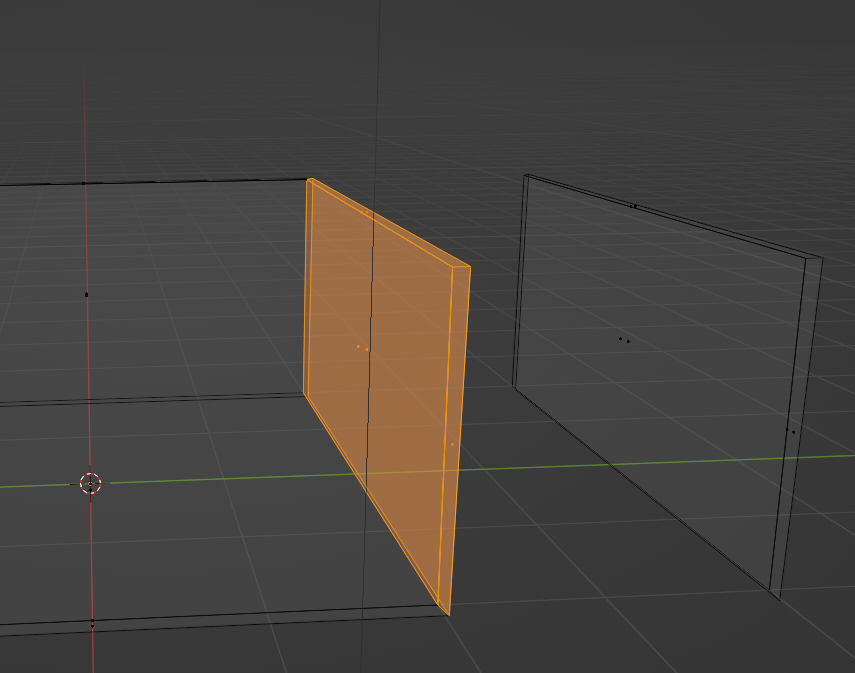
Select all faces of the original wall
1.
Ex12 - Classroom
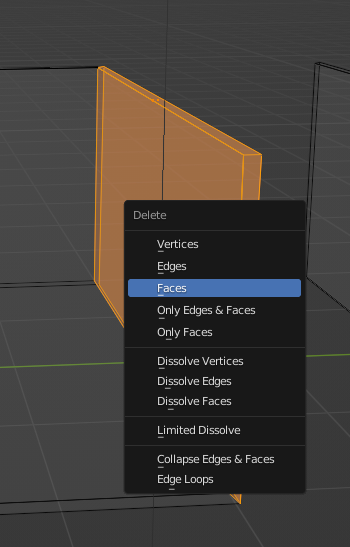
Press X key to show up the delete menu
1.
Select Faces option
2.
Ex12 - Classroom
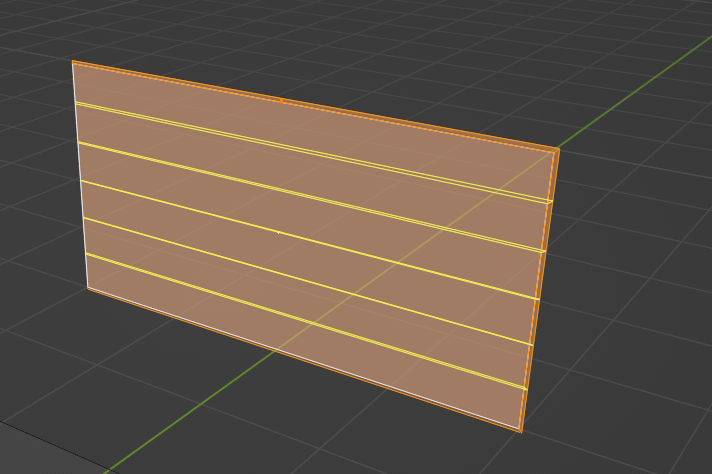
Select the duplicated wall
1.
Press Ctrl + R to use loop cut function
2.
Adding five horizontal lines by scrolling your mouse
3.
Confirm five lines by clicking your mouse
4.
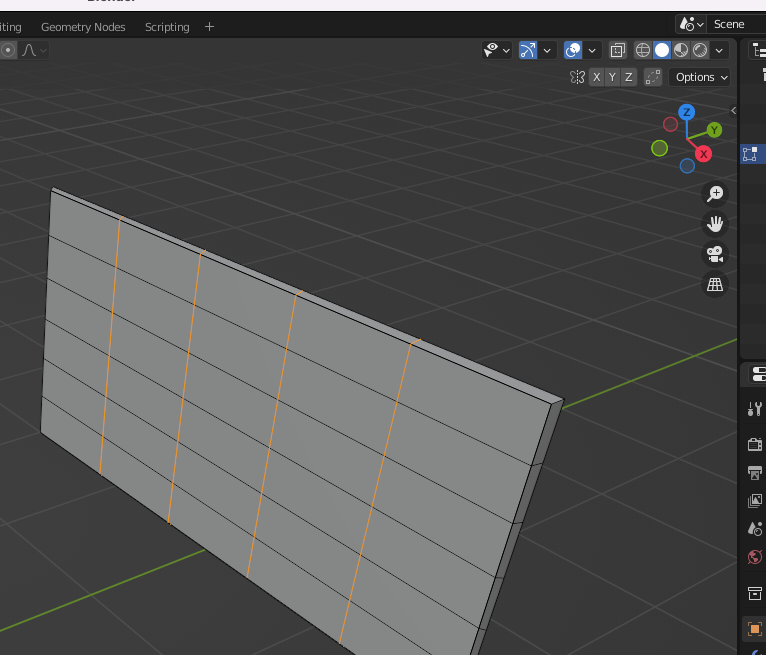
Ex12 - Classroom

Select the duplicated wall
1.
Press Ctrl + R to use loop cut function
2.
Adding four verticle lines by scrolling your mouse
3.
Confirm five lines by clicking your mouse
4.
Ex12 - Classroom
Change it back to Viewport Shaping
1.
Ex12 - Classroom
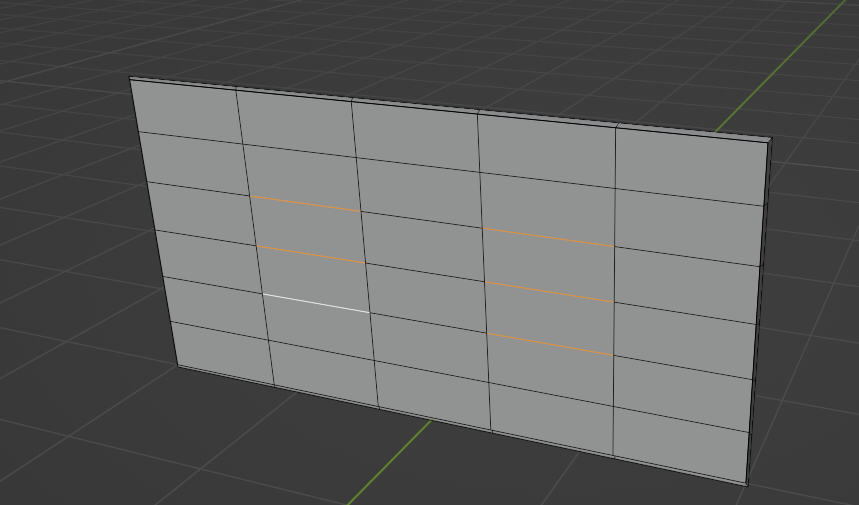
Press Shift key to select the six lines
1.
Ex12 - Classroom
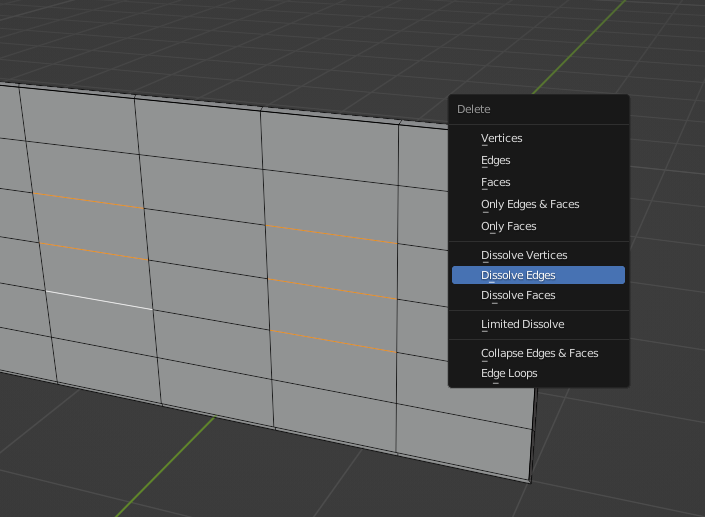
Press X key to show up the menu
1.
Select Dissolve Edges option
2.
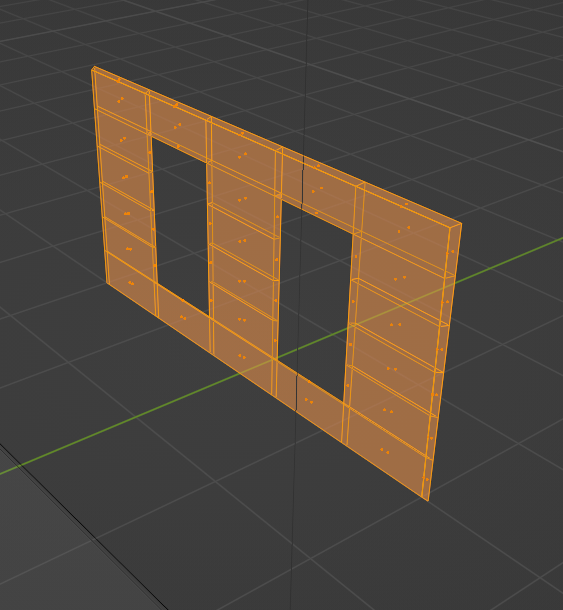
Ex12 - Classroom
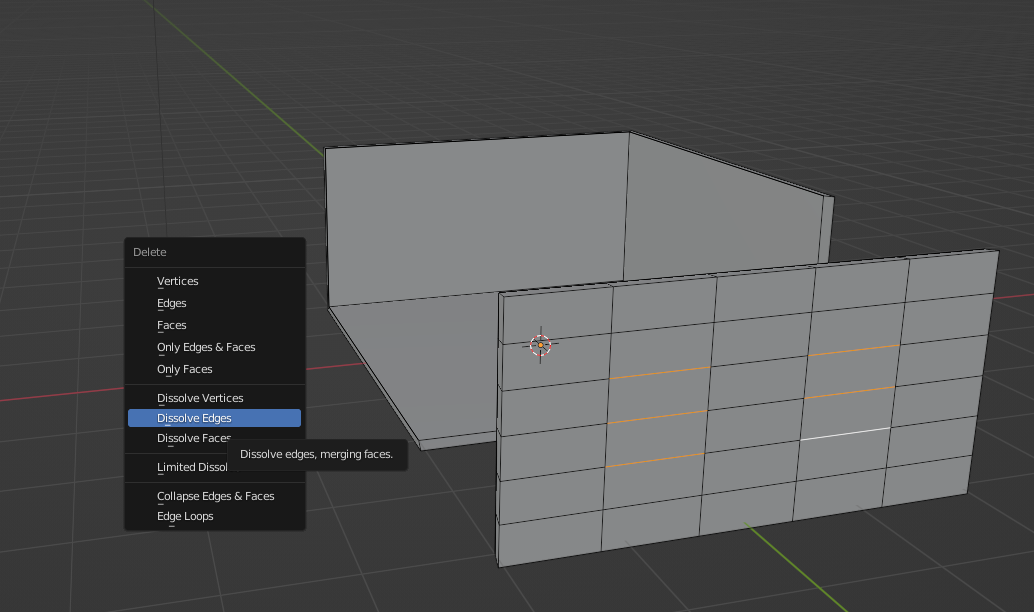
Do the same action on the back of the wall
Ex12 - Classroom
Change it back to face mode
1.
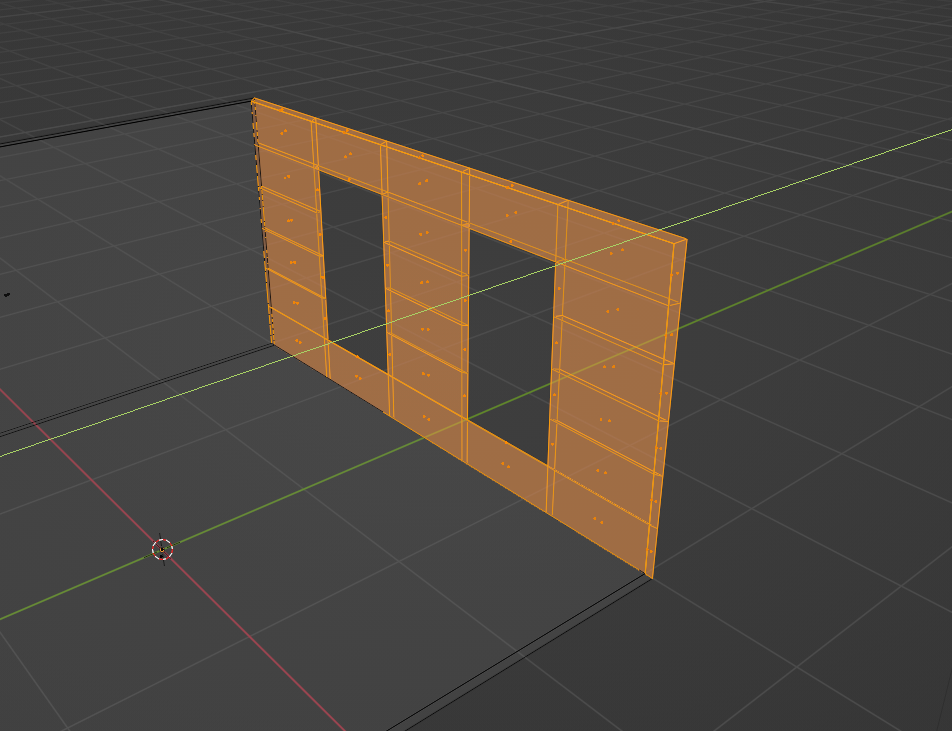
Ex12 - Classroom
Press Shift to select faces
1.
Select Edge -> Bridge Edge Loops
2.

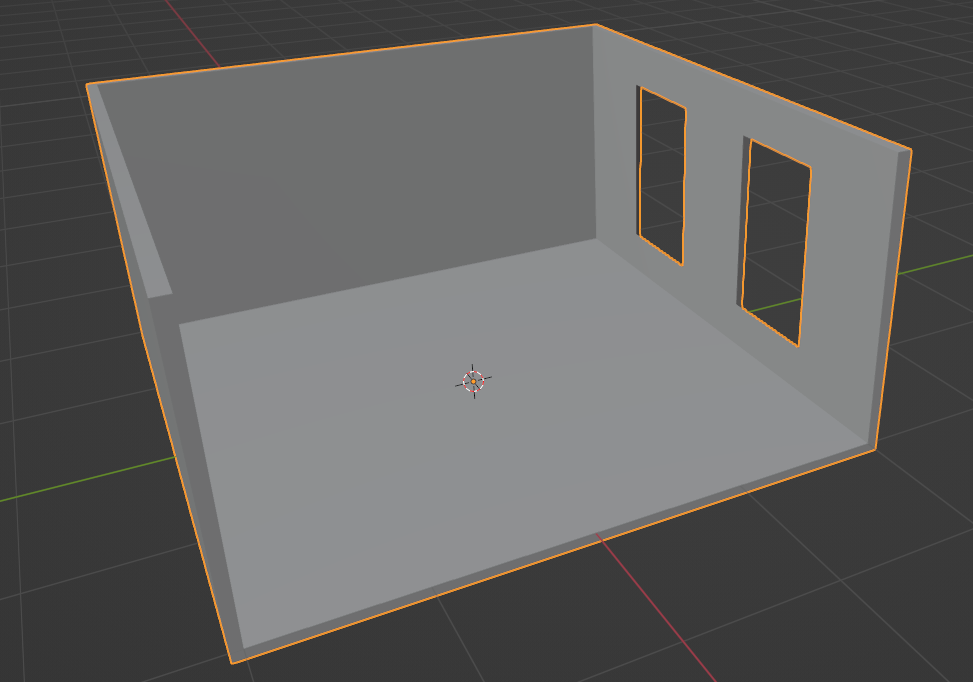
Ex12 - Classroom
Change it to transparent view
1.
Ex12 - Classroom
Select the wall
Ex12 - Classroom
Press G key to grab it
1.
Press Y key to move it along with Y axis
2.
Input -2 as the distance
3.
Ex12 - Classroom
Press Tab key to leave the edit mode
Ex12 - Classroom
Cube object
1.
Tab key (Editing the object)
2.
E key (Extrude face)
3.
S key (Scaling object or face)
4.
Z key (Z-axis)
6.
X key (X-axis)
7.
Y key (Y-axis)
8.
R key (Rotating object)
5.
Blackborad
Ex12 - Classroom
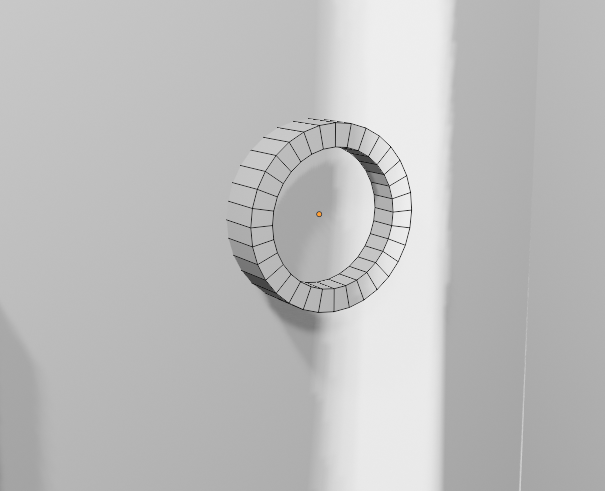
Cylinder object
1.
Tab key (Editing the object)
2.
E key (Extrude face)
3.
S key (Scaling object or face)
4.
Z key (Z-axis)
6.
X key (X-axis)
7.
Y key (Y-axis)
8.
R key (Rotating object)
5.
Clock
Ex12 - Classroom
Cube object
1.
Tab key (Editing the object)
4.
E key (Extrude face)
5.
S key (Scaling object or face)
6.
Z key (Z-axis)
8.
UV Shphere object
2.
Cylinder object
3.
X key (X-axis)
9.
Y key (Y-axis)
10.
R key (Rotating object)
7.
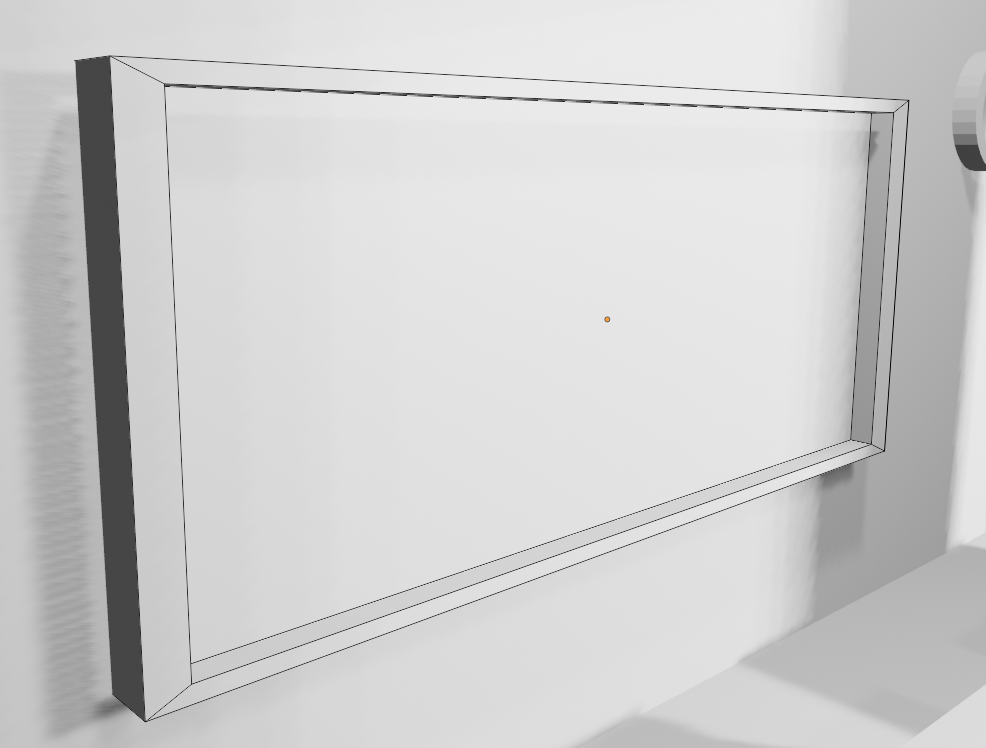
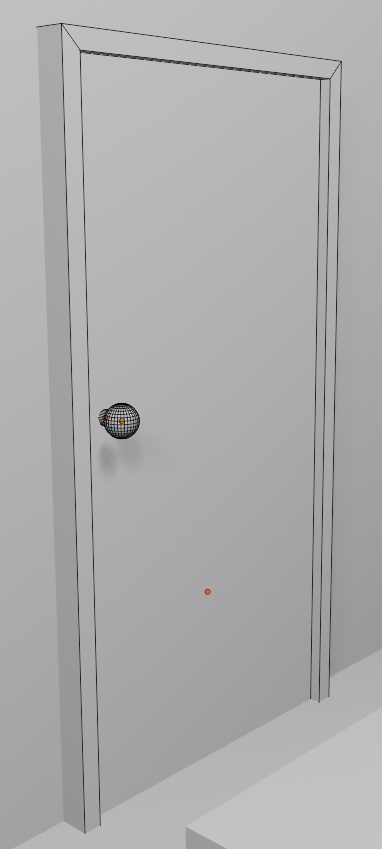
Door
Ex12 - Classroom
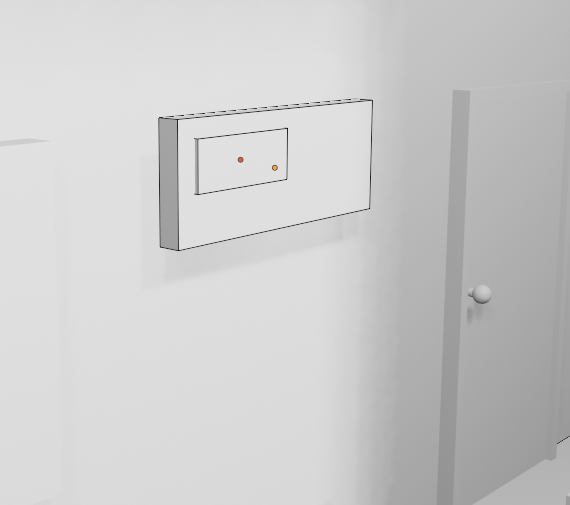
Bulletin board
Cube object
1.
Tab key (Editing the object)
2.
E key (Extrude face)
3.
S key (Scaling object or face)
4.
Z key (Z-axis)
6.
X key (X-axis)
7.
Y key (Y-axis)
8.
R key (Rotating object)
5.
Ex12 - Classroom
Cube object
1.
Tab key (Editing the object)
2.
E key (Extrude face)
3.
S key (Scaling object or face)
4.
Z key (Z-axis)
6.
X key (X-axis)
7.
Y key (Y-axis)
8.
R key (Rotating object)
5.
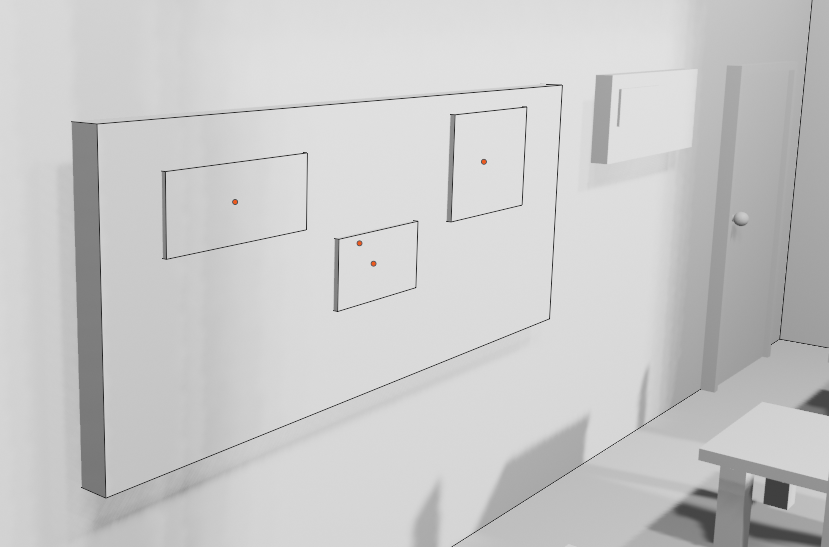
Bulletin board
Ex12 - Classroom
Chairs and Tables
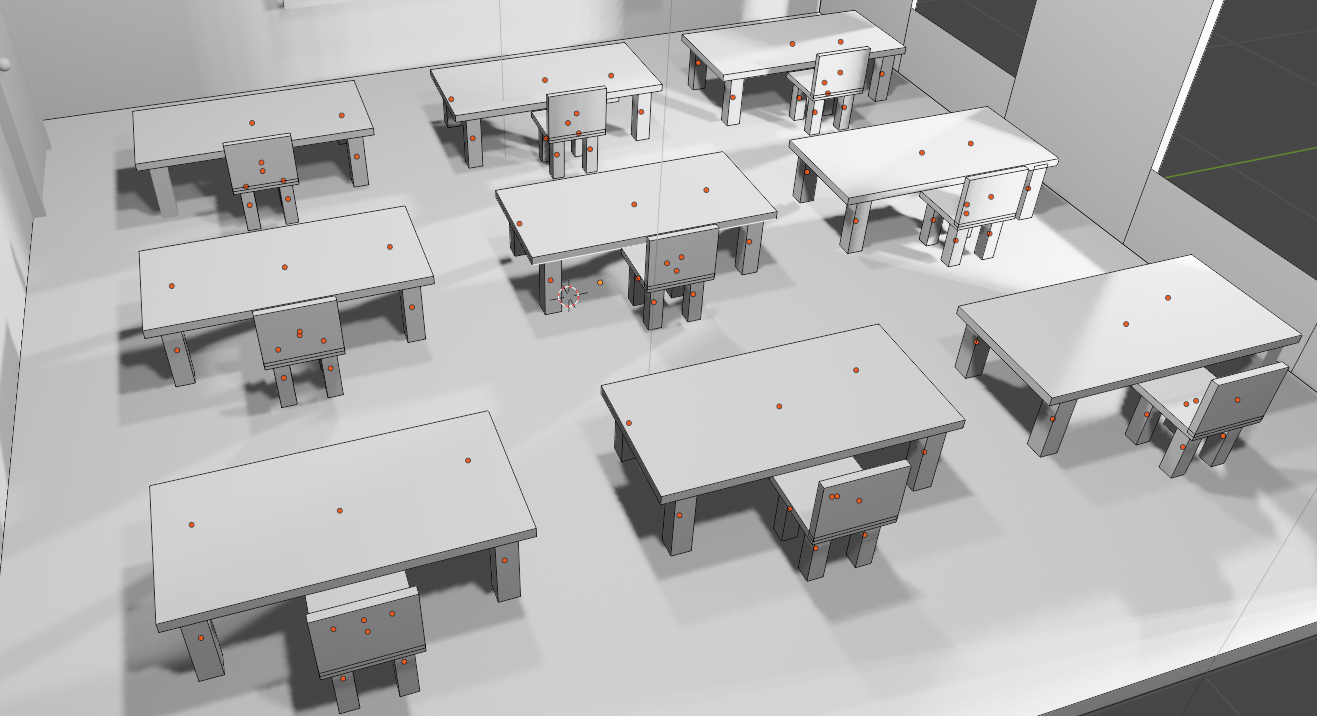
Ex12 - Classroom