using third party libraries: picnic css and font awesome
COMP 126: Practical Web Design & Development for Everyone
font awesome is an icon library with lots of free options.
Add this CDN link to your <head> element:
<link rel="stylesheet" href="https://cdnjs.cloudflare.com/ajax/libs/font-awesome/7.0.1/css/all.min.css" crossorigin="anonymous">
then find some icons at https://fontawesome.com/icons
PICNIC CSS is a lightweight, mobile first CSS Library with a grid and ui components you can use and customize in your projects. OPEN
https://picnicss.com/
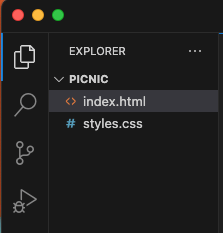
1. Create your project files: directory, html, css
2. Add html starter code with viewport meta & LINK TO CSS
<!DOCTYPE html>
<html lang="en">
  <head>
    <meta charset="UTF-8" />
    <meta name="viewport" content="width=device-width, initial-scale=1.0" />
    <link rel="stylesheet" href="styles.css" />
    <title>picnic demo</title>
  </head>

  <body>
  </body>
</html>
3. Add CDN link to picnic css library--ABOVE the link to your own stylesheet
<!DOCTYPE html>
<html lang="en">
<head>
   <meta charset="UTF-8">
   <meta name="viewport" content="width=device-width, initial-scale=1.0">
   <link rel="stylesheet" href="https://cdn.jsdelivr.net/npm/picnic">
   <link rel="stylesheet" href="styles.css">
   <title>picnic demo</title>
</head>

<body>
</body>

</html>
4. view components in picnic css documentation

5. create your primary layout containers
<!DOCTYPE html>
<html lang="en">
<head>
   <meta charset="UTF-8">
   <meta name="viewport" content="width=device-width, initial-scale=1.0">
   <link rel="stylesheet" href="https://cdn.jsdelivr.net/npm/picnic">
   <title>picnic demo</title>
</head>

<body>
   <header></header>
   <main></main>
   <footer></footer>
</body>

</html>
6. ADD picnic css component HTML
<!DOCTYPE html>
<html lang="en">
<head>
<meta charset="UTF-8">
<meta name="viewport" content="width=device-width, initial-scale=1.0">
<link rel="stylesheet" href="https://cdn.jsdelivr.net/npm/picnic">
<title>picnic demo</title>
</head>
<body>
<header>
<nav class="demo">
<a href="#" class="brand">
<img class="logo" src="/img/basket.png" />
<span>Picnic CSS</span>
</a>
<!-- responsive-->
<input id="bmenub" type="checkbox" class="show" />
<label for="bmenub" class="burger pseudo button">menu</label>
<div class="menu">
<a href="#" class="pseudo button icon-picture">Demo</a>
<a href="#" class="button icon-puzzle">Plugins</a>
</div>
</nav>
</header>
<main></main>
<footer></footer>
</body>
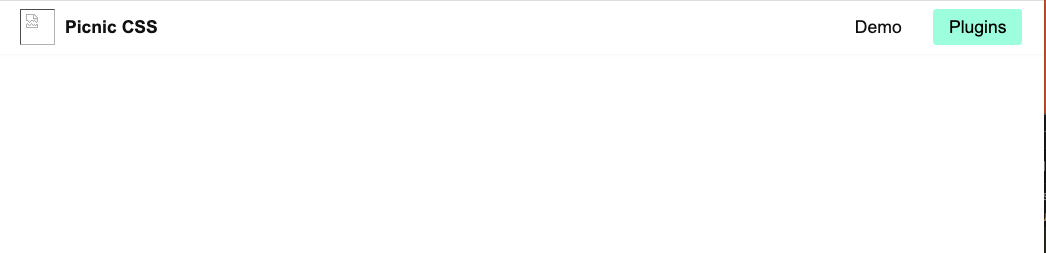
</html>7. view the results & choose what to customize

8. Find out what classes control the styles you want to customize
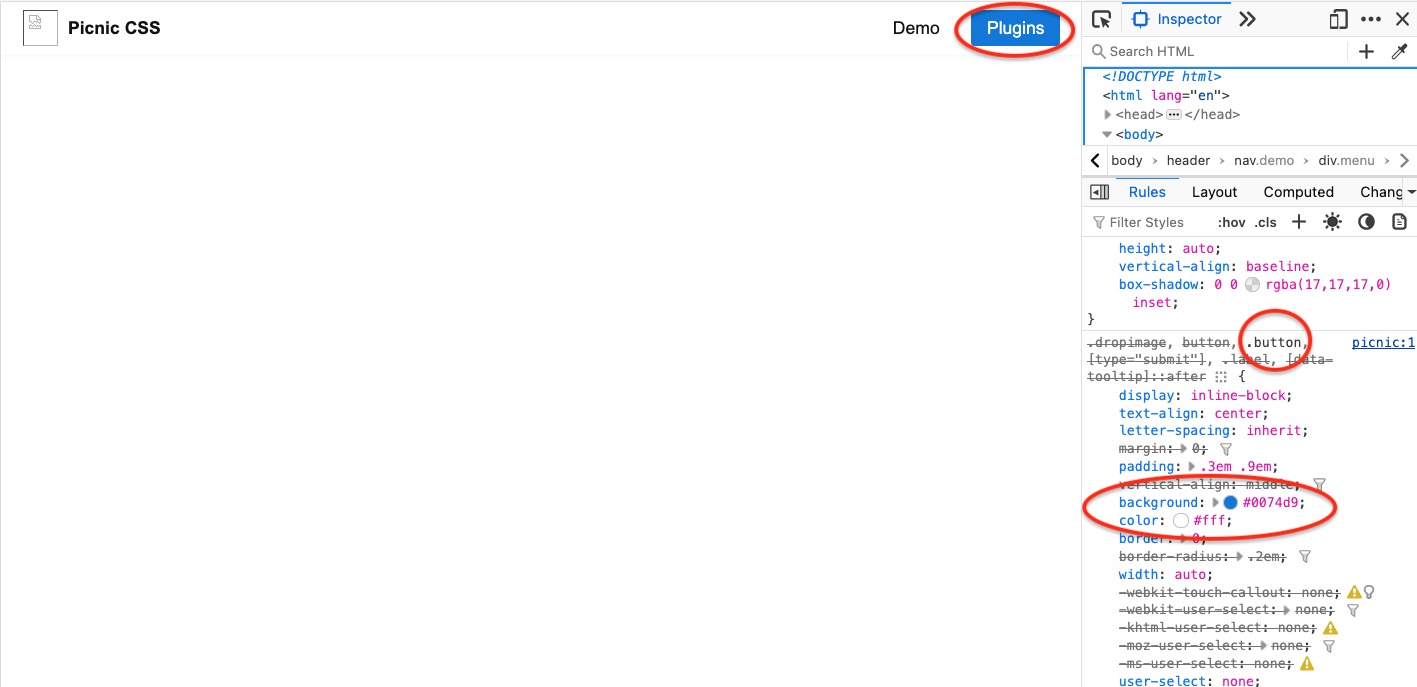
Text
9. add new/override styles for those classes in your own css stylesheet
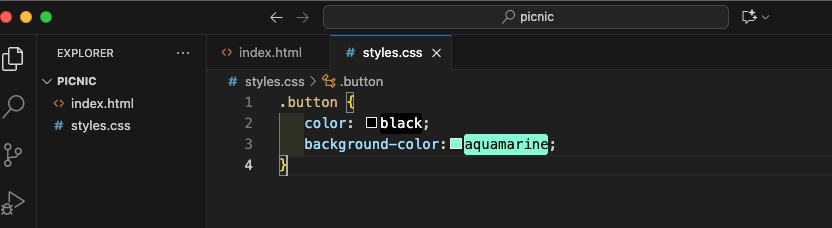
Remember that for this to work, the link to your own styles.css has to come AFTER the link to the Picnic CSS CDN in the <head> element of your HTML document!
10. NOW you've begun customizing the picnic css component. continue to make it your own...