Web Development In Windows
Álvaro José Agámez Licha
Fullstack Developer at Zagalabs
https://github.com/aagamezl
@aagamezl
Ok, so you are here to talk me good things about that horrible M$cro$oft operative system?

Let's Start
Windows it's not horrible, yes, and it's not perfect, yes, it's different from other Operative Systems, but it's easy to use, but it's not he most friendly for devs, but...
Windows 10 has implemented several useful tools for devs and users, and third party tools helps to make the dev's life easier, productive and more comfortable.
- Easy to use Package Manager.
- Multiple virtual desktops.
- Easy to use Window Snapping.
- Easy to use Snipping Tool (yes, we always will need some screenshots).
- Timeline.
- Windows Terminal.
- Microsoft PowerToys.
- Windows Subsytem For Linux Version 2 (WSL2 for the friends).
- Docker.

And you can also do it in Windows
An Easy to use Package Manager
Developers love package managers to quickly find and install third-party applications. In Windows the developers have at their disposal different package managers, Chocolatey and Scoop are very good options, in this talk I will show you Scoop.
PS C:\> Set-ExecutionPolicy RemoteSigned -scope CurrentUser
PS C:\> iwr -useb get.scoop.sh | iex
An Easy to use Package Manager
PS C:\> scoop install git nvm
PS C:\> scoop uninstall git nvm
PS C:\> scoop list
Scoop is really easy to use, and you can install a lot of useful packages.
An Easy to use Package Manager
& "C:/path/to/the/script/scoop-environment-setup.ps1"You can use an automatic script with all the packages you need to install and configurate your development environment in a breeze.
Multiple Virtual Desktops
I find this feature extremely useful. Imagine that you want to have multiple desktops configured with certain apps, etc and be able to toggle through them as needed.
Virtual desktops are very straightforward in Windows, you can use the keyboard or the mouse to use them.
Multiple Virtual Desktops
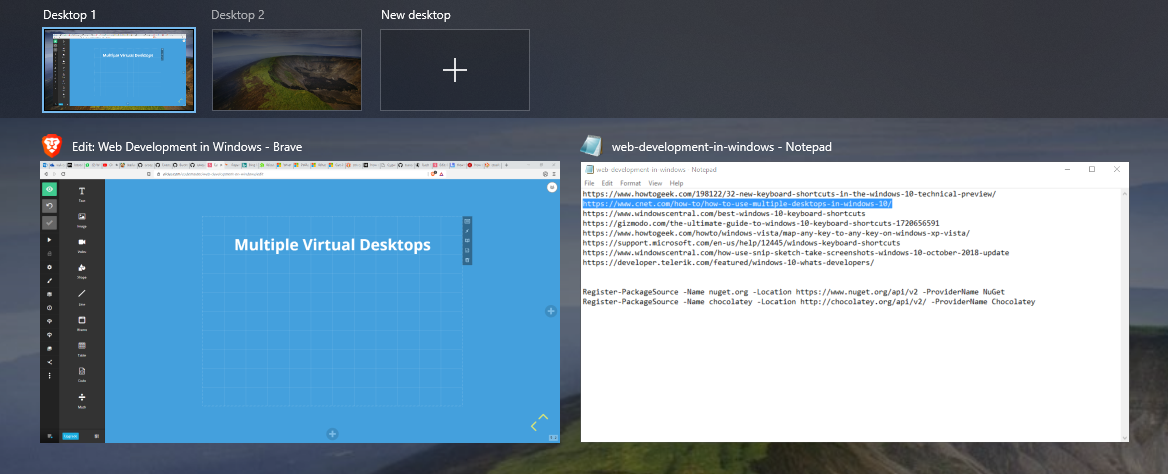
You can click in the Task View icon in the taskbar (or use Windows Key + Tab) to access the virtual desktops panel, and create, modify or delete them.
Multiple Virtual Desktops
But I really prefer to do it with the keyboard, to add a Virtual Desktop use the shortcut Windows Key + Ctrl + D.
To Delete a virtual desktop with the keyboard you can use Windows Key + Ctrl + F4.
To switch from one virtual desktop to another you can use Windows Key + CTRL + Left arrow and Windows key + CTRL + Right arrow.
Multiple Virtual Desktops

To move application between virtual desktop, you have to do it through the Task View panel.
Window Snapping
Snap, a windows management technique, has some cool new features in Windows 10. You can now snap windows vertically—one on top of each other, instead of side-by-side—or snap windows to a 2×2 grid.
Window Snapping
- Windows Key + Left arrow: Snap current window to the left side of the screen.
- Windows Key + Right arrow: Snap current window the the right side of the screen.
- Windows Key + Up arrow: Snap current window to the top of the screen.
- Windows Key + Down arrow: Snap current window to the bottom of the screen.
Snipping Tool
Sometimes we need some screenshots, for example share it with a colleague or to report some bug; Windows have a cool an easy to use Snipping tool. Just type snipping with the global search option (like Synapse in Linux or Alfred or Spotlight in OS X); use Windows key + S to access the global search option.
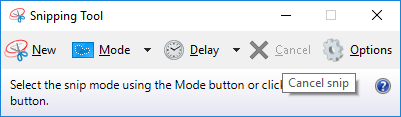
Snipping Tool
At this point, you should know that there are four types of snips provided by the tool.
- Free Form Snip: You can draw a line or anything as per your need around the area that you want to capture.
- Rectangular Snip: Here you have to hold and drag the cursor around the area to form a rectangular snip.
- Window Snip: This option will allow you to capture a dialog box or a browser window.
- Full – Screen Snip: It will capture the full screen.
Timeline
Windows 10’s Timeline feature helps answer the question: what was I working on? This handy, optional feature can track what documents and Web pages you’ve been working on over the past weeks and months, organizing them into a collection of documents you can quickly open to pick up where you left off.
Timeline
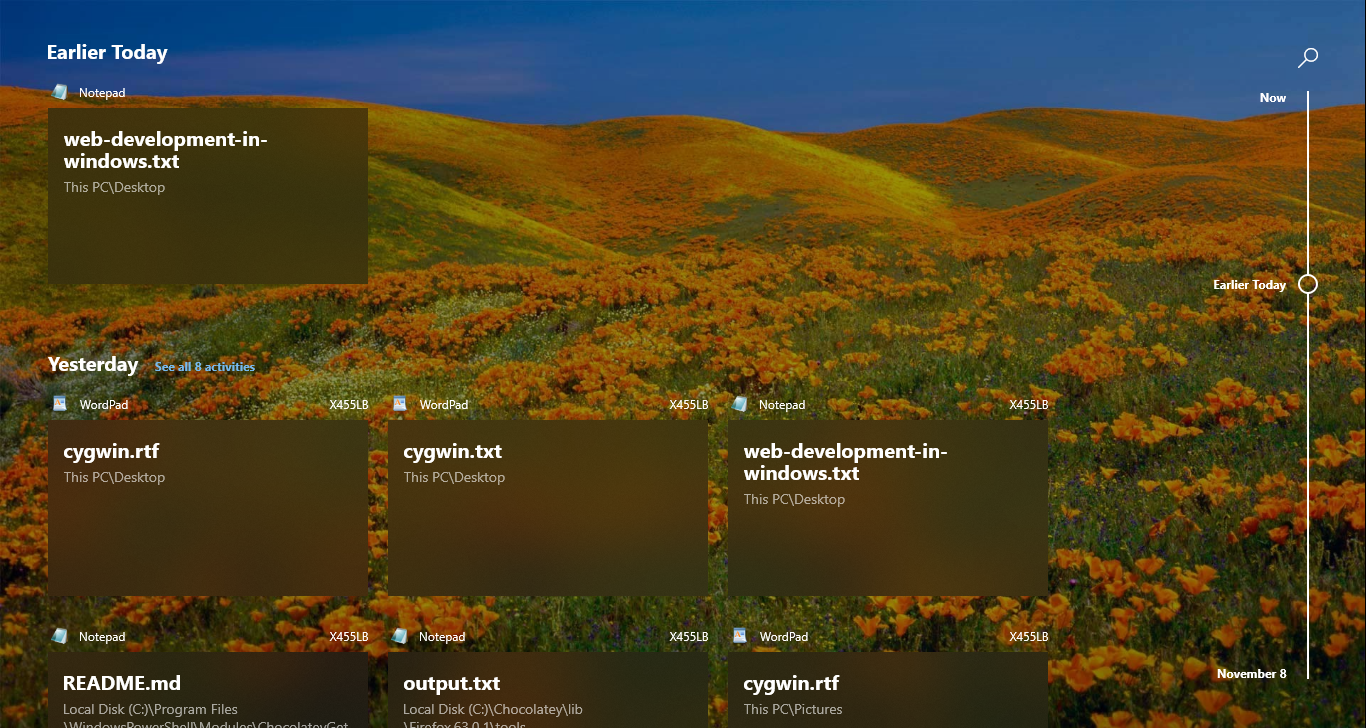
To use Timeline you have to click Task View icon in the taskbar (or use Windows Key + Tab).
How to enable and disable Timeline
Windows assumes that you want Timeline turned on. If you don’t, or you’d like to manage how Microsoft uses your information, visit the Settings menu at Settings > Privacy > Activity History.
Windows Terminal
Windows Terminal is a new, modern, feature-rich, productive terminal application for command-line users. It includes many of the features most frequently requested by the Windows command-line community including support for tabs, rich text, globalization, configurability, theming & styling, and more.
Windows Terminal
Progressive Web Apps
Progressive Web Apps have full access to Windows 10 feature APIs and can be installed across the entire UWP device family (including the secure Windows 10 S-mode devices) while still ensuring compatibility across other browsers and devices. PWAs have standards-based support for offline scenarios, thanks to the Service Workers, Cache, and Push APIs.
Windows Subsytem For Linux
The Windows Subsystem for Linux lets developers run GNU/Linux environment (including most command-line tools, utilities, and applications) directly on Windows, unmodified, without the overhead of a virtual machine.
WSL
- Open Settings -> Update and Security -> For developers.
- Select the Developer Mode radio button.

WSL
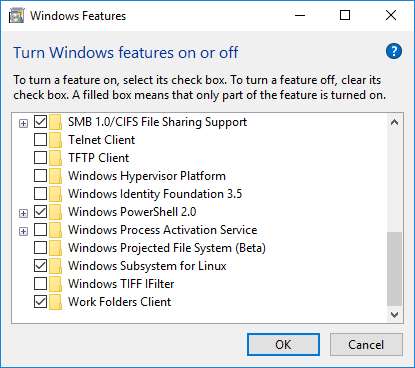
- From global search type "Turn Windows features on or off"
- Select the option Windows Subsystem for Linux.
WSL
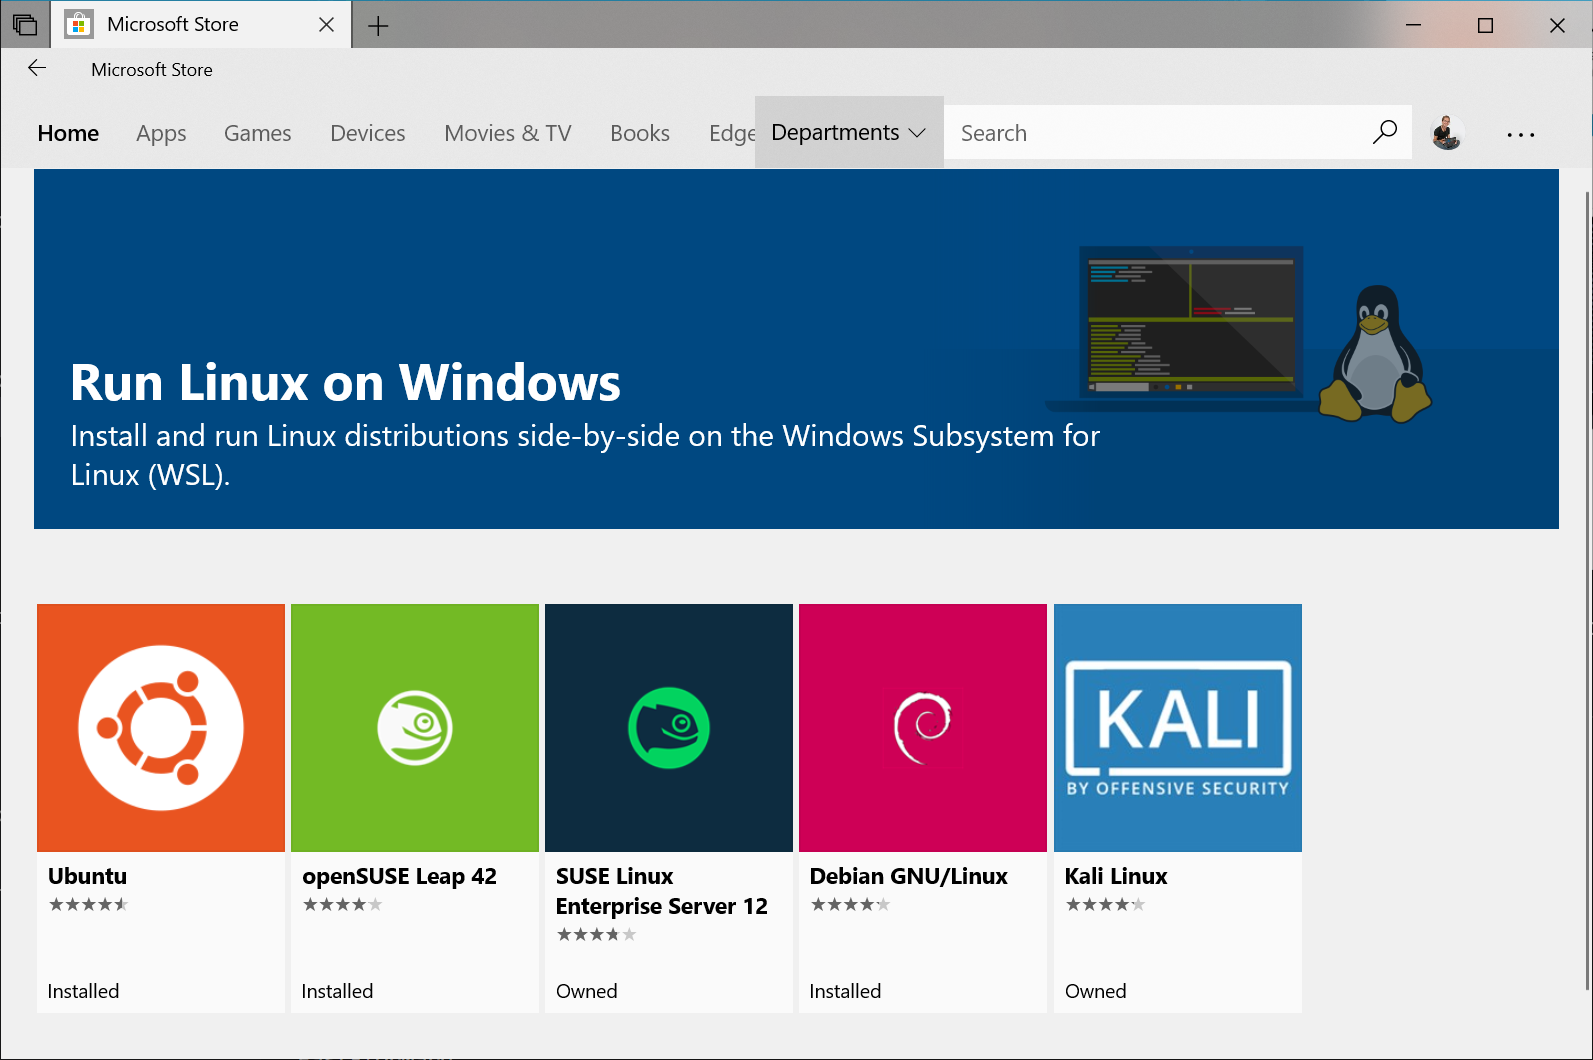
Open the Microsoft Store and choose your favorite Linux distribution.
WSL
Now we can configure our environment in the same way we do in Linux.
$ sudo apt-get install tmux git zsh

$ sh -c "$(curl -fsSL
https://raw.githubusercontent.com/robbyrussell/oh-my-
zsh/master/tools/install.sh)"

$ curl -o- https://raw.githubusercontent.com/
creationix/nvm/v0.33.11/install.sh | bash
WSL
To make zsh your default shell you have to edit the ~/.bashrc file and add the following to the beginning of the file:
# if running in terminal...
if test -t 1; then
    # ...start zsh
    exec zsh
fi
WSL
Now we can install and use different versions of Node.js.
$ nvm install node
$ nvm use node
WSL
If nvm does not work, and you are using zsh, it may be that the installation script did not add the configuration to the zsh configuration file; edit the ~/.zshrc file file and add the following:
export NVM_DIR="$HOME/.nvm"

# This loads nvm
[ -s "$NVM_DIR/nvm.sh" ] && \. "$NVM_DIR/nvm.sh"

# This loads nvm bash_completion
[ -s "$NVM_DIR/bash_completion" ] && \. "$NVM_DIR/bash_completion"