

Quantitative MRI.
Under one umbrella.

qMRLab with Jupyter Notebooks
A tutorial to use
This tutorial is intended for working on a local machine
Apart from being a prerequisite for using Jupyter Notebooks (JN), Python has become the most popular programming language in the world.

We will install and use
to have

JN makes use of Python

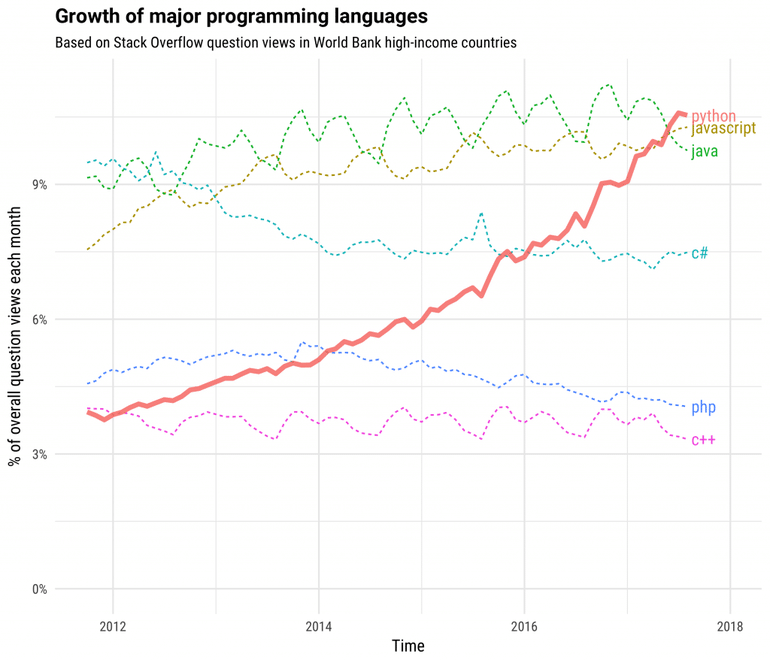
Looking for a good reason to pythonize your PC?
installed on your
- Yet a JN does not require you to have any Python experience.
&
- You can use other languages within a JN.
- In this tutorial, we will set a JN to run Octave/Matlab code.
Installing Anaconda
Anaconda is a python distribution, with installation and package management tools.

Click and download Graphical Installer
- Python 3.6
- Anaconda 5.2
After downloading the installer, just follow the steps to install Anaconda on your Windows machine.
This will give you
PIP
Just hit your windows button on the keyboard.
With this setup, you can start using JN with Python, thanks to the IPy (Interactive Pyton) kernel.
1
2
3

The shortcut to start JN will be on your list of programs.
However, qMRLab is developed in Matlab/Octave. To use it in a JN, we need to install other kernels.
At least one of these should be installed
You can click on the icons for instructions
MATLAB
Octave
qMRLab is on
qMRLab is an open-source software for quantitative MR image analysis.
conda install -c anaconda git Open the Anaconda Prompt and run the following:
cd %systemdrive%%homepath%\Desktop
git clone https://github.com/neuropoly/qMRLab.git
Install metakernel (required) Anaconda Prompt:
MATLAB or Octave Kernel Anaconda Prompt:
pip install metakernel# The following lines are for MATLAB
cd "matlabroot\extern\engines\python"
python setup.py install
pip install matlab_kernel# The following line is for Octave
conda install -c conda-forge octave_kernel
Make sure that Octave and/or Matlab is in your system path.

Now that you have everything you need installed, let's create a simple JN and use qMRLab!
Open the Anaconda Prompt and run the following:
cd %systemdrive%%homepath%\Desktop\qMRLab
jupyter lab
In the Jupyter Lab panel, select a kernel (M/O)


You can see the list & usage of all available models here.
Read JN Docs here.
Execute this JN here.

If kernels are properly installed, you should be able to see them on the Jupyter Lab panel.
The following warning appears on the kernel indicator if the connection to the kernel does not persist:
No Kernel!
If this is the case for you, please make sure that Octave/Matlab is added to your system path. If adding them to the system path does not do the trick, please post an issue here.
Kernel indicator

Our favorite recipe for a reproducible analysis
Our favorite recipe for a reproducible analysis
You can follow this beautiful lesson by software carpentry to learn about version controlling.
Create a GitHub account and discover millions of free repositories.
Docker is an amazing tool that enables you to create and share environments for your software.
You've already learned something about Jupyter in this tutorial.
Speaking of interactive plots, there are some really cool options. See the next slide.
Working with JN on a local machine is fun.
Our favorite recipe for a reproducible analysis
However, not enough to create a reproducible analysis.
Why ?
yay!
Because other people may not have the exact same software versions you installed on your computer.
Ok..
What do I do?
qMRLab provides you with the tools to create a reproducible qMRI analysis.
Stay tuned for our upcoming tutorials to follow this recipe!

You can follow this beautiful lesson by software carpentry to learn about version controlling.
Create a GitHub account and discover millions of free repositories.
Docker is an amazing tool that enables you to create and share environments for your software.
You've already learned something about Jupyter in this tutorial.
Speaking of interactive plots, there are some really cool options. See the next slide.


binder
Lots of useful tools out there!
See how impressive they can be
Dash can be a bit difficult as a starter. Good news, you can still create interactive figures easily by using
This interactive 3D brain atlas is created using
Have a repo with Jupyter Notebooks in it? Why not make them online executable using