Take Payments
Through Stripe

What is STripe?
Similar to PayPal or Google Wallet,
Stripe is a simple way to take online payments,
specifically formatted to work with a Rails app.

They make it easy to take credit card payment on web apps – including re-occurring payments.
How does Stripe make money?
They take 2.9% of each transaction.
Getting started
Go to stripe.com and Sign Up.
You'll be taken to the Dashboard. Right now, let's just keep it in Test mode (toggle on the upper left).

Stripe's official instructions on installation can be found on the upper right, under 'Documentation'.
Adding the gem
As we've done before with projects fueled by gems, we'll start in the Gemfile
gem 'stripe', :git => 'https://github.com/stripe/stripe-ruby'
And, as always, we turn next to the Terminal...
$ bundle installthe Controller in charge
$ rails g controller Charges create newWe'll create a controller with two page:
create and new
The 'new' view will house a form...
where a new transaction will start
The 'create' action will do all the work...
the transaction is actually created in there.
The 'create' view has it easy...
Just display a "Thanks for shopping" message!
completing the controller
class ChargesController < ApplicationController

	def new
		# view houses a form,
		# nothing for us to do here!
	end


	def create
		# this action is what actually performs the transaction.

		# Amount in cents
		@amount = 500

		customer = Stripe::Customer.create(
			:email => 'example@stripe.com',
			:card => params[:stripeToken]
		)

		charge = Stripe::Charge.create(
			:customer => customer.id,
			:amount => @amount,
			:description => 'Rails Stripe customer',
			:currency => 'usd'
		)

		rescue Stripe::CardError => e
		flash[:error] = e.message
		redirect_to charges_path

	end

end
Updating routes
While the routes for create and new were constructed when we created the controller.
But Stripe requires a "resources" route (which we only get when we scaffold a resource).
Rails.application.routes.draw do
  get 'charges/create'

  get 'charges/new'

  # add the below line:

  resources :charges
end
routes.rb
Stripe initializer
Like the Omniauth gem, Stripe needs an initializer.
We'll create this new file within the config/initializers directory.
stripe.rb
Rails.configuration.stripe = {

  :publishable_key => "PUBLISHABLE_KEY",

  :secret_key => "SECRET_KEY"

}


Stripe.api_key = Rails.configuration.stripe[:secret_key]
To get your Publishable and Secret Keys, you'll need to go back to Stripe.com and follow this path:
Your Account → Account Settings → API Keys
And then copy-n-paste the Test Keys into your initializer.
The Charges Views
new.html.erb
create.html.erb
<div>
    <%= form_tag charges_path do %>

        <article>
            <label class="amount">
                <span>Amount: $5.00</span>
            </label>
        </article>

        <script src="https://checkout.stripe.com/checkout.js"
         class="stripe-button"
         data-key="<%=Rails.configuration.stripe[:publishable_key] %>"
         data-description="A month's subscription"
         data-amount="500"></script>

    <% end %>
</div>
<h2>Thanks, you paid <strong>$5.00</strong>!</h2>
Testing time!
localhost:3000/charges/new
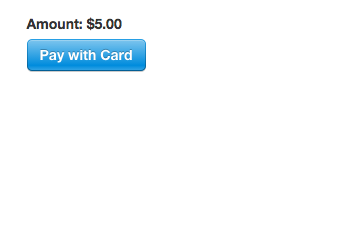
Click on the button!
Testing time!
localhost:3000/charges/new
(after clicking)
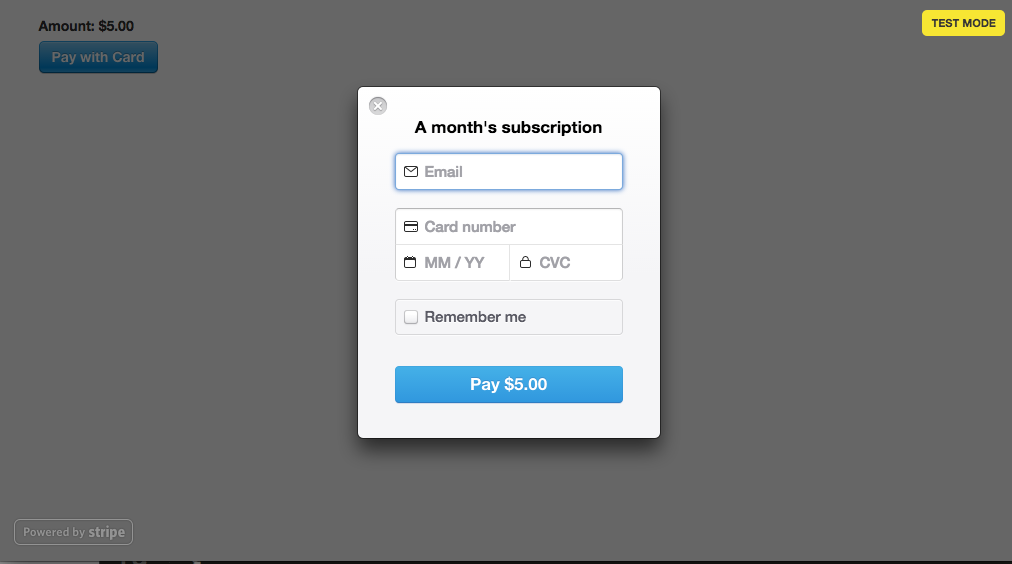
Whose credit card number should we use?
Testing time!
localhost:3000/charges/new
For testing purposes, Stripe suggests using the CC# 4242 4242 4242 4242, with any expiration date, and any three-digit code for the CVC
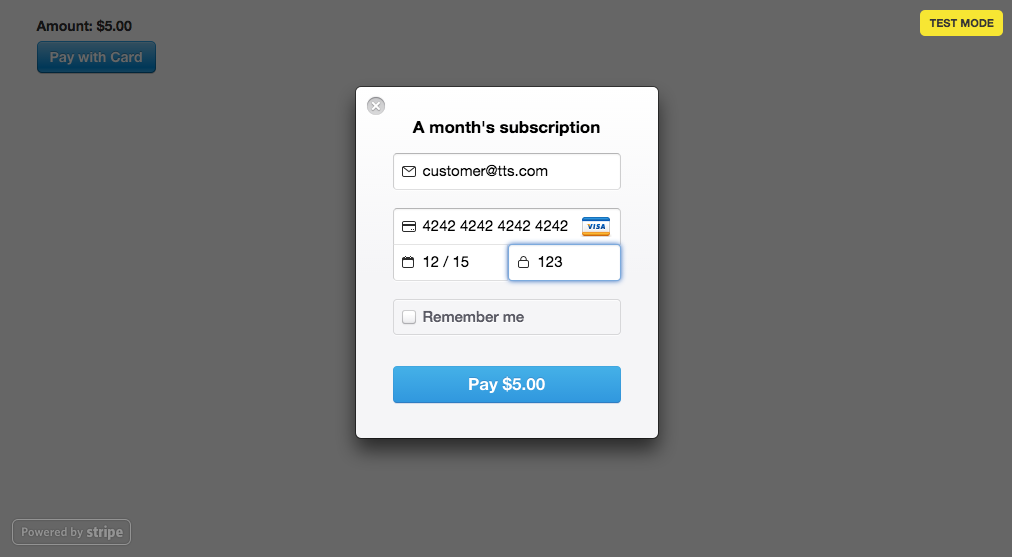
Testing time!
localhost:3000/charges

Once you click the blue "Pay $5.00" button,
it will turn green with a check-mark,
and then this page will load: