Unity 小社課
第一堂 By: 貝絲
這堂課你們會學到...
安裝VSCode
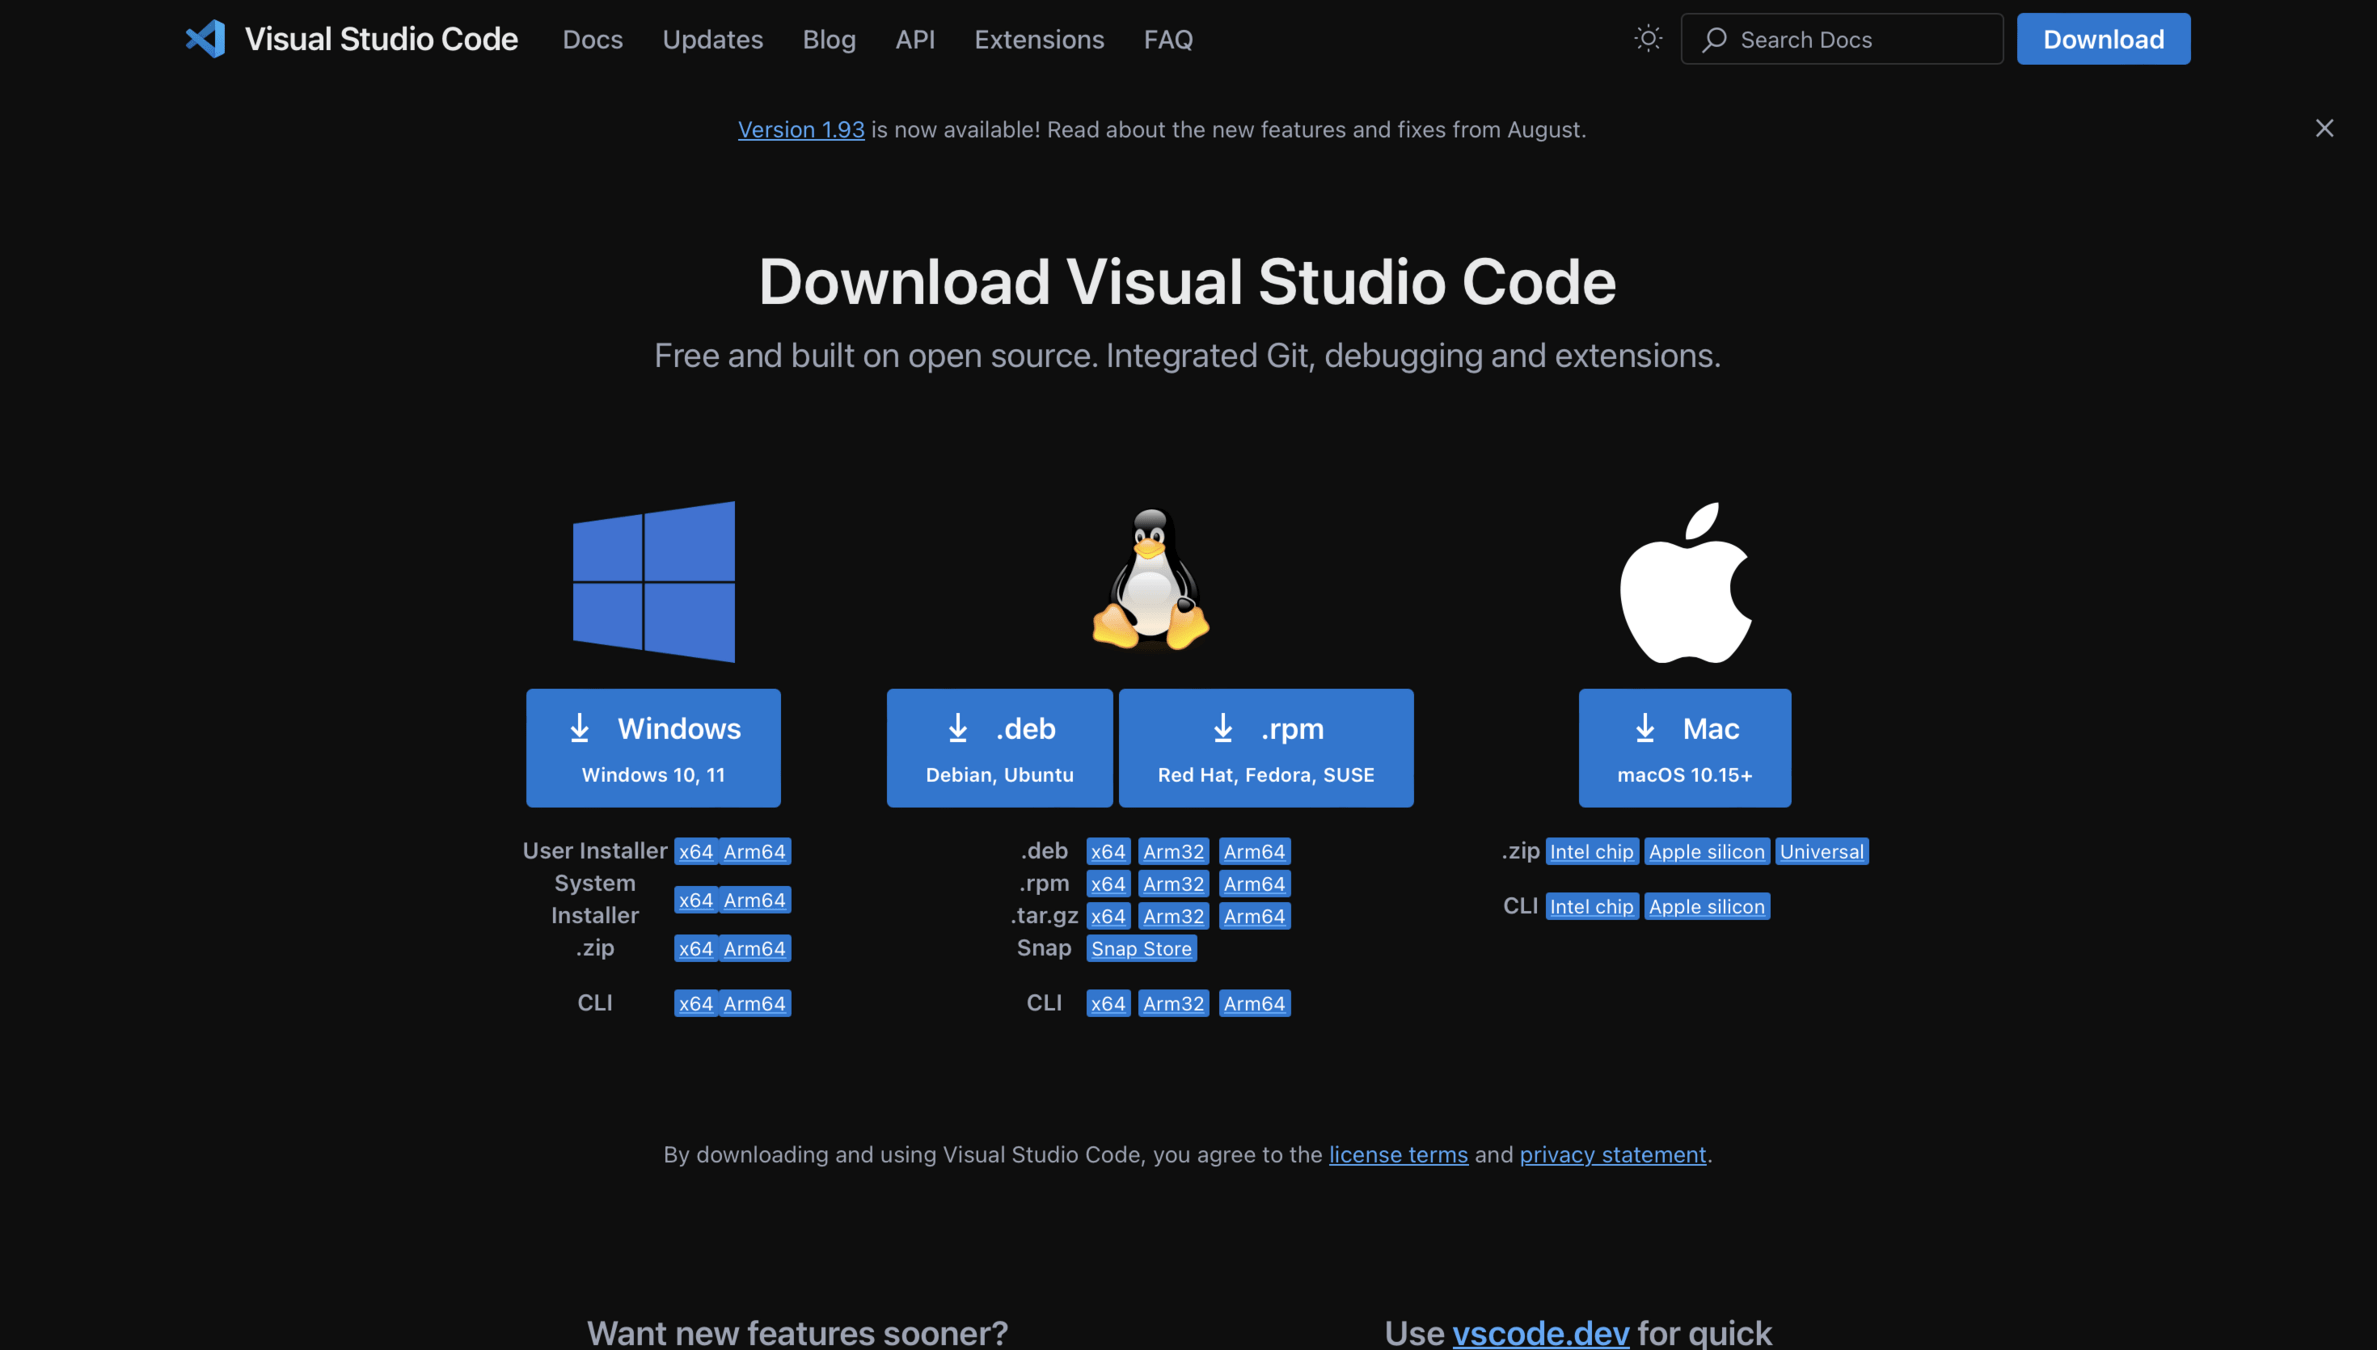
到 https://code.visualstudio.com/download
安裝你要的版本
按Extensions
安裝C#
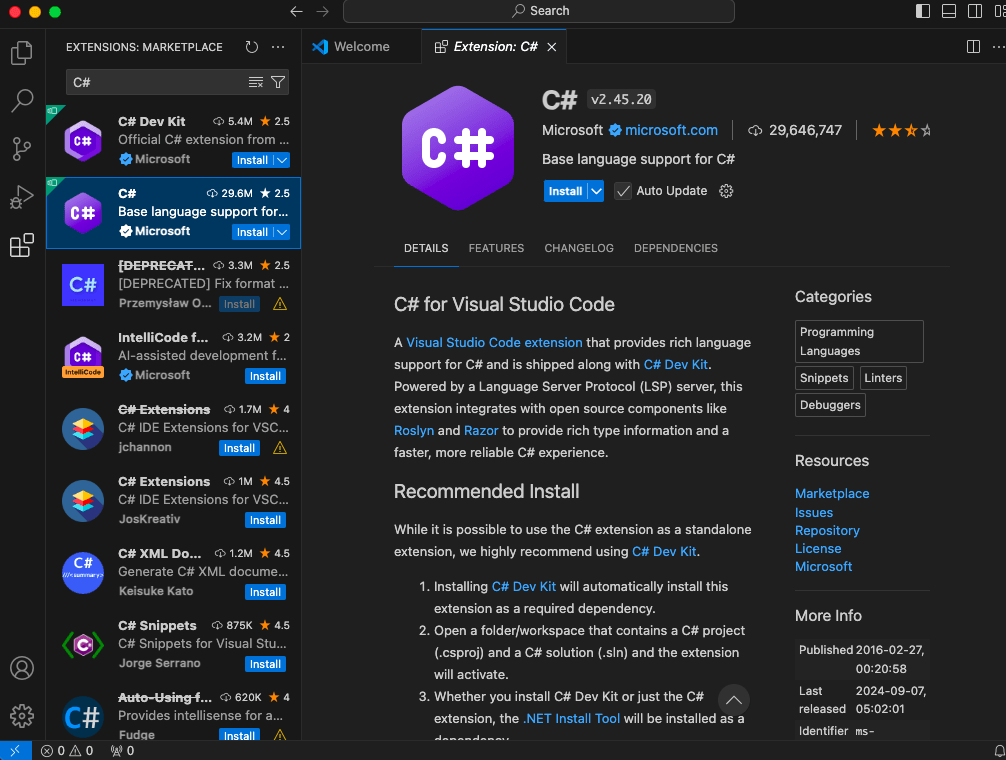
安裝C#
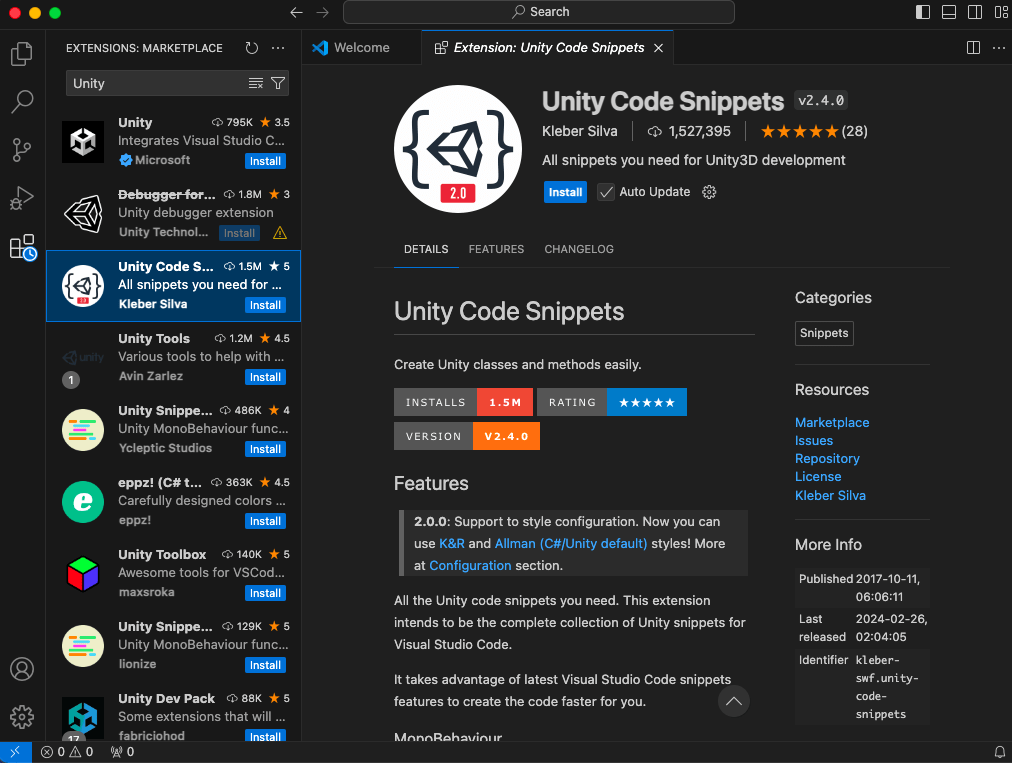
安裝Unity Code Snippets
安裝
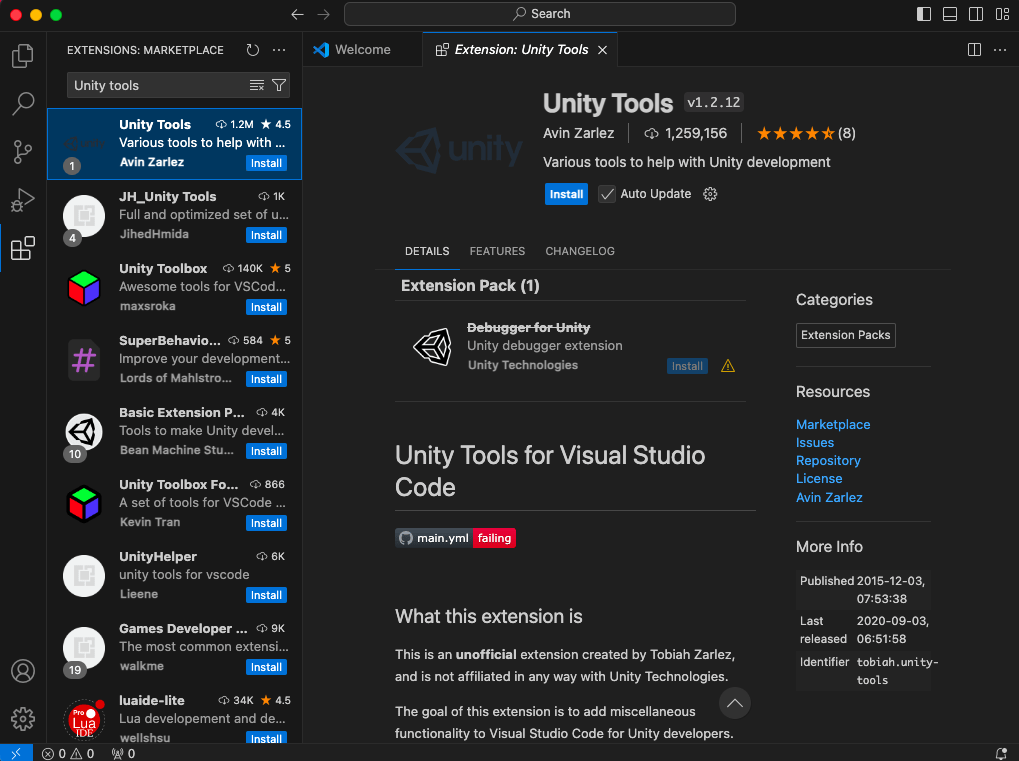
Unity Tools
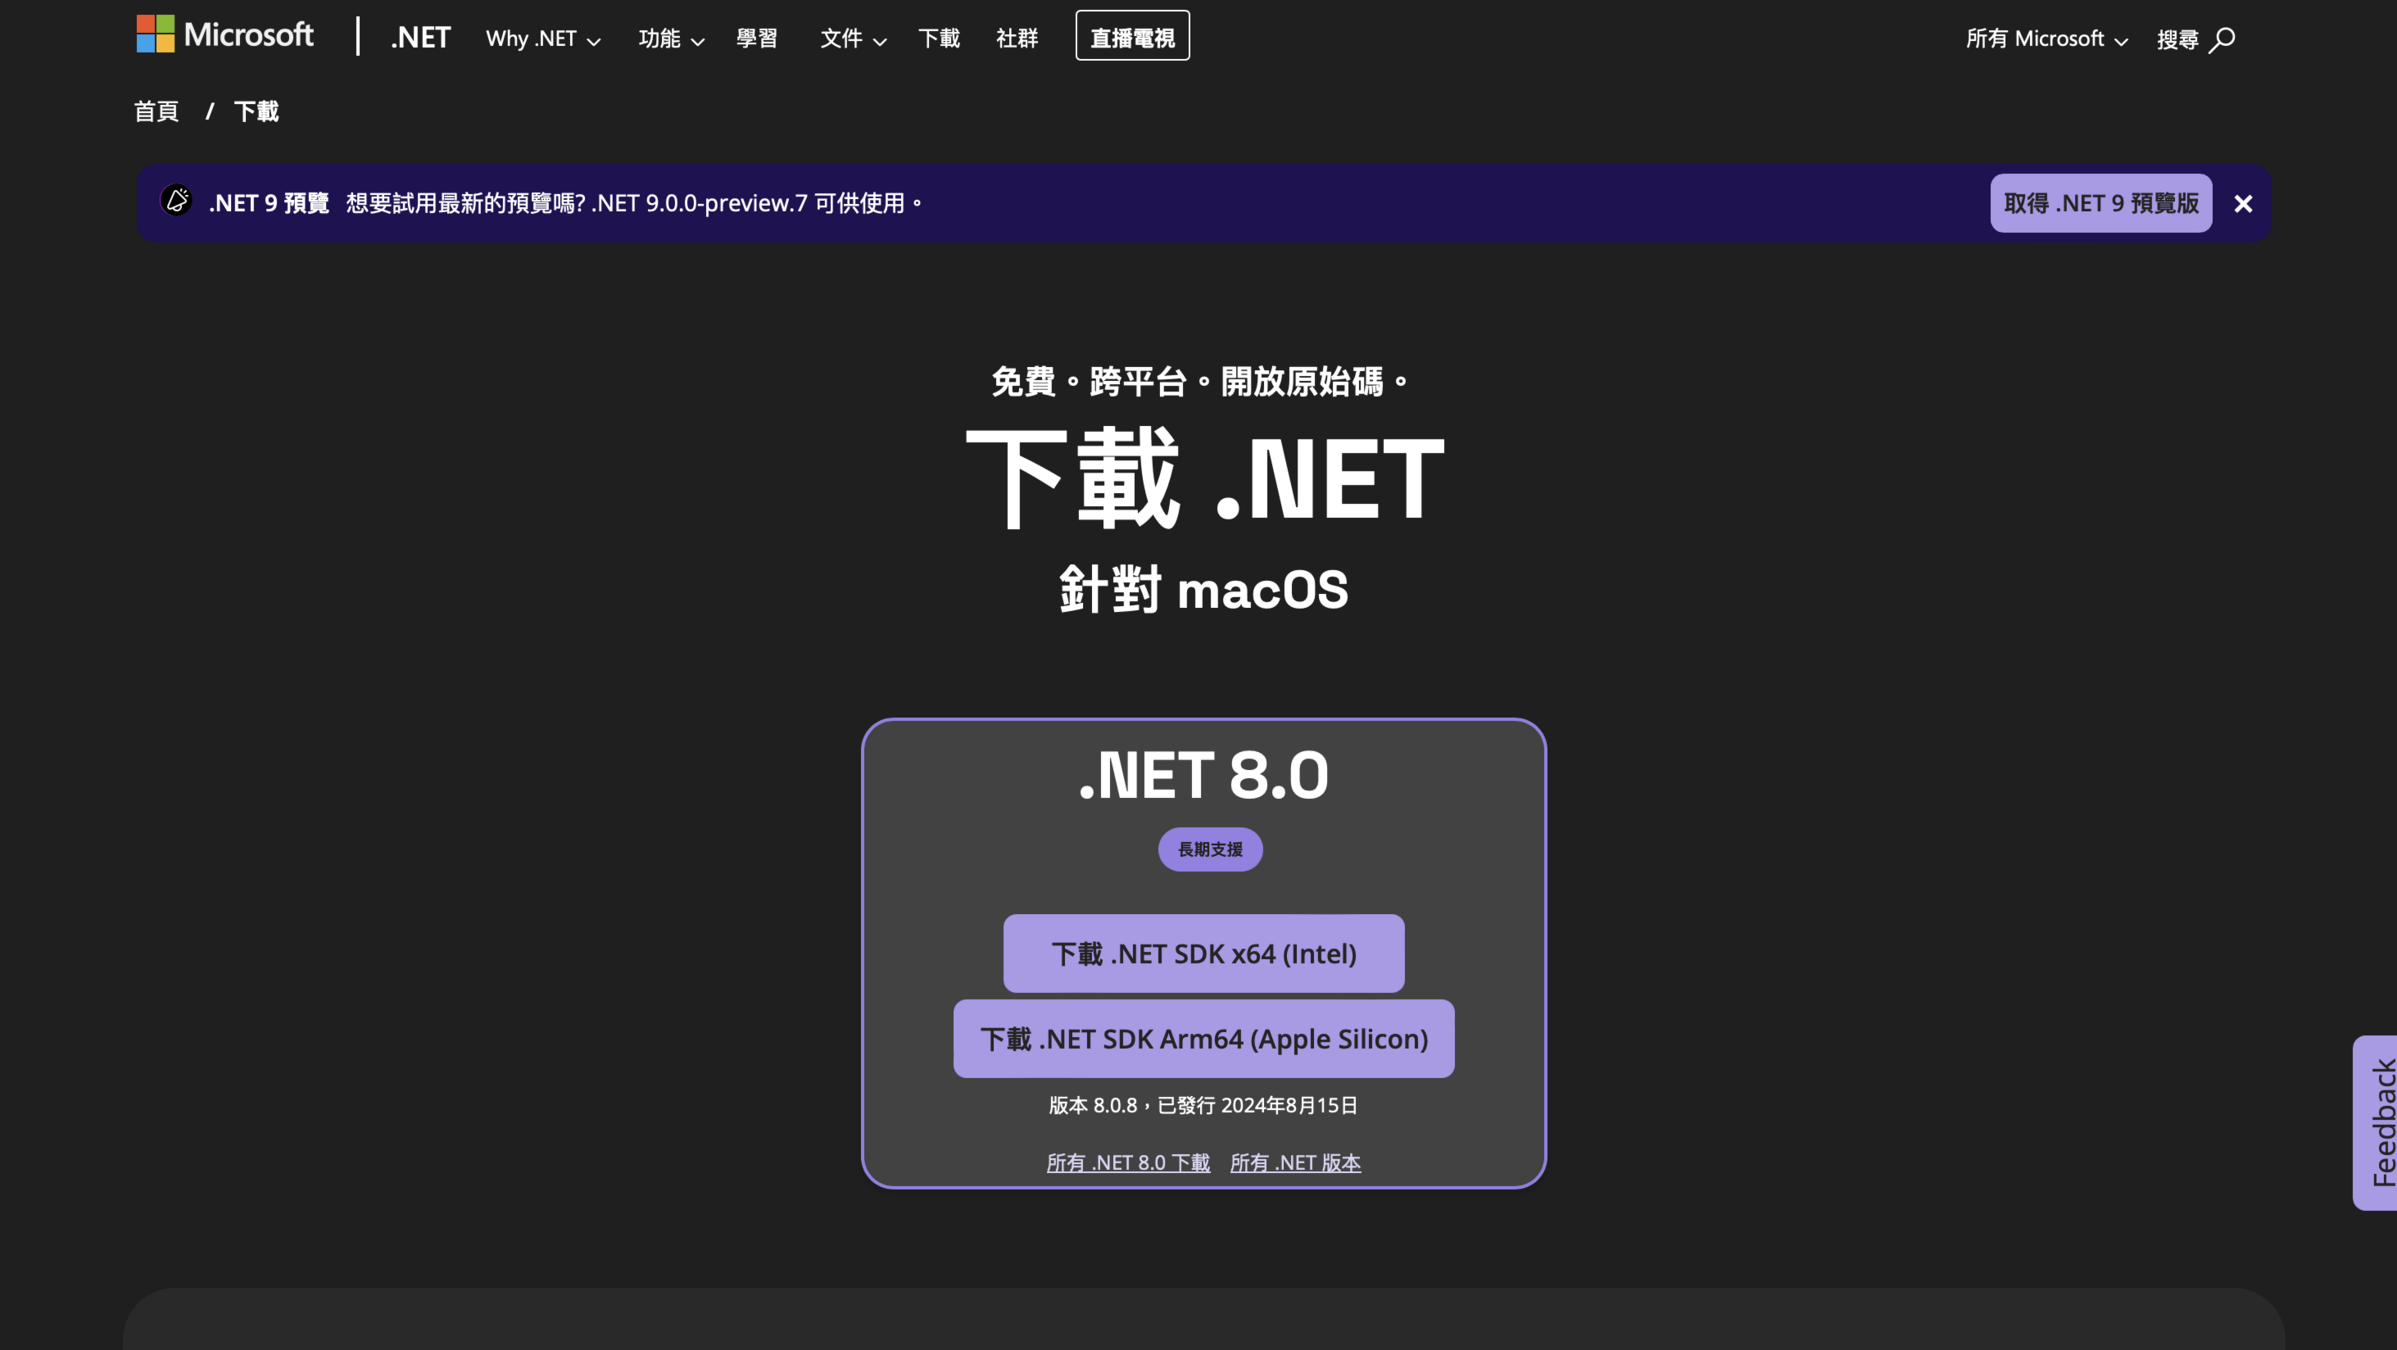
安裝.net sdk
https://dotnet.microsoft.com/zh-tw/download
要選有「長期支持」的版本
安裝unity
到 Unity 官網 https://unity.com/download

按下載
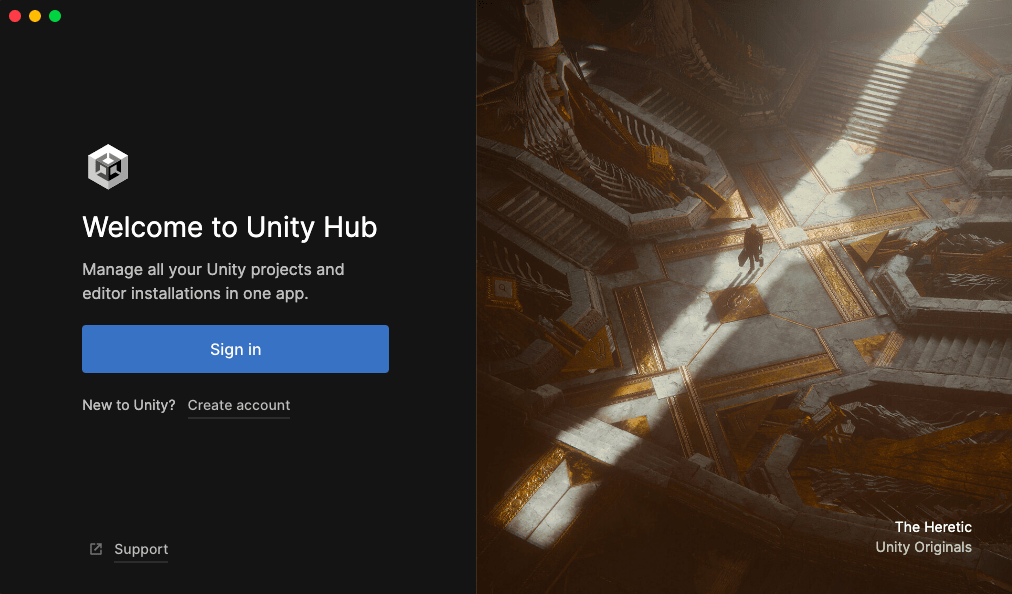
安裝完後打開 Unity
註冊一個帳號
安裝Unity Installer
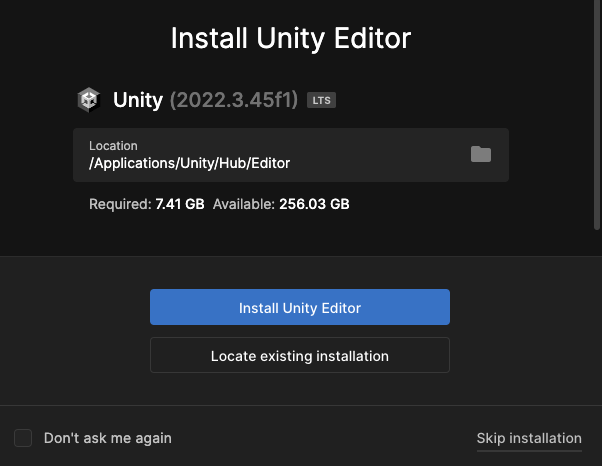
如果有自己跳出來的話
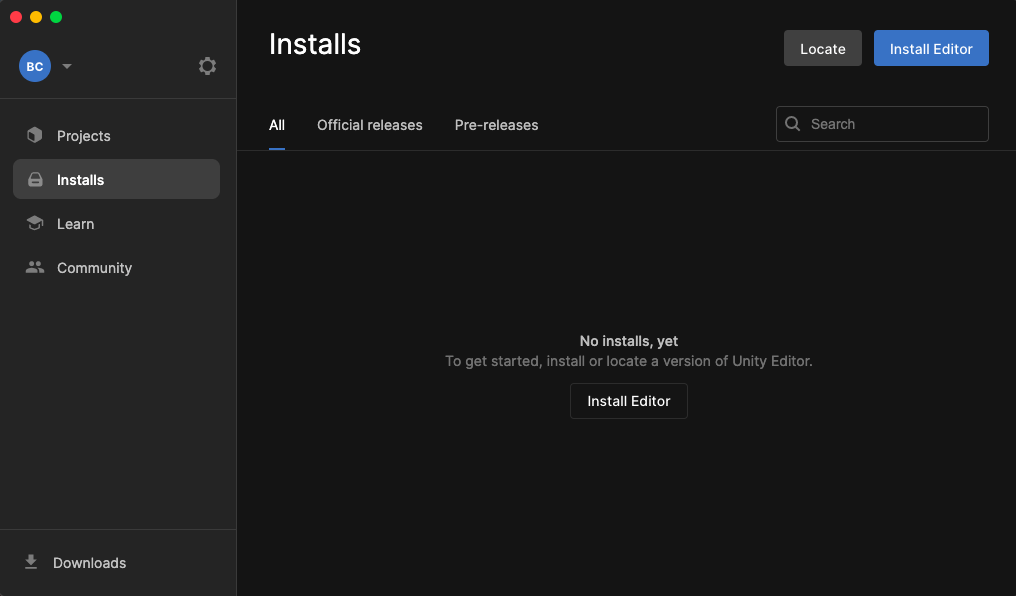
沒有的話
到 Installs
按Install Editor
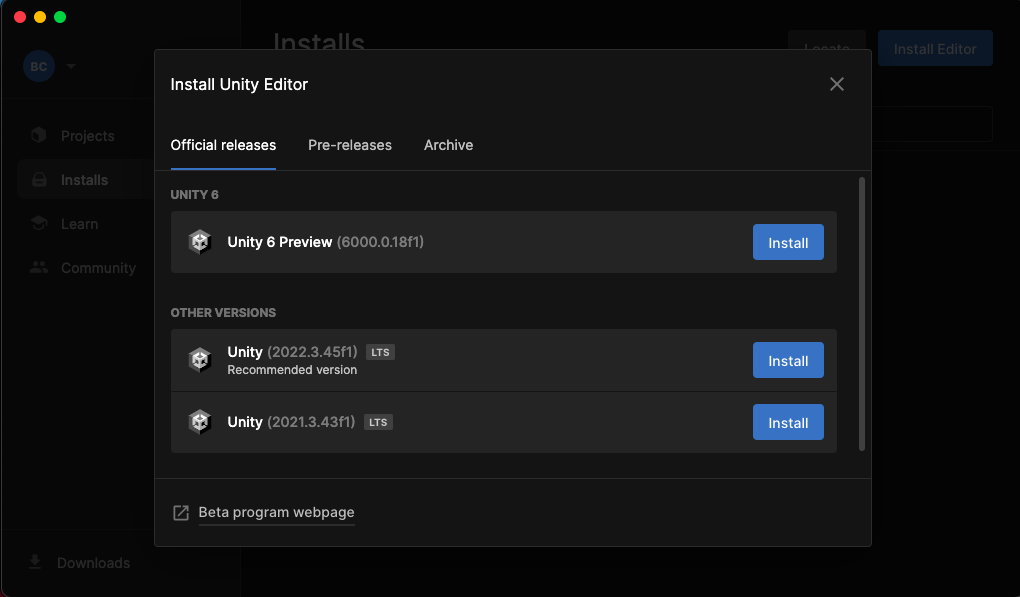
安裝Unity Installer
選有長期支援(LTS)的
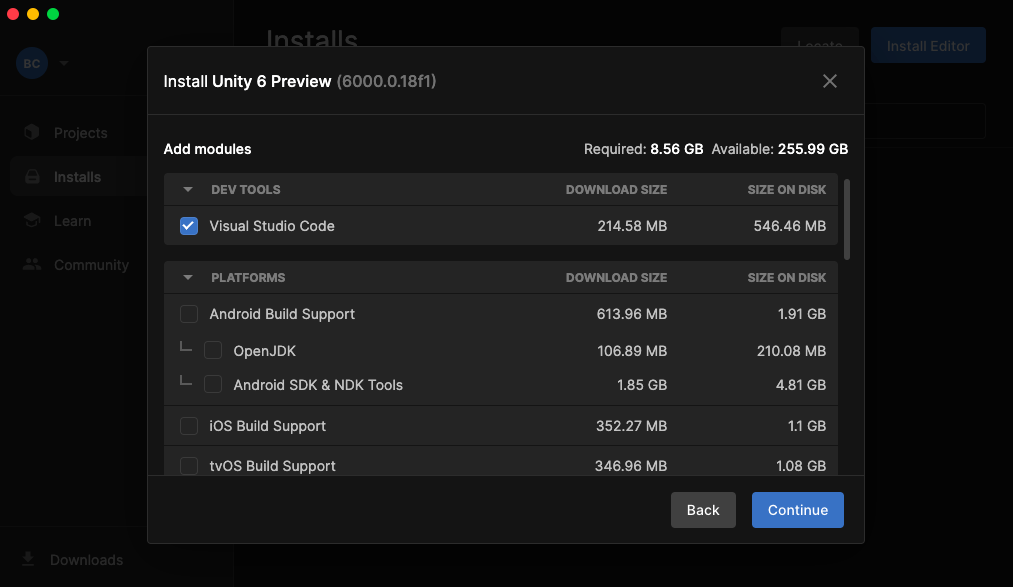
把 VS Code 勾起來
按 Continue
很顯然你必須同意

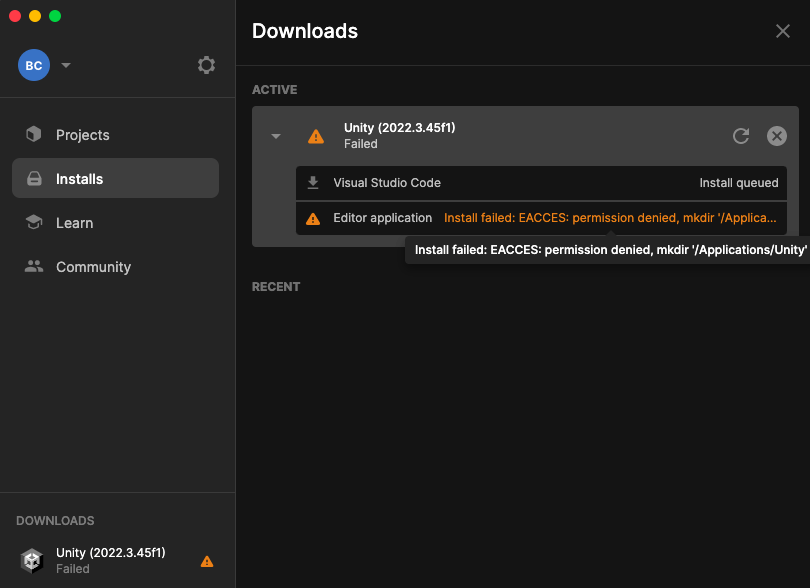
接下來是給Mac使用者看的
如果裝了之後顯示這樣的話
到啟動台,搜尋終端機
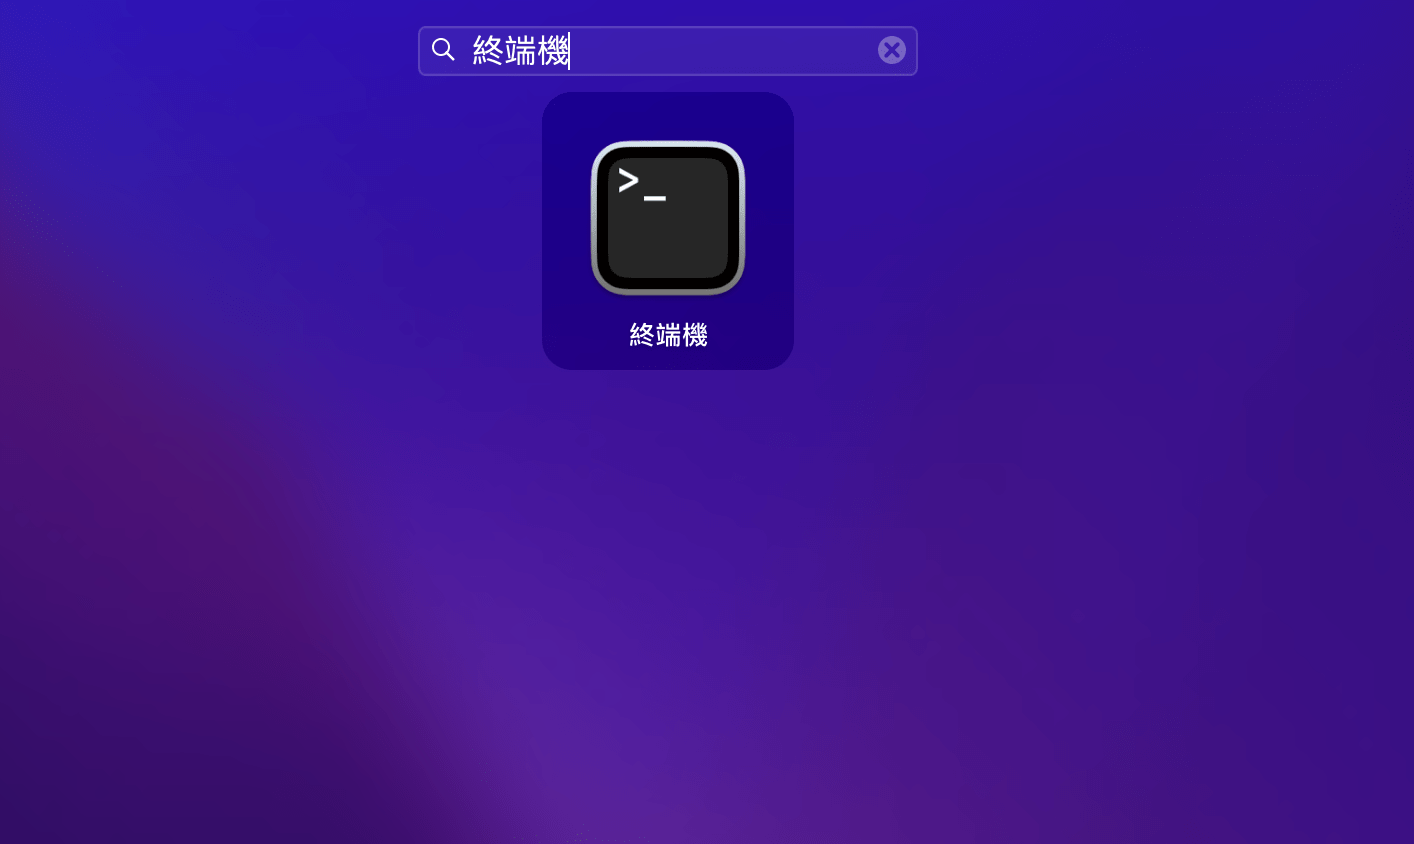

點開長這樣
打以下指令
cd /Applications
sudo mkdir Unity
sudo chmod 777 Unity
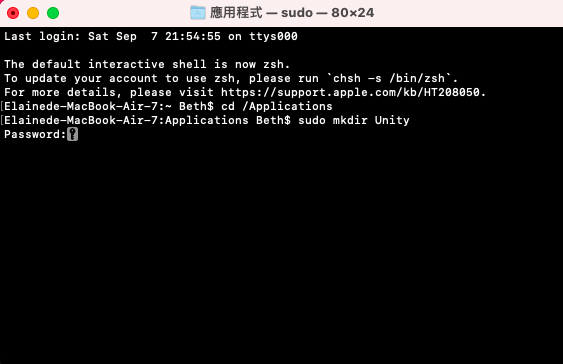
如果跳出上面要輸入密碼的話
輸入管理者的密碼
鍵盤打了上面不會有任何反應
要相信自己👊
輸入完指令關掉終端機
重新安裝一次 Unity Editor應該就可以了
到這邊,剩下的大家都一樣了~

接下來要取得授權
按設定
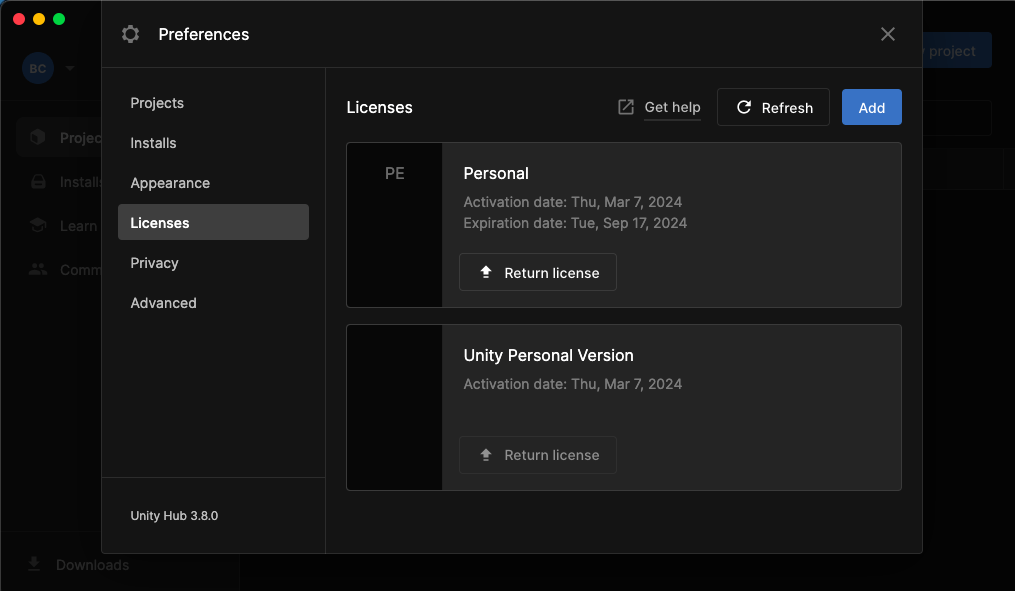
到Licenses -> 按Add
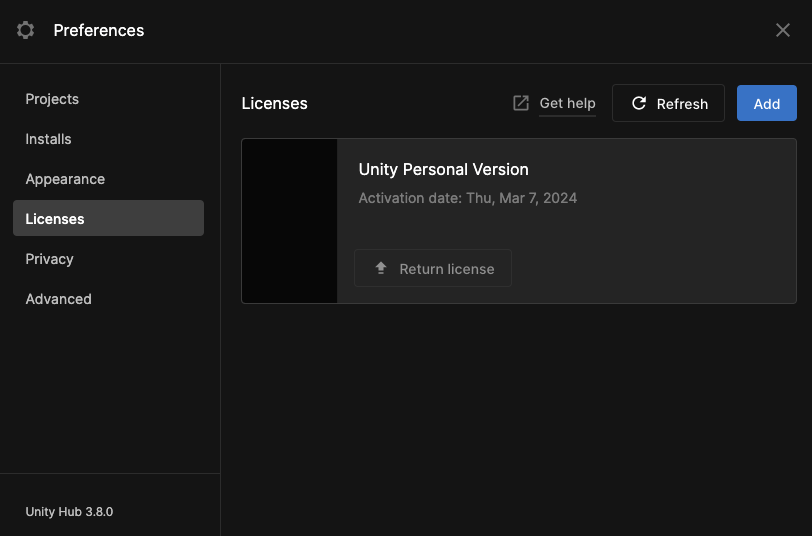
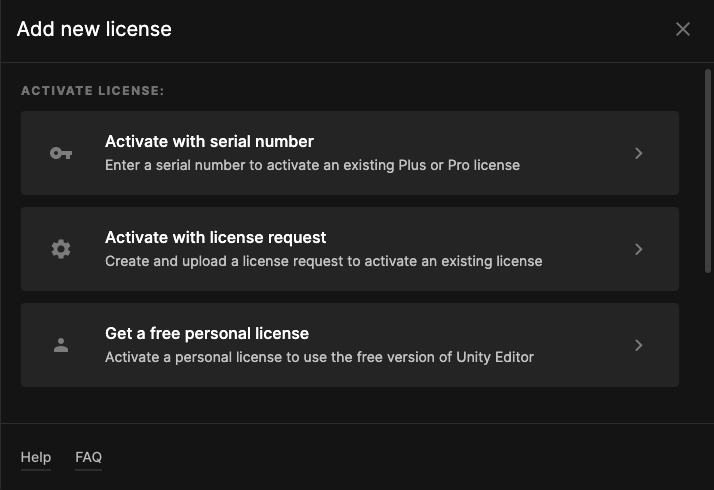
應該會多出這個
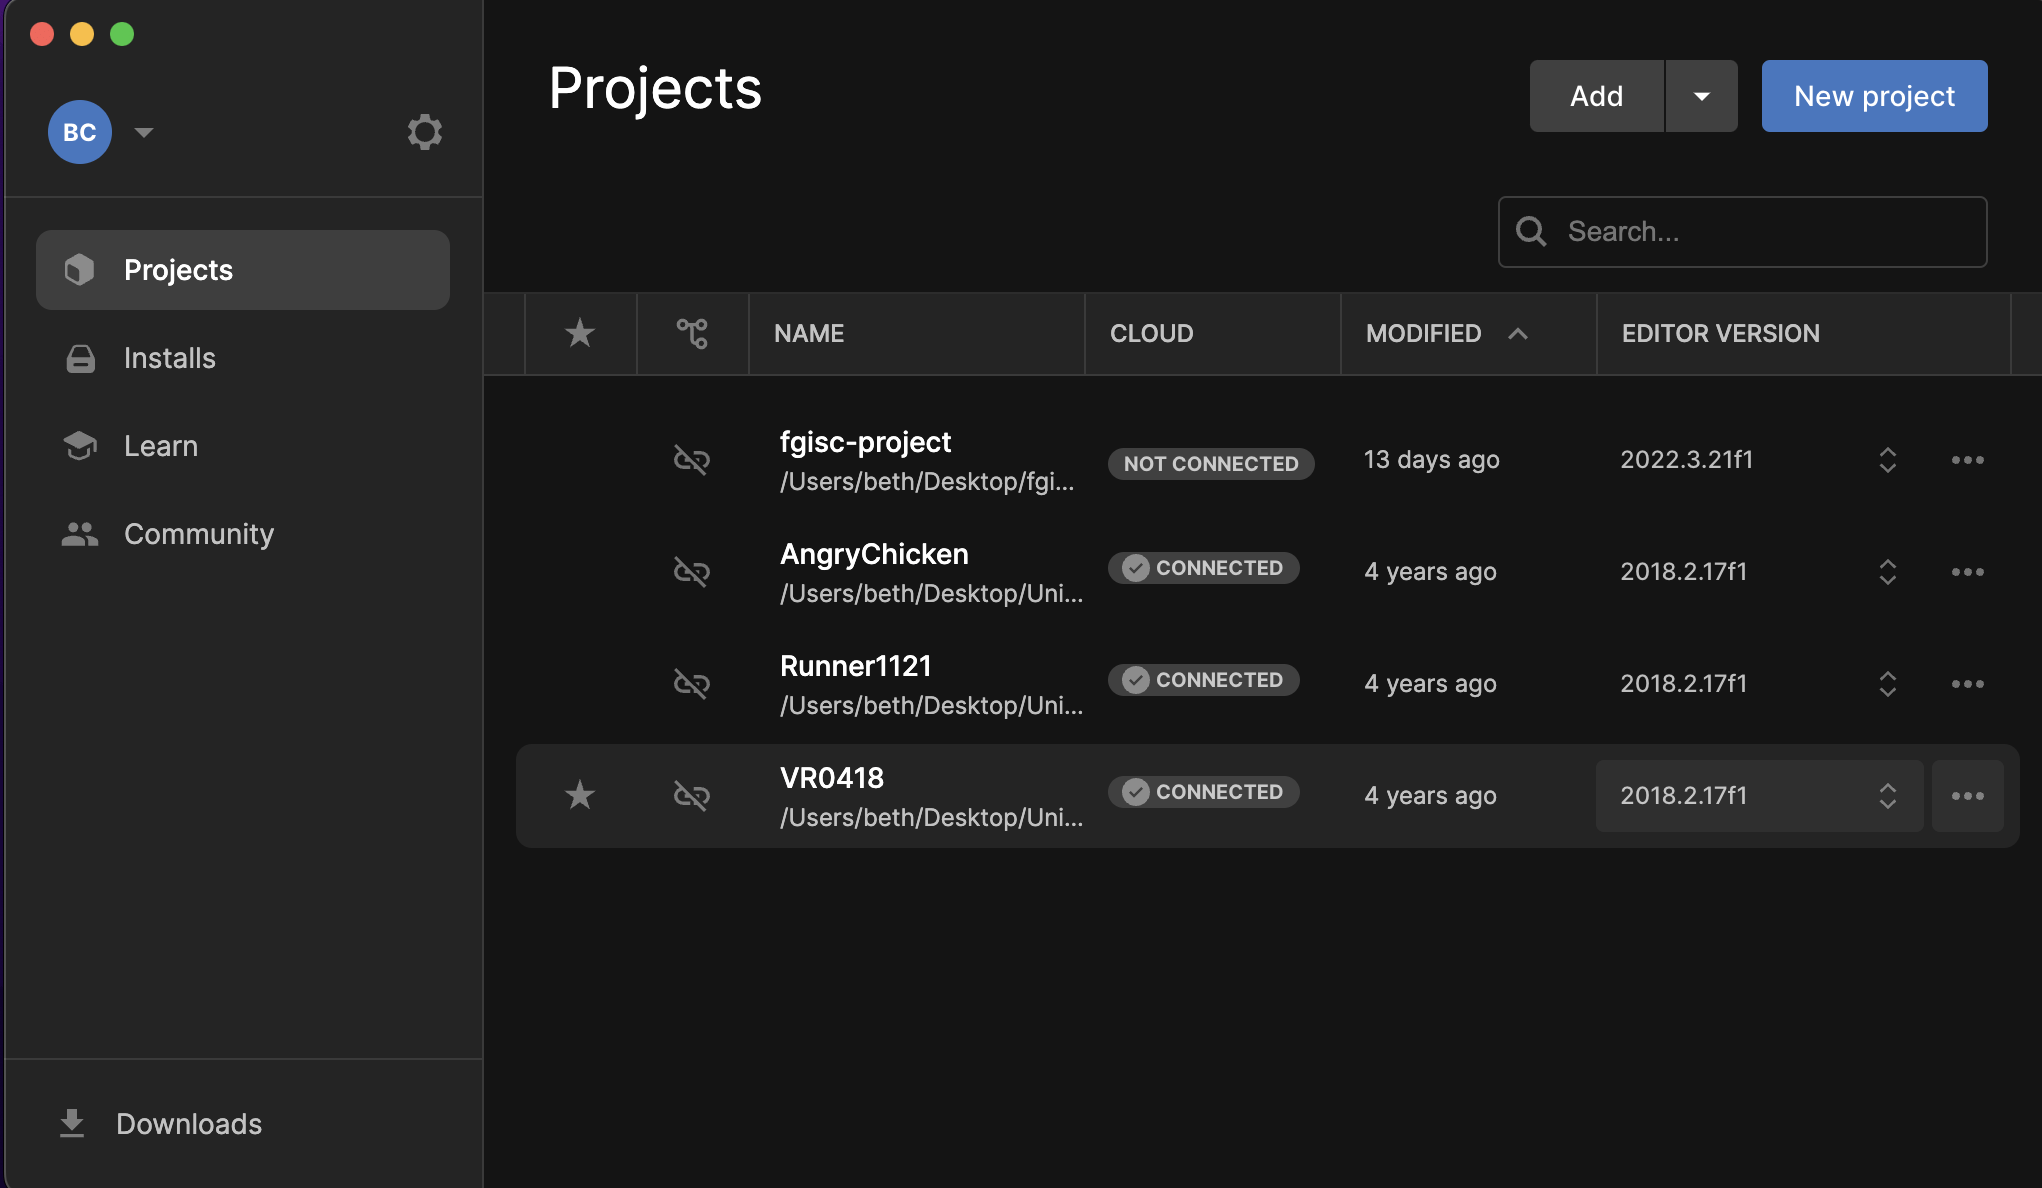
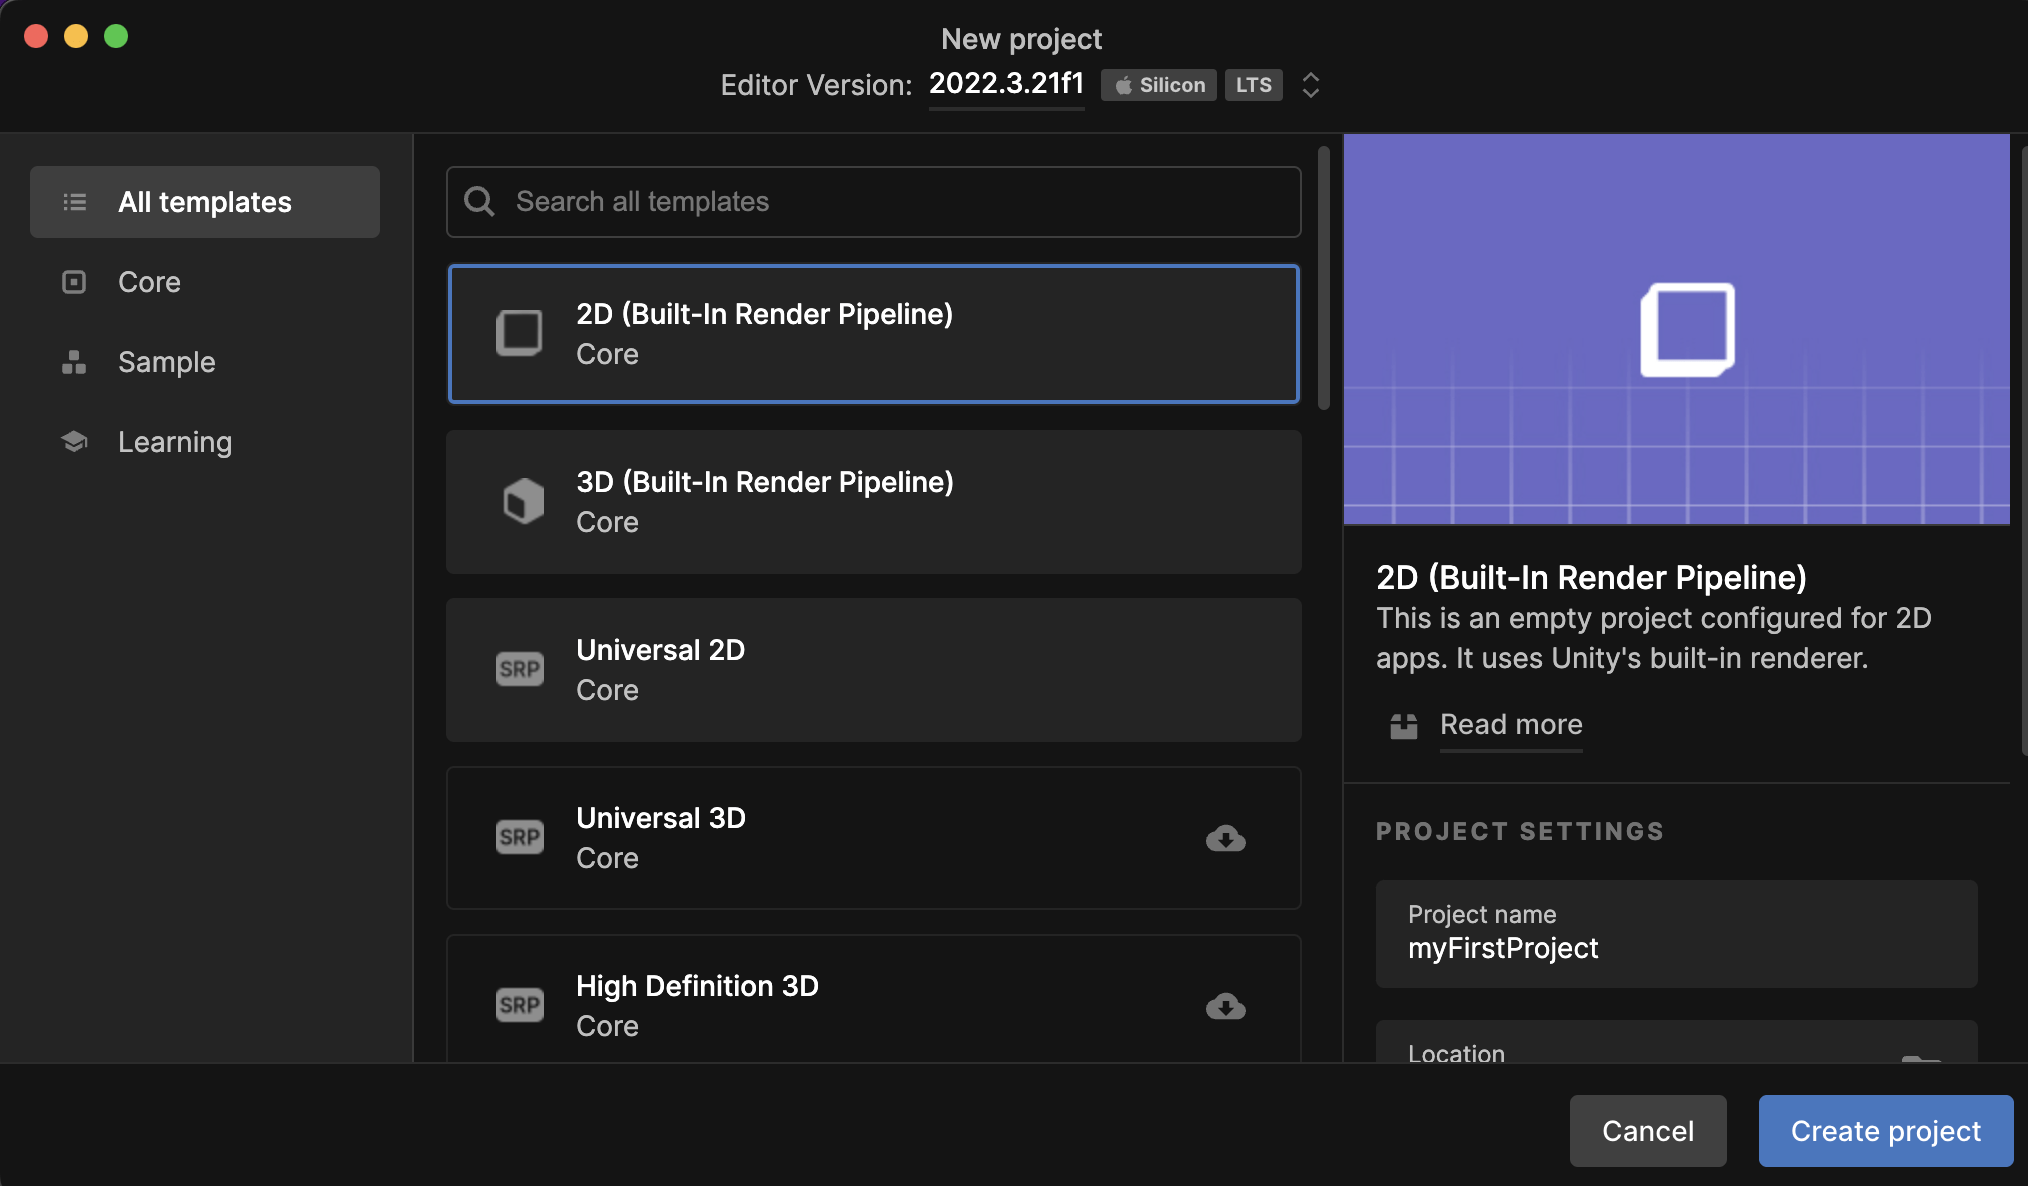
建立新專案
選2D
取個檔名後按 Create project
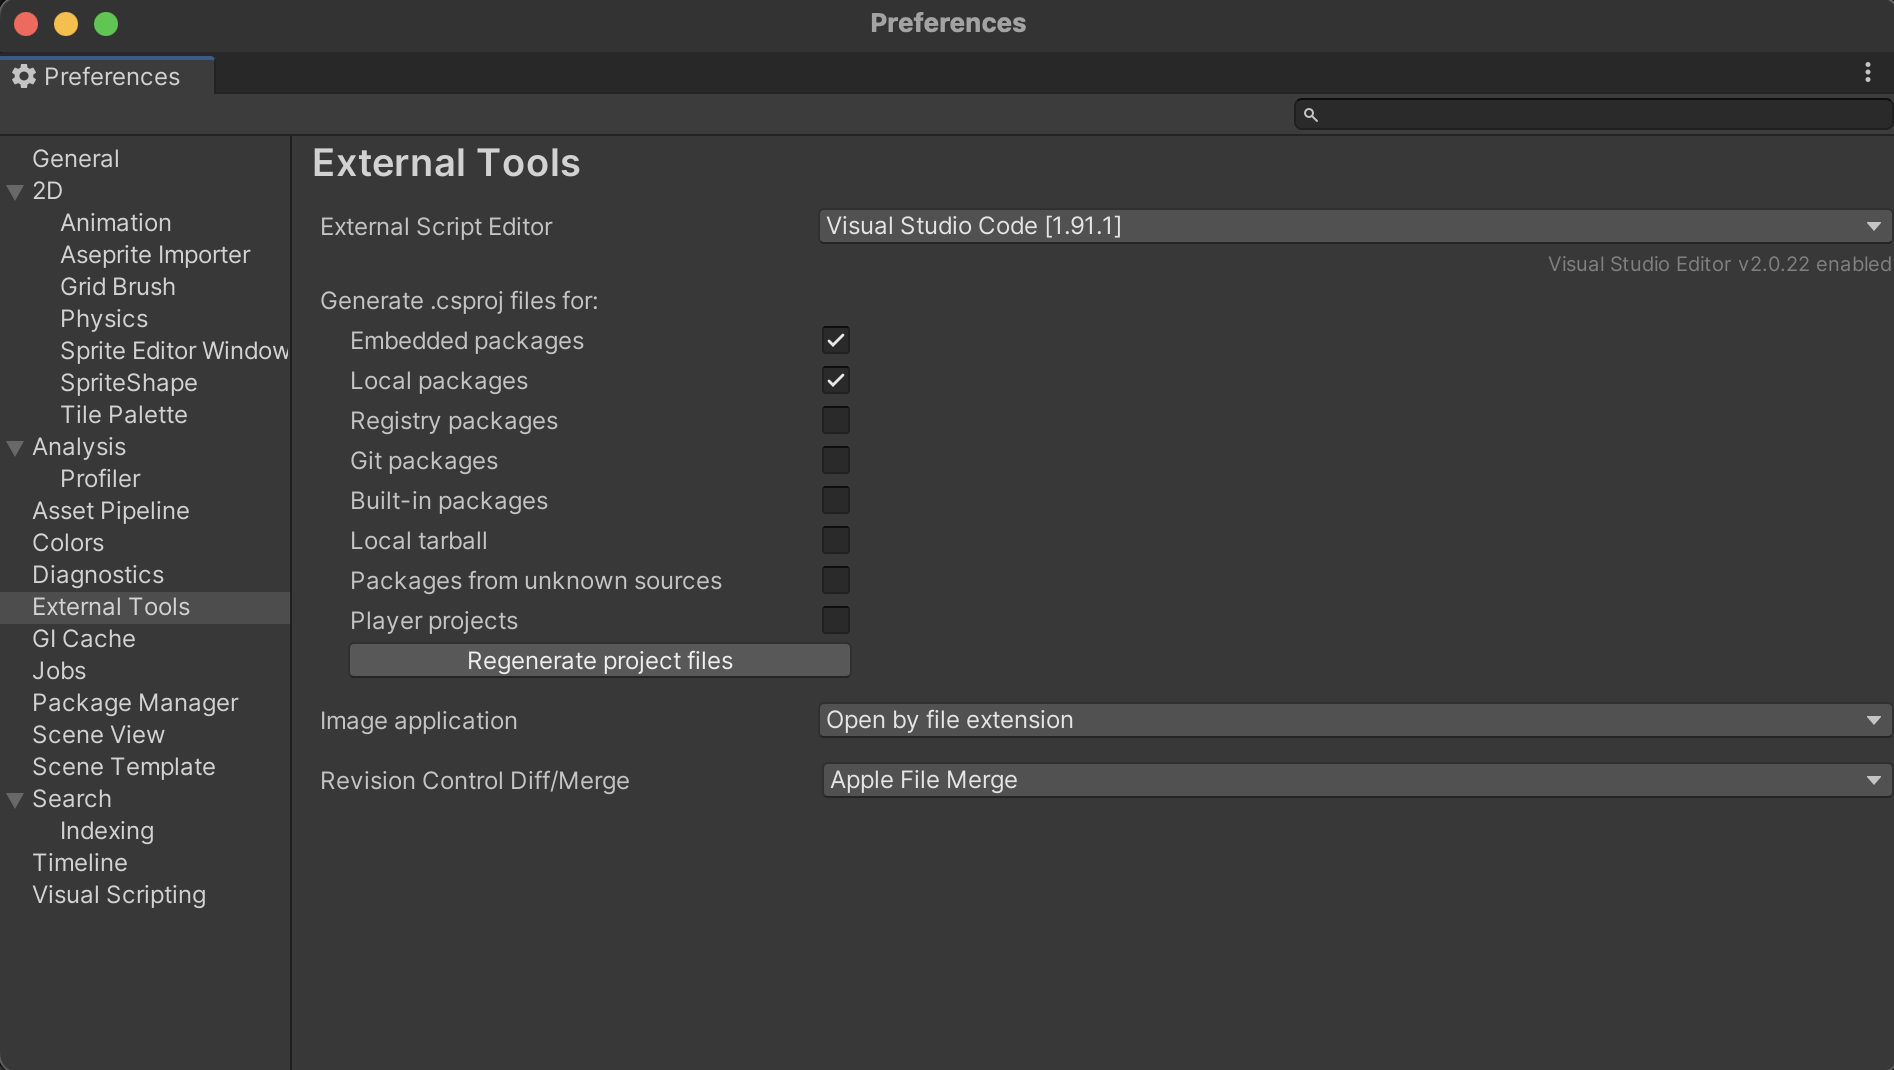
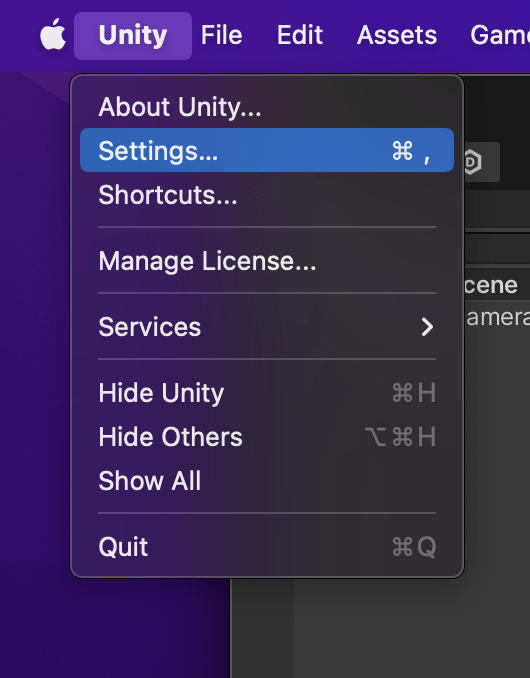
進去後
Mac 按左上角 Unity -> Settings
Windows 按 Edit -> Preferences
找到 External Tools
把 Script Editor 改成 VS Code
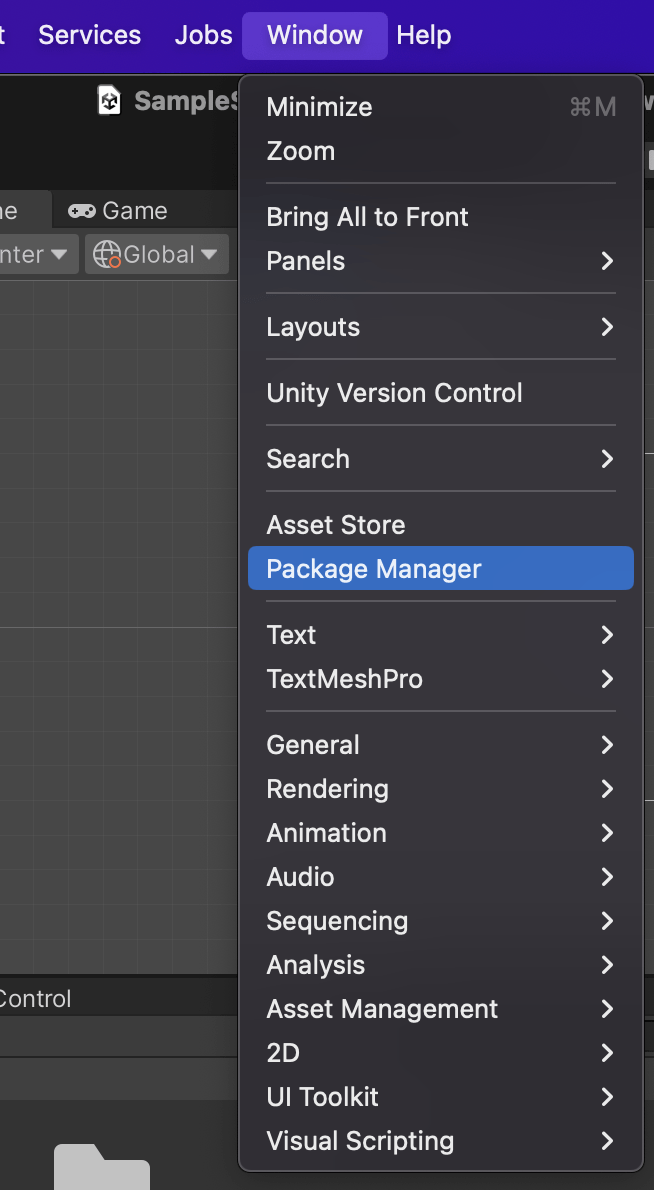
接下來到 Windows -> Package Manager
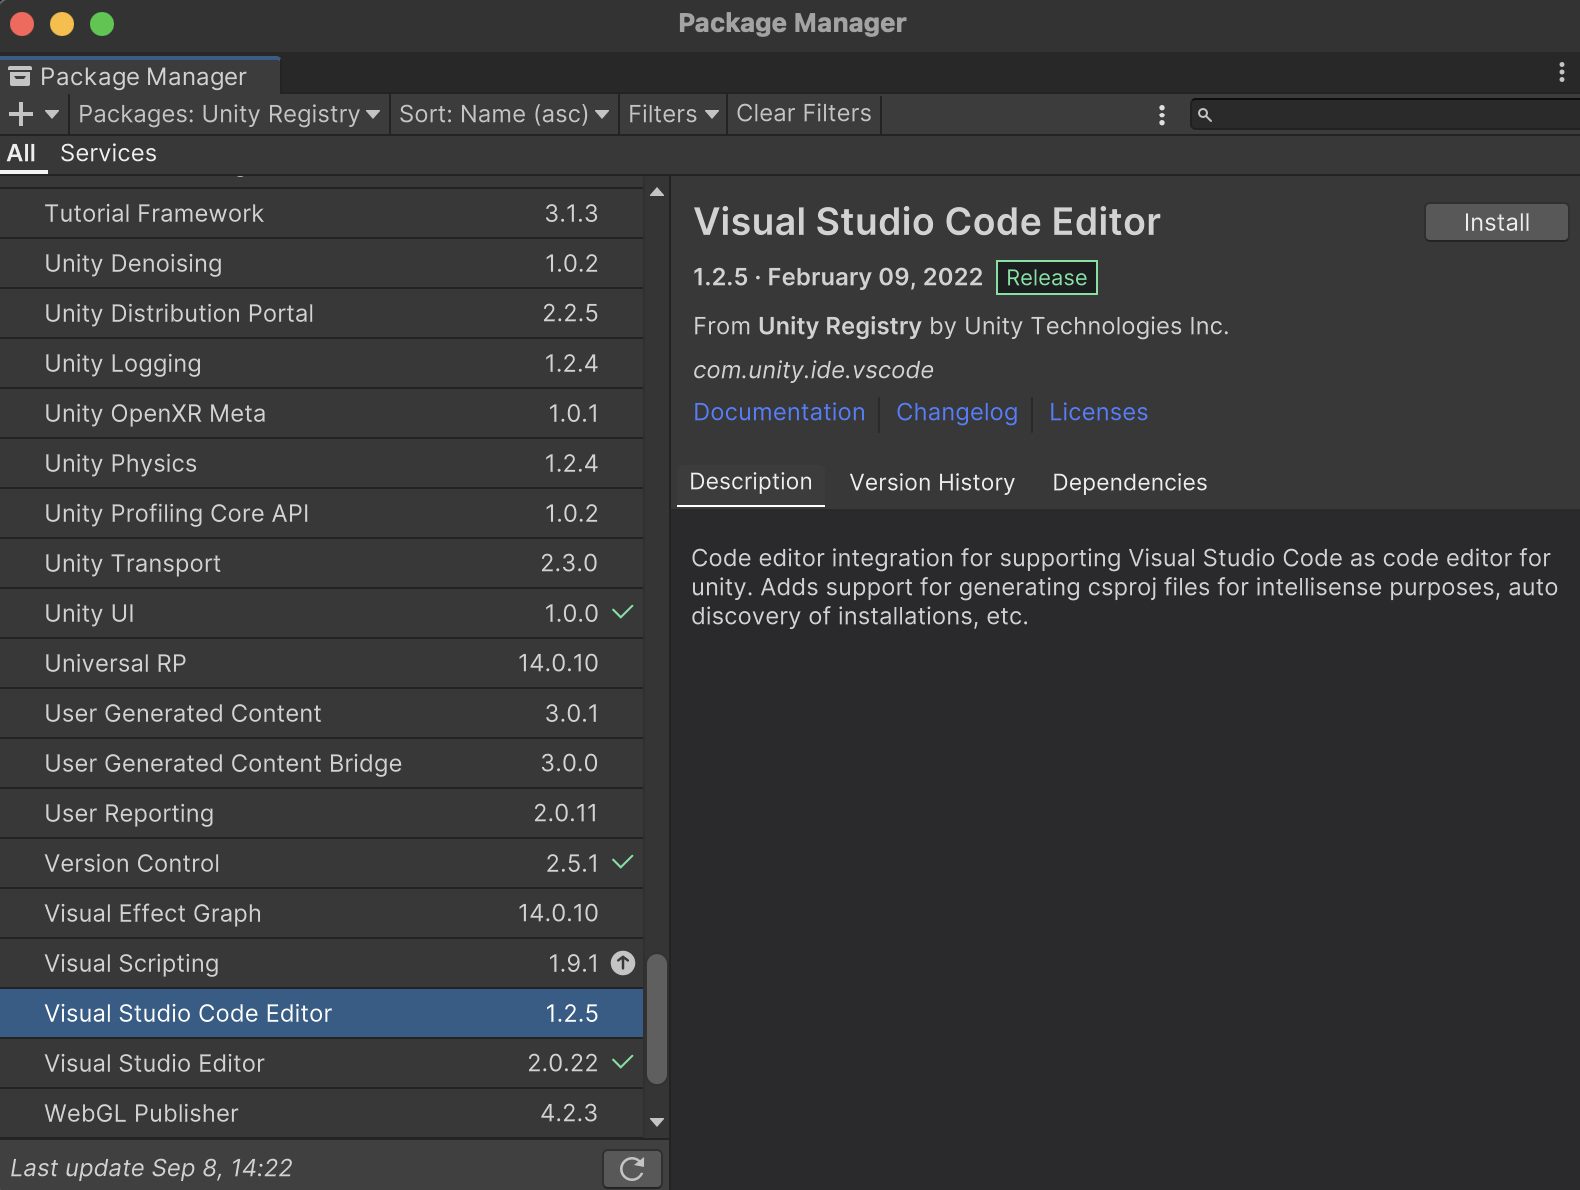
Packages 改成 Unity Registry
找到 Visual Studio Code Editor 按 Install
這樣就裝完了!
Unity 是什麼?
- 一款跨平台的遊戲引擎
- 可以開發2D和3D遊戲
- 可用於開發 Windows、MacOS、Linux 單機遊戲,或是 iOS、Android 行動裝置的遊戲
- 有很多遊戲是用Unity做的,像是傳說對決、原神、天天過馬路
Unity是什麼?