Fast, light, complete
70+ jQuery-based UI widgets in one powerful toolset

AngularJS integration
Bootstrap support

Mobile controls
Offline data solution


Why Kendo UI?
Everything you need, in one neat package

Break It Down Now
The different parts of Kendo UI
- Application Tools
- Web UI
- Mobile UI
- DataVizualization
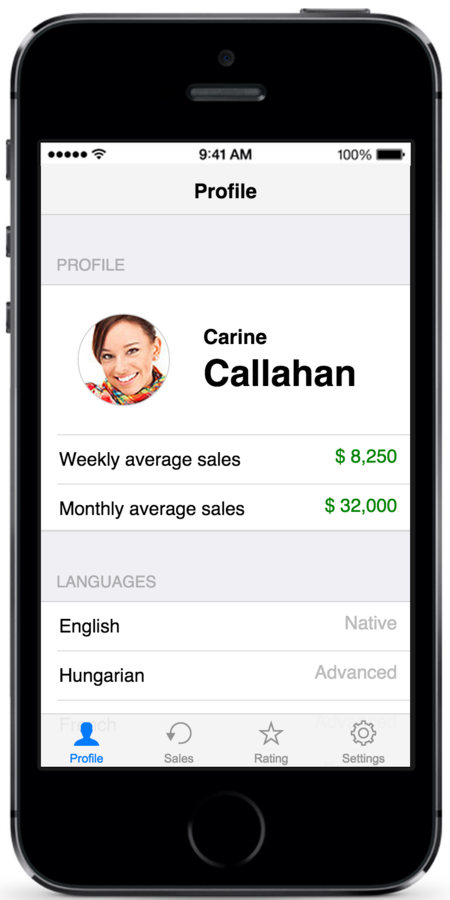
Web UI
30 Widgets (and growing...)
AutoComplete
Button
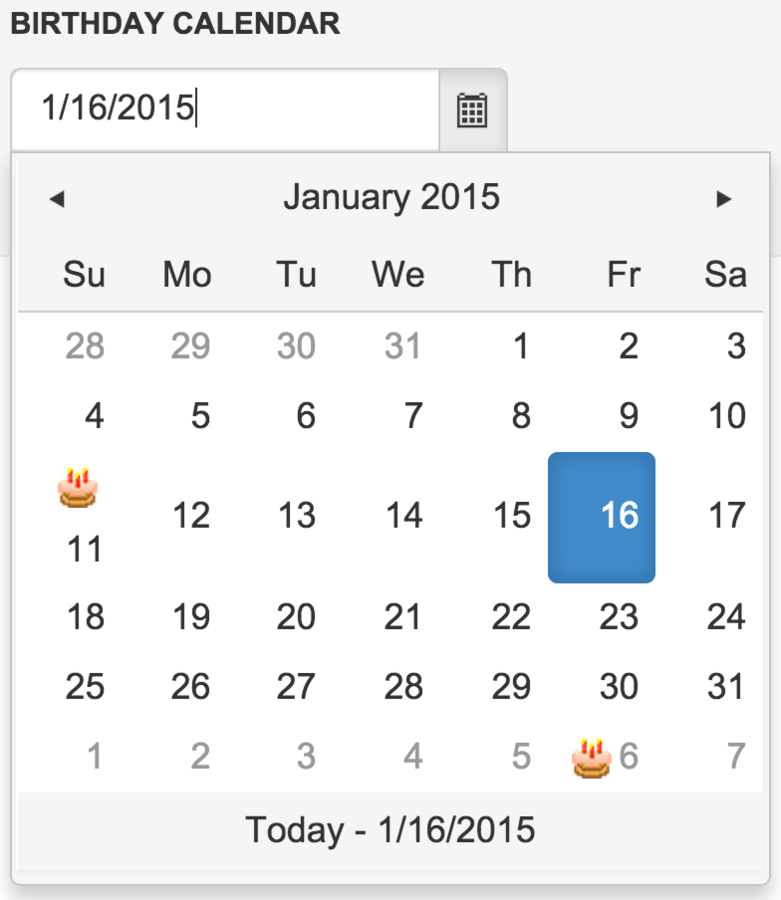
Calendar
ColorPicker
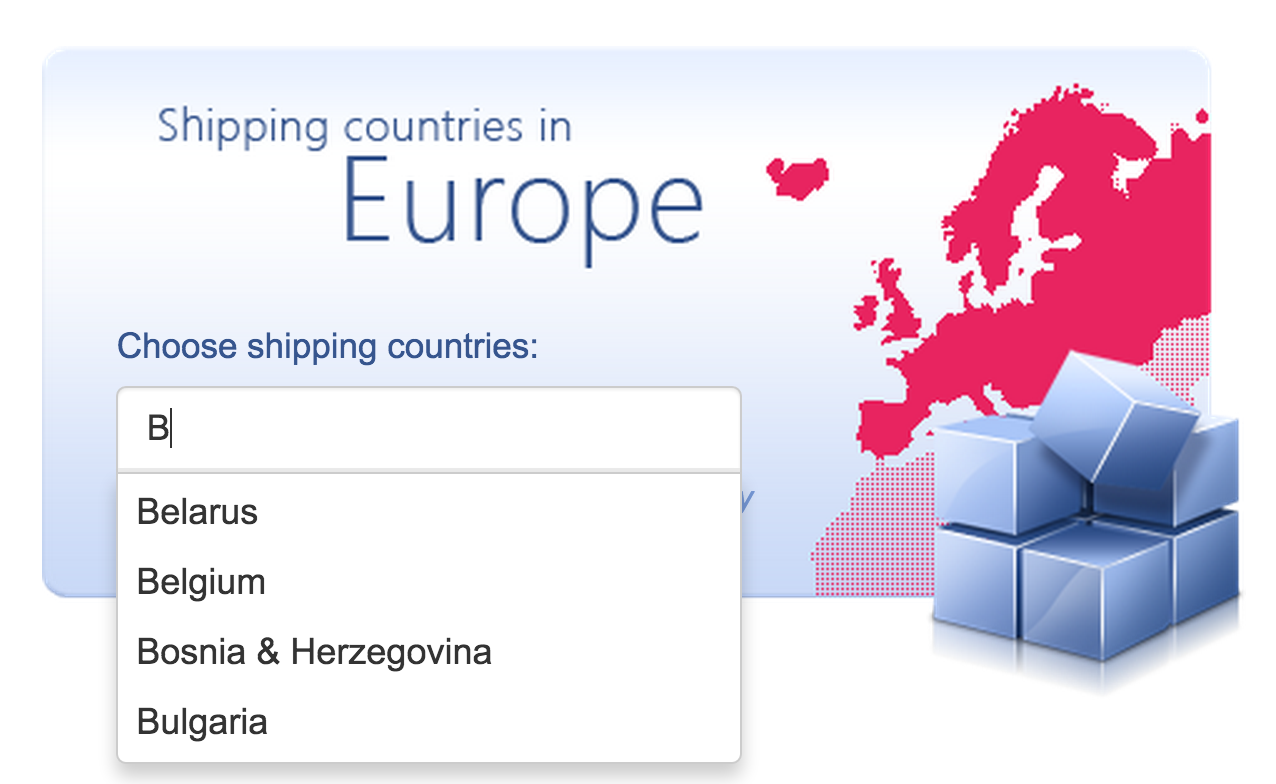
ComboBox
DatePicker
DateTimePicker
DropDownList
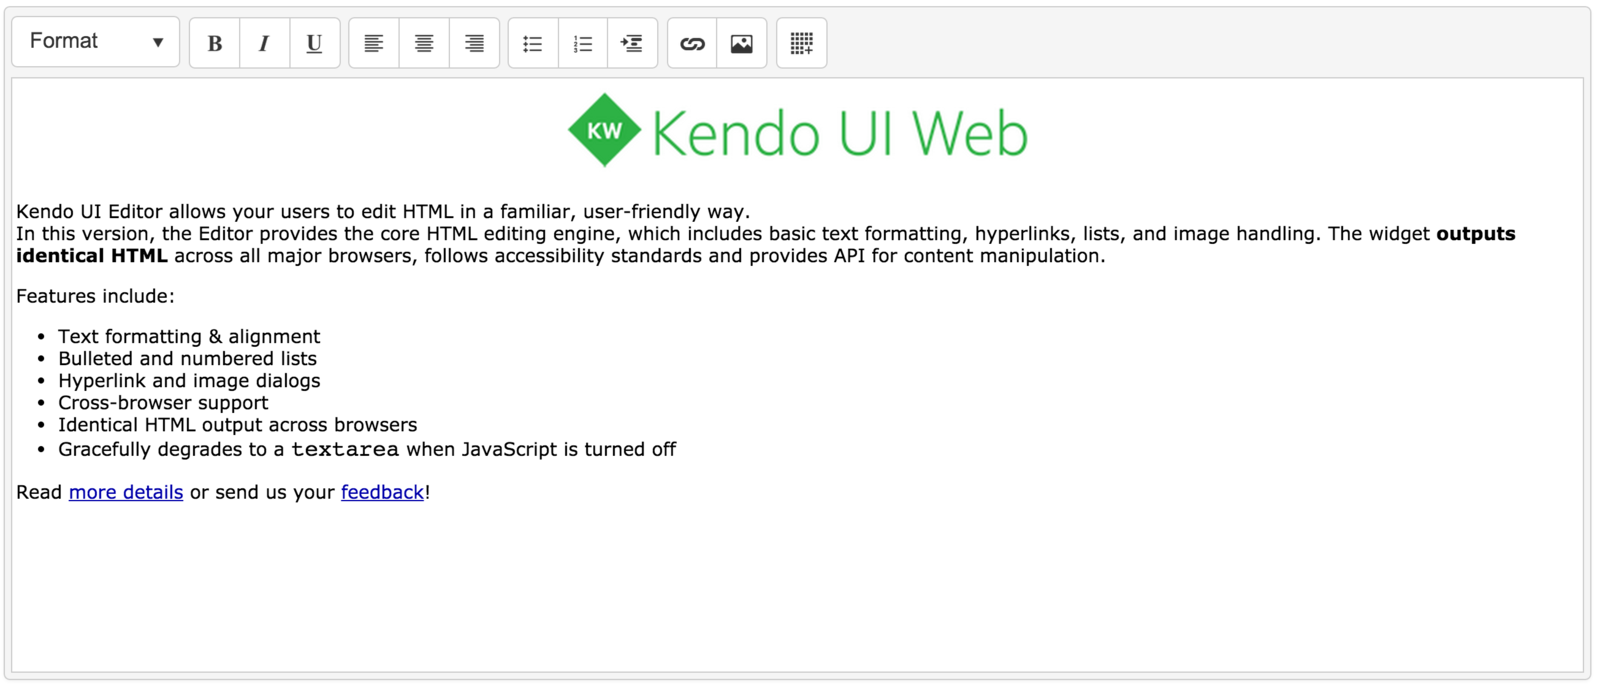
Editor
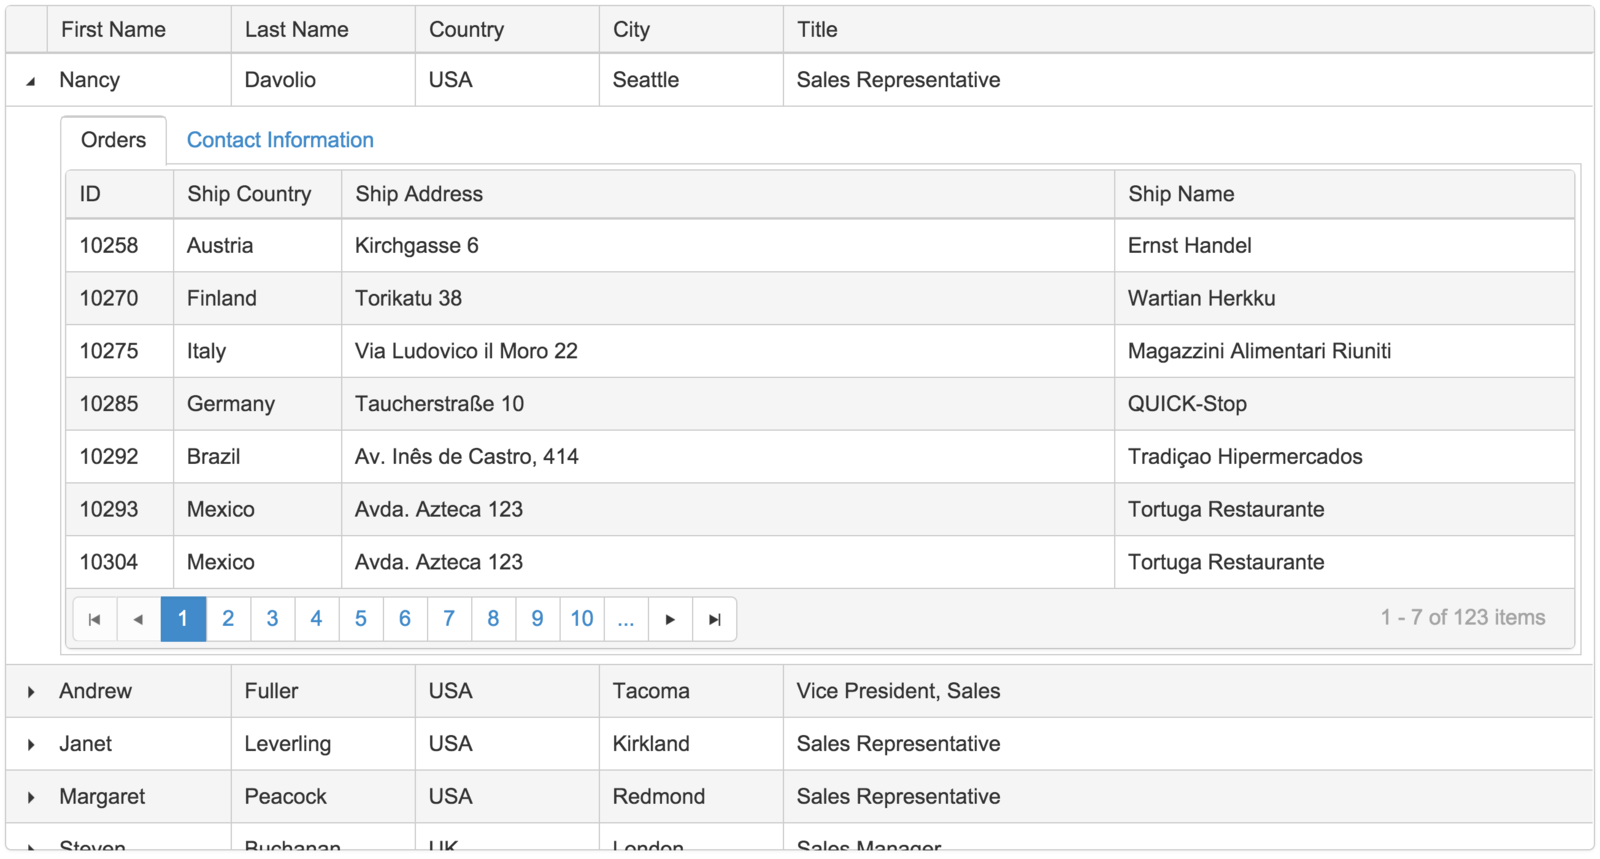
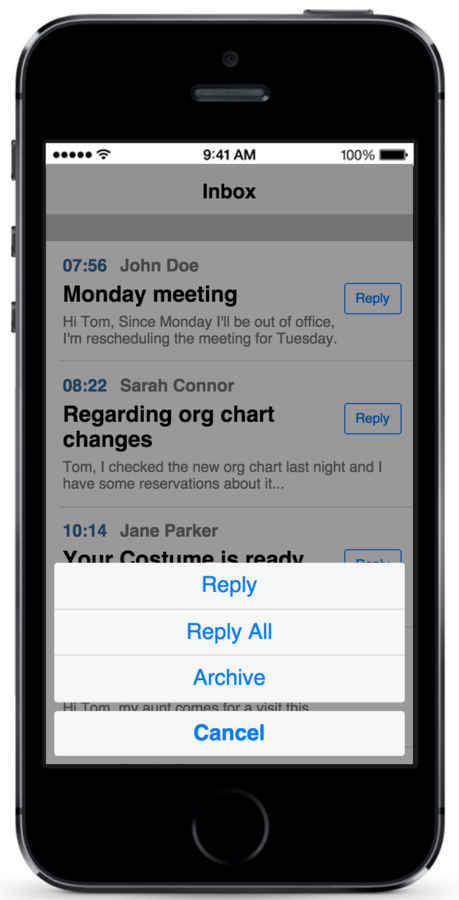
Grid
ListView
MaskedTextBox
Menu
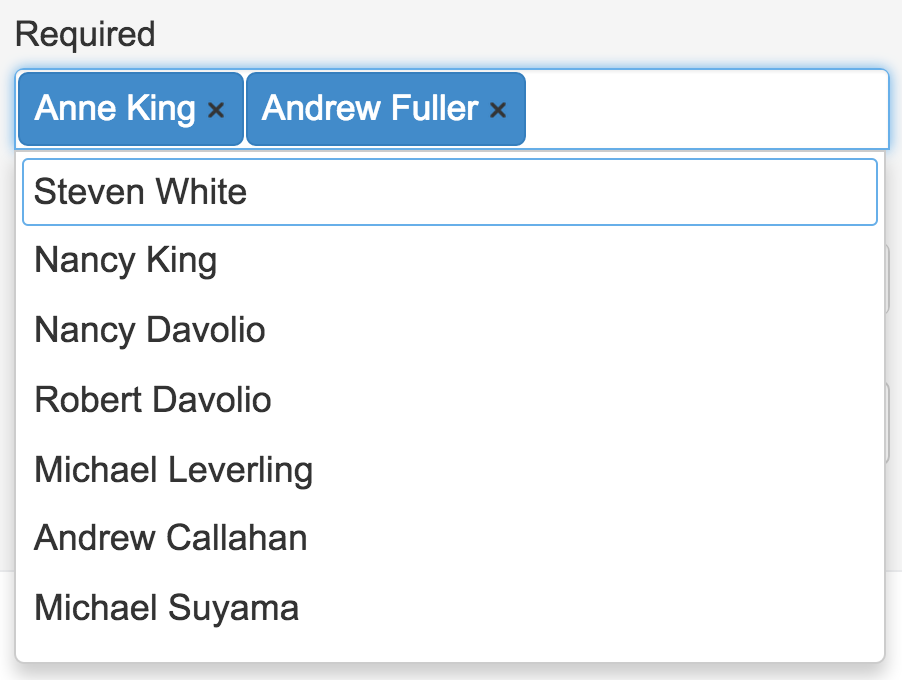
MultiSelect
Notification
NumericTextBox
PanelBar
PivotGid
ProgressBar
Scheduler
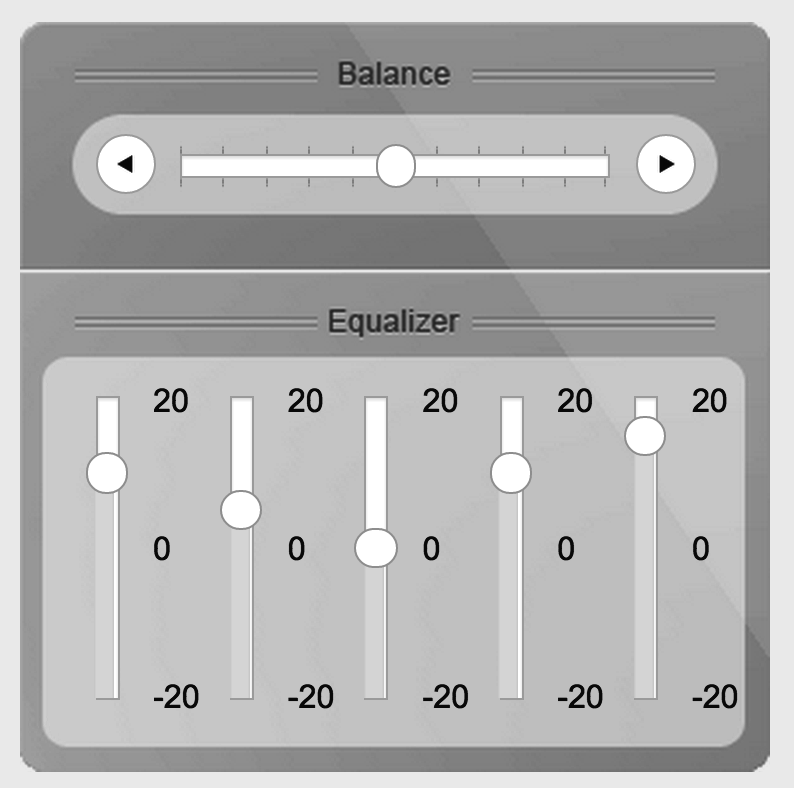
Slider
Sortable
Splitter
TabStrip
TimePicker
ToolBar
Tooltip
TreeView
Upload
Window
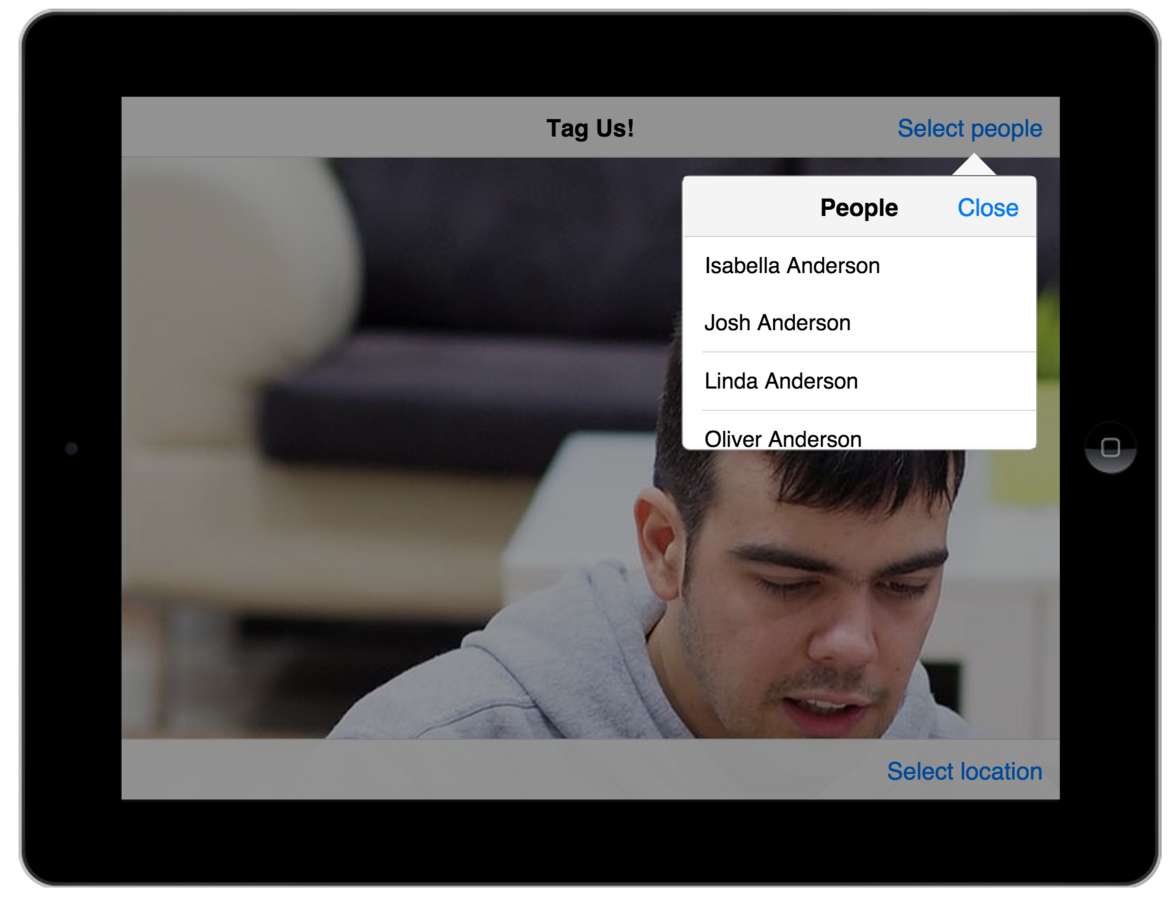
Mobile UI
A complete application toolset for building hybrid and mobile web applications
ActionSheet
ButtonGroup
Drawer
Forms
ListView
MobileButton
ModalView
NavBar
PopOver
Scroller
ScrollView
SplitView
Switch
TabStrip
Data Vizualization
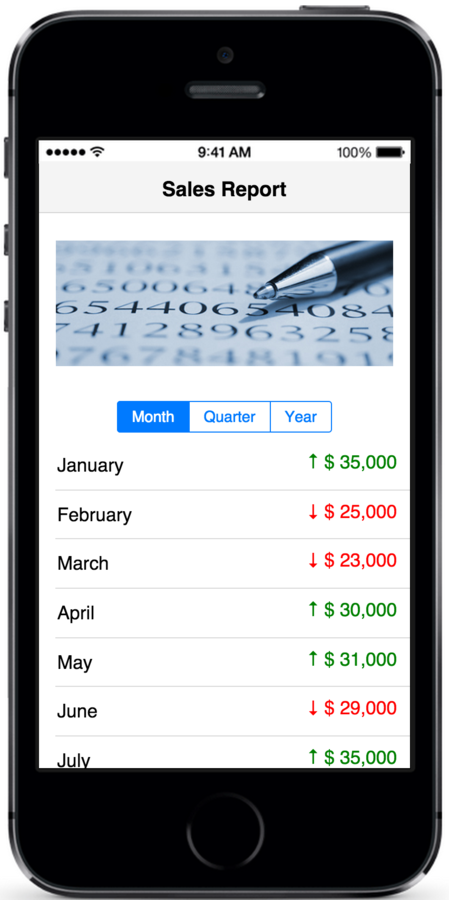
Charts / Graphs / Ect
Area Charts
Bar Charts
Barcode
Box Plot Charts
Bubble Charts
Bullet Charts
Chart API
Diagram
Donut Charts
Funnel Charts
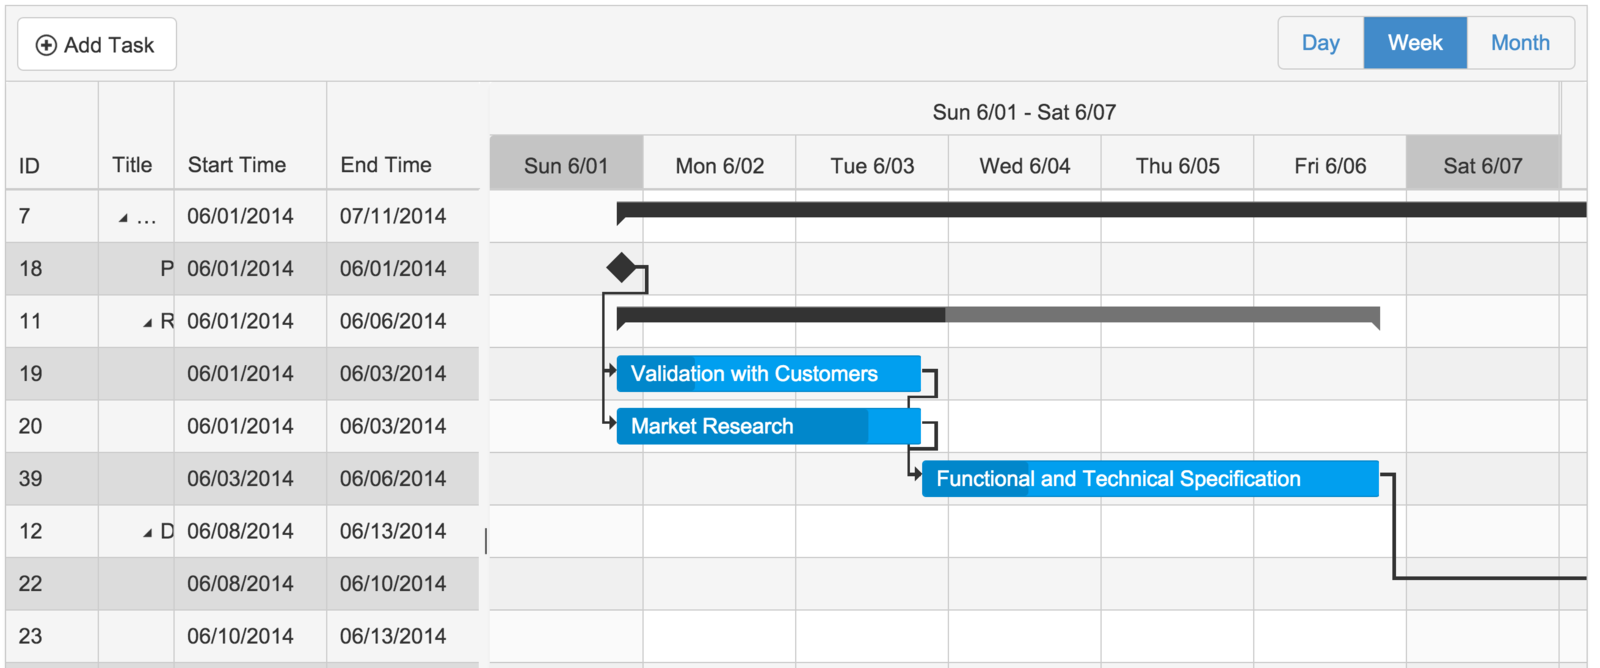
Gantt
Line Charts
Linear Gauge
Map
Pie Charts
Polar Charts
QR code
Radar Charts
Radial Gauge
Range Bar Charts
Scatter Charts
Sparklines
Stock Chart
TreeMap
Waterfall Charts
From The Very Simple
A Kendo UI Window
To The Very Complex
A Kendo UI Scheduler
To Mobile
Kendo UI Mobile Applications
And Everything In Between
Comprehensive Data Vizualization
A Complete Application Framework
Remote Data
Single Page Application (SPA)
Globalization
Templates
MVVM
Effects
Drag-And-Drop
AngularJS Integration
So How Do I Use Kendo UI?
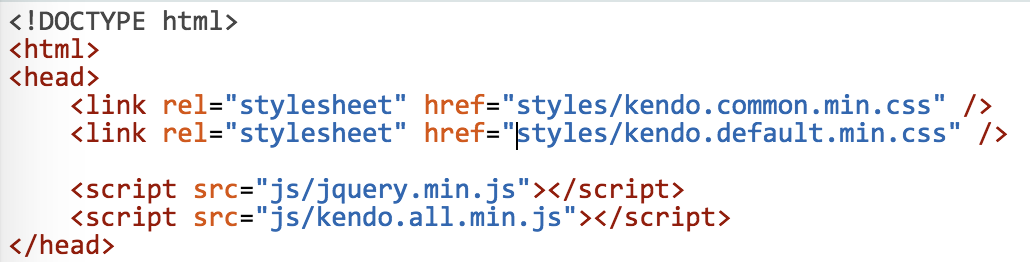
Well, you know jQuery right?
<div id="cal"></div>// select the "cal" div
$('#cal');So How Do I Use Kendo UI?
You already know Kendo UI!
<div id="cal"></div>// select the "cal" div
// turn it into a Kendo UI Calendar
$('#cal').kendoCalendar();From The Very Simp
Show me some UI chops now ..
Glad you asked!

Cool little Widgets!
How about some complex UI ..
For Enterprise LOB apps?
Hard-hitting UI Components

Fine .. web widgets are cool
But I want to
visualize information!
Let's light up your Data!
I'm liking this!
Anything for Mobile Web
Or
X-Plat Hybrid Mobile Apps?
Mobile UI Widgets!
Ok, I'm sold ..
How do I use Kendo UI?
You know jQuery?
<div id="calendar"></div>

// Select the 'calendar' div.
$('#calender');
Then, you already know Kendo UI!
Render a Kendo UI Widget
<div id="calendar"></div>

// Select the 'calendar' div.
// Turn it into a Kendo UI Calendar.

$('#calendar').kendoCalendar();
Easily up-convert DOM elements
This is Imperitive Initialization!
Now you can argue ..
This is not semantic HTML
A <div> is a div, not a grid or calendar!
Fair enough!
Declarative Initialization!
    <div id="calendarControl" data-role="calendar"
                              data-value="01/01/2015">
    </div>

    kendo.init(document.body);
Boom - same result with 'data-*' attributes!
Easy Configurations!
     <div id="palette1" />

      $("#palette1").kendoColorPalette({
            columns: 4,
            palette: [
                "#f0d0c9", "#e2a293", "#d4735e", "#65281a",
                "#eddfda", "#dcc0b6", "#cba092", "#7b4b3a"
            ]
        });

      <div id="pallette2" data-role="colorpalette"
       data-columns="4"
       data-palette: "[
                '#f0d0c9', '#e2a293', '#d4735e', '#65281a',
                '#eddfda', '#dcc0b6', '#cba092', '#7b4b3a']" />
Use Properties or 'data-*' attributes!
I want to play with this stuff ..
-
Kendo UI widget Demos - Live | Go edit!
-
Interactive Dojo - In browser | Just start coding!
We love Open Source!
Most web widgets + mobile widgets
+ Full Framework support!
Find it on GitHub - Use it, Fork it!
Yep, it's free free!

Kendo UI Core
There's no catch!
Kendo UI Professional
We've got you covered for Enterprise apps
Includes FREE trial!
-
Grids | Schedulers - Feature-rich & Responsive
-
Barcodes | QR Codes | TreeView
-
Rich Visualization widgets | 20 types
-
Editors | Gauges | Diagrams | Maps & more
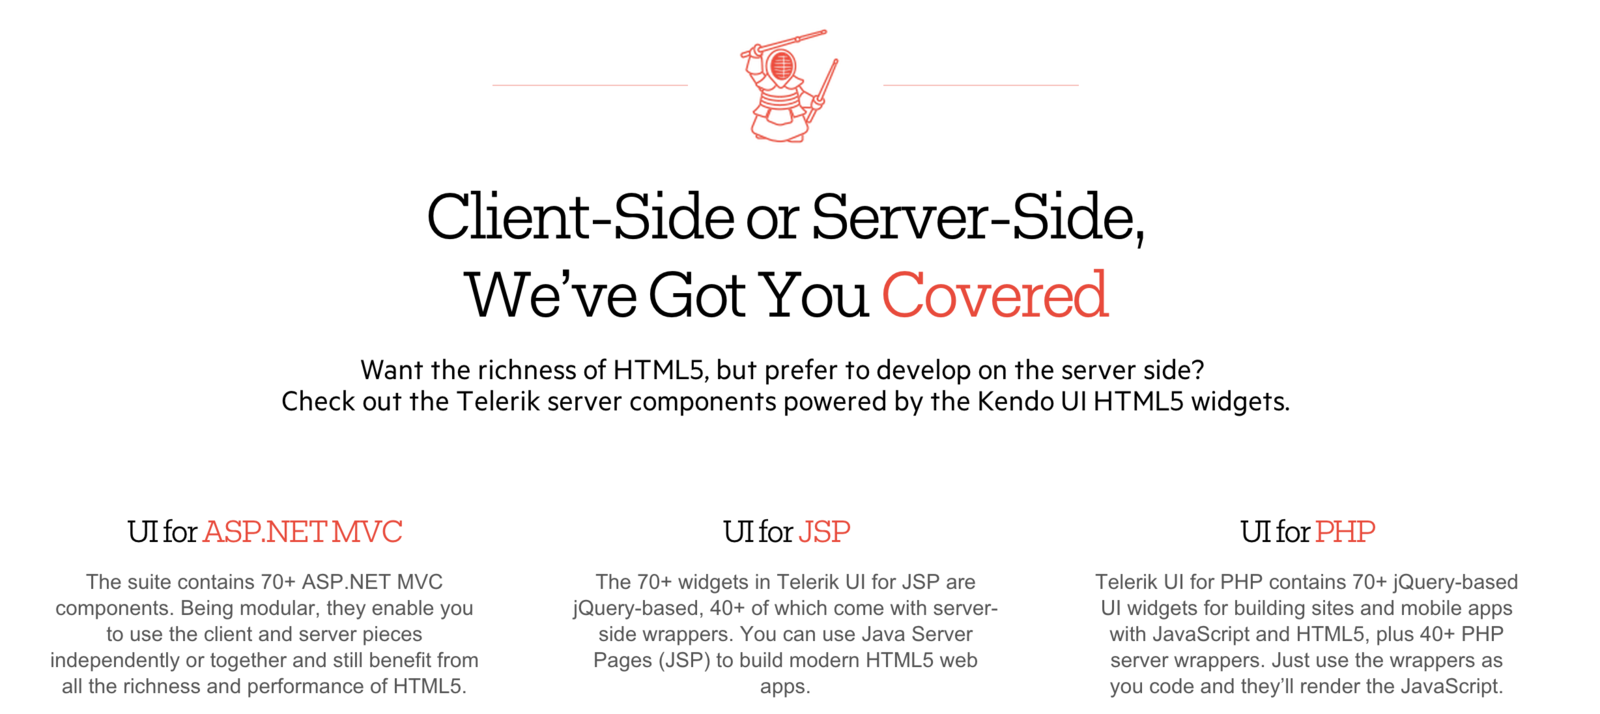
JavaScript/Client-side scares?
Use Server-side wrappers!
Renders same HTML5 Kendo UI widgets ..
Pick your server-side stack!
ASP.NET MVC | JSP | PHP
You're Welcome!
Want to mix & match frameworks in your web development stack?
Bring it all in ..
Kendo UI plays well with others!
Share the love!

Lets talk about some framework features ..
MVVM | Templates | DataSource | Themes | Tooling
SPA Treatment - Routers | Layouts | Views
All, Out of the Box in Kendo UI!
MVVM - ViewModel Bindings!
    <h1 data-bind="html: title"></h1>
    <input data-role="slider" data-bind="value: amount"
            min="0" max="100">

    var viewModel = kendo.observable({
        title: 'Hello World!',
        amount: 50
    });

kendo.bind(document.body, viewModel);Templates are slick!
<script id="scriptTemplate" type="text/x-kendo-template">
    Hello, #= firstName # #= lastName #
</script>

<script>
    var scriptTemplate = kendo.template($("#scriptTemplate").html());
    var scriptData = { firstName: "John", lastName: "Doe" };
    $("#script").html(scriptTemplate(scriptData));
</script>
Named & Parameterized ..
Re-usable markup pieces!
Kendo UI DataSource!
Proxy for Data bindings with Kendo UI widgets
Works with local or remote data
Consistent API
Easy CRUD operations on data source
Shareable between widgets
Paging, Sorting, Filtering - client/server side
The DataSource is the developer's best friend ..
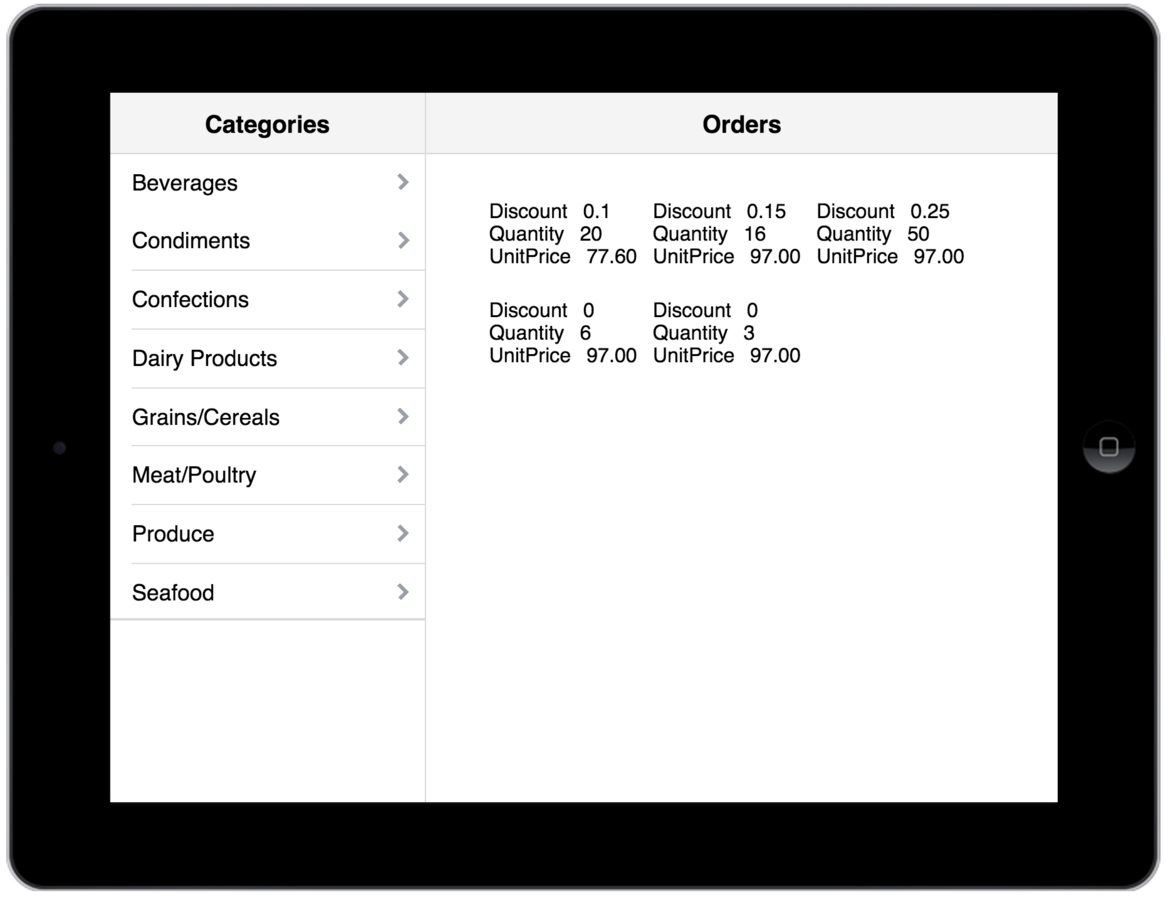
Kendo UI DataSource + Template in action!
    <div id="products"></div>

    <script type="text/x-kendo-template" id="template">
        <div class="product">
            <img src="../content/web/foods/#= ProductID #.jpg" alt="#: ProductName # image" />
            <h3>#:ProductName#</h3>
            <p>#:kendo.toString(UnitPrice, "c")#</p>
        </div>
    </script>

    <script>
        $(function() {
            var template = kendo.template($("#template").html());

            var dataSource = new kendo.data.DataSource({
                transport: {
                    read: {
                        url: "http://demos.telerik.com/kendo-ui/service/Products",
                        dataType: "jsonp"
                    }
                },
                change: function() {
                    $("#products").html(kendo.render(template, this.view()));
                }
            });

            dataSource.read();
        });
    </script>
Easy CRUD operations on Remote Data!
var crudServiceBaseUrl = "http://demos.telerik.com/kendo-ui/service";
var dataSource = new kendo.data.DataSource({
  transport: {
    read:  {
      url: crudServiceBaseUrl + "/Products", dataType: "jsonp"
    },
    update: {
      url: crudServiceBaseUrl + "/Products/Update", dataType: "jsonp"
    },
    destroy: {
      url: crudServiceBaseUrl + "/Products/Destroy", dataType: "jsonp"
    },
    create: {
      url: crudServiceBaseUrl + "/Products/Create", dataType: "jsonp"
    }
  },
  batch: true,
  pageSize: 20
});
Configure service endpoints ..
Rest happens automagically!
Users want easy Data Edits!
SPA Building Blocks!
The Router class is responsible for tracking the application state and navigating between the application states. The router integrates into the browser history using the fragment version of the url (#page), making the application states bookmarkable and linkable. The router instance is also used for programmatic navigation to a given state.
The View and Layout classes are used for the UI rendering. UI Event handling and data binding can be performed either through MVVM or declarative data attribute initialization.
Minimizing dependencies on other JS libraries ..
Everything you need to build a SPA!
Little more Love!
-
Web ThemeBuilder - Loads of Kendo UI built-in themes | Customize/Create New | Smart Bookmarklet | See style effects on widgets live
-
Mobile ThemeBuilder - Touch optimized Kendo UI theme customizer
-
Chrome Inspector - Chrome DevTools Extension | Inspect/debug | Troubleshoot Kendo UI widgets
Tooling that helps | As do the Forums | Docs that rock
Kendo UI is here to help ..