Frontend
Workflow
@DanielLlanoB


<!DOCTYPE html>
<html>
    <head>
        <title>Page Title</title>
        <link rel="stylesheet" href="styles.css"/>
    </head>
    <body>

        <h1>This is a Heading</h1>
        <p>This is a paragraph.</p>

        <script src="script.js"></script>
    </body>
</html>
HTML5
body {
    background-color: lightblue;
}

.container {
    color: white;
    text-align: center;
}

.container p {
    color: red;
}


/*Bad practice*/

#blog-title {
    font-family: verdana;
    font-size: 20px;
}
CSS3
CSS3 Frameworks


yntactically
wesome
tyle heets
S
A
S
S
SASS is a
CSS preprocessor
a layer between the stylesheets you author and the .css files you serve to the browser
Nesting
Sass will let you nest your CSS selectors in a way that follows the same visual hierarchy of your HTML.
nav ul {
  margin: 0;
  padding: 0;
  list-style: none;
}

nav li {
  display: inline-block;
}

nav a {
  display: block;
  padding: 6px 12px;
  text-decoration: none;
}
nav {
ul {
margin: 0;
padding: 0;
list-style: none;
}
li { display: inline-block; }
a {
display: block;
padding: 6px 12px;
text-decoration: none;
}
}@Import
Instead of requiring an HTTP request, Sass will take the file that you want to import and combine it with the file you're importing into so you can serve a single CSS file to the web browser.
// Modules and Variables
@import "partials/base";

// Partials
@import "partials/reset";
@import "partials/typography";
@import "partials/buttons";
@import "partials/figures";
@import "partials/grids";
// ...

// Third-party
@import "vendor/colorpicker";
@import "vendor/jquery.ui.core";
Basic directory structire
stylesheets/
|
|-- modules/              # Common modules
|   |-- _all.scss         # Include to get all modules
|   |-- _utility.scss     # Module name
|   |-- _colors.scss      # Etc...
|   ...
|
|-- partials/             # Partials
|   |-- _base.sass        # imports for all mixins + global project variables
|   |-- _buttons.scss     # buttons
|   |-- _figures.scss     # figures
|   |-- _grids.scss       # grids
|   |-- _typography.scss  # typography
|   |-- _reset.scss       # reset
|   ...
|
|-- vendor/               # CSS or Sass from other projects
|   |-- _colorpicker.scss
|   |-- _jquery.ui.core.scss
|   ...
|
`-- main.scss            # primary Sass file
Extend
Using @extend lets you share a set of CSS properties from one selector to another. It helps keep your Sass very DRY.
.message {
  border: 1px solid #ccc;
  padding: 10px;
  color: #333;
}

.success {
  @extend .message;
  border-color: green;
}

.error {
  @extend .message;
  border-color: red;
}

.warning {
  @extend .message;
  border-color: yellow;
}
.message, .success, .error, .warning {
border: 1px solid #cccccc;
padding: 10px;
color: #333;
}
.success {
border-color: green;
}
.error {
border-color: red;
}
.warning {
border-color: yellow;
}And more...
-
Mixins
-
@Functions
-
%Placeholders
Bower
Web sites are made of lots of things — frameworks, libraries, assets, and utilities. Bower manages all these things for you.
Installation
$ npm install -g bowerInstall packages
$ bower install <package># installs the project dependencies listed in bower.json
$ bower install
# registered package
$ bower install jquery
# GitHub shorthand
$ bower install desandro/masonry
# Git endpoint
$ bower install git://github.com/user/package.git
# URL
$ bower install http://example.com/script.jsSave packages
Create a bower.json file for your package with bower init.
Then save new dependencies to your bower.json with bower install PACKAGE --save
Use packages
<script src="bower_components/jquery/dist/jquery.min.js"></script>Gulp
Is a javascript task runner tool that helps you out with several tasks when it comes to web development. It's often used to do front end tasks like:
- Spinning up a web server.
- Reloading the browser automatically whenever a file is saved.
- Using preprocessors like Sass or LESS.
- Optimizing assets like CSS, JavaScript, and images.
- Quickly running unit tests
- Running code analysis
The Gulp workflow
Below is a common workflow for performing certain build operations.
-
Define a task
-
Within that task, a desired set of files are loaded into the gulp stream to be processed. (Optional) Once files are in the stream, one or more modifications can be made to the files. Because the streams are processed in memory, no file - system writes to temporary directories between modifications are required.
-
Send the new (possibly modified) files to a specified destination
Installation
You need to have Node.js (Node) installed onto your computer before you can install Gulp.
$ sudo npm install gulp -g$ npm install gulp --save-devNow, let's begin by creating your first Gulp task in gulpfile.js, which stores all Gulp configurations.
var gulp = require('gulp');
// Requires the gulp-sass plugin
var sass = require('gulp-sass');

gulp.task('sass', function(){
  return gulp.src('app/scss/styles.scss')
    .pipe(sass()) // Converts Sass to CSS with gulp-sass
    .pipe(gulp.dest('app/css'))
});
Preprocessing
$ npm install gulp-sass --save-devGulp provides us with a watch method that checks to see if a file was saved. The syntax for the watch method is:
gulp.task('watch', function(){
  gulp.watch('app/scss/**/*.scss', ['sass']);
  // Other watchers
})
Watch files
// Gulp watch syntax
gulp.watch('app/scss/**/*.scss', ['sass']);
Browser Sync helps make web development easier by spinning up a web server that helps us do live-reloading easily.
Live realoading
$ npm install browser-sync --save-devvar browserSync = require('browser-sync').create();
gulp.task('server', function() {
browserSync.init({
server: {
baseDir: 'app'
},
})
})
gulp.task('sass', function(){
return gulp.src('app/scss/styles.scss')
.pipe(sass()) // Converts Sass to CSS with gulp-sass
.pipe(gulp.dest('app/css'))
//Aditional pipe
.pipe(server.reload({
stream: true
}))
});
// Default Task
gulp.task('default', ['server', 'sass']);Core & Plugins
// Include gulp
var gulp = require('gulp');

// Include Our Plugins
var eslint = require('gulp-eslint');
var sass = require('gulp-sass');
var concat = require('gulp-concat');
var uglify = require('gulp-uglify');
var rename = require('gulp-rename');What's Yeoman?
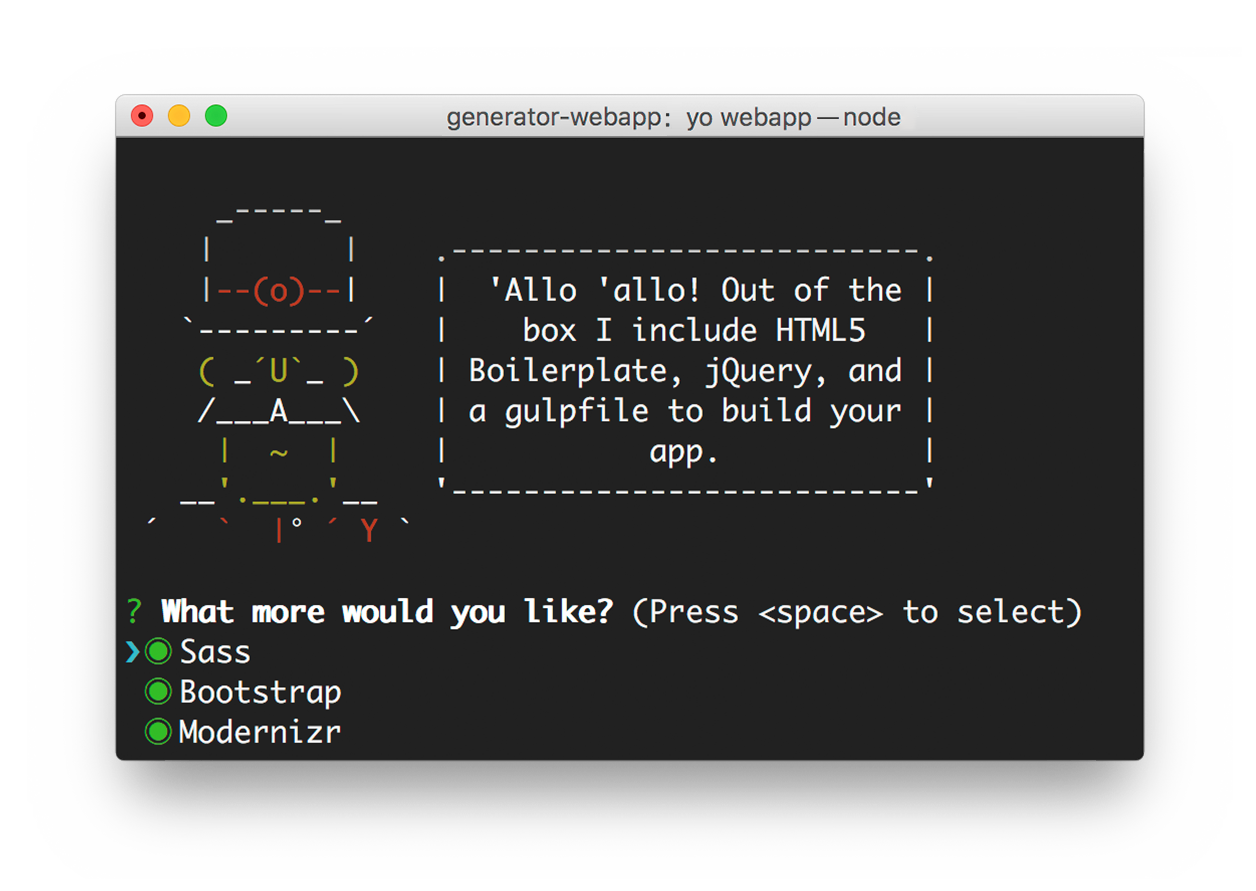
Yeoman helps you to kickstart new projects, prescribing best practices and tools to help you stay productive.
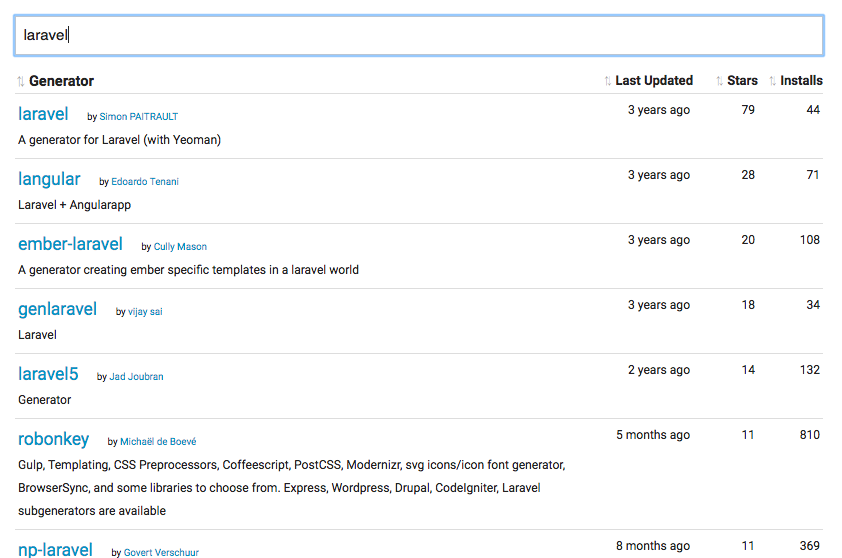
To do so, we provide a generator ecosystem. A generator is basically a plugin that can be run with the `yo` command to scaffold complete projects or useful parts.
Tools
The Yeoman workflow comprises three types of tools for improving your productivity and satisfaction when building a web app: the scaffolding tool (yo), the build tool (Gulp, Grunt etc) and the package manager (like npm and Bower).
Installation
npm install -g yoGenerators


Usage
npm install --global generator-webappInstall generator
yo webappRun generator
Run & build aplication
- Run gulp serve to preview and watch for changes
- Run bower install --save <package> to install frontend dependencies
- Run gulp serve:test to run the tests in the browser
- Run gulp to build your webapp for production
- Run gulp serve:dist to preview the production build
AngularJS
Is a structural frameworks for dynamic web apps
Why use Angular?
-
Reusable components.
-
100% javascript and client side.
-
Single page apps (UX Desktop apps).
-
MVC architecture.
-
Two way data binding
Directory structure
app/
----- controllers/
---------- mainController.js
---------- otherController.js
----- directives/
---------- mainDirective.js
---------- otherDirective.js
----- services/
---------- userService.js
---------- itemService.js
----- js/
---------- bootstrap.js
---------- jquery.js
----- app.js
views/
----- mainView.html
----- otherView.html
----- index.html
Standart
app/
----- shared/   // acts as reusable components or partials of our site
---------- sidebar/
--------------- sidebarDirective.js
--------------- sidebarView.html
---------- article/
--------------- articleDirective.js
--------------- articleView.html
----- components/   // each component is treated as a mini Angular app
---------- home/
--------------- homeController.js
--------------- homeService.js
--------------- homeView.html
---------- blog/
--------------- blogController.js
--------------- blogService.js
--------------- blogView.html
----- app.module.js
----- app.routes.js
assets/
----- img/      // Images and icons for your app
----- css/      // All styles and style related files (SCSS or LESS files)
----- js/       // JavaScript files written for your app that are not for angular
----- libs/     // Third-party libraries such as jQuery, Moment, Underscore, etc.
index.html
Modularized
Basic set up
<div ng-app="myApp">
    <div ng-controller="MainCtrl">
         {{ text }}
    </div>
</div>
var myApp = angular.module('myApp', []);
myApp.controller('MainCtrl', ['$scope', function ($scope) {
$scope.text = 'Hello, Angular fanatic.';
}]);Directives
<button ng-click="runWhenButtonClicked()"></button>
<div ng-click="runWhenDivClicked()"></div>
$scopes
<div ng-controller='mainController'>
    <p>{{ name }}</p>
    <input type="text" ng-model="email">
</div>
VIEW
.controller('mainController', function($scope){
  $scope.name = "Daniel";
  $scope.email = "";
});
MODEL
Dynamic views and routing
app.config(['$routeProvider', function ($routeProvider) {
  /**
   * $routeProvider
   */
  $routeProvider
  .when('/', {
    templateUrl: 'views/main.html'
  })
  .when('/emails', {
    templateUrl: 'views/emails.html'
  })
  .otherwise({
    redirectTo: '/'
  });
}])
Funtions & http request
VIEW
<div ng-controller='UserCtrl'>
    <p>{{ user.username }}</p>
    <button type="text" ng-click="getUsername()">Get username</button>
</div>
myApp.controller('UserCtrl', ['$scope', '$http', function ($scope, $http) {
// create a user Object
$scope.user = {};
// Initiate a model as an empty string
$scope.user.username = '';
$scope.getUsername = function(){
// We want to make a call and get
// the person's username
$http({
method: 'GET',
url: '//localhost:9000/someUrlForGettingUsername'
})
.success(function (data, status, headers, config) {
// See here, we are now assigning this username
// to our existing model!
$scope.user.username = data.user.name;
})
.error(function (data, status, headers, config) {
// something went wrong :(
});
};
}]);MODEL
So, What's next?
