Ruby on Rails 網站程式設計基礎班
第七課:Bootstrap 美化網頁

公告
學習 Rails 不是靠數量:
我的 gem 都被安裝到了哪裏?
我們用 gem install 安裝了很多 gem,可是這些 gem 的 source code 都是放在哪裡?
# 在終端機輸入:

gem env

# 查看 Rubygem 的環境設定
我的 gem 都被安裝到了哪裏?
我們用 gem install 安裝了很多 gem,可是這些 gem 的 source code 都是放在哪裡?
# 在終端機輸入:

gem env

# 查看 Rubygem 的環境設定,尋找 installation directory,再切換到該處即可

# 或是使用:

bundle show --paths

# 把專案裡每一個 gem 的安裝路徑列出來
View Partial (局部樣板)
根據 DRY (Don't Repeat Yourself) 原則
把不同樣板重複的 html 程式碼打包起來
實作 View Partial
我們的 index, new, 與 edit 頁面都需要顯示 title
而顯示 title 的 code 實際上長得都是差不多的...
<h1>Editing Order</h1>

<%= render 'form' %>

<%= link_to 'Show', @order %> |
<%= link_to 'Back', orders_url %>
<h1>New Order</h1>
<%= render 'form' %>
<%= link_to 'Back', orders_path %><p id="notice"><%= notice %></p>
<h1>Listing Orders</h1>
<table>/orders/index.html.erb
/orders/new.html.erb
/orders/edit.html.erb
實作 View Partial
所以比照 DRY 的原則,我們應該重複的 html 程式碼封裝起來,而封裝起來的 html 程式碼就稱為 partial (局部樣板):
# app/views/shard/_title.html.erb

<h1><%= title %></h1>
</hr>
view partial 神奇的地方,就是它其實像是一個 Ruby method,只不過他封裝的是一段 html 程式碼,而且它是可以允許呼叫者丟參數進來
因為每個頁面的 title 都不同,因此我們可以把 title 設定成變數,因此這個 partial 會接受一個 title 的參數並且把參數的值顯示出來...
在 views/ 建立一個新的資料夾 shared,加入新檔案 _title.html.erb,注意檔案名稱開頭的底線
實作 View Partial
接下來就可以這樣使用 partial:
<%= render 'shared/title', title: 'Post List'%>
注意 title: 是代表我們之前在寫 partial 時可以傳入的 title 參數,因此我們可以針對這個頁面所需要顯示的 title 傳入字串
(這個頁面是列表,所以傳入 'Post List' 這個字串)
Url Helper
今天我們在 routes.rb 使用 resources 的時候,rails 會自動幫我們產生一組 url helper,這些 url_helper 簡化了我們的程式碼,用 ruby 變數的方式指向原本複雜的 url
原本複雜的 url:

/orders

就可用更口語化的方式處理:

orders_path
Url Helper
| Helper | HTTP Verb | Path | Controller#Action |
|---|---|---|---|
| orders_path | GET | /orders | orders#index |
| POST | /orders | orders#create | |
| new_order_path | GET | /orders/new | orders#new |
| edit_order_path | GET | /orders/:id/edit | orders#edit |
| order_path | GET | orders/:id | orders#show |
| PATCH | orders/:id | orders#update | |
| PUT | orders/:id | orders#update | |
| DELETE | orders/:id | orders#destroy |
Url Helper
從這邊不難觀察到,new 與 edit 的 url helper 命名規則是:
new_order_path
action 名稱 + resource 名稱 + path
link_to
一旦有了 Url Helper 之後,我們就可以在 View 裡面呼叫它,一般的方法是用 link_to
link_to 說穿了,就是一個幫我們產生 hyperlink (超連結) 的方法
使用 link_to:

<%= link_to 'New Order', new_orders_path %>

最後產生的 html 超連結程式碼:

<a href="/orders/new">New Order</a>
Url Helper
這邊要特別注意的地方是:show, update, 與 destroy 都是共用 order_path 的 url helper,因為 /orders/:id 需要 :id 才能運作,因此我們在實作刪除的按鈕時:
<td><%= link_to 'Destroy', order_path(order), method: :delete, data: { confirm: 'Are you sure?' } %></td>這邊注意需要加上 method: :delete,這樣 rails 才會明白使用 HTTP DELETE 發送 request
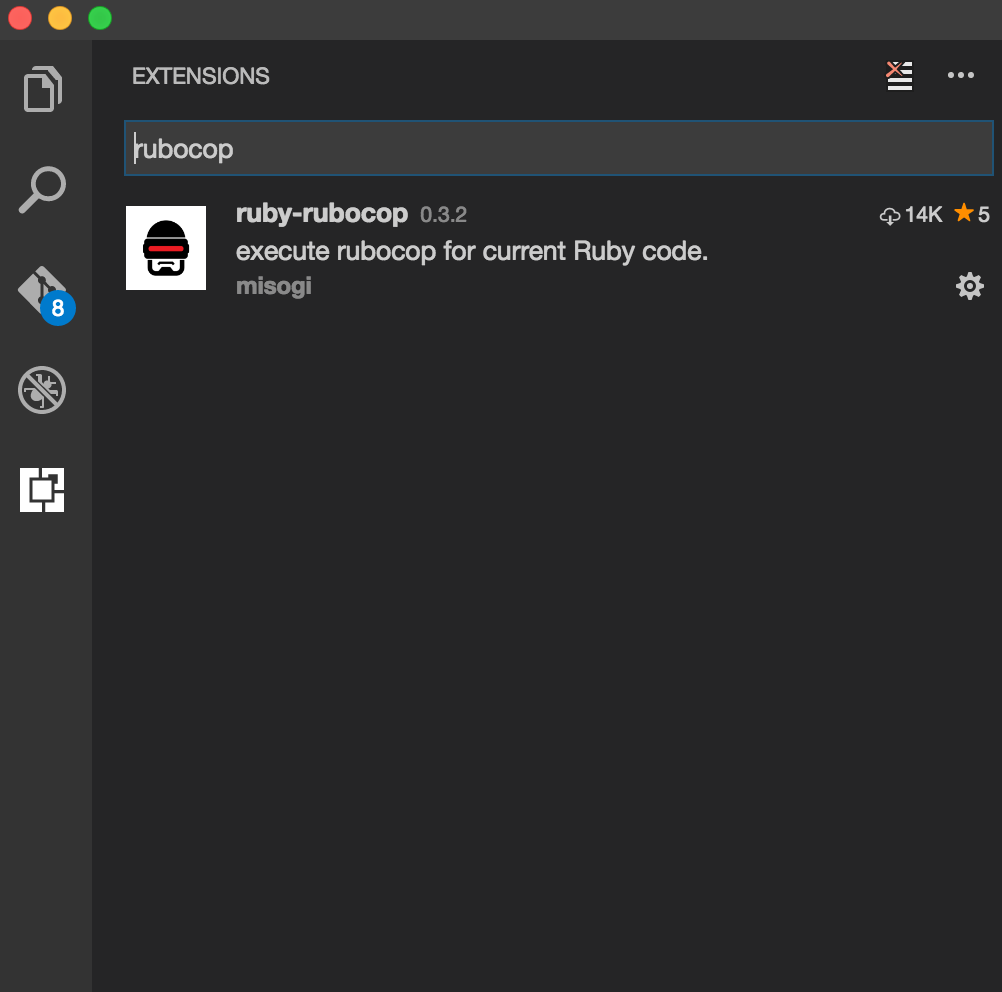
RuboCop
Ruby 語法檢查工具

RuboCop

RuboCop
$gem install rubocop安裝 rubocop:
用 rubocop 檢查檔案:
$rubocop /檔案路徑RuboCop
但是我們現在有了強大的 Code:
但是 UI 還是很難看...
Bootstrap
Twitter 開源專案
Bootstrap 是目前網站開發裡最被廣泛使用的前端 CSS 套件
在 Rails 可以使用 gem 把 Bootstrap 裝進專案
Rails 專案使用 Bootstrap
#在 Gemfile 加入:

gem 'bootstrap-sass'

#執行 bundle
# 在 application.js 加入:
//= require bootstrap#把 applicatoin.css 檔名改成 application.scss,加入:
@import "bootstrap";
幫訂便當 App 加上一個功能列
# views/layouts/_navigation.html.erb

<nav class="navbar navbar-default">
  <div class="container-fluid">
    <div class="navbar-header">
      <%= link_to "訂便當", orders_path, class: 'navbar-brand' %>
    </div>
    <div class="collapse navbar-collapse">
      <ul class="nav navbar-nav">
        <li><%= link_to '新增訂單', new_order_path %></li>
      </ul>
    </div>
  </div>
</nav>
幫訂便當 App 加上一個功能列
# views/layouts/application.html.erb

<!DOCTYPE html>
<html>
<head>
  <%= stylesheet_link_tag    'application', media: 'all', 'data-turbolinks-track' => true %>
  <%= javascript_include_tag 'application', 'data-turbolinks-track' => true %>
  <%= csrf_meta_tags %>
</head>
<body>
  <header>
    <%= render 'layouts/navigation' %>
  </header>
  <%= yield %>
</body>
</html>
這邊注意到,其實 yield 是在呼叫我們放在 views/orders/ 底下的 templates,所以也可以把我們平常做的 html template 想像成 partial
重構 Order 表單
<%= form_for(order) do |f| %>
  <% if order.errors.any? %>
    <div id="error_explanation">
      <h2><%= pluralize(order.errors.count, "error") %> prohibited this order from being saved:</h2>

      <ul>
      <% order.errors.full_messages.each do |message| %>
        <li><%= message %></li>
      <% end %>
      </ul>
    </div>
  <% end %>

  <div class="field">
    <%= f.label :name %>
    <%= f.text_field :name %>
  </div>

  <div class="field">
    <%= f.label :email %>
    <%= f.text_field :email %>
  </div>

  <div class="field">
    <%= f.label :description %>
    <%= f.text_area :description %>
  </div>

  <div class="field">
    <%= f.label :age %>
    <%= f.number_field :age %>
  </div>

  <div class="actions">
    <%= f.submit(@post.new_record? ? '新增訂單' : '修改訂單', class: 'btn btn-primary') %>
  </div>
<% end %>
功課
在留言板 App 上,打造出在 Post 表單留言的功能