ZigZag: Your Personal Security Badge
Radiona.org is a non-profit organisation and citizen lab consisting of makerspace/hackerspace, media art lab, Repair Café and residence program founded in 2011. The organisation is dealing with DIY (do-it-yourself), DIWO (do-it-with-others) and DITO (do-it-together) cultures, STEAM concepts, interdisciplinary and intergenerational non-formal education and hybrid activities.
About RadionaOrg
Request and starting point
We got request from BSidesZG to design some blink LED badge with some interesting task to solve.
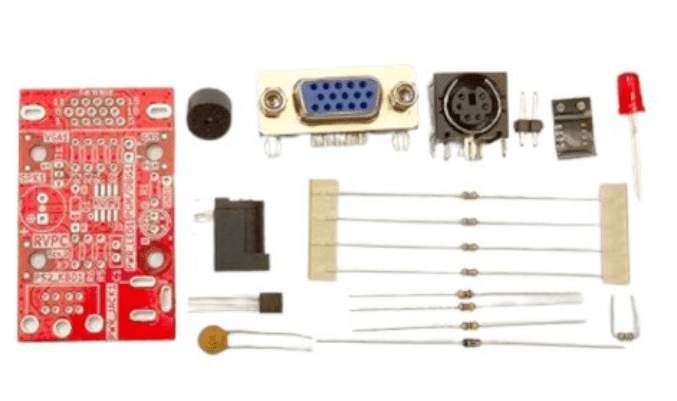
Starting point for our badge was RVPC from Olimex, we have preserved most of schematics, and added LEDs
The EURO 1.00 Risc-V personal computer with VGA and Keyboard and Woz like monitor. The purpose of this project is to make educational platform which people can use to learn RISCV assembler and experiment like in the old days in 1980s :)
https://www.olimex.com/Products/Retro-Computers/RVPC/open-source-hardware
We whare also inspired with BalCCon badge that is using same chip.
Olimex 1€ RVPC
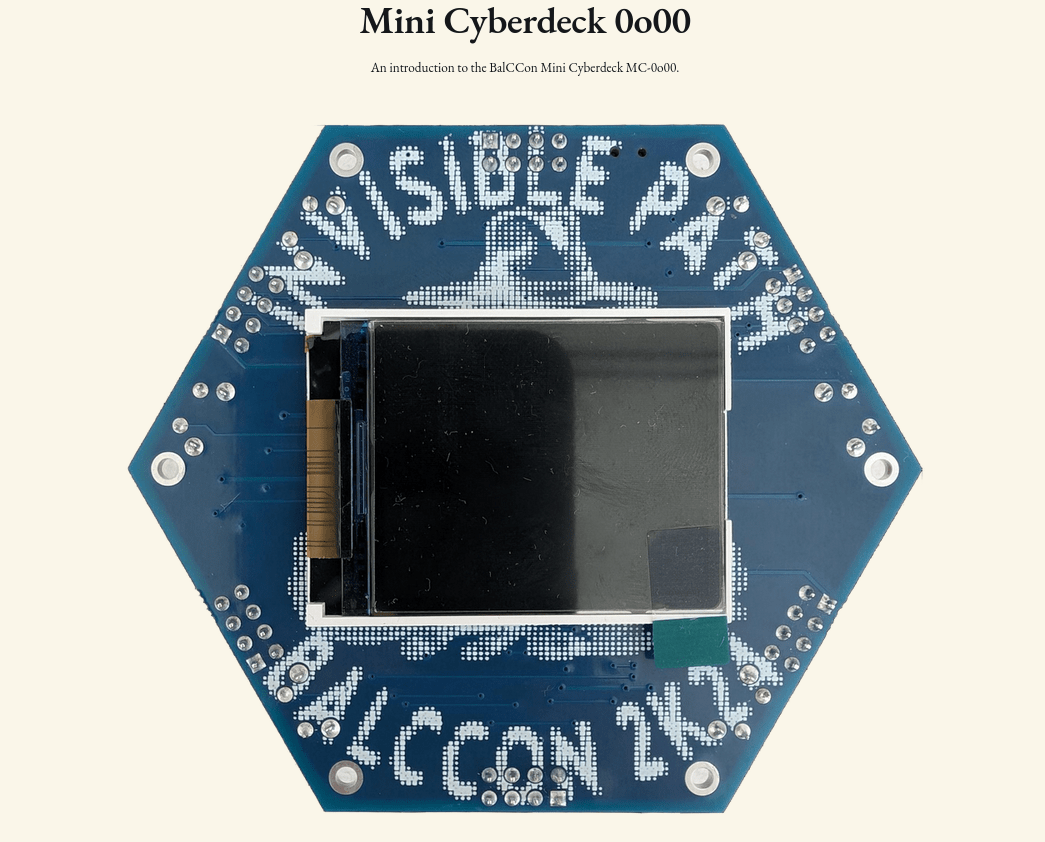
BalCCon 2024 badge
Few of ideas we wanted to test
- Keep it simple
- Keep it low cost
- Should be solder able by hand
- Input and outputs are needed
- Tasks can be quickly changed added
- It needs to be cheap to order assembled
- Use most standard COIN CELL battery CR2032
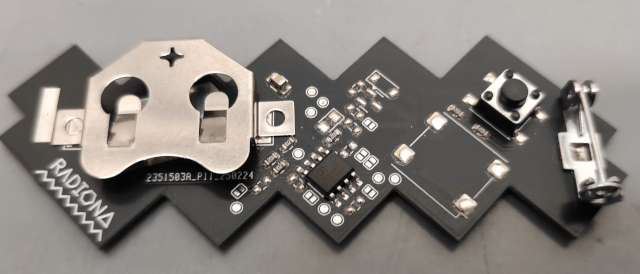
- Unique design that is connected to Radiona (ZigZag)
- Badge should not drain to much current so it can survive conference day
ten-cent RISC-V part that has an impressive array of capabilities
- CH32V003 QingKe 32-bit RISC-V2A processor
- 48MHz system main frequency
- 2KB SRAM
- 16KB Flash
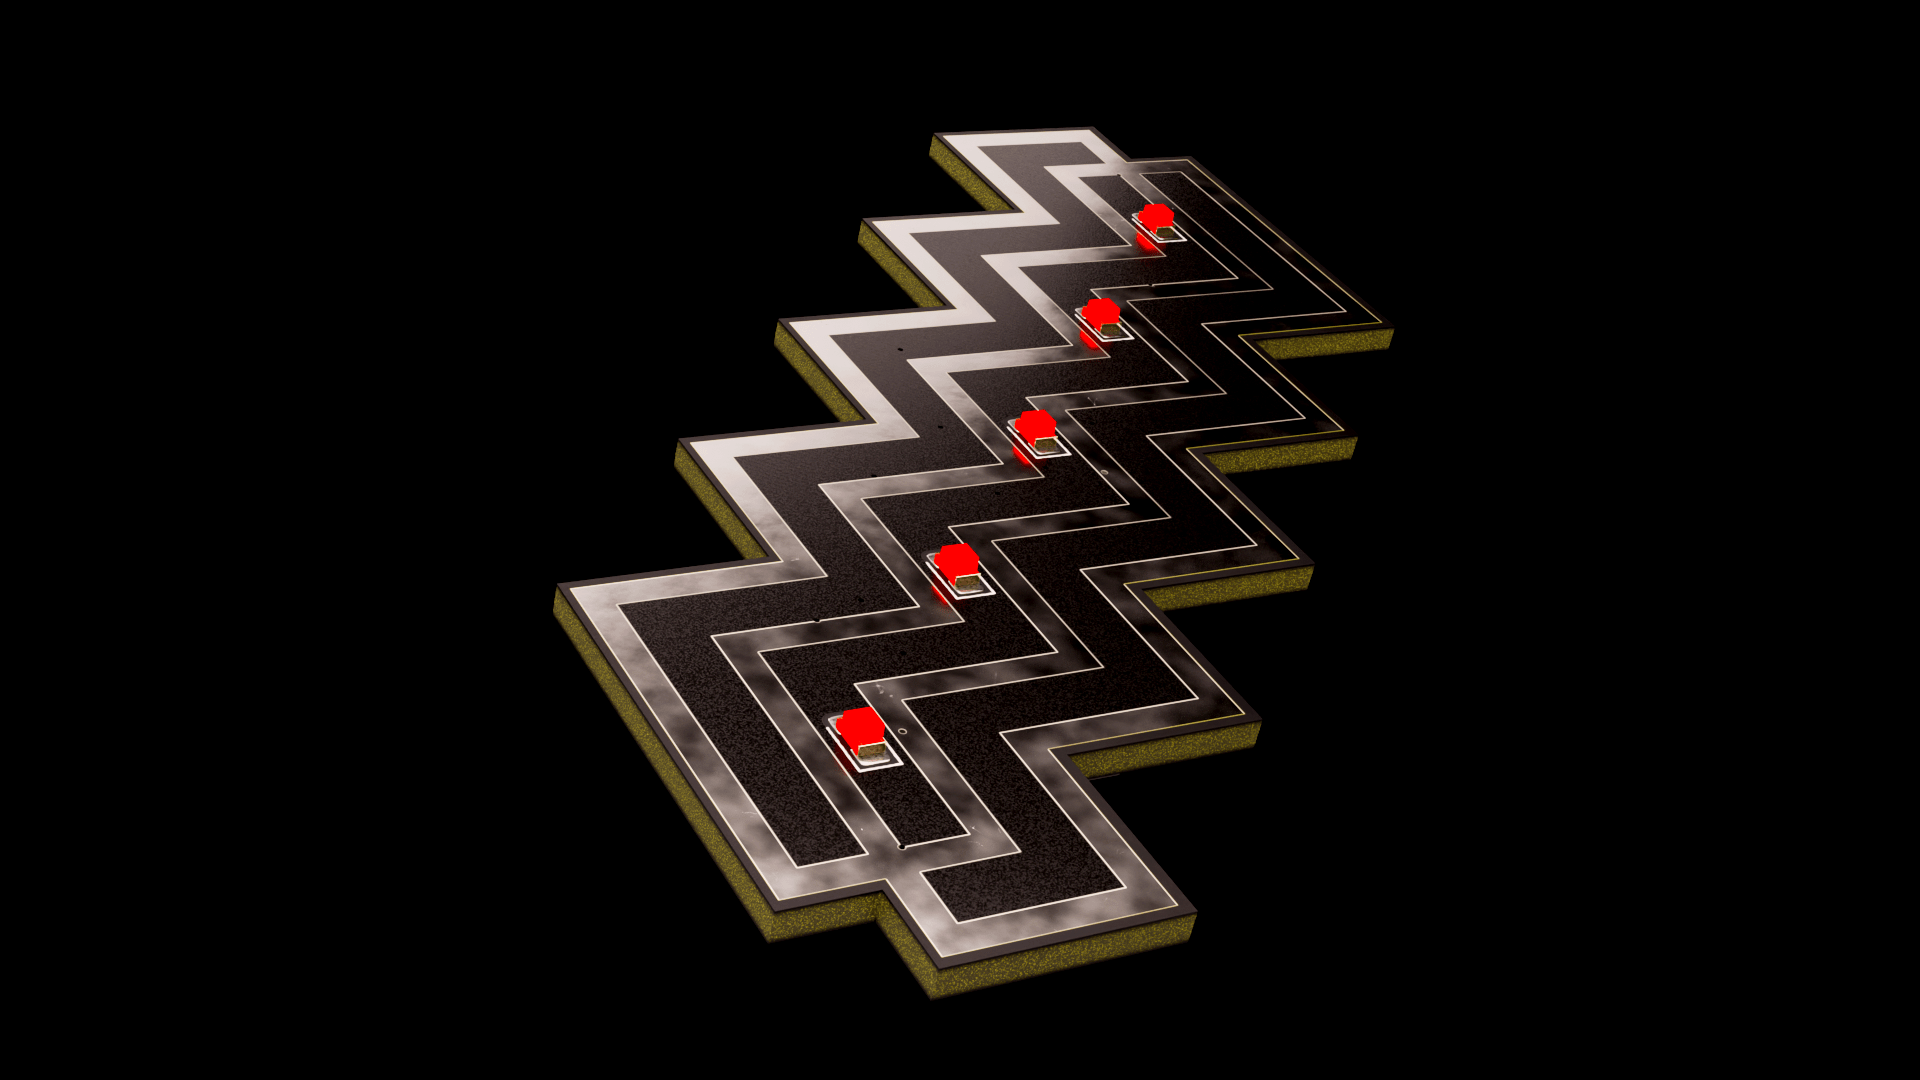
Why 5 LEDs?
With less then 5 LEDs we could do blinky, but with 5 we can do
Persistence of Vision (PoV) Display
https://en.wikipedia.org/wiki/Persistence_of_vision
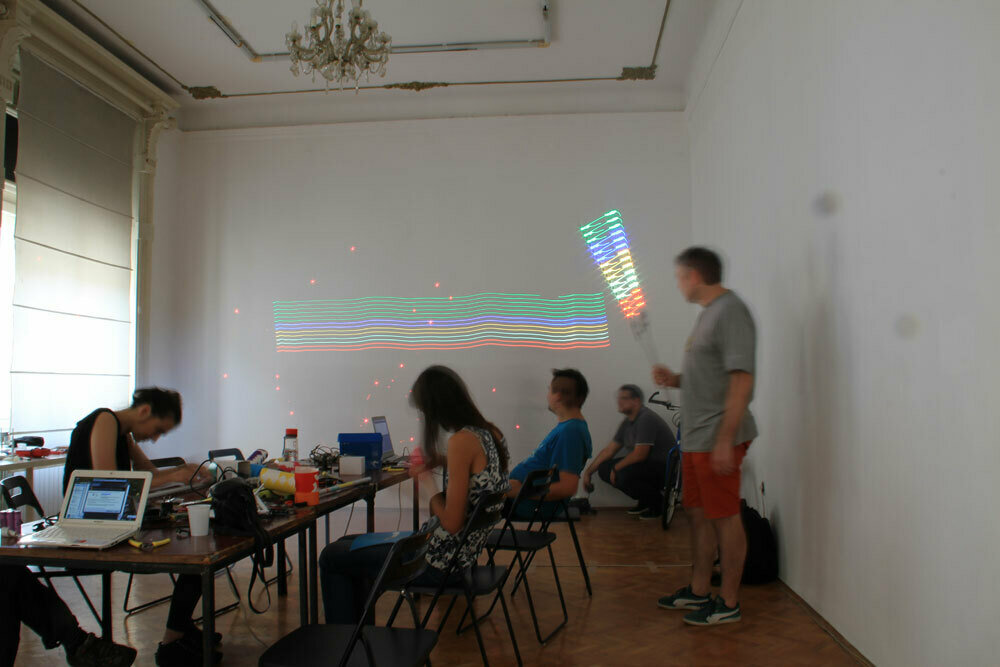
https://radiona.org/wiki/project/wifi_signal_painting
Why Only one button?
We only have 6 pins, and we did not want to introduce any additional chip.
And there are many things we can do with one button.
Considering that we can have short press, long press, longer press, double press, triple press - you get the point that one button should be enough for everything...
Why those component and why 0603
We are using 0603 resistors and 0805 LEDs as they are still hand solder able, and we are using those on ULX3S so we can recycle components from scraped boards...
Assembly
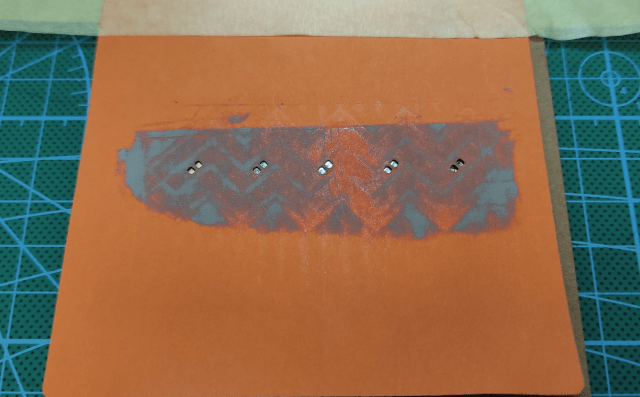
We wanted to confirm hand assembly, and low batch DIY assembly so we did first badge by hand, and rest of 69 badges with stencil. We baked first batch in oven but also checked paper stencil + hot air, and all works fine.
Paper is just 80g color paper. Diode laser cuts some colors better so we are using orange one.
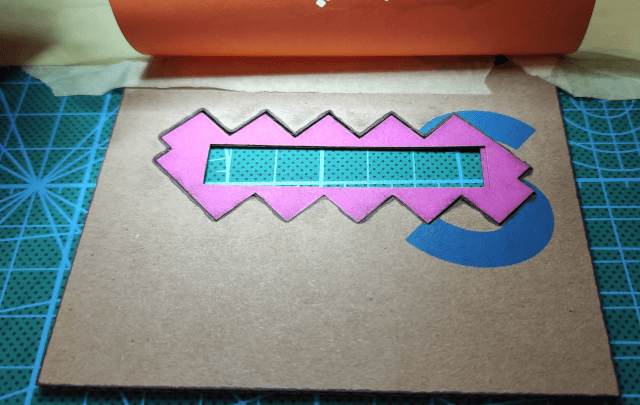
For PCB holder we are using cardboard
And for BOTTOM side we are using standoff cutter from hammer paper.
Applying paste to front side
Implemented features
- Fancy raider blinking
- Morse used for output messages
- PoV used for clues and solutions
- Short button press
- Long button press
- Sleep mode
Make it hackable!
We did not want to remove any RVPC component so with moving few resistors and closing jumpers you could even have RVPC with VGA, PS2 and speaker...
Badge Power ON
Put battery and you will see one LED slightly ON.
There is 5 second programming delay, please wait 5 seconds and badge will start doing LED RAIDER.
Badge sleep
Hold button until you see all LEDs on, release button and badge will go to sleep.
In sleep mode badge will consume around 1mA.
To go out of sleep just press button again.
If you will not use badge for long period it is best to remove battery.
Modes
This badge has 10 cases, 5 are Morse code 5 are Pov ( Persistance of Vision ).
On button press you are moving to next case.
Morse
It is hardly human readable, so you will need to use some app, or write your own...
Each LED has it's own message, first 4 are encoded clues or keys for last one.
Fourth message is not the same for public and speakers so make sure you have both.
Last message is encrypted.
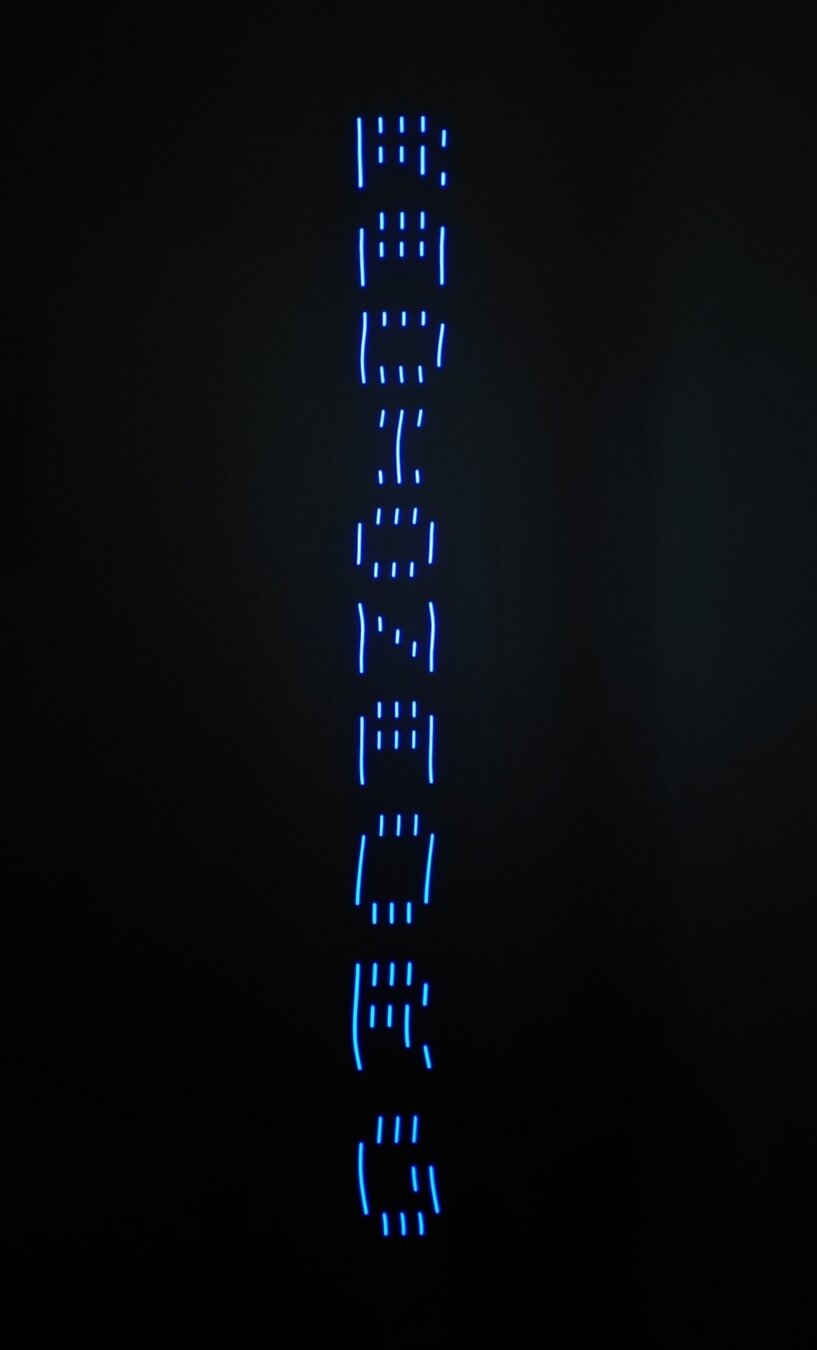
PoV
GOTO 2DARK
SET BLEND 2S
MOVE BADGE
1,2,3 PoV messages are solutions to first 3 tasks 4,5 PoV messages are clues for messages 4 and 5 if you are stacked...
Top side PCB design by Damir Prizmić Back side PCB design by Goran Mahovlić
Idea: BSidesZG, Ante Jurjević, Damir Prizmić, Goran Mahovlić, kost, 1g0r, BalCCon Badge, Olimex RVPC
Code: Goran Mahovlić
Big thanks to Olimex for all RVPC code examples...
Badge solvers
| BSidesZG | 07.03.2025. | Jurica Radović | ~4h |
Designers and helpers
Thank you!
https://slides.com/goranmahovlic/
https://radiona.org/
https://intergalaktik.eu/news
https://github.com/RadionaOrg/ZigZag
https://github.com/goran-mahovlic/
https://github.com/intergalaktik/