What Is Angular CLI?
Angular CLI is a command-line interface (CLI) to automate your development workflow. It allows you to:
- create a new Angular application
- run a development server with LiveReload support to preview your application during development
- add features to your existing Angular application
- run your application’s unit tests
- run your application’s end-to-end (E2E) tests
- build your application for deployment to production.
Prerequisites
Before you can use Angular CLI, you must have Node.js 6.9.0 and npm 3.0.0 or higher installed on your system.
If you already have Node.js and npm installed, you can verify their version by running:
$ node -v # => displays your Node.js version
$ npm -v # => displays your npm version
Once you have Node.js installed, you can use the npm command to install TypeScript:
$ npm install -g typescript
Although TypeScript is technically not an absolute requirement, it’s highly recommended by the Angular team, so I recommend you install it to make working with Angular as comfortable as possible.
Installing Angular CLI
$ npm install -g @angular/cli
This will install the ng command globally on your system.
To verify whether your installation completed successfully, you can run this:
$ ng version
Angular CLI: 11.2.5
Node: 12.16.1
OS: darwin x64
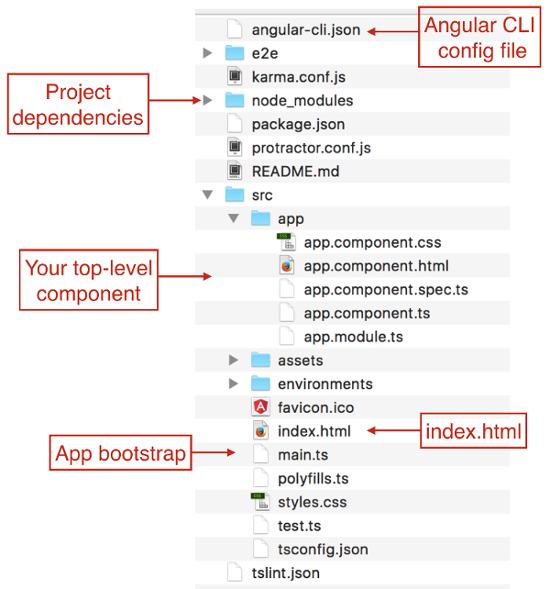
Creating a New Angular Application
There are two ways to create a new application using Angular CLI:
- ng init: create a new application in the current directory
- ng new: create a new directory and run ng init inside the new directory.
So ng new is similar to ng init, except that it also creates a directory for you.
Assuming you haven’t created a directory yet, let’s use ng new to create a new project:
ng new my-app
Available Options
- --dry-run: boolean, default false, perform dry-run so no changes are written to filesystem
- --verbose: boolean, default false
- --link-cli: boolean, default false, automatically link the @angular/cli package
- --skip-install: boolean, default false, skip npm install
- --skip-git: boolean, default false, don’t initialize git repository
- --skip-tests: boolean, default false, skip creating tests
- --skip-commit: boolean, default false, skip committing the first git commit
- --directory: string, name of directory to create, by default this is the same as the application name
- --source-dir: string, default 'src', name of source directory
- --style: string, default 'css', the style language to use ('css', 'less' or 'scss')
- --prefix: string, default 'app', the prefix to use when generating new components
- --mobile: boolean, default false, generate a Progressive Web App application (upcoming features)
- --routing: boolean, default false, add module with routing information and import it in main app module
- --inline-style: boolean, default false, use inline styles when generating the new application
- --inline-template: boolean, default false, use inline templates when generating the new application.
Run $ ng generate --help to see all available options of your locally installed Angular CLI.
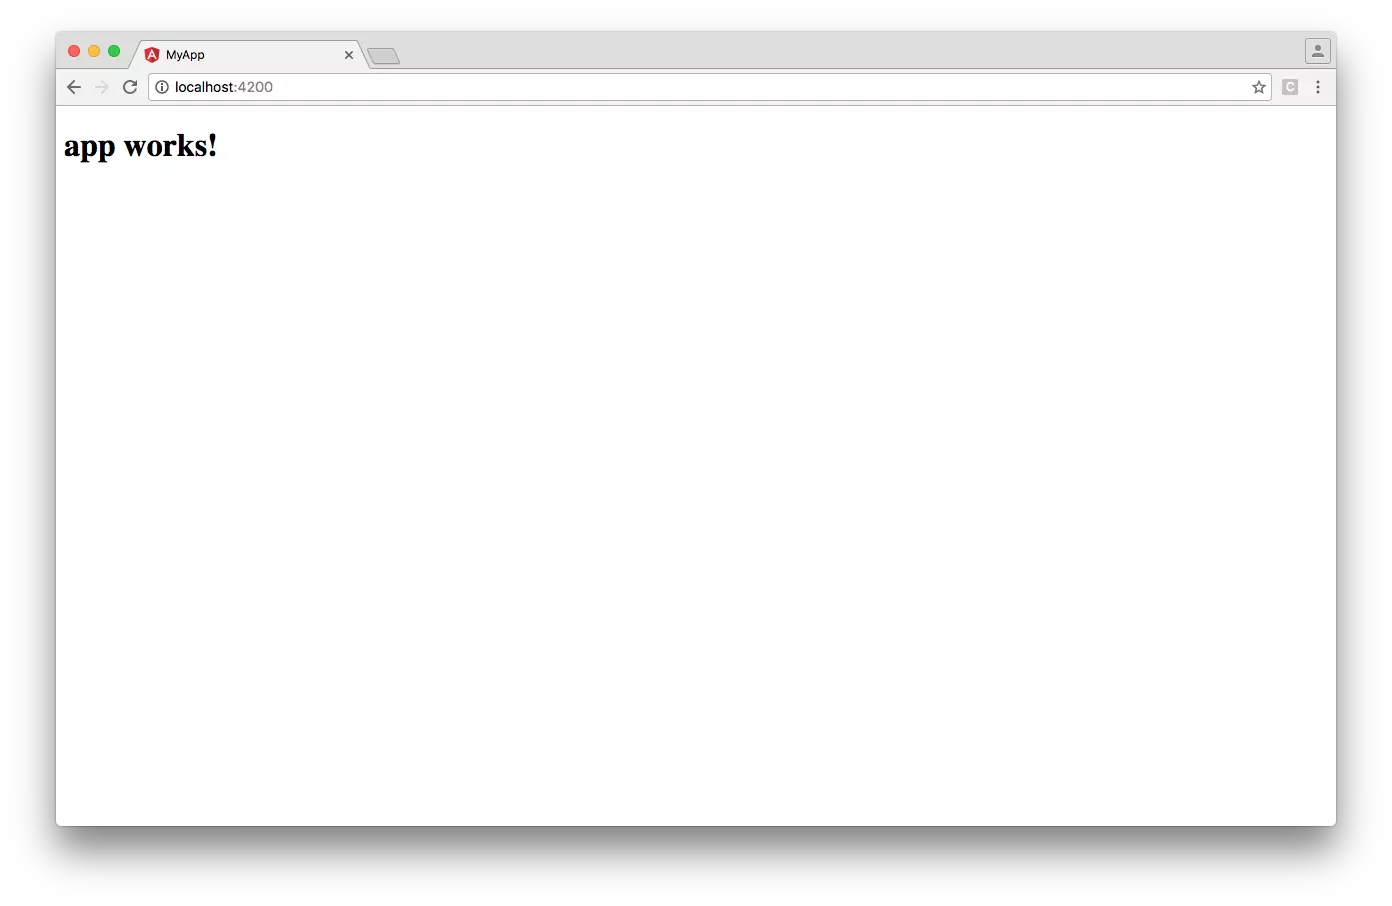
Running Your Application
To preview your new application in your browser, navigate to its directory:
$ cd my-app
$ ng serve

to start the built-in development server on port 4200
Adding Features to Your Angular Application
You can use the ng generate command to add features to your existing application:
- ng generate class my-new-class: add a class to your application
- ng generate component my-new-component: add a component to your application
- ng generate directive my-new-directive: add a directive to your application
- ng generate enum my-new-enum: add an enum to your application
- ng generate module my-new-module: add a module to your application
- ng generate pipe my-new-pipe: add a pipe to your application
- ng generate service my-new-service: add a service to your application
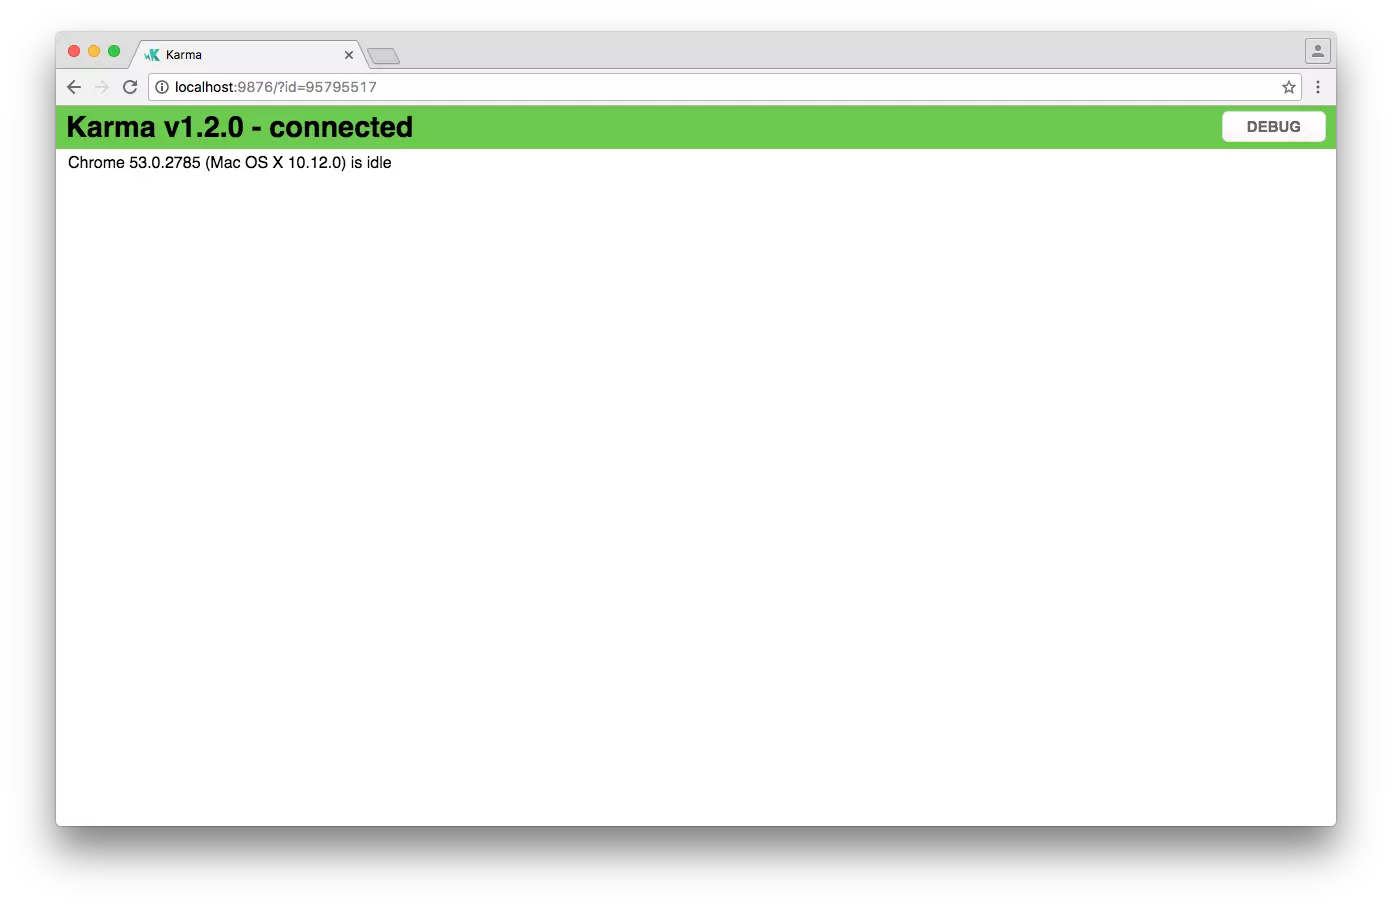
Running Your Unit Tests
Angular CLI automatically configures the Karma test runner for you when your application is initially created.
Running all unit tests of your application thus implies running all unit tests specified in all files ending in .spec.ts in all directories inside your src directory.
$ ng test
Running Your End-to-end (E2E) Tests
Angular CLI automatically configures Protractor for you when your application is initially created.
$ ng e2e
Building Your Application for Production
To build and bundle your application for deployment, run:
$ ng build
Available options
- --aot: enable ahead-of-time compilation
- --base-href: string, the base href to use in the index file
- --environment: string, default dev, environment to use
- --output-path: string, directory to write the output to
- --target: string, default development, environment to use
- --watch: boolean, default false, watch files for changes and rebuild when a change is detected.
Angular Essentials - Extension Pack for VS Code