React Native Fundamentals
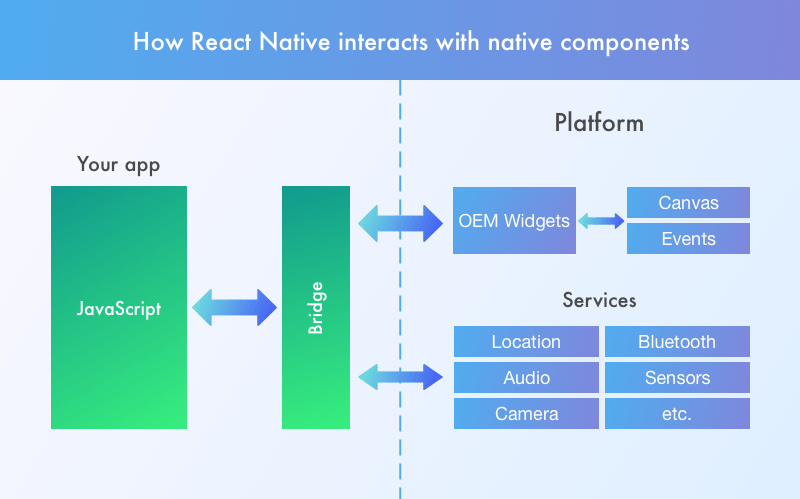
Enviroment
create-react-native-app
The React Native community maintains a command-line utility called create-react-native-app, which automatically sets up a new React Native project. This is the best way to get started as a beginner. This tool generates a QR code which you can scan to launch the app on your device. As you update your code, the changes will automatically be reflected on your device. In order to preview the app on your device, you'll be prompted to download the Expo app, which is a React Native app previewing client.
react-native-cli
If you know you'll need custom native modules in your app, you'll want to use the react-native-cli to create your app. You can read how to do this on the Facebook docs for Getting Started.
Quick
Start
Title Text
# Get the command line tool
npm install expo-cli --global

# Create your first project
expo init my-new-project
cd my-new-project
expo start
Preview your project
Open Expo Client on your device. Use it to scan the QR code printed by expo start. You may have to wait a minute while your project bundles and loads for the first time.

Preview your project
Open Expo Client on your device. Use it to scan the QR code printed by expo start. You may have to wait a minute while your project bundles and loads for the first time.
Start coding!
Select your favorite editor, like Atom, VSCode, Sublime Text, Vim, or Emacs, open your-project/App.js, and start building!

Making Changes
Try changing the text in App.js, saving the file, and watching it update on your device.

Core Components
<View />
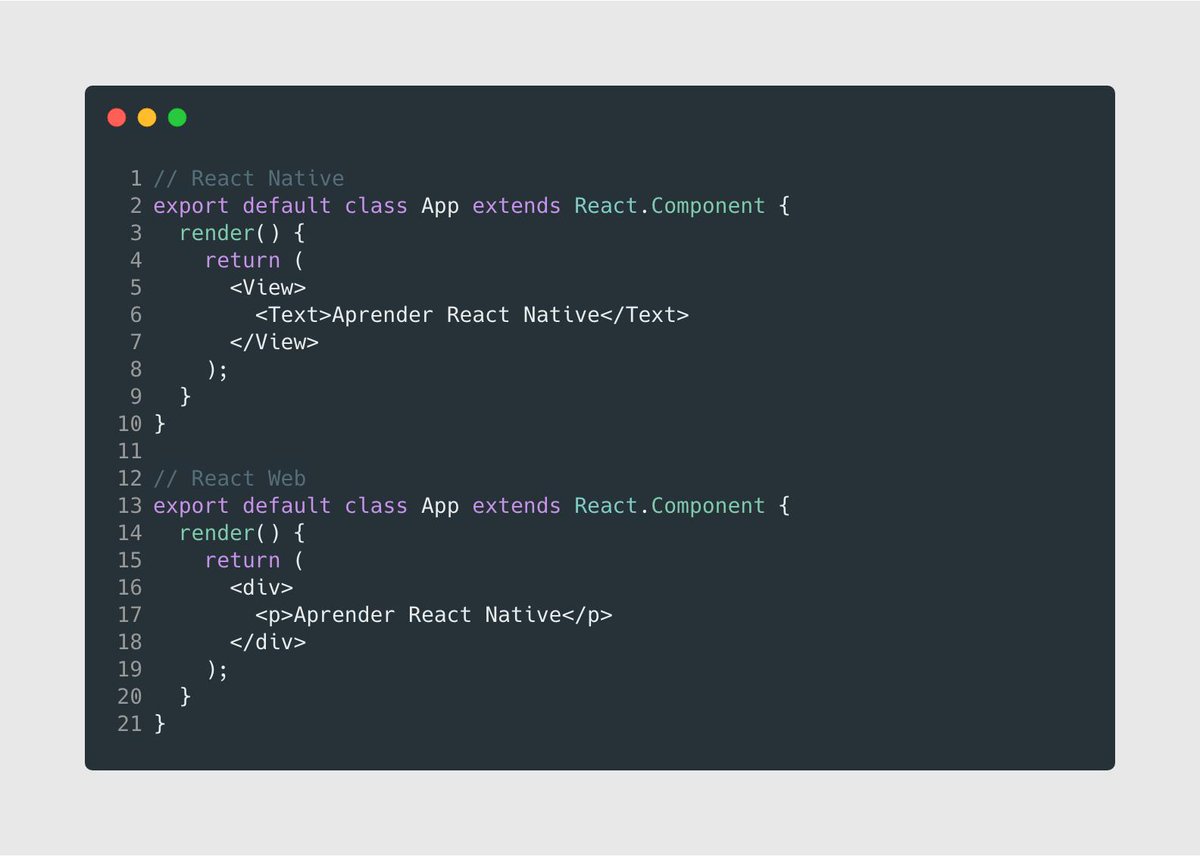
<Text />

<Image />
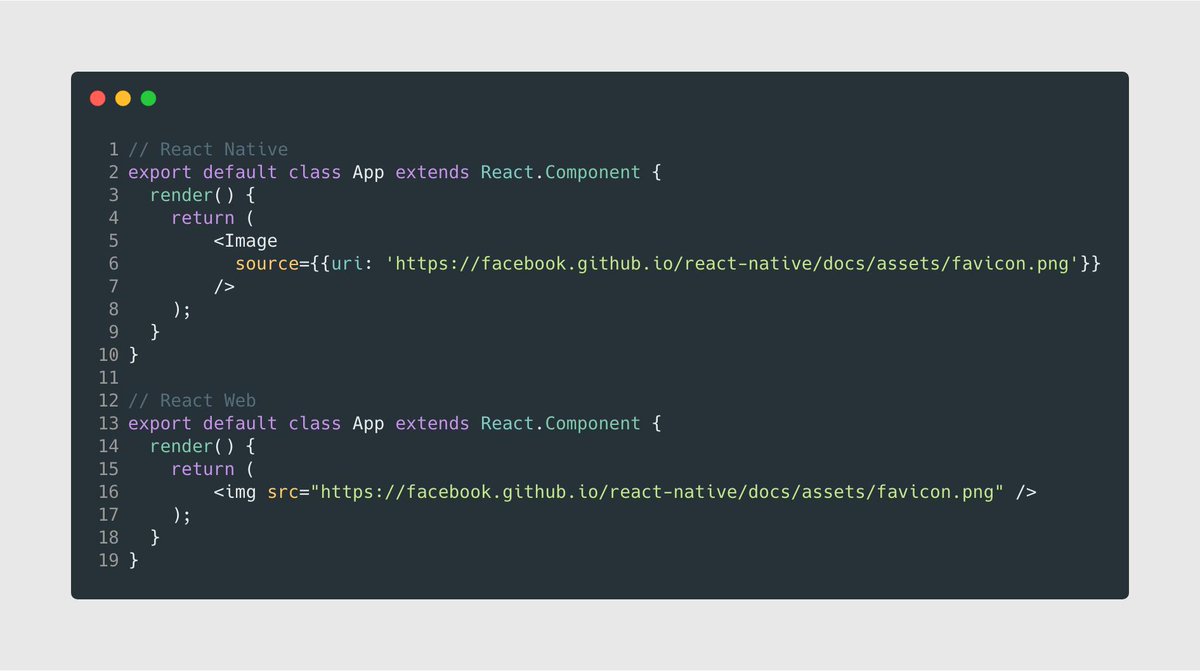
<ScrollView />

<FlatList />

<SectionList />

Time
To
Practice
Style
With React Native, you don't use a special language or syntax for defining styles. You just style your application using JavaScript. All of the core components accept a prop named style.

Height and Width
Fixed Dimensions
All dimensions in React Native are unitless, and represent density-independent pixels.
Flexbox
Components specify the layout of their children using the flexbox algorithm. Using flexbox lets you specify a layout that expands or shrinks to fill screens of various dimensions. You can seamlessly mix and match these automatic layouts with fixed sizes like width: 100.
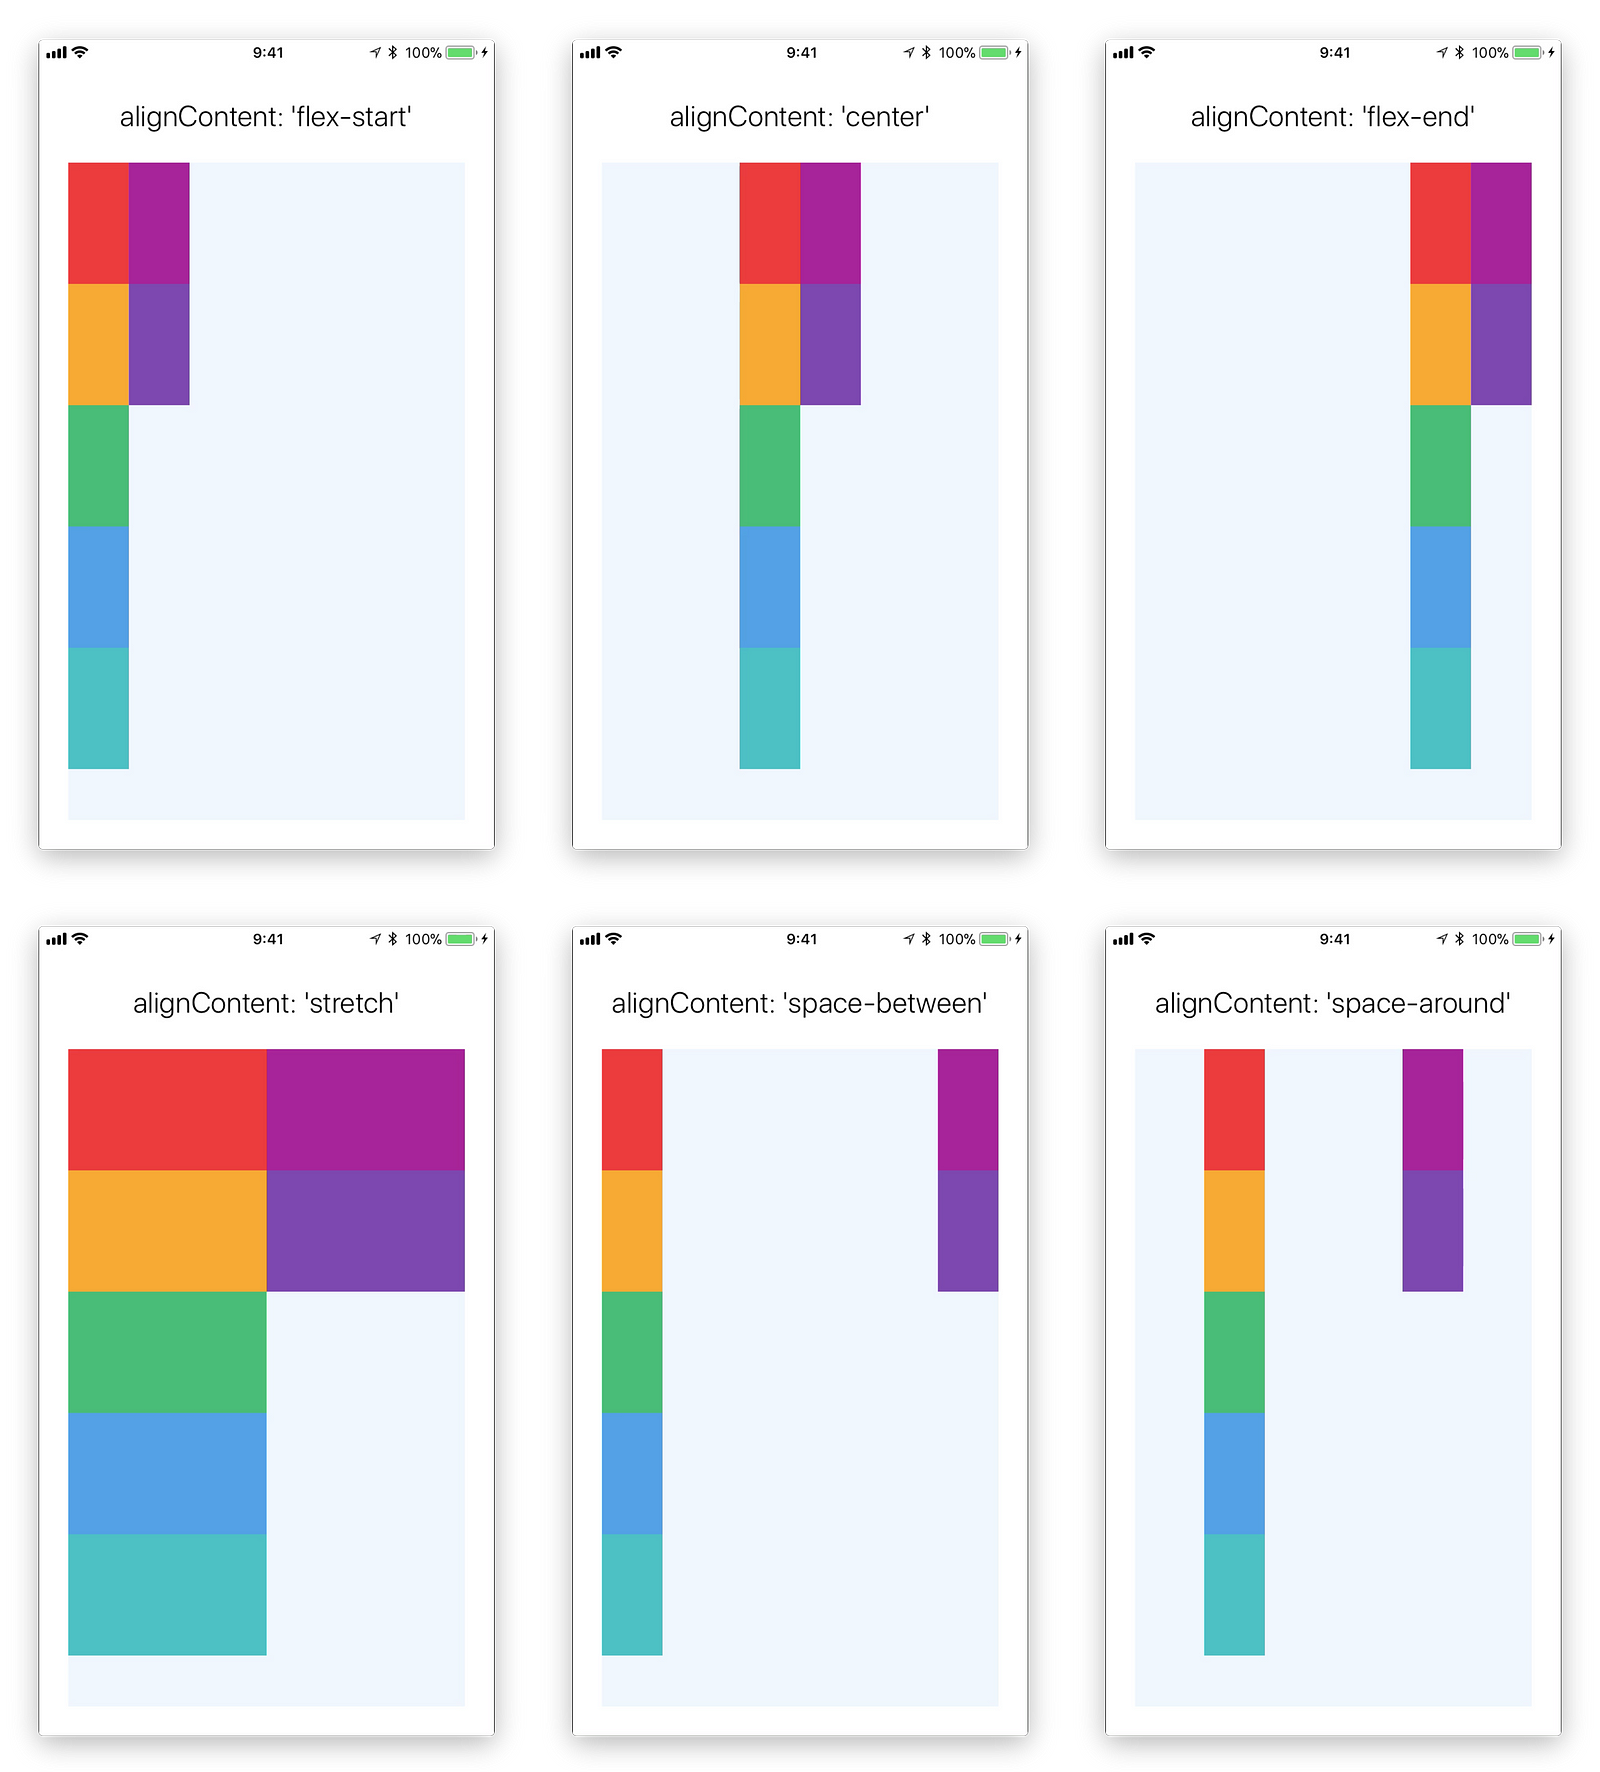
Flex Dimensions
Use flex in a component's style to have the component expand and shrink dynamically based on available space. Normally you will use flex: 1, which tells a component to fill all available space, shared evenly amongst other components with the same parent. The larger the flex given, the higher the ratio of space a component will take compared to its siblings.
UI Components
yarn add react-native-elements

# or with npm
npm install --save react-native-elements
yarn add native-base --save
# or with npm
npm install --save native-baseHandling Events
Handling Text Input
{/* React Native */}
<TextInput
  style={{height: 40}}
  placeholder="Type here to translate!"
  onChangeText={(text) => this.setState({text})}
/>

{/* React Web */}
<input
  placeholder="Type here to translate!"
  onChange={(text) => this.setState({text})}
/>
Handling Touches 1
// React Native
<Button
  onPress={this.onPressButton}
  title="Press Me"
/>

// React Web
<button
  onClick={this.onPressButton}
>
Press Me
</button>
Handling Touches 2
// React Native
<TouchableHighlight
  onPress={this.onPressButton}
/>

// React Web
<button
  onClick={this.onPressButton}
>
Time
To
Practice
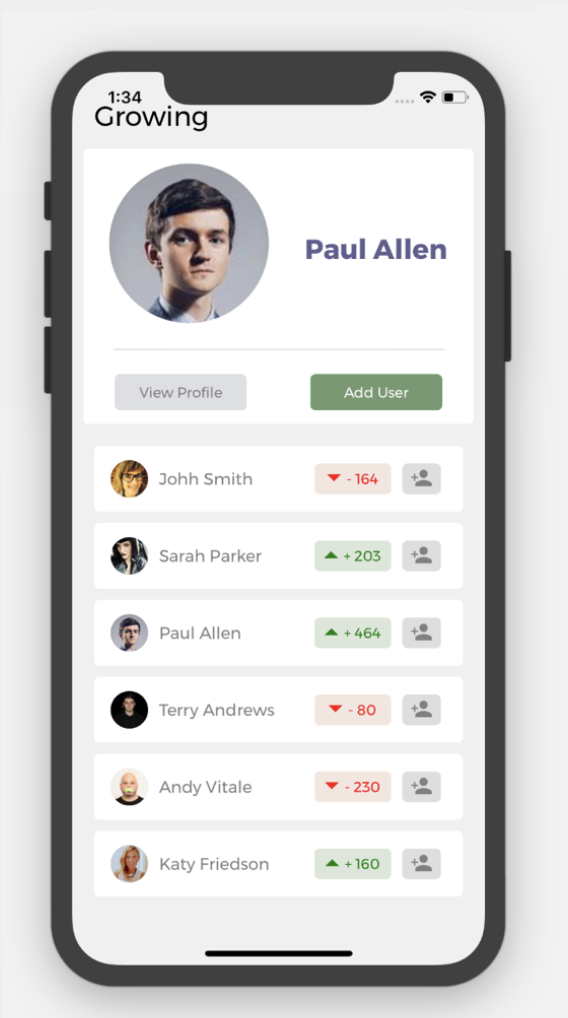

React Native APIs
AsyncStorage
Persistence
AsyncStore
await getItem(key) => ?string
Get the value stored at key. This will return a string, or null if no data has been stored yet for that key. Don't forget to call JSON.parse(value) if you're storing your data in JSON format.
await setItem(key, value)
Store value at key. Don't forget to call JSON.stringify(value) if you're storing your data in JSON format.
WebView
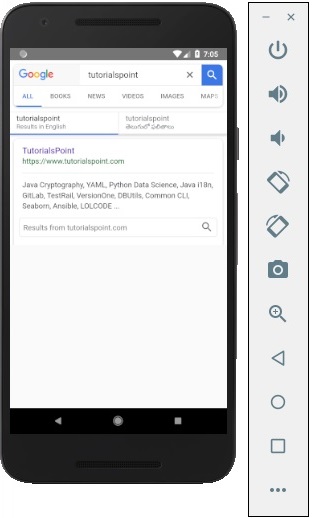
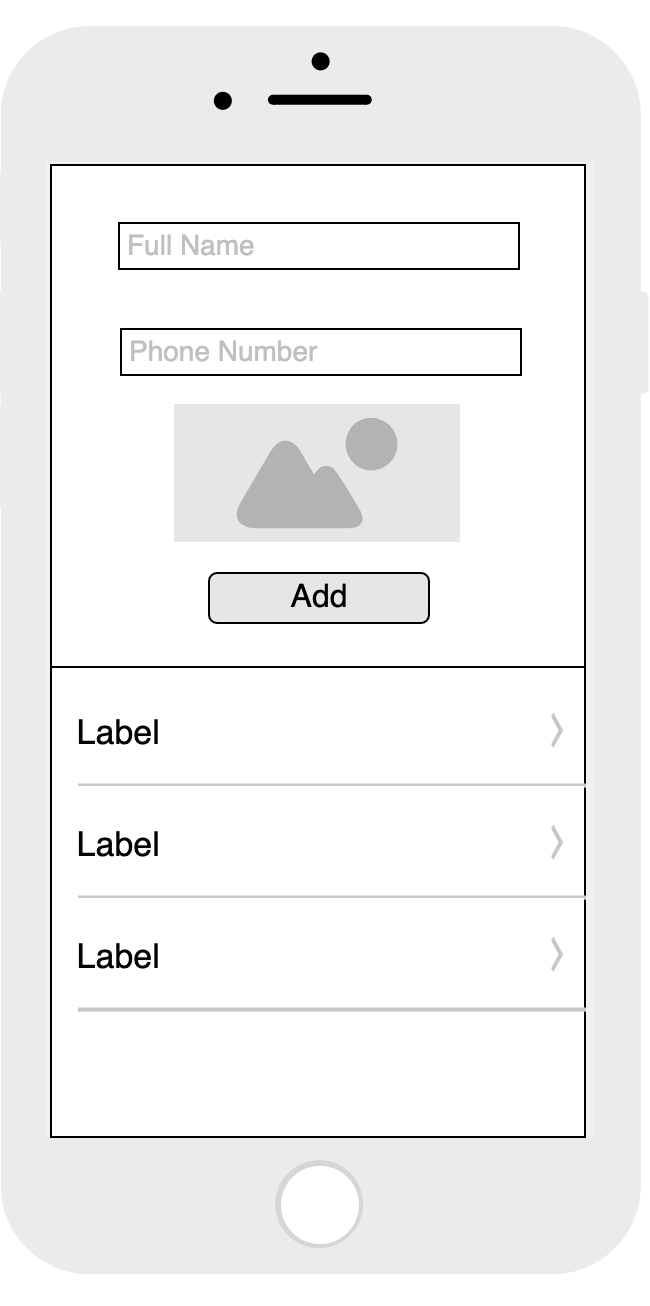
Camera
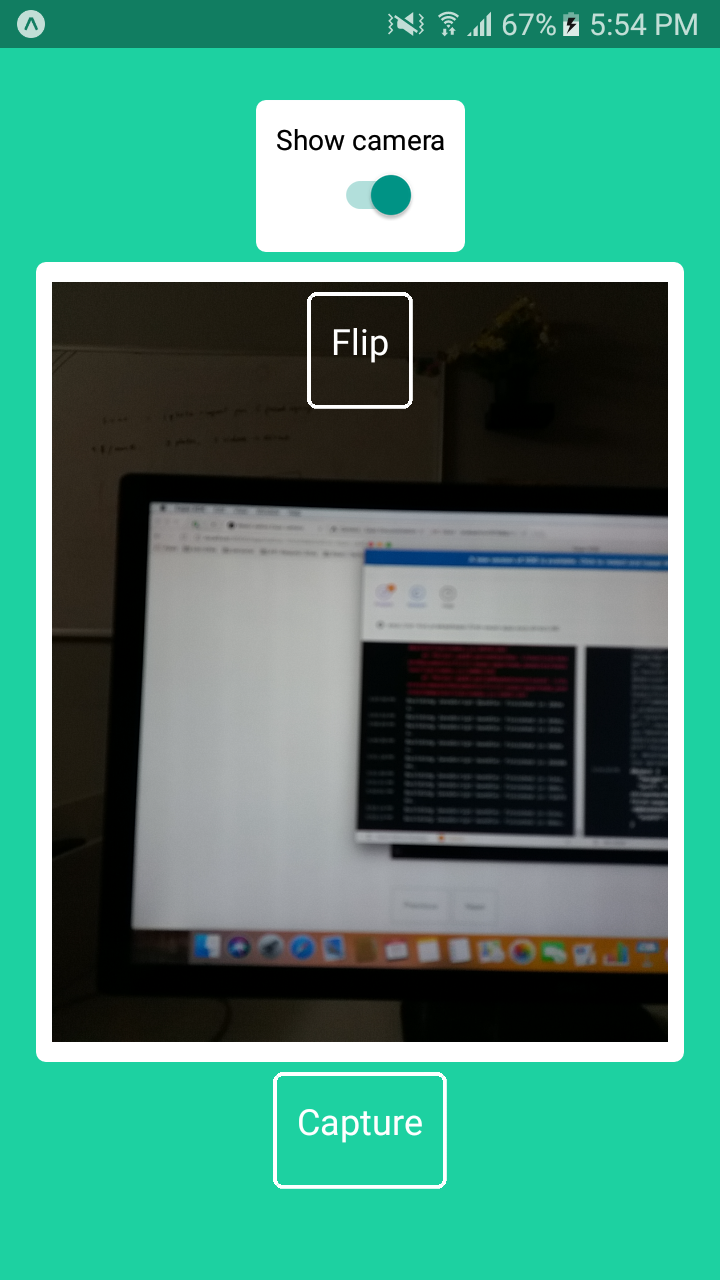
A React component that renders a preview for the device's either front or back camera.
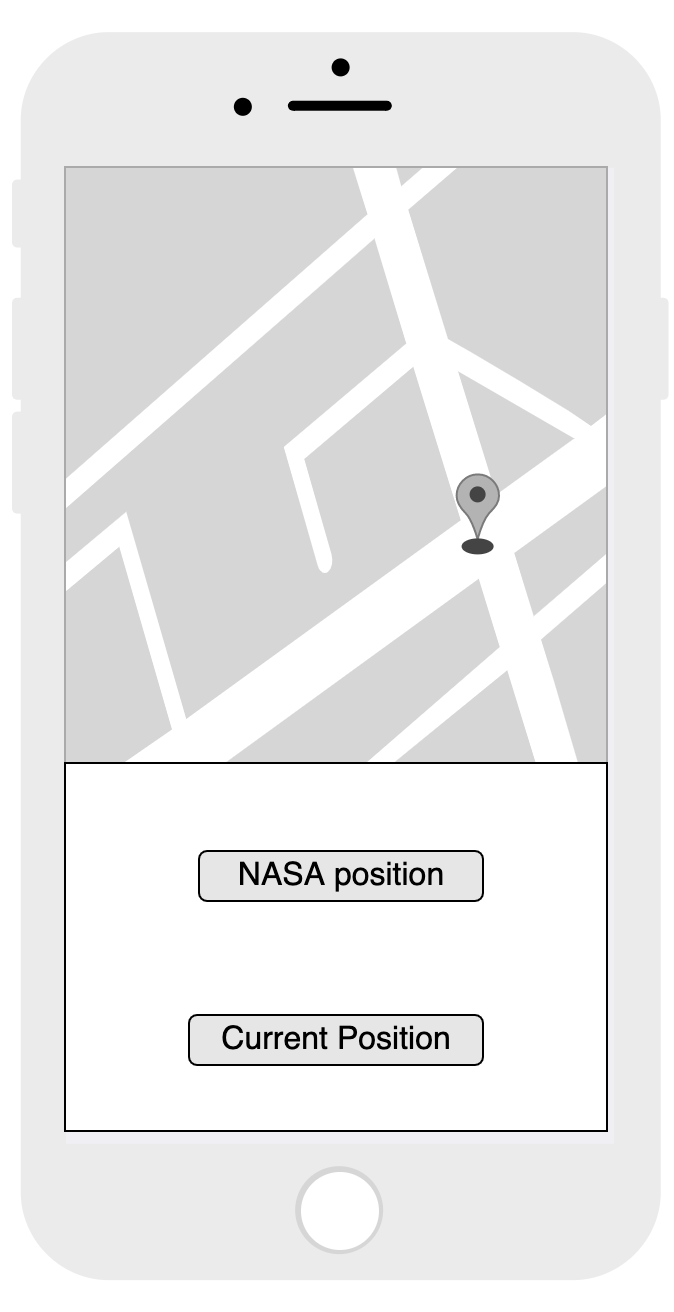
MapView
A Map component that uses Apple Maps or Google Maps on iOS and Google Maps on Android
Time
To
Practice
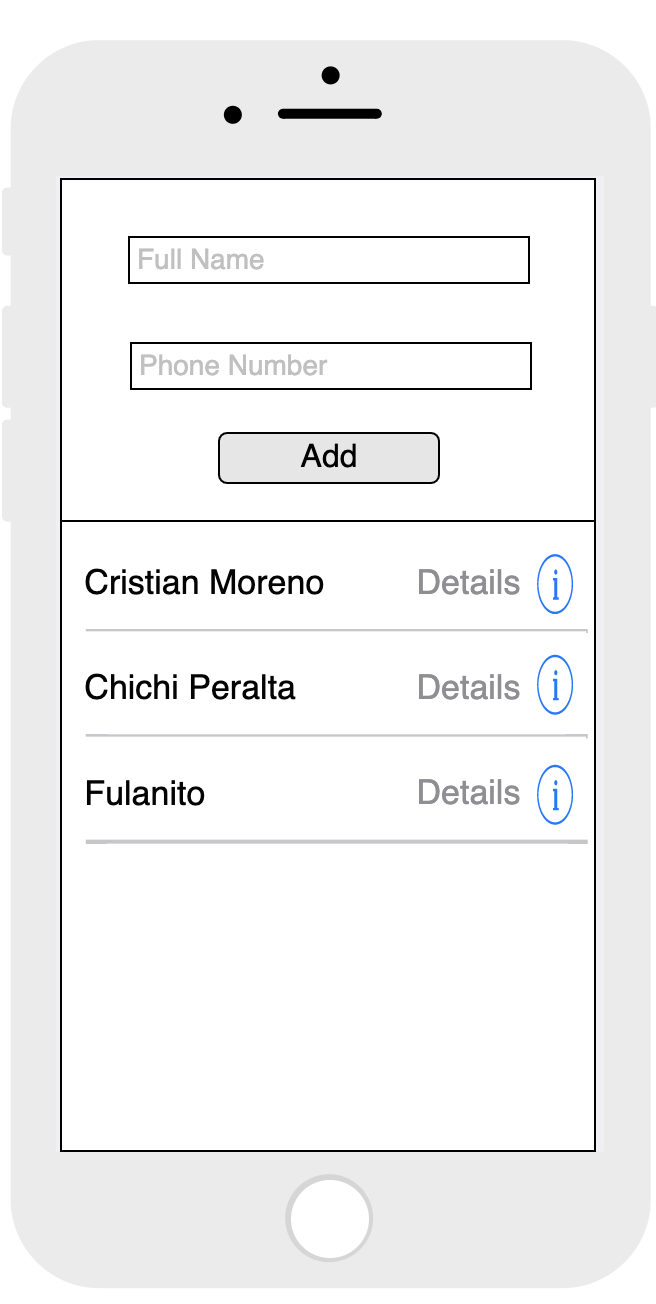
Distributing
Your
App
Configure app.json
 {
   "expo": {
    "name": "Your App Name",
    "icon": "./path/to/your/app-icon.png",
    "version": "1.0.0",
    "slug": "your-app-slug",
    "sdkVersion": "XX.0.0",
    "ios": {
      "bundleIdentifier": "com.yourcompany.yourappname"
    },
    "android": {
      "package": "com.yourcompany.yourappname"
    }
   }
 }
Start the build
# Build Android
expo build:android


# Build Android
expo build:ios
Start the build
[exp] No currently active or previous builds for this project.

Would you like to upload a keystore or have us generate one for you?
If you don't know what this means, let us handle it! :)

  1) Let Expo handle the process!
  2) I want to upload my own keystore!