Setting Up Amazon web Service
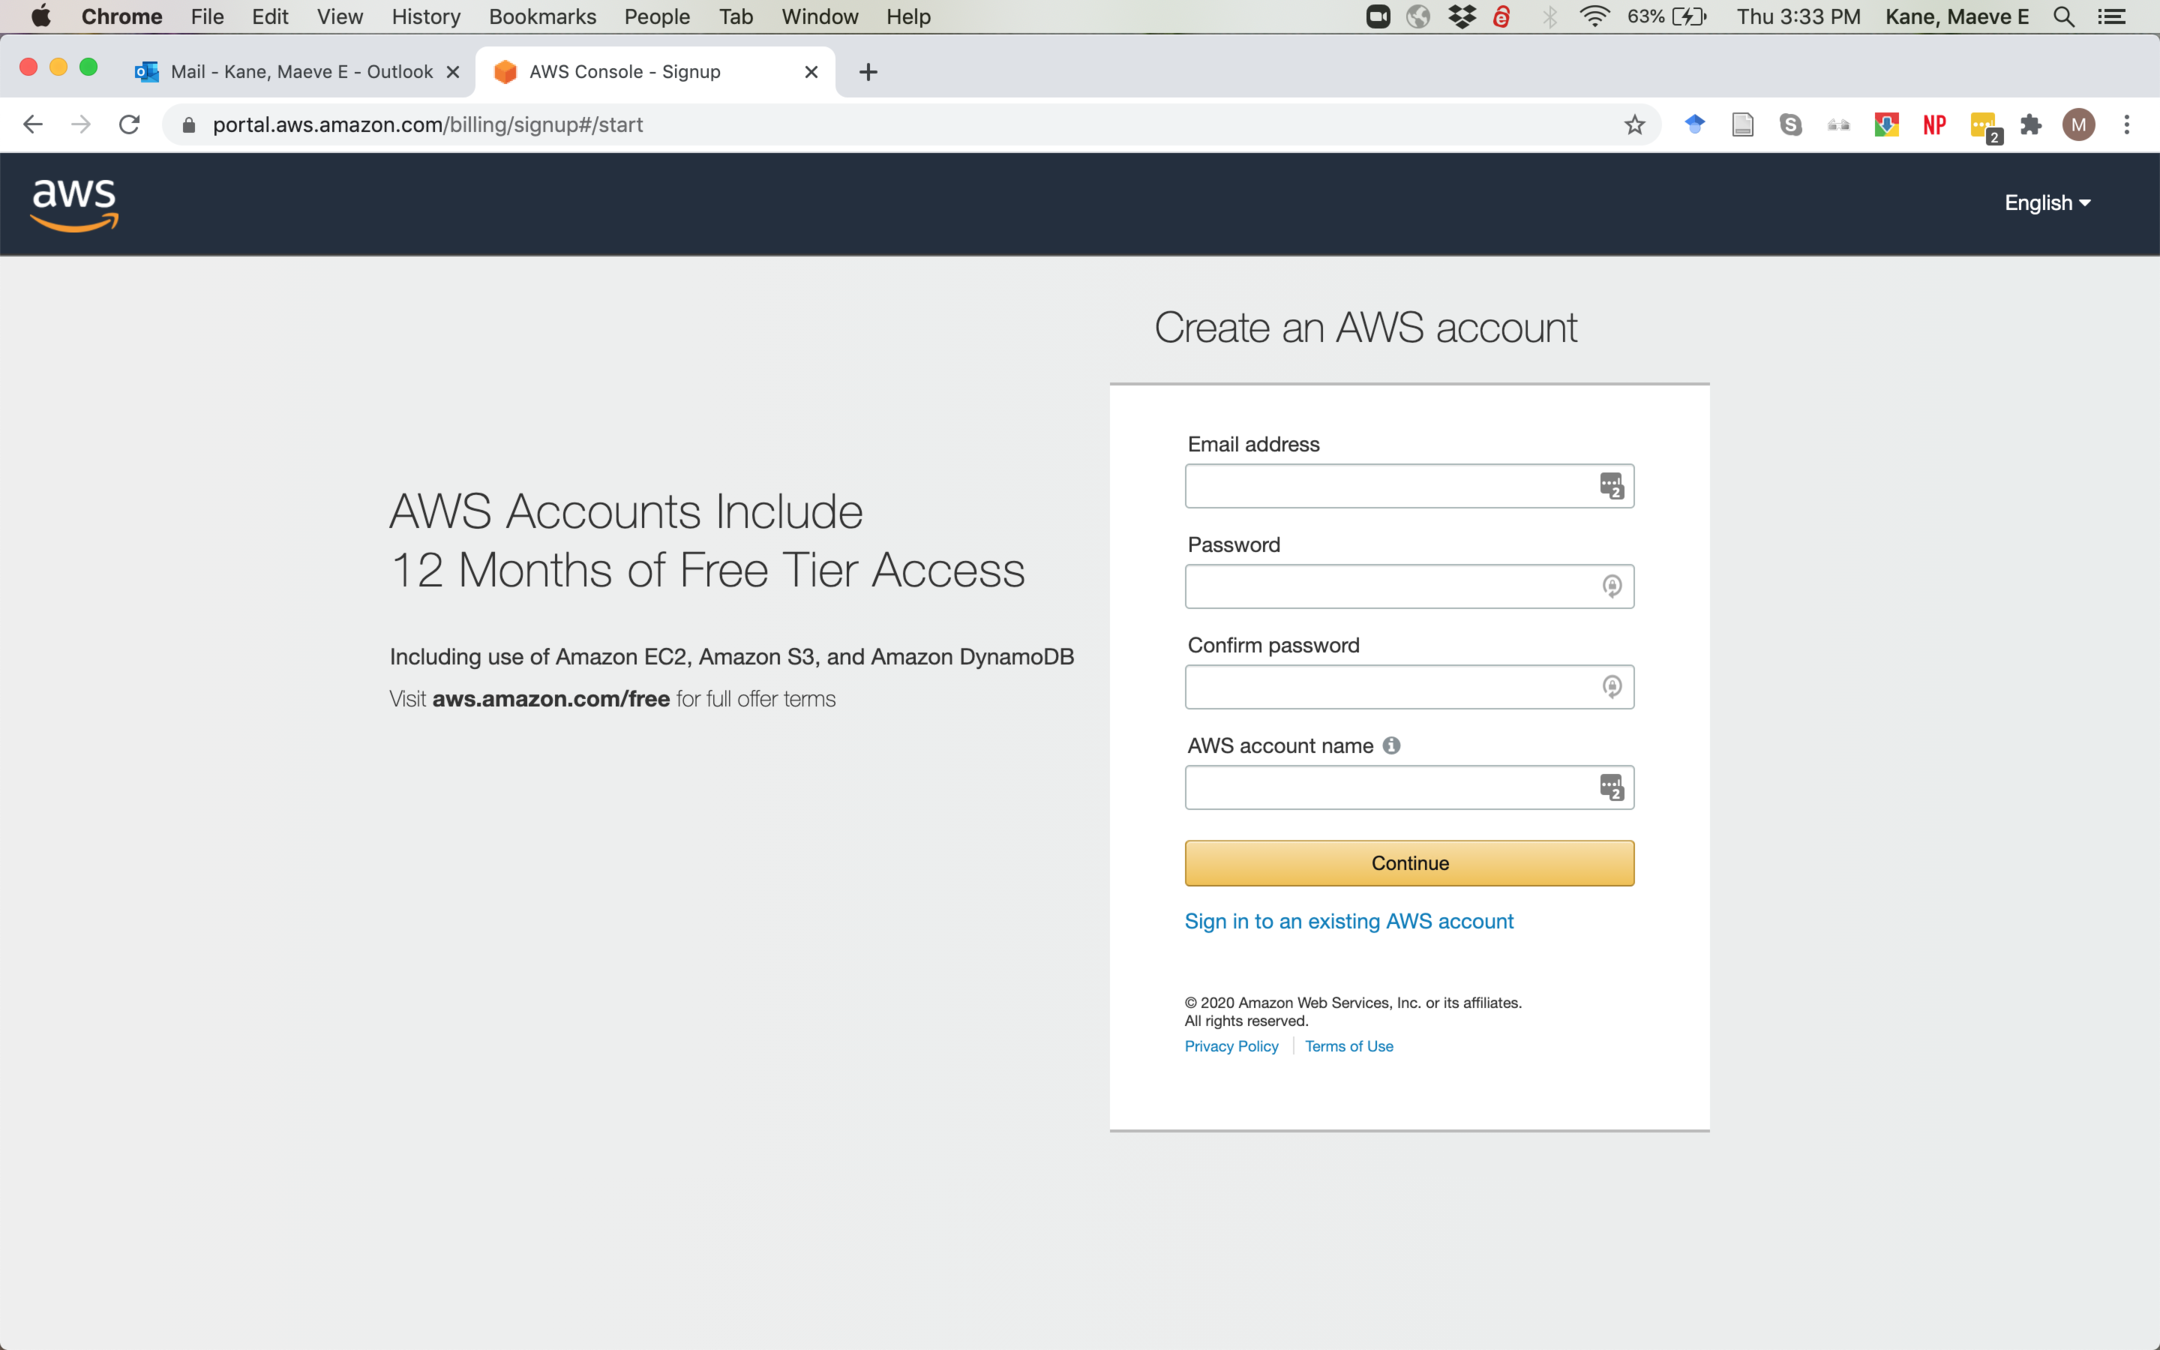
You'll need to create an Amazon Web Services account at https://portal.aws.amazon.com/billing/signup#/start even if you already have an Amazon account
Remember this username and password information!
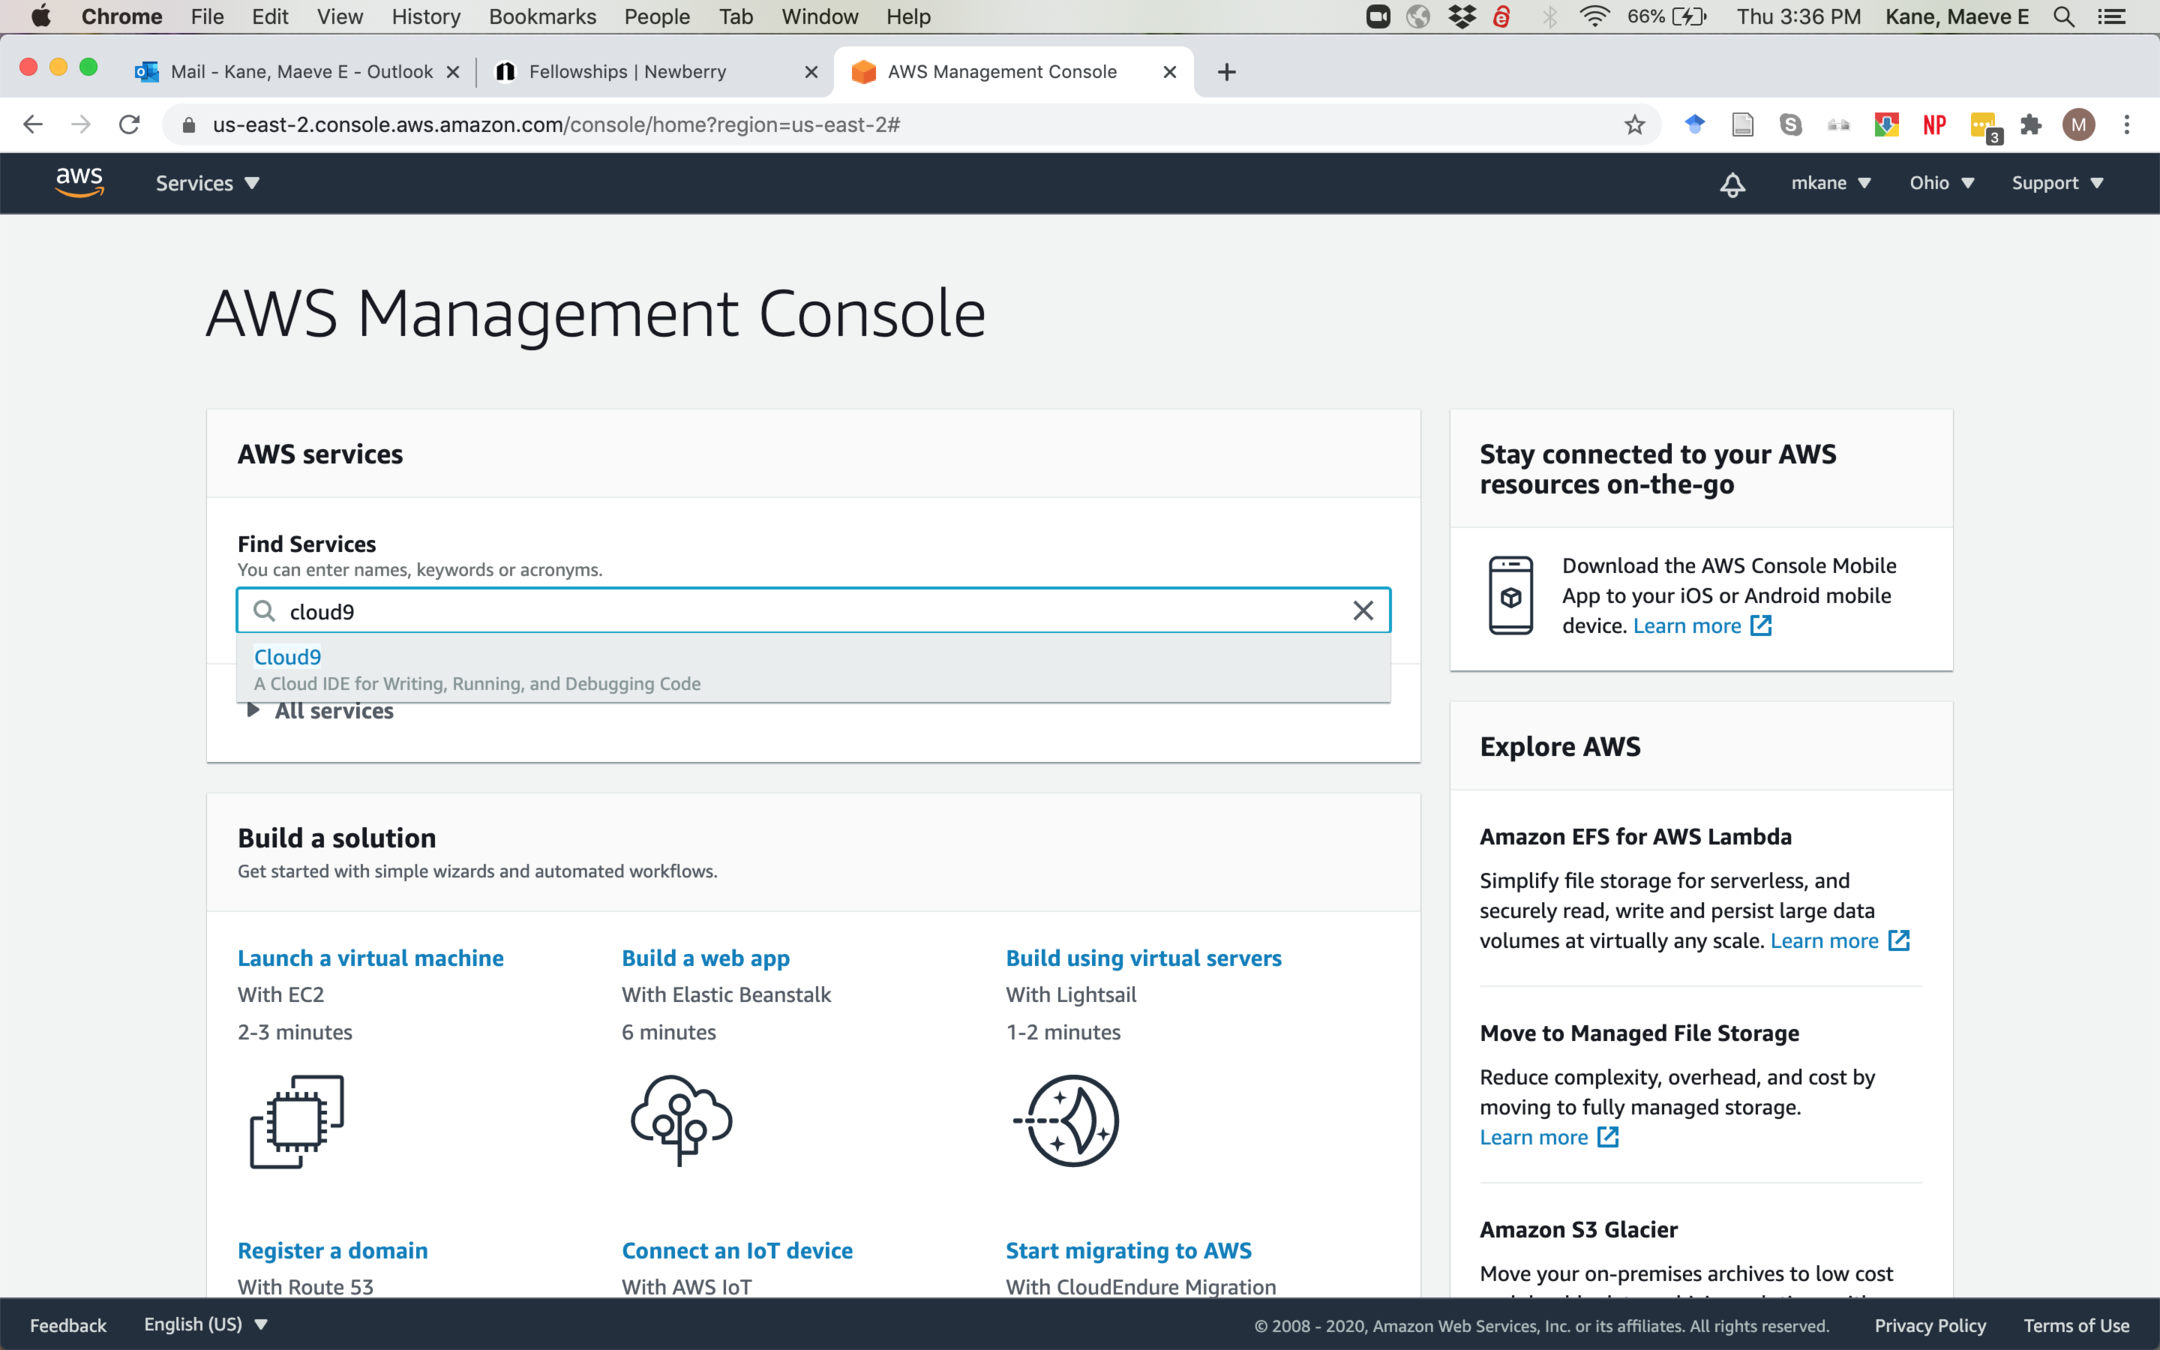
Once you've created your account, search for "Cloud9" in the Find Services bar. You will not need anything else here
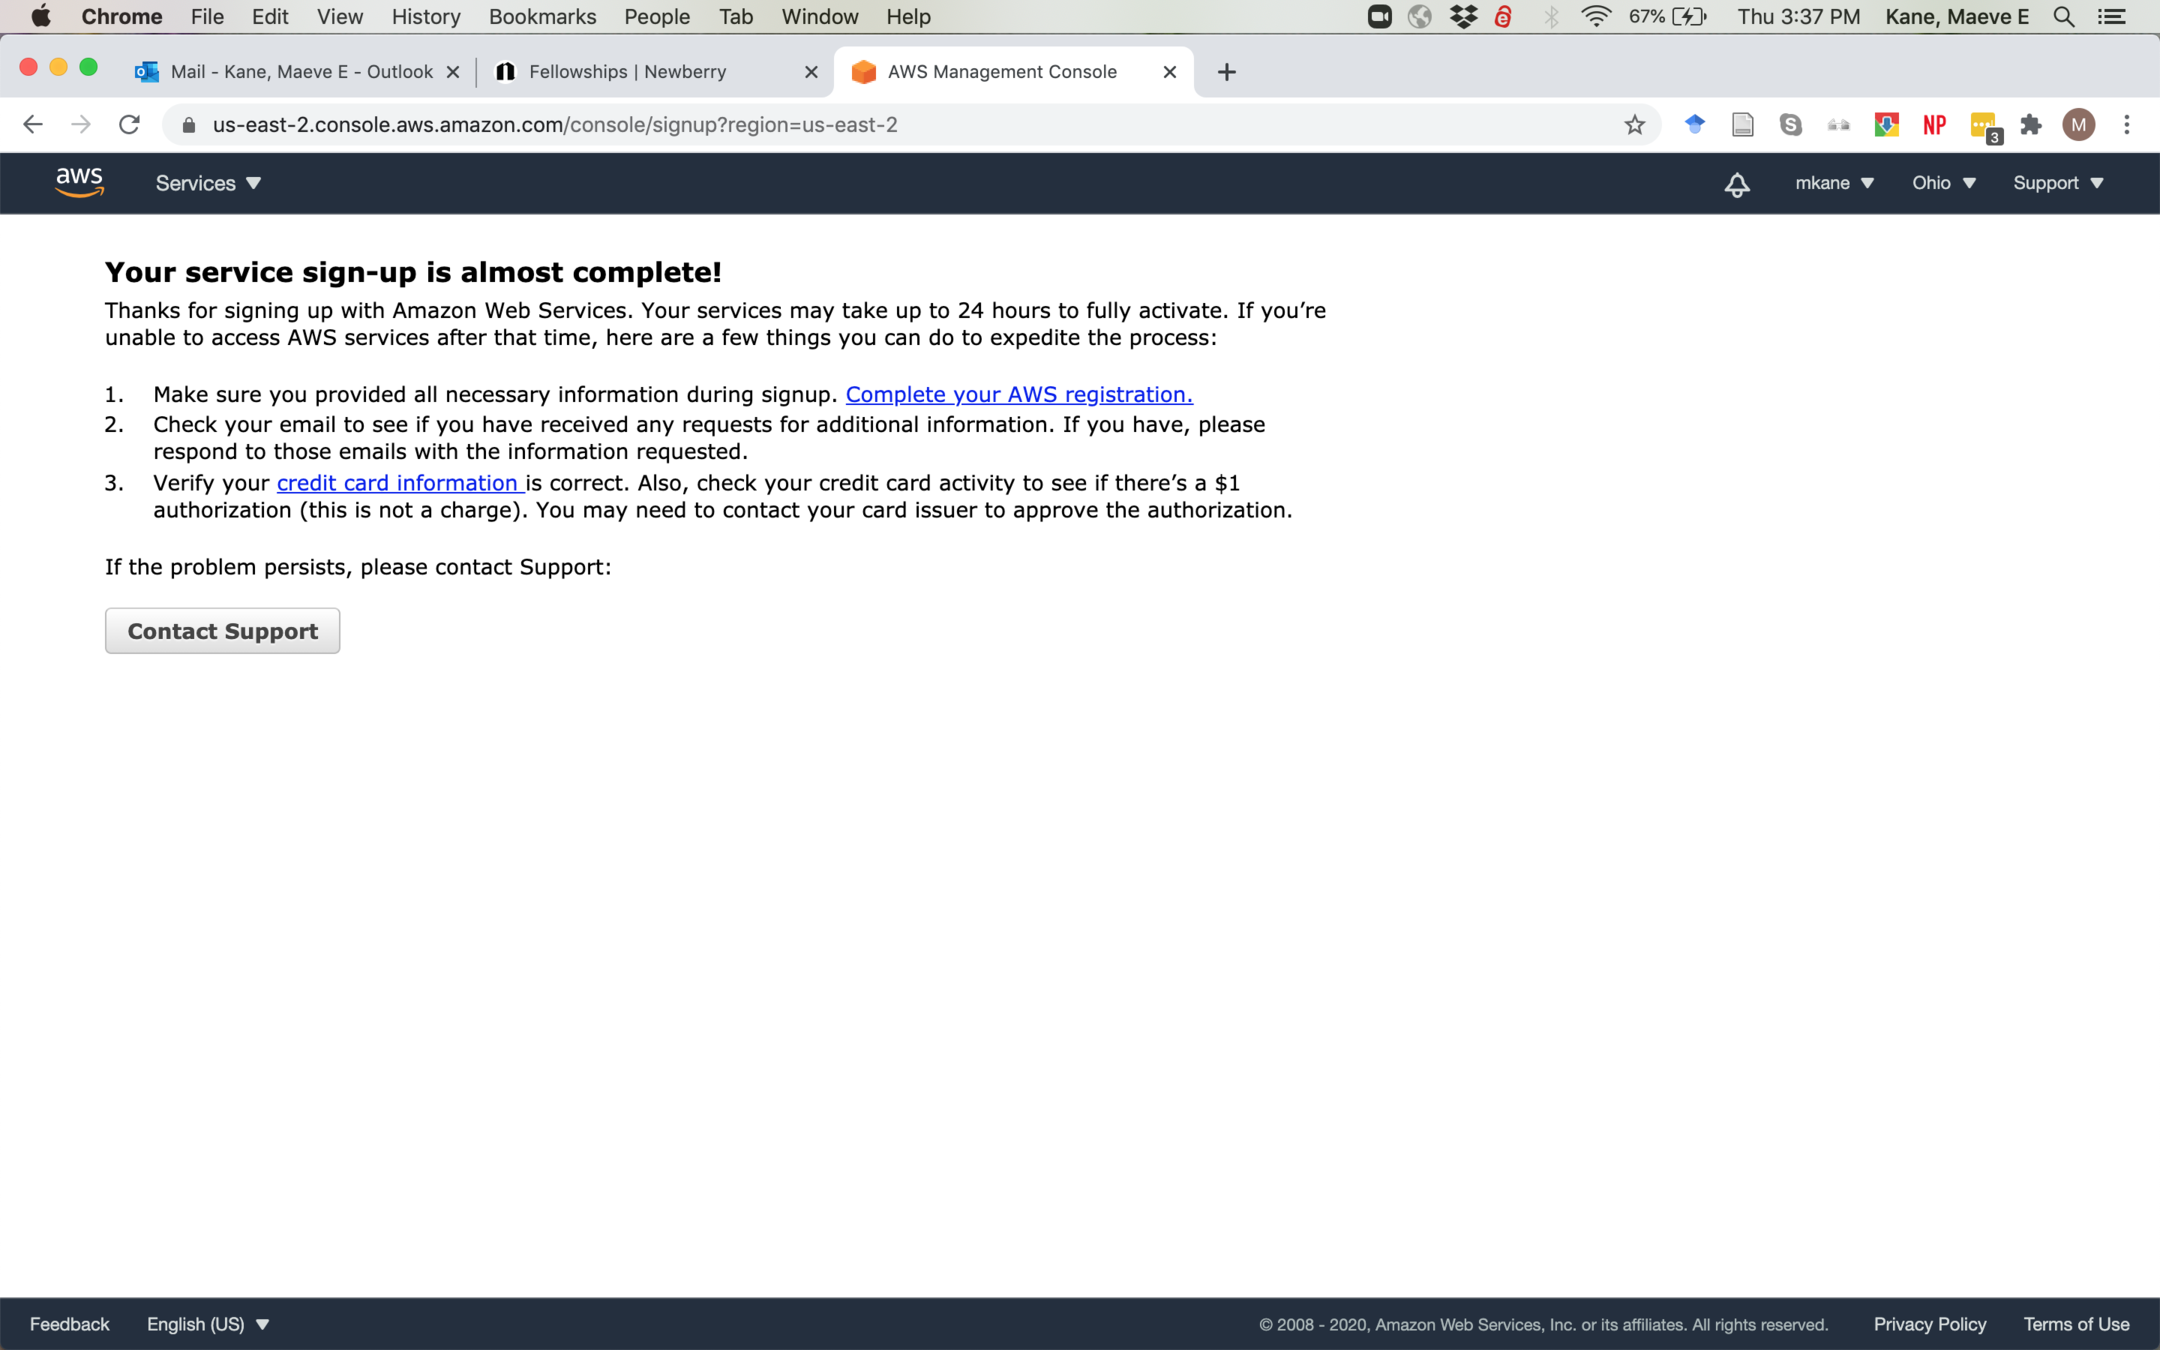
You will probably see this screen; click through Complete your AWS registration
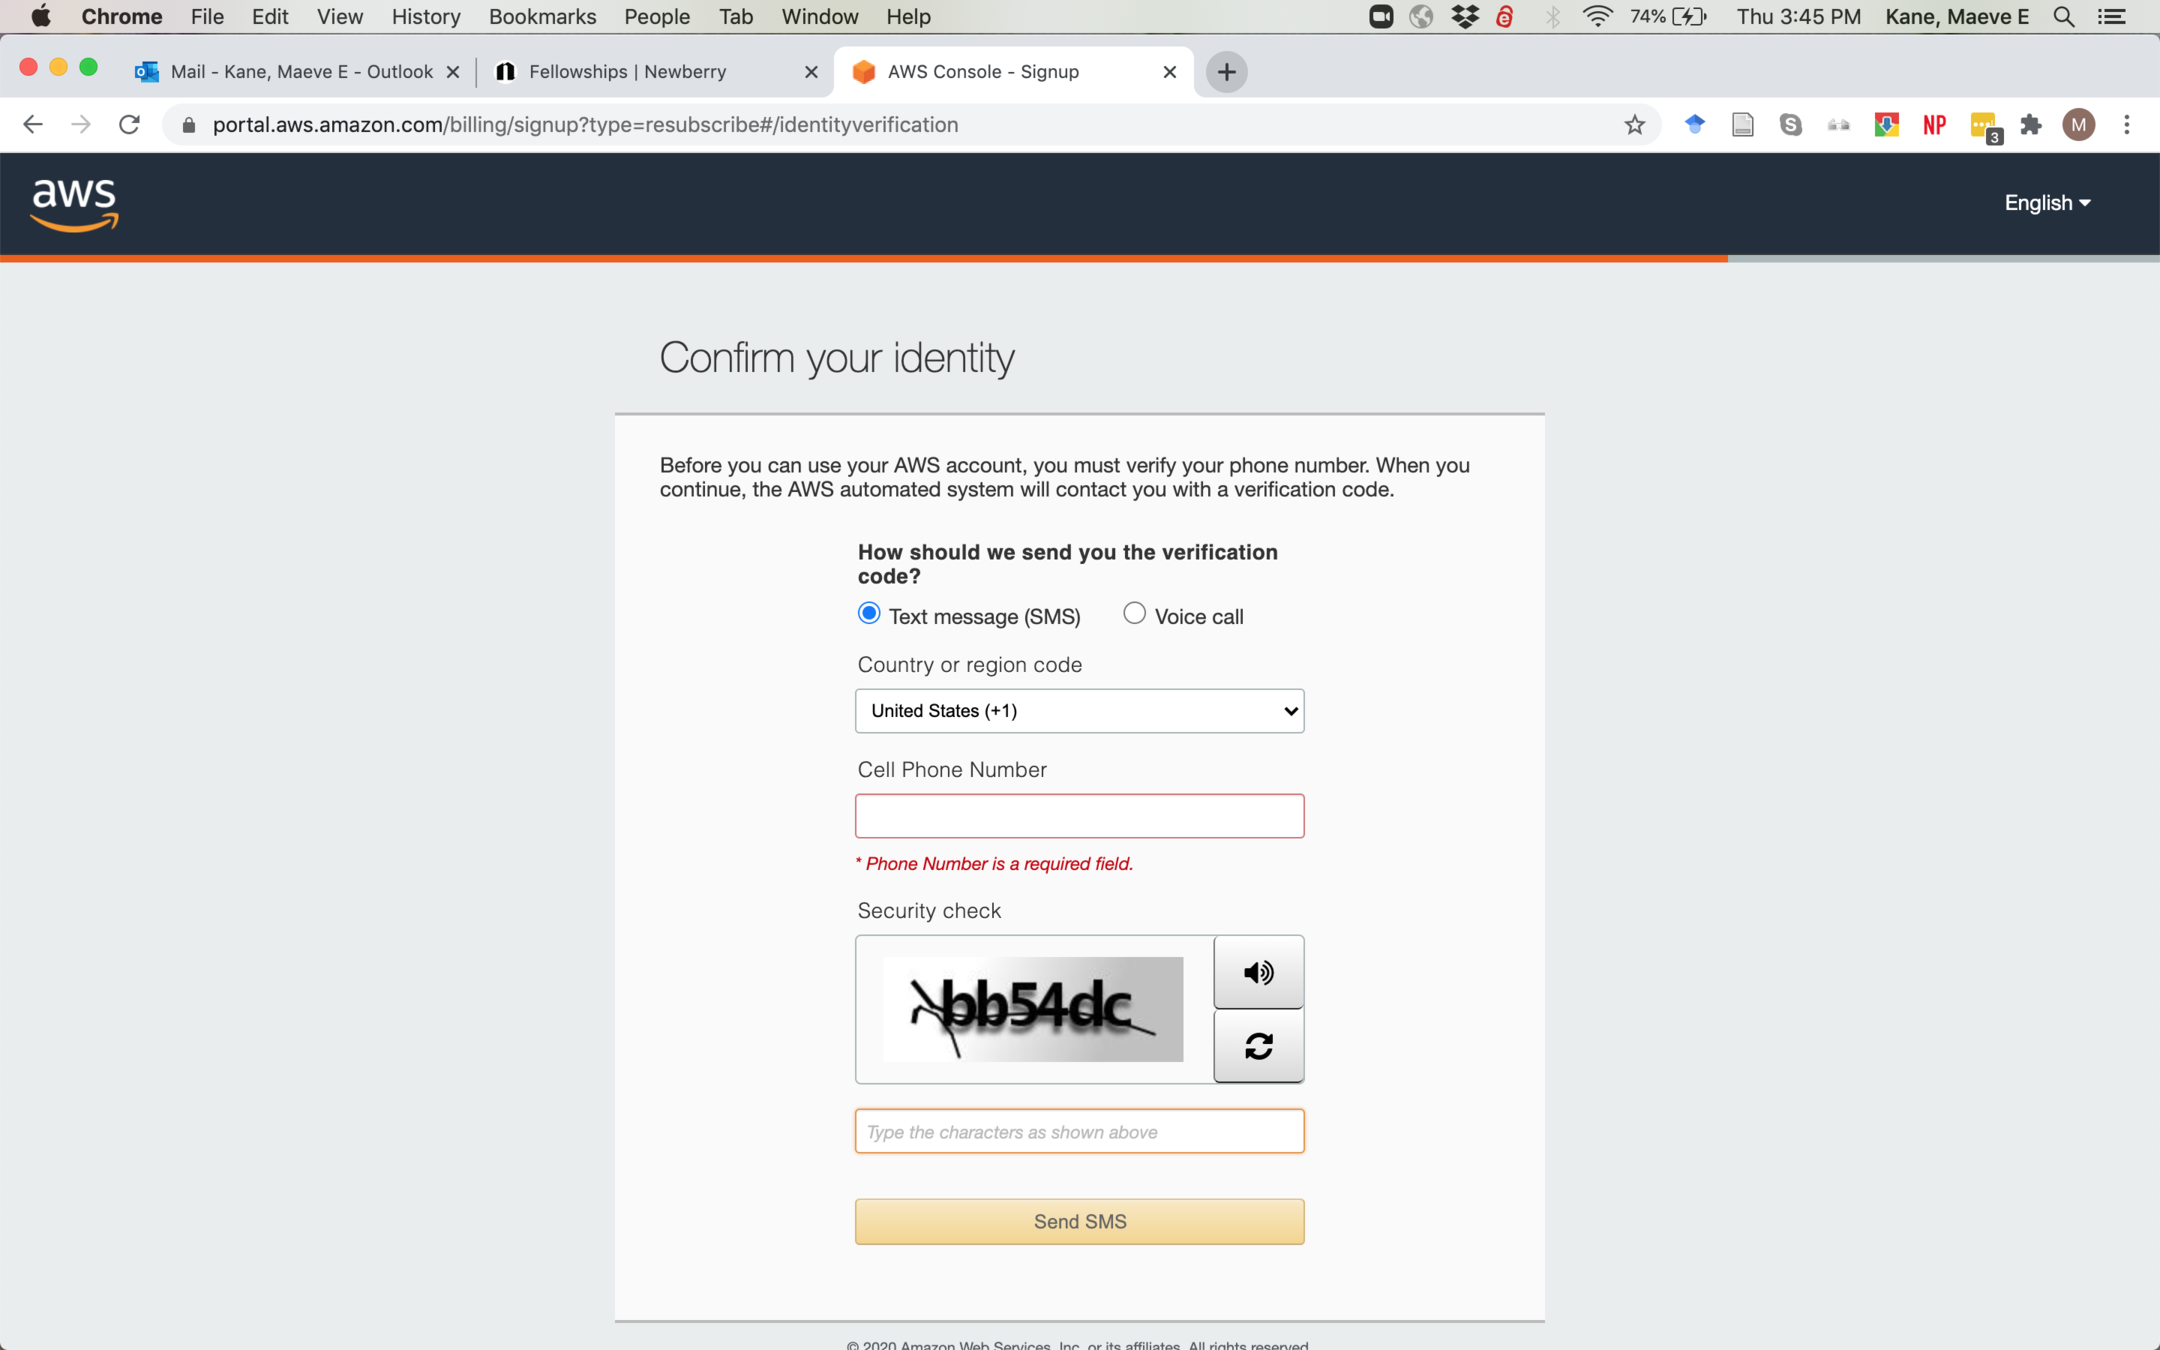
If for any reason you don't have a cell phone number, please let me know ASAP, no questions asked and I will help get you set up
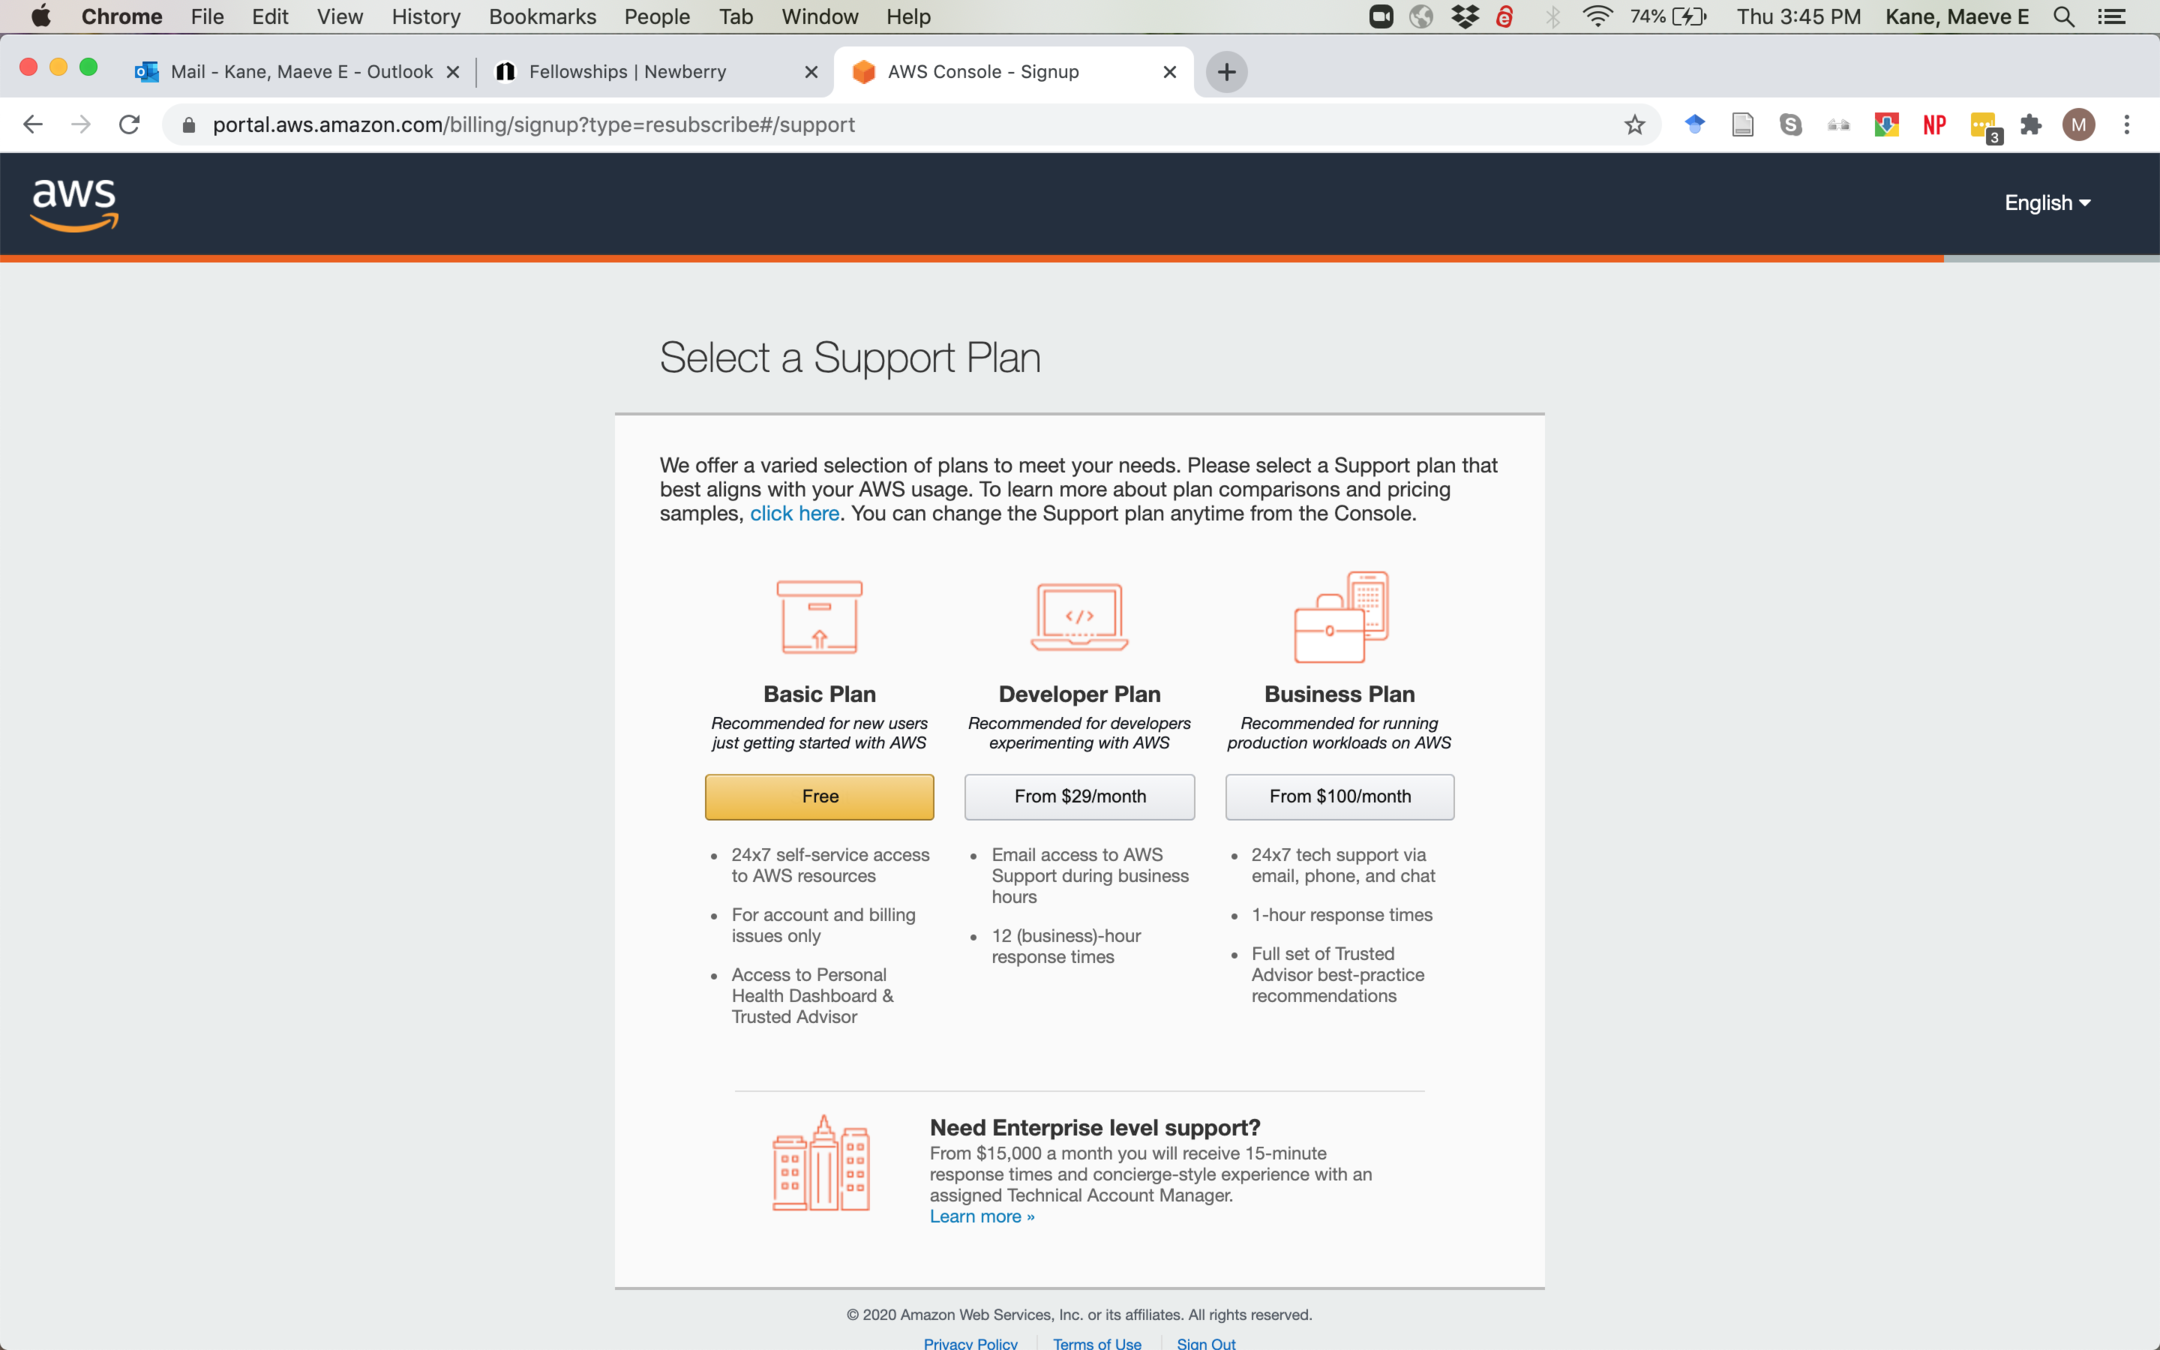
We will only be using the free Basic Plan.
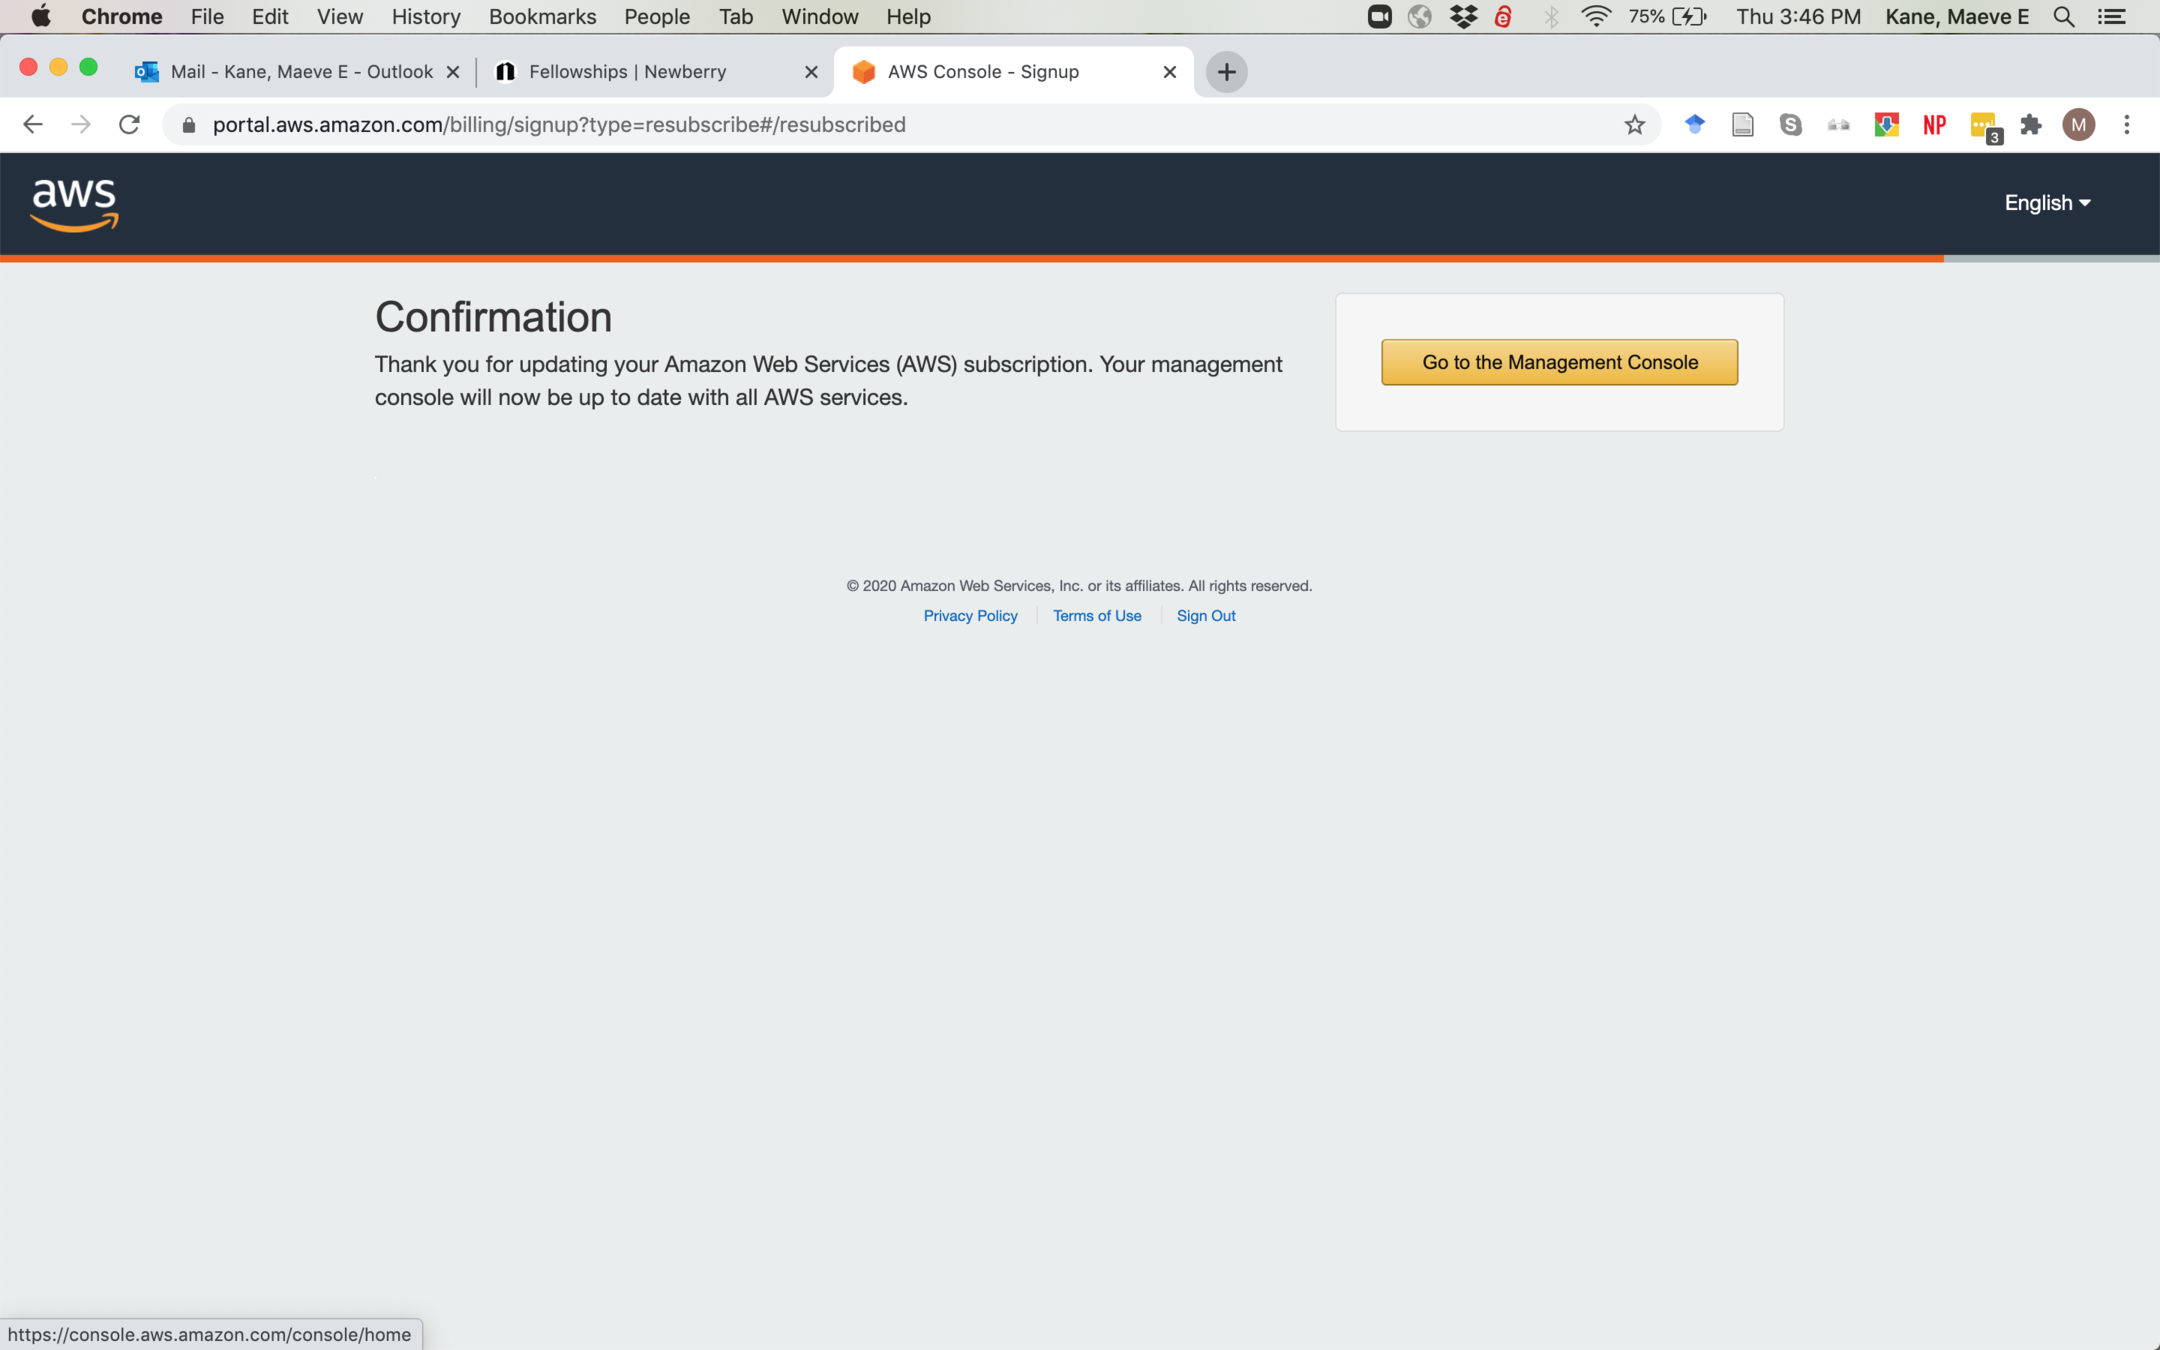
Confirm and go back to the management console
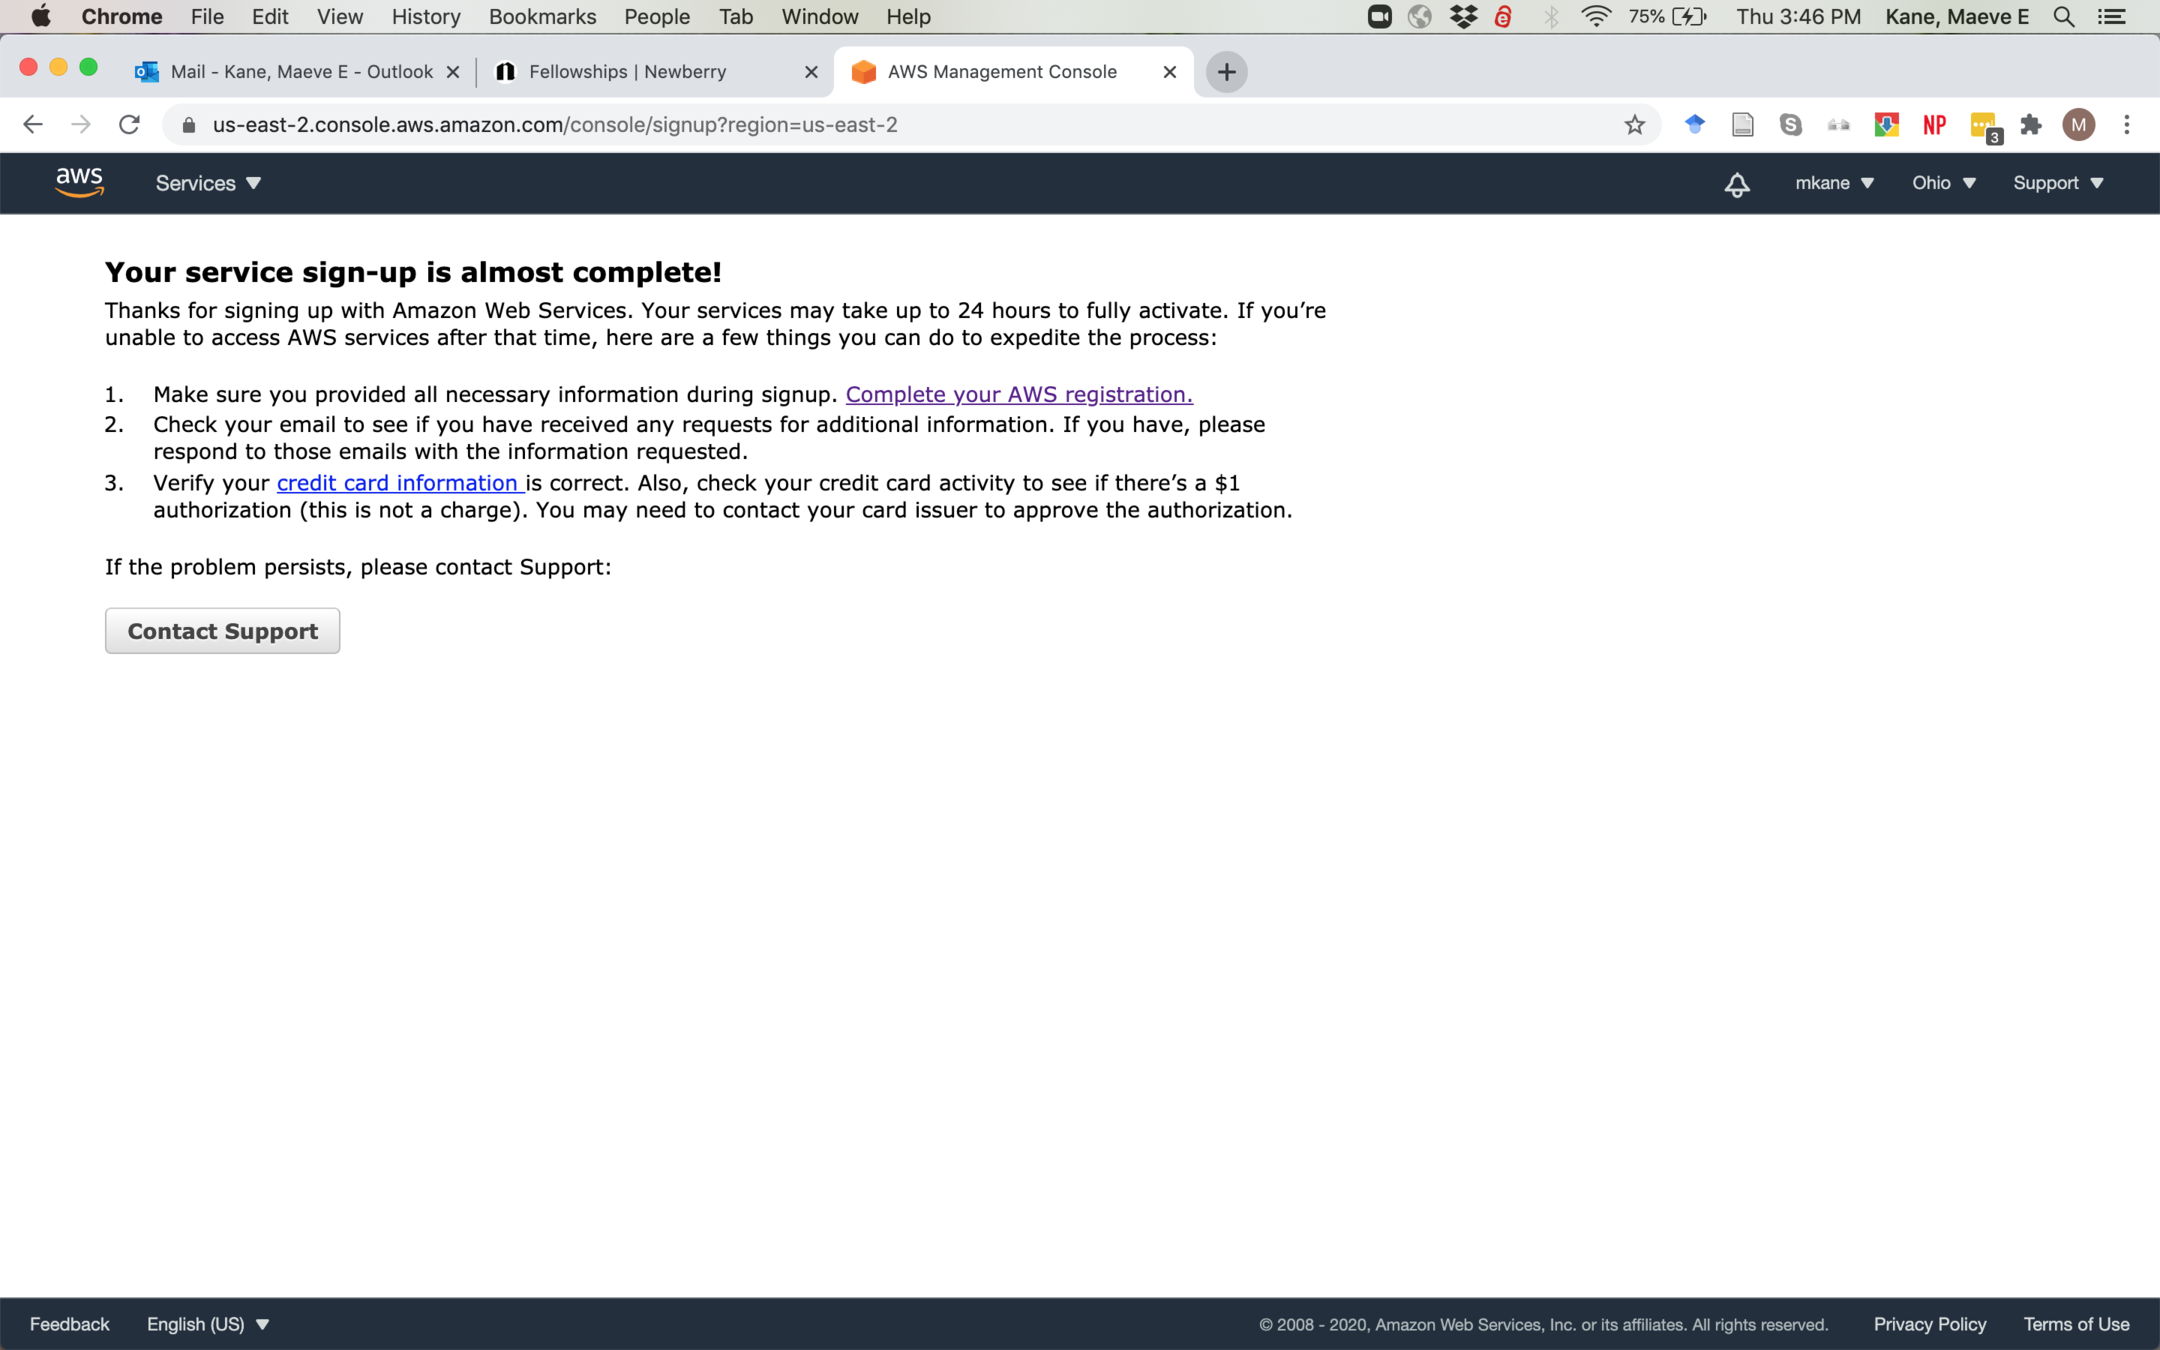
You might see this again! Time to check your credit card information!
- If for any reason you don't have a credit card to use for this, please contact me ASAP and I will help get you set up, no questions asked.
- AWS will run a $1 charge on your card to verify that it's valid, and it should refund the charge within 5-10 days
- The services we're using for class are free; AWS asks for a credit card in case you start using some of their other services later
- You are unlikely to accidentally start using something that will charge your card, but if you want to keep tabs on it, you can go to https://console.aws.amazon.com/billing/home to check on your account and cancel things
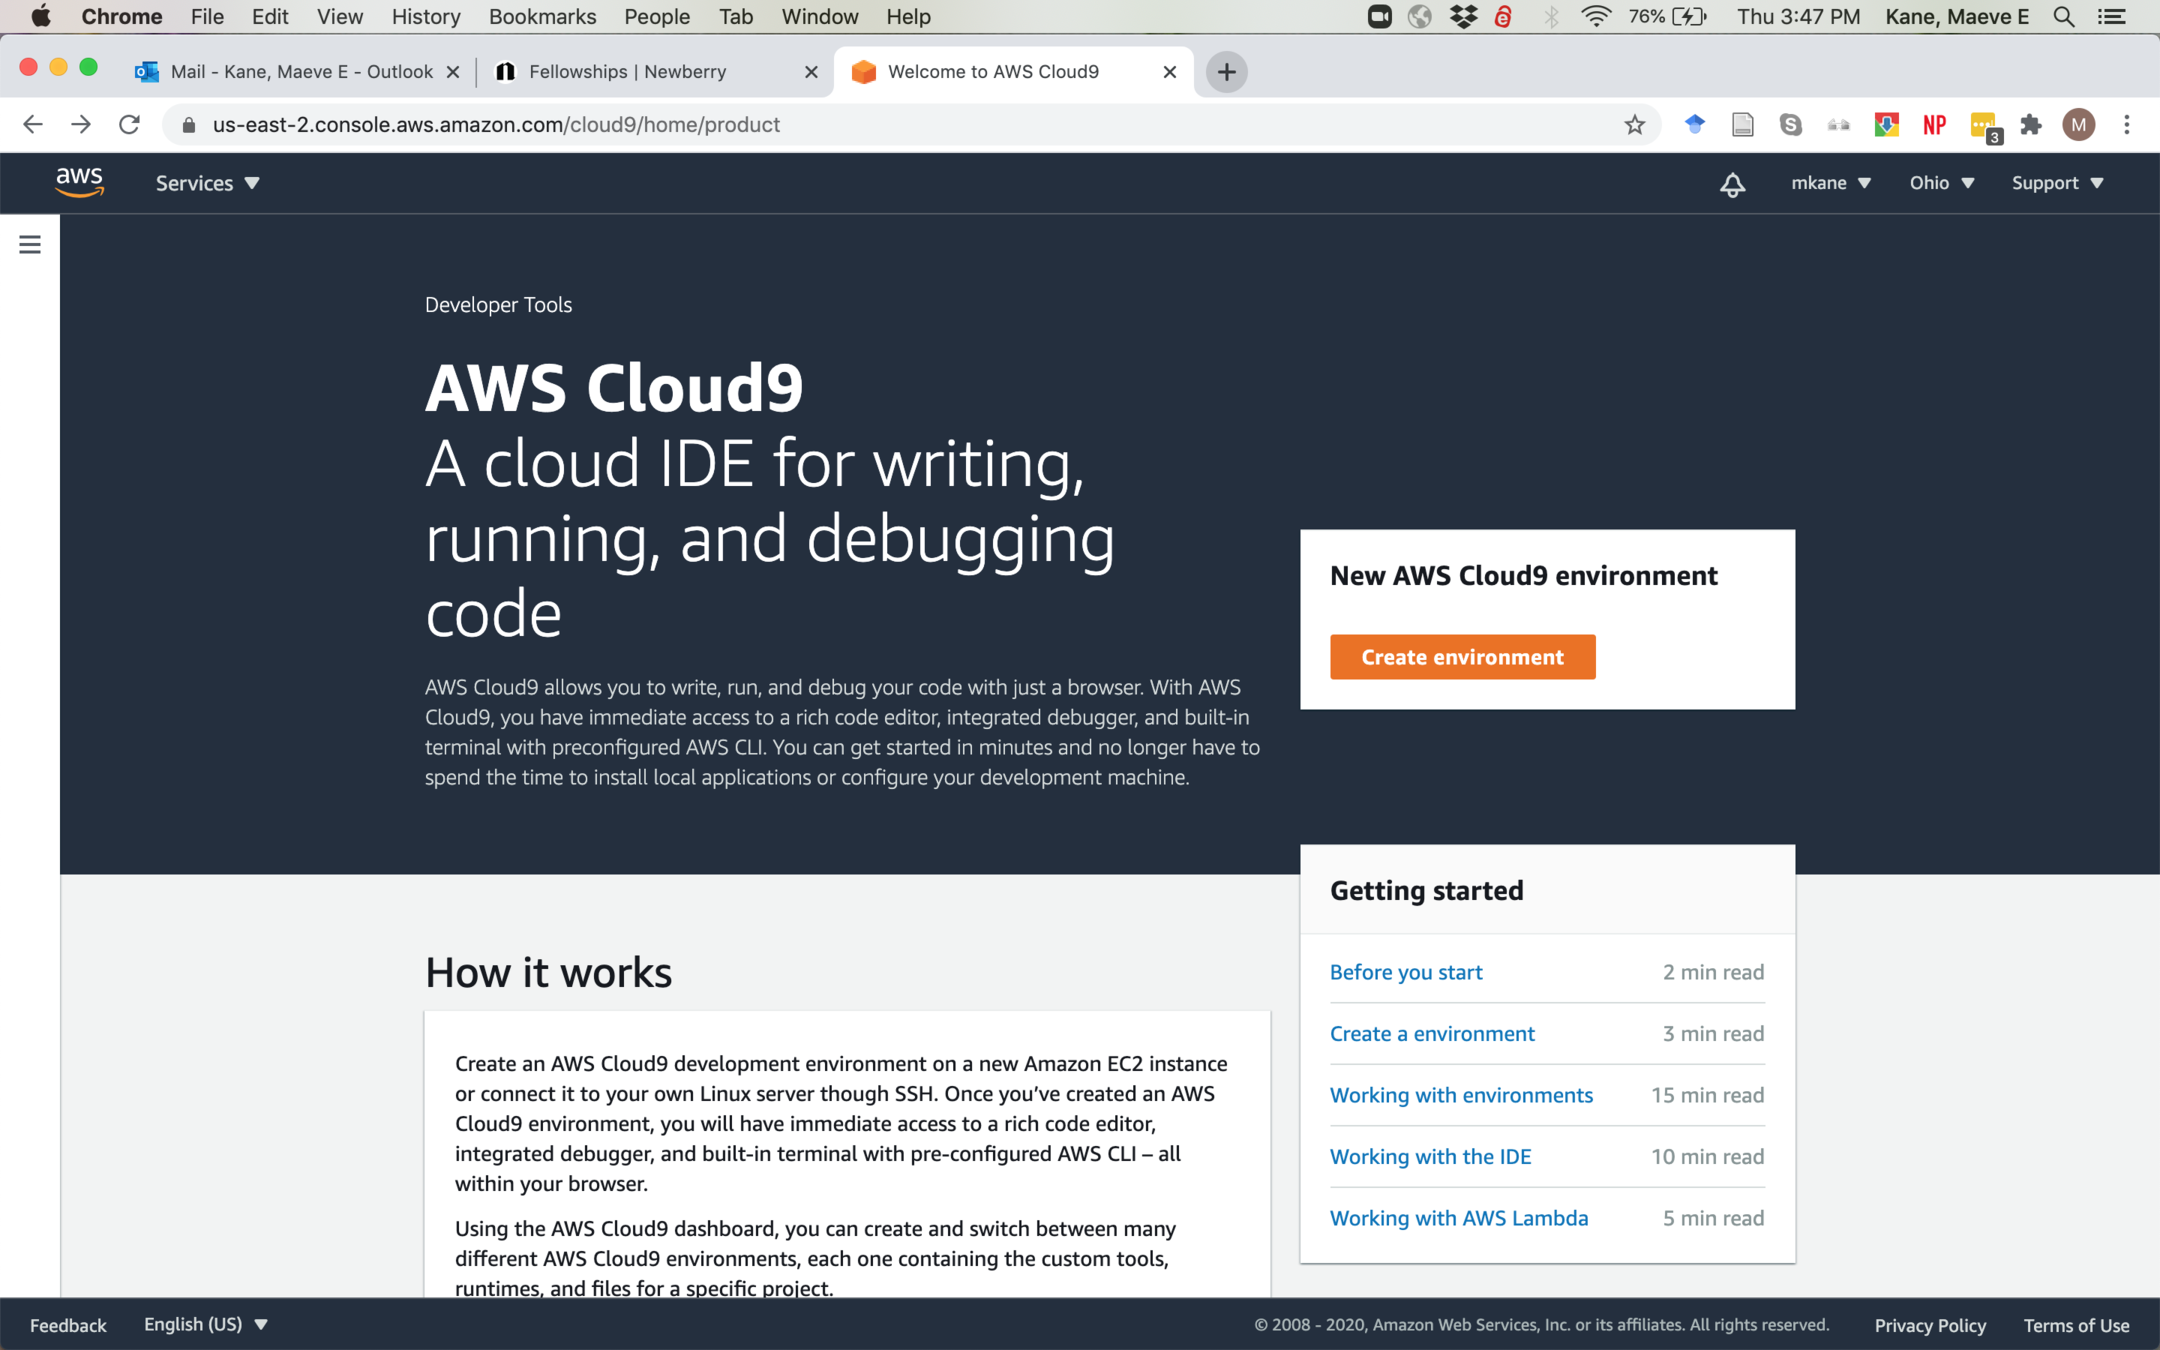
Once you've got your credit card entered, go to https://aws.amazon.com/cloud9/
Remember this link! We will be using it often for the rest of this unit and it will take you directly where we need to be
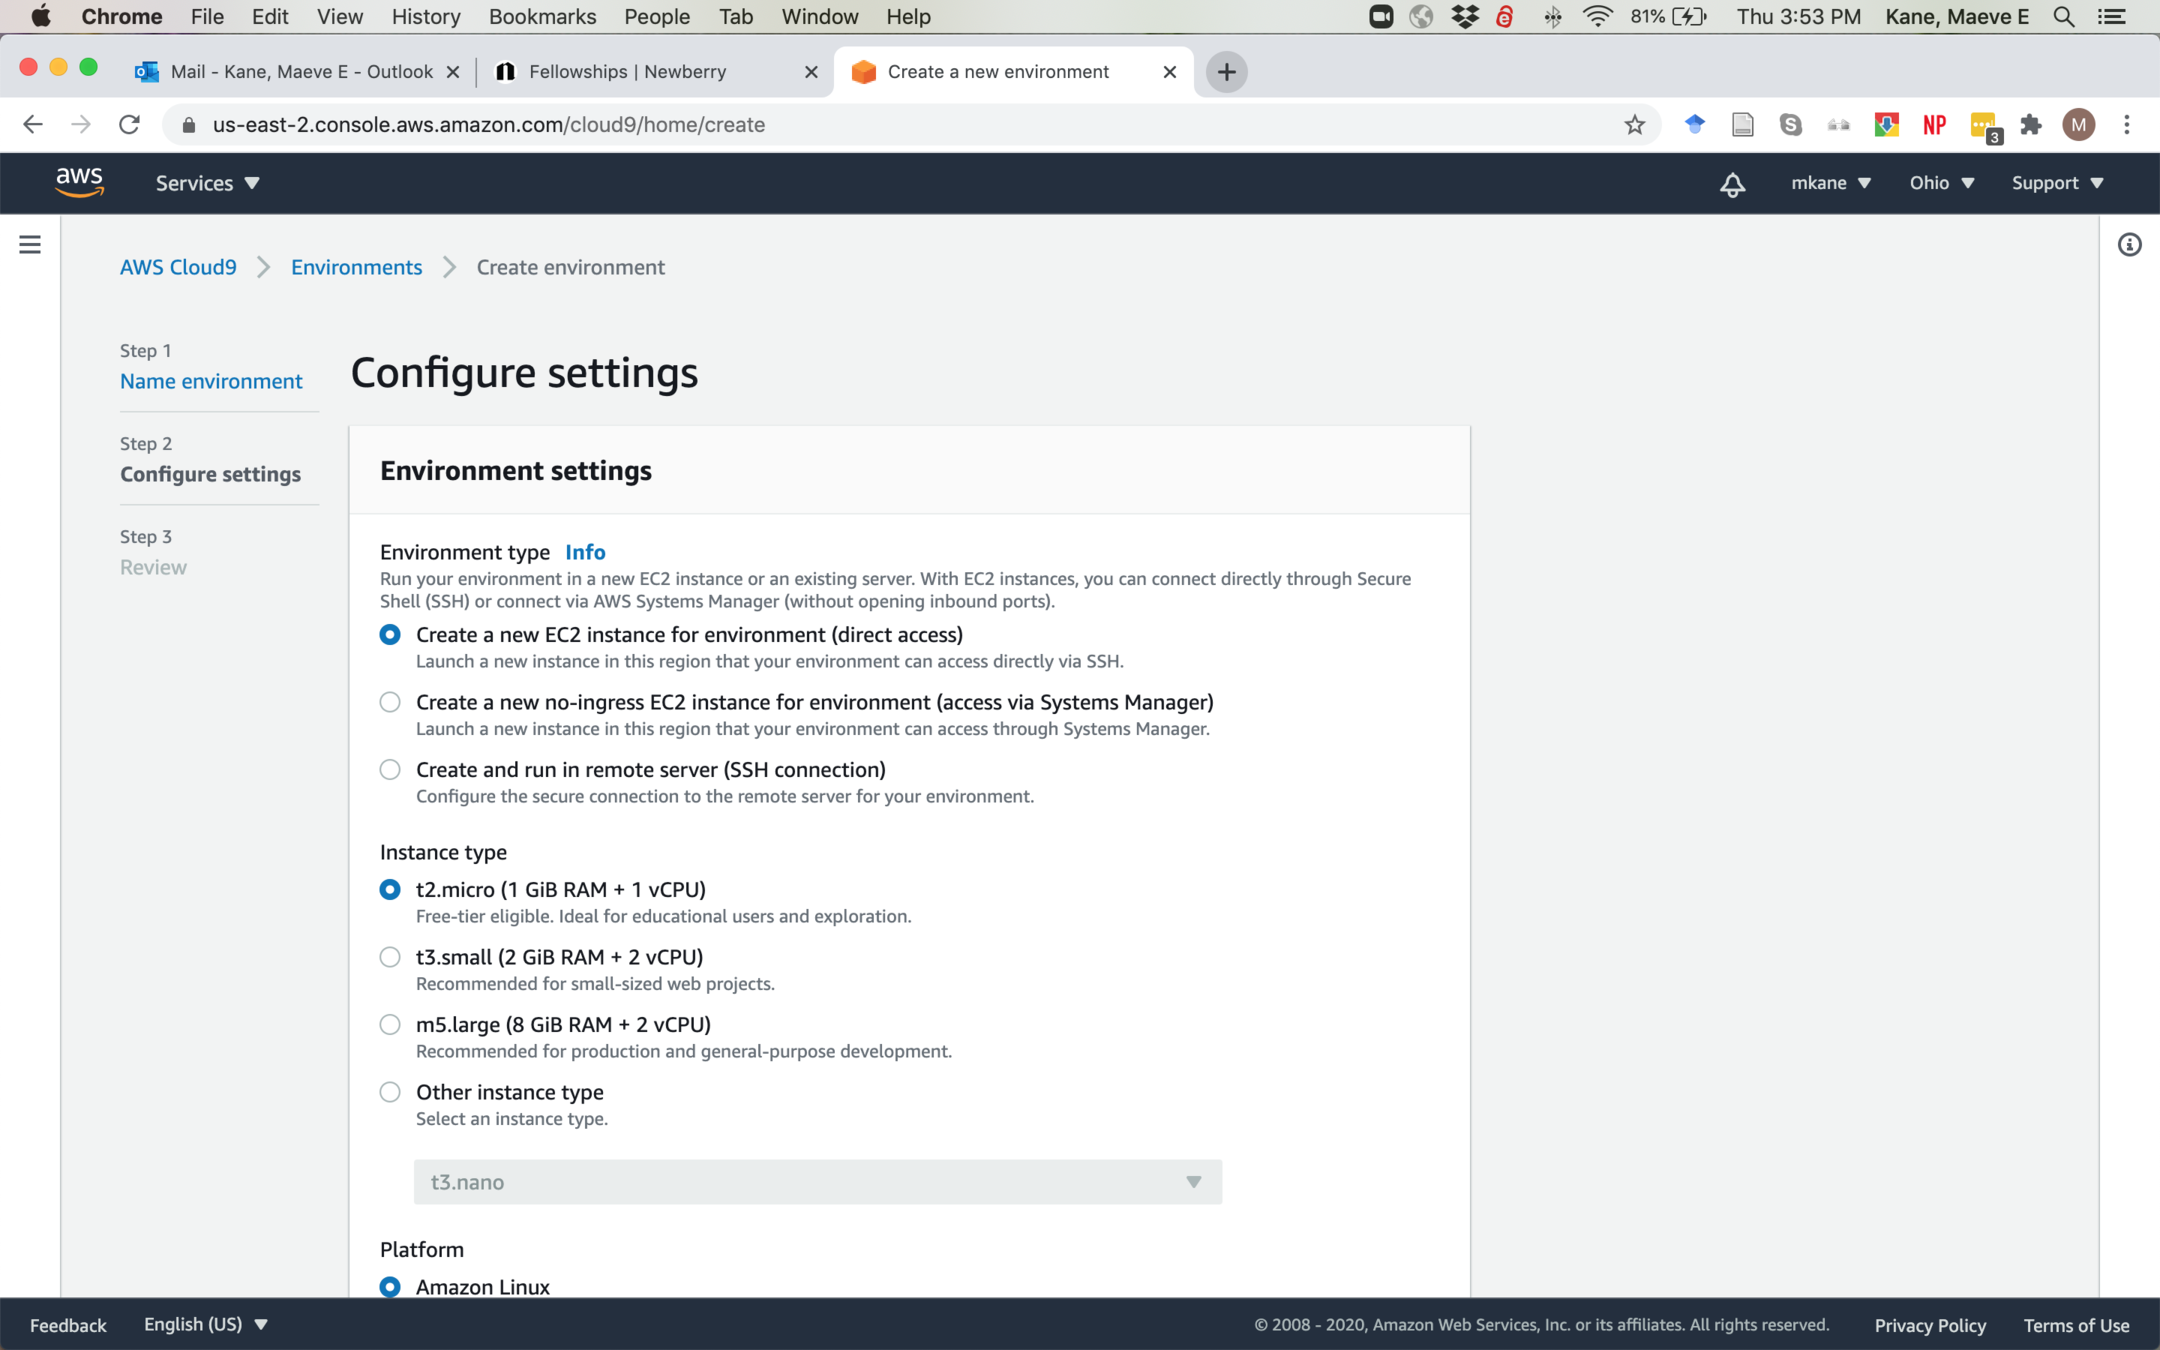
We're going to set up an environment, which basically means setting up a computer to run on Amazon's servers that we can access. You won't need to do this again for this class. You don't need to change any of the settings.

This is the same page as the previous slide; scroll to the bottom and Create environment without changing any of the settings
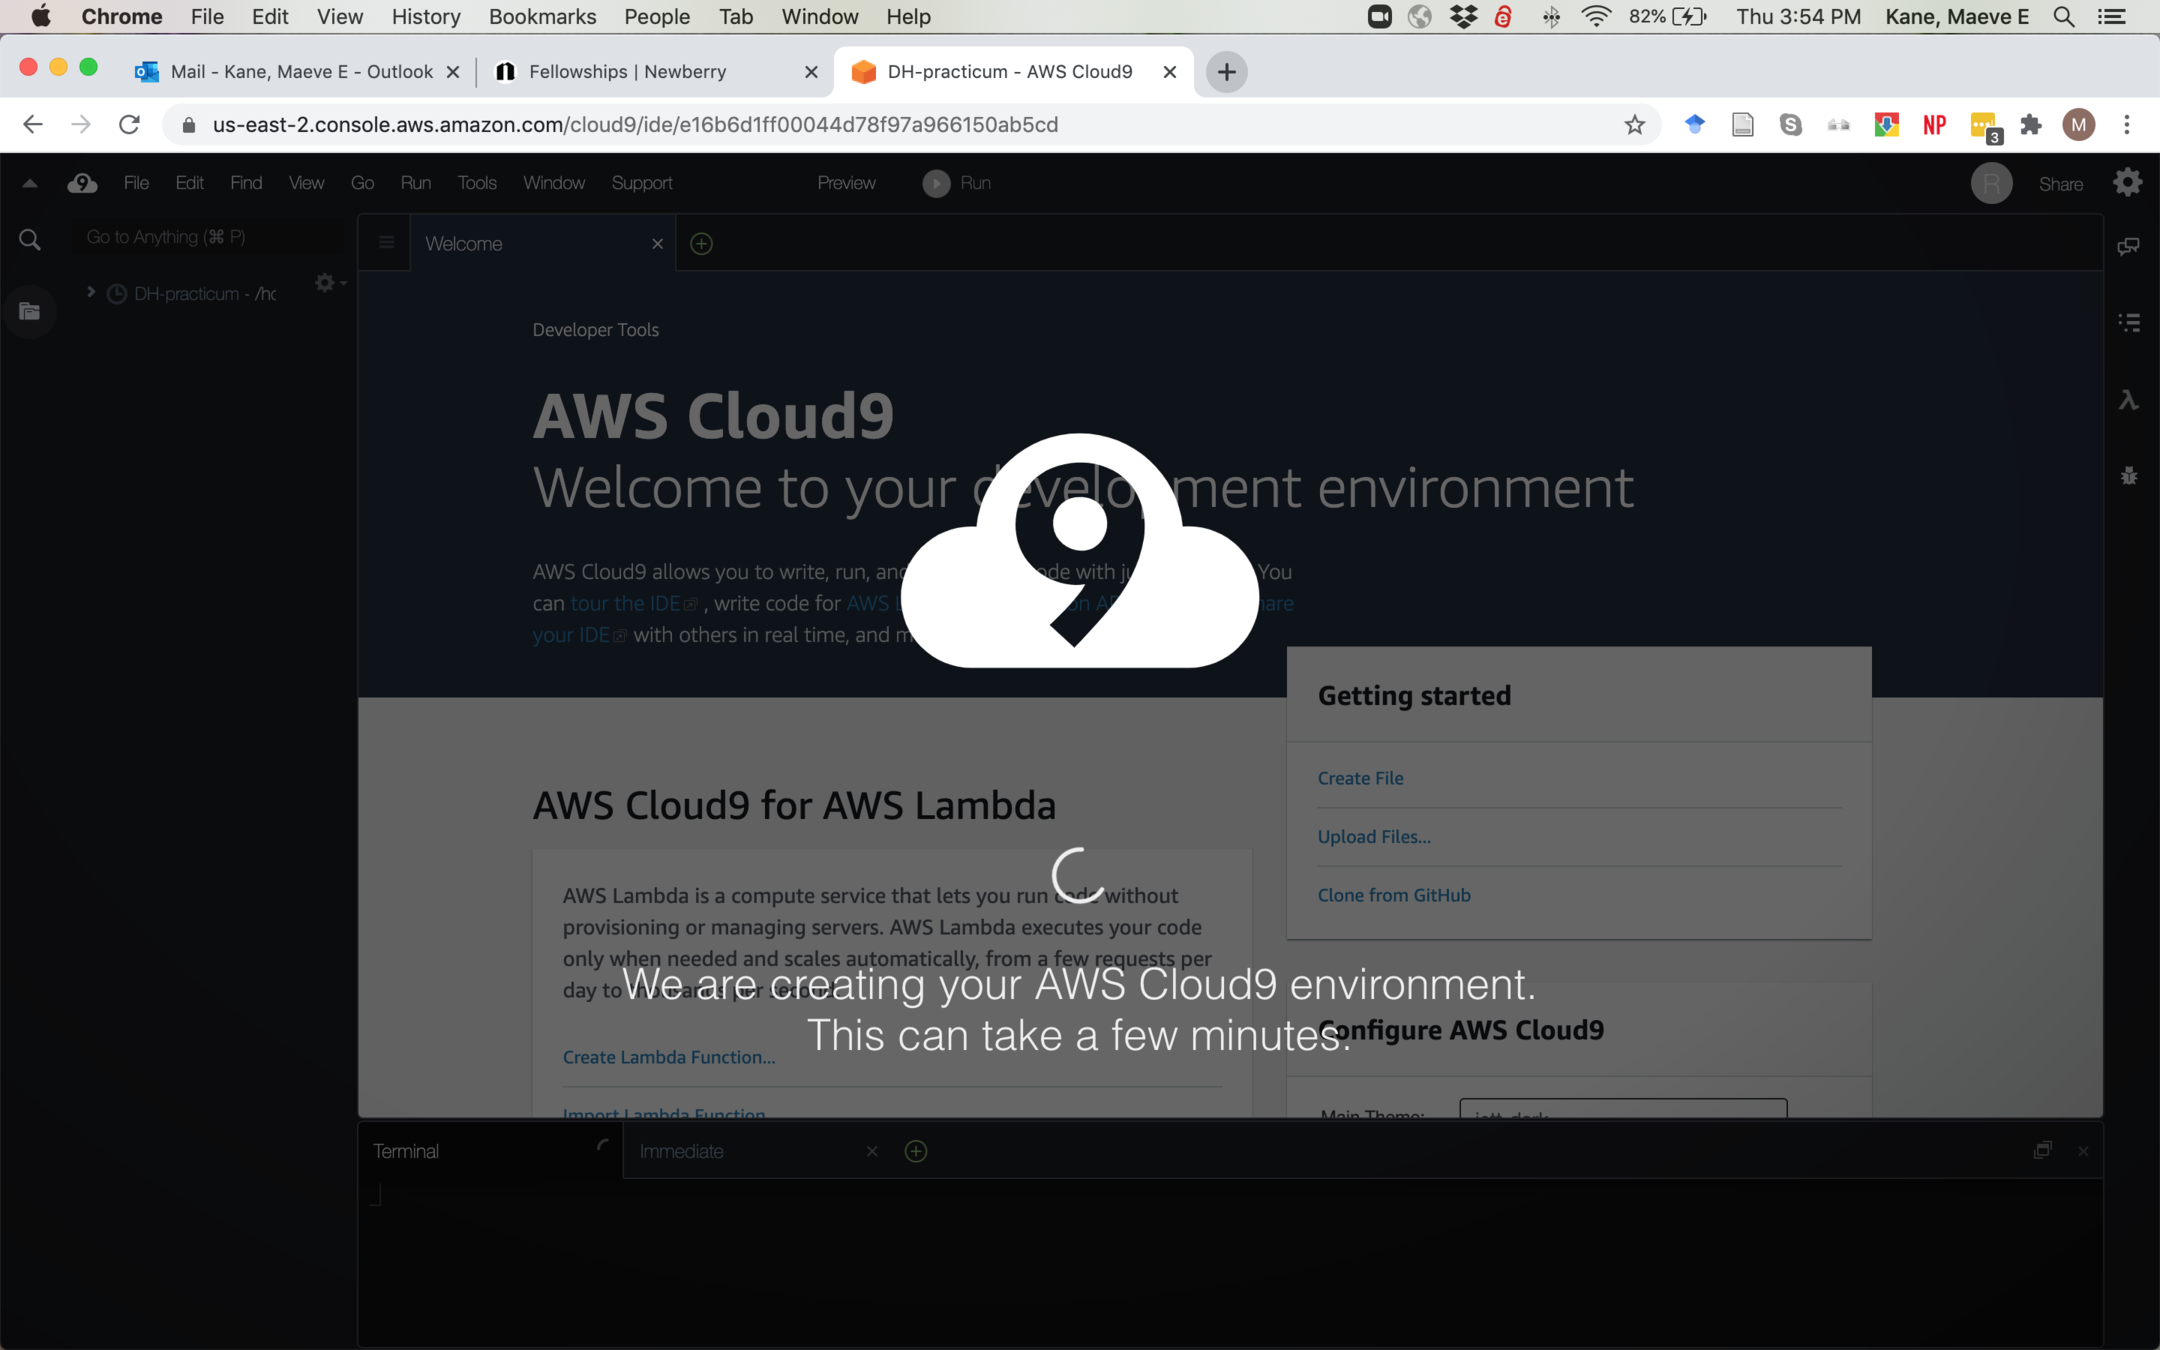
You might be on this screen for a few minutes! This will take longest the first time you set up the environment; just leave the window open and come back in a few minutes if it takes a while.
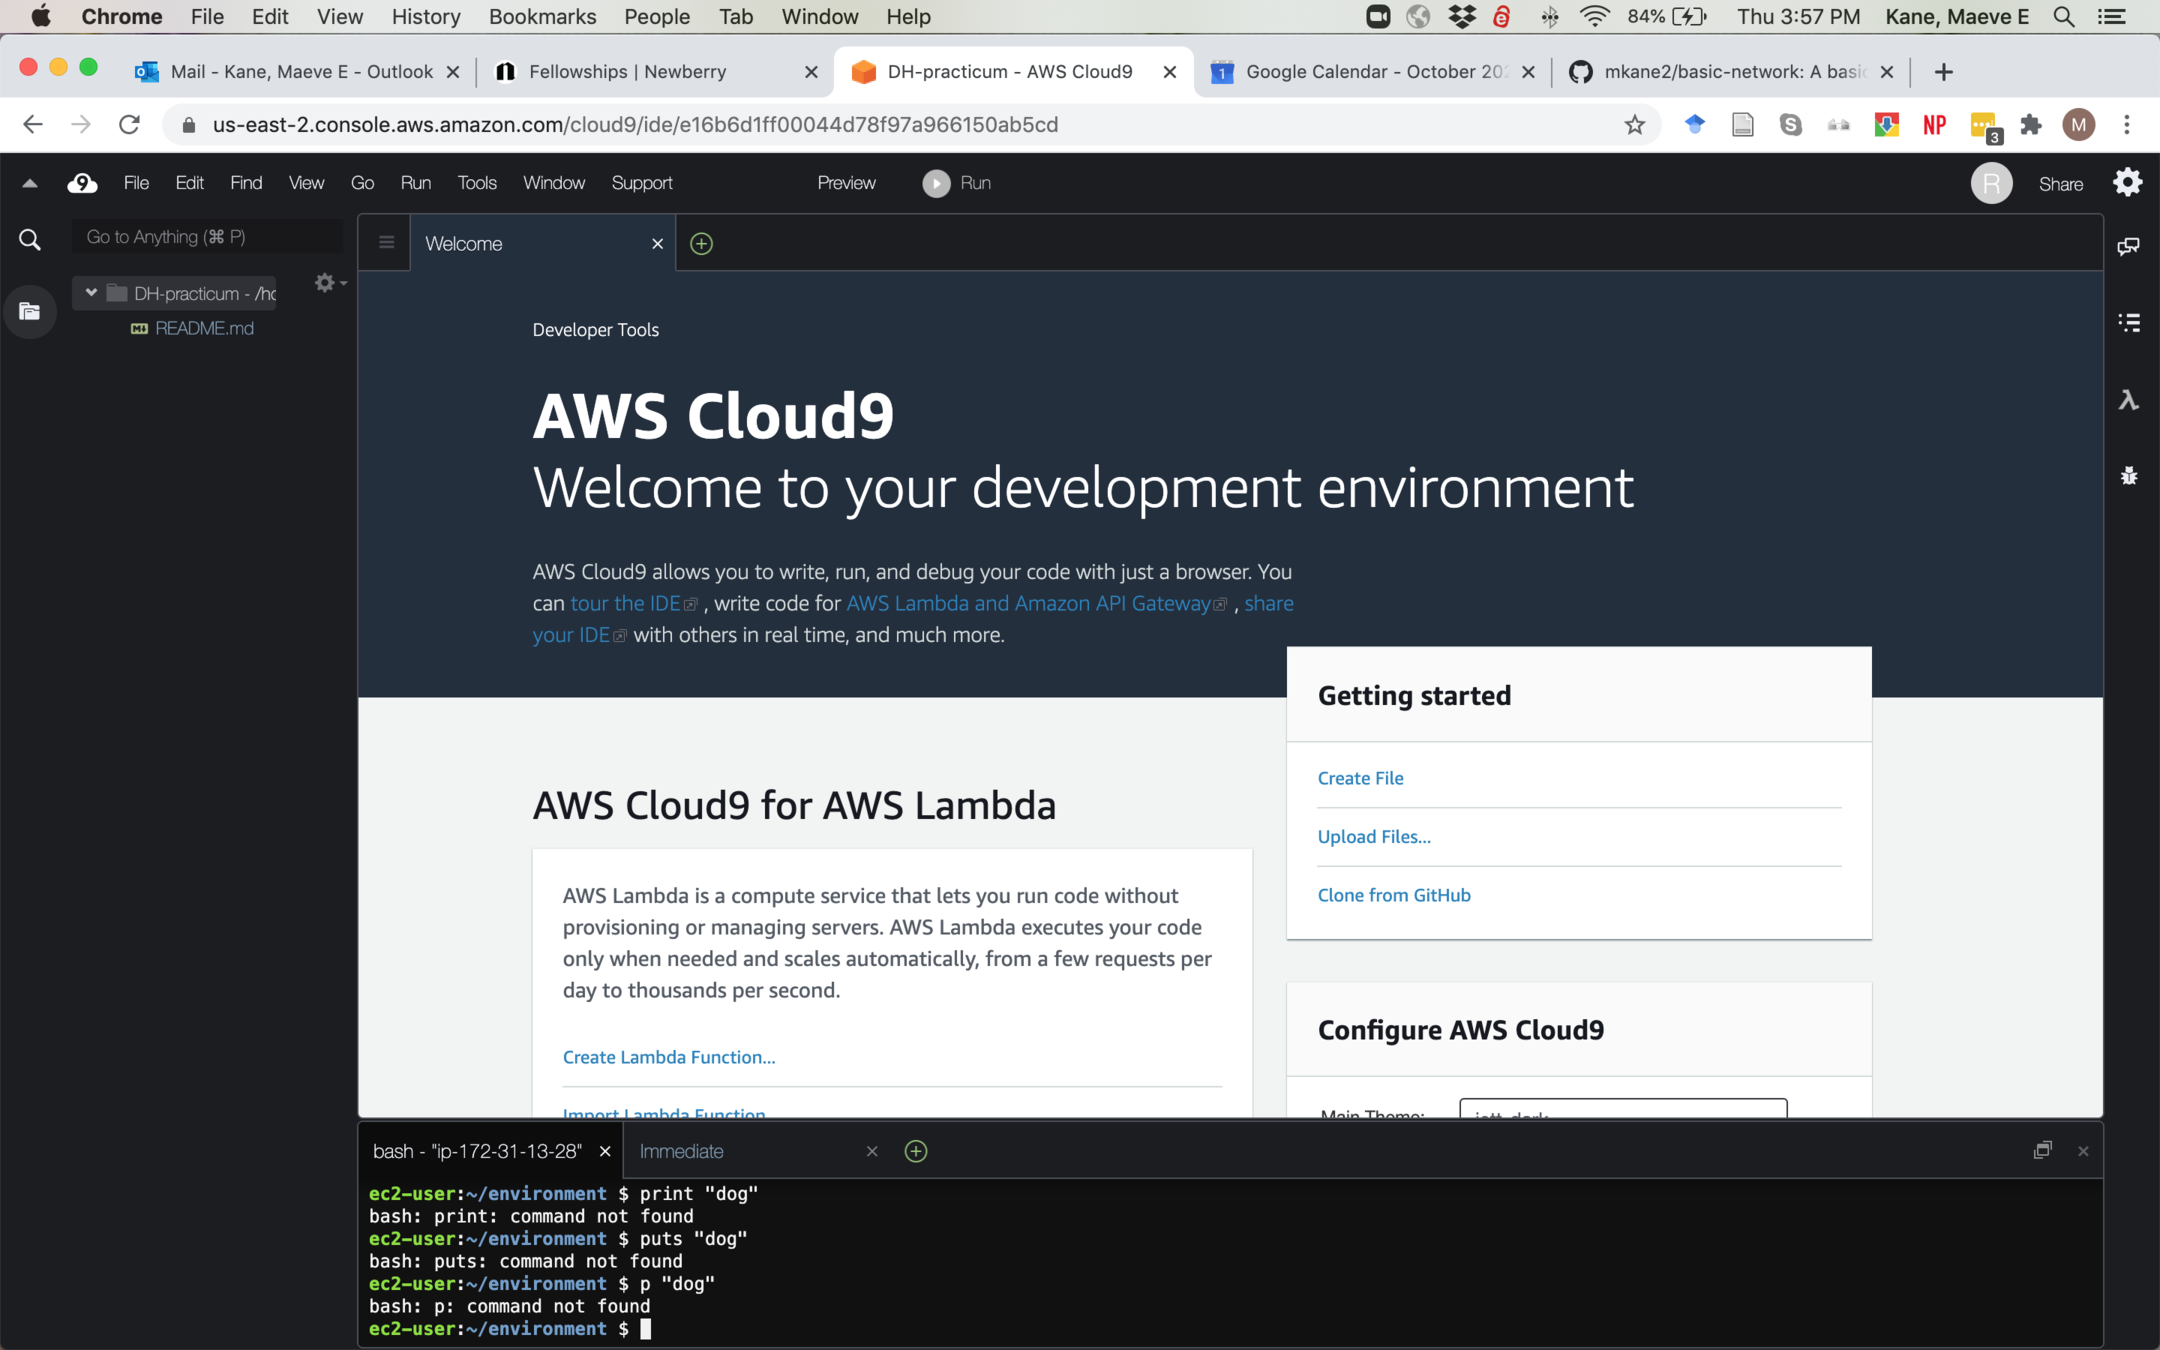
Ta-da! This is your new workspace. We'll go over how to use this space in another lesson, but this is a workspace with files, a text editor, and a command line interface.