Construyendo apps en tiempo real con
@HybridAppsCol
Hybrid Apps Colombia


@nicobytes
Autor de ion-book y desarrollador web especializado en el área de Front-end & HybripApps, enfocado en aprendizaje de JS y al desarrollo de apps con Angular2 y ionic2

¿Que es un BaaS?
Un Backend as a Service, es un modelo de servicio para otorgar a desarrolladores WEB Y de App Moviles una forma de vincular sus apps con almacenamiento y servicios analíticos entre otros
Back-end

Velocidad



Seguridad
Auntenticación
Persistencia
Presentamos a

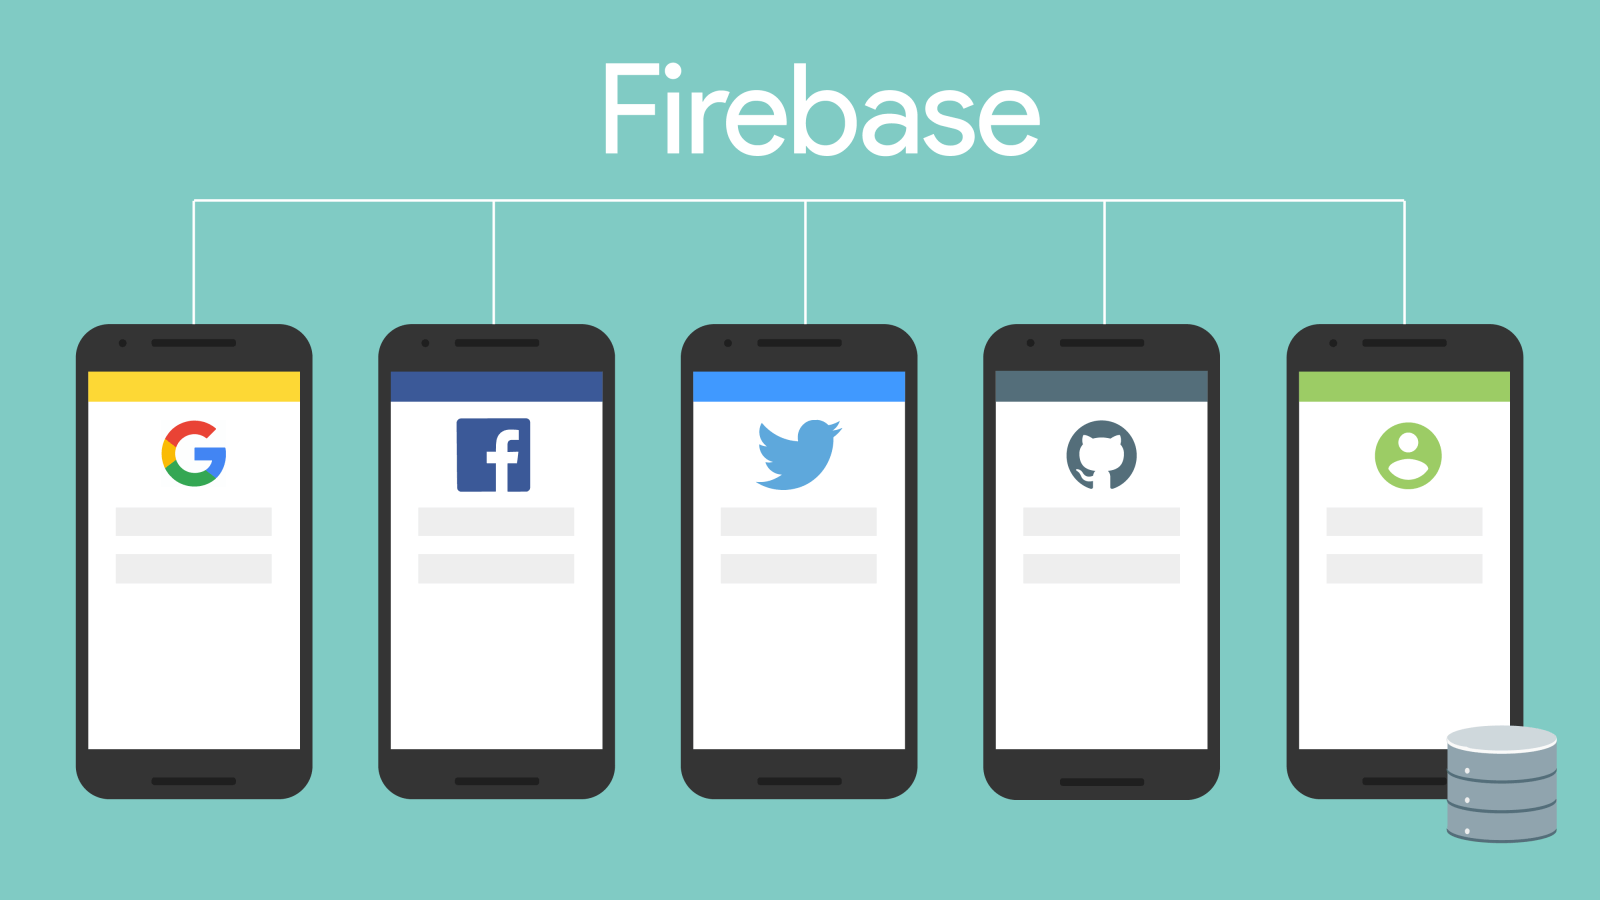
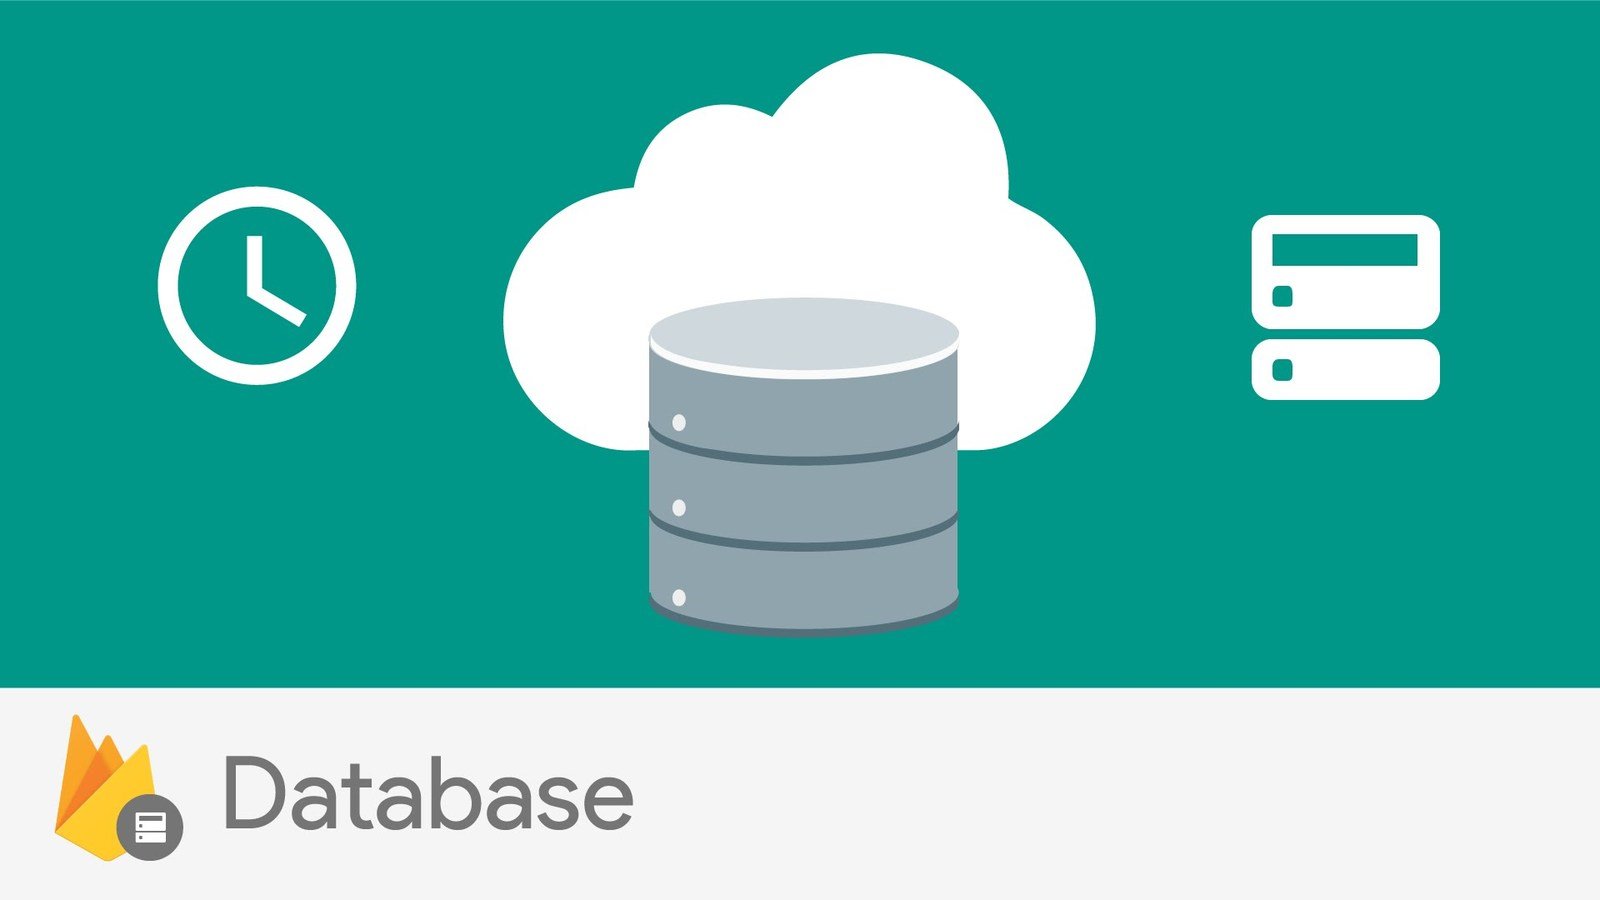
El Back-end en tiempo real para tu APP
Resultado

-
Bases de datos NoSQL
-
Uso intensivo de JSON
-
Realtime
-
Offline
-
Multiplataforma
-
RESTful API
Firebase Database
Presentamos a

Aplicaciones hibridas
- Podemos utilizar nuestros conocimientos web en HTML, JS Y CSS
- Corren en un Webview
- Se conectan a las partes nativas por medio de cordova
- Una sola base de codigo
"Quiero un app nativa"
No siempre es lo adecuado
Desventajas de Nativo
-
Conocimiento en cada plataforma
-
Base de código totalmente independiente
-
El desarrollo toma tiempo
-
Decremento pobre
Todas las plataformas
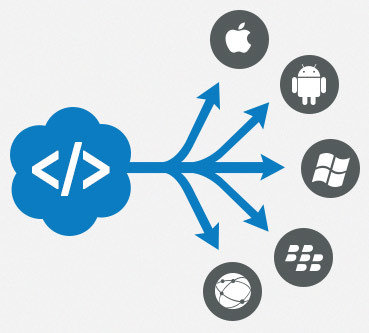





Obsesionado por la rapidez
Basado en
Angular
Enfocado en
Nativo
Bello y personalizable
Un poderoso
CLI
Gran comunidad
Construido por NERDS (como tú)

Ionic Framework

Muéstrame el codigo
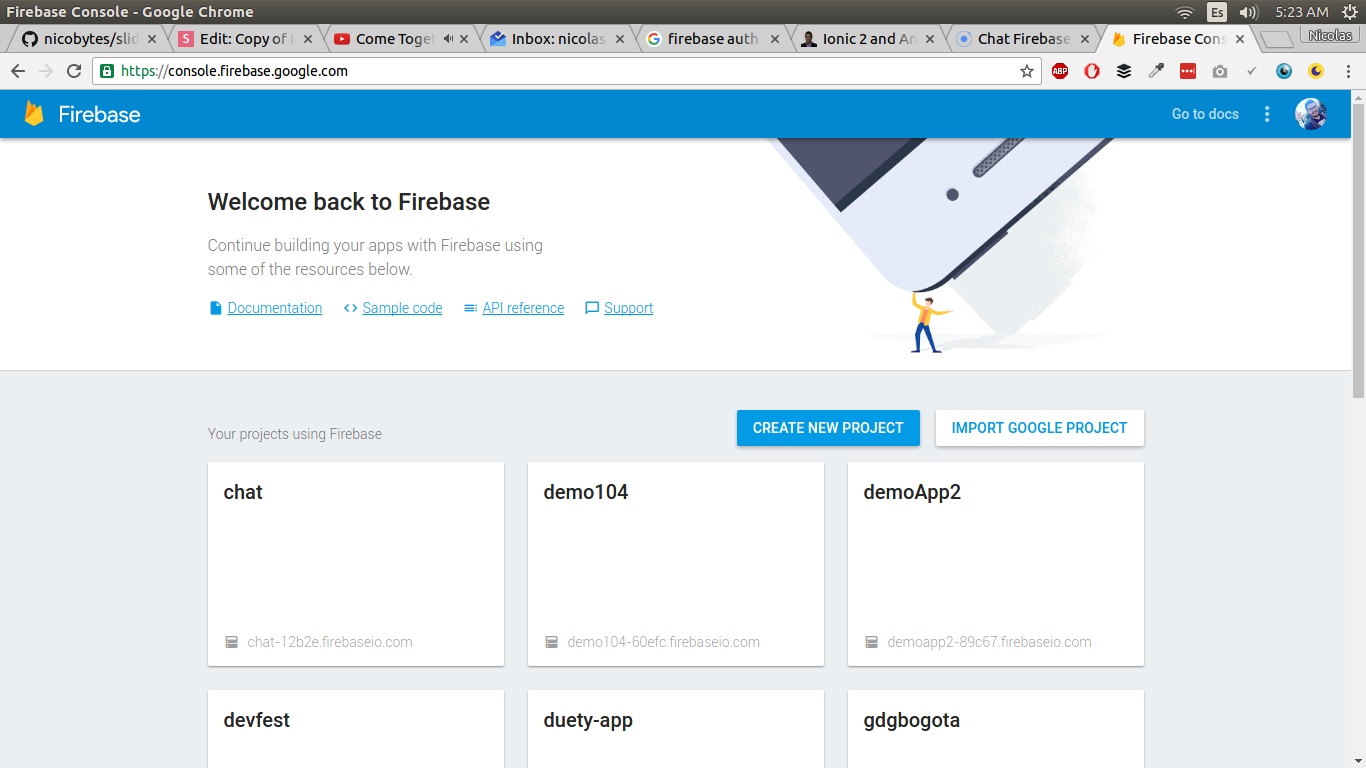
Manos a la obra
npm install -g cordova ionicInstalamos ionic
//Nos basamos en un template
ionic start myApp blank --v2

cd myApp
//Agregamos nuestras platformas
ionic platform add android
ionic resources
Empezamos un proyecto
Agregamos Firebase
//Agregamos las librerías
npm install @types/request@0.0.30 --save-dev --save-exact
npm install firebase angularfire2 --save
Incluímos en app.module.ts
import { AngularFireModule, AuthProviders, AuthMethods } from 'angularfire2';

export const firebaseConfig = {
  apiKey: "AIzaSyAzCa_ln4xFu50Azk7EEq95MDmnsRAw52Q",
  authDomain: "chat-12b2e.firebaseapp.com",
  databaseURL: "https://chat-12b2e.firebaseio.com",
  storageBucket: "chat-12b2e.appspot.com",
  messagingSenderId: "70646797274"
};

const myFirebaseAuthConfig = {
  provider: AuthProviders.Password,
  method: AuthMethods.Password
}
Incluímos en imports
imports: [
    IonicModule.forRoot(MyApp),
    AngularFireModule.initializeApp(firebaseConfig, myFirebaseAuthConfig)
],
Ionic g provider auth
importaciones
import { AngularFireAuth } from 'angularfire2';register
register(email: string, password: string, image: string){
    return this.auth.createUser({
      email: email,
      password: password,
    })
    .then(data =>{
      return this.auth.getAuth().auth.updateProfile({
        displayName: '',
        photoURL: image
      })
    })
  }
login
login(email: string, password: string){
    return this.auth.login({
      email: email,
      password: password
    })
  }
getUser y logout
getUser(){
    return this.auth.getAuth().auth;
}

logout(){
    this.auth.logout();
}
listener Auth
this.auth.subscribe(user => {
    if(user){
        this.rootPage = ChatPage;
    }else{
        this.rootPage = LoginPage;
    }
})
Creamos los forms que consumirán el servicio
Resultado


Respiramos
Ahora vamos a crear la pagina de chat
ionic g page chat
Importaciones
import { FirebaseListObservable, AngularFireDatabase } from 'angularfire2';Declaración de variables
  messages: FirebaseListObservable<any>;
  newMessage: any = {};

  constructor(
    public navCtrl: NavController,
    public database: AngularFireDatabase,
    public authService: AuthService
  ) {
    this.messages = this.database.list('/messages');
  }
Iterar mensajes
<ion-list>
    <ion-item *ngFor="let message of messages | async" text-wrap>
      <ion-avatar item-left>
        <img *ngIf="message.user.image" [src]="message.user.image">
        <img *ngIf="!message.user.image" src="assets/imgs/avatar.png">
      </ion-avatar>
      <h2>{{ message.user.email }}</h2>
      <p>{{ message.text }}</p>
    </ion-item>
  </ion-list>
Métodos
logout(){
    this.authService.logout();
 }

 sendMessage(){
    this.newMessage.user = {
      email: this.authService.getUser().email,
      image: this.authService.getUser().photoURL
    }
    this.messages.push( this.newMessage );
    this.newMessage = {};
  }
Agregar imagen
logout(){
    this.authService.logout();
 }

 sendMessage(){
    this.newMessage.user = {
      email: this.authService.getUser().email,
      image: this.authService.getUser().photoURL
    }
    this.messages.push( this.newMessage );
    this.newMessage = {};
  }
Title Text
Subtitle
LISTO!!

Demo
Repo
Enviar mensajes
<ion-footer>
  <ion-grid>
    <ion-row>
      <ion-col width-80>
        <ion-input placeholder="Message" [(ngModel)]="newMessage.text"></ion-input>
      </ion-col>
      <ion-col>
        <button ion-button block icon-only (click)="sendMessage()">
           <ion-icon name="send"></ion-icon>
        </button>
      </ion-col>
    </ion-row>
  </ion-grid>
</ion-footer>
Ahora solo es construir la app
ionic run android
Aprende Ionic 2 Profesionalmente

ion-book.com
¿Preguntas?
Ahora a lo que vinieron
