Как добавить 3D в веб
Ольга Маланова



WebGL: поддержка


THREE.JS

mrdoob

three.js: интерфейсы
<body>
  <canvas id="canvas"></canvas>
</body>

<script>
const canvas = document.querySelector('#canvas');

const renderer = new THREE.WebGLRenderer({canvas});
renderer.setSize( window.innerWidth, window.innerHeight );
document.body.appendChild( renderer.domElement );

const camera =
	new THREE.PerspectiveCamera( 45, window.innerWidth / window.innerHeight, 1, 500 );
camera.position.set( 0, 0, 100 );
camera.lookAt( 0, 0, 0 );

const scene = new THREE.Scene();

const geometry = new THREE.BoxGeometry();
const material = new THREE.MeshBasicMaterial( { color: 0x00ff00 } );
const cube = new THREE.Mesh( geometry, material );

scene.add( cube );
</script>
three.js: материалы
const material = new THREE.MeshBasicMaterial( { color: 0x00ff00 } )
const material2 = new THREE.MeshDepthMaterial({color: 'red', roughness: 0.5})
const material3 = new THREE.MeshPhongMaterial({color: 0x00ff00, emissive: 0xFF0000})
three.js: физические материалы
three.js: фигуры
const ico = new THREE.Mesh(new THREE.IcosahedronGeometry(75,1), pinkMat);
const torus = new THREE.TorusGeometry( 10, 3, 16, 100 );
const sphere = new THREE.SphereGeometry( 5, 32, 32 );
three.js импорт 3D моделей
import { GLTFLoader } from 'three/examples/jsm/loaders/GLTFLoader'

const loader = new THREE.GLTFLoader()

loader.load( 'path/to/model.glb', gltfv => {

	scene.add( gltf.scene )

}, undefined, error => {

	console.error( error )

} )
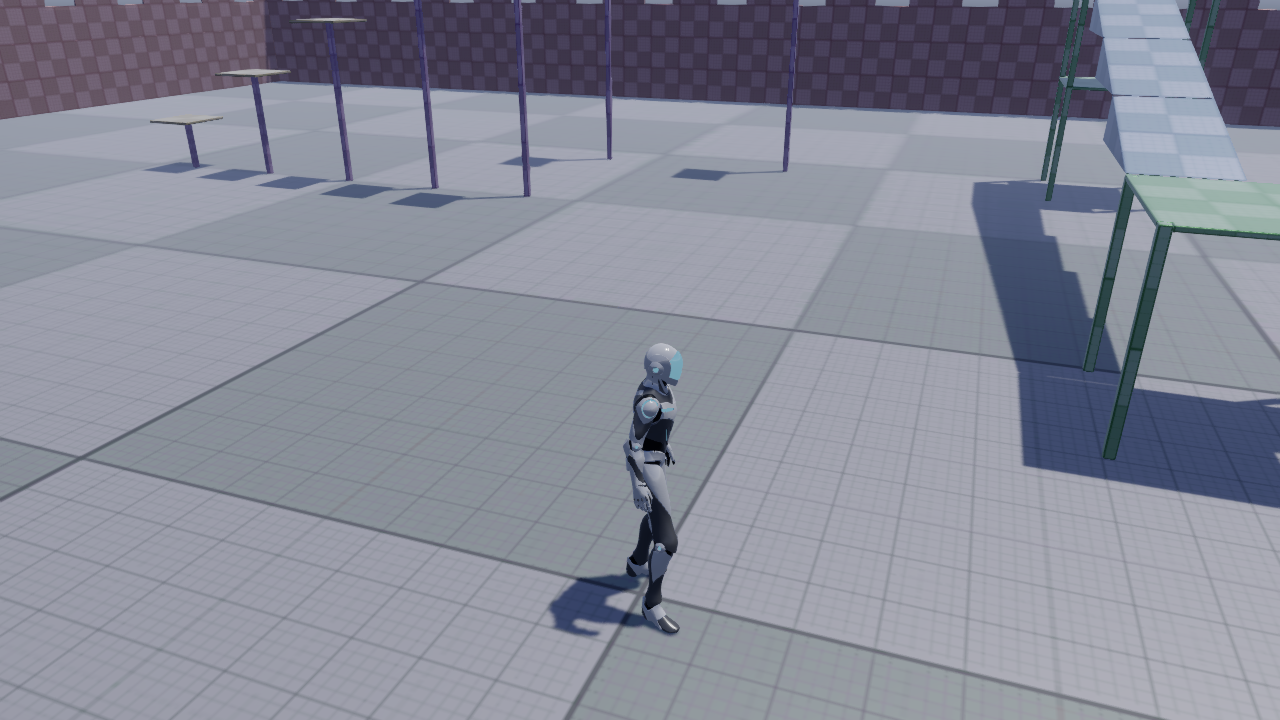
three.js камеры
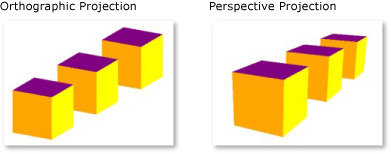
Ортогональная камера
Перспективная камера
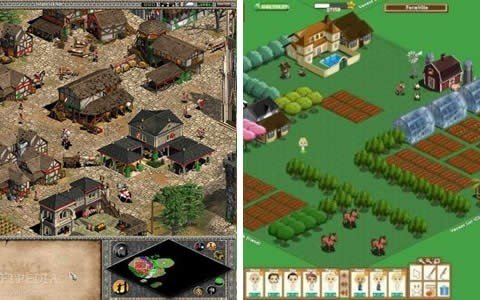
а)
б)
three.js камера

const fov = 75
const aspect = 2
const near = 0.1
const far = 5
const camera = new THREE.PerspectiveCamera(fov, aspect, near, far)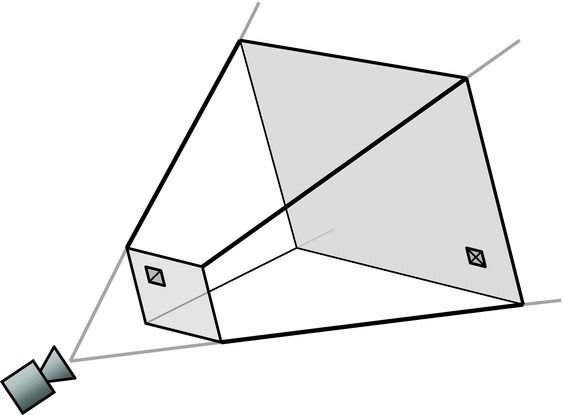
three.js сцена: собираем все вместе
const scene = new THREE.Scene();

const geometry = new THREE.BoxGeometry();
const material = new THREE.MeshBasicMaterial( { color: 0x00ff00 } );
const cube = new THREE.Mesh( geometry, material );

scene.add( cube );
Несколько слов о проекте
Исходные данные: баннер


Исходные данные: место под баннер

open CV

OpenCV: findHomography
    # Read source image.
    im_src = cv2.imread('/src.png')
    # Four corners of the book in source image
    pts_src = np.array([[0, 0], [1000, 0], [1000, 359],[0, 359]])
    print(im_src)


    # Read destination image.
    im_dst = cv2.imread('/dest.png')
    # Four corners of the book in destination image.
    pts_dst = np.array([[430, 411],[857, 392],[849, 519],[427, 522]])

    # Calculate Homography
    h, status = cv2.findHomography(pts_src, pts_dst)

    # Warp source image to destination based on homography
    im_out = cv2.warpPerspective(im_src, h, (im_dst.shape[1],im_dst.shape[0]))


а)
б)
Получили изображение с фоном

Получили изображение с фоном

OpenCV: вычитаем бэкграунд
  tmp = cv2.cvtColor(im_out, cv2.COLOR_BGR2GRAY)
  _,alpha = cv2.threshold(tmp,0,255,cv2.THRESH_BINARY)
  b, g, r = cv2.split(im_out)
  rgba = [b,g,r, alpha]
  dst = cv2.merge(rgba,4)
  cv2.imshow(dst)
  cv2.imwrite("object.png", dst)
OpenCV: результат
OpenCV: результат

Возвращаемся к three.js
// 1
function animate() {
  requestAnimationFrame( animate );
  cube.rotation.x += 0.01;
  cube.rotation.y += 0.01;
  renderer.render( scene, camera );
}
// 2
videoListener.onNextFrame = function(currentTime){
  const currentPosition = /* muted */
  cube.position.x = currentPosition.x;
  cube.position.y = currentPosition.y;
  renderer.render( scene, camera );
}
OpenCV: результат

OpenCV: результат

Переход от статичной картинки к видео
Все вместе
Ссылки
- Библиотека для векторных и матричных преобразований
http://sylvester.jcoglan.com/ - Бойлерплейт проекта three.js
https://jeromeetienne.github.io/threejsboilerplatebuilder/ - Лекция на тему сопоставления изображений
https://www.teach-in.ru/lecture/2019-09-23-Konushin - Библиотека vue-gl
https://github.com/vue-gl/vue-gl - Библиотека vue-threejs
https://github.com/fritx/vue-threejs - Работы автора three.js
https://experiments.withgoogle.com/search?q=Mr.doob - Пользовательский интерфейс для изменения свойств объекта three.js
ttps://github.com/dataarts/dat.gui - Материалы
https://disney-animation.s3.amazonaws.com/library/s2012_pbs_disney_brdf_notes_v2.pdf
Спасибо за внимание
Ольга Маланова @omalanova
