Dynamic Web 2 Week # 3
Update 2 Due
On your production WordPress application:
1. Create 3 posts. Each post should have unique content (not copy/pasted). Edit the posts using the post toolbar with at least 3 different styles from the toolbar (for example, making some text bold, a different color, making the text aligned to the left, etc.).
2. Schedule one of the posts from above to publish on April 23 at 8 am.
3. Truncate one of the posts from step 1 so that only the first line appears. The rest of the content requires users to click on "read more" link.
Submit your work as a url to your page to opatel@mtsierra.edu
WordPress Essential Training
Please open up "Wordpress Essential Training" on Lynda.com
Let's watch these together and then discuss what we learned.
Adding Images and Media Notes
-
Now, we're going to learn how to add images and other media to our WordPress site.
-
Each media is an attachment that is then saved in different sizes for you to use across your pages or your posts.
-
In order to use images, you must first upload them by either (meaning any of these options)
-
clicking on the area where you want the media to be in your content editor and then dragging and dropping them in.
-
or clicking on the area where you want the media to be and then clicking on the "Add media" button.
-
-
Media Popup: Either of the above options will bring up the media popup, which will have all of your existing media listed. You can either drag/drop your image in the popup or click on "upload files" and upload media from there.
-
You can edit the images from here, but it's not suggested. You can delete the image, causing the image to delete from your whole wordpress application.
-
Adding Images and Media Notes
-
Media Popup: Either of the above options will bring up the media popup, which will have all of your existing media listed. You can either drag/drop your image in the popup or click on "upload files" and upload media from there.
-
You can edit the images from here, but it's not suggested.
-
You can delete the image, causing the image to delete from your whole Wordpress application.
-
You can change the url, title, caption, alt text, and description of the image as well.
-
You will then decide how the media is going to attach itself to the post or page:
-
alignment: center, left, right, none
-
link to: If you want the media to link to something like a media file, url, or a page.
-
size: You can choose the size of the image: large, medium, or small.
-
-
Once you're ready to insert the image, do so. You can then use the short cut panel to align, edit, or remove the image.
-
Adding Images and Media Notes
-
Media Pop-up
-
If you decide to edit the image, it will come up with another edit menu where you have some additional options, including the ability to swap that image out with another image.
-
You can only drag and drop images if they don't have a caption. If you do have a caption, be sure to remove the caption before attempting to move it around. You can then add the caption back once you've done moving it.
-
-
Creating a gallery
-
Creating a gallery involves first clicking on the "add media item" to the page or post. From there, click on "Create Gallery" and either choose existing media elements or add new elements to the gallery by uploading them.
-
You can add captions to each media element, link media elements in the gallery to specific places, choose the order of the elements, determine the number of columns, and choose what size the elements will be.
-
Adding Images and Media Notes
- Featured Image: The image that can be set to the top of your post or page and that gets shared when you share the post via social media.
-
Insert an image from URL: You can insert images that are hosted on other sites. You can do this by clicking on the "insert image url" from the "add media" area. Once you do that, be sure to add the proper image url from the image you're trying to pull from. Be sure to only add images that you have the rights to.
- Insert from url will also work well with Youtube videos, SoundCloud, Twitter, and a variety of other sites. This will involve just pasting the url for the content you're trying to add.
- If the auto-embed feature doesn't work, you can always just get the embed code and paste it into your "text" version of the editor.
- Be sure to host audio and video files on a separate site such as Youtube and then link to the site rather than hosting video and audio on your own site.
Discussion
Please explain, in turns, the concepts we have learned in "Adding Images and Media". Be sure to identify where the location of different elements that were discussed are on your WordPress application.
- Insert an image into a Post and be sure to add a caption, alt text, and fill out the attachment information.
- Insert an image from a hosted site into your post.
- Create a gallery with at least 5 images.
- Insert a Youtube video into a post.
20 minutes

Creating Pages Notes
- Pages have a very similar structure to Posts. The main difference between pages and posts is that a page is somewhere more permanent that a user can go to and navigate through. A page may have different types of content on it and by default. A page is something like an about.html page.
- Creating a page:
- Click on "New" in the top toolbar.
- Instead of Categories and tags, you have Page attributes, which contains page templates and page hierarchies
- Be sure to set the Comments on the bottom of the page to be unchecked so that comments don't appear on your pages (unless you want that).
- Page Templates - Changes the layout and content depending on what theme you're using.
- Page Hierarchies - Can be set if you have more than one page. That way, you can create children of other pages and have them nested within parent pages.
Discussion
Please explain, in turns, the concepts we have learned in "Creating Pages". Be sure to identify where the location of different elements that were discussed are on your WordPress application.
Also, create 3 pages and have one of the pages as a parent to the other 2 pages.
10 minutes
Managing Content Notes
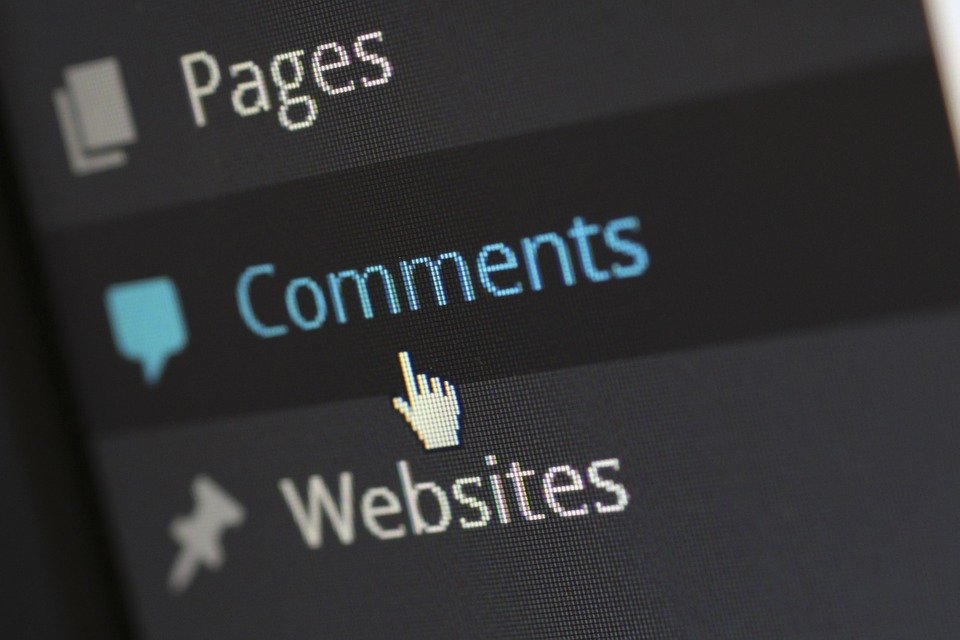
- The content management aspect of the admin panel is the middle section of the left-hand panel. These include Posts, Media, Pages, and Comments
- Posts:
- You can see every post that was made and search through them based on a variety of different search criteria. Each post is listed as a row, with the title, author, categories, tags, comments, and date listed.
- Each post can be edited, deleted, and viewed from here as well.
- If you decide to delete a post, they will be placed in the Trash tab. If you wish to delete a post permanently, you may do so in the trash section.
- Bulk Actions:
- Edit: You can edit multiple posts in one swoop by checking each post and then selecting the "bulk posts" dropdown. Then, select "Edit" and then make the bulk changes you want to apply. Once you're done, click on "Apply".
- Media
- Media grid is where all of the media are displayed when you click on the "Media" link
- Clicking on any of the media items will open up a modal window that will display the details of that media element and the ability to change it. You can also go through any of the other media elements using the arrow keys on the top right of the modal window.
- Information about who uploaded the media content and when will also be displayed here.
- You can also bulk delete media items permanently.
Discussion
Please explain, in turns, the concepts we have learned in "Managing Content". Be sure to identify where the location of different elements that were discussed are on your WordPress application.
5 minutes
Project Update
On your production WordPress application:
1. Create a post and add 5 media files to the post. There should be at least 1 image, 1 audio file, and 1 video. Be sure that the media content all has the relevant information added to it (caption, alt text, etc).
2. Add 3 pages to your site. Be sure that one of the pages is a parent page, while the other 2 pages are children of that parent page.
3. Add a custom theme to your site and create 5 different customizations to it. This can include adding a menu with items (1 customization), changing the colors, etc. Be sure to list what customizations you've made.