IntelliJ IDEA
- Pulkit Pushkarna
Agenda
- Running IntelliJ Idea for the First time
- Working with Gradle in Intellij Idea
- Code Analysis
- Code Completion
- Editing and Working with code
- Database Tool
- Navigating Project
- Refactoring
- Tools
- Version Control
- Integrating database
- Porting Core Platform to IntelliJ Idea
Getting Started

Create new Java project and Set the SDK


Select the location and name of your project
Open different windows to see the different aspects of the project

Project window can be used to see the file structure and the jars of your project

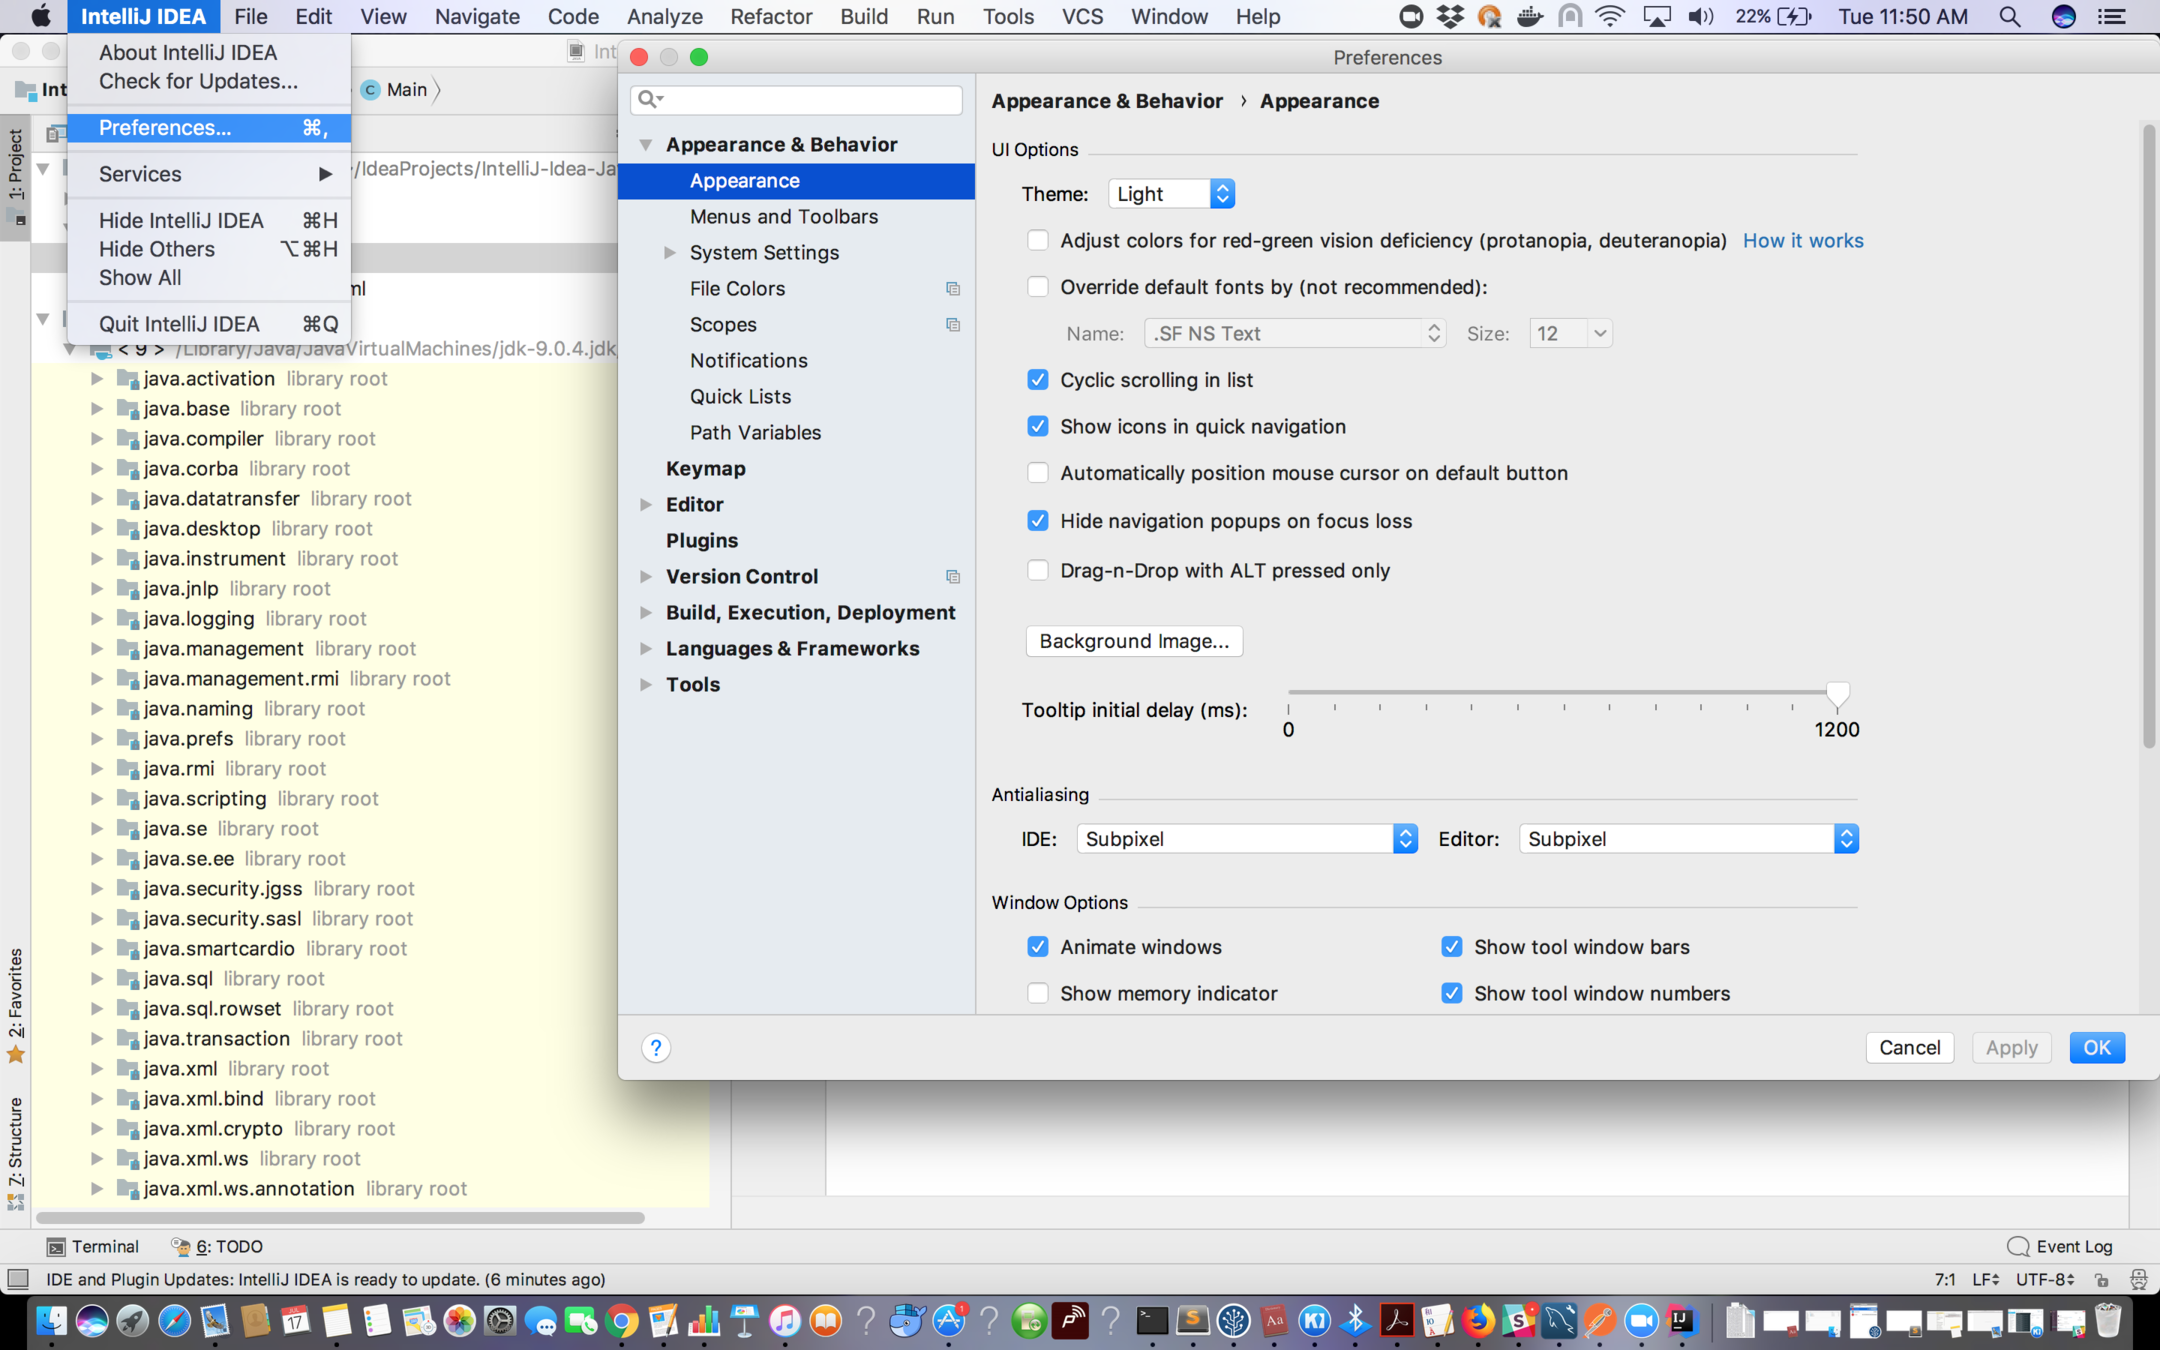
Change and searching prefrences

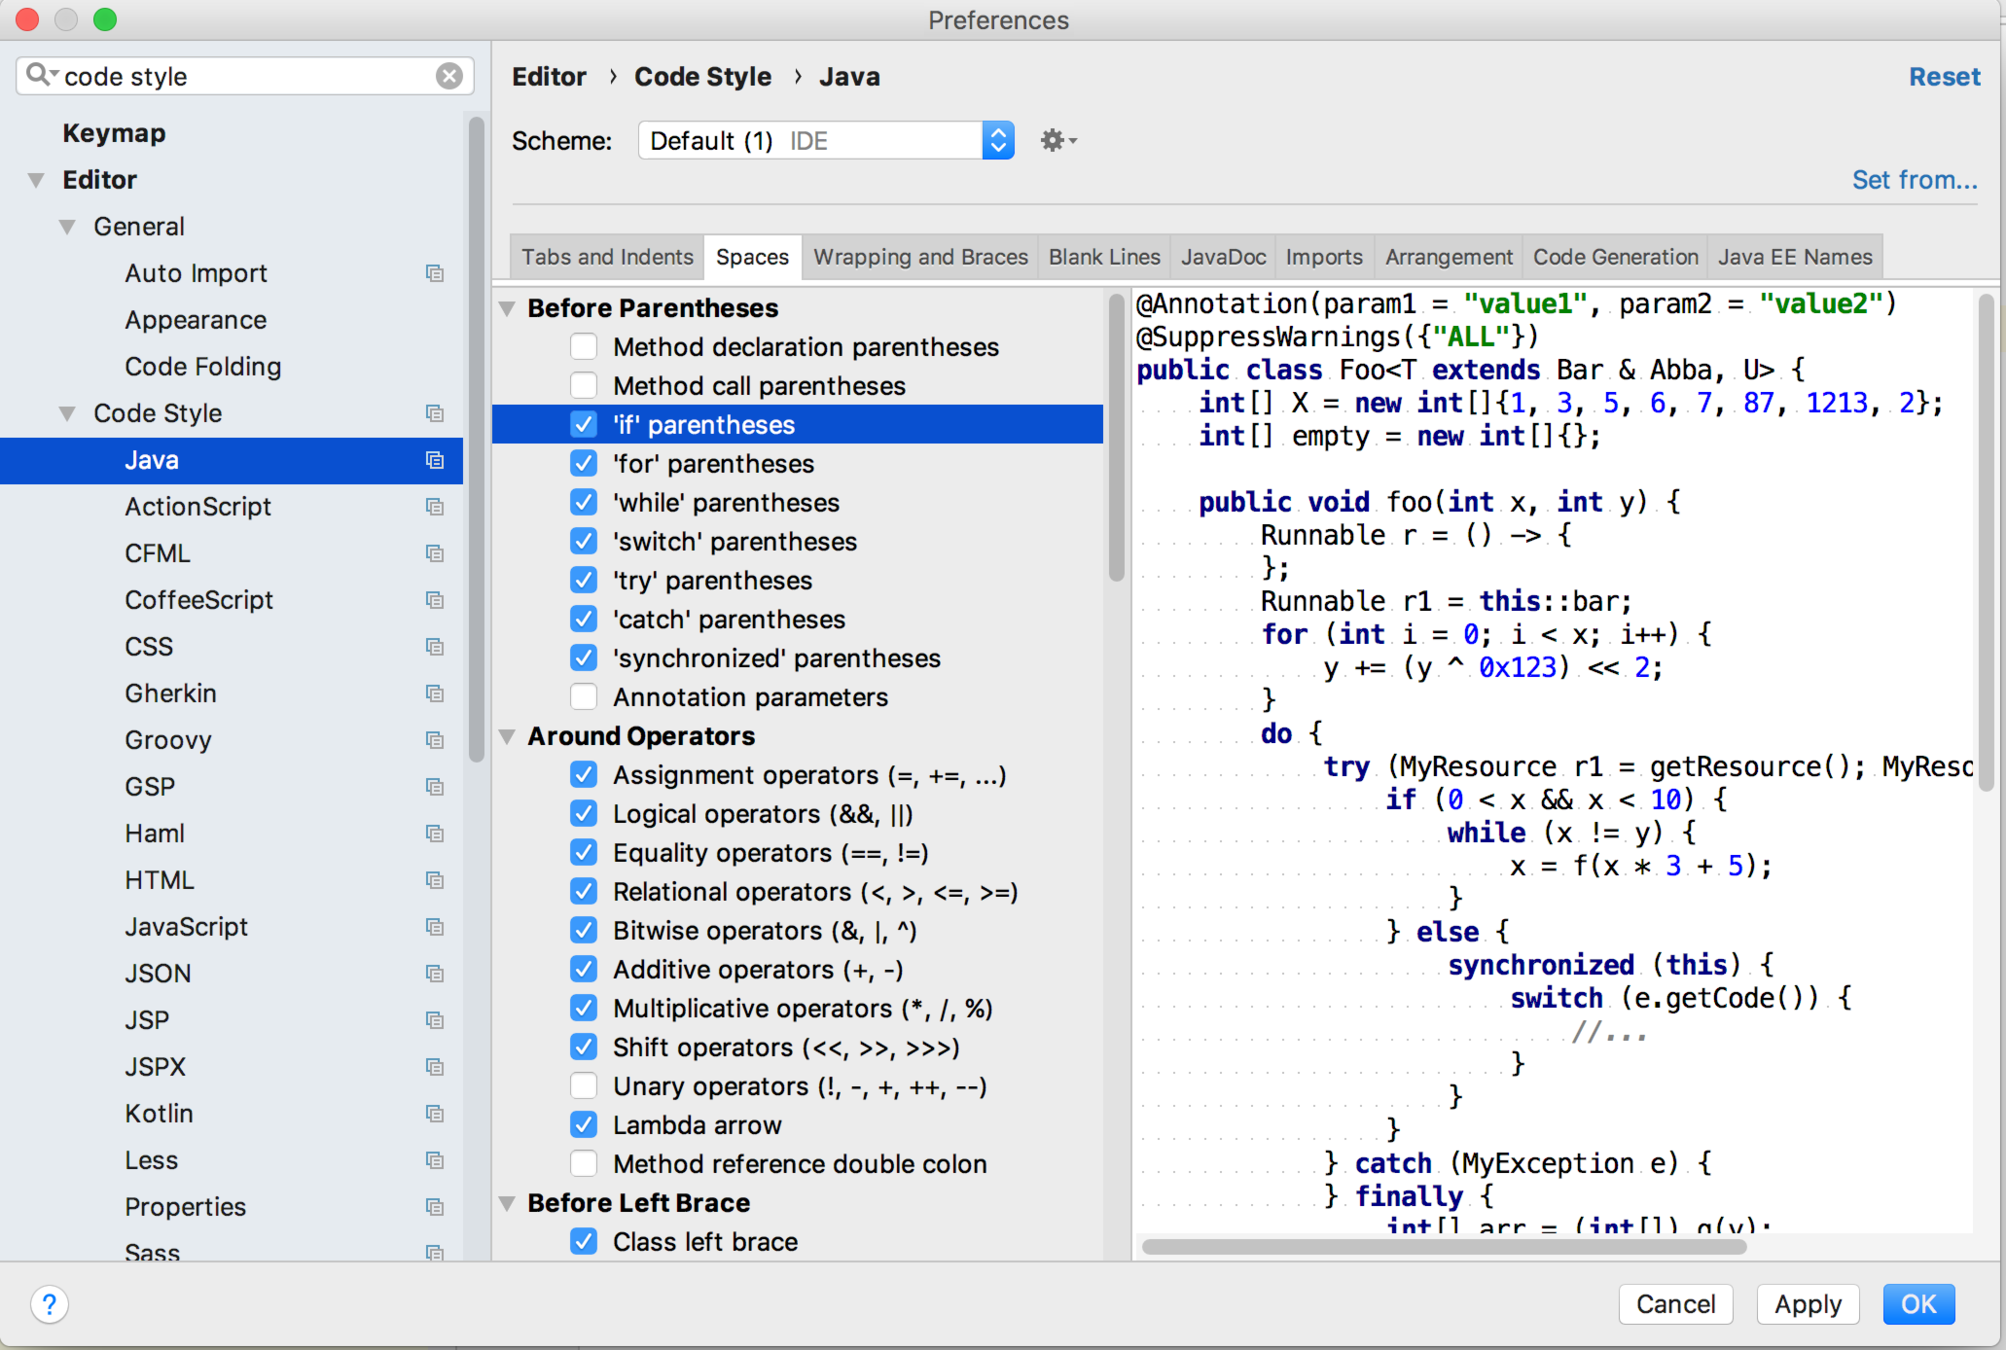
Changing code Style

Project Structure

Running the code with Arguments


Working with a gradle project


Enter the details of the gradle project

Use auto imports and local gradle distribution
For gradle local gradle choose the gradle under Cloudwords/tools folder

You can click on apply suggestions or hit the refresh button on gradle window to get the required dependencies


- Dependencies introduces will be reflected in project and Gradle window
- Tasks can be triggered from gradle window
Importing existing gradle project in IntelliJ Idea


Select the build.gradle file to import the existing project
Intention Actions
- Options which are available in order to solve an error.
- alt+enter will display a box inside window to display the intention options
- Duplicate code can be safe deleted with the of Intention Actions
Inspect code with Editor Settings
- alt+ shift+i : Helps us to find out what can be improved in the code
- Command + n can be used for code generation
Code readability
- Vertical arrows are provided with class, if statement, loop etc to get the high level view of the code
- It highlights pair of brackets
- Multiple statement can be moved forward using tab and shift + tab for moving backwards
- In the preferences set zoom option for changing font size after that code can be zoom in and out with command + mouse wheel
Manipulation line
- Start new line after current (shift + enter)
- Start new line before current (alt + command + enter)
- Move one or more lines up and down (alt + shift +arrowkeys)
- String in java will be preserved in multiple line using + operator
Maximizing editor space
- Double click on the editor tab
- For other windows we can enable floating mode
- Format code : command + alt + L
- Copy : command + c
- Paste : command +v
- clipboard :command + shift + v
- Search class by name : command + o
- Search symbol : alt + command + o
- Traverse to symbol : command click
- Go to line : command + g
- Traverse back : command + [
- Search File name : shift + command + o
- Search actions and options : command + shift + a
- Find in path : command + shift +f
- Quick documentation
- View hierarchy of the class : ctrl + h
- Search for symbols everywhere : double shift
- Method class and variable names can also be refactored
- Extract Method : alt + command + m
- Extract parameter : alt + command + p
- show methods in a class : command + fn + f12
Database integration
- Go to View -> Tool windows -> database
- In database window click on plus sign choose your database type fill the details and apply changes
- In the mysql window you can the sql commands
Setting up cloudwords application Intellij Idea

Go to File-> new-> Project from Existing Sources
Once you click on Project from existing source

It will open a select box browse to core-platform folder and select build.gradle and click open

After clicking open in the previous step select gradle wrapper. If gradle wrapper option is not available the "Use local gradle distribution"
and in gradle home give the path of tools/gradle-2.3 folder under cloudwords directory
Once the gradle project is imported and all the dependencies are resolved go to edit Configuration. It will Run/Debug configuration Window


Click on the + sign in Run/Debug Configurations then go to Tomcat Server and then click on local
You will a config window as show below

Refer to image at previous page for the instruction below:
- Give the name to the Tomcat Server
- In the sub tab server fill the information regarding your web application
- Choose the Application Server Directory
-
/core-platform/app/dist/dev/tomcat-6.0.41 for app
-
/core-platform/api/dist/dev/tomcat-6.0.41 for API
-
- Choose the Application Server Directory
- Copy the VM_ARGUMENTS values from app -server(dev).launch for app and api -server(dev).launch for api in VM options
- Check the Deploy application configured in Tomcat instance option


- In the deployment tab click on + sign and select the artifact
- In the Select artifacts to Deploy select the exploded war and click ok
- Select the checkbox Show this page and run the app
Debug the application

Click on the debug icon in upper right corner and click debug button to run application in debug mode
Debugging shortcuts
- Evaluate expression (fn + alt + f8)
- Step Over (fn + f8)
- Step Into (fn + f7)
- Step Out (fn + shift + f8 )
- Resume Program (alt + command + R)
Exporting eclipse style format to IntelliJ Idea

- Go to preference -> java -> code style->formatter
- click on Export All and save the xml file

- go to preference -> editor -> Code Style -> Java
- click on setting icon -> import scheme -> Eclipse XML Profile
- select the file exported from eclipse
More on IntelliJ Idea
