Intel Edison XDK Setup
by @rexstjohn


Rex St. John

Get the deck
Get the DOCS
- Intel XDK for Mac, Linux, Windows
- Latest Edison Image (Yocto 2.1)
- Windows Drivers (Windows only)
- PuTTy (Windows only)
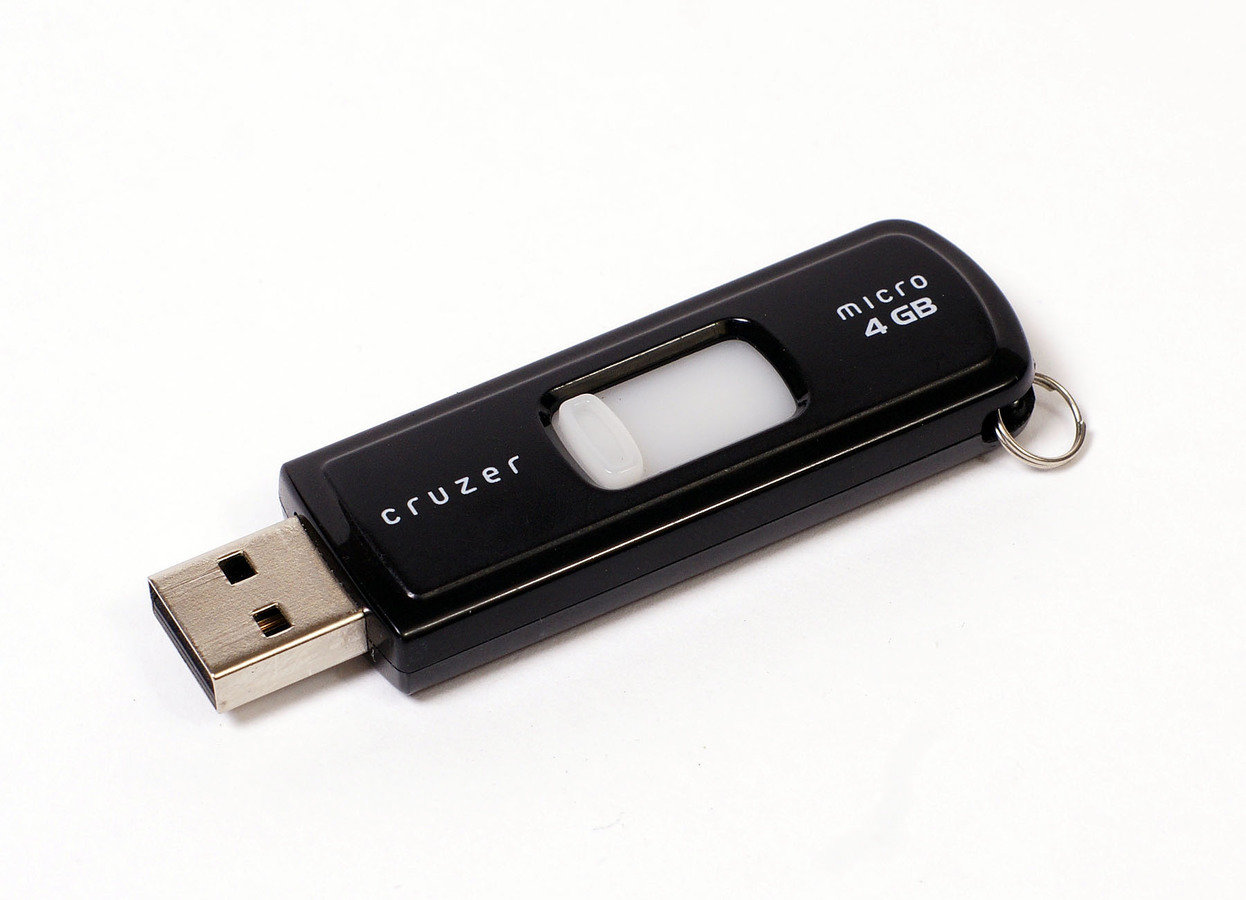
Copy the USB stick
(or click the below links to download)
- Form groups by OS
- Default username is "root" on Edison
- Down arrow means "Drill into" topic
- Use the deck and videos at your speed
- Downloads are on USB & S3
Important notes
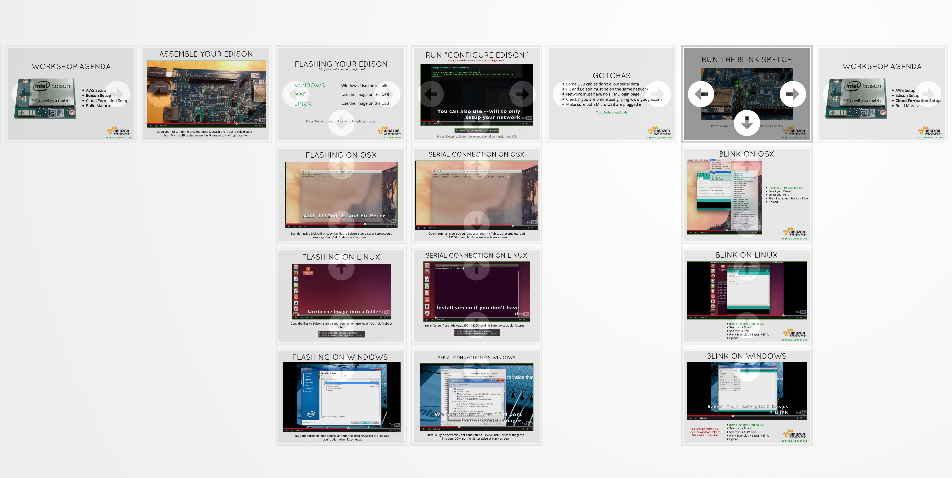

agenda
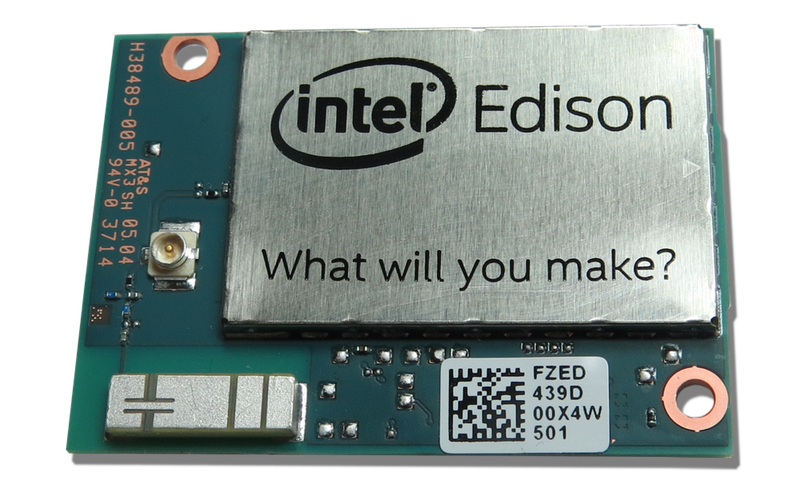
- Assemble Edison
- Flash Edison
- Configure Edison
- MRAA Setup

assemble your edison
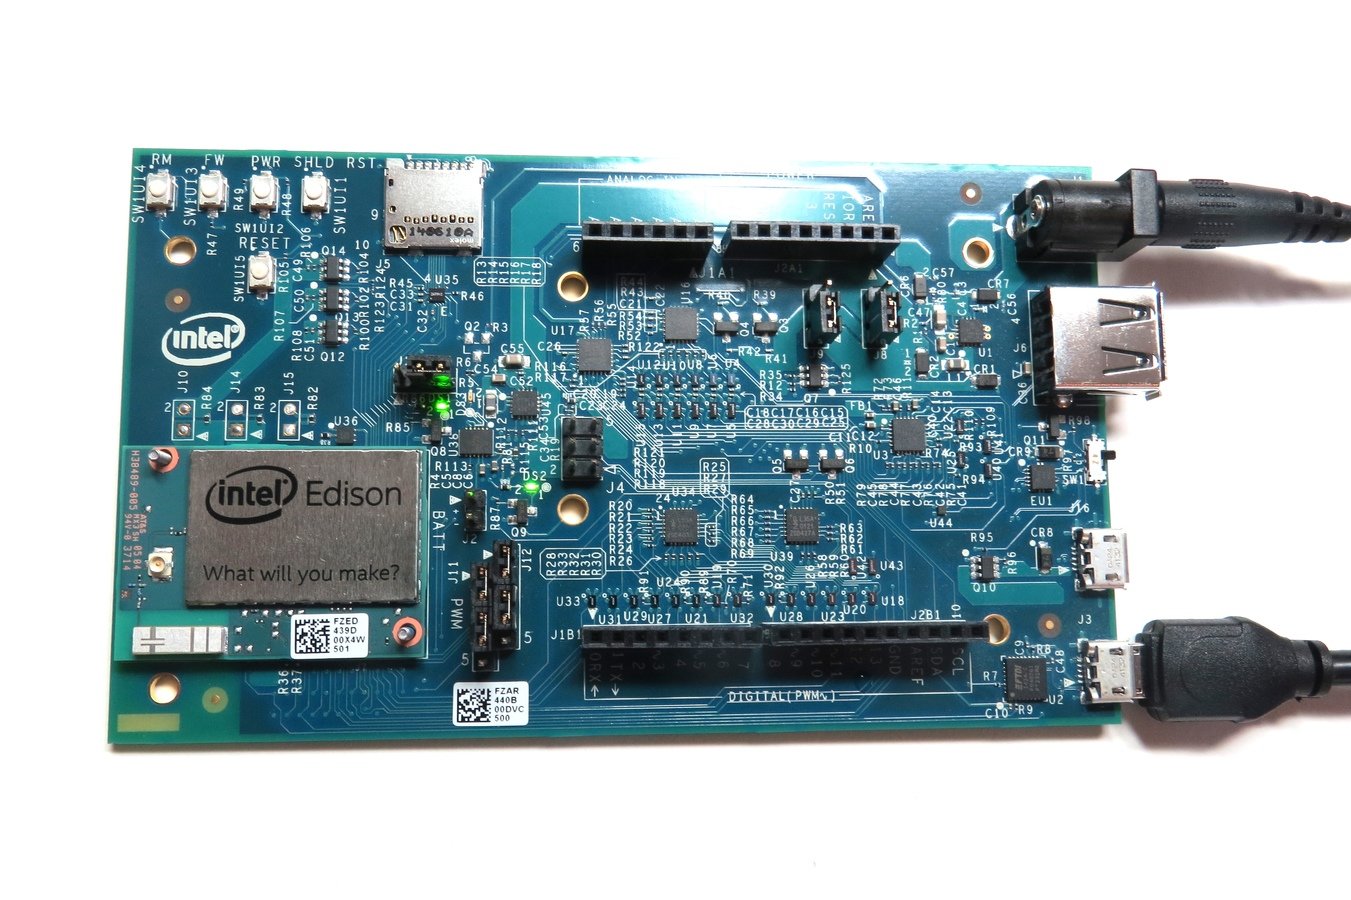
Snap your Edison to the breakout board (use two fingers), attach the Arduino shield, plug in both Micro-USB cables
We recommend installing the Arduino Breakout shield *before* powering!
agenda

- Assemble Edison
- Flash Edison
- Configure Edison
- MRAA Setup

flashing your edison
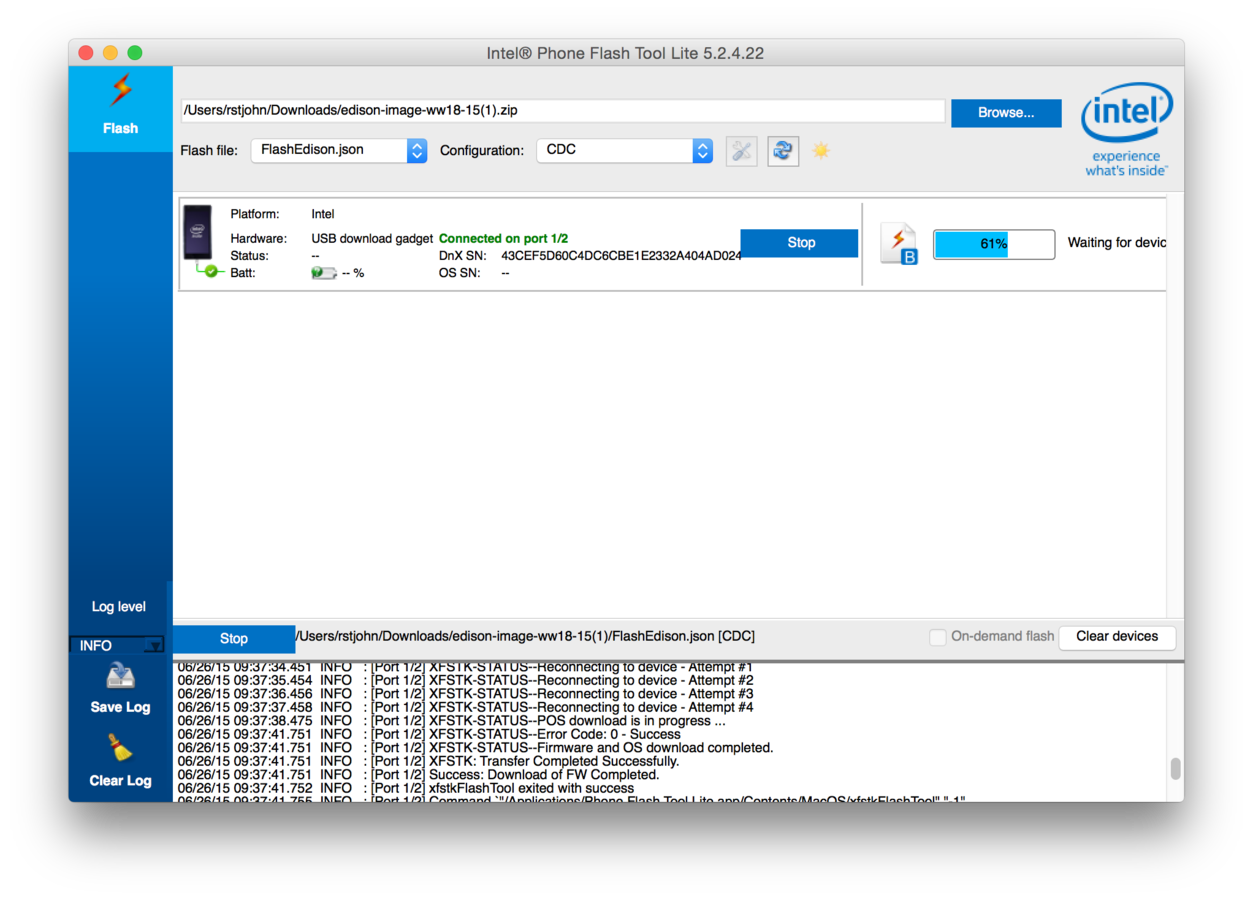
Follow this guide to flash your Edison using Flash Tool Lite. Windows users must also install the USB drivers.
flashing your edison
Mac / Linux users select "CDC" from the drop down, Windows users use "RNDIS." Toggle the power switch when the pop up appears.

agenda

- Assemble Edison
- Flash Edison
- Configure Edison
- MRAA Setup

Serial connections
Download PuTTy
Use "screen" utility
Use "screen" utility
Press "Down" to view videos showing how to establish serial connections on each OS.

serial connection on osx
Open terminal, type 'screen /dev/cu.usbs' then hit Tab to autocomplete, add '115200 -L' and hit Enter twice at blank screen
serial connection on Linux
$ sudo apt-get install screen
$ sudo screen /dev/ttyUSB0 115200
Install 'screen,' use "/dev/ttyUSB0 115200" and hit Enter twice at blank screen
serial connection on Windows
Download PuTTy, select 'serial,' set baud rate to 115200, use Device Manager to find your COM port, hit Enter twice at blank screen
Note: Select the COM port that isn't the virtual COM port
Run "configure edison"
$ configure_edison --setupInitiate a Serial connection, use default login "root"
Name your Edison a unique name, set a password, get on the Wi-Fi, use ping google.com to test internet status!
agenda

- Assemble Edison
- Flash Edison
- Configure Edison
- MRAA Setup

Run the blink sketch
We will be blinking the Pin 13 LED shown above using Intel XDK IoT Edition and MRAA.
$ echo "src mraa-upm http://iotdk.intel.com/repos/1.1/intelgalactic" > /etc/opkg/mraa-upm.conf
$ opkg update
$ opkg upgrade
Update Libmraa
Open a serial connection to your Edison and run these commands in the shell.
XDK Blink
$ wpa_cli statusRecord your edison ip
Open a serial connection to your Edison and run this command in the shell. Write down your IP address.
Install XDK IoT Edition

Create project
Create a new blink project from the provided template in Intel XDK.
Connect Edison
Connect to your Edison, update the XDK Daemon, deploy the sketch.
Install the XDK Daemon when prompted
Alternate deploy process
deploy code
- Open FileZilla
- Enter Edison IP
- Use "root" as user
- Use your PW
- Port 22
- Quickconnect
- Drag & drop!
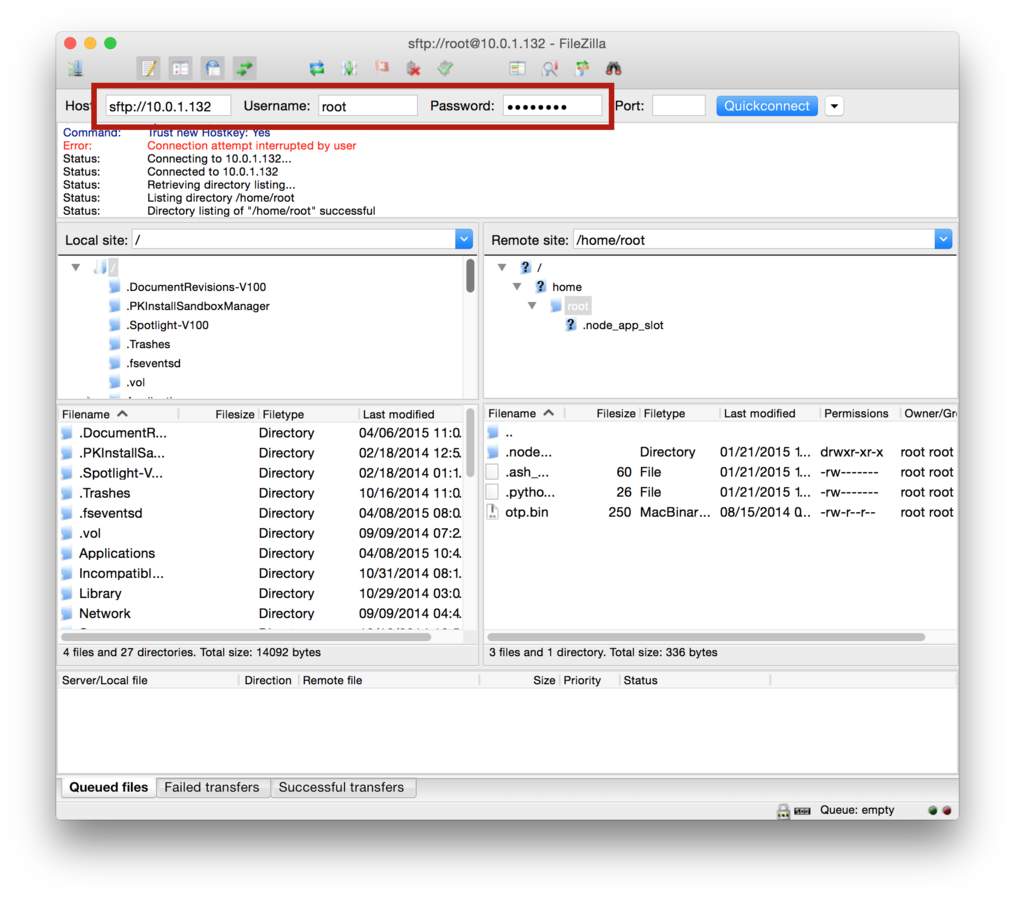
FileZilla is an easy way to get code over to your Edison once it is online
npm init
$ mkdir code
$ cd code
$ npm init
$ name: (code) demo
$ version: (1.0.0) 1.0.0
$ description: blink
$ entry point: blink.js
$ test command:
$ git repository:
$ keywords:
$ license: (ISC)
var mraa = require('mraa');
var myOnboardLed = new mraa.Gpio(13);
myOnboardLed.dir(mraa.DIR_OUT);
var ledState = true;
periodicActivity();
function periodicActivity()
{
myOnboardLed.write(ledState?1:0);
ledState = !ledState;
setTimeout(periodicActivity,1000);
}
{
  "name": "OnboardLEDBlink",
  "description": "",
  "version": "0.0.0",
  "main": "blink.js",
  "engines": {
    "node": ">=0.10.0"
  },
  "dependencies": {
  }
}
package.json
blink.js
Basic project
Edit your project using your IDE of choice!
$ cat package.json
$ touch blink.js
$ open blink.js
running the code
$ npm install
$ node index.js
Run the above command in your terminal to run the blink example
Get the deck
