Build your first IoT device
Roberto Barros

IoT = Internet of Things
... is that a network of physical objects capable of collecting and transmitting data. It is an extension of the current internet that allows everyday objects to connect to the Internet.
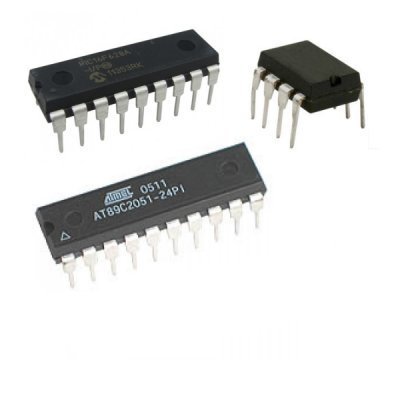
For that we need a microcontroller
Arduino
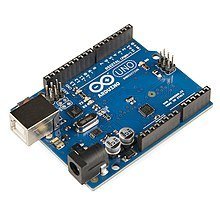
Problem: Don't have internet connection
Advantage: Has great development tools
ESP8266

Can be used with arduino IDE:
Other Options
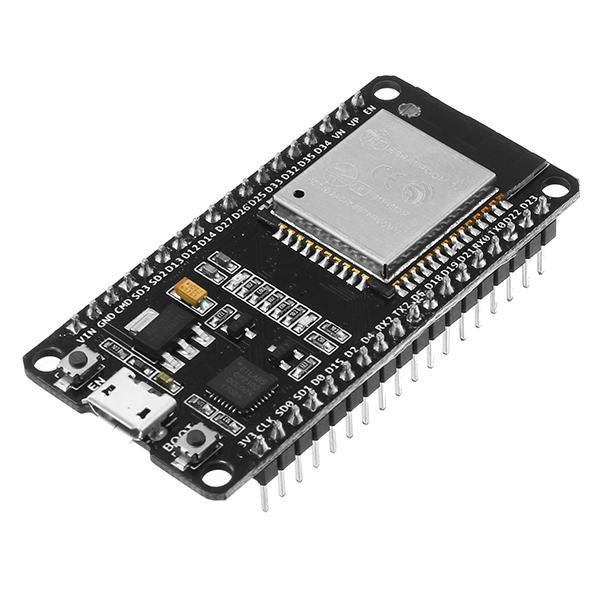
ESP32
Wifi + Bluetooth
ESP01
Compact
Our first software
void setup() {
  // put your setup code here, to run once:

}

void loop() {
  // put your main code here, to run repeatedly:

}
Blink Led
void setup() {
  pinMode(D4, OUTPUT);
}


void loop() {
  digitalWrite(D4, LOW);

  delay(1000);

  digitalWrite(D4, HIGH);

  delay(2000);
}
What if we want to control a bigger load?
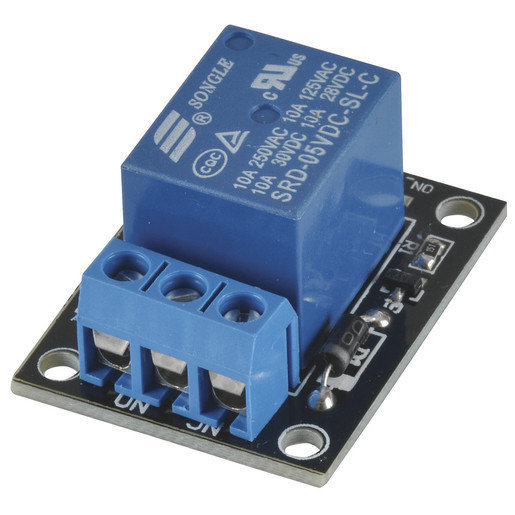

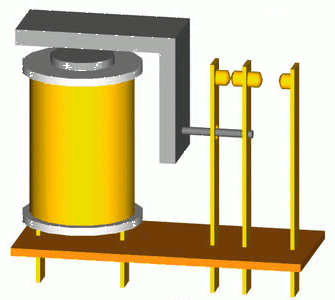
electromechanical
Relay Circuit
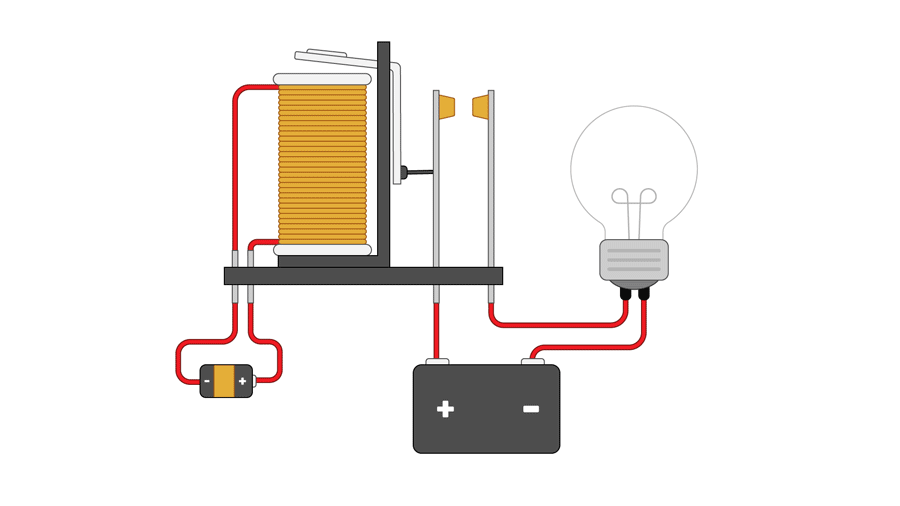
Full Schematic
Blink Lamp
void setup() {
  pinMode(D0, OUTPUT);
}


void loop() {
  digitalWrite(D0, LOW);

  delay(1000);

  digitalWrite(D0, HIGH);

  delay(2000);
}
Let's connect on the internet
#include <ESP8266WiFi.h>

const char* SSID = "Nome da Rede";
const char* PASSWORD = "Senha da Rede";


void initWiFi() {
  Serial.println("Conectando-se em: " + String(SSID));

  WiFi.begin(SSID, PASSWORD);

  while (WiFi.status() != WL_CONNECTED) {
    Serial.print(".");
    delay(500);
  }


  Serial.println("");
  Serial.println("WiFi conectado");
  Serial.println("IP address: ");
  Serial.println(WiFi.localIP());

}

void setup() {
  Serial.begin(115200);

  initWiFi();
}


void loop() {

}
MQTT
Message Queuing Telemetry Transport is a lightweight messaging protocol for sensors and small mobile devices optimized for unreliable or high latency TCP / IP networks. The message exchange scheme is based on the Publisher-Subscriber model.
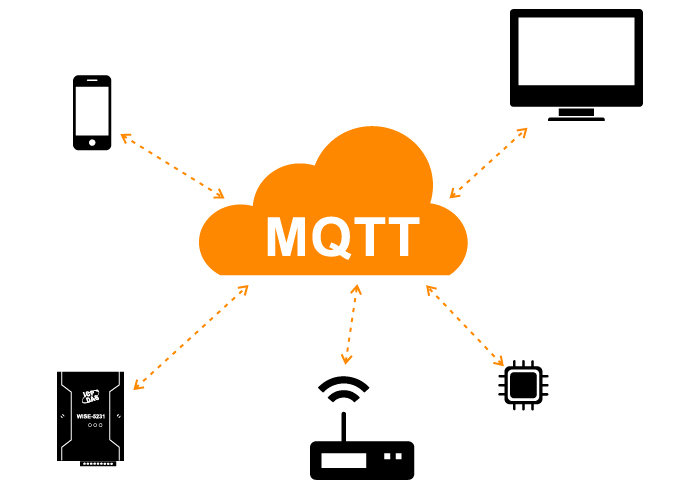
MQTT Brokers

Other public brokers:
Config the MQTT

Setup PubSub
#include <PubSubClient.h>

const char* BROKER_MQTT = "iot.eclipse.org";
int BROKER_PORT = 1883;
const char* TOPIC = "lewagon-iot-lamp";

WiFiClient espClient;
PubSubClient MQTT(espClient);

void initMQTT() {
  MQTT.setServer(BROKER_MQTT, BROKER_PORT);
}

void setup() {
  initMQTT();
}
Connecting the Broker
void connectMQTT() {
  while (!MQTT.connected()) {
    Serial.println("Tentando se conectar ao Broker MQTT: " + String(BROKER_MQTT));
    if (MQTT.connect("clientId-lewagon-iot-lamp")) {
      Serial.println("Conectado");
      MQTT.subscribe(TOPIC);

    } else {
      Serial.println("Falha ao Conectar. Tentando novamente em 2 segundos");
      delay(2000);
    }
  }
}

void loop() {
  if (!MQTT.connected()) {
    connectMQTT();
  }
  MQTT.loop();
}
Callback
void initMQTT() {
MQTT.setServer(BROKER_MQTT, BROKER_PORT);
MQTT.setCallback(mqtt_callback);
}
void mqtt_callback(char* topic, byte* payload, unsigned int length) {
String message;
for (int i = 0; i < length; i++) {
char c = (char)payload[i];
message += c;
}
Serial.println("Tópico => " + String(topic) + " | Valor => " + String(message));
Serial.flush();
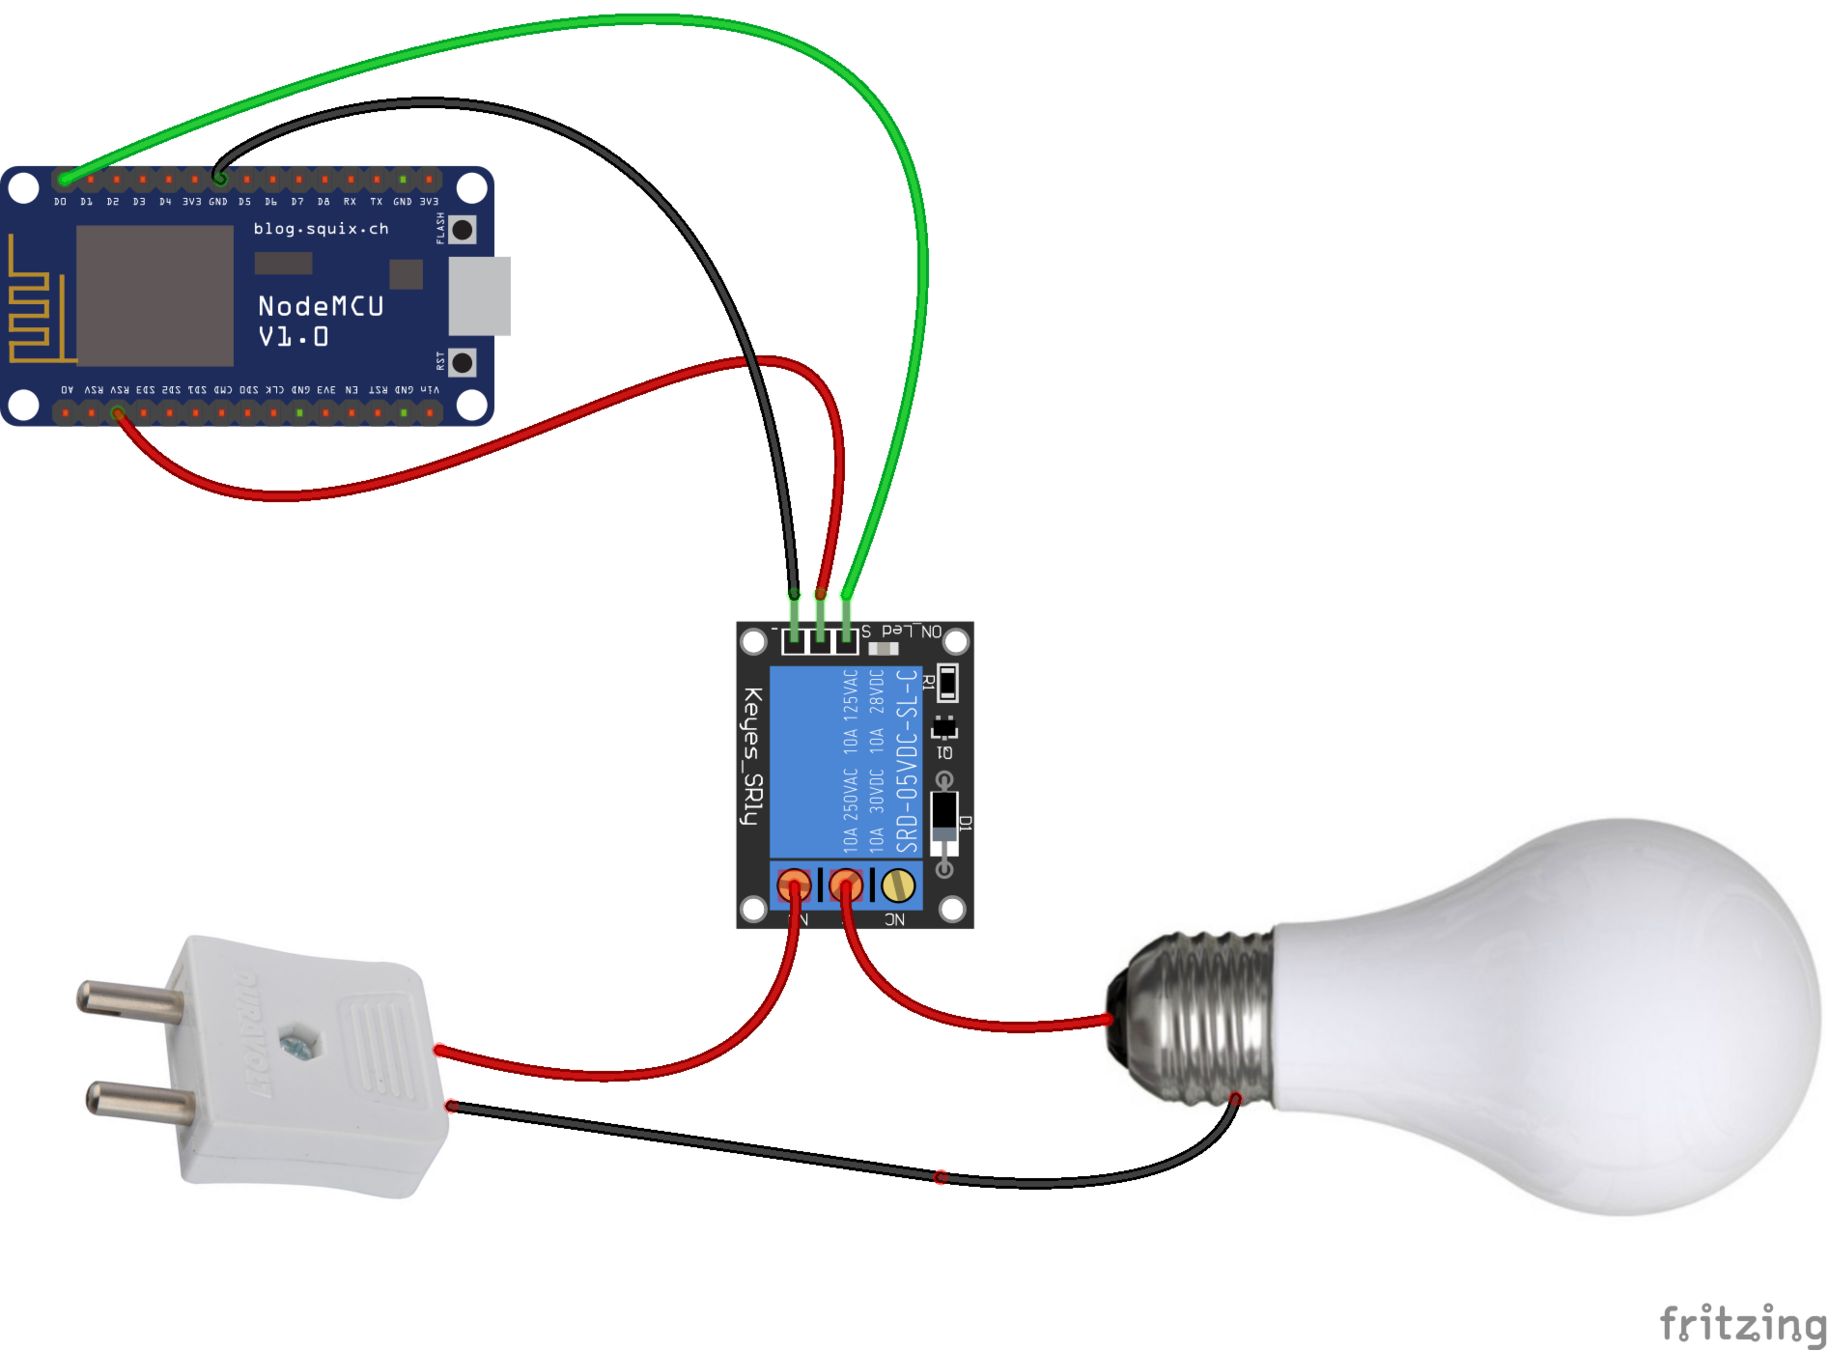
}Plugging the Relay
void mqtt_callback(char* topic, byte* payload, unsigned int length) {

  String message;
  for (int i = 0; i < length; i++) {
    char c = (char)payload[i];
    message += c;
  }
  Serial.println("Tópico => " + String(topic) + " | Valor => " + String(message));
  Serial.flush();

  if (message == "on") {
    digitalWrite(D0, HIGH);
  } else {
    digitalWrite(D0, LOW);
  }

}


void setup() {
 pinMode(D0, OUTPUT);
}
Web Client
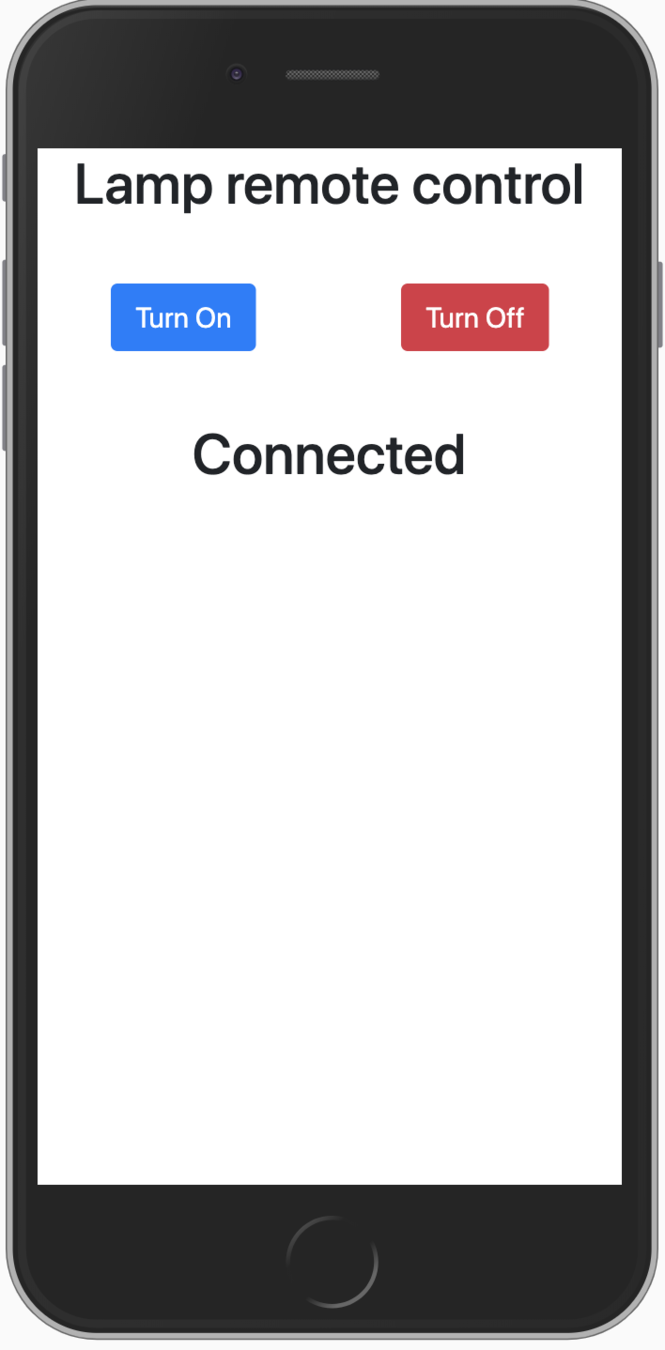
Websocket
It is a technology that allows two-way communication. Websocket was developed to be implemented in web browsers and web servers, but can be used by any client or server application.

index.html boilerplate
<html>
<head>
  <meta charset="utf-8">
  <meta name="viewport" content="width=device-width, initial-scale=1, shrink-to-fit=no">

  <title>Client MQTT Web</title>

  <script src="https://cdnjs.cloudflare.com/ajax/libs/paho-mqtt/1.1.0/paho-mqtt.min.js">
  </script>
  <link rel="stylesheet" href="https://stackpath.bootstrapcdn.com/bootstrap/4.3.1/css/bootstrap.min.css" integrity="sha384-ggOyR0iXCbMQv3Xipma34MD+dH/1fQ784/j6cY/iJTQUOhcWr7x9JvoRxT2MZw1T" crossorigin="anonymous">
</head>
<body>
  <div class="container">
    <h1 class="text-center">Lamp remote control</h1>
    <div class="row mt-5 text-center">
      <div class="col-6">
        <button class="btn btn-primary btn-lg" id='on'>Turn On</button>
      </div>
      <div class="col-6">
        <button class="btn btn-danger btn-lg" id='off'>Turn Off</button>
      </div>
    </div>
  </div>
</body>
</html>
Eclipse Paho JavaScript client:
Broker Setup
  <script>
    var wsbroker = "iot.eclipse.org";
    var wsport = 443;
    var randomId = parseInt(Math.random() * 100, 10)
    var client = new Paho.Client(wsbroker, wsport, "myclientid_" + randomId);

  </script>
Connecting Broker
  <script>

    client.connect({onSuccess:onConnect , useSSL: true});

    function onConnect() {
      client.subscribe("lewagon-iot-lamp");
      console.log("Connected!");
    }

  </script>
When a button is clicked the message is sent
  <script>

    function sendMessage(message) {
      return function() {
        mqtt_message = new Paho.Message(message);
        mqtt_message.destinationName = "lewagon-iot-lamp";
        client.send(mqtt_message);
      }
    }

    document.getElementById('on').addEventListener('click', sendMessage('on'));
    document.getElementById('off').addEventListener('click', sendMessage('off'));


  </script>
Receiving the message
  <script>

    client.onMessageArrived = onMessageArrived;

    function onMessageArrived(message) {
      console.log("onMessageArrived:"+message.payloadString);
    }


  </script>
Full Code
Other Cool Ideas
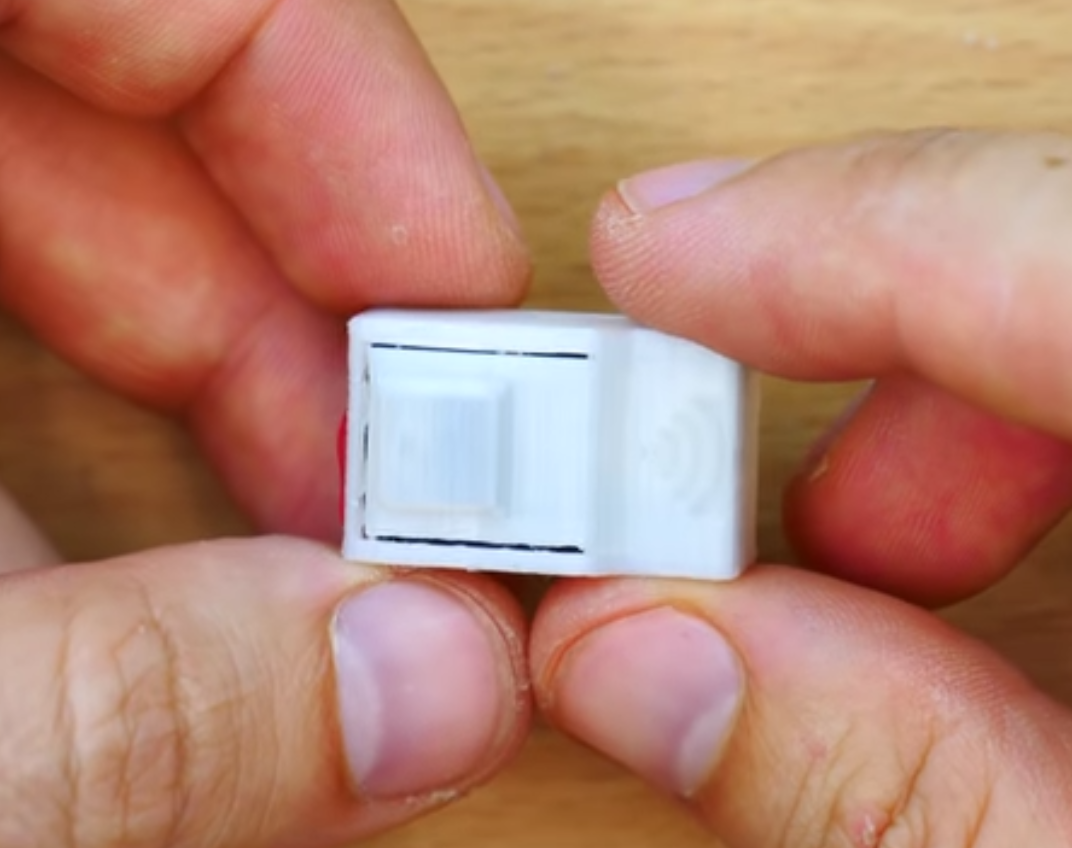
The Smallest WiFi Button in the World
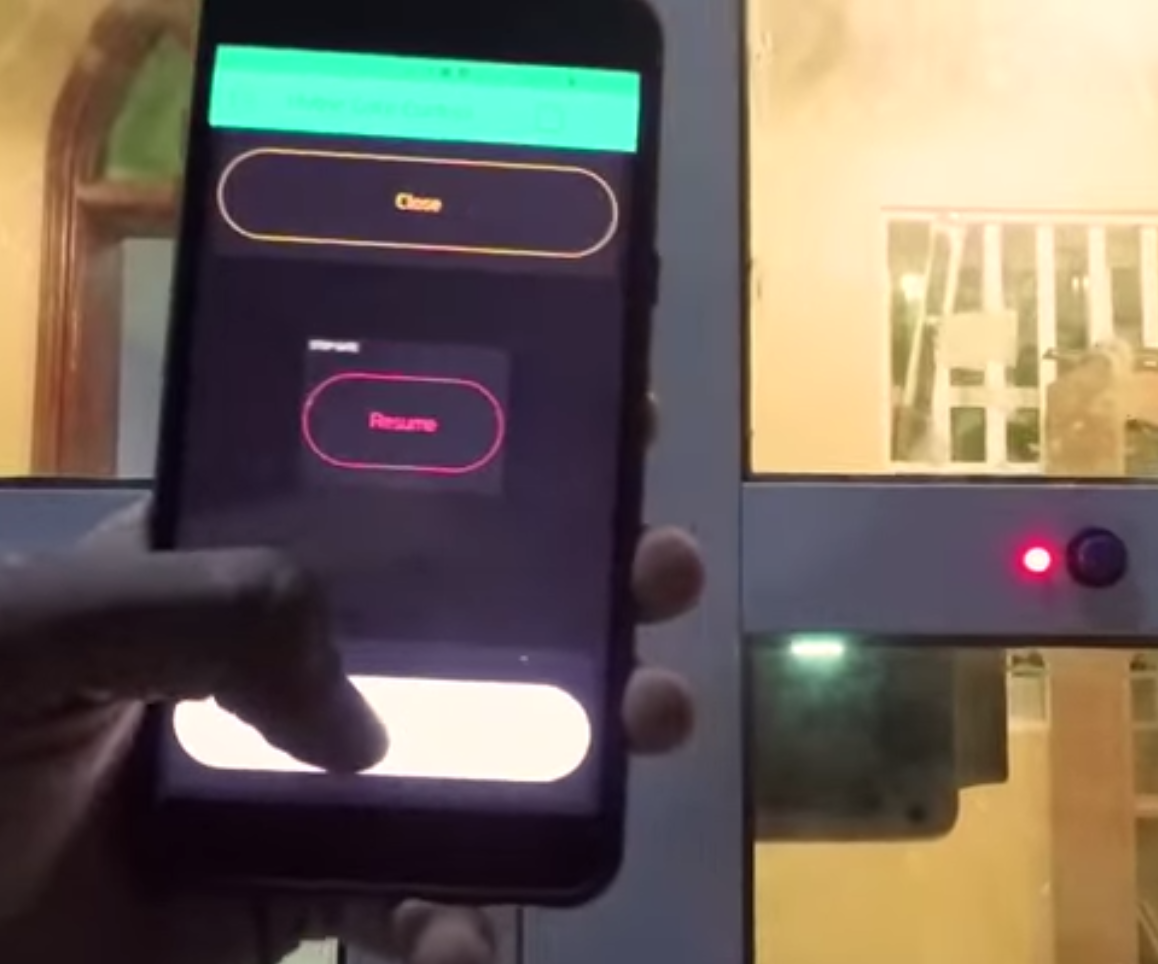
WiFi Home Door Lock
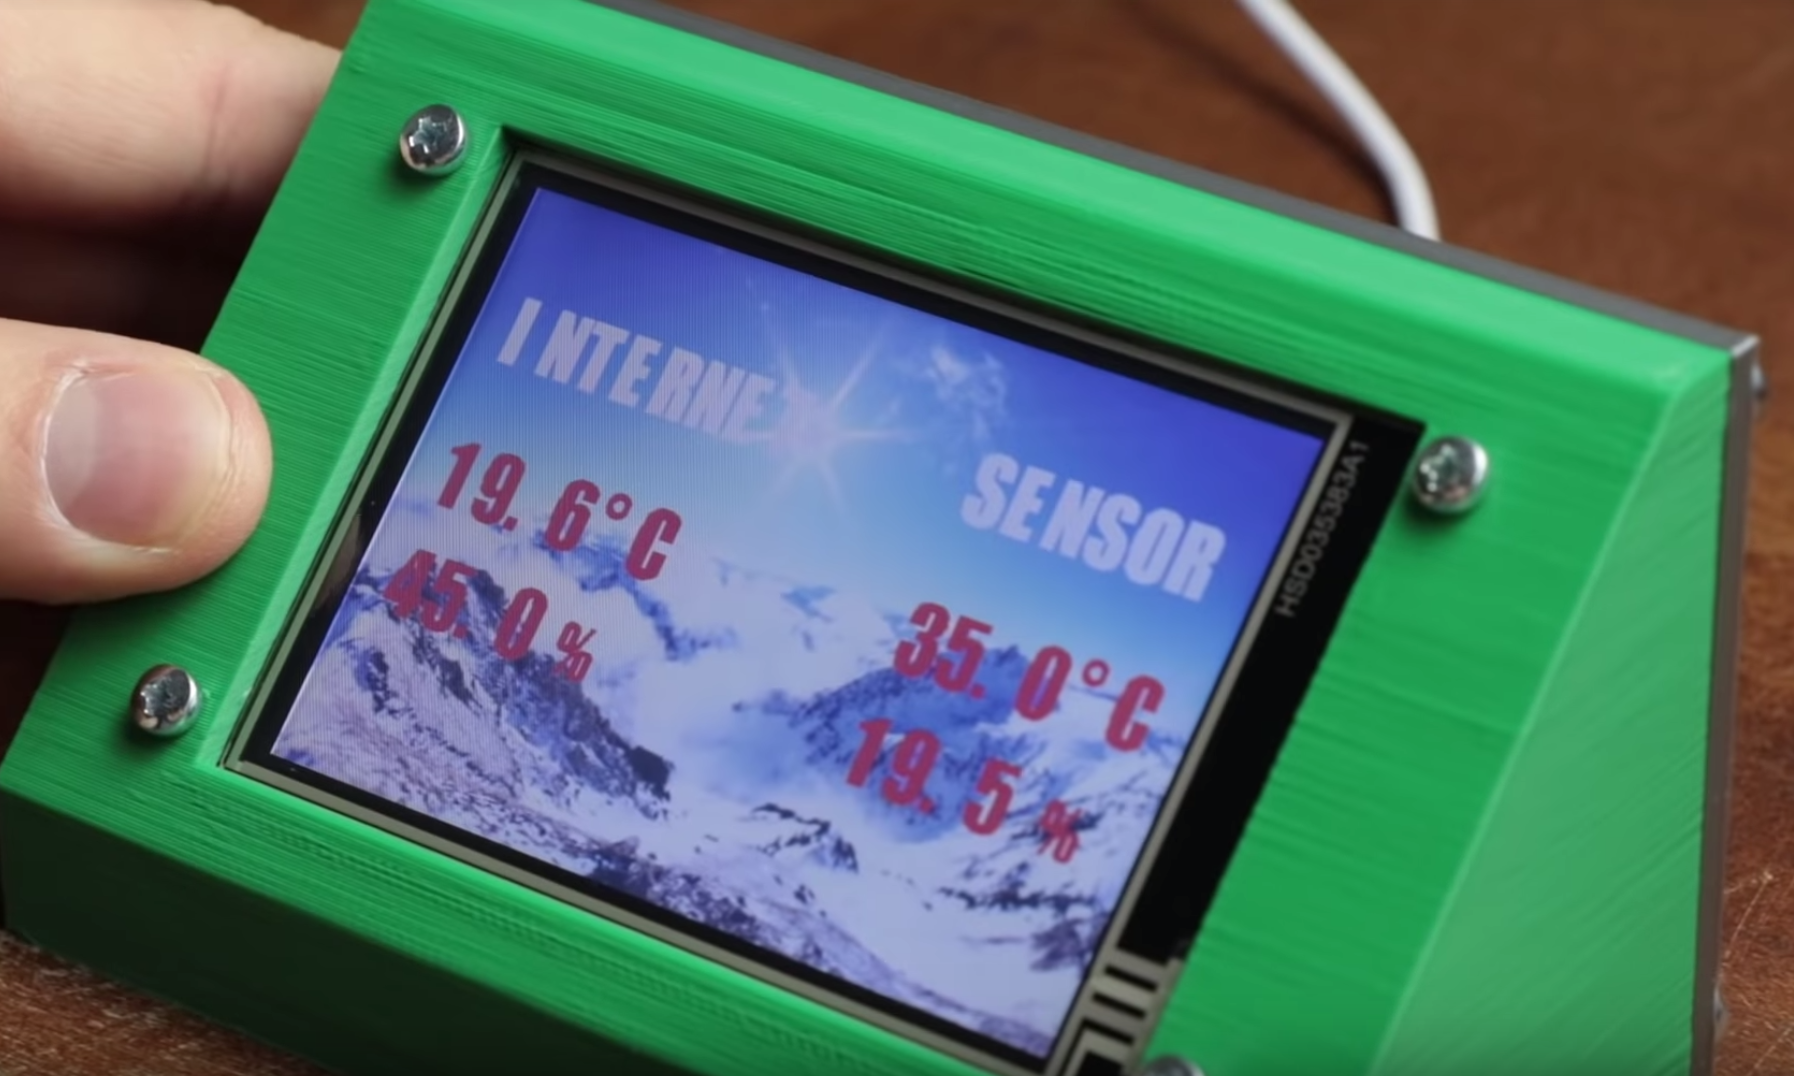
DIY Weather Station & WiFi Sensor Station
Thank You!
Roberto Barros
roberto@scandix.com.br