Advanced APIs
Objectives
- Generate API specific events and request data from a web service.
- Implement a geolocation API to request a location.
- Process a third-party API response and share location data on your website.
- Make a request and ask another program or script to do something.
- Search documentation needed to make and customize third-party API requests.
Review
- Have a solid grasp on HTTP fundamentals.
- Know how to manipulate the DOM with jQuery.
- Understand what callback functions are and why they're useful.
Introduction to Advanced APIs
Some APIs requires you to make authenticated requests. Often times when dealing with third-party API's (Google, Twitter, etc.) access to certain endpoints are contingent upon being authenticated by the third-party's server.
So every time a site makes a request to the API it wants to know that we have the authority to GET/POST/PATCH/DELETE it's endpoints.
This process of authenticating with a third-party API is known as OAuth (Open Authorization).
O-Auth
OAuth is an open standard for authorization.
OAuth provides client applications a 'secure delegated access' to server resources on behalf of a resource owner. It specifies a process for resource owners to authorize third-party access to their server resources without sharing their credentials.
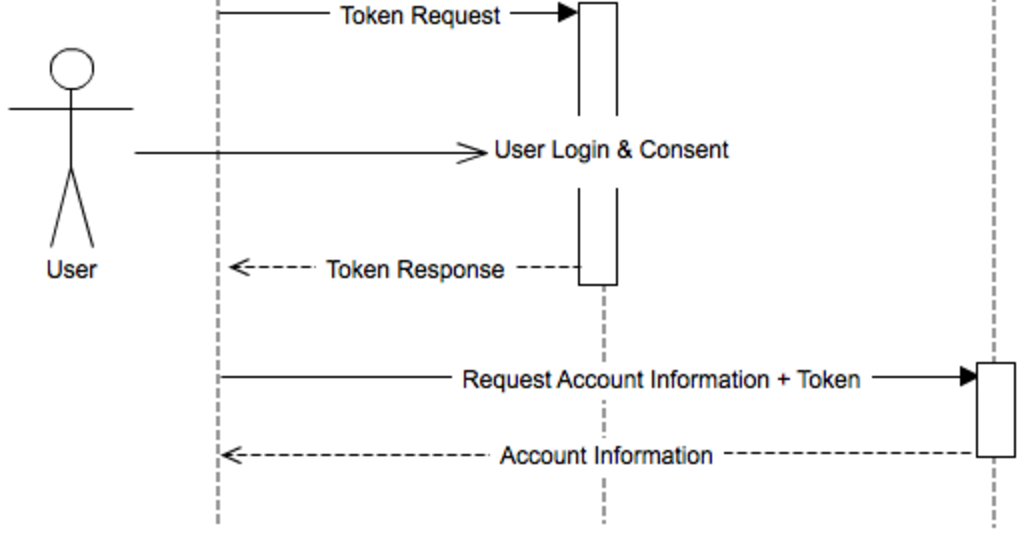
OAuth Flow:
- User is redirected from our application to the third-party API we wish to authenticate with (let's go with 500px).
- User logs into 500px.
- 500px redirects user back to our application with an access token.
- User can now make requests for resources from the third-party API with the provided access token. The access token is used by the 500px server to verify a user's authentication and authority to make requests.
- User receives resources from 500px.
LocalLandscapes: Let's Get to Building!
The app we will be making will show our user an aggregate of the most popular 500px landscape pictures based off their location. Let's refer to our app as LocalLandscapes.
Here are the steps we'll take in this endeavor:
- Get our 500px developer credentials
- Create our initial view which will have a way for our user to perform OAuth
- Get User's location
- Ping the 500px endpoint with User's location and access token
- Parse through API response for images and put them into view
Which 500px Endpoint Do We Hit?
The first part of creating an app is coming up with the idea. The second part is to find out whether or not the idea is even feasible.
Our idea is to find 500px landscape photos based off location. How do we go about figuring out if it's possible to do this? In order to receive a resource from an API, the API must expose a specific endpoint that can be pinged for the wanted data. If we Google "500px api" you should be able to find 500px's documentation on endpoints.
As we inspect the 500px endpoint, we can see that as long as we pass certain query values (latitude, longitude, radius and category) we will be given a response containing the landscape photos we want. Awesome! Now that we know our app idea is doable, let's start setting it up.
Get 500px Credentials
The first step in working with a third-party API that requires authentication is to register your application with the API. The purpose of this is so that the API, in this case 500px, can give our app credentials to use in future requests so it can recognize who is asking for what information. Let's go ahead and get our credentials.
First and foremost, you must have a 500px account. If you don't already have one, please sign up. Once you are signed in, visit 500px's settings page. Register your application by clicking on Applications in the left hand menu and then the Register your application button.
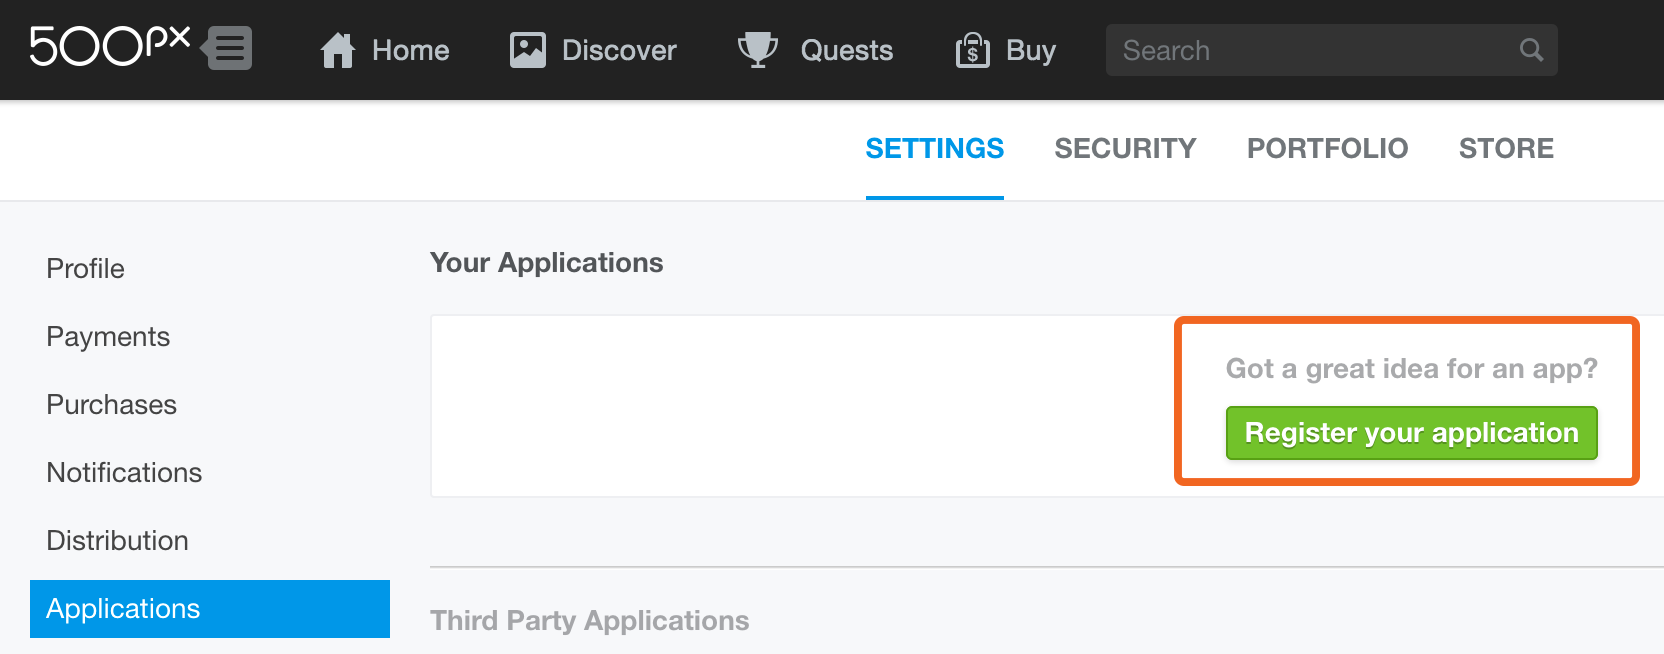
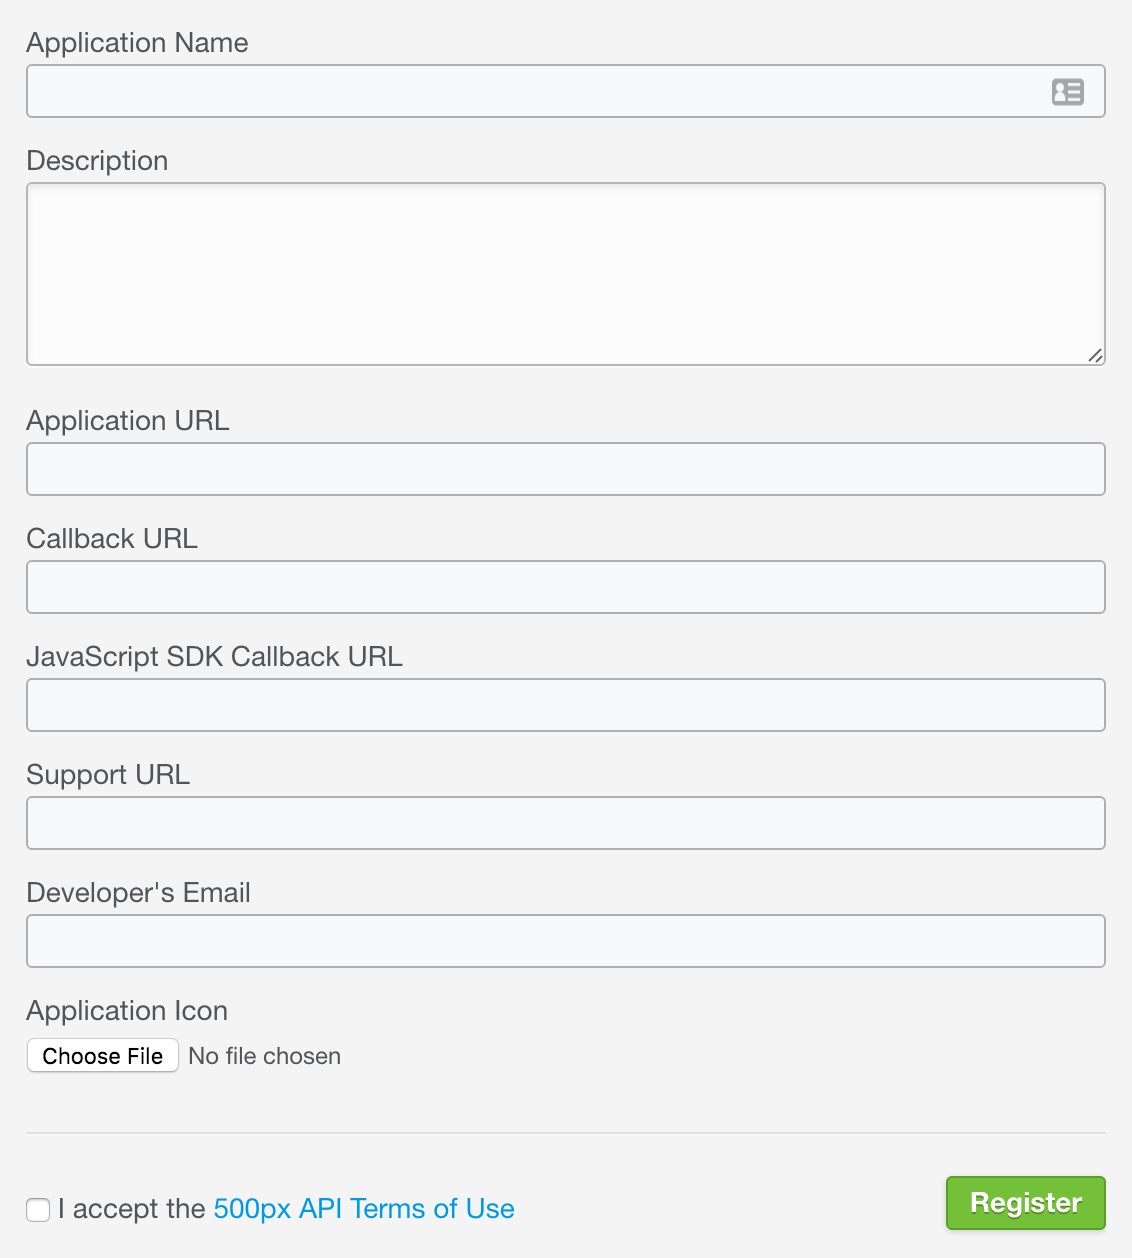
You should see the following:
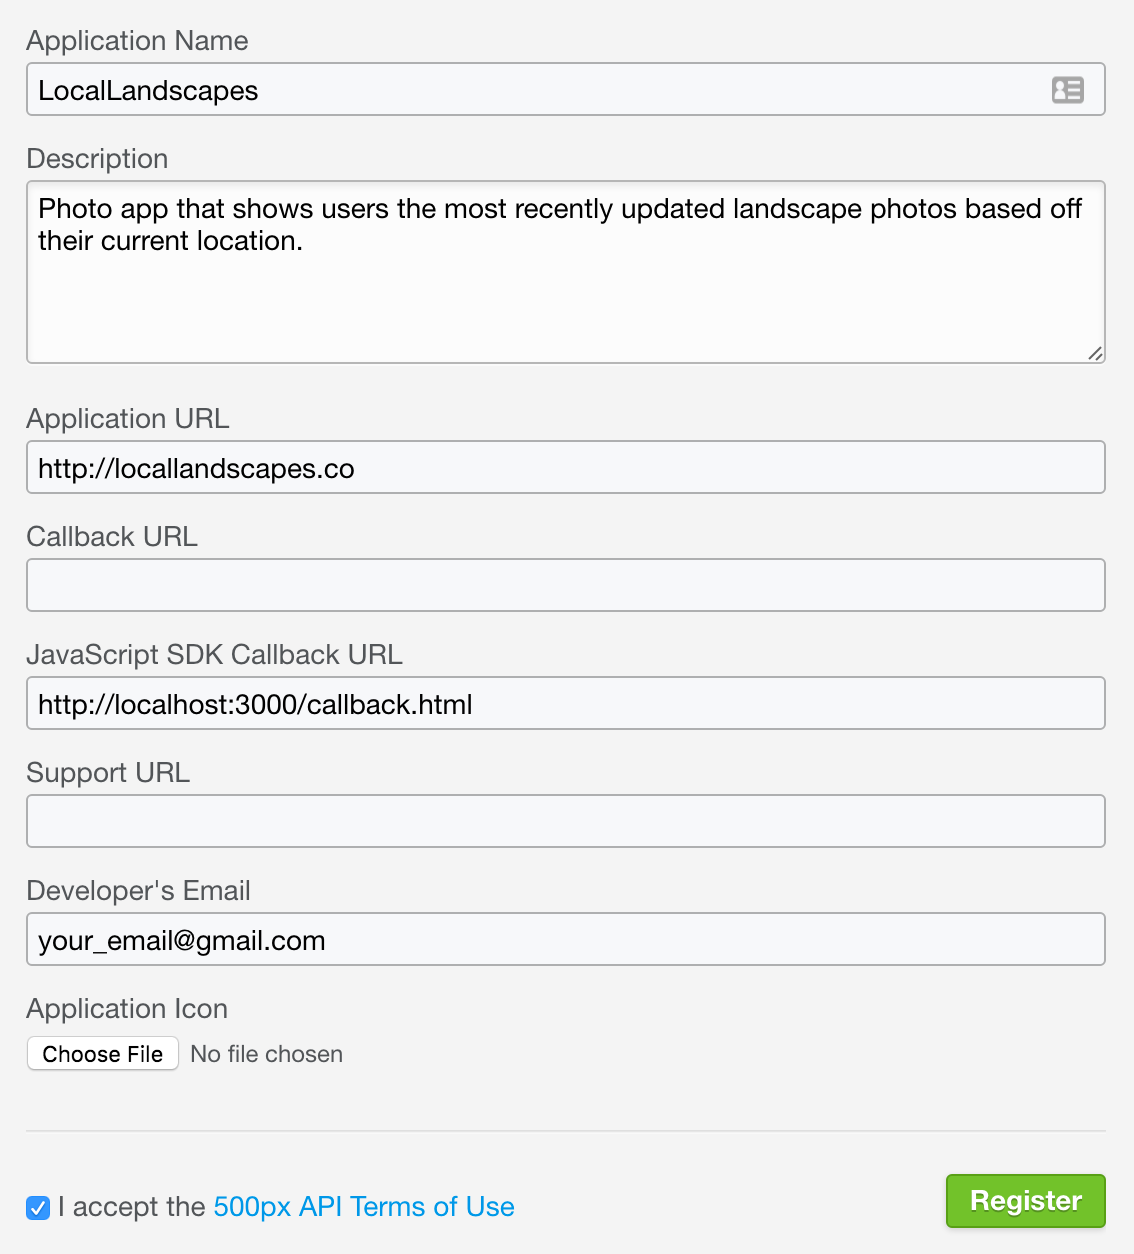
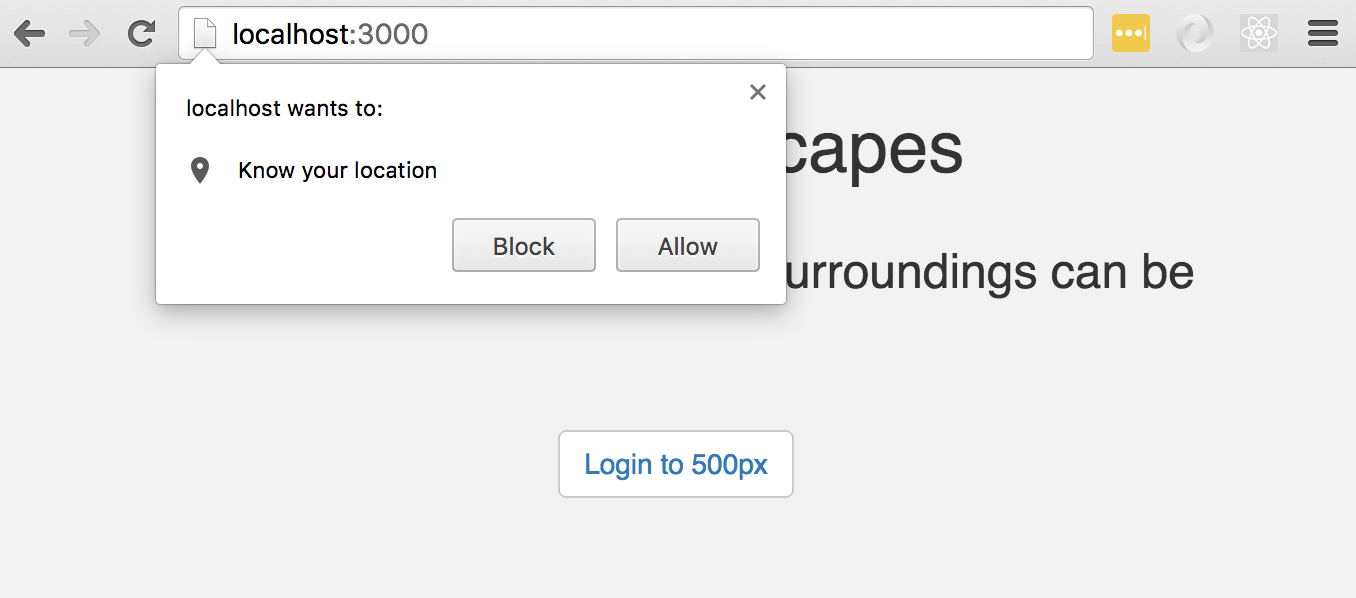
JavaScript SDK Callback URL
After our user leaves our app to log in to 500px, 500px redirects them back to our app with the access token.
So how does 500px know where to send the authenticated user? Well that input value, http://localhost:3000/callback.html, is how.
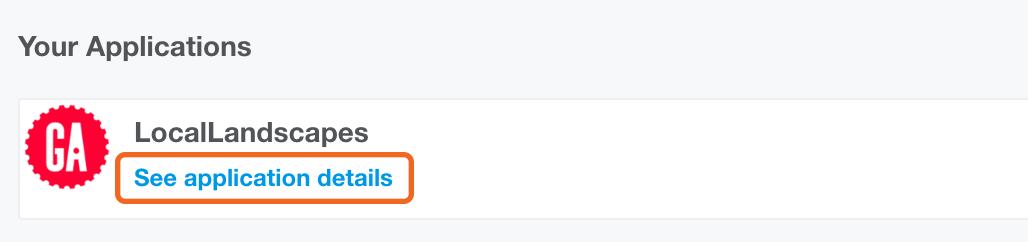
You should now see the application you created on your dashboard. Click on See application details.
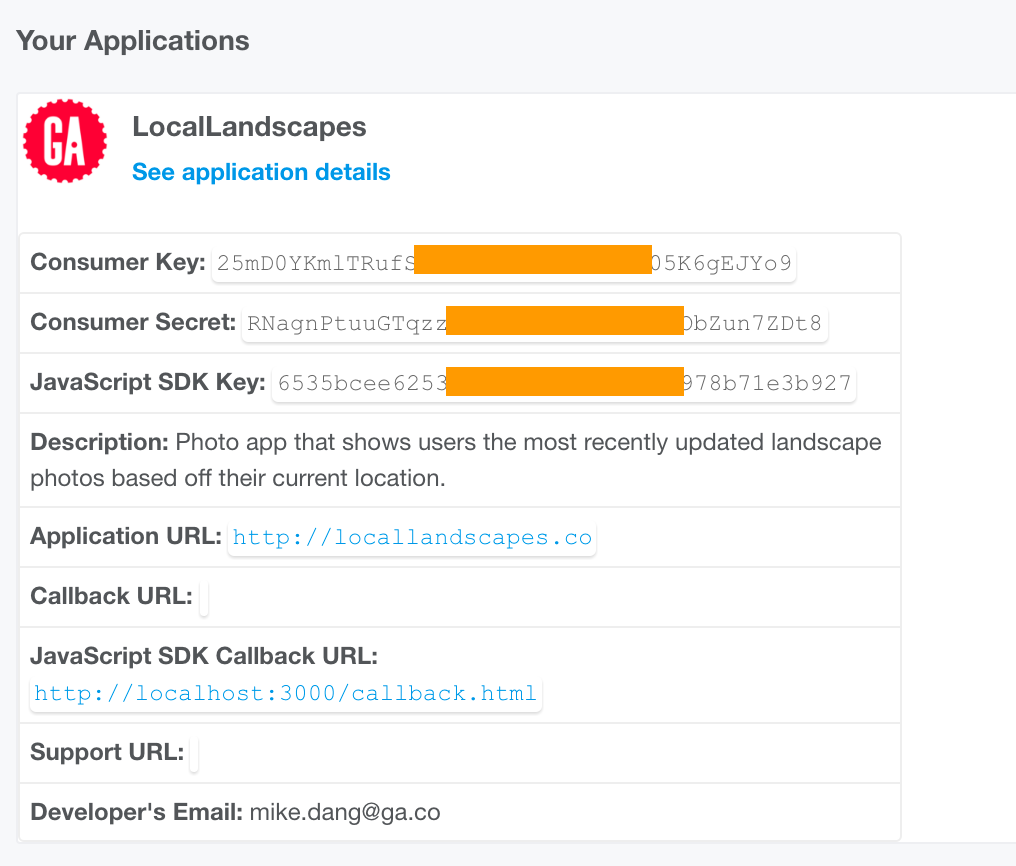
You should now see JavaScript SDK Key and other information pertaining to your new app on the expanded view. In order to obtain an access token for our app, we must pass the JavaScript SDK Key of our app in our access token request to 500px.
Take note of this SDK key because we'll need it in just a little bit. Go ahead and glance at the OAuth Authentication and JavaScript SDK documentation to get a more detailed understanding on how we'll go about getting our token.
Starter Code Review
Our starter code has an HTML file with Bootstrap and jQuery libraries made available via CDNs. Also, there are CSS and JS files connected.
More often than not, the providers of API's will also develop SDK's and client libraries to simplify the process of authenticating with OAuth and making requests to their API for other developers.
We'll be using is in the file named 500px.js. You'll also notice in your starter code a file named callback.html that will facilitate cross domain communication with their API.
<div class="container-fluid sign-in-view">
    <div class="row text-center">
      <h3>Discover how beautiful your surroundings can be</h3>
      <button class="btn btn-default">
        <a href="#" id="login">Login to 500px</a>
      </button>
    </div>
  </div>

  <div class="container-fluid text-center image-results-view">
    <h3>Here are some landscape photos from 500px near you:</h3>
    <div class="images"></div>
  </div>
In a little bit we will be breaking up these two parent div nodes, showing them conditionally. Initially, only the top div, .sign-in-view, will show and be used for our user to perform OAuth and upon redirect, only the bottom parent div, .image-results-view, will show with a whole bunch of 500px images appended to .images (this syntax denotes a div with a class "images")
500px OAuth
First things first, in order for our app to run on the http://localhost:3000 URI, we need to start a server. For help with this we will globally install the http-server node package on our machine:
npm i -g http-server
note: i is short for install. -g, option g, will install the package globally, giving us a http-server command line tool.
Now in our terminal, from the path of our app (i.e. /JS_Materials/curriculum/lesson-plans/11-advanced-apis/starter-code) we can run the command http-server -p 3000.
This command simply says start up a server on port 3000 for the code that is in the current path. For the purpose of today's lesson, you don't need to understand all the details of how this works, you just need to know that http-server is providing us an easy way to create an http server for our app.
Go ahead and visit http://localhost:3000 in your browser.
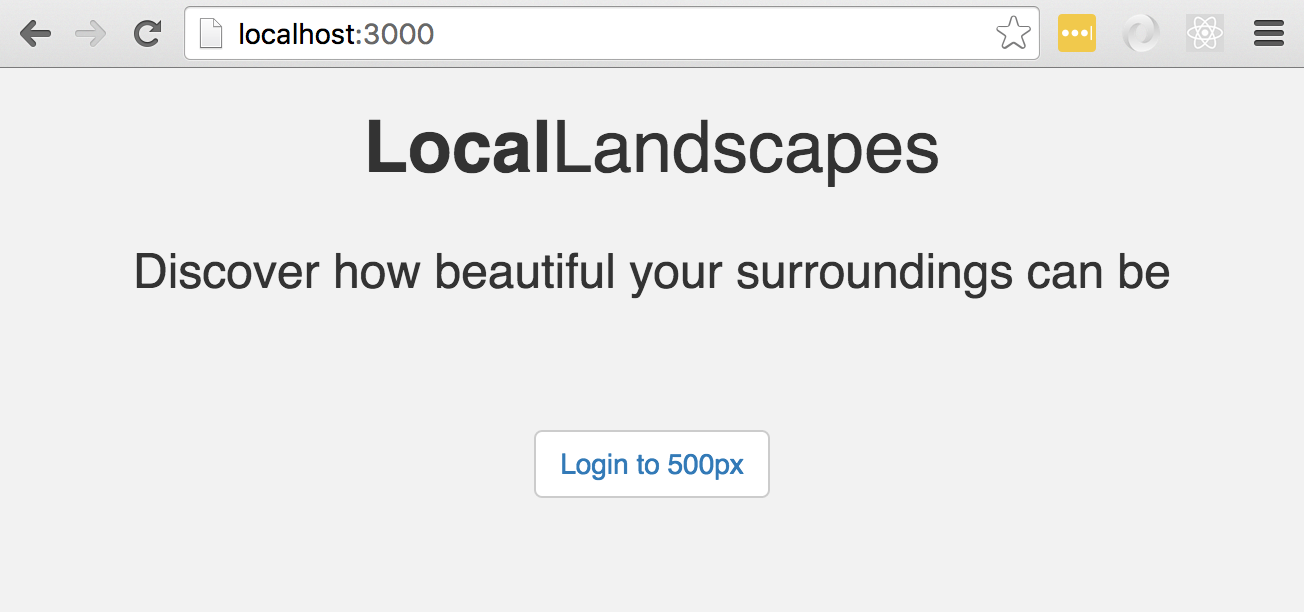
Great, now that our app is up and running, let's set up the OAuth so we can get our access token.
The first thing we'll need to do is configure the SDK and initalize it. Remember the JavaScript SDK Key we saw earlier? Go ahead and copy it because you'll need it to initialize the client library at this point.
// app.js
$(function() {
  // DOM is now ready
  _500px.init({
    sdk_key: 'YOUR JAVASCRIPT SDK KEY'
  });

});
Next, when a user clicks on the Login with 500px button, we'll want to initialize the authentication procedure using the 500px library. Notice that our button has a link with an id attribute of login that we can leverage.
...
      <button class="btn btn-default">
        <a href="#" id="login">Login to 500px</a>
      </button>
...
Now in app.js let's add a click handler that calls the login method given to us by the JavaScript SDK.
// app.js
...
$('#login').click(function() {
  _500px.login();
});
The login() method will login the current user and where upon authentication, they will be redirected back to our site with an access token. This is the first process of OAuth.
When the process completes successfully, a custom event named authorization_obtained is fired off. We can assign an event handler to listen for this event and execute any code that should run on successful logins.
// app.js
$(function() {
  // DOM is now ready
  _500px.init({
    sdk_key: 'YOUR JAVASCRIPT SDK KEY'
  });

  // If the user clicks the login link, log them in
  $('#login').click(function() {
    _500px.login();
  });

  // When a successful login to 500px is made,
  // they fire off the 'authorization_obtained' event
  _500px.on('authorization_obtained', function() {
    // Successful OAuth login!

  });
});
Conditional Views - Independent Practice
Before we start using our access token to make requests to 500px, let's first take care of our view. We know that once the user logs in and our app has the access token, we no longer need to prompt the user to log in. Try to use jQuery if possible.
Conditional Views Review - Demo
You should have something that looks like:
...
_500px.on('authorization_obtained', function() {
    $('.sign-in-view').hide();
    $('.image-results-view').show();
});
...
Get User's Location
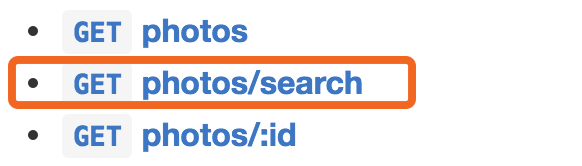
Remember, our prompt is to find posted landscape photos based off our user's location. To do so we are going to use the endpoint, photos search. From the documentation, we know we need to provide a minimum of four values:
- latitude,
- longitude,
- radius,
- and category.
The client library takes care of sending the access token on its own so we don't need to worry about doing that ourselves. So let's make things a little more interesting and find out our user's current location.
This task may actually be easier than it seems, the reason being is that the majority of browsers offer a navigator objectwhich we can use to get location data. Let's go ahead and further our conditional logic to grab the user's location after they've successfully logged in.
_500px.on('authorization_obtained', function() {
  $('.sign-in-view').hide();
  $('.image-results-view').show();

  // check if navigator geolocation is available from the browser
  if (navigator.geolocation) {
    // if it is use the getCurrentPosition method to retrieve the Window's location
    navigator.geolocation.getCurrentPosition(function(position) {
      var lat = position.coords.latitude;
      var long = position.coords.longitude;

      console.log('lat: ', lat);
      console.log('long: ', long);

    })
  } else {
    $('.images').append('Sorry, the browser does not support geolocation');
  }
});
The first thing we do is check to see if the browser has the navigator.geolocation object we need.
Then if it does we can go ahead and call on its method getCurrentPosition. getCurrentPostion takes a callback as an argument which will return a position object.
position contains a coords object which will have the latitude and longitude values we're looking for.
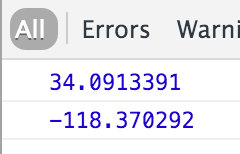
Go into your app and follow the appropriate user flow to see the logs.
Then after you allow the app to know your location, check your console for the logs:
Call 500px Endpoint
 var lat = position.coords.latitude;
  var long = position.coords.longitude;

  console.log('lat: ', lat);
  console.log('long: ', long);

  // Feel free to adjust the search radius as you see fit
  var radius = '25mi';

  var searchOptions = {
    geo: lat + ',' + long + ',' + radius,
    only: 'Landscapes', // We only want landscape photos
    image_size: 3 // This isn't neccessary but by default the images are thumbnail sized
  };

  _500px.api('/photos/search', searchOptions, function(response) {
    if (response.data.photos.length == 0) {
      alert('No photos found!');
    } else {
      // Handle the successful response here

    }
  });
Now that we have all the pieces of the puzzle needed to ping our 500px endpoint (lat, long and access token), let's make an API request for our photos!
Handle Response: Independent Practice
Now that we can successfully call upon the 500px API for resources, it is up to you to define the handleResponseSuccessfunction. Your function should iterate through your response data (which will consist of an array of post data), creating an image element each time with the given image url from the API. Add a class image to the image and append it to .images which already exists in the HTML. Once again, use as much jQuery as possible.
hint: The data you're looking for is somewhere in response.data.
Handle Response Review
function handleResponseSuccess(response) {
var allData = response.data.photos;
$.each(allData, function() {
var element = $('<img>').attr('src', this.image_url).addClass('image');
$('.images').append(element);
});
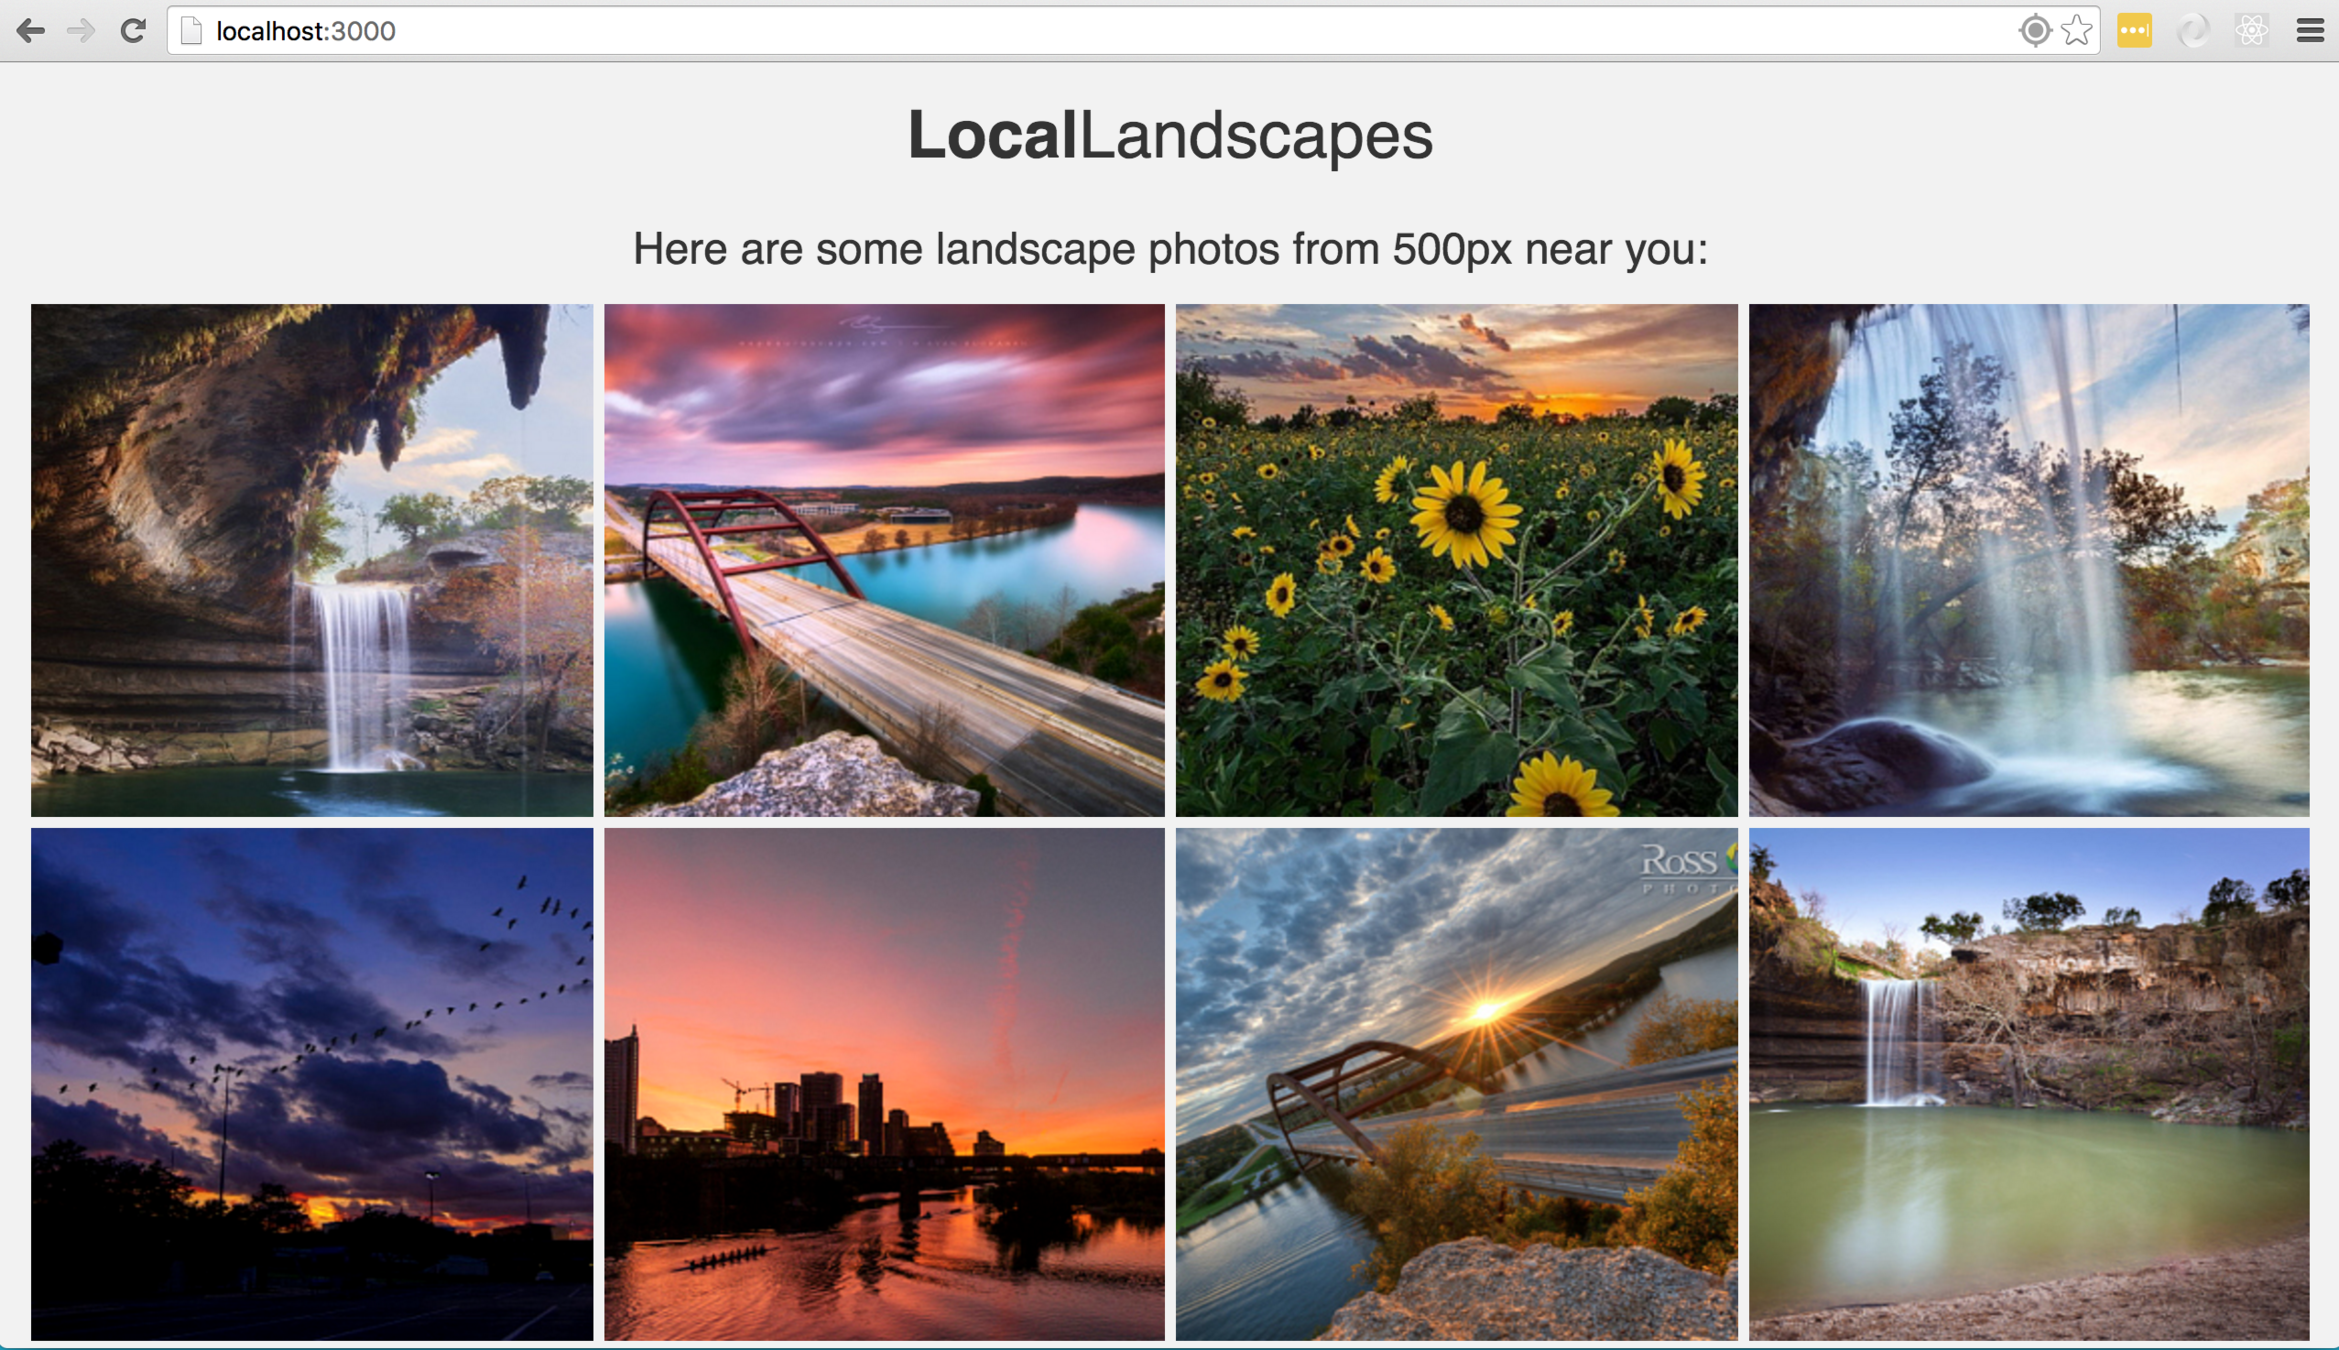
}And your app should be rendering the response images!
API Exploration: Independent Practice
Let's get some more practice with reading API documentation and customizing our search results. Take a look at the search documentation and modify our API request to also:
- Sort photos results by highest rated first
- Return 28 photos instead of the default 20
Bonus
Display the current user's information on the site after a successful login. You'll need to look into the Users API or JavaScript SDK documentation to accomplish this.
// app.js
...
  var searchOptions = {
    geo: lat + ',' + long + ',' + radius,
    only: 'Landscapes', // We only want landscape photos
    image_size: 3, // This isn't neccessary but by default the images are thumbnail sized
    rpp: 28,  // Return 28 results
    sort: 'highest_rating'  // Sort results by highest rated
  };
...
  // Get the currently logged in user
  _500px.api('/users', function(response) {
    var me = response.data.user;
    // Now we have access to the user name and other information
    console.log('Loggin in: ', me);
  });
...
API Exploration Review
Review
- What is the OAuth flow?
- Why do some third-party APIs require authentication?
- Go ahead and refactor your code as much as possible. Make it DRY!