TaLEYA MIRZA


@taleyaMirza


HOW TO PUBLISH
Google I/O 2019 Extended - Karachi
Why Publish Progressive web app to PLAystore ?
QUESTION
Better Discoverability
Your users have been asking you for years, “Is there an app for X(your website)? I don’t see it in the store.” People want apps from proprietary app stores, not on the free and open web.

Lesser size
Lightweight Progressive web app (PWA) consumes lesser size than other native apps.

Remove “Add to Home-screen”
It’s irritating to find Add to Homescreen when landed up on sites. Why not encourage users to download app from playstore, if they really want to keep it.

No URL BAR

Now you can hide url by default. Your users won’t even know it’s a PWA wrapped in APK, thus helps in branding better.
Feels like a NAtive App

PWA’s were introduced to feel websites like an app, but the url reminds one often, it’s just a website. With hidden url, now your users would feel it like any other app.
PWA App Push Notification
Send push notifications as its a PWA, integrated with all Push notification providers.

HOW?
QUESTION
THROUGH TWA
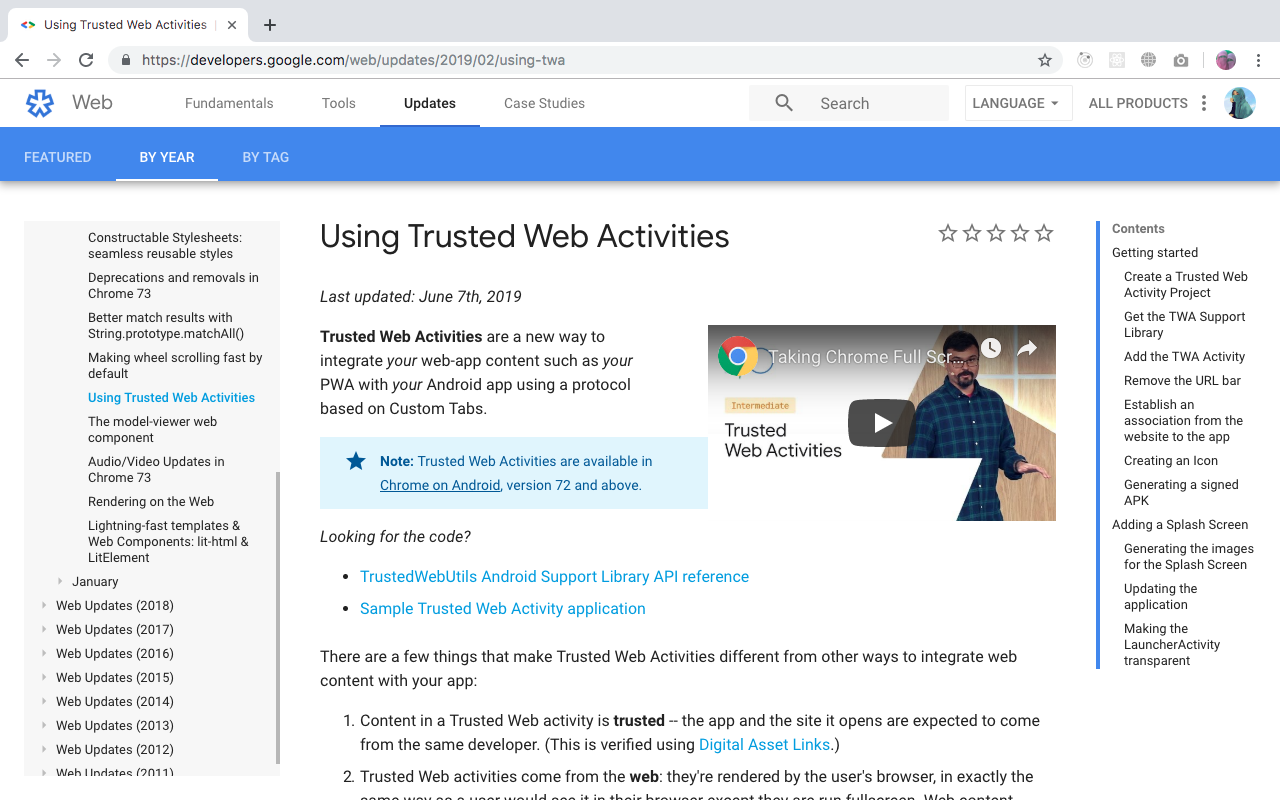
TRUSTED WEB ACTIVITY
Display web content in fullscreen wrapped within the apk render by the user browser but without any browser UI
Trusted - verifies the app owner is the owner of the web content through Digital Asset links
Using Custom Tabs Protocol- that makes transition smooth between web content and native content
Offline Loading
The app works even in low connectivity or offline. The data can be saved heavenly using PWA android app.
Sync with chrome
If your user has a session on your website opened when the user installs the app from the Play Store, he/she will still be logged in.
Synced with web
Sync PWA Android app with website. Hence all the changes on the site will be reflected on mobile app in real-time.


PREREQUISITE
Google Play Developer Account
Install Android Studio - but don't worry you do'nt need to write java code
If you are owner of the app, access to you web hosting
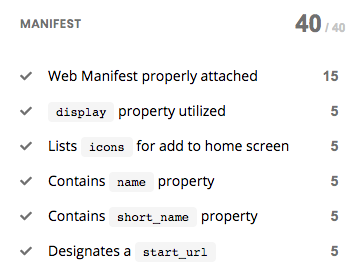
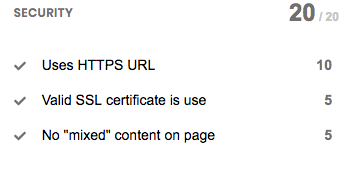
Build a Progressive Web App that meets modern PWA standards
PWA Standards
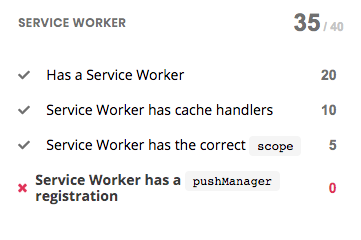
APP REQUIREMENTS TO PUBLISH
Be compliant with Google Play Policies
Be an installable PWA
Achieve a lighthouse performance of 80+
Recommended: Have a privacy policy
STEPS TO PUBLISH PWA TO PLAYSTORE
LET's START
STEP# 01 - NEW PROJECT
STEP# 02 - GET TWA SUPPORT LIBRARY
Start a new application project in Android Studio with no activity
because trusted web activity is provided by a support library
- Add Jitpack configuration in Project level build.gradle file and sync project
- Now, in App level build.gradle
- add a compileOptions section to the bottom of the android section
- Add custom tabs dependency to the dependencies section
//Project level build.gradle
allprojects {
   repositories {
       google()
       jcenter()
       maven { url "https://jitpack.io" }
   }
}

//App level build.gradle
android {
        ...
    compileOptions {
       sourceCompatibility JavaVersion.VERSION_1_8
       targetCompatibility JavaVersion.VERSION_1_8
    }
}

dependencies {
   implementation 'com.github.GoogleChrome.custom-tabs-client:customtabs:d08e93fce3'
}
STEP# 03 - Add the TWA Activity
STEP# 04 - Remove the URL bar
Setting up the TWA Activity is achieved by editing the Android App Manifest.
Trusted Web Activities require an association between the Android application and the website to be established to remove the URL bar.
-
Establish an association from app to the website
- Open the string resources file app > res > values > strings.xml and add the Digital AssetLinks statement
- Android App Manifest file, AndroidManifest.xml, link to the statement by adding a new meta-data tag, but this time as a child of the application tag
<resources>
    <string name="app_name">Sastaticket TWA</string>
    <string name="asset_statements">
        [{
            \"relation\": [\"delegate_permission/common.handle_all_urls\"],
            \"target\": {
                \"namespace\": \"web\",
                \"site\": \"https://staging.sastaticket.pk\"}
        }]
    </string>
</resources>
//Manifest File
<application
        android:allowBackup="true"
        android:icon="@mipmap/ic_launcher"
        android:label="@string/app_name"
        android:roundIcon="@mipmap/ic_launcher_round"
        android:supportsRtl="true"
        android:theme="@style/AppTheme">

    <meta-data
            android:name="asset_statements"
            android:resource="@string/asset_statements" />
    <activity>
            ...
    </activity>
</application>
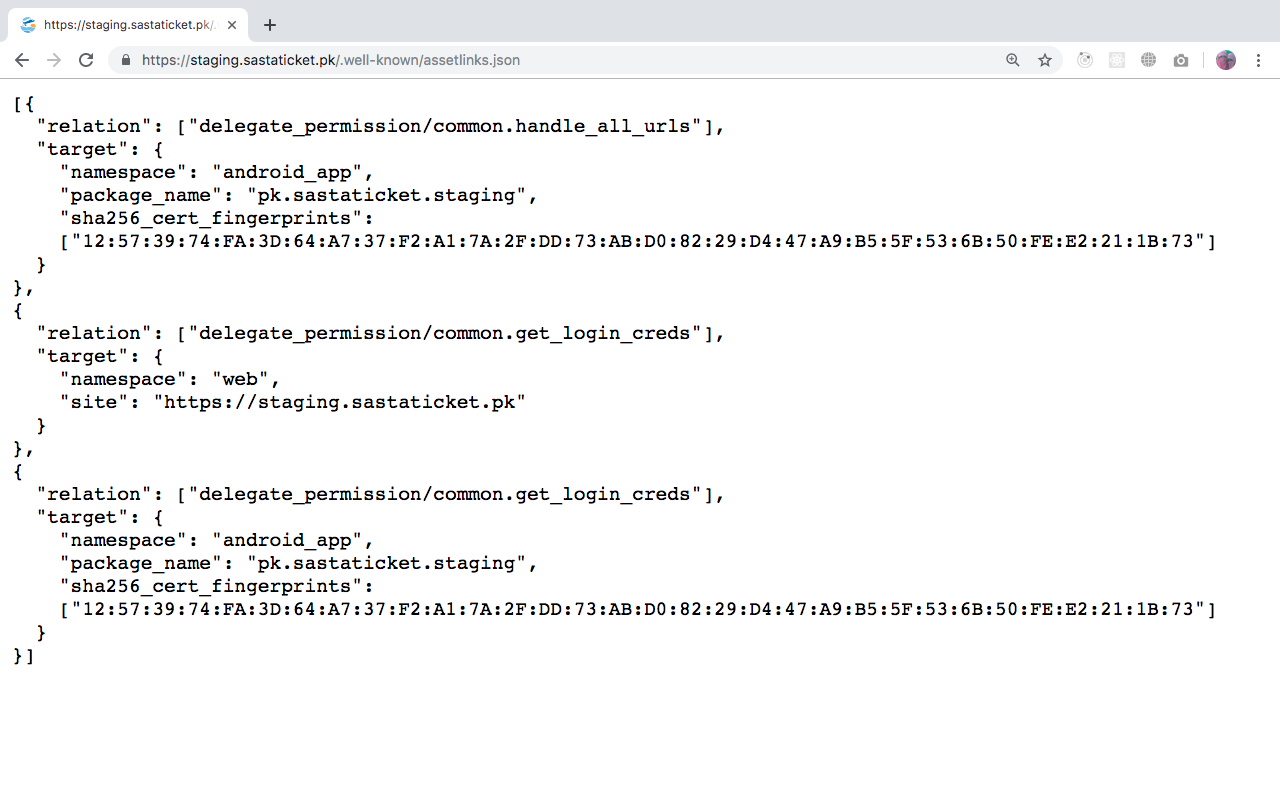
STEP# 05 - Host assetlink.json
Copy the generated statement and serve it from your domain, from the URL /.well-known/assetlinks.json.
-
Establish an association from the website to the app
Package Name and SHA-256 Fingerprint will be needed in order to create the association
To get SHA-256 Fingerprint, you need to sign the app and store credientials
With both pieces of information at hand, head over to the assetlinks generator, fill-in the fields and hit Generate Statement.
STEP# 07 - TEST THE APP
The output APK can be installed into a test device, using adb:
adb install app-release.apk
- With the assetlinks file in place in your domain and the asset_statements tag configured in the Android application, the next step is generating a signed app. The steps for this are widely documented.
STEP# 06 - GENERATE A SIGNED APP
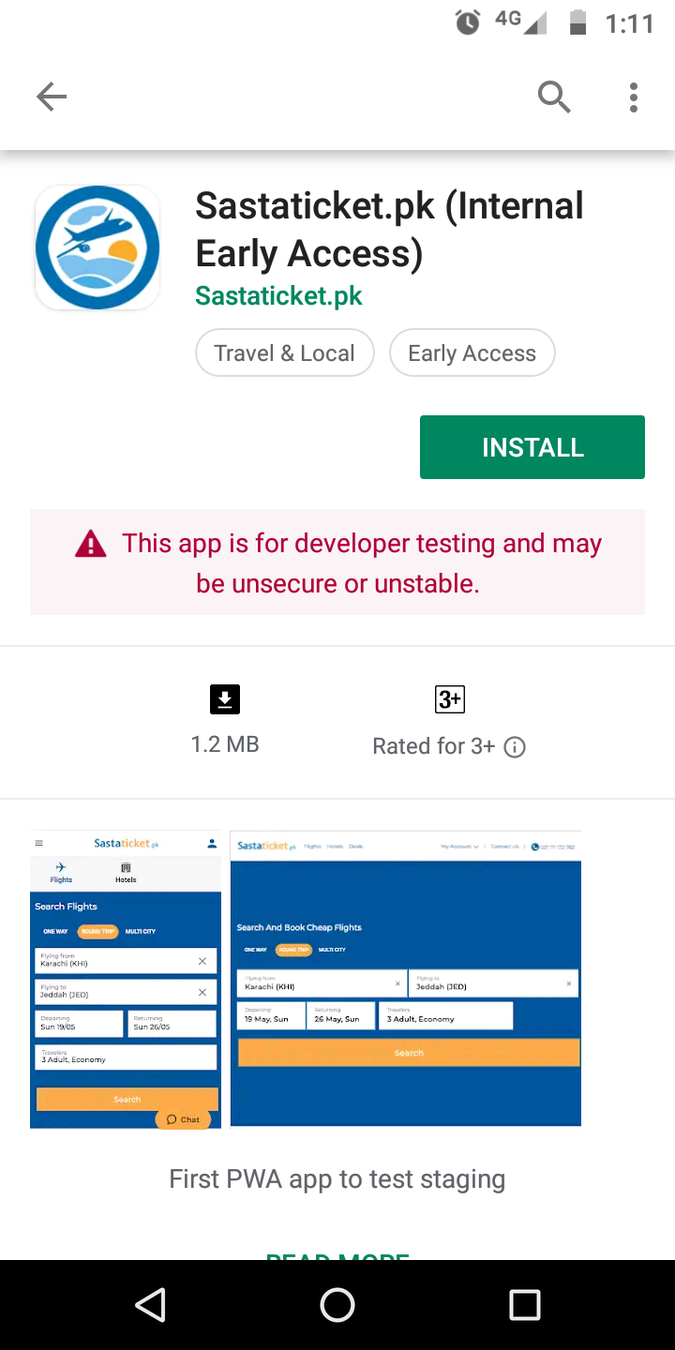
STEP# 08 - UPLOAD APP TO PLAYSTORE
You can now upload your .apk to the playstore by following the Android app uploading instructions
google Play Store

HURRAY
