Lab 1
Exercise 1
1. Import the MatCardModule module.
https://material.angular.io/components/card/api
import {MatCardModule} from '@angular/material/card';

imports: [
...

    BrowserAnimationsModule,
    MatCardModule,
...

]
Ejercicio 1
2. Replace the content of the file app.component.html with the code provide in the example.
https://material.angular.io/components/card/api
Go to: main.html

and replace the HTML on

https://stackblitz.com/angular/oaqkppgnxko?file=app%2Fcard-fancy-example.html
Ejercicio 1
3. Import material button module.
https://material.angular.io/components/card/api
import { MatCardModule, MatButtonModule } from '@angular/material';

imports: [
...

MatButtonModule
...
]
Ejercicio 1
4. Add missing css styles.
https://material.angular.io/components/card/api
.example-card {
  max-width: 400px;
}

.example-header-image {
  background-image: url('https://material.angular.io/assets/img/examples/shiba1.jpg');
  background-size: cover;
}
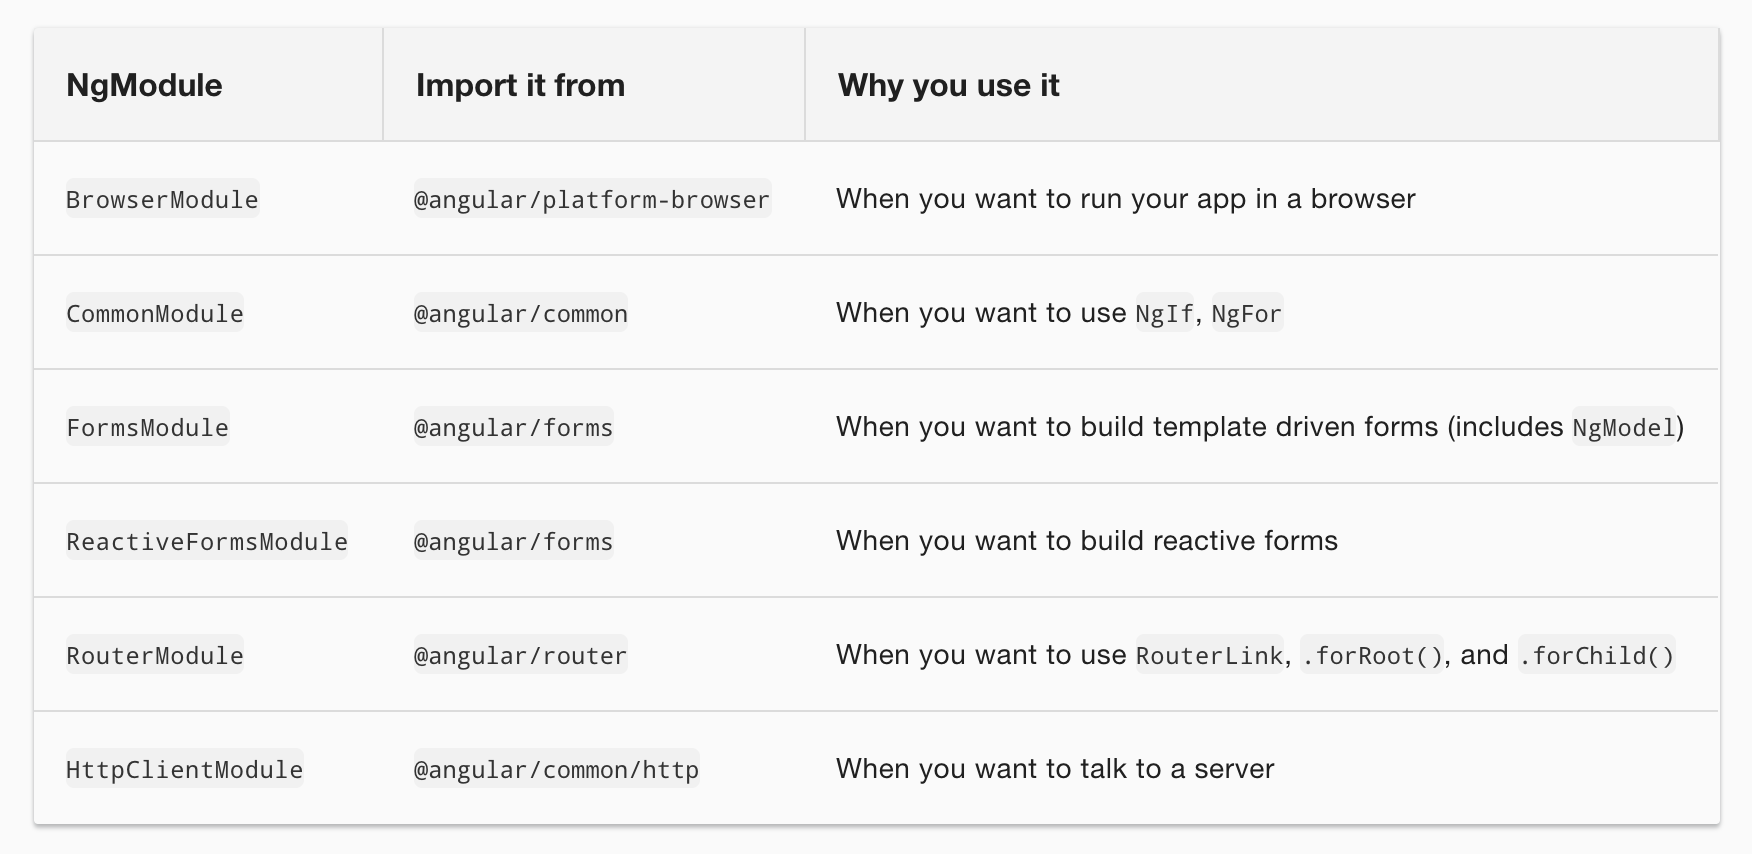
The imports array
It tells Angular about other NgModules that this particular module needs to function properly.
The providers array
The providers array is where you list the services the app needs.
The bootstrap array
The bootstrapping process creates the component(s) listed in the bootstrap array and inserts each one into the browser DOM.

Exercise 2
1. Add material angular to the project using the angular-cli: ng add @angular/material.
https://material.angular.io/components/card/api
$ ng add @angular/materialExercise 2
2. Add the navigation component
https://material.angular.io/components/card/api
$ ng generate @angular/material:material-nav --name myMaterialNavExercise 2
3. Add the component to our main app.
https://material.angular.io/components/card/api
<app-my-material-nav></app-my-material-nav>Exercise 2
4. Put the code from the last exercise in the right place.
https://material.angular.io/components/card/api
<!-- Add Content Here -->

<!-- Add the card code here -->
Exercise 3
1. Add the Import rule for the router:
{ RouterModule Routes } from @angular/router. Exercise 3
2. Inside the module, add the Router configuration
const appRoutes: Routes = [
  { path: 'first-page', component: FirstComponent },
  { path: 'second-page', component: SecondComponent },
  { path: 'dear-puppy', component: DearPuppyComponent }
];
Exercise 3
3. Register the router in the module
imports: [

...
RouterModule.forRoot(appRoutes)
...
]
Exercise 3
4. Add the router tag in the app.
<router-outlet></router-outlet>Exercise 3
5. Update the navigation links
<mat-nav-list>
  <a mat-list-item routerLink="/first-page">First Page</a>
  <a mat-list-item routerLink="/second-page">Second Page</a>
  <a mat-list-item routerLink="/dear-puppy">Dear Puppy</a>
</mat-nav-list>
Exercise 3
6. Generate the required componentes with the angular-cli
$ ng generate component First
$ ng generate component Second
$ ng generate component DearPuppy
Exercise 3
7. Move the code of the card to the new DearPuppy component.