React Native
Ohana.js
twitter.com/keokilee | facebook.com/georgelee
github.com/keokilee
4/23/2015
Get Started
http://github.com/ohanajs/react-native-workshop
Step 1: Getting set up
Requirements
- Homebrew
- Xcode
- Node (brew install node)
- Watchman (brew install watchman)
- React Native CLI (npm install -g react-native-cli)
Start a project
-
react-native init AppWithAMap
-
cd AppWithAMap
-
open AppWithAMap.xcodeproj
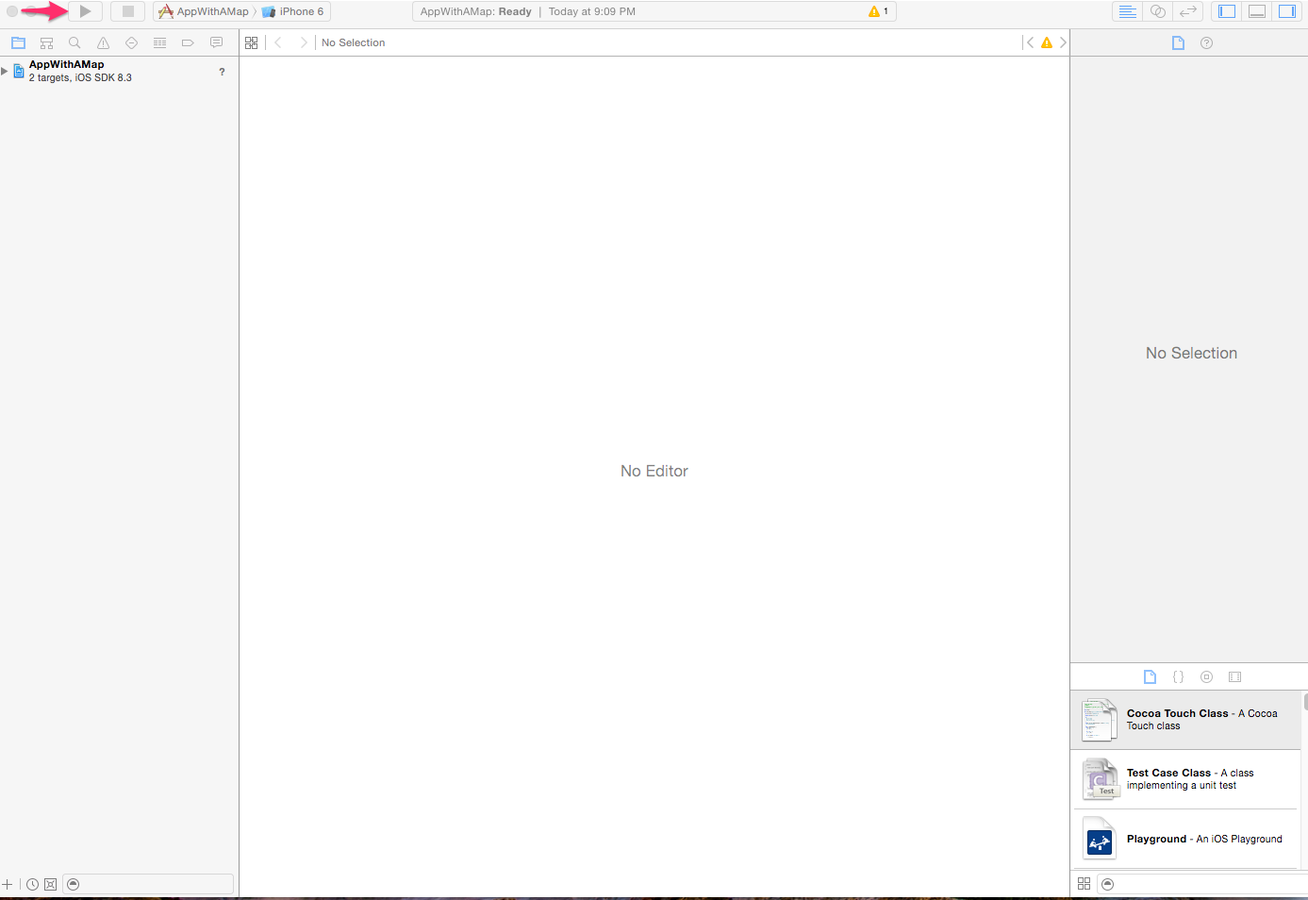
Let's Play Around
- Keep Xcode and the terminal window running at all times
- Open the AppWithAMap directory in your text editor
- Edit index.ios.js
- Reload the page
Add Navigator
- Include NavigatorIOS
- Create component with initialRoute
- Make sure it has a style of "flex: 1"!!!
var AppWithAMap = React.createClass({
  render() {
    return (
      <NavigatorIOS style={styles.navigator}
        initialRoute={{
          component: Welcome,
          title: "Welcome"
        }}
      />
    )
  }
});

var Welcome = React.createClass({
  ...
});

var styles = StyleSheet.create({
  navigator: {
    flex: 1
  },
  ...
});
Step 2: ListView
Basic App Structure
- Create a folder called components/map-points
- Create a file in there called "index.js"
- Move "Welcome" component and its styles
- Export the welcome component and include it in index.ios.js
Change to a ListView
- Import ListView from React Native
- Use getInitialState and create a data source (rowHasChanged and cloneWithRows)
- Render the List View with a simple row
Refactor Row
- Let's create a new component for our row
- Pass the row as a prop
- Render the text inside a View
- Apply some styles (borderBottom, padding)
var MapPoints = React.createClass({
  getInitialState () {
    var dataSource = new ListView.DataSource({rowHasChanged: (r1, r2) => r1 !== r2});

    return {
      dataSource: dataSource.cloneWithRows(['foo', 'bar', 'baz'])
    }
  },
  render: function() {
    return (
      <ListView
        dataSource={this.state.dataSource}
        renderRow={(row) => <MapRow row={row} />} />
    );
  }
});

var MapRow = React.createClass({
  render() {
    return (
      <View style={styles.row}>
        <Text style={styles.text}>{this.props.row}</Text>
      </View>
    );
  }
});
Wait, We Need Map Points
- Grab the mock_data.js file from http://github.com/ohanajs/react-native-workshop
- Include it and require it into our map-points component
- Use those rows as the data source.
- Update the MapRow to display the latitude and longitude.
var MapRow = React.createClass({
  render() {
    var latitude = this.props.row.geometry.latitude;
    var longitude = this.props.row.geometry.longitude;
    var text = `Latitude: ${latitude}\nLongitude: ${longitude}`;

    return (
      <View style={styles.row}>
        <Text style={styles.text}>
          {text}
        </Text>
      </View>
    );
  }
});
Step 3: Um, Can I Haz Map Plz?
Create a new component
- Create a new folder in components called "map-display"
- Create an index.js file in "map-display"
- Create a MapView component in index.js. It takes:
- An array of annotations (latitude, longitude, title)
- A region (latitude, longitude, latitudeDelta, longitudeDelta
- Don't forget to add a style with "flex: 1"!
var React = require('react-native');

var {
  MapView,
  StyleSheet
} = React;

var MapDisplay = React.createClass({
  render() {
    var {
      latitude,
      longitude,
      title
    } = this.props;

    var annotation = [{latitude, longitude, title}];
    var region = {latitude, longitude, latitudeDelta: 1, longitudeDelta: 1};

    return (
      <MapView style={styles.map} annotations={annotation} region={region} />
    );
  }
});

var styles = StyleSheet.create({
  map: {
    flex: 1
  }
})

module.exports = MapDisplay;
Update our MapRow
- Require "TouchableHighlight" from React Native
- Wrap the MapRow View in a TouchableHighlight
- Implement a simple "onPress" handler.
- Make sure the function in the onPress handler is NOT invoked!
Transition to the Map
- Pass the navigator prop from the list view to the row
- Update the "onPress" handler to push a route onto the navigator.
- Route contains title, component, and passProps.
var MapRow = React.createClass({
  selected() {
    var latitude = this.props.row.geometry.latitude;
    var longitude = this.props.row.geometry.longitude;

    this.props.navigator.push({
      title: "Map",
      component: MapDisplay,
      passProps: {
        latitude: latitude,
        longitude: longitude,
        title: "Point"
      }
    });
  },
  render() {
    var latitude = this.props.row.geometry.latitude;
    var longitude = this.props.row.geometry.longitude;
    var text = `Latitude: ${latitude}\nLongitude: ${longitude}`;

    return (
      <TouchableHighlight onPress={this.selected}>
        <View style={styles.row}>
          <Text style={styles.text}>
            {text}
          </Text>
        </View>
      </TouchableHighlight>
    );
  }
});
Step 4: Network Access
Mock Data Sux. Let's Get REAL Data!
Update Our Data Source
- Go back to our Map Points component.
- Let's fetch data using http.

Reminder: This is NOT Node
- Runs on JavascriptCore on the phone
- Node packages with native components are unlikely to work at all
- XMLHTTPRequest shouldn't work either, because this is not a browser (except that it does through a polyfill)
- Whatever, let's use "fetch" instead.
https://developer.mozilla.org/en-US/docs/Web/API/Fetch_API
Let's Try That Again
- Implement a "fetchData" method on the MapPoints component that updates the state when it is done.
- When the component is mounted, trigger the fetchData method.
- The "fetch" method is promise based. Note that fat arrow maintains context.
- Call "done()" at the end of the promise chain.
var MapPoints = React.createClass({
  componentDidMount() {
    this.fetchData();
  },
  fetchData() {
    fetch(REQUEST_URL)
      .then((response => response.json()))
      .then((responseData => {
        this.setState({
          dataSource: this.state.dataSource.cloneWithRows(responseData)
        });
      }))
      .done();
  },
  ...
});
Play around with it
- Display more data
- Style it. Make it nicer.
- Style the map.
React Native
By George Lee


