Canvas
The beginning of a new era
Table of contents
1. Canvas API
- History
- Introduction
- Use cases
- Live examples
2. PixiJS
- Introduction
- Pros and cons
- Live examples
3. ThreeJS
- Introduction
- Live examples
Canvas API
0. Examples


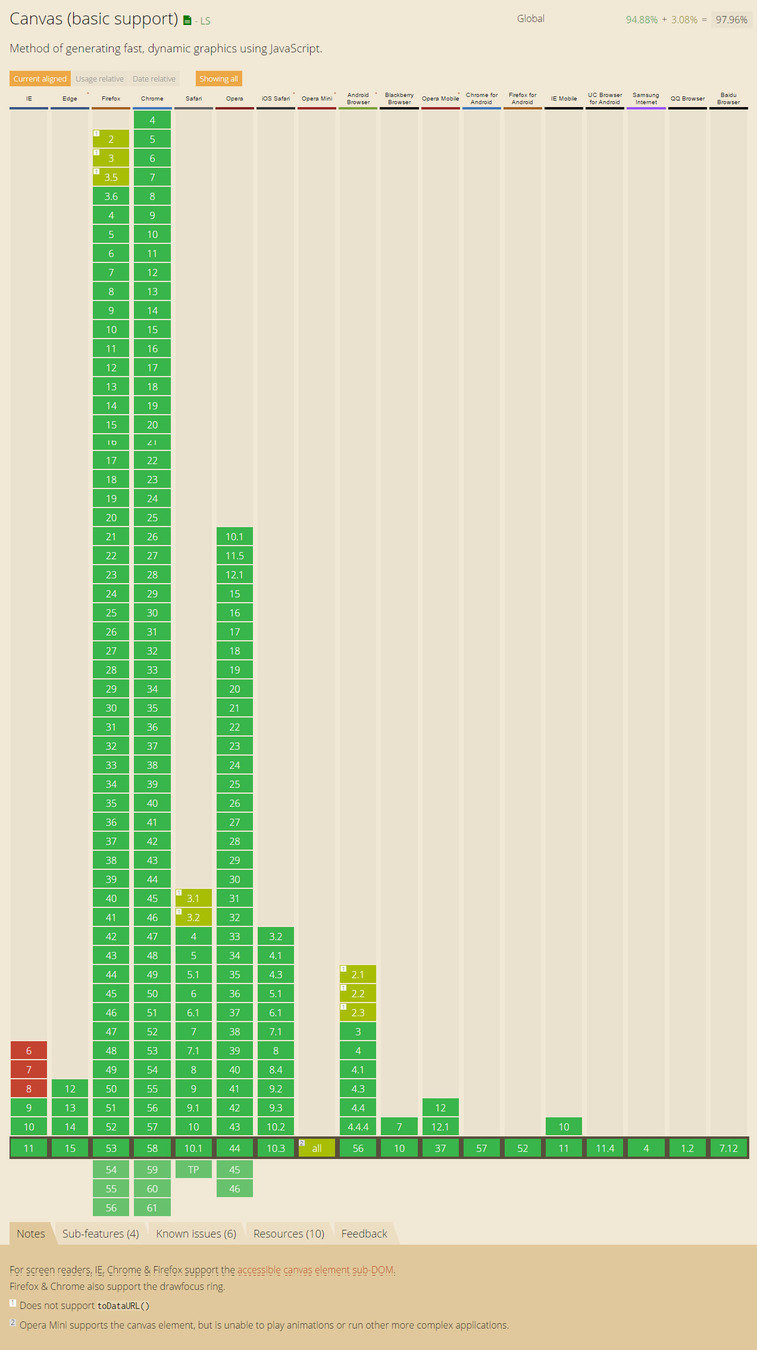
1. History
Introduced by Apple in 2004 in WebKit
Adopted in 2005 by Gecko
→ Firefox 1.5

Adopted in 2011 by Microsoft
→ Internet Explorer 9

2. Introduction
a. Setup HTML
<canvas id='scene'>
    <!-- Fallback -->
    <p>Your browser doesn't support the HTML5 Canvas</p>
</canvas>
b. Setup Javascript
// Select the Canvas element in the page
var canvas = document.getElementById('scene');
// Select the 2D context of the element (The 2D library)
var ctx = canvas.getContext('2d');
c. Draw a rectangle
// Define color for the filling
ctx.fillStyle = "orange";
// Start a new path
ctx.beginPath();
// Define a rectangle
ctx.rect(0, 0, 100, 100); // X, Y, Width, Height
// Fill the rectangle
ctx.fill();
d. Set size
// Set Width of the canvas
canvas.width = 200;
// Set Height of the canvas
canvas.height = 200;
CSS
e. Drawing function
// Start and end a path
ctx.beginPath();
ctx.closePath();
// Basic functions
ctx.arc();
ctx.drawImage();
ctx.ellipse();
ctx.rect();
// Custom path
ctx.lineTo();
ctx.moveTo();
ctx.bezierCurveTo();
ctx.quadraticCurveTo();
// Fill or stroke a path
ctx.fill();
ctx.stroke();
// Shorthand of ctx.rect(); ctx.fill();
ctx.fillRect();
ctx.strokeRect();
// Fill or stroke text
ctx.fillText();
ctx.strokeText();
// Set a rect to transparent pixels
ctx.clearRect();
f. Properties
// Color of fill
fillStyle
// Font styles
font
// Opacity
globalAlpha
// Blending modes
globalCompositeOperation
// Cap of lines
lineCap
// Dashed lines
lineDashOffset
// Shape of two lines joining
lineJoin
// Thickness of lines
lineWidth
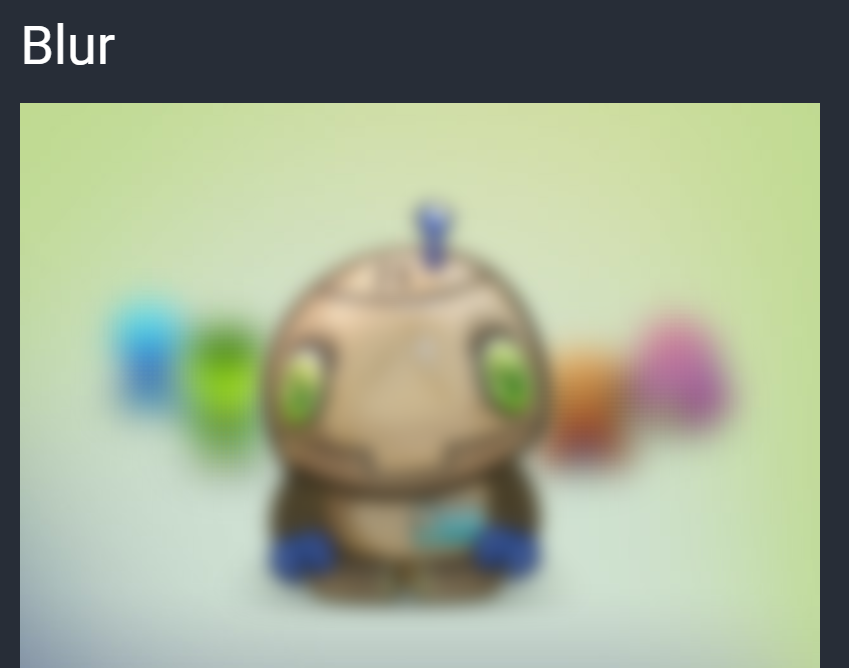
// Strength of shadow blur
shadowBlur
// Color of shadow
shadowColor
// X offset of shadows
shadowOffsetX
// Y offset of shadows
shadowOffsetY
// Color of the strokes
strokeStyle
// Same as CSS (left, center, right)
textAlign
// Vertical alignment of the text
textBaseline
g. Coordinates
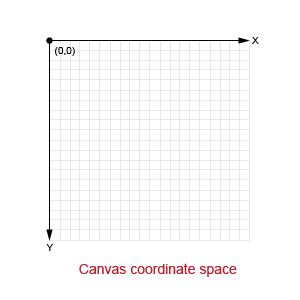
x : 0 = Left
y : 0 = Top
// Translate X and Y
ctx.translate();
// Rotate the coordinates
ctx.rotate(); --> In Radian !
// Multiplies a matrix on current transform
ctx.transform();
// Set the transform matrix
ctx.setTransform();
h. Save and restore
// Save the current state
ctx.save();
// Put back the saved state
ctx.restore();
strokeStyle, fillStyle, globalAlpha, lineWidth, lineCap, lineJoin, miterLimit, lineDashOffset, shadowOffsetX, shadowOffsetY, shadowBlur, shadowColor, globalCompositeOperation, font, textAlign, textBaseline, direction, imageSmoothingEnabled.
i. Animation
Use requestAnimationFrame() instead of setInterval() !
The window.requestAnimationFrame() method tells the browser that you wish to perform an animation and requests that the browser call a specified function to update an animation before the next repaint.
3. Use cases
- Gaming : For 2D (and 3D) games
- Advertising : Great replacement for Flash ads
- Data Representation : Good alternative to SVG
- Art : Because you can do pretty things
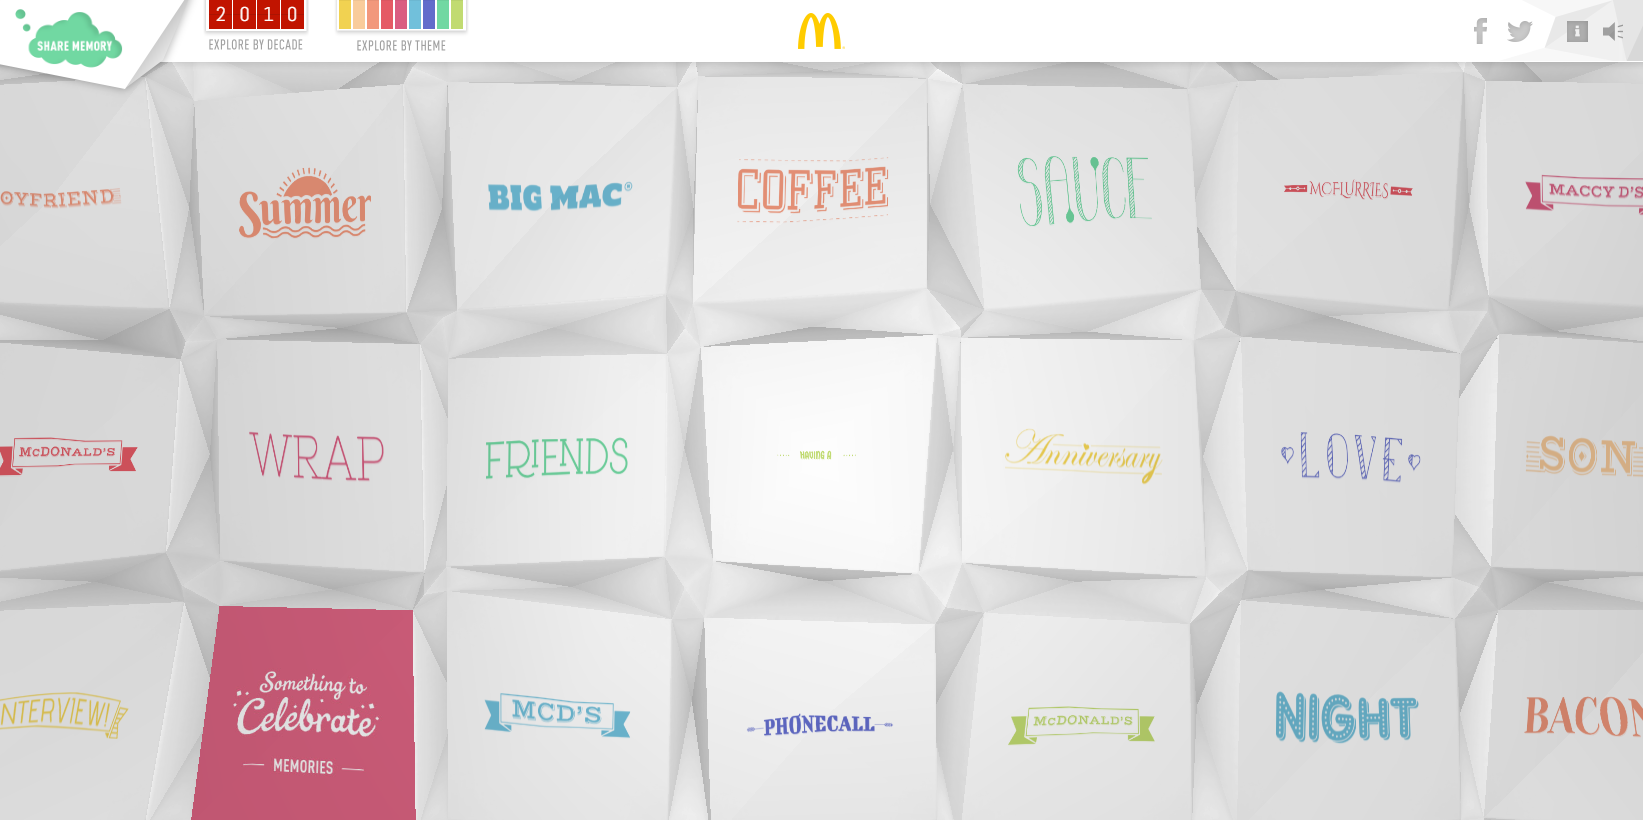
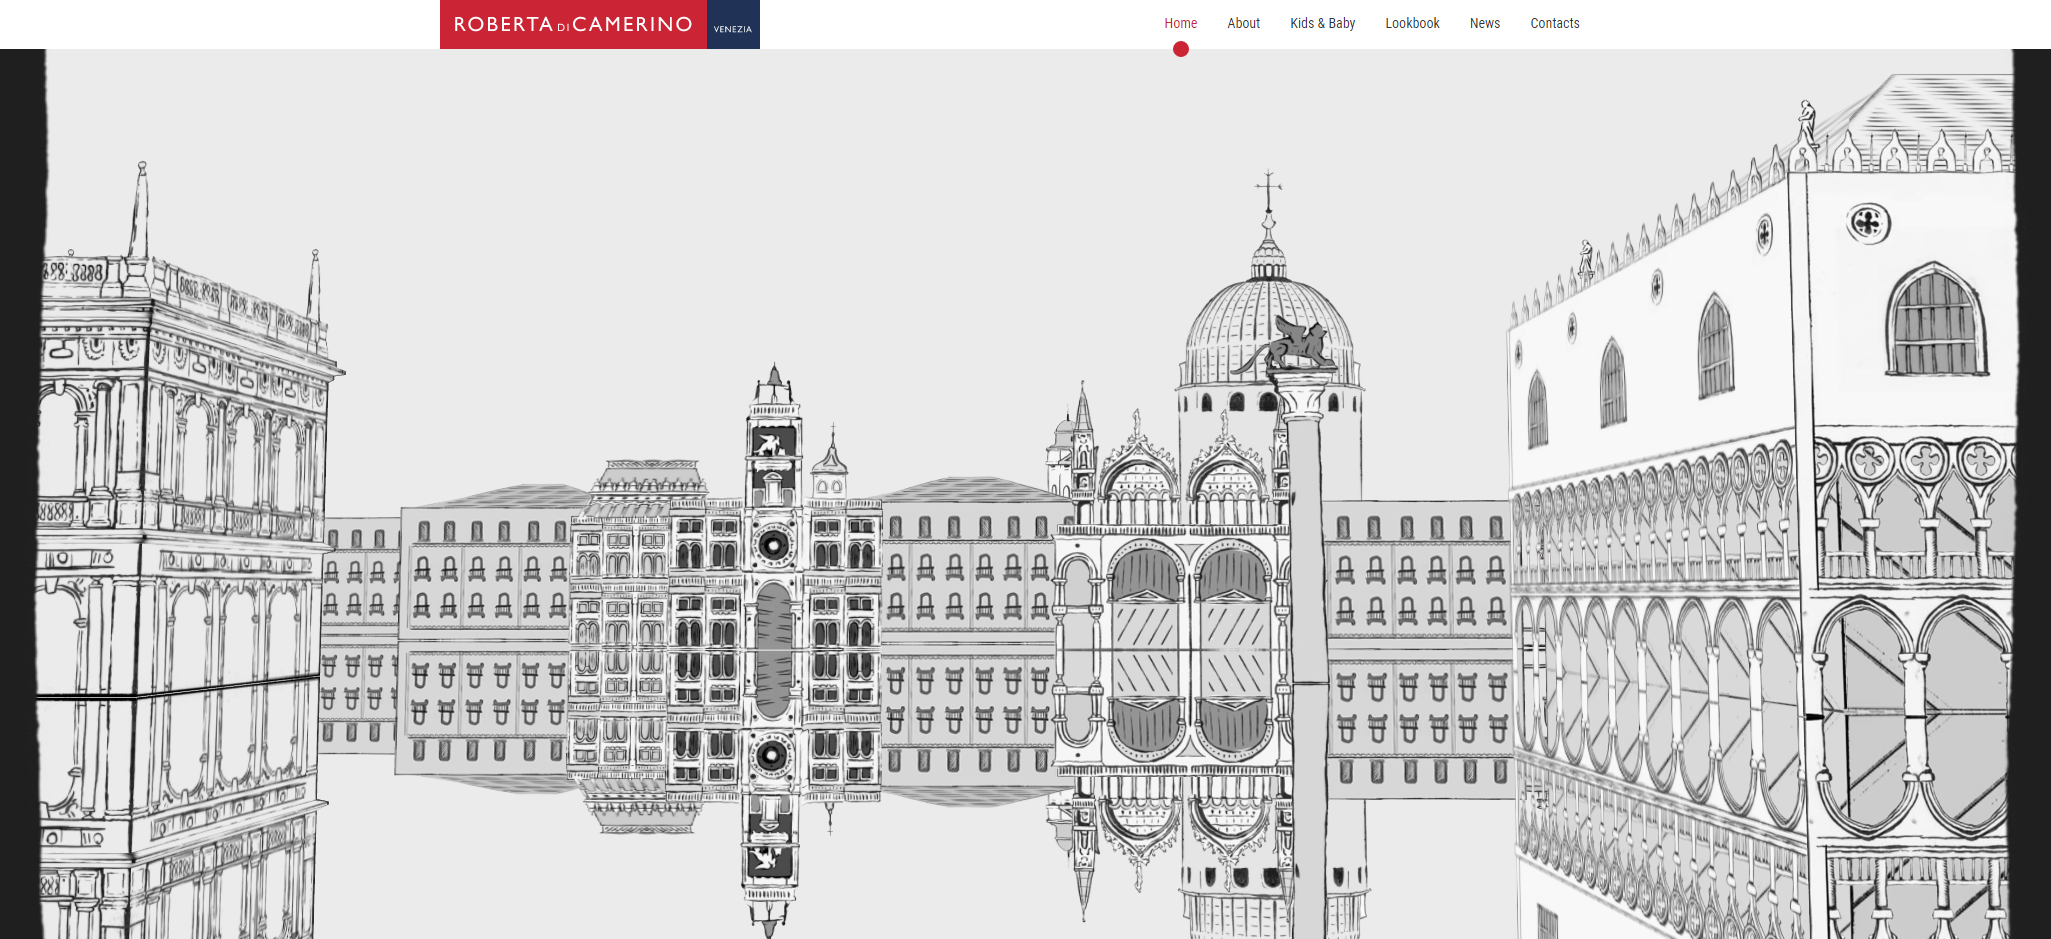
4. Live examples
No library & < 300 lines of JS
5. Moar ?
PixiJS

1. Introduction
a. Setup HTML
<canvas id='scene'>
    <!-- Fallback -->
    <p>Your browser doesn't support the HTML5 Canvas</p>
</canvas>
// Load PixiJS
<script src="js/pixi.min.js"></script>
b. Setup Javascript
// Setup the renderer (Canvas or WebGL based on browser support)
var renderer = new PIXI.autoDetectRenderer(width, height, {
    view: document.getElementById("scene")
});

// Create a container where we'll put all the elements
var stage = new PIXI.Container();
c. Draw a rectangle
// Create a graphic constructor
var graphics = new PIXI.Graphics();
// Add graphics into the stage
stage.addChild(graphics);
// Define the fill color
graphics.beginFill(0XFFA500, 1);
// Draw a rectangle
graphics.drawRect(0, 0, 100, 100);
// Ask the renderer to render the stage
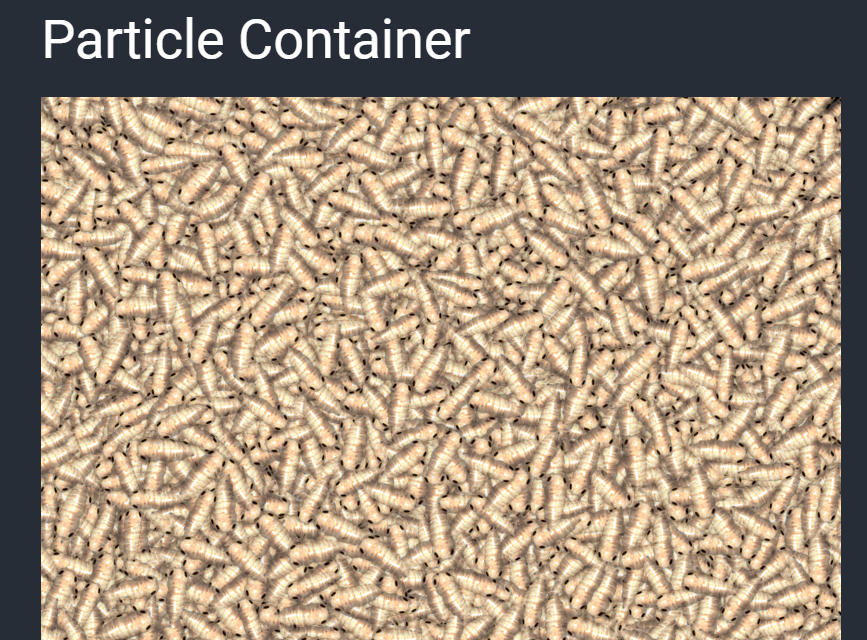
renderer.render(stage);d. Draw an image
// Instance a new loader
var loader = new PIXI.loaders.Loader();
// Add the ressources needed
loader.add('burger', 'https://s3-us-west-2.amazonaws.com/s.cdpn.io/127738/burger.png');
// Load the ressources and call onLoad when loading is complete
loader.load(onLoad);

function onLoad(){
  // create a new Sprite from the loaded image
  var burger = new PIXI.Sprite(loader.resources['burger'].texture)
  // Add the burger in the scene
  stage.addChild(burger);

  // Render the scene
  renderer.render(stage);
}
d. Draw an image
e. Animation
f. Animation with GSAP
g. and more


2. Pros and cons
Pros
- Good performances
- Works great on mobile
- Browser support (IE9+)
- Open Source
- Accessibility features
- Canvas Fallback for old browser
Cons
- Its weight (> 400ko)
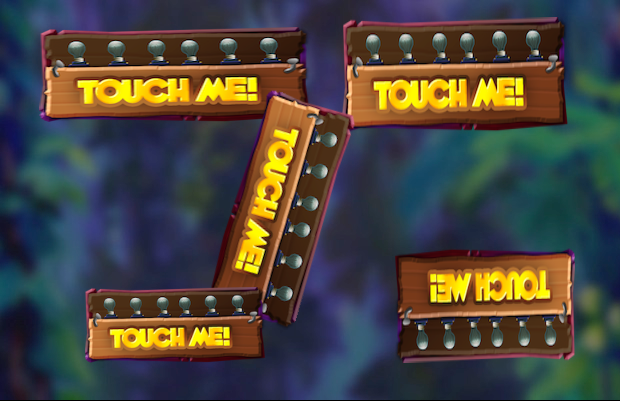
3. Live examples


ThreeJS

1. Introduction
a. Setup HTML
<canvas id='scene'>
    <!-- Fallback -->
    <p>Your browser doesn't support the HTML5 Canvas</p>
</canvas>
// Load ThreeJs
<script src="js/three.min.js"></script>
b. Setup a new scene
- Renderer
- Camera
- Scene
- Light (optional)
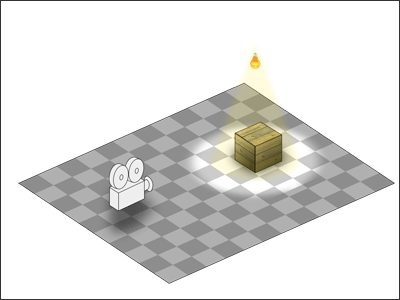
c. Camera
Orthographic
Perspective
d. Create a box
- Geometry : The shape of the box
- Material : The color & texture
- Mesh : A 3D object created from a geometry and a material
var geometry = new THREE.BoxGeometry(10,10,10);
var material = new THREE.MeshBasicMaterial({
color:0x00ff00 // Green color
});
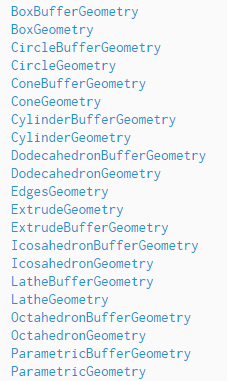
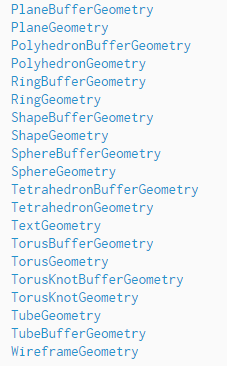
var box = new THREE.Mesh(geometry, material);e. Built in geometries
f. Materials
MeshBasicMaterial
MeshLambertMaterial
MeshPhongMaterial
g. More ?
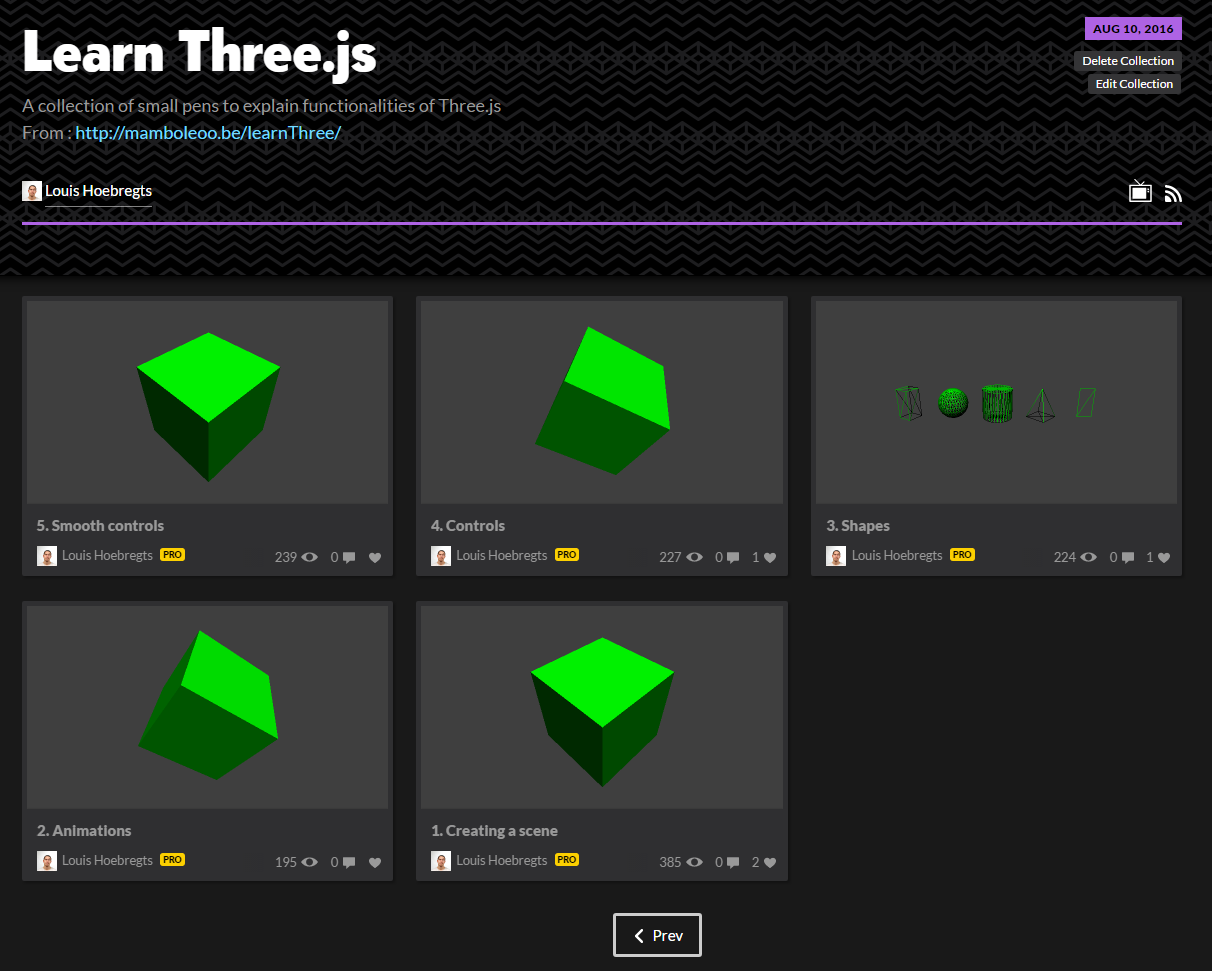
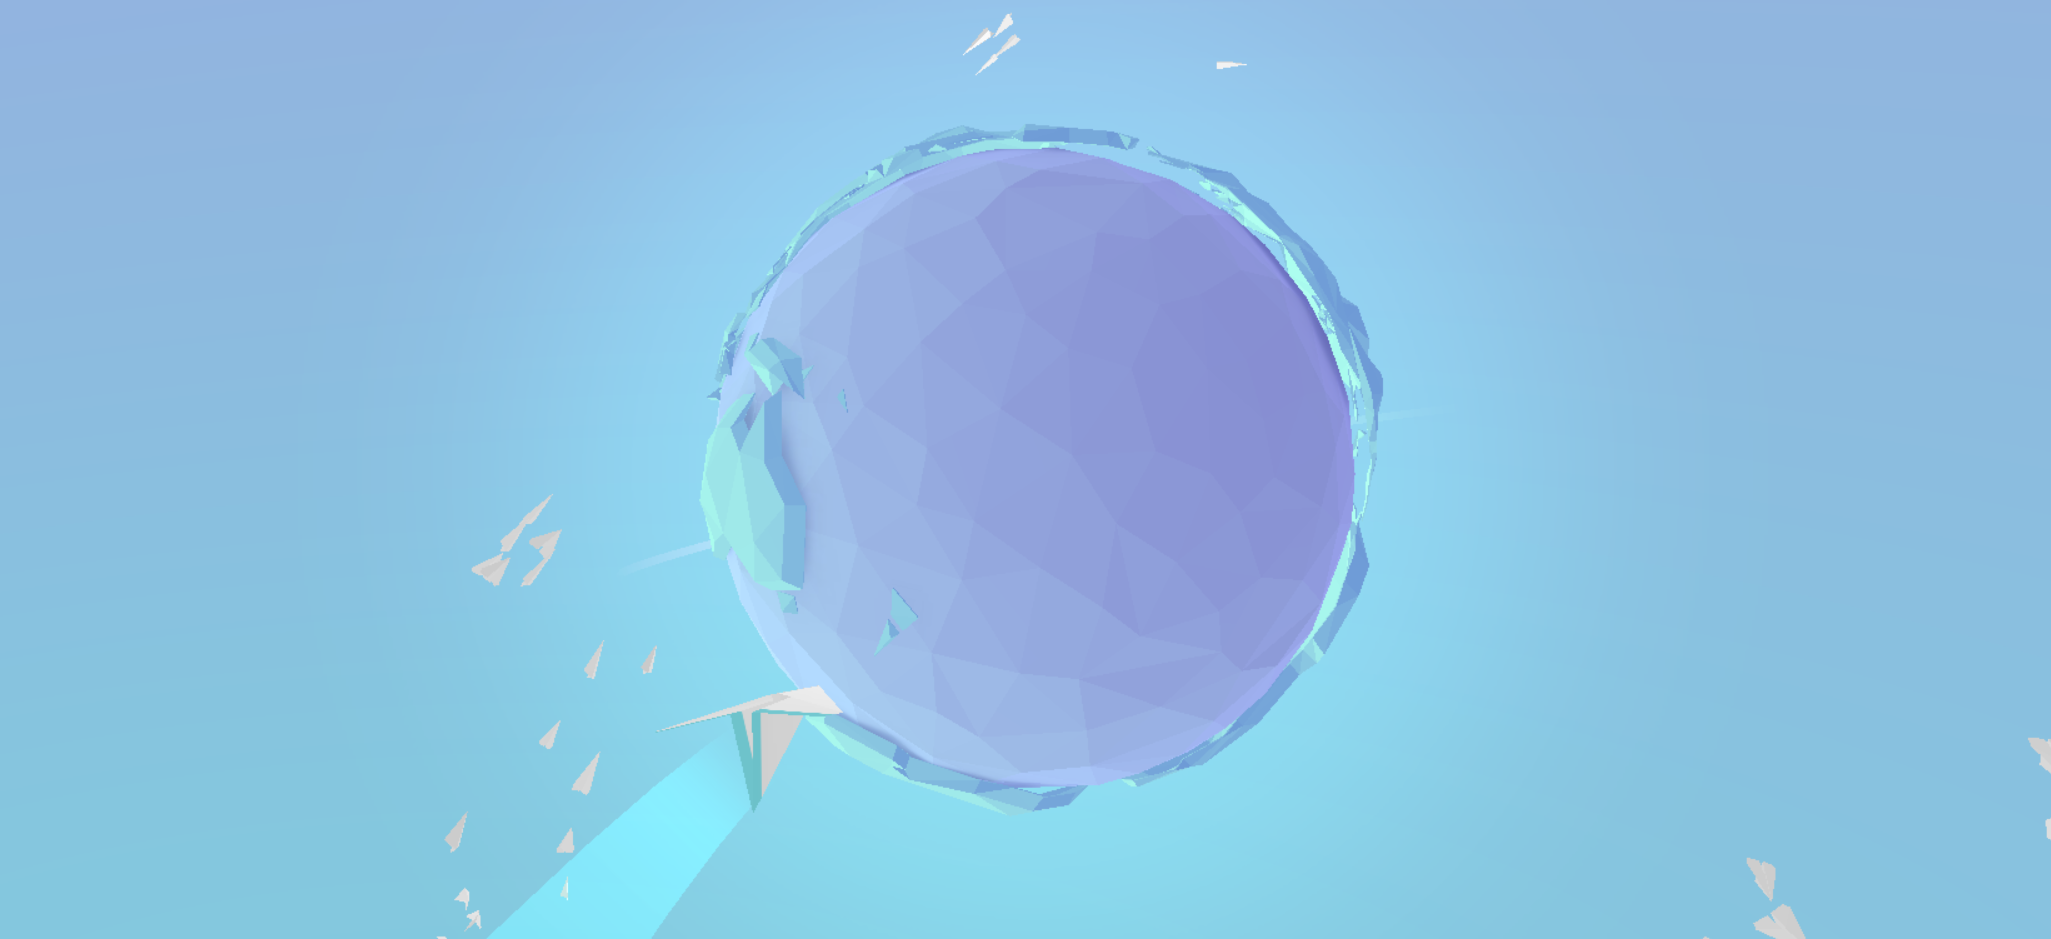
2. Live examples

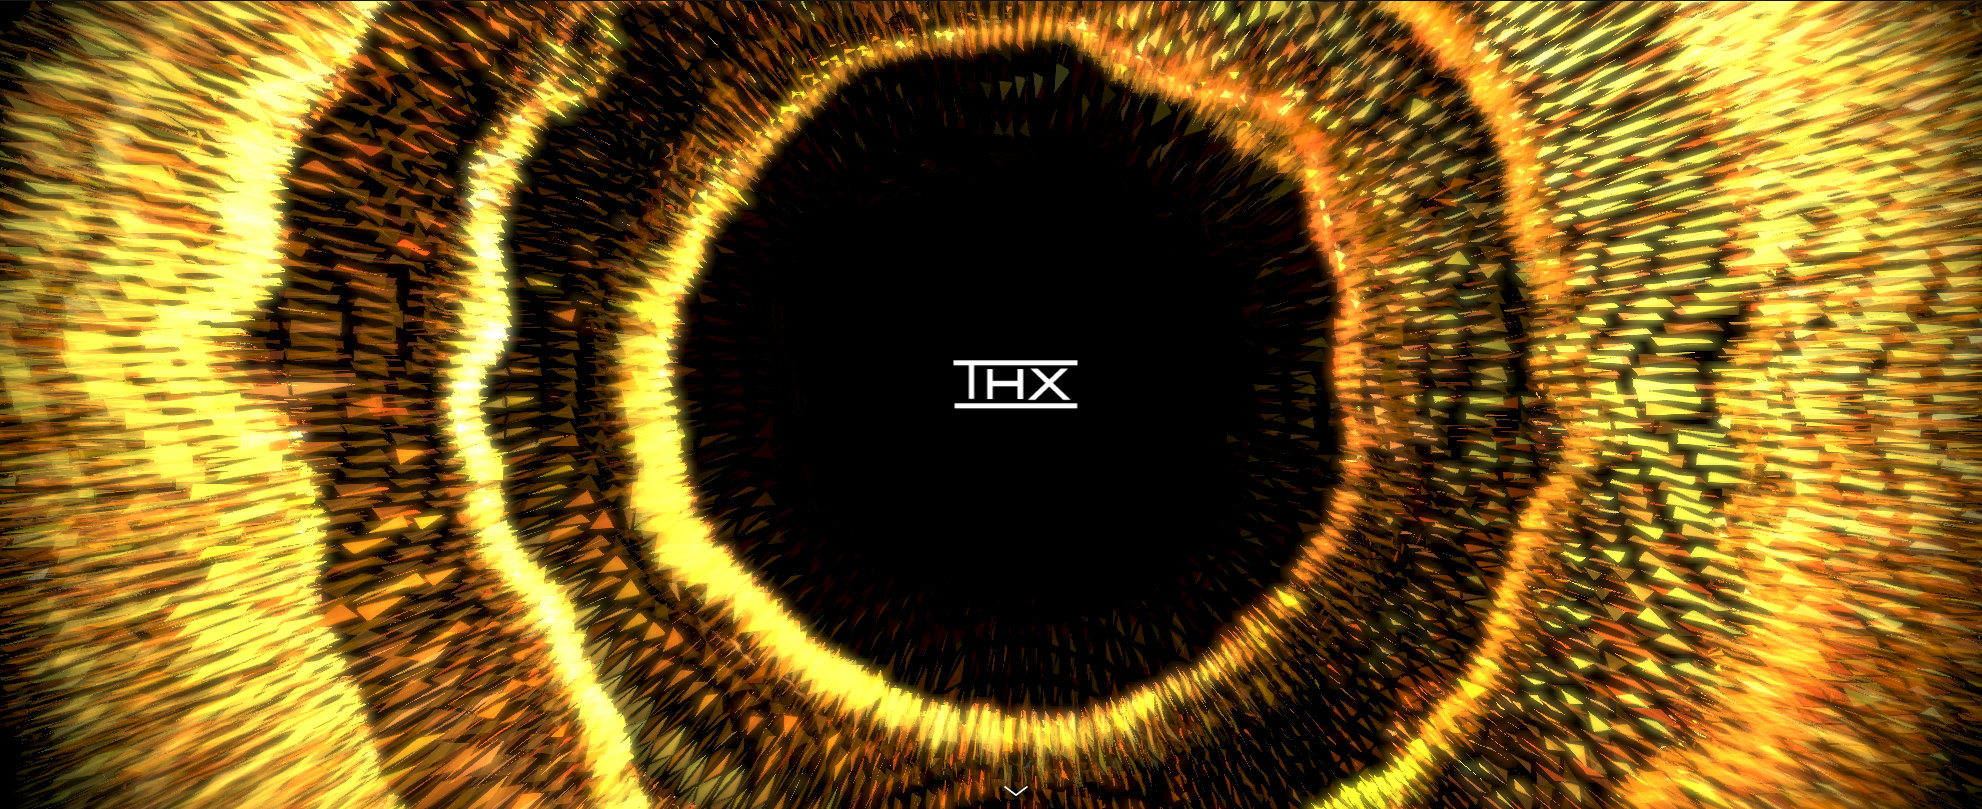
Questions ?
Thank you !
Canvas : a new era
By Louis Hoebregts


