Presentations
Templates
Features
Teams
Pricing
Log in
Sign up
Log in
Sign up
Menu
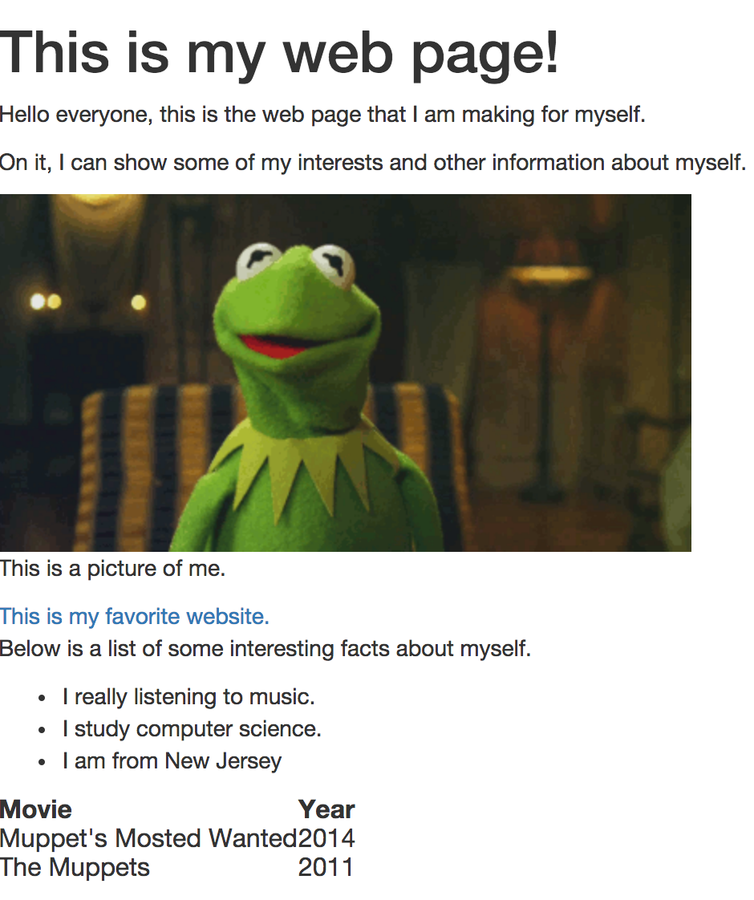
Making your Website Pop
An Introduction to Bootstrap
Now we Know CSS and HTML. But...
CSS is HARD!!!
We know how to change colors, make things different sizes, add padding, etc.
But how can we make things like beautiful?
CSS is too much work, no one has time for that!
So How do Easily Make it Look Nice?
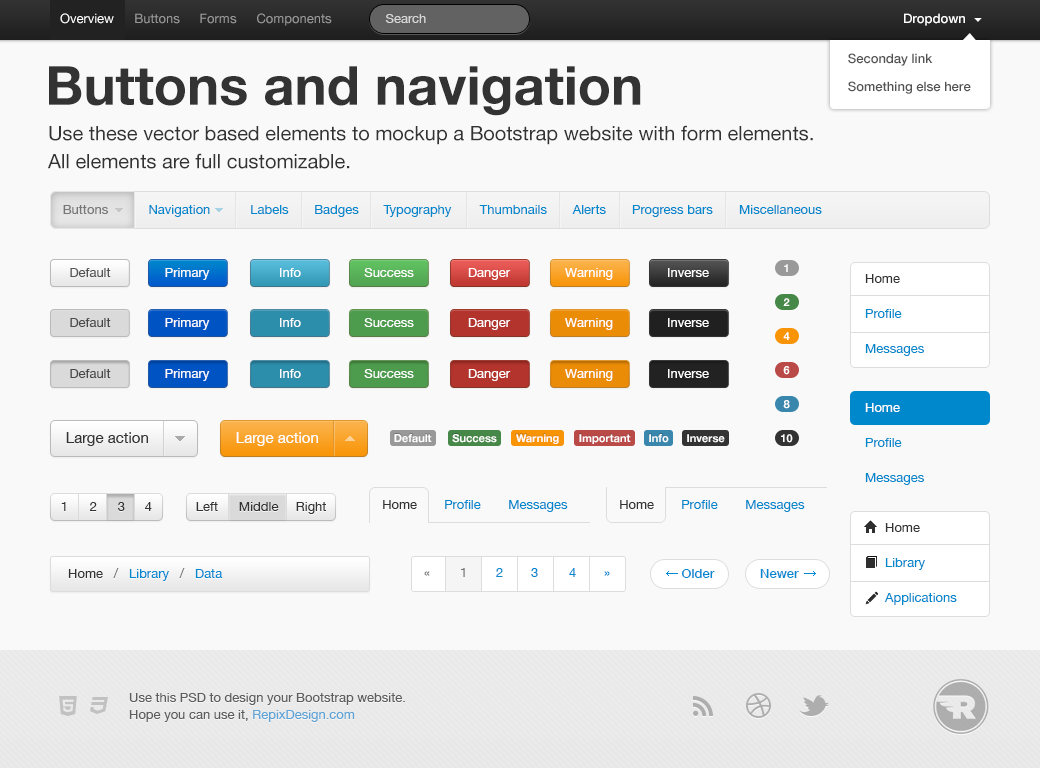
Answer: Bootstrap!
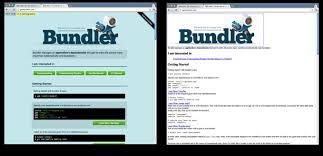
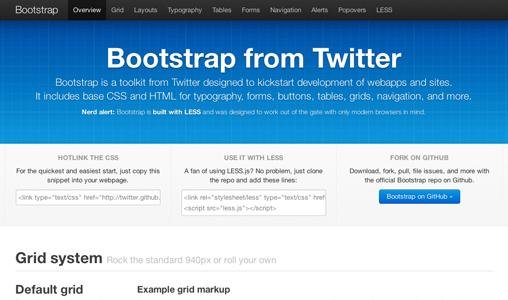
What is Bootstrap?
A CSS Framework made by Twitter to help web developers to easily get professional looking websites
Consists of thousands of CSS rules (like the ones we defined last week!) that allow you to add toolbars, forms, images, etc.
No need to write any CSS! All you need to do is link!
Let's Start Using IT
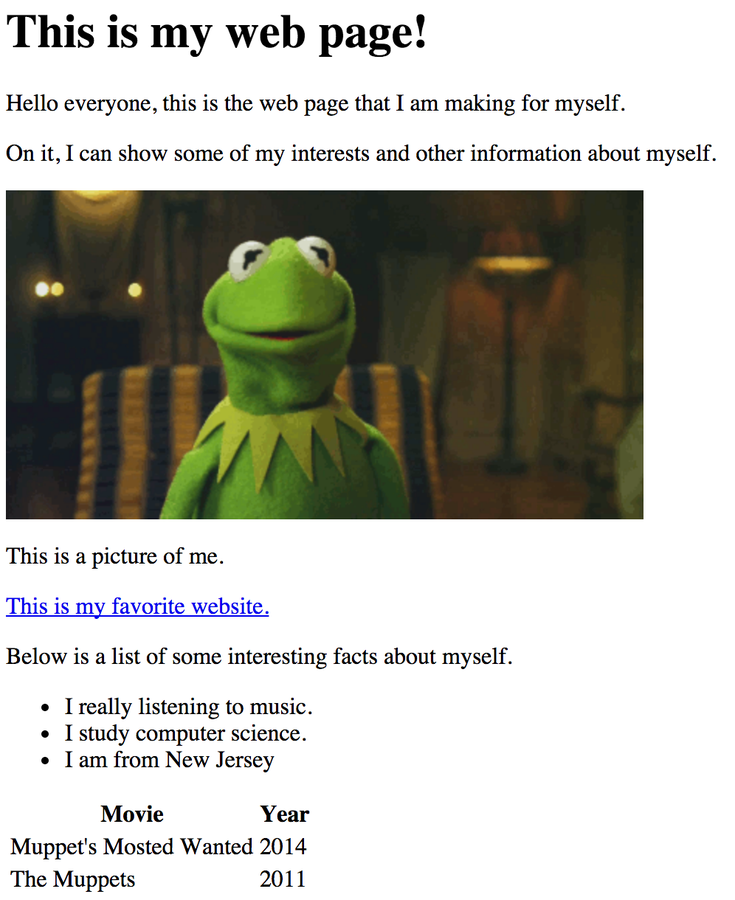
Take your file from last week, take out the CSS we had added before, and add the following line to your file
Our file changes and we didn't even have to touch it!
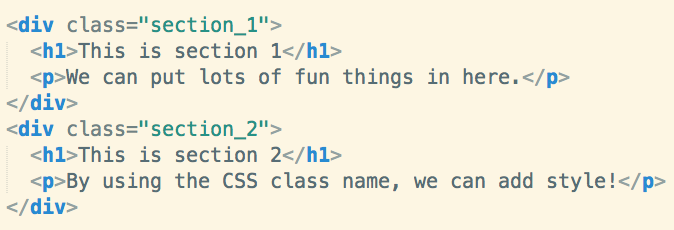
Before we Get STarted: Review of Div's
A div is an HTML tag (like <a></a> or <h1></h1>
It is used to divide the screen into sections into which we can place various elements
Bootstrap uses divs heavily to apply the CSS rules that we want to apply!
Use CSS classes predefined by Bootstrap to apply style
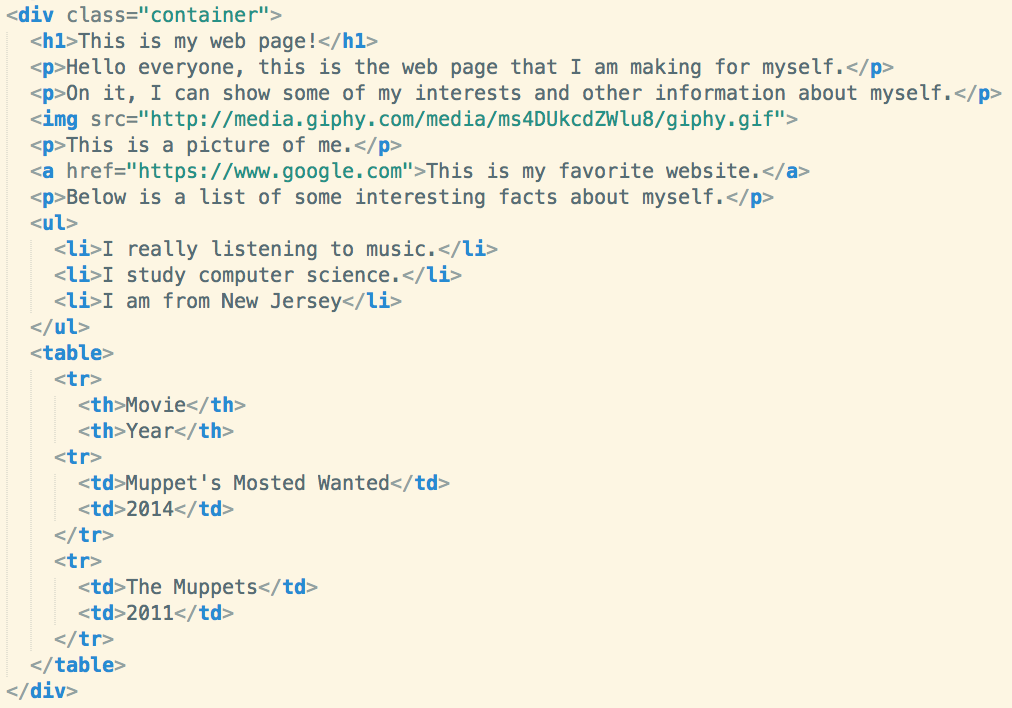
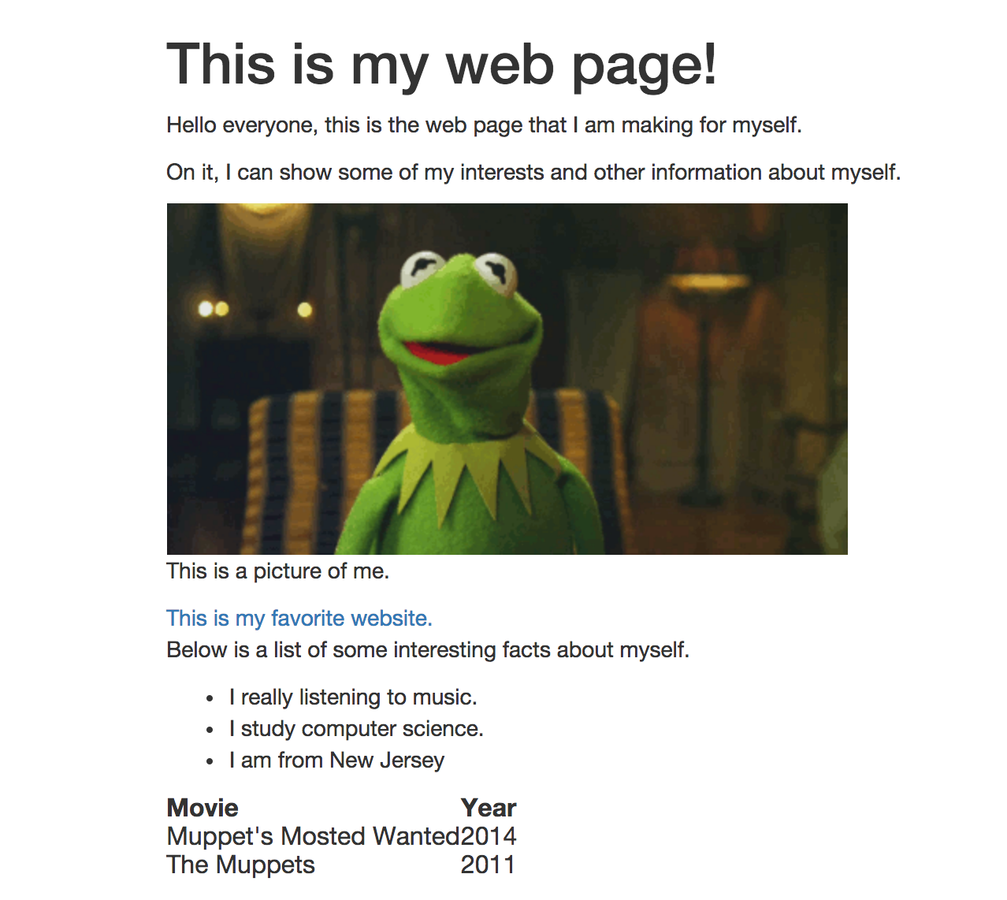
Let's Get STarted! WraPPing our Content
On our page before, the text went right up to the side of the screen, we don't like that!
Let's add some padding, use a div!
"container" class is good to use!
Spicing up Our Page: Navigation Bars
We had lots of sections on our celebrity page (biography, accomplishments, pictures, etc.)
Let's make a navigation bar so we can easily jump to different sections of the page!
Easily done using Bootstrap and an unordered list! (Remember from last time!)
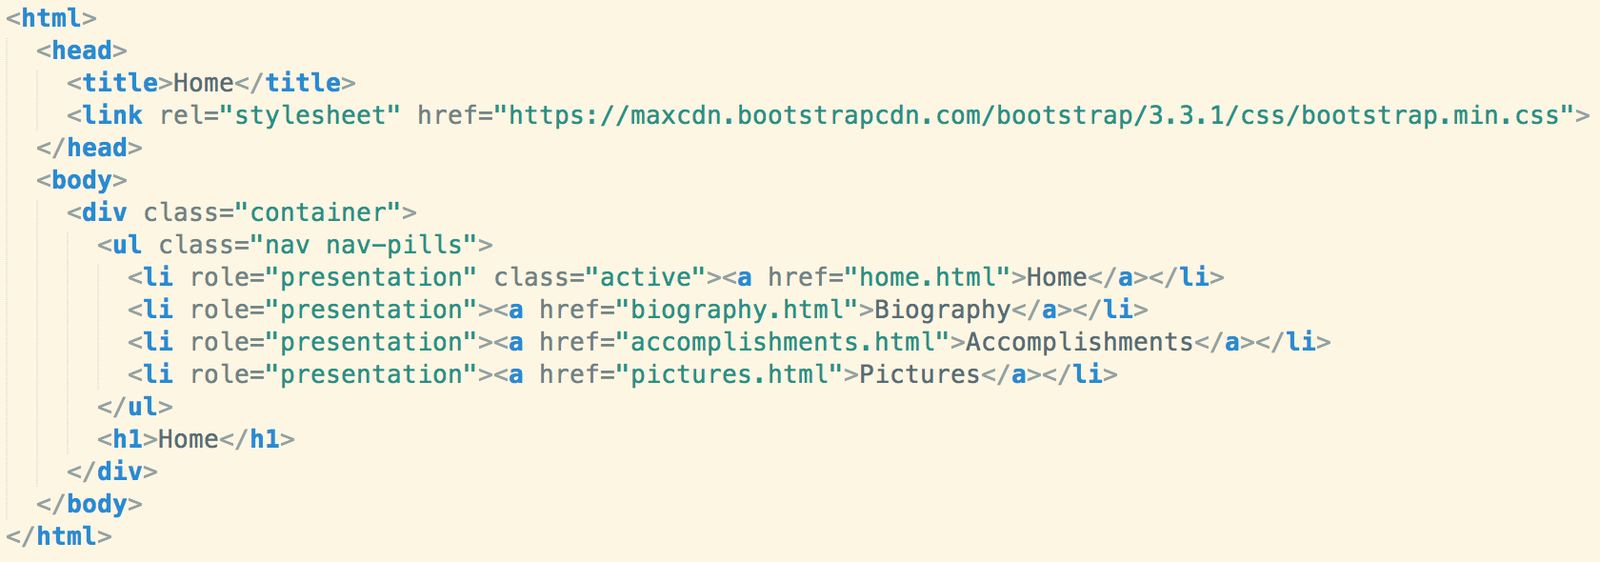
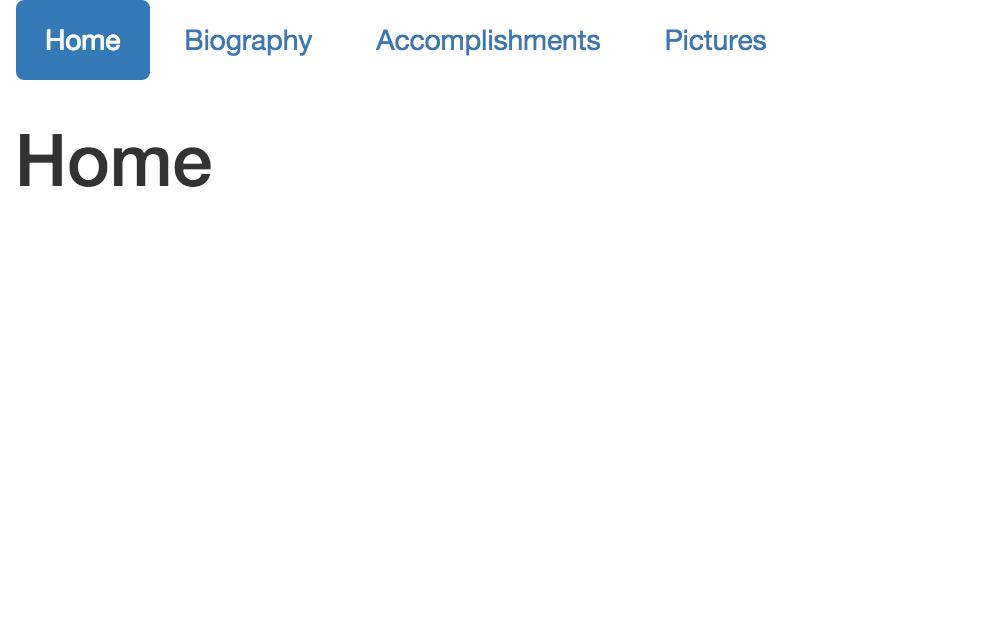
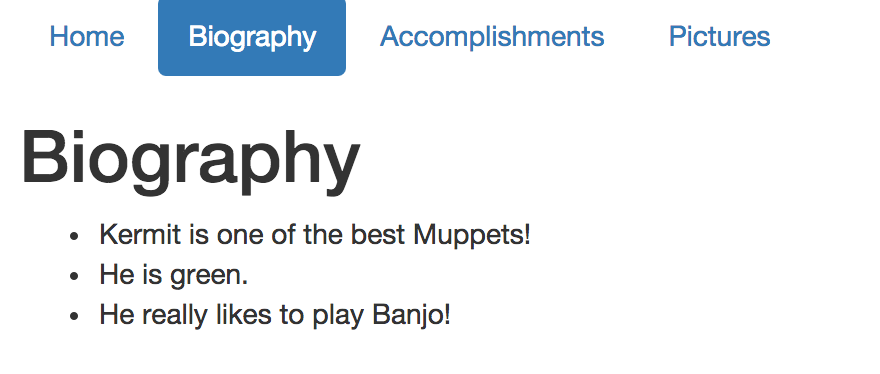
Assignment: Add a Nav Bar to your Page!
Give it four sections (Home, Biography, Accomplishments, Pictures)
Make the links dummy (href="#"), we'll fill them in later
Make "Home" active to show it is selected
Building a Website: Multiple Files
So far, we've been working on a single HTML file
Now that we have multiple navigation sections, we'll need multiple HTML files!
We can link between them using the "href" attribute in our links
Rather than a link to a website, make it a link to an HTML file
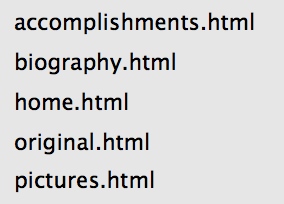
Assignment: Create new Files
Create four new HTML files, one for each section
home.html, biography.html, accomplishments.html, pictures.html
Copy and paste the code for the nav bar into each
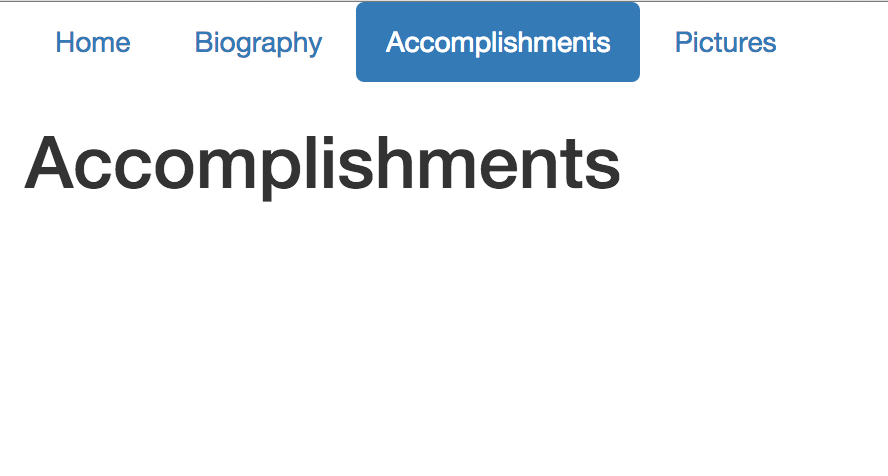
Add a header and a title at the top of each page
Add the links in your nav bar code to the other files
Now, we have a website!!!
We have four HTML files (each a different webpage) that we link together. This is what a website is!
We use a nav bar to navigate between them, and it all looks beautiful with Bootstrap!
Now, let's fill in the different files!
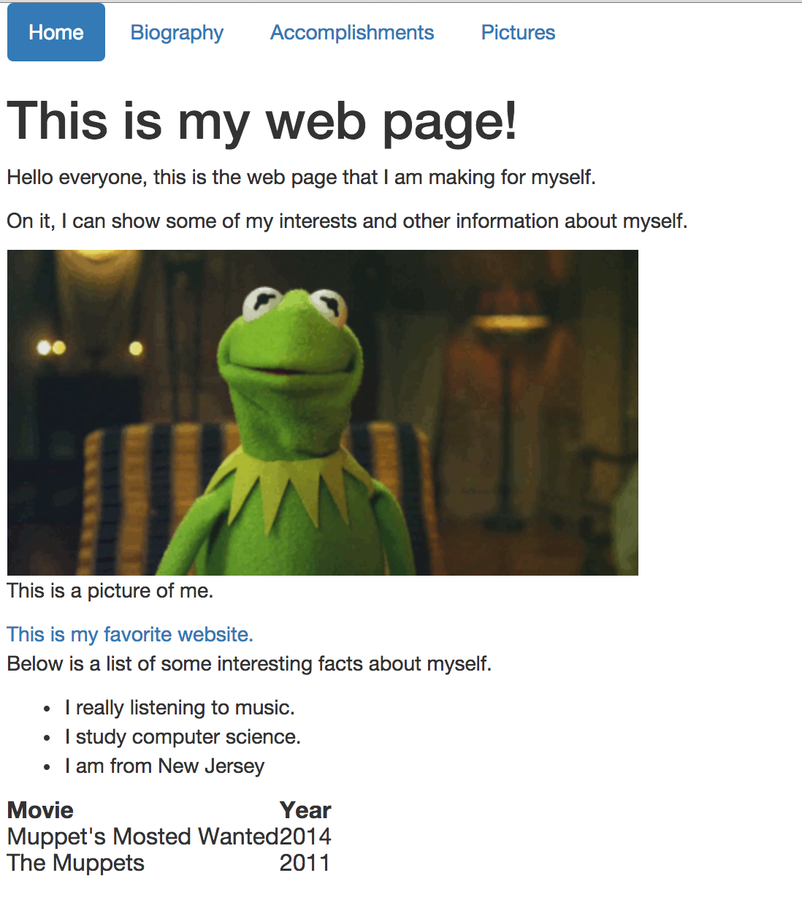
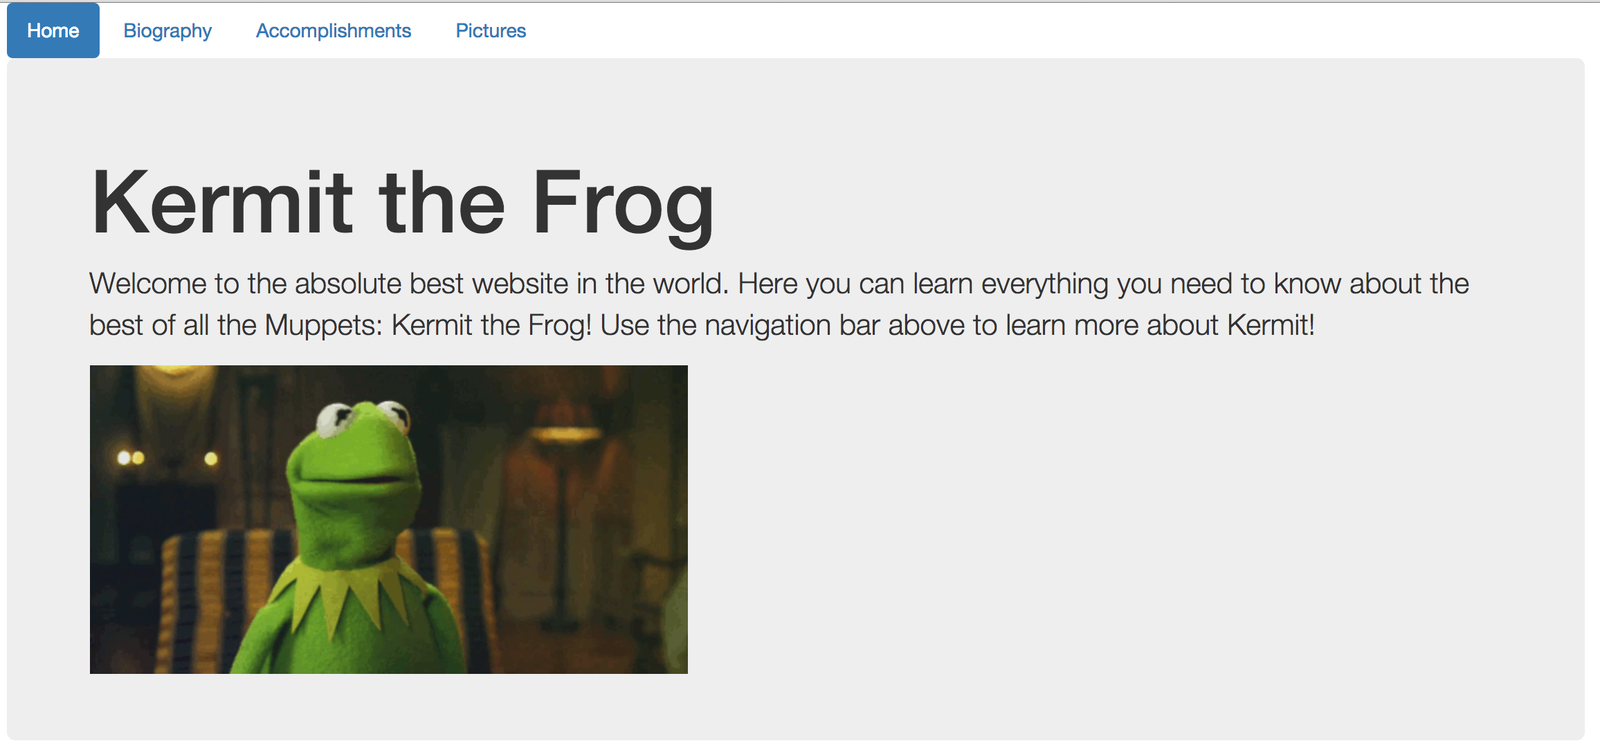
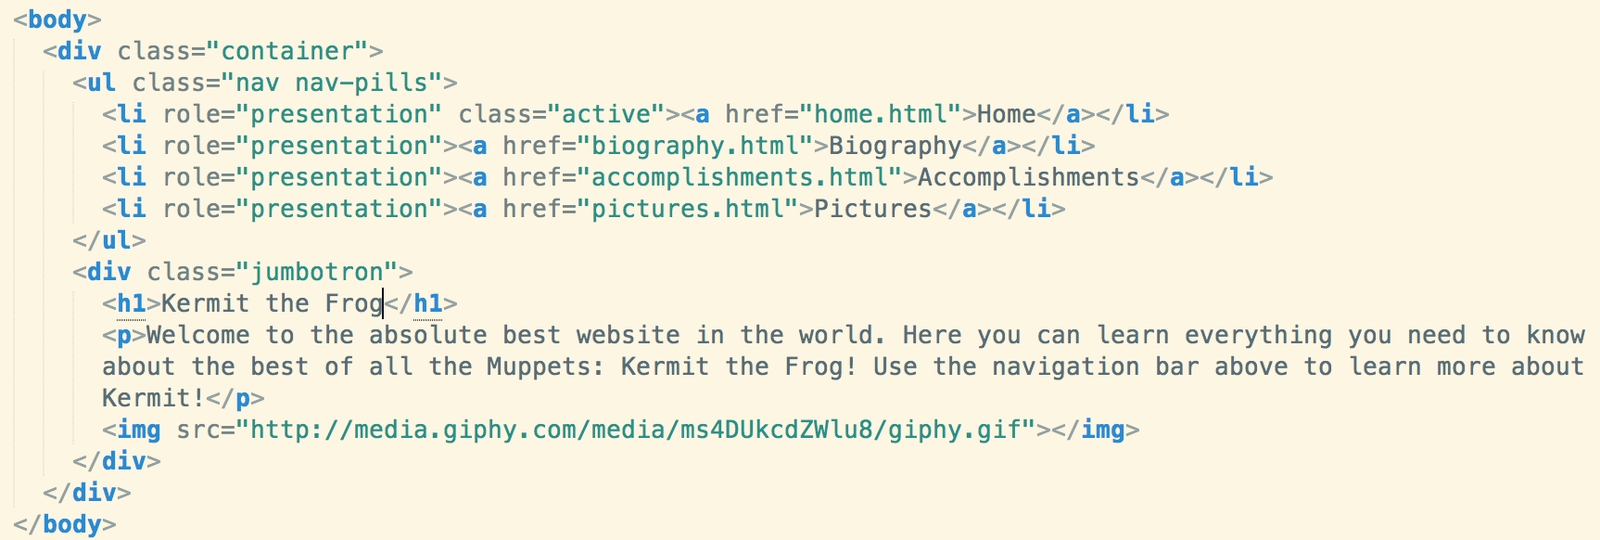
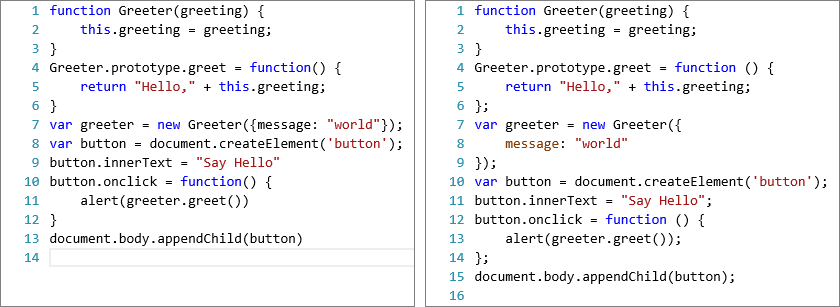
Assignment: Make your Home page!
Let's make a home page for our celebrity to welcome visitors to our website!
We'll add a jumbotron to our page, a new component provided to use by Bootstrap!
A jumbotron is a section that makes your content look awesome! It catches the eye!
Add a title, a greeting message, and an image
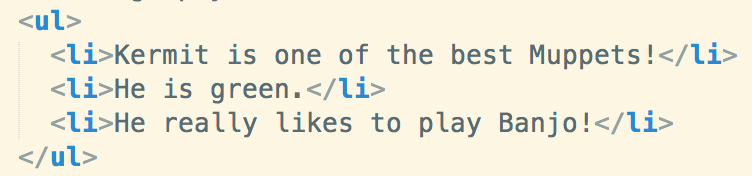
Assignment: Add a Biography
Add a list consisting of three "fun facts" about your celebrity to the "biography.html" file
Short and simple!
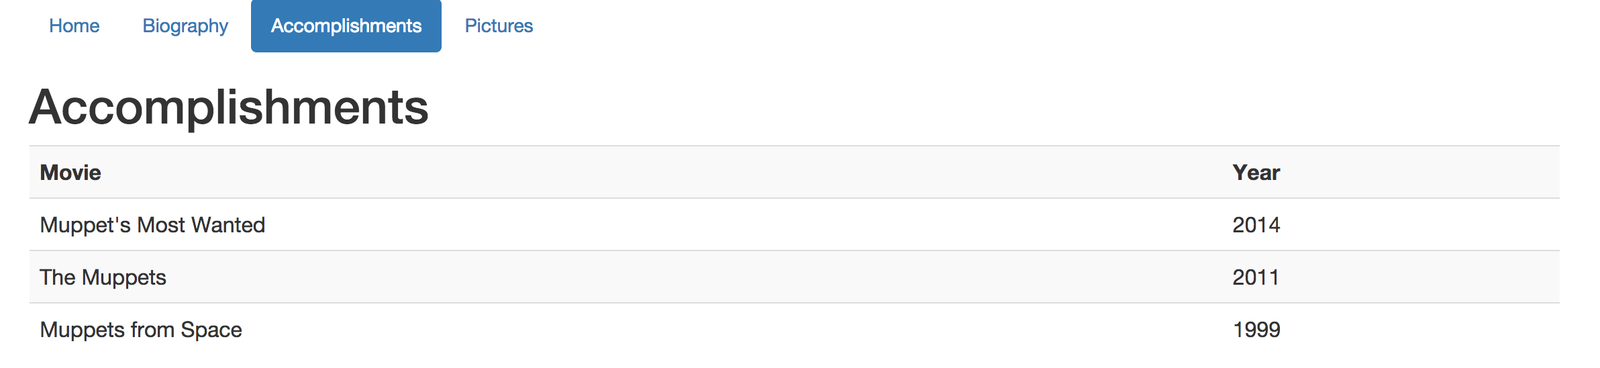
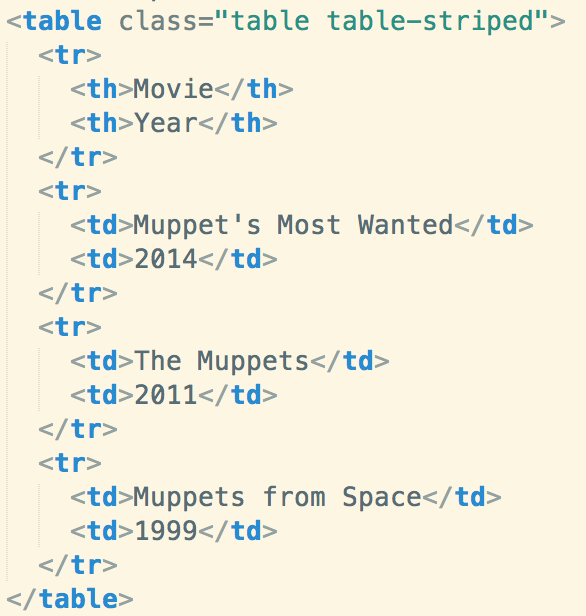
Assignment: Add Accomplishments
Tables are really cool in Bootstrap
Add some of your celebrity's songs/movies/teams, etc. to a table on your page with at least two columns
Use a striped table to alternate colors between rows!
Adding Pictures: Photo Carousel!
Our pictures are deserving of a beautiful way to view them! Let's add that to our page!
But, we need JavaScript for this!
What is Javascript?
JavaScript is another programming language we will be using along with HTML and CSS
JavaScript makes cool stuff happen on your webpage
Move things, make things appear and disappear, change colors, etc.
Bootstrap uses this for certain features, like our carousel
We don't need to write any, but we need to understand it
Adding JavaScript to our HTML File
While we don't need to write any JavaScript (for now), we need to provide Bootstrap with the JavaScript it needs
Do this using the <script> HTML tag
Add the following two lines to the bottom of your body in "pictures.html"
Doing this allows us to take advantage of the power of Bootstrap
Adding a Photo Carousel: Outer Container
Let's first add our outer container, which is going to be a div with some classes applied
This will hold all of our images inside of it and handle the sliding of images from one side to the other
We now add "id" to our element in addition to class, which is used by the JavaScript code to identify the element
The "data-ride" attribute is a feature of Bootstrap, don't worry about it
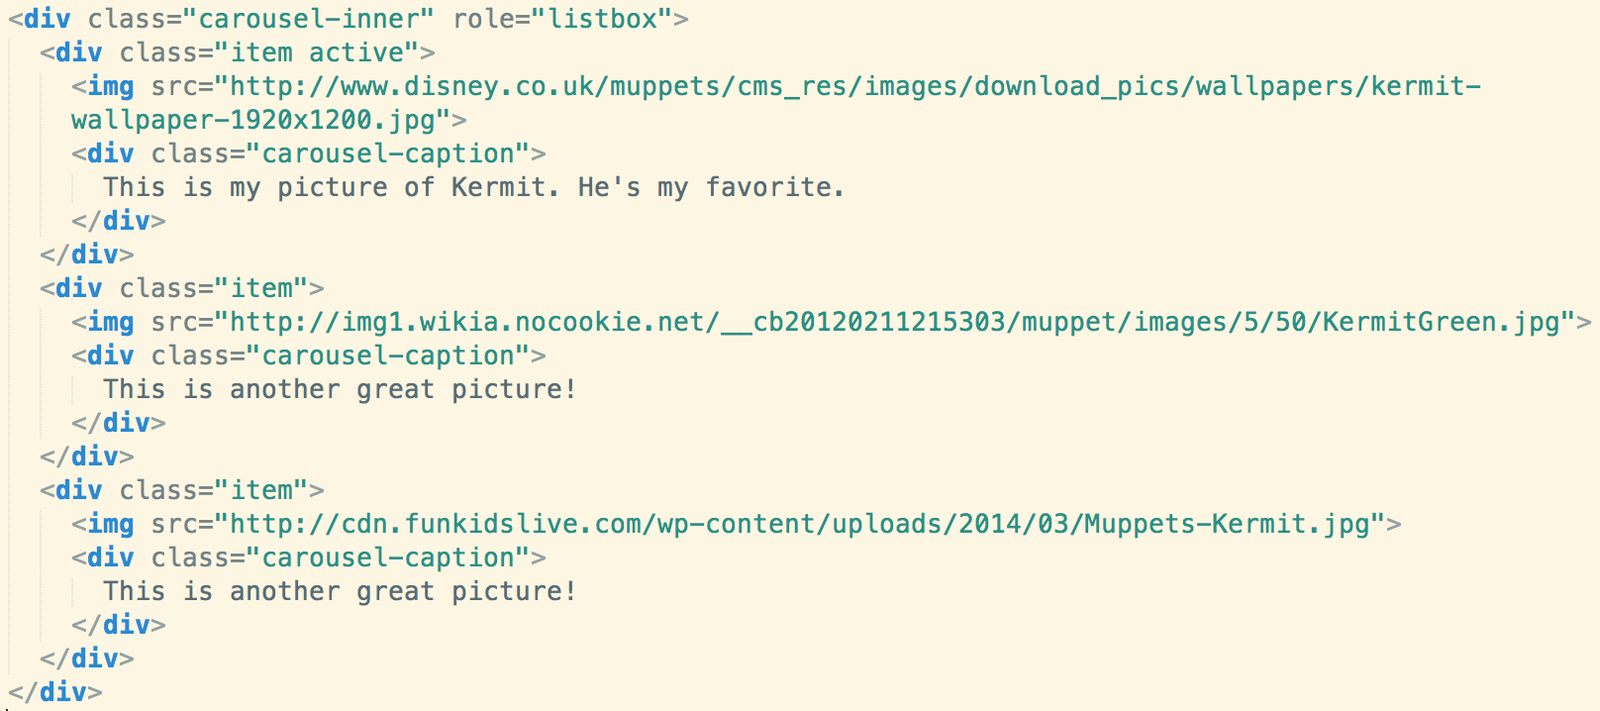
Adding a Photo Carousel: Image Slides
Now that we have our outer container, let's add the slides that will hold our images.
For this part, find three images of your celebrity you'd like to include and get the links to those images (like last week)
Also add a caption to your images!
Adding a Photo CArousel: Controls
We need to be able to slide photos from left to right!
Add the following code to your carousel container in your "pictures.html" file to handle the sliding of images
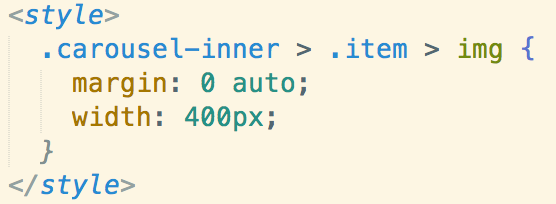
Adding a Photo Carousel: CSS
Now that we've added all the code for our photo carousel, we need just a little bit of style
We want to center our images inside our carousel and also make them a constant width
Add this CSS in the head of your HTML file
The code picks out all images inside of items inside of carousel-inners, centers them, and makes them 400 pixels wide
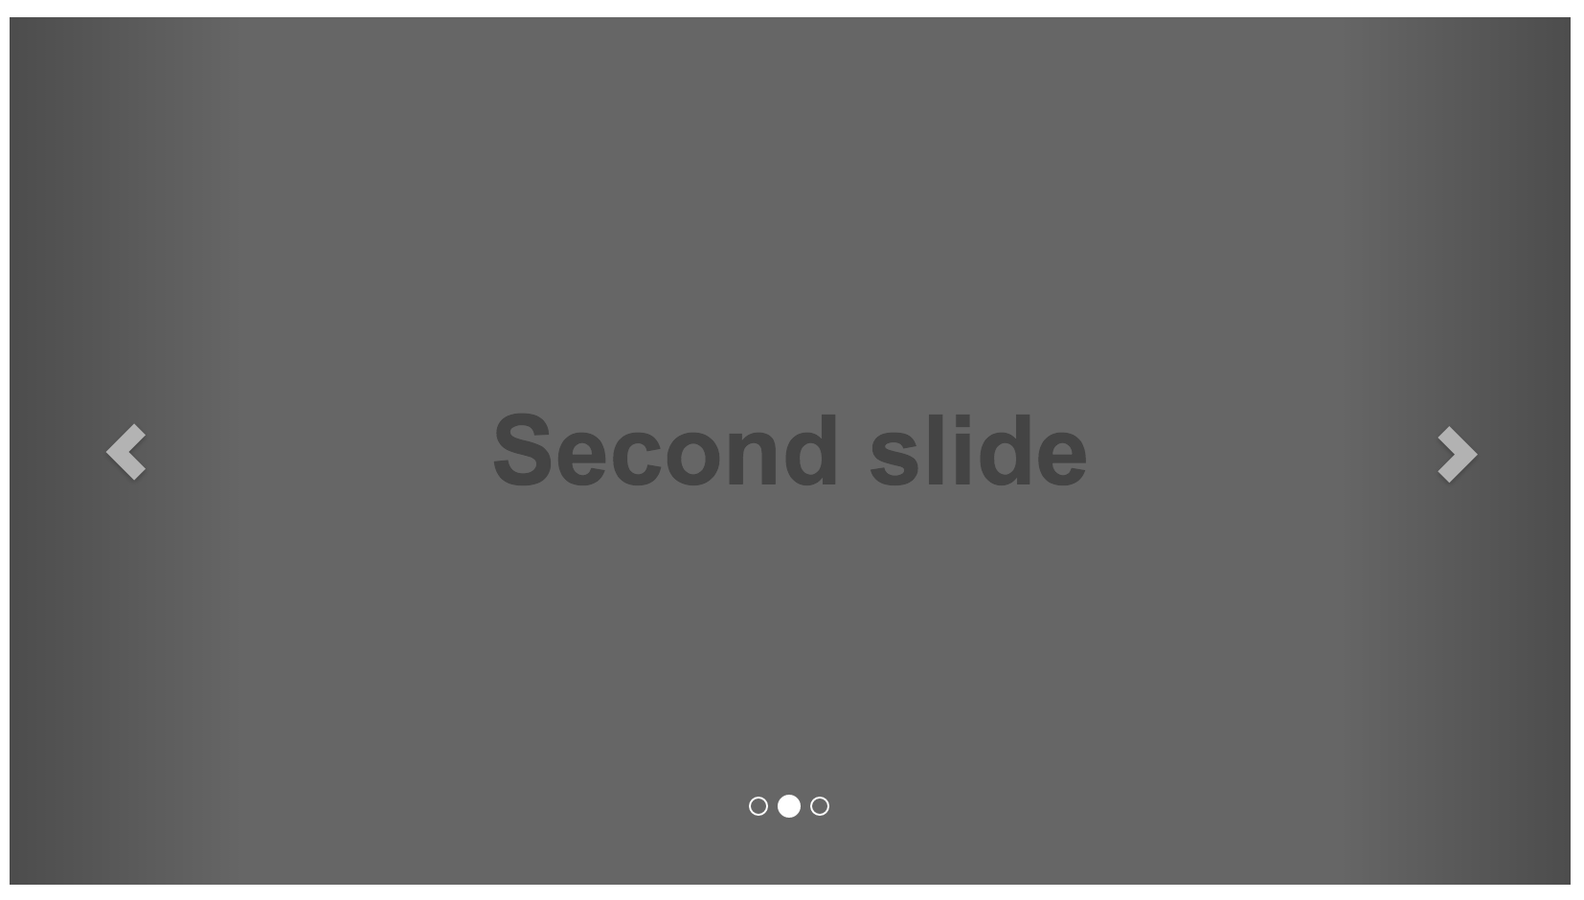
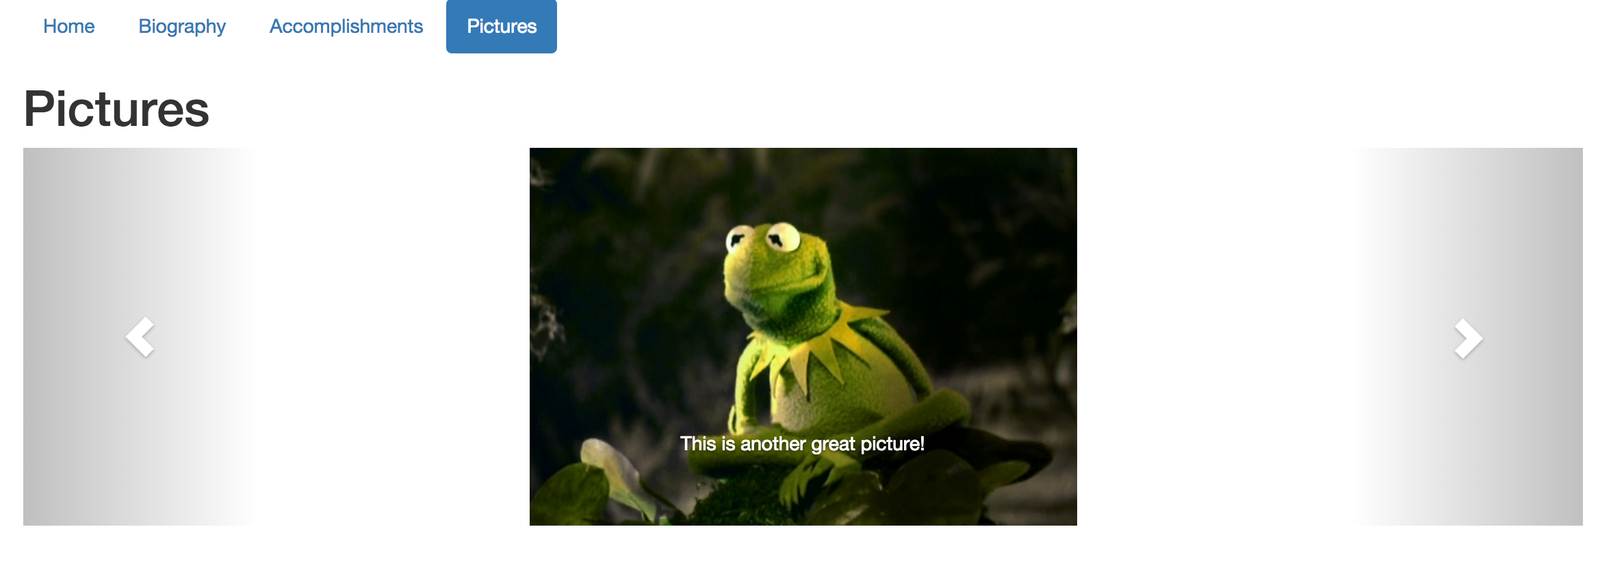
Adding a PHoto Carousel: The End Result
Oh so beautiful!
Our Website
Home screen to greet users to the website
Biography page to give an introduction the our celebrity
Accomplishments to show a table of some of our celebrities appearances, songs, etc.
A BEAUTIFUL photo carousel to showcase pictures of the celebrity
A navigation bar at the top to link all the pages together
We have a real website!
So...What have we LEarned?
Bootstrap and its features - beautiful websites made easy!
Divs and CSS classes
More CSS rules
How JavaScript helps us
Learning More
Check out the Bootstrap website to explore all the other things that you can do with Bootstrap!
Lots of awesome features and code samples that you can basically copy and paste (it's amazing)
Next Time: Javascript!
We'll write our own JavaScript to make our website do all sorts of cool things
jQuery makes this super easy, and we'll see what we can do with it
Also, forms! We can take input from a user and do stuff with it!
That's All folks!
Making Your Website Pop
By Matt Piccolella
Made with Slides.com
Making Your Website Pop
An Introduction to Bootstrap
1,109
Matt Piccolella
The game is flawed.
More from
Matt Piccolella