git workflow
Why?

Revision Control
- Because you are a professional
- Keeps history
- Protects your code from yourself
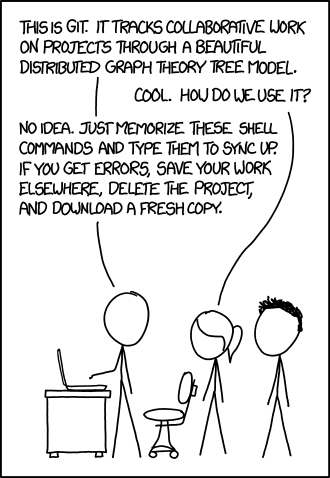
This is not a git tutorial
- gittutorial
- tutorial from github
- Atlassian has some great tutorials
- git - the simple guide
Mix of the project, and me
- Some of this is how the project is set up
- The general branch workflow is the project
- Some of the general commands is just me
- The project isn't too restrictive
- but we have talked about it
Working with others
Juju getting started
$ go get -d -v github.com/juju/juju
$ export JUJU_MAKE_GODEPS=true
$ make install
Adds a bunch of dependencies
- Also downloads 114 other repositories
- All git, all created with the default clone
Remotes? What remotes?
- A remote defines a location of a repository
- default remote called origin created when you clone
- remote names are used when you fetch
origin vs. upstream
- origin is used to define the user's repository
- upstream means the project's repository
- consistency is the key
Making it your own
- Go to the upstream project on github.com
- Fork the project for your user
- Now update your remotes for the repository
# Add the main git repo as the upstream remote.
# git protocol is more efficient than https, requires ssh key
$ git remote add upstream git@github.com:juju/juju.git
# Have git protect me from accidentally pushing to upstream
$ git remote set-url upstream --push no-pushing

# Make the origin be my copy of the project
$ git remote set-url origin git@github.com:howbazaar/juju.git

$ git remote -v
origin	git@github.com:howbazaar/juju.git (fetch)
origin	git@github.com:howbazaar/juju.git (push)
upstream	git@github.com:juju/juju.git (fetch)
upstream	no-pushing (push)

# Get the commits, branches, and tags from upstream.
$ git fetch upstream

$ git branch
* master

# Make the master branch track upstream/master.
$ git branch -u upstream/master
Getting the right branch
- By default master is the main branch of a repo
- Others may use things like
- develop
- staging
- v2
git branch develop upstream/develop
git checkout develop
Now we can get started
- All development is done in branches
- All code is reviewed before landing
- All merges into main branches are done by a 'bot'
- Developers do not have write access to main repo
It all starts with a branch
$ git checkout -b fix-<some-bug>
# this is shorthand for
#   $ git branch fix-<some-bug>
#   $ git checkout fix-<some-bug>

# hack, hack, fix, test

$ git commit -am "Fixed the frobulator."
$ git push origin
General Rules
- Commit often
- every significant change
- Push often
- what happens if your computer dies
- With git, you can clean it up later
Create a Pull Request
- When you're done, create a PR
- You don't always want to show your working
- all those commits while trying to get it working
- Two easy ways
- reset
- rebase
Cleaning up commits
- git reset develop
- Throw away all my commits but keep the changes
- Can then add one commit that has everything
- Why have one commit?
- git bisect
git rebase
- Allows you to edit your commit history
- git rebase --interactive
- edit commit messages
- change the content of the commit
- squash commits together
- change the base branch
git rebase example
# Did two commits, then realised that I missed a file
# in the first one. I had pending changes in the branch,
# including the file.
$ git stash
# Put all the current changes off to the side
$ git rebase --interactive
# Mark the commit two back with 'edit', save and exit
$ git stash pop
# Get my changes back
$ git add the-file
$ git stash
# Put the rest of the changes back to the side
$ git rebase --continue
# We're done with the rebase
$ git stash pop
# Get the changes back
Damn, merge conflict
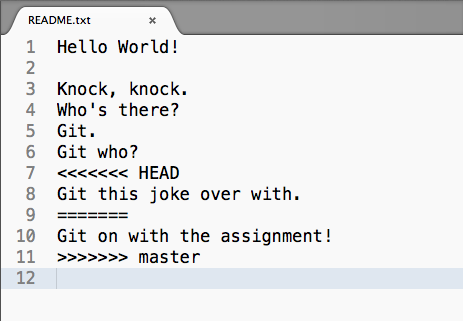
Target branch moved
- If you aren't keeping a clean history, just merge
- Keeping it clean you have two main options
- reset or rebase
- If there is more than one commit, reset is easier
- rebase can have you resolving for each commit
- If using reset, make sure you merge first
Updating current branch
$ git fetch upstream
# downloads all the commits, tags, and branches
$ git checkout develop
# switch back to my copy of main upstream branch
$ git merge --ff-only
# merges in parent (upstream/develop),
# fast forward only - no merge commit added
$ git checkout -
# go back to my branch
$ git merge develop
# fix the conflicts
$ git reset develop
$ git commit -am "My work..."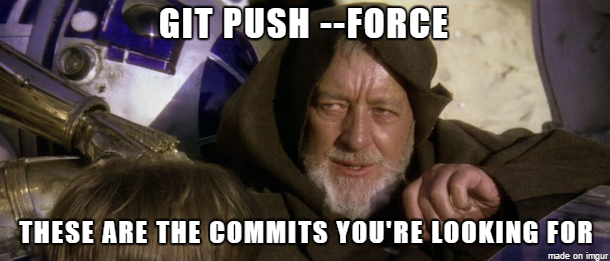
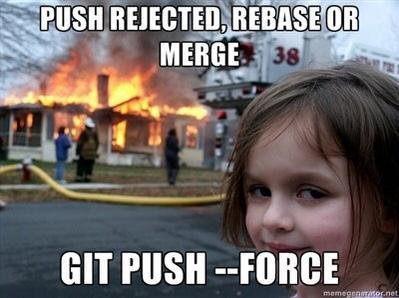
Force not always bad
Releases
- When we make a release, we tag the commit
- Can use tag names like branches
- Branches for each minor release series
- 2.0
- 2.1
- 2.2
Bug fix for release
# If I haven't made a fix for this release yet, get
# a local branch relating to the release series.
$ git branch upstream/2.2 2.2
$ git checkout 2.2
# Once I'm on the 2.2 branch, if I branch from here,
# the upstream for that branch is set.
$ git checkout -b 2.2-fix-foobar

# hack, hack, fix, commit, push
Getting the fix in mainline
- PR is against the 2.2 branch
- merged in there
- Two main ways to get the change forward
- merge the 2.2 branch into develop
- cherry-pick the commit
Dealing with bug fixes
- Fix in the mainline and back-port
- backporting normally using cherry-pick
- Fix in the release branch and forward-port
- merge or cherry-pick
Questions?
"git gets easier once you get the basic idea that branches are homeomorphic endofunctors mapping submanifolds of a Hilbert space."
@agnoster 7 Mar 2011
git workflow
By Tim Penhey