


Kevin Song
I'm a student at UT (that's the one in Austin) who studies things.
Attributes/Modes: Function calls that modify all subsequent draw calls.
Attributes
Change how results look.
fill()stroke()Modes
Change what arguments mean.
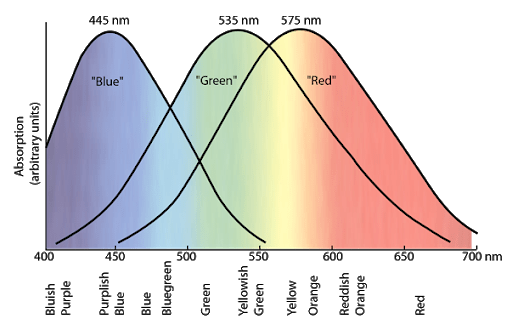
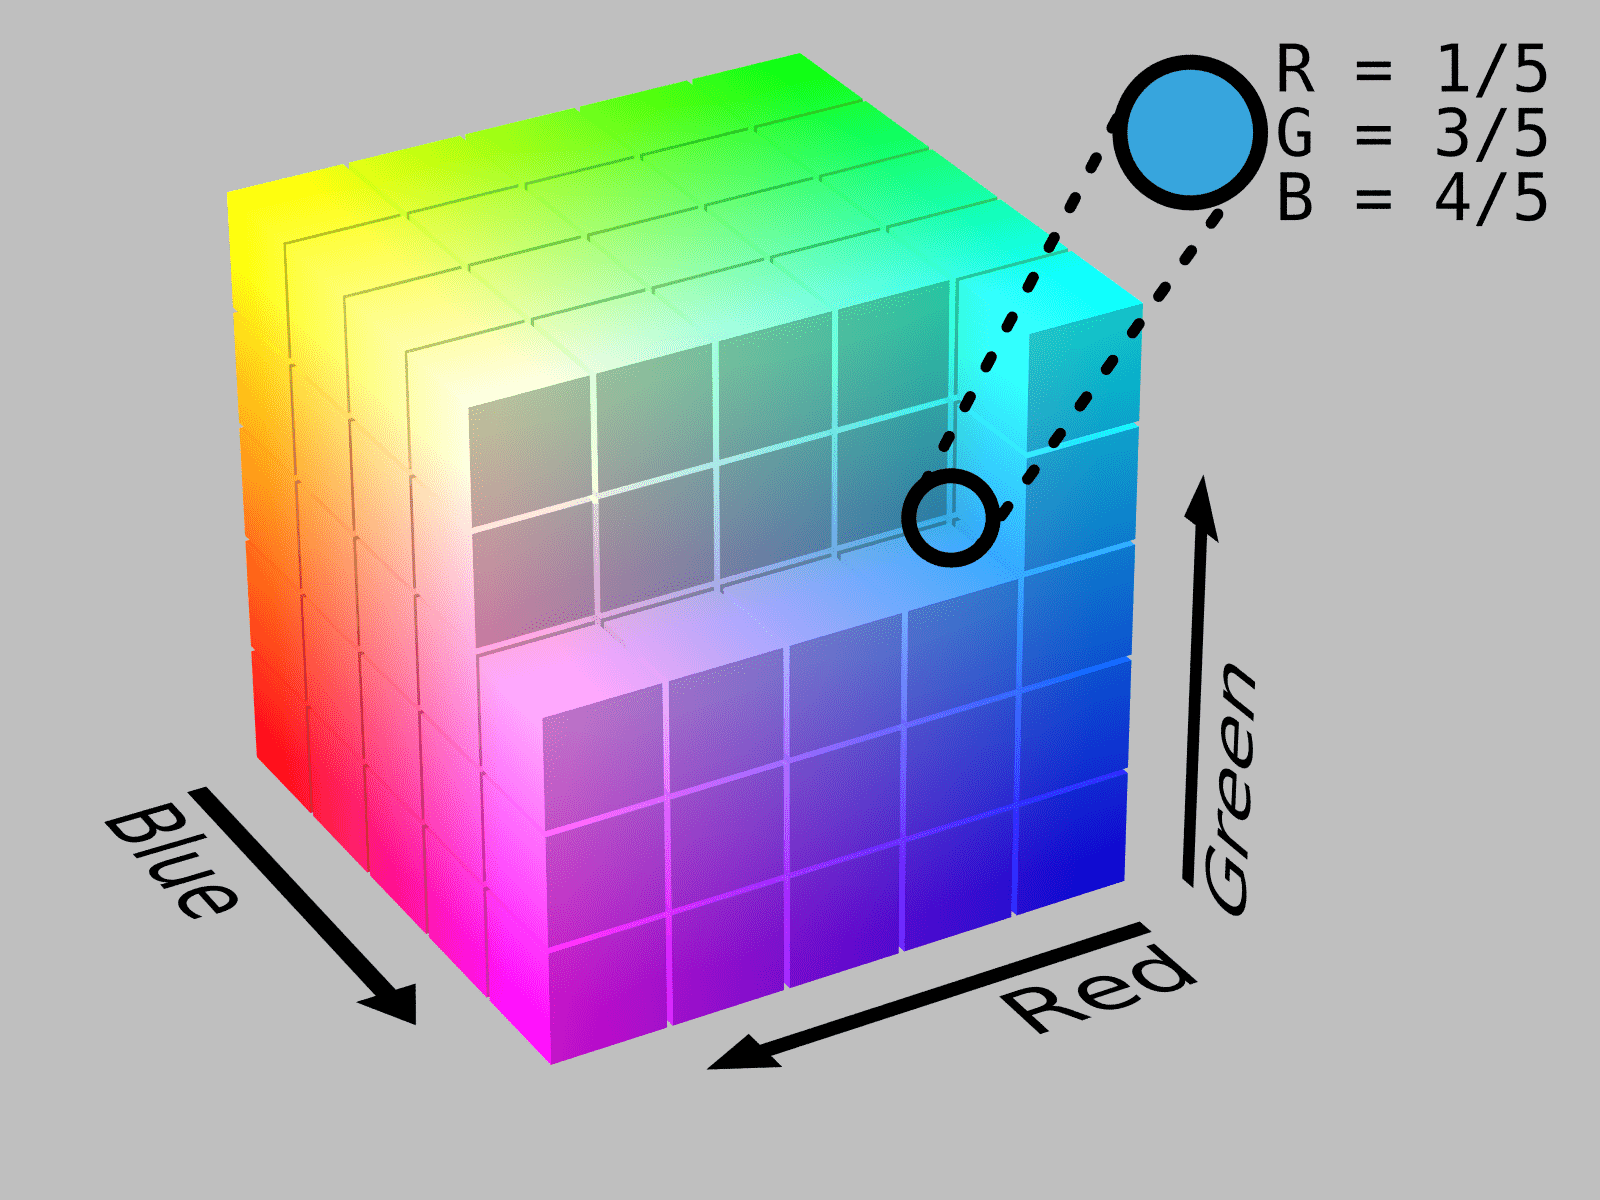
rectMode()colorMode()blendMode()Digital color uses an additive model, usually with 8 bits (0-255) each for RGB.
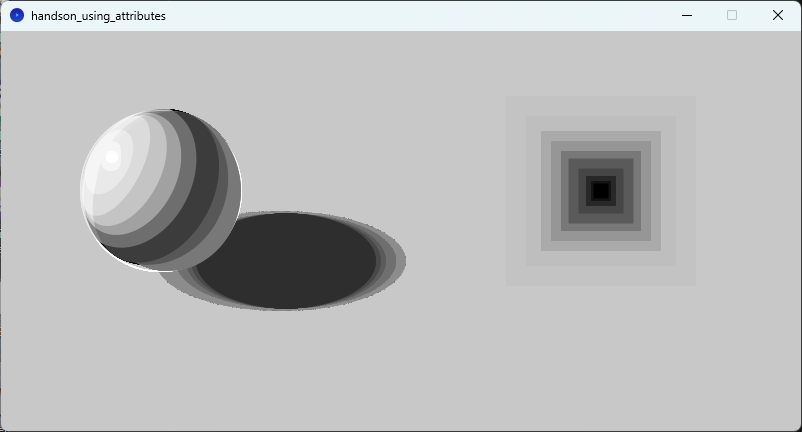
Can use attributes like fill, stroke, and background to affect color of what's drawn.
color yellow = color(255.0, 255.0, 0.0);
fill(yellow);
rect(0, 0, 200, 200);
Multiple ways to use these functions: can specify RGB or pass a color primitive
fill(255.0, 255.0, 0.0);
rect(0, 0, 200, 200);Remember, draw() is called in a loop!
void draw(){
  rect(10, 10, 20, 20);
  fill(blue);
  ellipse(100, 100, 200, 200);
}
Attributes and modes can bleed through the bottom of the loop and start affecting things before them if you're not careful!
Most functions that take color in Processing will have these three variants:
and for each of these, there will usually be a variant that takes an additional alpha (transparency) argument.
Third floor bridge of GDC. (Enter the main atrium of GDC and take the staircase up one flight).
Mine: Monday and Wednesday 11:30-12:30 (before class)
Annabel's: Monday and Friday 3:00-4:00 (after class)
Alt: how do you pick a color model?
Projector: throw light at the screen, all of it reflects. Additive model.
Paper: throw light at paper, some of it gets absorbed. Subtractive model.
The dog falls in front of the tree.
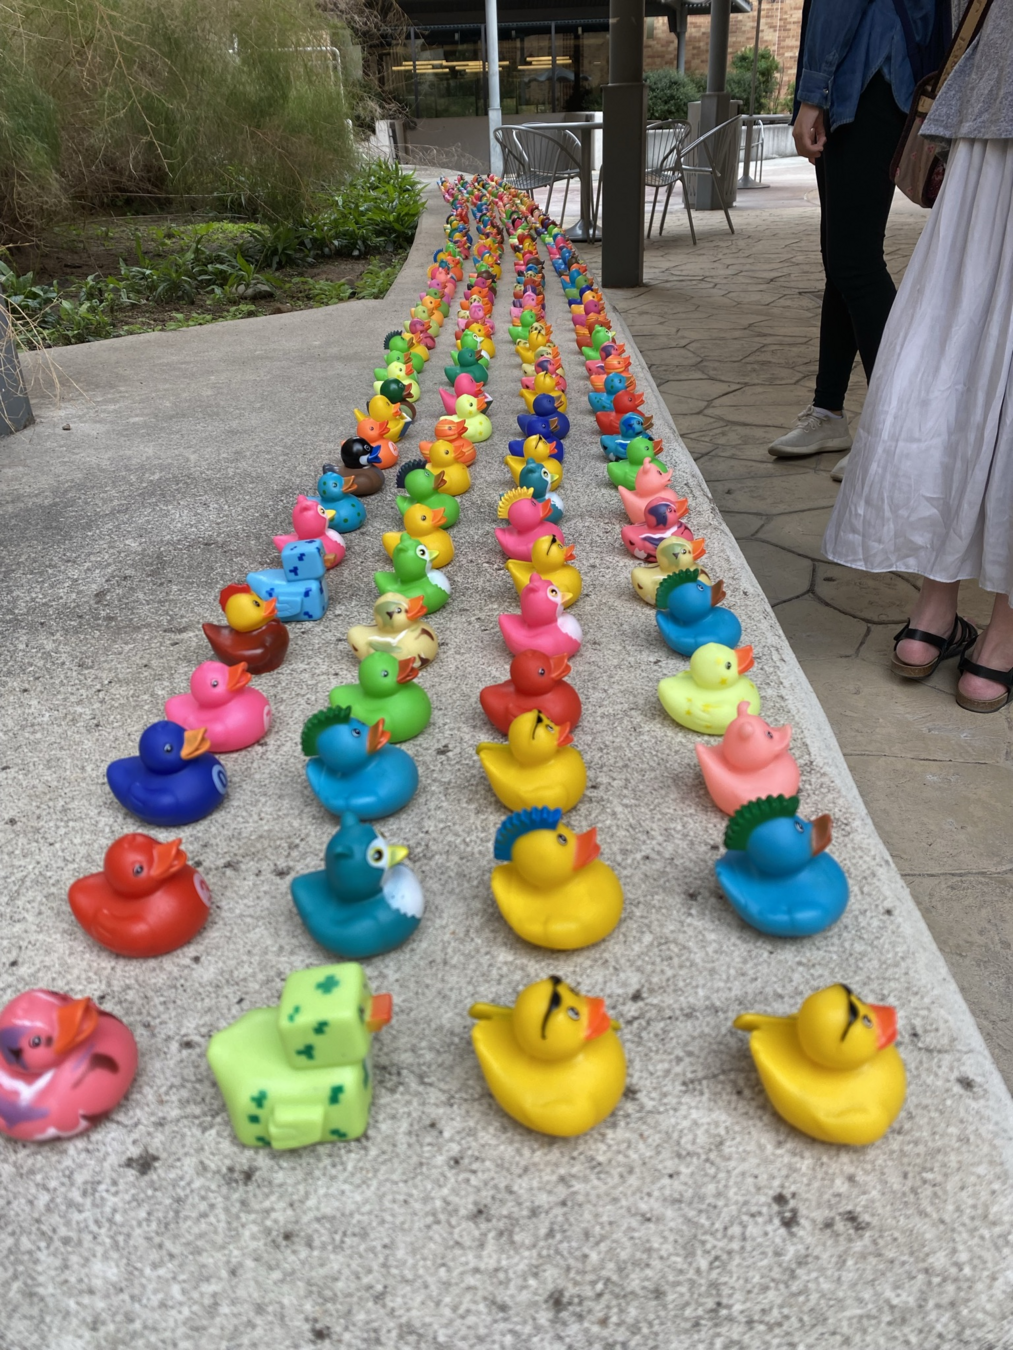
The scene suddenly cuts away to several rows of rubber ducks, of various colors, shapes and designs. They appear to be laid out on a long strip of concrete which curves slightly as it moves away from the camera. There are chairs and tables in the background....
void drawRect(int a, int b,
int c, int d){
fill(BLACK);
stroke(BLACK);
rect(a,b,c,d);
}
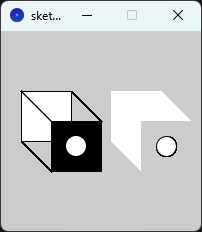
int WHITE = 255;
int BLACK = 0;
void draw(){
fill(WHITE);
stroke(BLACK);
rect(0, 0, 50, 50);
drawRect(0, 0, 100, 100);
// What color does this draw in?
rect(100, 100, 100, 100);
}Yes, but the complexity can rapidly get out of hand.
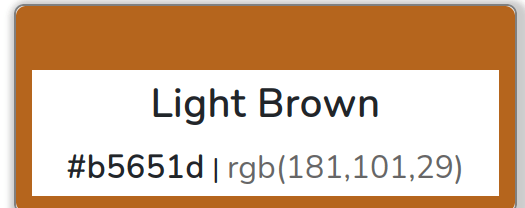
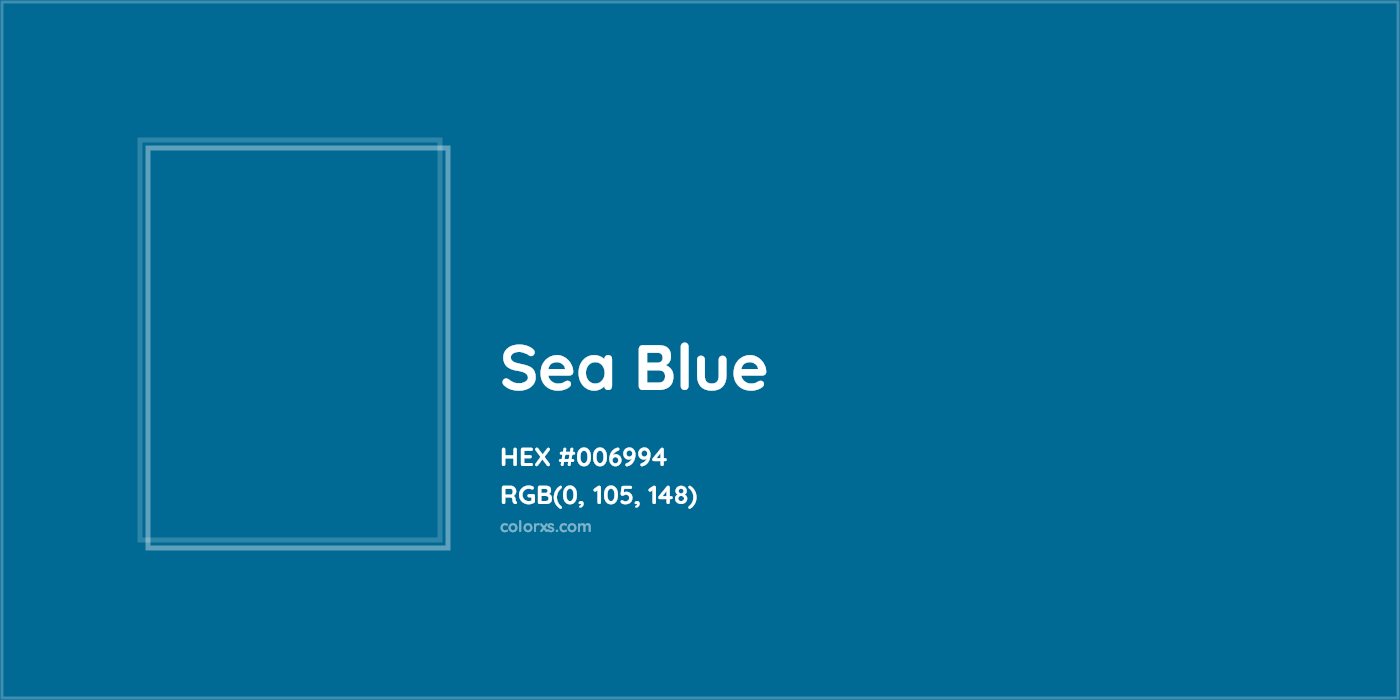
It turns out you can't copyright colors!
Copyright
Protects a specific artistic or intellectual expression of an idea.
Trademark
Protects a recognizable design which identifies a particular product or service.
Also: patent and trade secrets (but let's not turn this into a law class)
We have defined color as a triplet of numbers, representing the red, green, and blue components of the color.
color yellow = color(255.0, 255.0, 0.0);What if I told you there was another way?
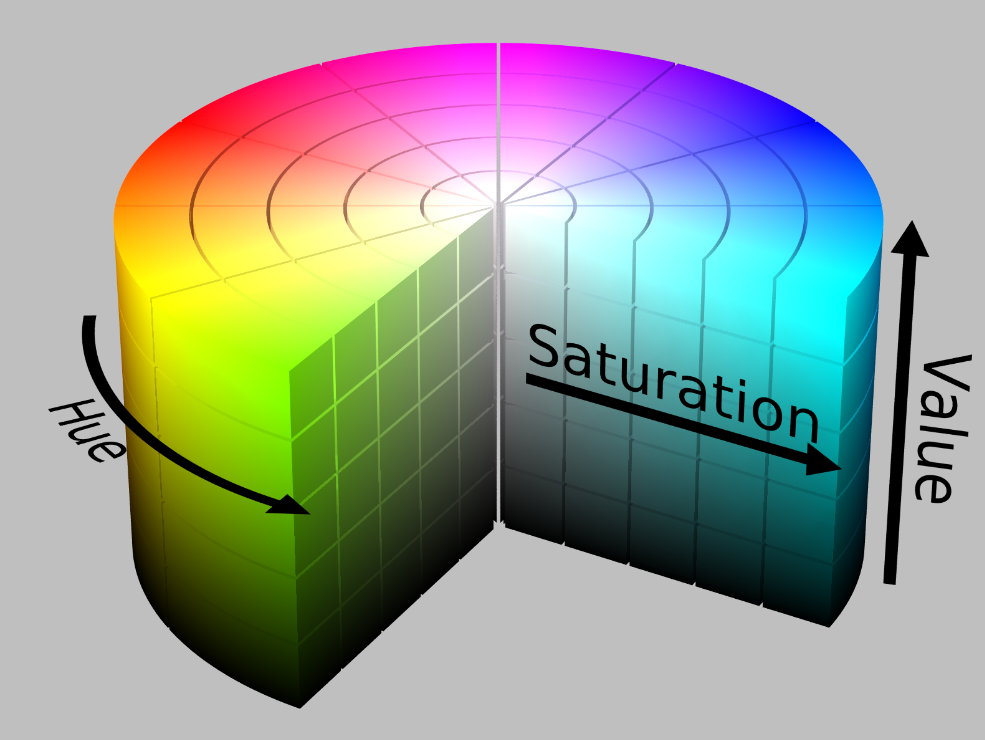
Hue-Saturation-Value (or Brightness) is commonly used in color pickers
colorMode(RGB, 255, 255, 255);
colorMode(HSB, 360, 100, 100);
colorMode(RGB, 1.0, 1.0, 1.0);
colorMode(HSB, 100);color
float r = red(color c);
float g = green(color c);
float b = blue(color c);
float h = hue(color c);
float s = saturation(color c);
float v = brightness(color c);colorMode(RGB, 255, 255, 255);
fill(50, 100, 100);
rect(0, 0, 50, 50); //Rect1
colorMode(HSB, 360, 100, 100);
fill(50, 100, 100);
rect(50, 50, 50, 50); //Rect2CC BY-SA 3.0, https://commons.wikimedia.org/w/index.php?curid=1477223
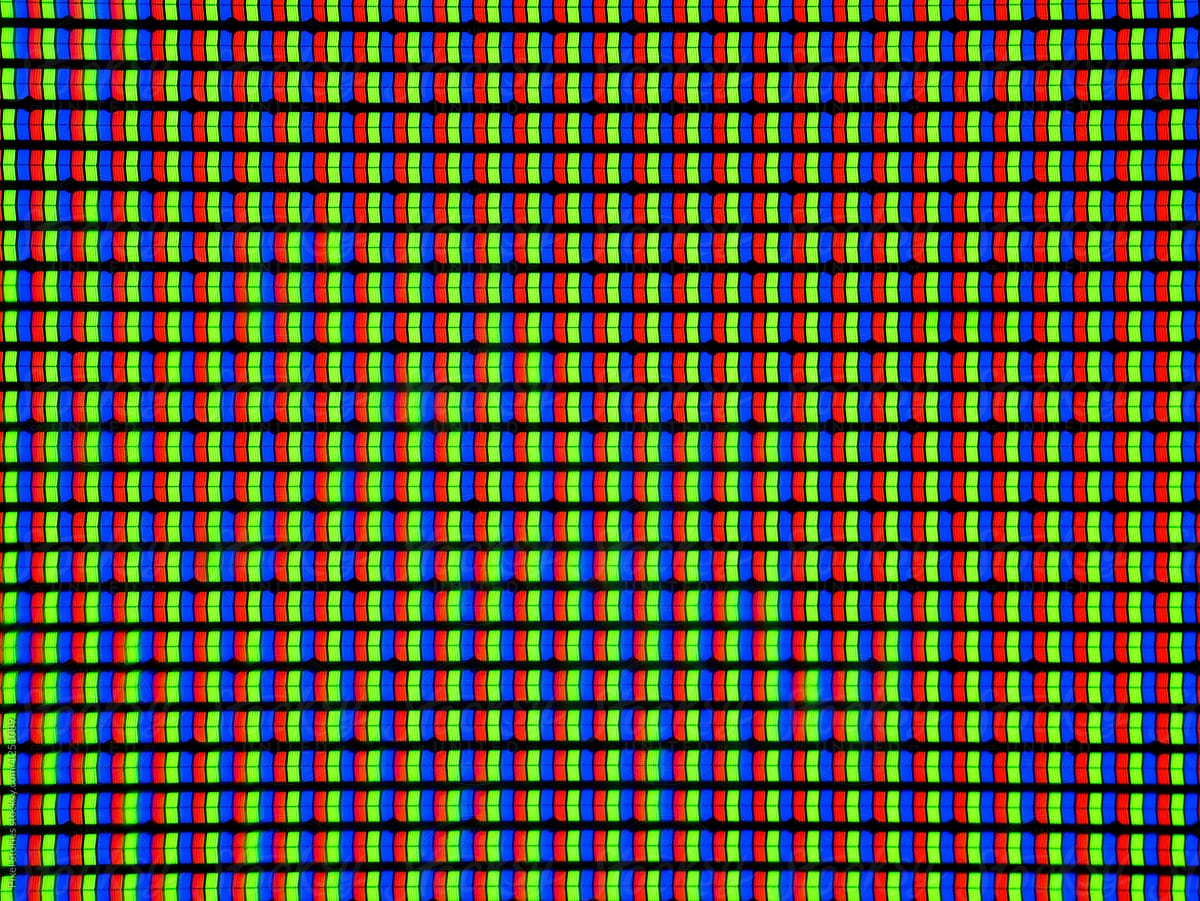
Each pixel has some bits that determine the color.
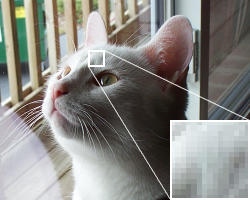
Images are composed of pixels.
Screen pixel data is stored in a buffer (array), which allows us to access per-pixel information.
| 0 | 1 | 2 | 3 | 4 | 5 |
| 6 | 7 | 8 | 9 | 10 | 11 |
| 12 | 13 | 14 | 15 | 16 | 17 |
| 18 | 19 | 20 | 21 | 22 | 23 |
| 24 | 25 | 26 | 27 | 28 | 29 |
| 30 | 31 | 32 | 33 | 34 | 35 |
| 0 | 1 | 2 | 3 | 4 | 5 | 6 | 7 | 8 | 9 |
...
PImage type.PImage allows us to load and display data.image(PImage img, float x, float y, float width, float height) to display an image.loadImage(string fname) to load an image.void setup(){
size(100, 100);
}
void draw(){
PImage img;
image(img, 0, 0);
}void setup(){
size(100, 100);
}
void draw(){
PImage img = loadImage("foo.png");
image(img, 0, 0);
}void setup(){
PImage img = loadImage("foo.png");
size(100, 100);
}
void draw(){
image(img, 0, 0);
}PImage img;
void setup(){
img = loadImage("foo.png");
size(100, 100);
}
void draw(){
image(img, 0, 0);
}void setup(){
surface.setResizable(true);
img = loadImage("foo.png");
surface.setSize(img.width, img.height);
}In principle, we can modify pixel data just by modifying the pixels member of PImage.
PImage img;

void setup(){
  // Do setup + loading
}

void draw(){
  for (int i = 0; i < img.pixels.length; i++){
    color c = color(/* Some initialization */);
    img.pixels[i] = c;
  }
}Processing maintains two copies of the data in the image:
PImage Data
Screen Data
loadPixels()
updatePixels()
PImage Data
Screen Data
loadPixels()
updatePixels()
PImage img;

void setup(){
  // Do setup + loading
}

void draw(){
  img.loadPixels(); // Read updated pixel data into img
  for (int i = 0; i < img.pixels.length; i++){
    color c = color(/* Some initialization */);
    img.pixels[i] = c;
  }
  img.updatePixels(); // Write updated img data to screen
}
Image manipulation might not work without these calls (depends on OS)
| 0 | 1 | 2 | 3 | 4 | 5 |
| 6 | 7 | 8 | 9 | 10 | 11 |
| 12 | 13 | 14 | 15 | 16 | 17 |
| 18 | 19 | 20 | 21 | 22 | 23 |
| 24 | 25 | 26 | 27 | 28 | 29 |
| 30 | 31 | 32 | 33 | 34 | 35 |
| 0 | 1 | 2 | 3 | 4 | 5 | 6 | 7 | 8 | 9 |
| 0 | 1 | 2 | 3 | 4 | 5 |
| 6 | 7 | 8 | 9 | 10 | 11 |
| 12 | 13 | 14 | 15 | 16 | 17 |
| 18 | 19 | 20 | 21 | 22 | 23 |
| 24 | 25 | 26 | 27 | 28 | 29 |
| 30 | 31 | 32 | 33 | 34 | 35 |
| 0 |
| 1 |
| 2 |
| 3 |
| 4 |
| 5 |
| 0 | 1 | 2 | 3 | 4 | 5 |
Where is (3,5)?
Where is (5,2)?
Where is (2,0)?
img.loadPixels();
for(int x = 0; x < img.width; x++){
for(int y = 0; y < img.height; y++){
int index = x + y * img.width;
color c = img.pixels[index];
}
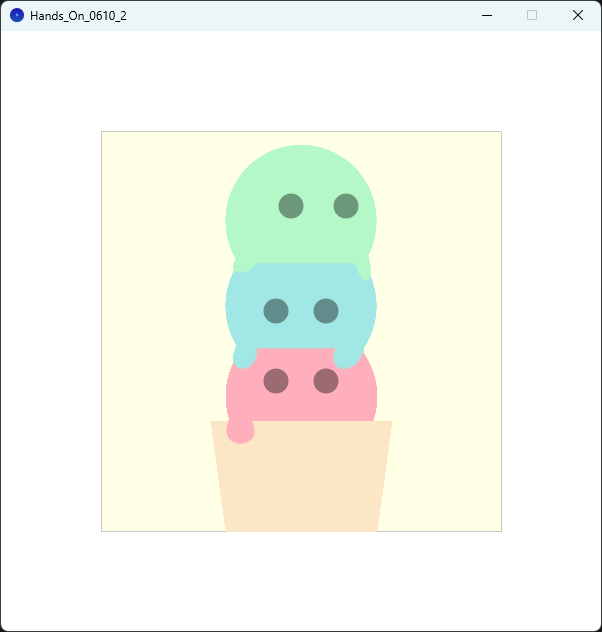
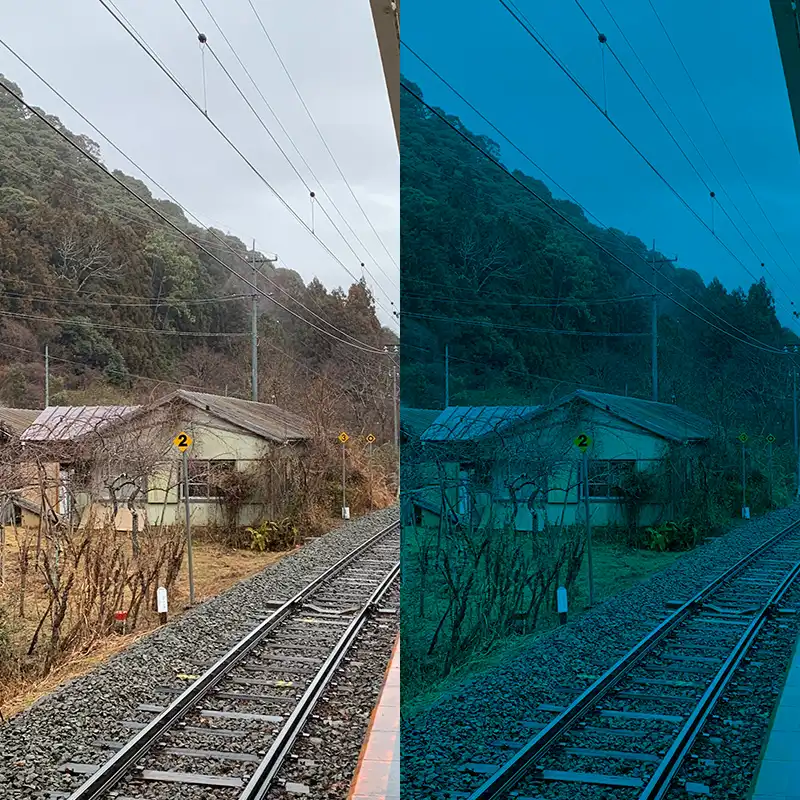
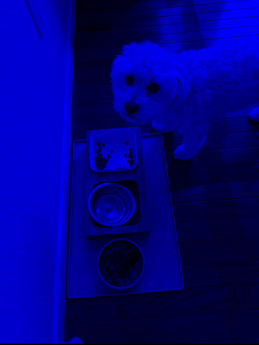
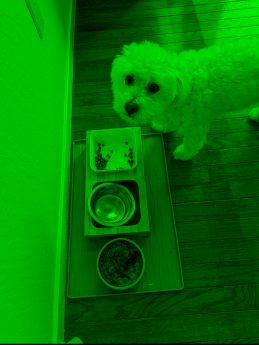
}tint() modifies the color of a displayed image.
noTint() disables tint modifications.
size(400,400);
PImage img;
img = loadImage("yuya-onsen.jpg");
image(img, 0, 0);
tint(0, 153, 204);  // Tint blue
image(img, width/2, 0);
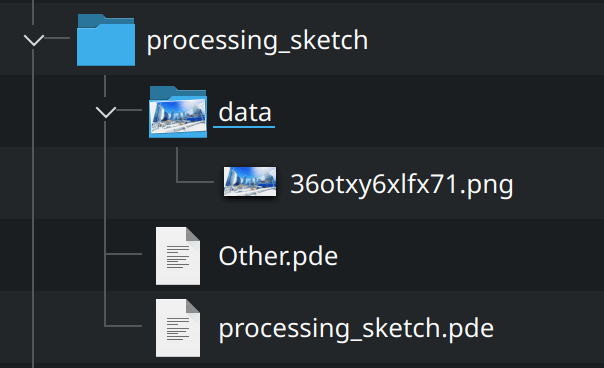
Processing needs one of two things to be true before it loads an image:
data directory within the Processing sketch.PImage img1;
void setup(){
img1 = loadImage("your_image.jpeg");
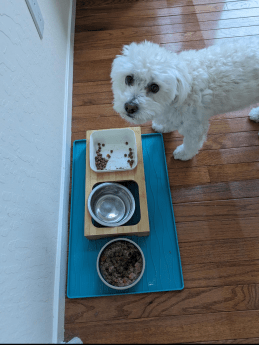
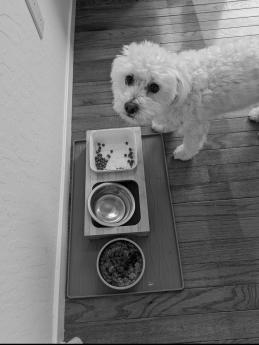
}Recreate Processing's tint() function using a method you create called myTint(). Do not use the existing tint() method.
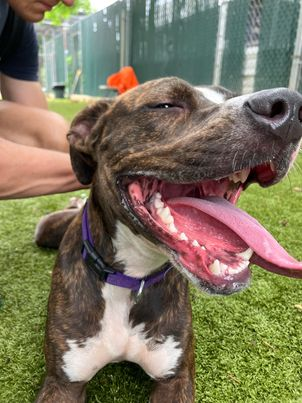
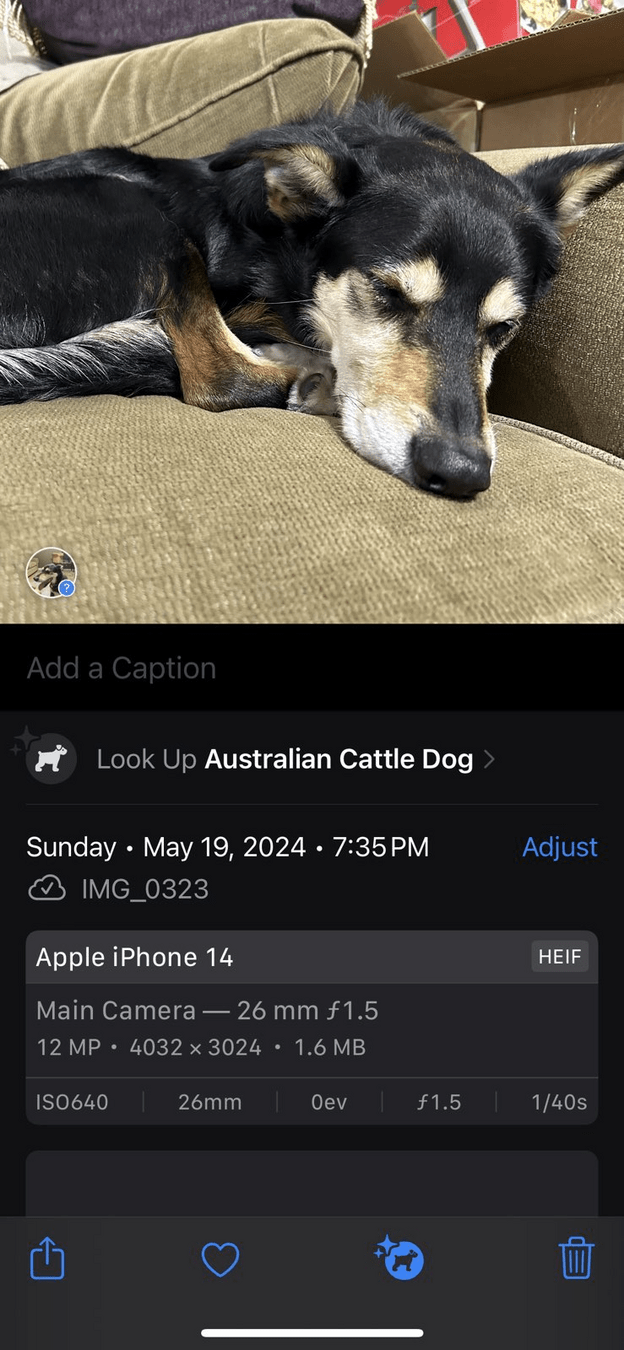
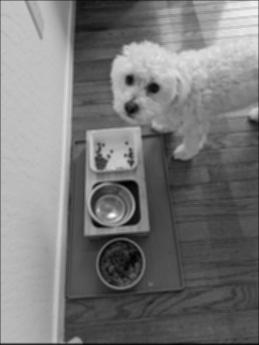
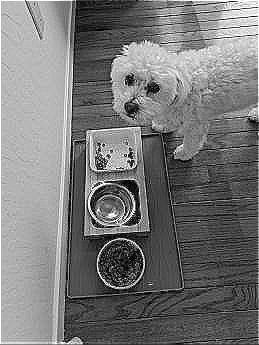
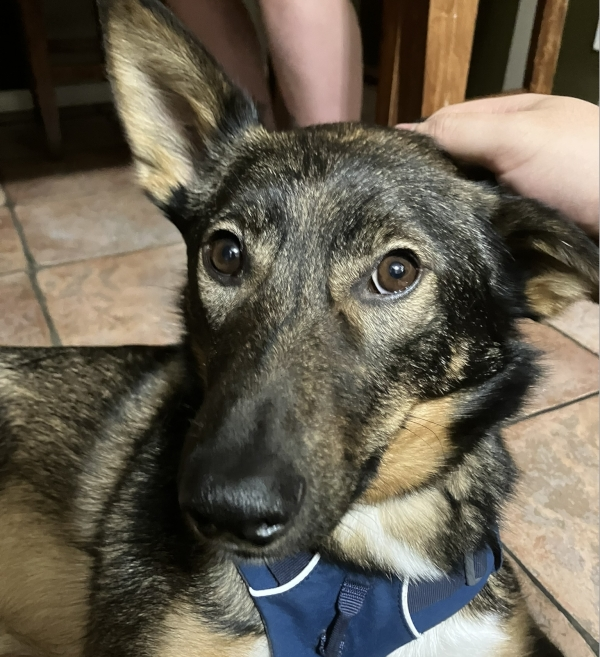
myTint() should be "per image" rather than "per-screen" so you should have an argument for the PImage you will tint.If you don't have a suitable picture, check on Canvas for a repository of puppy pictures.
Take the directory which contains your .pde file and your data directory, and ZIP that into an archive. Submit this archive to Canvas.
We can think of colors either in RGB space or in HSV space.
colorMode() switches between the two interpretations.
| 0 | 1 | 2 | 3 | 4 | 5 |
| 6 | 7 | 8 | 9 | 10 | 11 |
| 12 | 13 | 14 | 15 | 16 | 17 |
| 18 | 19 | 20 | 21 | 22 | 23 |
| 24 | 25 | 26 | 27 | 28 | 29 |
| 30 | 31 | 32 | 33 | 34 | 35 |
| 0 | 1 | 2 | 3 | 4 | 5 | 6 | 7 | 8 | 9 |
Pixels are stored in a linear array in memory but displayed in a 2D grid on screen. We need to do some work to interconvert between the two.
The PImage class is used to work with images in Processing. We need to call loadPixels or updatePixels to make sure changes propogate to the screen.
PImage img;

void setup(){
  // Do setup + loading
}

void draw(){
  img.loadPixels(); // Read updated pixel data into img
  for (int i = 0; i < img.pixels.length; i++){
    color c = color(/* Some initialization */);
    img.pixels[i] = c;
  }
  img.updatePixels(); // Write updated img data to screen
}
Pixels are stored in a pixel array.
Yes, we can do things like randomize the order of pixels in an image by just randomly swapping pairs of pixels.
Of course, this won't look much like an image anymore.
A lot of image modifications (e.g. image rotation, cropping, etc) rely on either changing the order of pixels or getting rid of some pixels altogether.
Can we tint only a certain part of an image?
// PixelSet is a custom structure (pseudocode)
void myTint(PImage img, color tintColor, PixelSet tintTargets){
  for (int i = 0; i < img.width; i++){
    for (int j = 0; j < img.height; j++){
      if (tintTargets.contains(i,j)){
        // Tint pixel
      } else {
        // Do nothing
      }}}}  // Vertical space saving
When do you need to call updatePixels()?
Whenever you modify the pixels array of an image.
Can we have images that aren't squares or rectangles?
Yes and no.
In some sense, an image kernel tries to extract some information from the neighborhood of a kernel.
Examples:
We then draw this information out as a new image.
Do kernels make adjustments to the saturation of an image? Or maybe brightness?
Fantastic question! I've reworked this part of class to hopefully be more clear---please re-ask if you're still confused.
Are there kernels of different sizes? Are there kernels that have different width/height?
Yes. You decide the kernel parameters---you could make it 1 tall and 4 wide if you wanted to.
How do negative values in the kernel work?
We need to modify them somehow before displaying.
Why does draw() seem to return stuff if it's a void function?
Does excusing an attendance excuse the hands-on as well?
No.
void printFive(){
  println(5);
}

int x = printFive(); // ???They're the values that you meet when you're walking down the street...
The manipulations we have seen so far are per-pixel. Output pixel values only depend on the input pixel values.
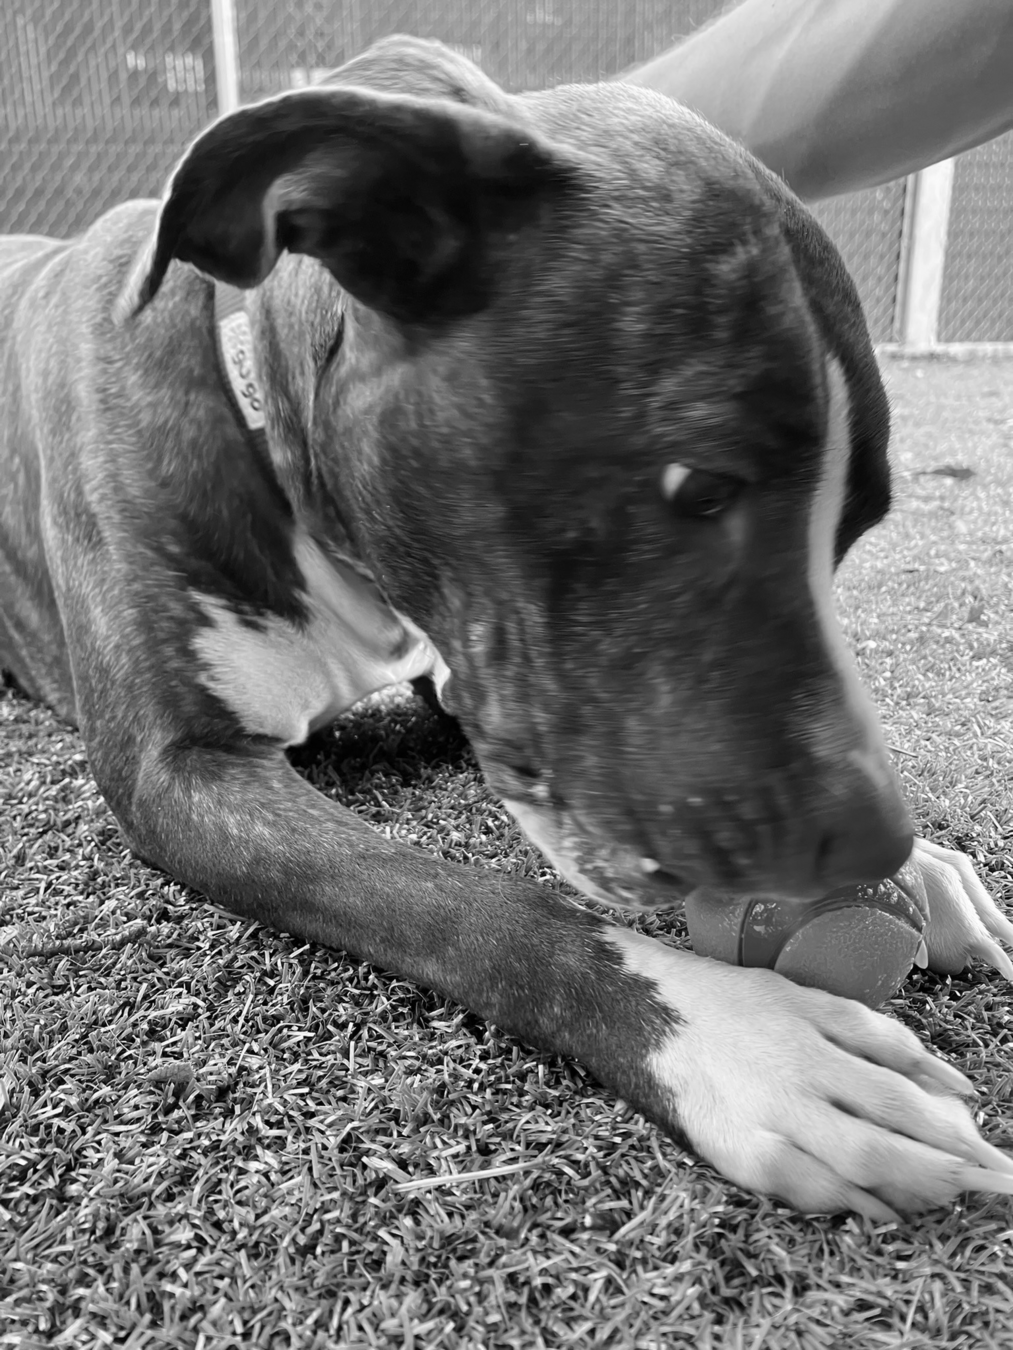
Example: Grayscale image. How can we find a single value that captures the information of three color channels?
Some manipulations are local: require information about neighboring pixels as well.
Example: Increase contrast between pixels.
Can go by several names:
Almost always small (3x3, 5x5) and square.
Once we have this information, we will often re-display the image using the information computed by the kernel.
This leads to a discussion of image kernels as "image modification"....which it is!
But the kernel itself is just trying to compute local image information.
NOT a matrix multiply!!
Think of an image as an array of grayscale pixels: each pixel has a single value in the range 0-255.
| 1 | 1 | 1 |
| 1 | 1 | 1 |
| 1 | 1 | 1 |
\(\frac{1}{9}\)
Averages all pixels in the neighborhood: blurs the image slightly. This kernel is known as the box blur.
| -1 | 0 | 1 |
| -2 | 0 | 2 |
| -1 | 0 | 1 |
| -1 | 0 | 1 |
| -2 | 0 | 2 |
| -1 | 0 | 1 |
| -1 | 0 | 1 |
| -2 | 0 | 2 |
| -1 | 0 | 1 |
| -1 | 0 | 1 |
| -2 | 0 | 2 |
| -1 | 0 | 1 |
| -1 | 0 | 1 |
| -2 | 0 | 2 |
| -1 | 0 | 1 |
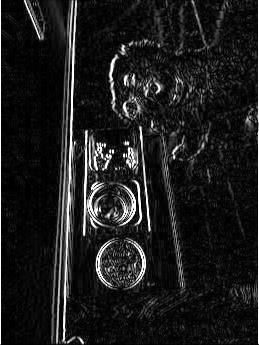
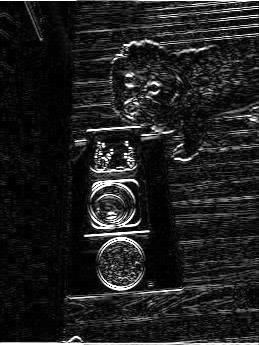
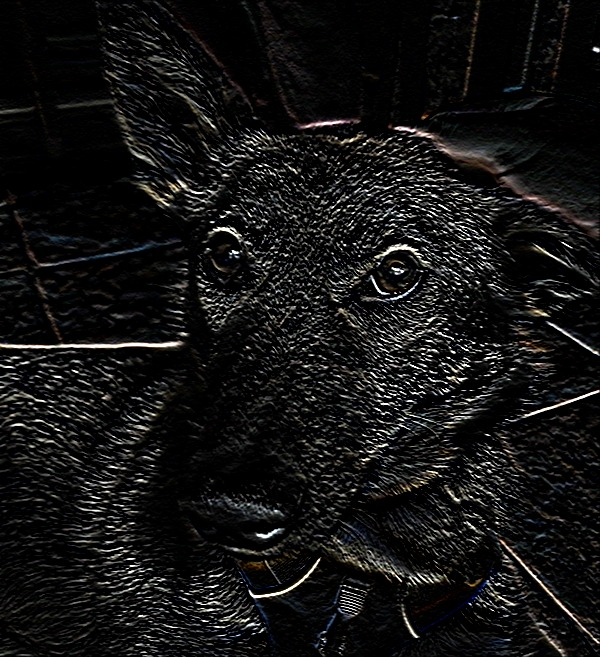
Blacks out the result unless there is a vertical edge in the image. This is known as a Sobel filter or an edge-detection filter.
| -1 | -2 | -1 |
| 0 | 0 | 0 |
| 1 | 2 | 1 |
| -1 | -2 | -1 |
| 0 | 0 | 0 |
| 1 | 2 | 1 |
| -1 | -2 | -1 |
| 0 | 0 | 0 |
| 1 | 2 | 1 |
| -1 | -2 | -1 |
| 0 | 0 | 0 |
| 1 | 2 | 1 |
| -1 | -2 | -1 |
| 0 | 0 | 0 |
| 1 | 2 | 1 |
| -1 | -2 | -1 |
| 0 | 0 | 0 |
| 1 | 2 | 1 |
| -1 | 0 | 1 |
| -2 | 0 | 2 |
| -1 | 0 | 1 |
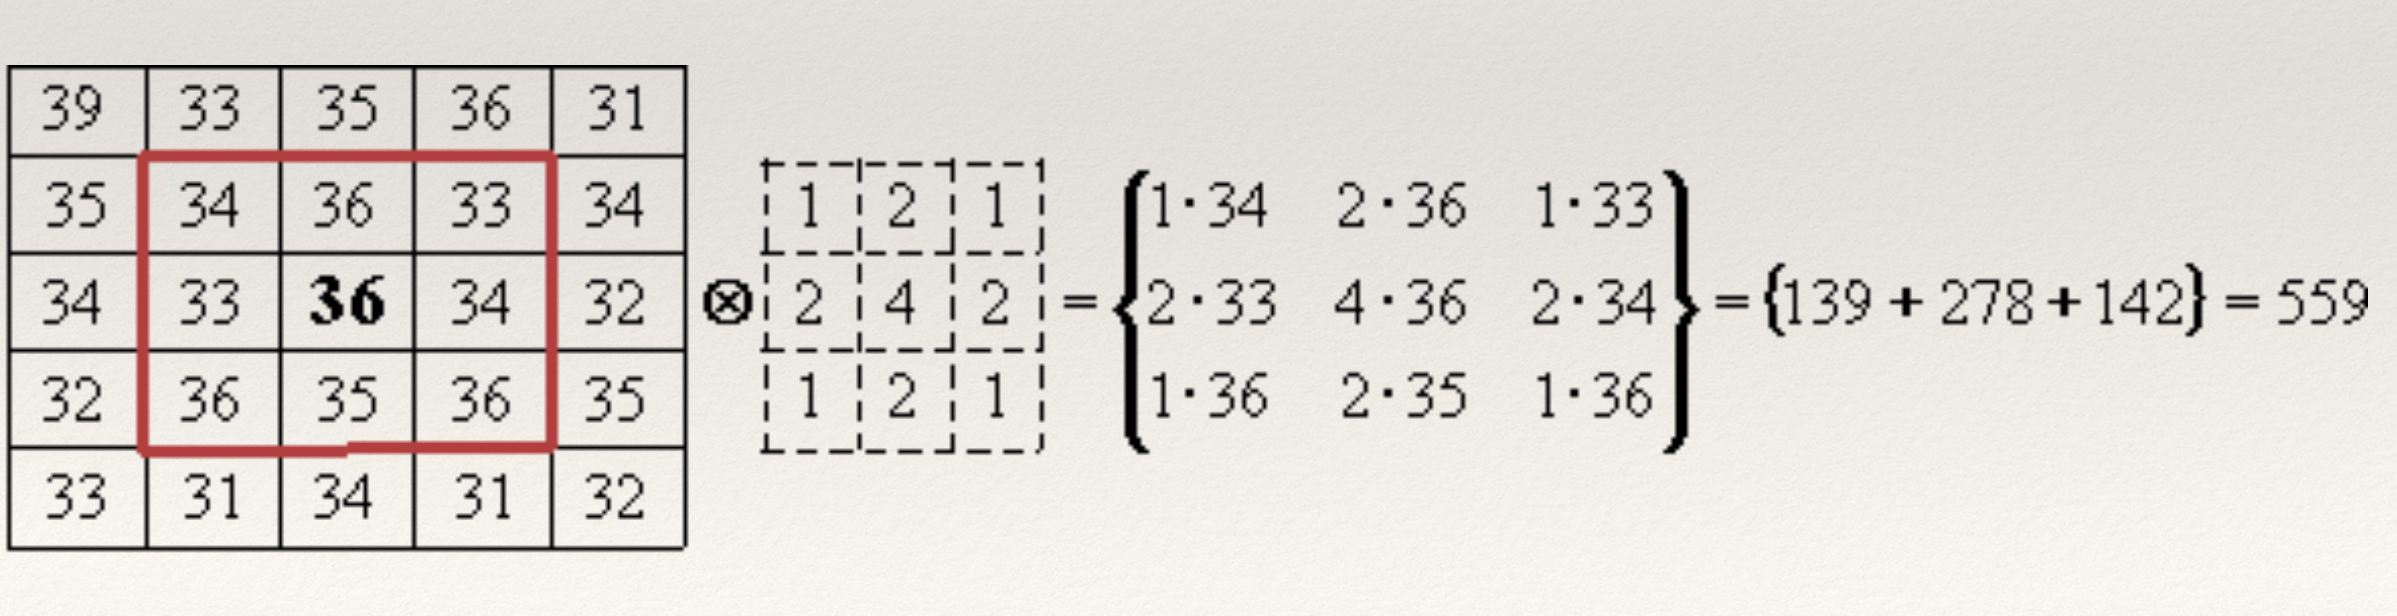
| 1 | 2 | 1 |
| 2 | 4 | 2 |
| 1 | 2 | 1 |
\(\frac{1}{16}\)
Known as a Gaussian blur
| 0 | -1 | 0 |
| -1 | 5 | -1 |
| 0 | -1 | 0 |
If center pixel is brighter than others, boost its brightness.
| 0 | -1 | 0 |
| -1 | 5 | -1 |
| 0 | -1 | 0 |
| 0 | -1 | 0 |
| -1 | 5 | -1 |
| 0 | -1 | 0 |
If center pixel is darker than others, lower its brightness.
void applyKernelTo(PImage img, int x, int y){
  // ?
}
Need to access neighborhood of x, y to obtain image values, and same for kernel.
float[] kernel = {0, -1, 0, -1, 5, -1, 0, -1, 0};

void applyKernelTo(PImage img, int x, int y){
  for(int x_off = -1; x_off <= 1; x_off++){
    for(int y_off = -1; y_off <= 1; y_off++ ){

    }
  }
}
float[] kernel = {0, -1, 0, -1, 5, -1, 0, -1, 0};

void applyKernelTo(PImage img, int x, int y){
  for(int x_off = -1; x_off <= 1; x_off++){
    for(int y_off = -1; y_off <= 1; y_off++ ){
      int img_index = (y + y_off) * img.width + (x + x_off);
      int ker_index = (1 + y_off) * 3 + (1 + x_off);

      // ?
    }
  }
}
float[] kernel = {0, -1, 0, -1, 5, -1, 0, -1, 0};

void applyKernelTo(PImage img, int x, int y){
  // Declare and initialize final_red, final_green, final_blue
  for(int x_off = -1; x_off <= 1; x_off++){
    for(int y_off = -1; y_off <= 1; y_off++ ){
      int img_index = (y + y_off) * img.width + (x + x_off);
      int ker_index = (1 + y_off) * 3 + (1 + x_off);

      float red = img.pixels[img_index];
      final_red += red * kernel[ker_index];

      // Perform similar operations for green and blue;
    }
  }
  final_red = constrain(red, 0, 255);  // Why?
  // Also clamp green and blue
  color final_color = color(final_red, final_green, final_blue);
  img[x + img.width * y] = final_color;
}
Arithmetic happens here
Write back to intermediate buffer
There are a few ways to create a duplicate image.
PImage img = loadImage(image_file);

PImage buf = loadImage(image_file);PImage buf = createImage(width, height, ARGB);copy(img, x, y, width, height, x, y, width, height);
PImage img = loadImage(image_file);

PImage buf = img;
This does not create a full copy of the image! This is called a shallow copy of the data. Use the techniques on the previous slide to get a deep copy.
img
buf
data
img
buf
data
img
buf
data
data
float[] kernel = {0, -1, 0, -1, 5, -1, 0, -1, 0};

void applyKernelTo(PImage img, int x, int y){
  // Declare and initialize final_red, final_green, final_blue
  for(int x_off = -1; x_off <= 1; x_off++){
    for(int y_off = -1; y_off <= 1; y_off++ ){
      int img_index = (y + y_off) * img.width + (x + x_off);
      int ker_index = (1 + y_off) * 3 + (1 + x_off);

      float red = img.pixels[img_index];
      final_red += red * kernel[ker_index];

      // Perform similar operations for green and blue;
    }
  }
  final_red = constrain(red, 0, 255);  // Why?
  // Also clamp green and blue
  color final_color = color(final_red, final_green, final_blue);
  img[x + img.width * y] = final_color; // Broken
}
Strategies for dealing with this:
applyKernelTo(img, 0, 0)
By Kevin Song


