


Content ITV PRO
This is Itvedant Content department
Ubuntu Server Environment Setup for CartForge Application
Business Scenario
After successfully managing code with GitHub and organizing workflows, the team is ready for the next step—creating a real project environment.
The manager notices that although the code is ready, there is no proper environment to run the project in real conditions.
He calls the Junior DevOps Engineer and explains:
“Our code is ready, but without a proper server environment, we can’t run or test it effectively.”
He continues:
“We need a reliable and scalable environment where our application can run like a real-world system.”
The manager suggests the solution:
“Let’s use AWS and launch an Ubuntu server using EC2.”
Pre-Lab Preparation
1) What is Linux? 2) Why Linux?3) Linux Architecture
4) linux File permission
Task 1: Launch Your First Server (AWS EC2)
1
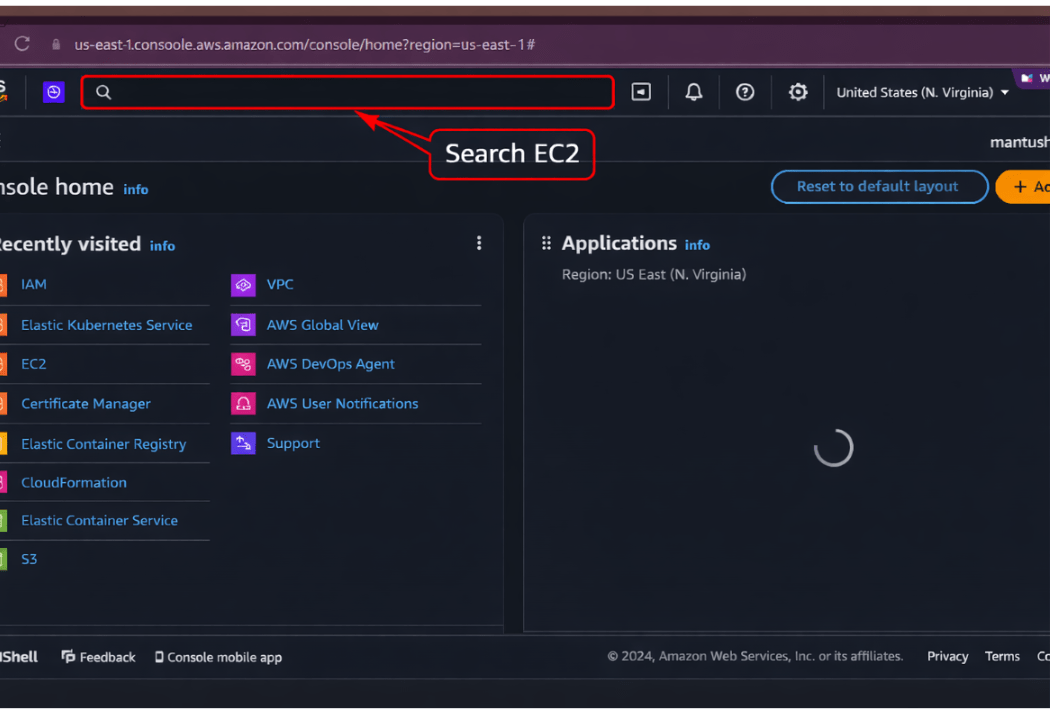
Go to the aws Management console And Search EC2
2
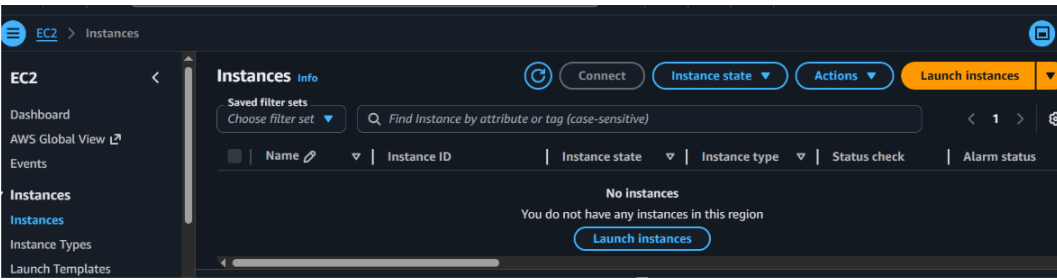
After Search You will see the Ec2 Dashboard
3
Click on the Launch Instance Button for Creating the Instance
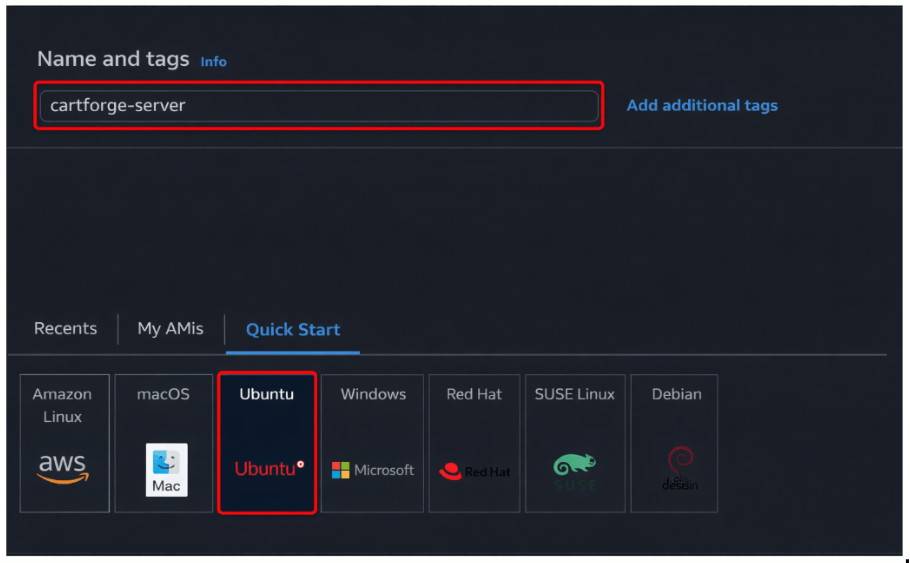
4
you will see the instance dashboard and info Name and Select Ubuntu OS
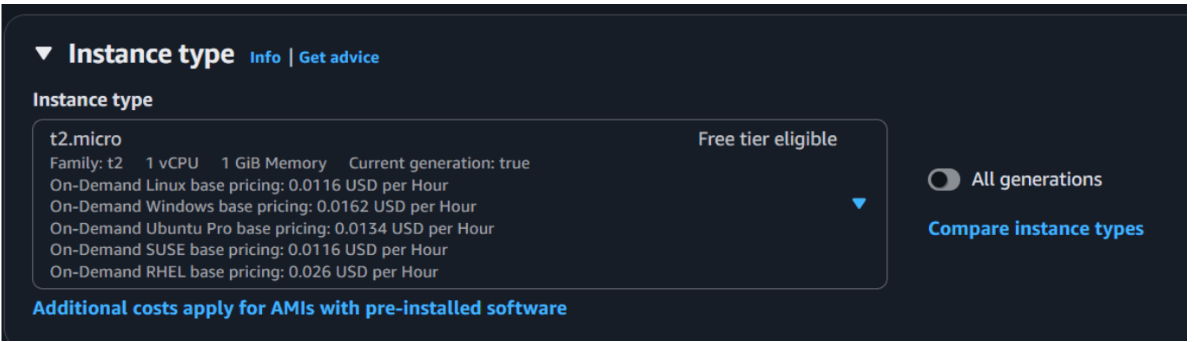
5
Select the Instance type t2 micro (FREE TIER)
6
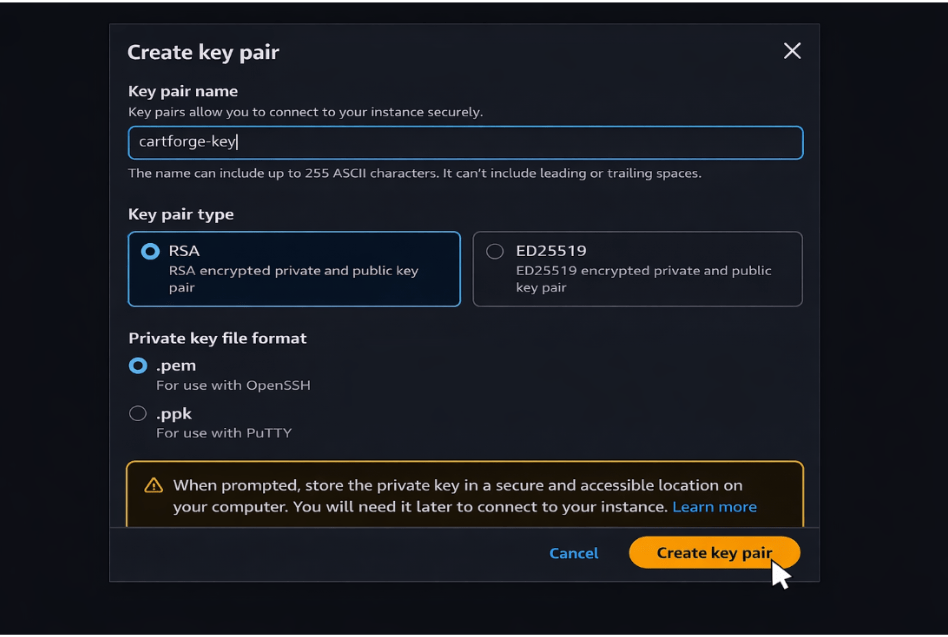
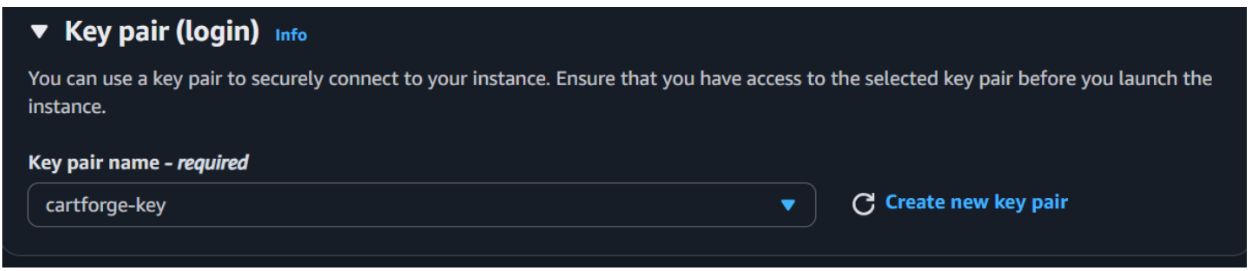
Create Key PairClick Create Key Pair
Name → cartforge-key
Download .pem file
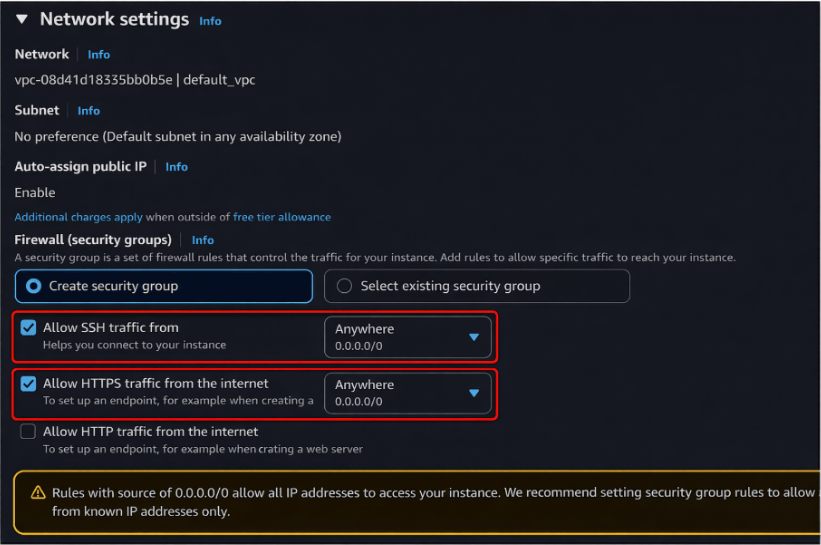
6
Scroll down In the Network Setting Allow SSH HTTP and HTTPS
7
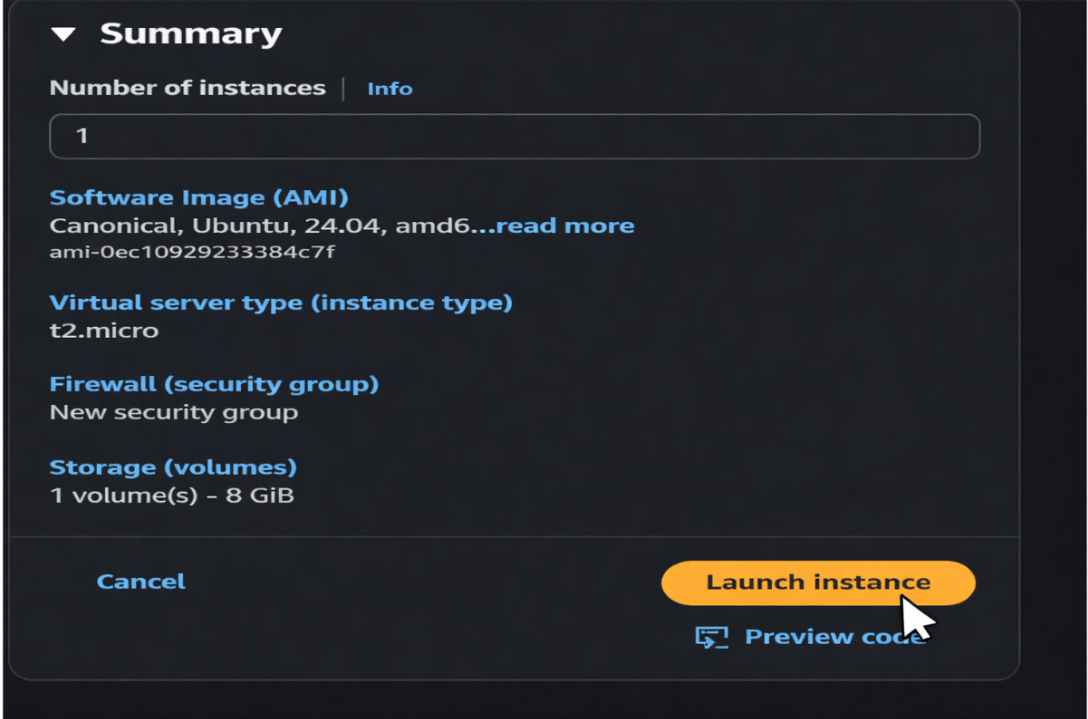
After all done you can launch the instance by click on the launch instance button
8
After click on the Launch instance button you will see the instance is running after 2 by 2 checks your instance is ready
9
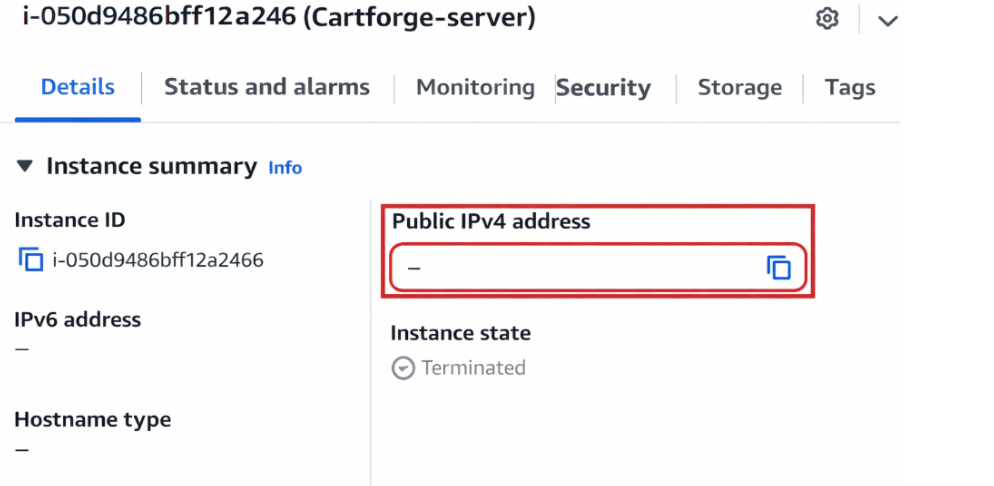
After click on the instance checkbox you can see the public IP so copy that public IP
10
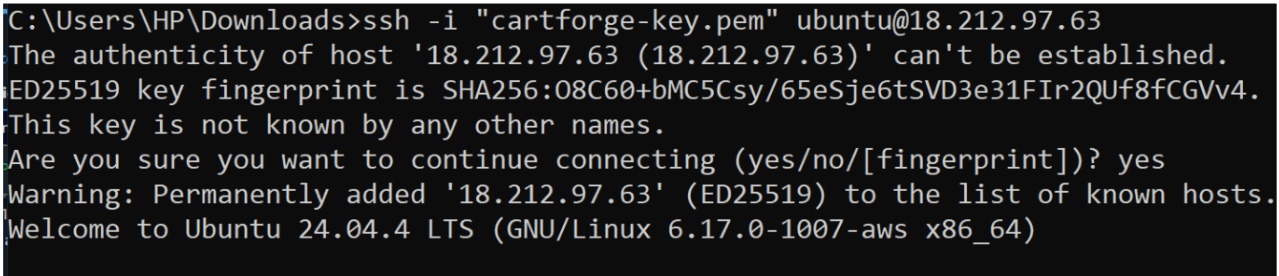
After Click On the copy Open Command Prompt Write Below Command to connect Ec2 Sever
ssh -i cartforge-key.pem ubuntu@your-public-ip11
Once Connected , You will see something like
ubuntu@ip-123:~$After successfully launching the Ubuntu EC2 server on AWS, the team is excited to start working on it.
But,
The screen is black with only a terminal, and no one knows what to do next
Let Learn Linux Commands
11
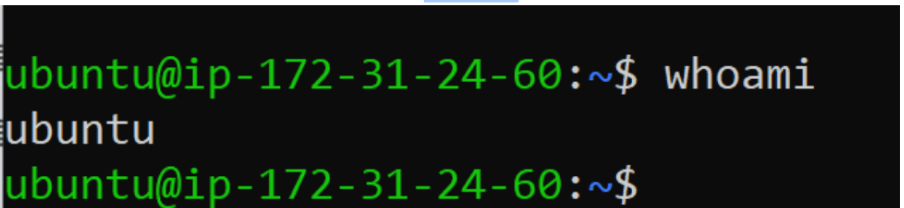
Check Current User
whoami12
Check User ID Info
Id13
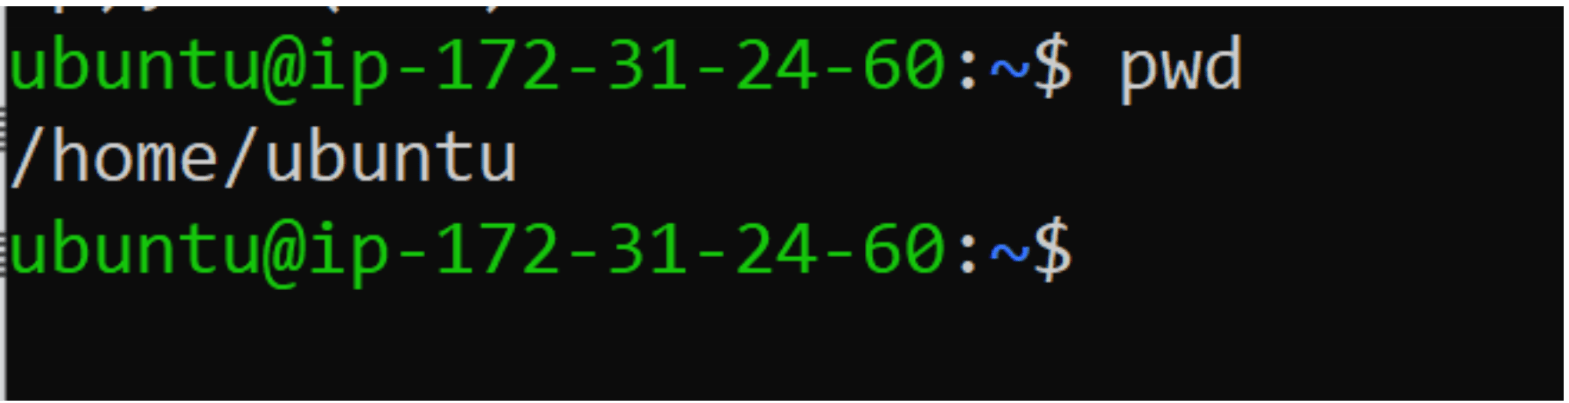
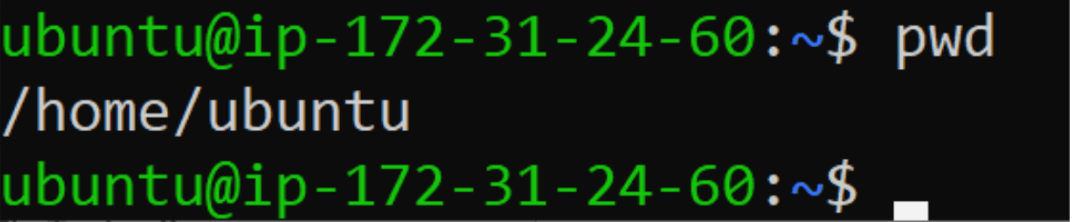
Check Current Location
pwd
14
Check System Info
uname -a
15
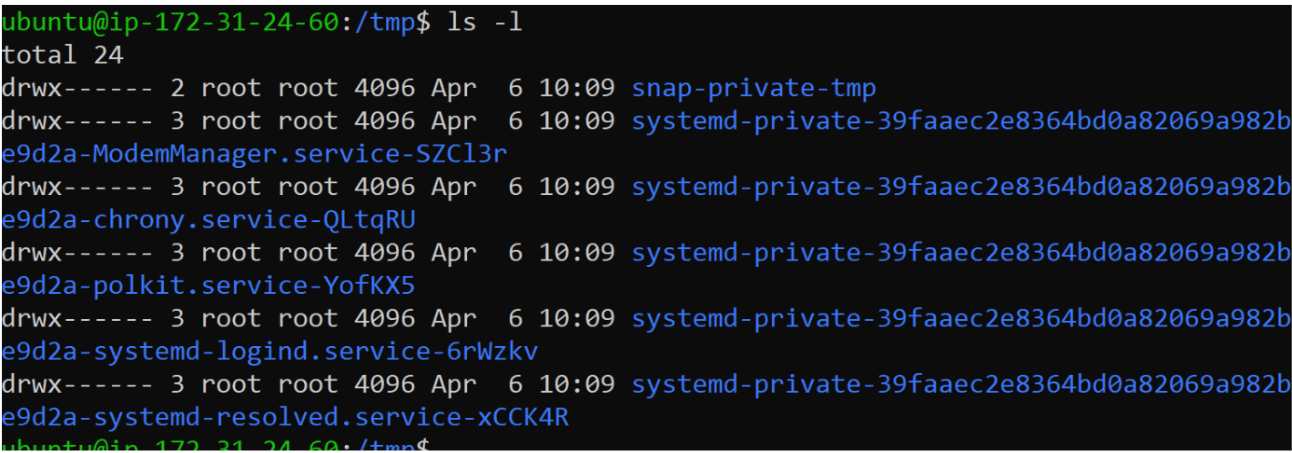
List File
ls
16
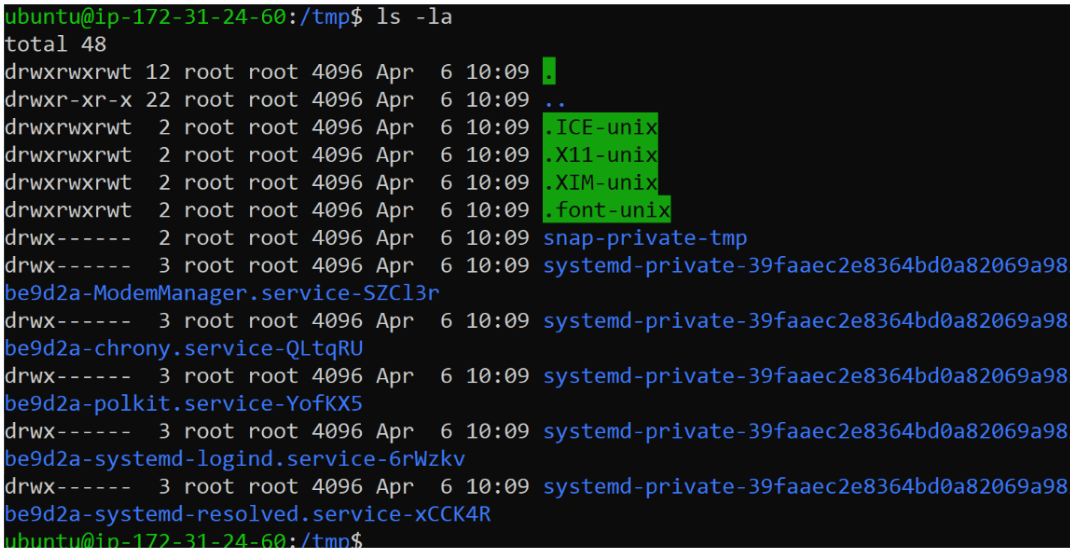
Show Hidden Files
ls -a
17
Go inside folder
cd folder-name
18
Go back
cd ..19
Go to home
cd ~
20
Clear Screen
Clear21
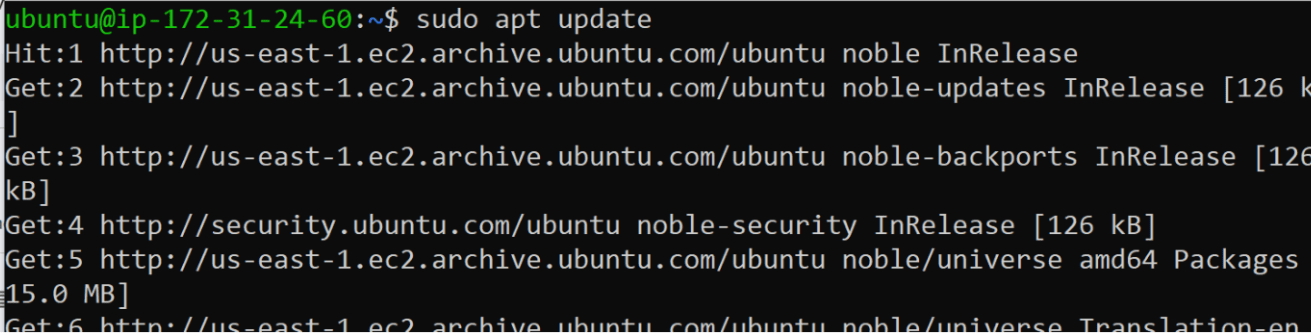
Update Server
sudo apt update
sudo apt upgrade -y
Task 2: Navigate System & Setup Required Project Directories
After learning basic Linux commands and getting comfortable with the Ubuntu server, the team feels more confident working in the server environment.
The project is not yet running on the server.
manager calls the Junior DevOps Engineer and explains:
“We’ve prepared everything, but we haven’t actually deployed the project.”
He clearly defines the goal:
Pull the project code from GitHub to the server
Set up all required dependencies
Run the application live
He adds:
“To achieve this, we need to understand the exact Linux commands required for our CartForge project.”
1
Check Current Location
pwd 2
Go inside a folder
cd folder-name3
Let me quickly show you some important paths:
/home → user files
/var → logs & data
/etc → configuration files
/opt → optional software
For our project, we will mostly work inside:
/home/ubuntu
4
Now go to your project
cd ~5
Create Project Directory Structure
Now we will create a clean structure for CartForge.
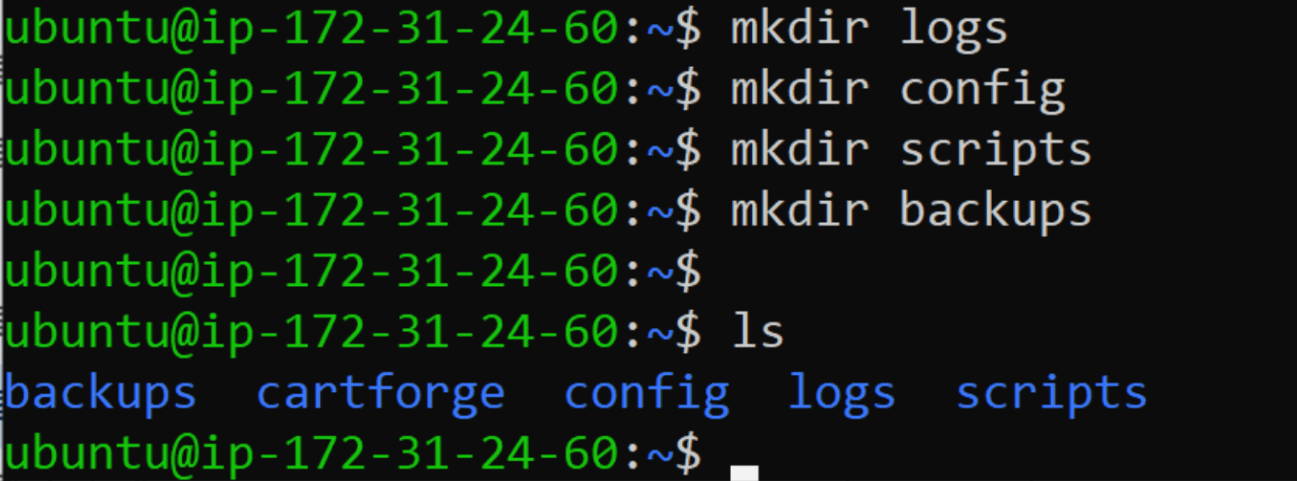
Create Main Directories
Inside cartforge:
mkdir logs
mkdir config
mkdir scripts
mkdir backups
6
Verify Structure
ls7
Create Sample Files
Create a log file
cd logs
touch logs/app.log
ls
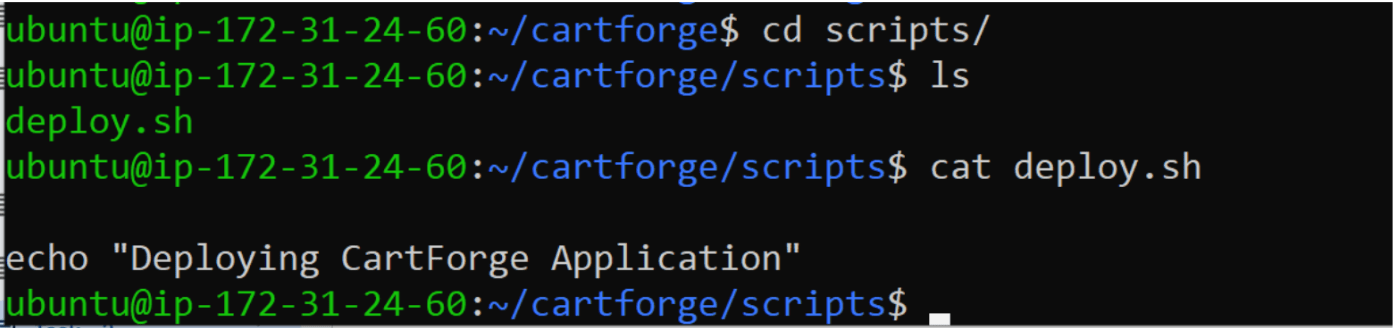
Create script file:
cd scripts
touch scripts/deploy.sh
ls
8
Edit a File
nano scripts/deploy.sh
9
Save file:
Press CTRL + X
Press Y
Press Enter
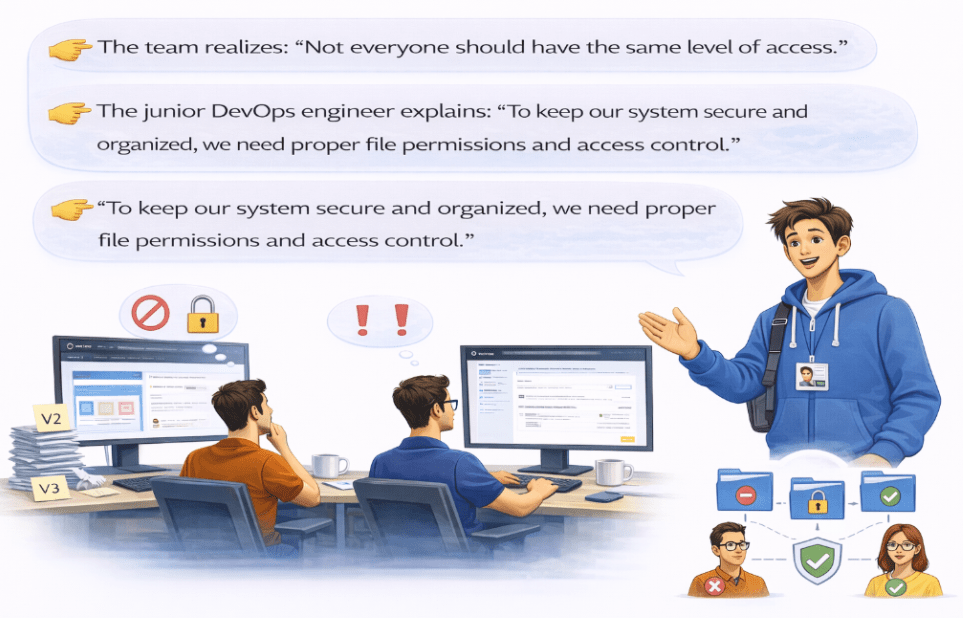
Task 3: Configure Permissions & Verify Proper Access Structure
After successfully setting up the project on the server, the team feels everything is finally in place.
But soon, a new issue arises…
Permission Format
Let me show you something
ls -lOutput example:
-rwxr-xr–Continue from Previous Lab
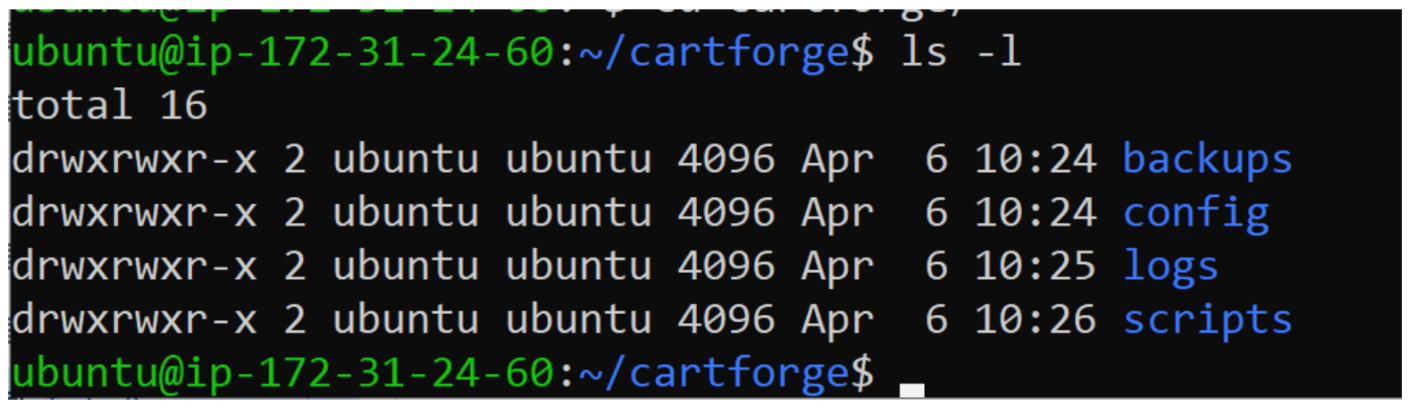
Now go to your CartForge project
cd ~/cartforge
10
Check Current Permissions
ls -l11
Check File Ownership
whoami
12
Change Permissions (chmod)
Give full access to owner only
chmod 700 scripts
Meaning:
User → full access
Group → no access
Others → no access
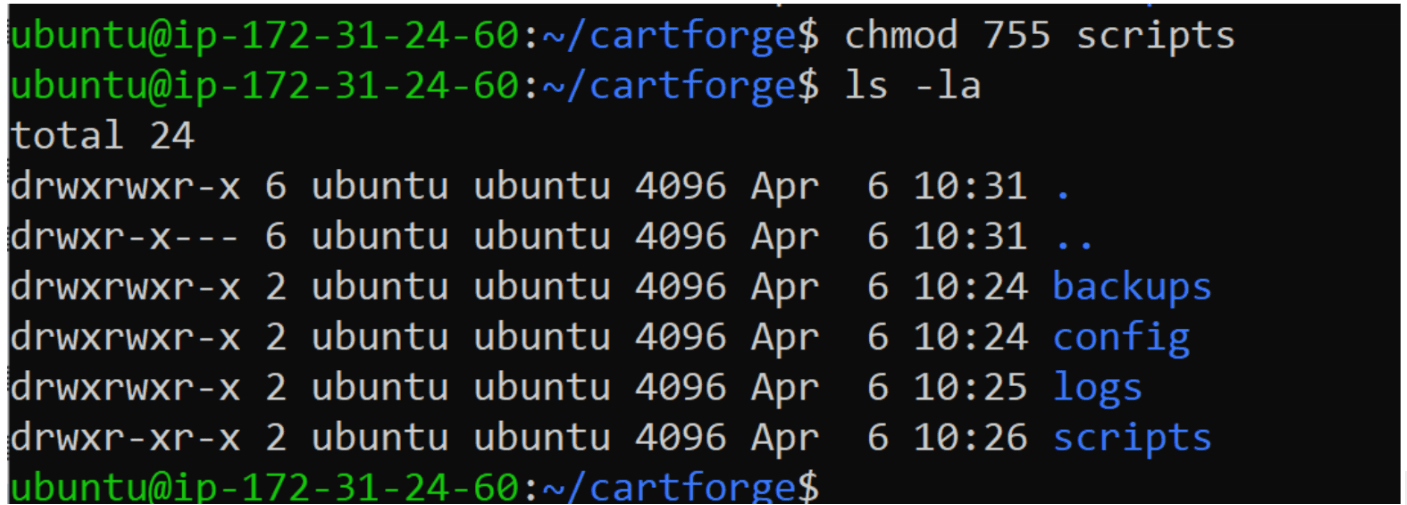
13
Give read + execute to all
chmod 755 scripts
14
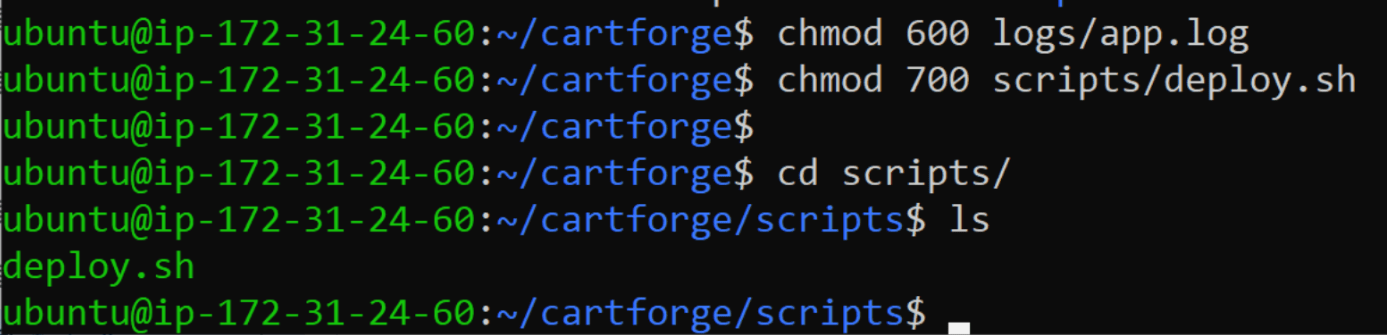
Set Permissions for Files
a
Log file (read + write only)
chmod 600 logs/app.log
b
Script file (executable)
chmod 700 scripts/deploy.sh15
Change Ownership (chown)
sudo chown ubuntu:ubuntu -R ~/cartforge16
Test Access(Try reading config)
cat config/app.config17
Try running script
./scripts/deploy.sh
Great job!
Checkpoint
Next-Lab Preparation
Package Management Commands and Process Management Commands in Linux
By Content ITV


