Cyborg Plugin
in your own repository
Development of a
Milan Herda
2025-06

Copy files to your new repository
2
Publish your new package
5
Create a testing job board
4
Setup Yarn and install dependencies
1
Generate Service Container and Router registries
3
Update dependencies inside Cyborg monorepo
6
1. Setup Yarn and install dependencies
Create a Personal Access Token
Create a Personal Access Token
Create a Personal Access Token

Create a Personal Access Token
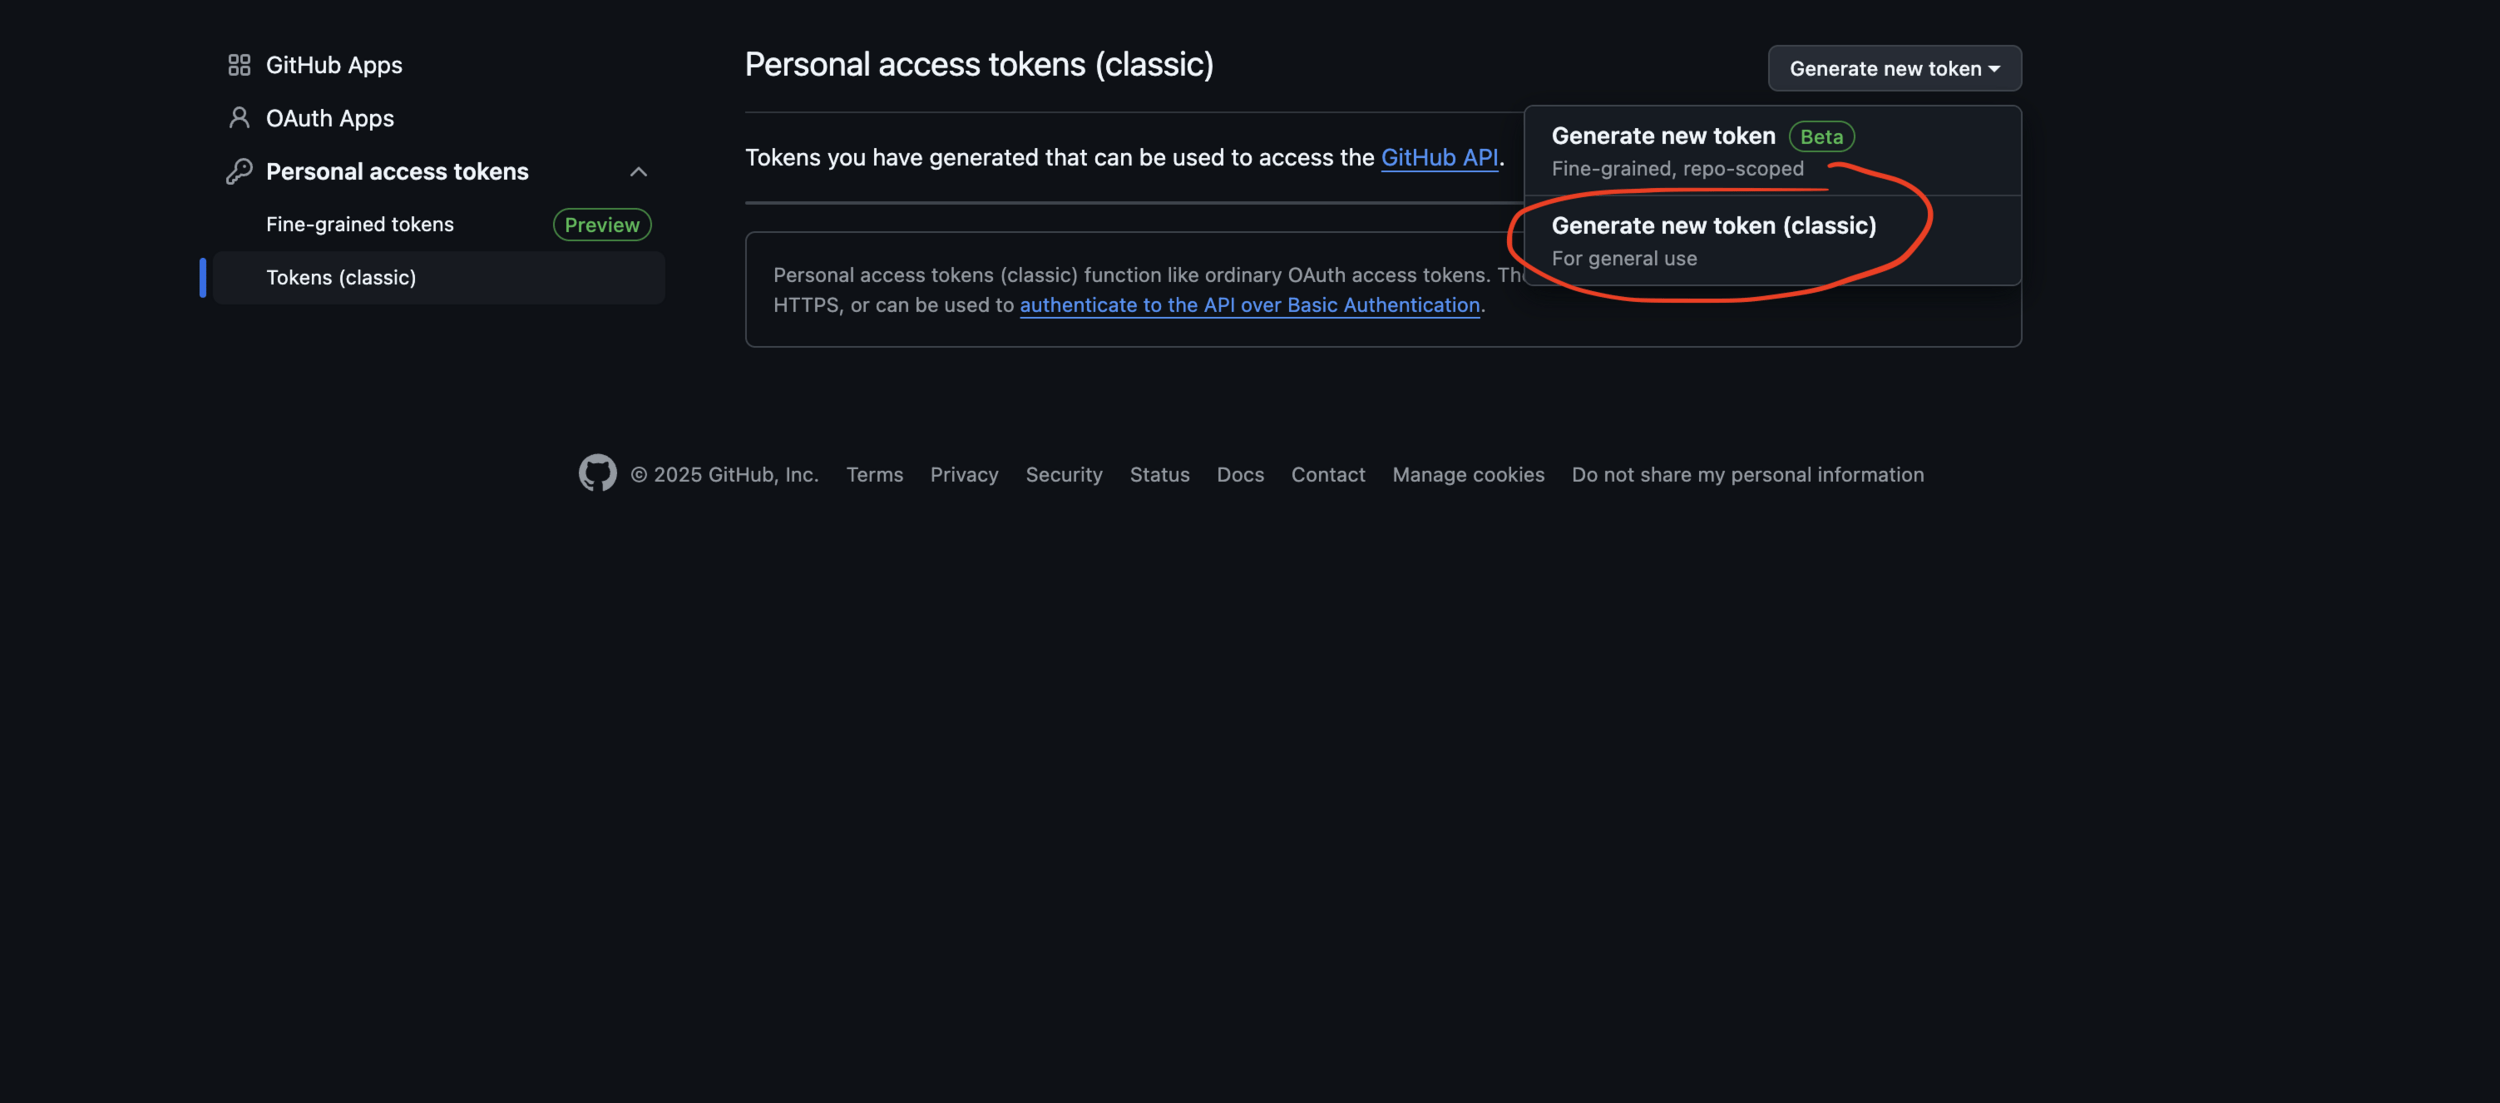
Create a Personal Access Token
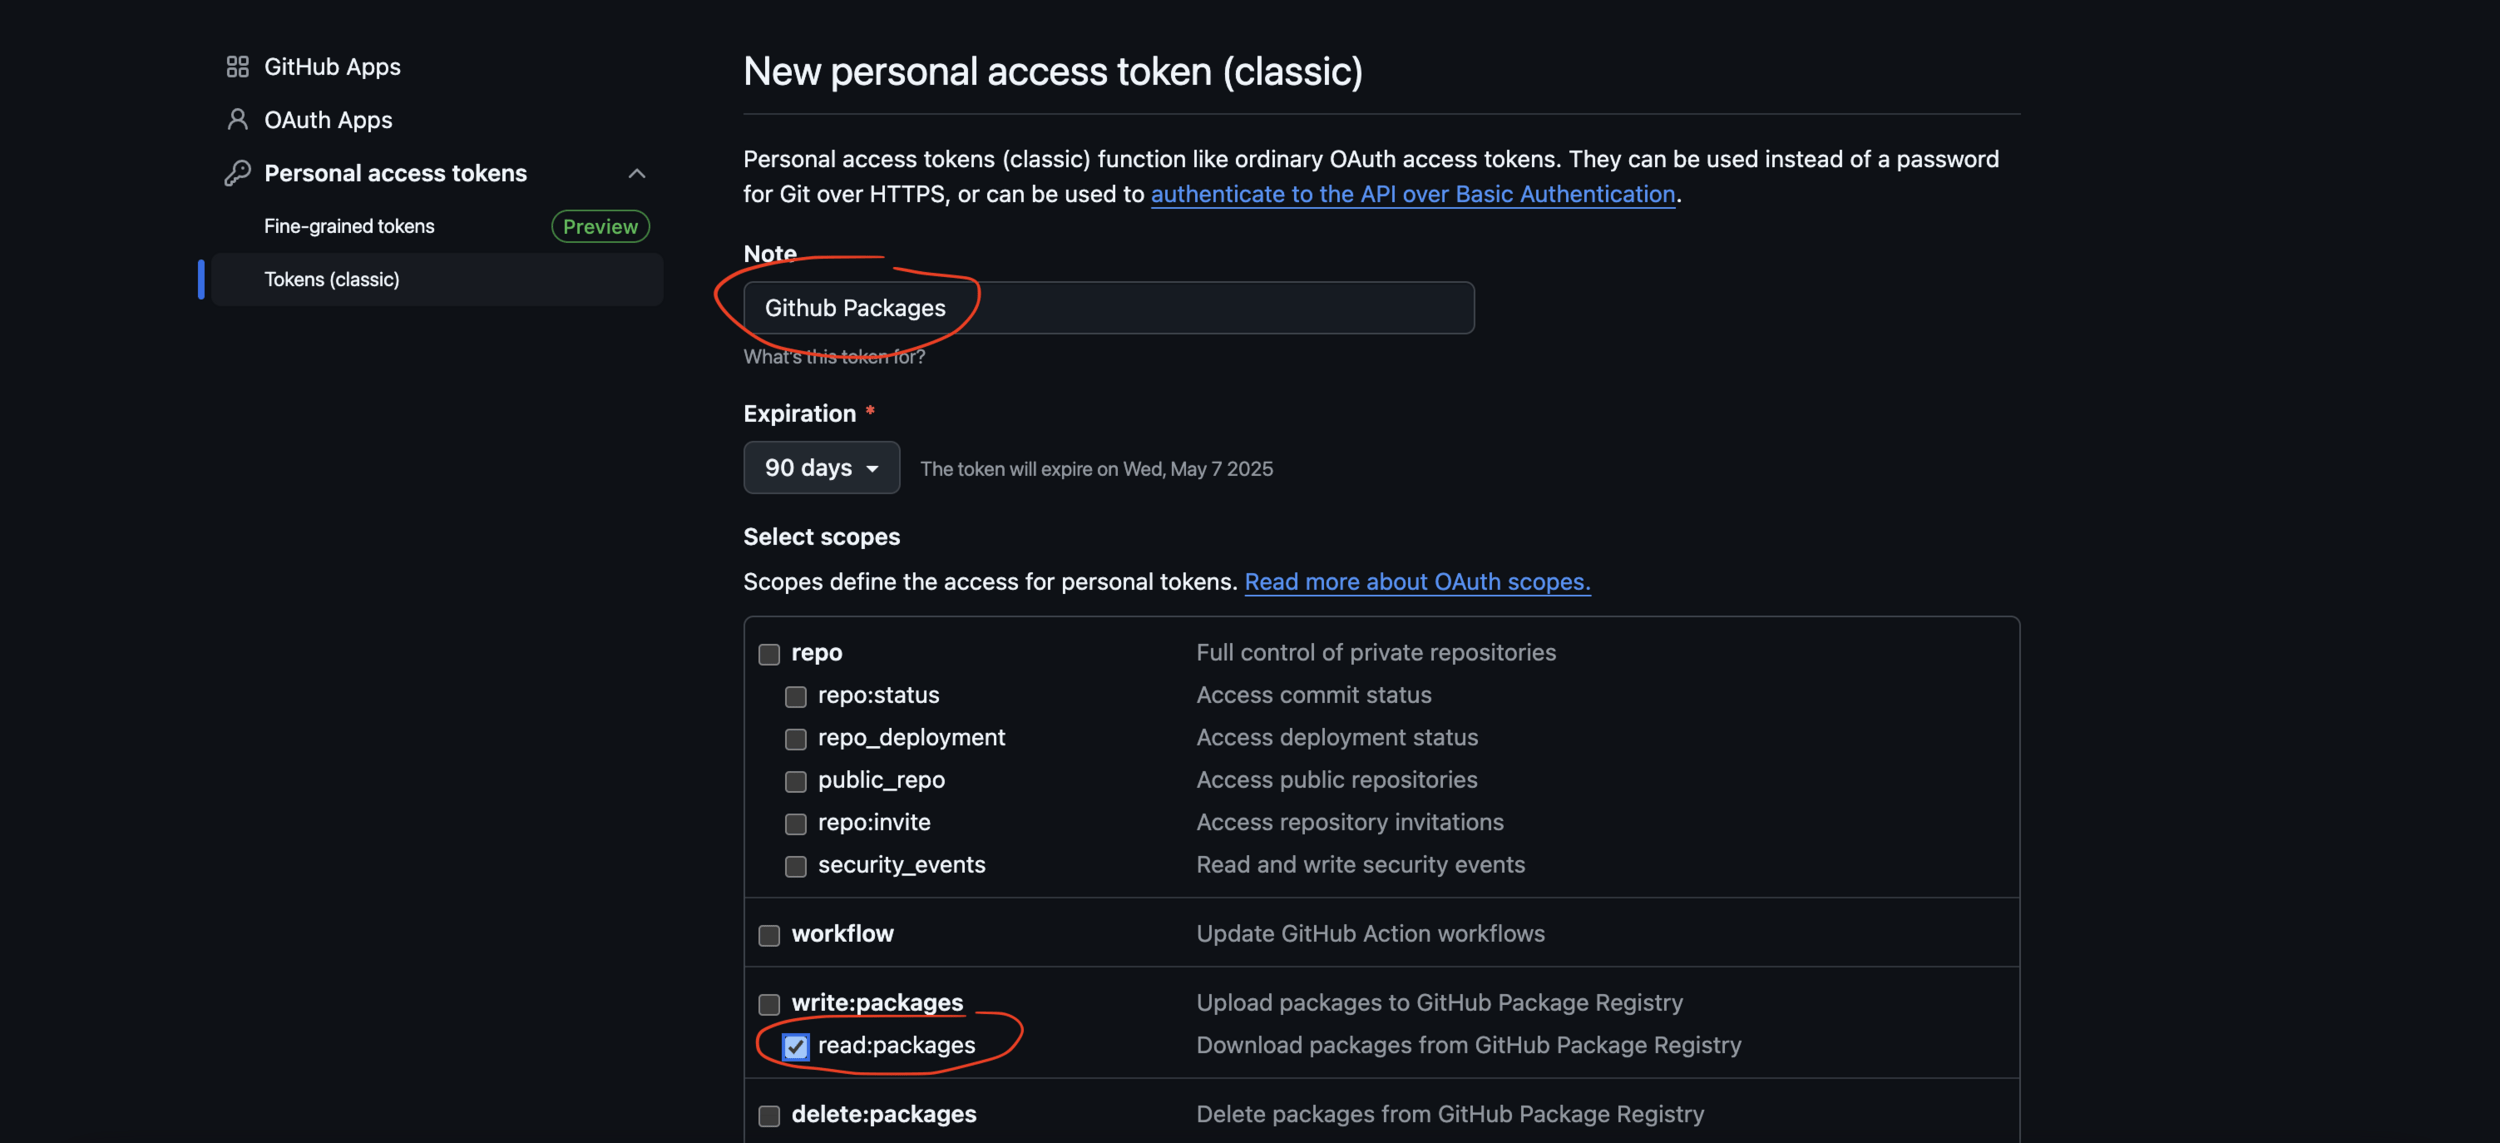
Tick both read:packages and write:packages
Create a Personal Access Token
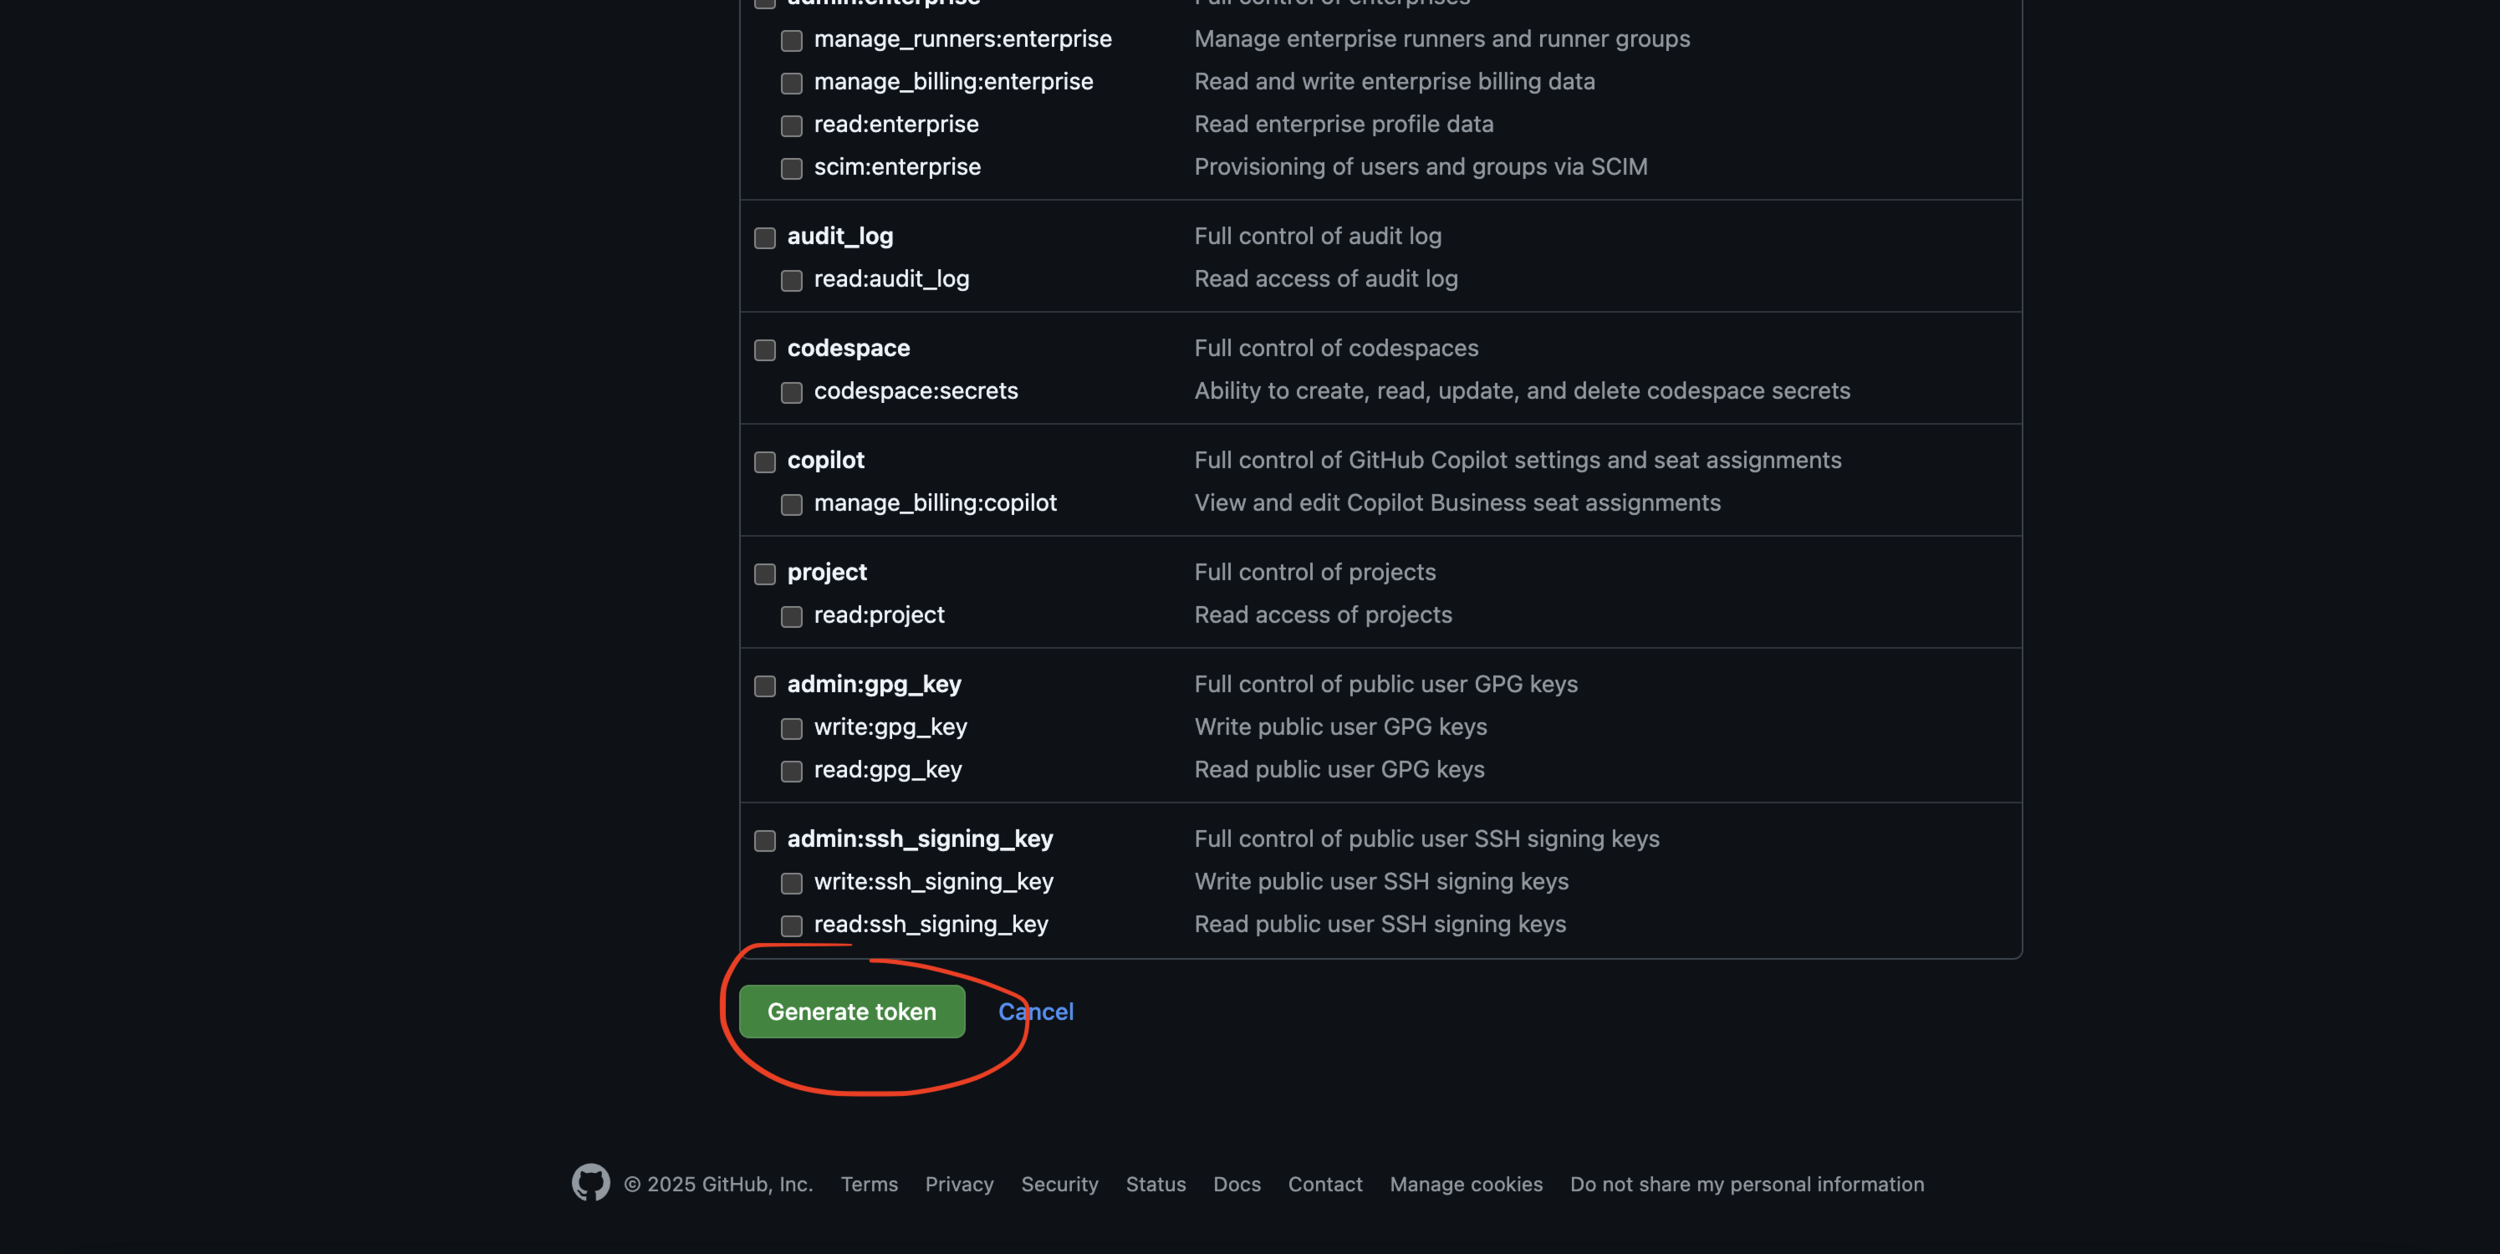
Create a Personal Access Token
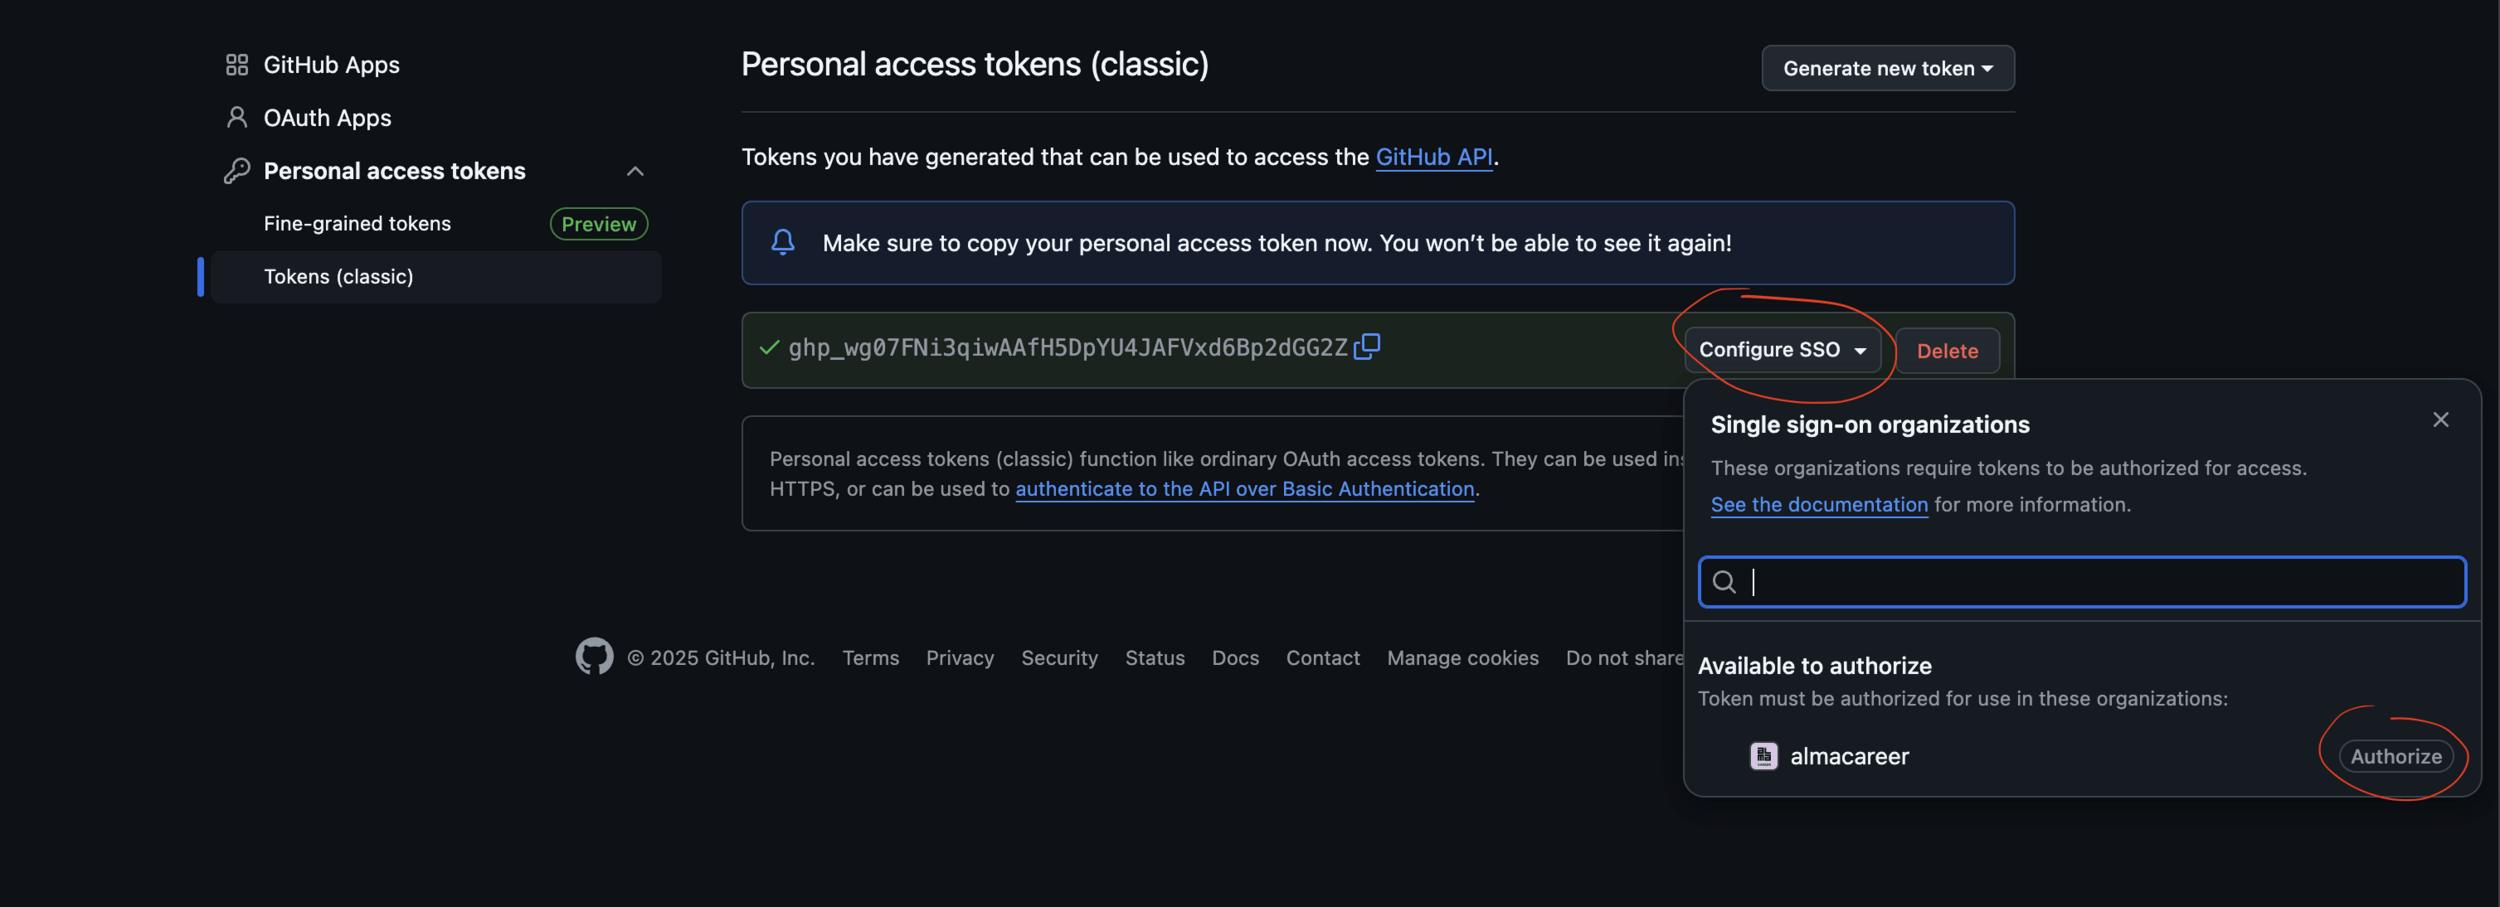
Create a Personal Access Token
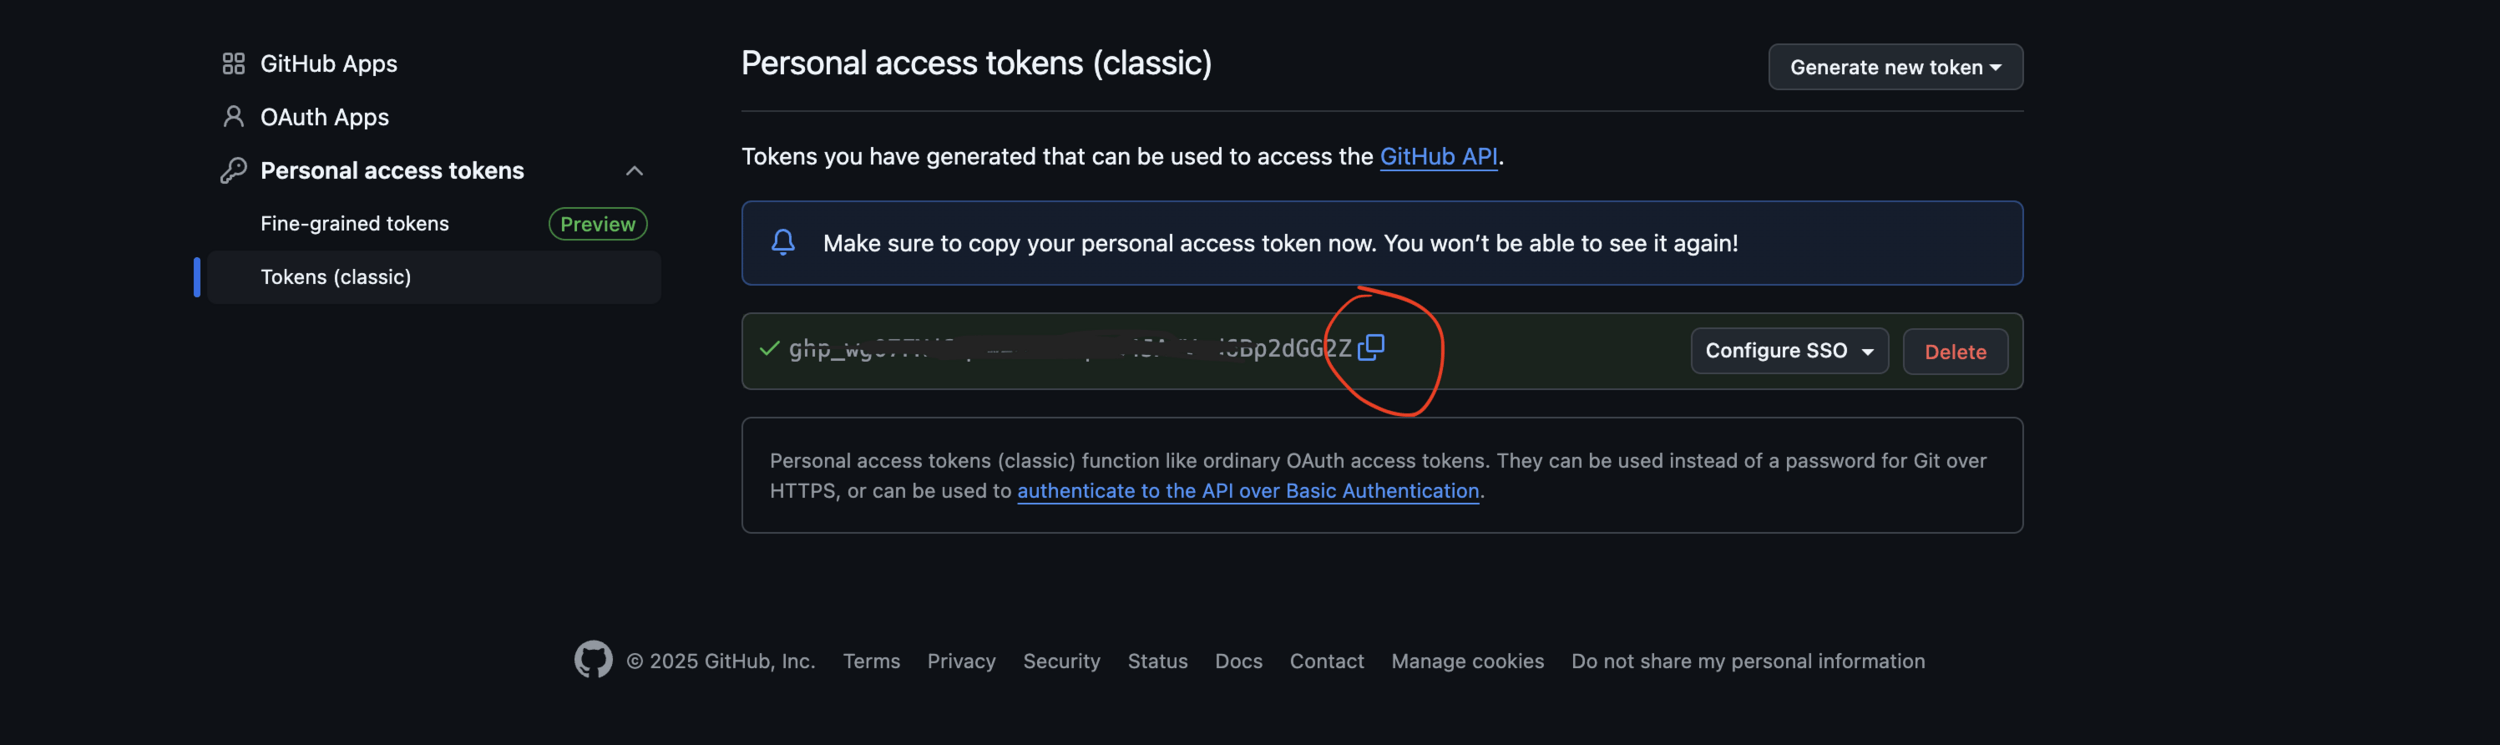
Save the value in your password manager
Make it available
// ~/.profile, ~/.bashrc, ~/.zshrc ...

export GITHUB_TOKEN=your-token-value
Setup Yarn to use our private NPM registry
# enable yarn 4 as a default
corepack install -g yarn@4

# configure path to our private NPM registriy
yarn config set --home \
  npmScopes.almacareer.npmRegistryServer \
  https://npm.pkg.github.com

yarn config set --home \
  "npmRegistries['https://npm.pkg.github.com'].npmAuthToken" \
  ${GITHUB_TOKEN}
2. Copy files to your new repository
Prepare new repository
- Want to test your plugin inside the app together with hot reloads?
- You have to adopt monorepo
Create a directory
mkdir plugin-dev-monorepo

cd plugin-dev-monorepo

yarn init -w

mkdir apps
Modify package.json
// package.json
{
  "name": "plugin-dev-monorepo",
  "packageManager": "yarn@4.6.0",
  "private": true,
  "workspaces": [
    "packages/*"
  ]
}
// package.json
{
  "name": "plugin-dev-monorepo",
  "packageManager": "yarn@4.6.0",
  "private": true,
  "type": "module",
  "workspaces": [
    "apps/*",
    "packages/*"
  ]
}
Create .yarnrc.yml
nodeLinker: node-modules

npmScopes:
  almacareer:
    npmAuthToken: "${GITHUB_TOKEN}"
    npmPublishRegistry: "https://npm.pkg.github.com"
    npmRegistryServer: "https://npm.pkg.github.com"
Additional setup
- Optionally copy .prettier.* and .editorconfig from the platform-frontends root folder to plugin-dev-monorepo
- yarn add -D @almacareer/prettier-config-cyborg
- Run git init . and make an initial commit
- This is your new repository now 👏
- Your plugin is now inside
platform-frontends/plugins/xyz - Copy it to plugin-dev-monorepo/packages/xyz
- Optionally copy .prettier.* and .editorconfig from the platform-frontends root folder
- Run git init . and make an initial commit
- This is your new repository now
Copy plugin files
Update plugin's package.json
cd packages/xyz

sed -i s/workspace:^/3.1.0/ package.json
You can find the latest stable version number on our Github
Install dependencies
yarn install3. Generate Service Container & Router
Generate files
cd packages/xyz

yarn generate-registry
4. Create a testing application
Create a testing app
cd apps

yarn create @almacareer/cyborg-app \
  --name "Testing App" \
  --domain prace.cz \
  --dir jobportal

cd jobportal

corepack use yarn4
Link your plugin to app's package.json
// apps/jobportal/package.json

"dependencies": {
  // ...
  "@almacareer/cyborg-plugin-xyz": "*",
  // ...
}
Link your plugin to app's package.json
// apps/jobportal/package.json

"dependencies": {
  // ...
  "@almacareer/cyborg-plugin-xyz": "workspace:^",
  // ...
}
yarn installUpdate next.config.ts
// apps/jobportal/next.config.ts

sassOptions: {
	includePaths: getSassIncludePaths(
		[
			path.join(pathDir, '../../node_modules'),
			path.join(pathDir, 'node_modules')
		],
		process.env.JOBPORTAL_BRAND ?? '',
	),
},
Run the application
# cd apps/jobportal

yarn dev
5. Publish your new package
Publish your package
- Change the version number in package.json file for your plugin
- Go to your plugin's directory
- Execute command yarn npm publish
6. Update dependencies inside Cyborg monorepo
Change dependency in Cyborg's repository
- Move to Cyborg's root directory
- Find your plugin in apps/jobportal/package.json
- Change workspace:^ to your newly published version number
- Run yarn install
- Test with yarn dev
And that's how it's done

🎉 Time to party 🎉
Cyborg Plugin in Your Own Repo
By Milan Herda


