WebGL
Image processing
Alessandro Valeri
Front-End Engineer @ Expedia
@alenaksu
Who am I?
I'm Alessandro 👋
Front-End Engineer @ Expedia
@alenaksu
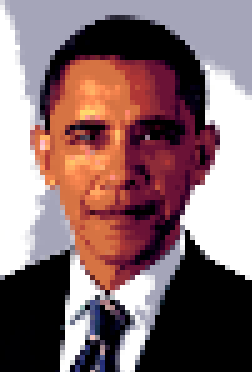
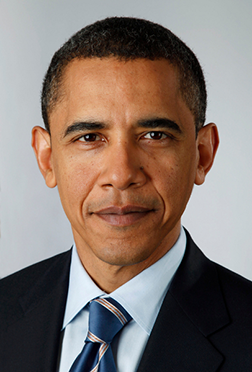
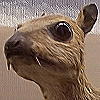
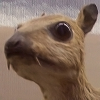
The idea...
Creating pixel-art images from real pictures
How to create an image editor?

What is WebGL?
Low-level JavaScript API based on th OpenGL ES2.0 specification
WebGL !== 3D graphics
Interface to the hardware graphics acceleration (GPU)
multi-platform
works everywhere

How it works?
The rendering pipeline
vertices
vertex
processing
rasterization
fragment
processing
output
merging
primitives
3D
fragments
3D
processed
fragments
3D
pixels

2D
* programmable using Shaders
*
*
Shaders
Small programs used by WebGL to draw geometry and colors on the screen
Why shaders are so fast?
CPU vs GPU


GPU
thousands of cores
Optimised for serial tasks
Optimised for many parallel tasks
complicated math operations run on chips
CPU
multiple cores
CPU
}
Image buffer
Rendering a scene of 1920x1080 means that 2.073.600 pixels need to be processed every frame
that are at least 124.416.000 tasks every second!
}
Image buffer
GPU
Why are so Painful 😵
All data must flow in the same direction
Threads can't access other threads state (blindness)
Threads can't store or read informations from a previous execution (memoryless)
🌈 Debugging is soooo colorful 🌈
Types of shaders
Vertex shader
fragments
processed
fragments
Fragment shader
primitives
vertices
GLSL
OpenGL Shading Language
C-style high-level shading language
Pre-compiled and optimized by hardware vendor's drivers
Runs on the GPU
precision mediump float;

varying vec2 texCoord;
uniform sampler2D image;

void main() {
  vec4 color = texture2D(image, texCoord);

  gl_FragColor = color;
}
Data types
scalars
bool, int, uint, float, double
vectors
bvecn, ivecn, uvecn, vecn, dvecn
matrices
matnxm, matn
opaque types
sampler, sampler2D
Type qualifiers
Attribute and buffers
Buffers are array of binary data uploaded to the GPU
Attributes are used to specify how to pull that data out of the buffer and provide it to the vertex shader
Varyings
A way for a vertex shader to pass data to a fragment shader
Values set on varying will be interpolated while executing the fragment shader
Uniforms
Global variables defined on the user code through the WebGL API
The value does not change between the executions of a shader during the rendering of a primitive
Consts
As the name suggests, the value of this kind of variable cannot be changed and must be defined at initialization
const float PI = 3.14159265359;

attribute vec3 position;

varying vec2 texCoord;

uniform sampler2D texture;
Let's create an image editor!
🤓
ToDo List
- Canvas element
- Shaders and program
- Texture
- Load the image
- Draw!
Canvas
First thing to do is to create a new canvas element and retrieve the WebGL context from it
// Creates a new canvas
const canvas = document.createElement('canvas');
document.body.appendChild(canvas);

// Accesses WebGL api through the webgl context
const gl = canvas.getContext('webgl');
Shader program
WebGL requires a shader program to draw things on the screen.
This program is composed of a vertex shader and the fragment shader.
// Creates the shaders on the graphic card
// and returns their handles
const vertexShader = gl.createShader(gl.VERTEX_SHADER);
const fragmentShader = gl.createShader(gl.FRAGMENT_SHADER);

// Specifies the source of the shader
gl.shaderSource(vertexShader, `
    attribute vec2 position;

    void main() {
        // Sets the position of the current vertex using
        // the interal variable gl_Position
        gl_Position = vec4(position, 0.0, 1.0);
    }
`);

// Specifies the source of the shader
gl.shaderSource(fragmentShader, `
    precision mediump float;

    void main() {
        // Sets the color of the current pixel by assigning it
        // to the internal variable gl_FragColor
        gl_FragColor = vec4(0.0, 1.0, 0.0, 1.0);
    }
`);

// Compiles the shaders
gl.compileShader(vertexShader);
gl.compileShader(fragmentShader);

// Create a new shader program and attaches
// the shaders to it
const program = gl.createProgram();
gl.attachShader(program, vertexShader);
gl.attachShader(program, fragmentShader);

// Links the program object to made
// it available in the rendering process
gl.linkProgram(program);

// Checks whether there are compilation errors
if (!gl.getProgramParameter(program, gl.LINK_STATUS) ) {
    const info = gl.getProgramInfoLog(program);
    throw 'Could not compile WebGL program. \n\n' + info;
}

// Tells WebGL to use our shader program during
// the rendering process
gl.useProgram(program);
Create a rectangle
An image is a 2d rectangle, so we have to define an array of (x, y) coordinates necessary to draw exactly 2 triangles.
// Defines the coordinates of the 2 trinagles
// required to draw a plane that fills the clip-space
const planeVertices = [
    -1, -1,
    -1, 1,
    1, 1,

    1, 1,
    -1, -1,
    1, -1
];

// Creates a new buffer
const vertexBuffer = gl.createBuffer();

// Binds the buffer to the Array Buffer
gl.bindBuffer(gl.ARRAY_BUFFER, vertexBuffer);

// Fills the buffer with the data.
// With STATIC_DRAW we say that those data will not change,
// so the graphic card will eventually optimize
gl.bufferData(
  gl.ARRAY_BUFFER,
  new Float32Array(planeVertices),
  gl.STATIC_DRAW
);
x
y
-1
-1
1
1
0, 0
clip-space
Pass the coordinates to the shader
Now that we have our rectlangle, we need to pass its coordinates (vertices) to the vertex shader.
An attribute is what we need.
// Creates a new attribute in our program that will contain
// the position of each vertex
const positionLocation = gl.getAttribLocation(
  program, 'position'
);

// Enables the attribute
gl.enableVertexAttribArray(positionLocation);

// Binds the currently bounded buffer to our attribute
gl.vertexAttribPointer(
  positionLocation, 2, gl.FLOAT, false, 0, 0
);
Let's draw something
We are finally ready to draw the rectlangle using our brand new shaders!
If everything goes right, we should see the canvas filled with green.
const draw = requestAnimationFrame.bind(null, () => {
    // Sets the size of the viewport to fill the canvas
    gl.viewport(
      0, 0,
      gl.drawingBufferWidth, gl.drawingBufferHeight
    );

    // Sets the clear color
    gl.clearColor(1, 0, 0, 1);

    // Clears the color buffer
    gl.clear(gl.COLOR_BUFFER_BIT);

    // Draw the buffer array on the screen
    gl.drawArrays(gl.TRIANGLES, 0, 6);
});
draw();
Create a texture
To draw an image on the rectangle we've just created, we need to create a container called Texture.
A texture is an object which can contain one or more images. Through it is possible to access the image data from the shader.
// Creates a new texture and returns its handle
const texture = gl.createTexture();

// Binds the texture to 2d texture target
gl.bindTexture(gl.TEXTURE_2D, texture);

// Sets the texture wrapping function
gl.texParameteri(
  gl.TEXTURE_2D, gl.TEXTURE_WRAP_S, gl.CLAMP_TO_EDGE
);
gl.texParameteri(
  gl.TEXTURE_2D, gl.TEXTURE_WRAP_T, gl.CLAMP_TO_EDGE
);

// Sets the texture magnification and minification filters
gl.texParameteri(
  gl.TEXTURE_2D, gl.TEXTURE_MAG_FILTER, gl.NEAREST
);
gl.texParameteri(
  gl.TEXTURE_2D, gl.TEXTURE_MIN_FILTER, gl.NEAREST
);

const image = new Image();
image.onload = () => {
  // Sets the canvas size to reflect the natural size of the image
  canvas.width = image.naturalWidth;
  canvas.height = image.naturalHeight;
  // Uploads the image on the card in the bounded texture
  gl.texImage2D(
    gl.TEXTURE_2D, 0, gl.RGBA, gl.RGBA, gl.UNSIGNED_BYTE, image
  );

  // Don't forget to draw!
  draw();
};

// Loads the image (NOTE: must be same-origin)
image.src = 'image.jpg';
Final steps
Now that we have the image stored in our texture, we need to modify the shaders to grab the data from it:
- Create a new varying variable to pass the texture coordinates (0..1) to the fragment shader
- Create a new uniform variable with the reference of our texture (0 by default)
// Add the texture coordinates as varying
gl.shaderSource(
    vertexShader,
    `
    attribute vec2 position;
    varying vec2 texCoord;

    void main() {
        // Since texture coordinates are from 0 to 1,
        // we need to normalize the values
        texCoord = (position + 1.0) / 2.0;
        texCoord.y = 1.0 - texCoord.y;

        // Sets the position of the current vertex
        // to an interal variable
        gl_Position = vec4(position, 0.0, 1.0);
    }
`);

// Adds the image and texture coordinates
gl.shaderSource(
    fragmentShader,
    `
    precision mediump float;

    varying vec2 texCoord;
    uniform sampler2D image;

    void main() {
        // Retrieves the color of the pixel at the given
        // coordinates from the image
        vec4 color = texture2D(image, texCoord);

        // Sets the color of the current pixel by assigning it
        // to the internal variable gl_FragColor
        gl_FragColor = color;
    }
`);

// Get the uniform identifier.
// The name must matche the name of the variable in the shader
const imageLocation = gl.getUniformLocation(program, 'image');

// Sets the identifier of the texture
gl.uniform1f(imageLocation, gl.TEXTURE0);
👏 Done! 👏
...not yet actually...
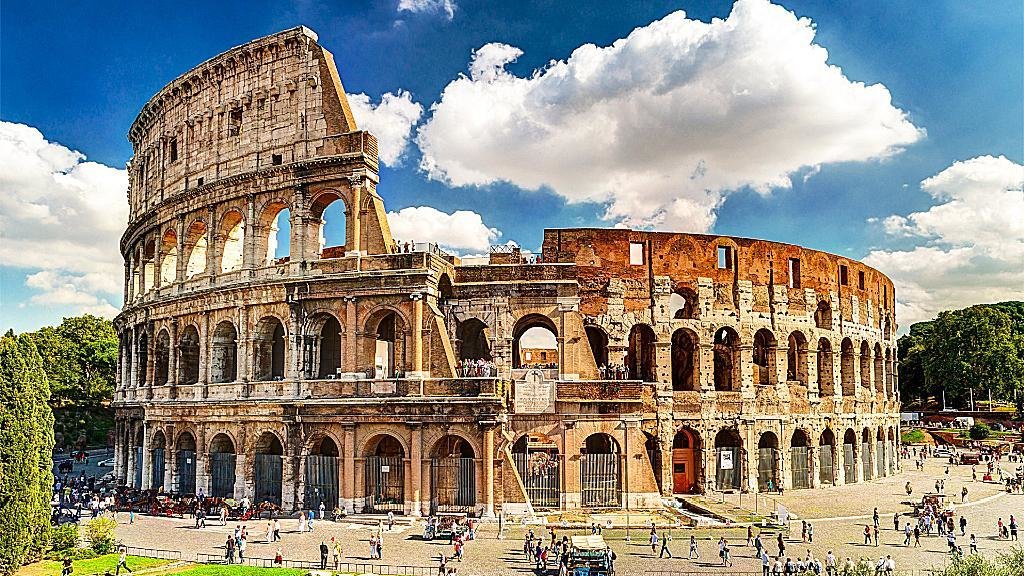
Image processing
some naive implementations of commonly used filters
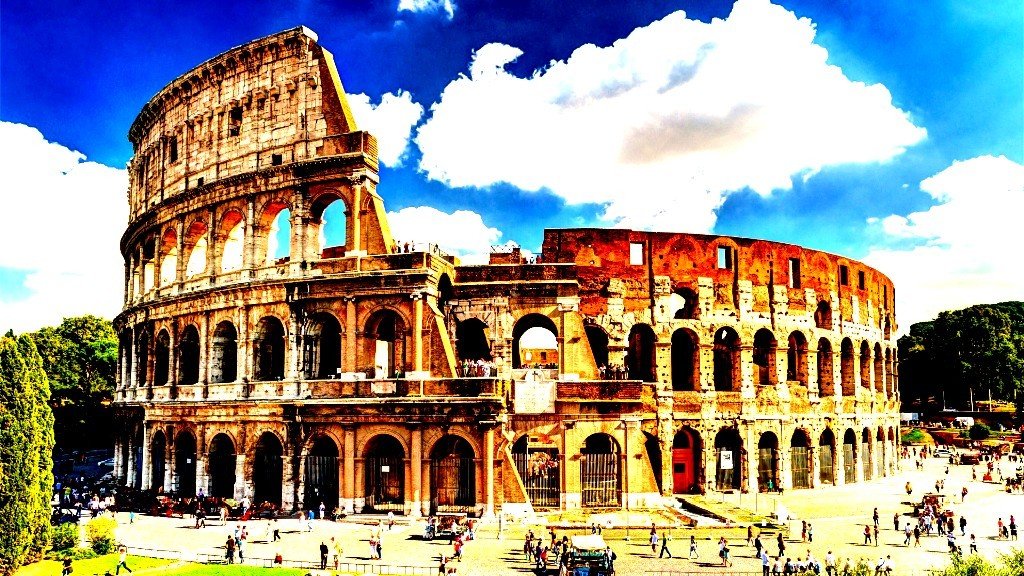
brightness
amount of light a source appears to be radiating or reflecting
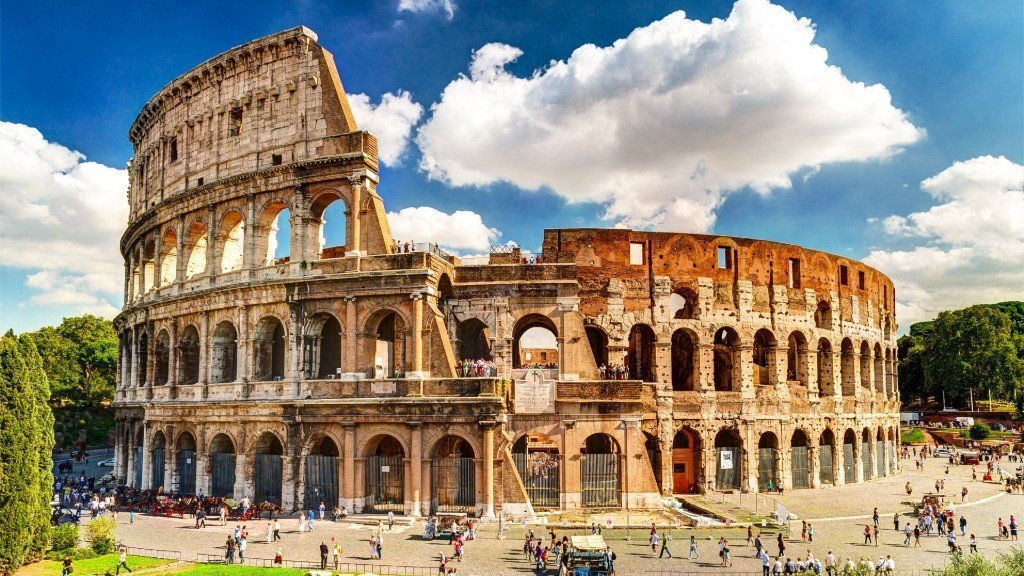
original
g(x, y) = f(x, y) + b \mid b \in [-1, 1]
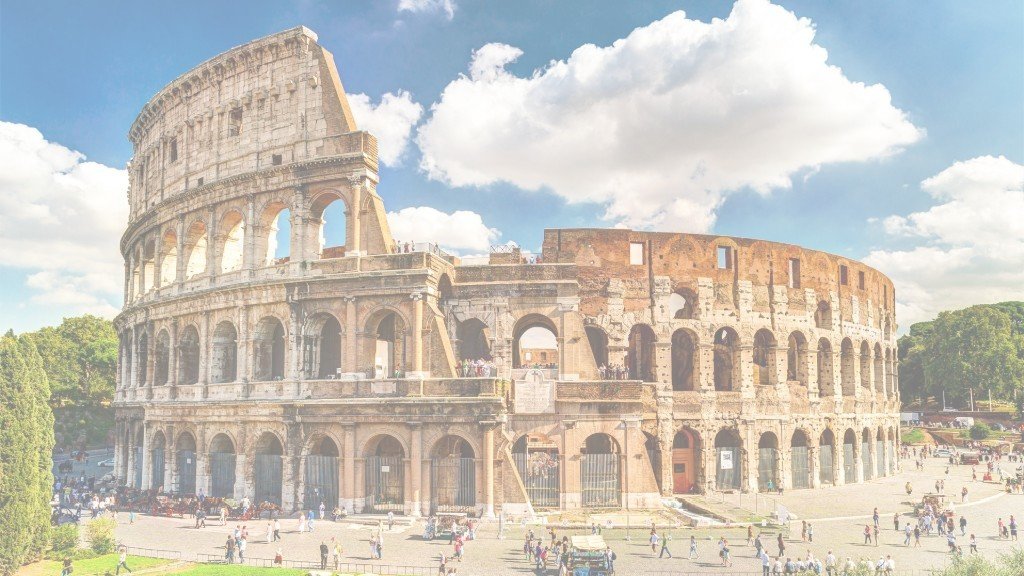
b = +0.5
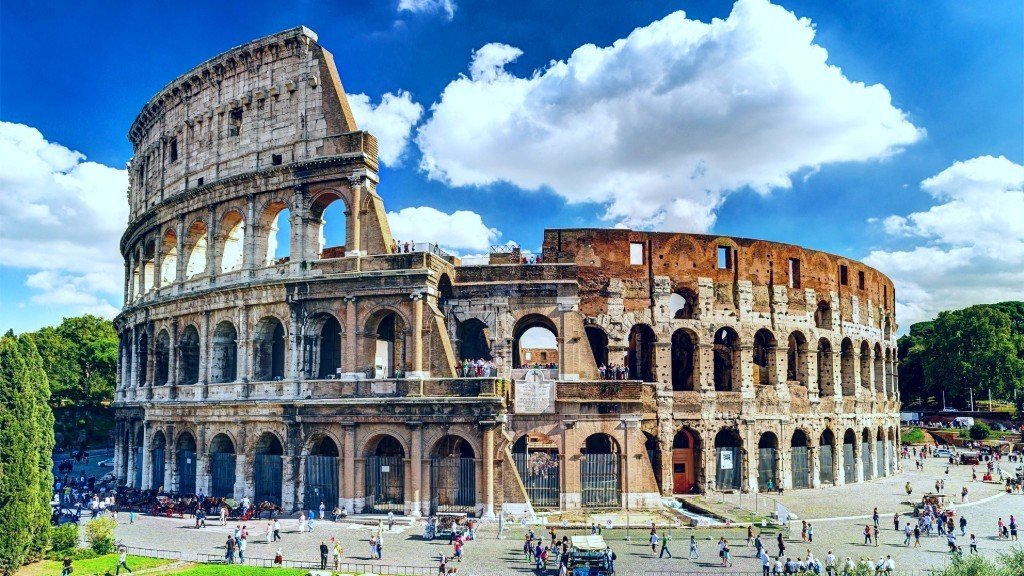
contrast
the difference in luminance or colour that makes an object distinguishable
original
g(x, y) = (f(x, y) - 0.5) * (c + 1.0) - 0.5 \mid c \in [-1, 1]
c = +0.5
saturation
the strength or purity of the color
original
g(x, y) = \frac{f(x, y)}{3.0} * (1.0 - s) + f(x, y) * s \mid s \in [-1, 1]
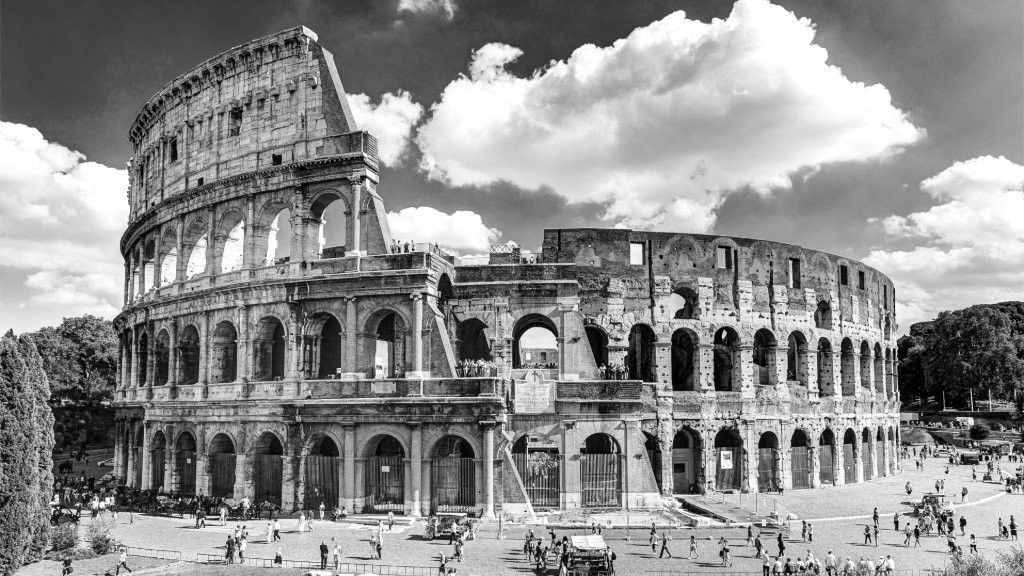
s = -1.0
temperature
the way a color appears "warmer" or "cooler"
t = -0.5
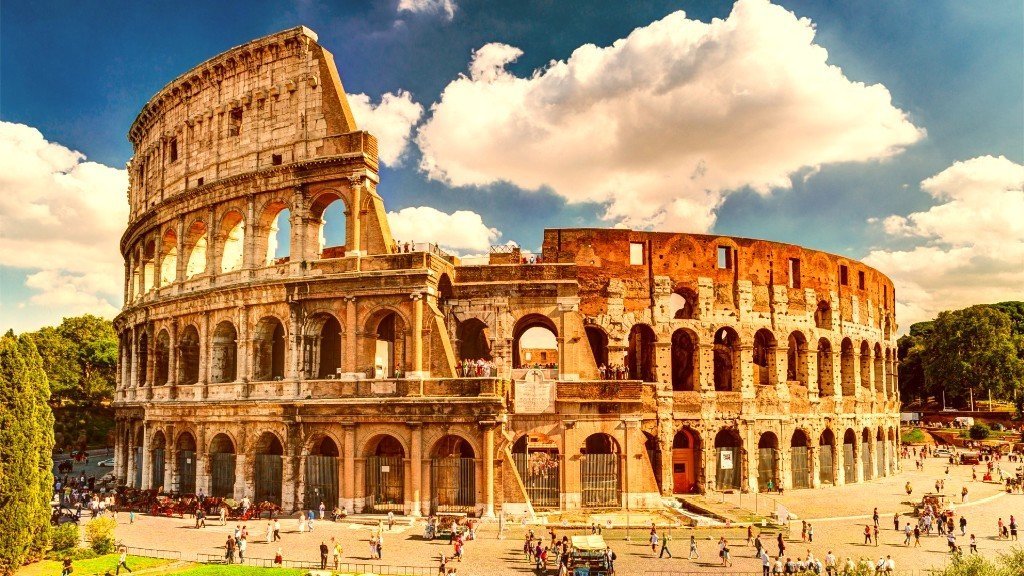
t = +0.5
g(x, y) =
\begin{bmatrix}
R_{f(x, y)} \\ G_{f(x, y)} \\ B_{f(x, y)}
\end{bmatrix}
+
\begin{bmatrix}
+t \\ 0 \\ -t
\end{bmatrix}
\mid
t \in [-1, 1]
original
Kernels
aka Convolution filters
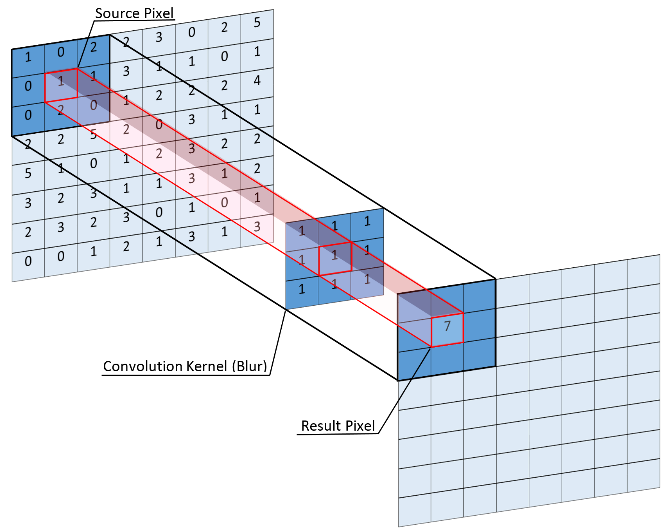
{\displaystyle g(x,y)=\omega *f(x,y)=\sum _{dx=-a}^{a}{\sum _{dy=-b}^{b}{\omega (dx,dy)f(x+dx,y+dy)}}}
Kernels
a few examples
\substack{\text{Gaussian} \\ \text{blur}}
\hspace{5mm}
\frac{1}{16}
\begin{bmatrix}
1 & 2 & 1\\
2 & 4 & 2\\
1 & 2 & 1
\end{bmatrix}

\text{Sharpen}
\hspace{2mm}
\begin{bmatrix}
0 & -1 & 0\\
-1 & 5 & -1\\
0 & -1 & 0
\end{bmatrix}
\text{Identity}
\hspace{2mm}
\begin{bmatrix}
0 & 0 & 0\\
0 & 1 & 0\\
0 & 0 & 0
\end{bmatrix}
\substack{\text{Edge} \\ \text{detection}}
\hspace{2mm}
\begin{bmatrix}
-1 & -1 & -1\\
-1 & 8 & -1\\
-1 & -1 & -1
\end{bmatrix}

unsharp mask
changes the amount of details that can be seen on an image
original
g(x, y) = f(x, y) + (f(x, y) − blurred) * s
blurred = \frac{1}{16}
\begin{bmatrix}
1 & 2 & 1\\
2 & 4 & 2\\
1 & 2 & 1\\
\end{bmatrix}
* f(x,y)

s = +1.0
s = -1.0
Questions?
Code and Slides

Thank you!
(pssst wake up... it's over)
WebGL Image Processing
By alenaksu
WebGL Image Processing
How to post-process images on the front-end using the powerful WebGL shaders


