


Andreas Park PRO
Professor of Finance at UofT
Andreas Park
the following slides are background information and not necessary for the hands-on exercise
*for an extensive explainer see here: https://slides.com/ap248/mgt411-cryptography
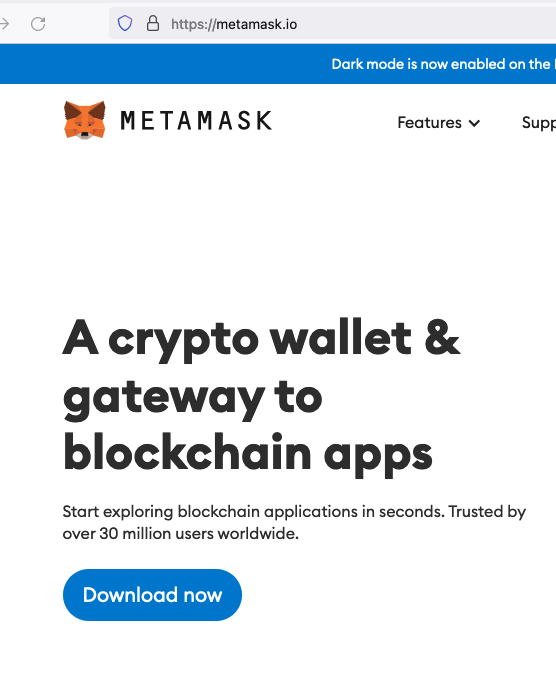
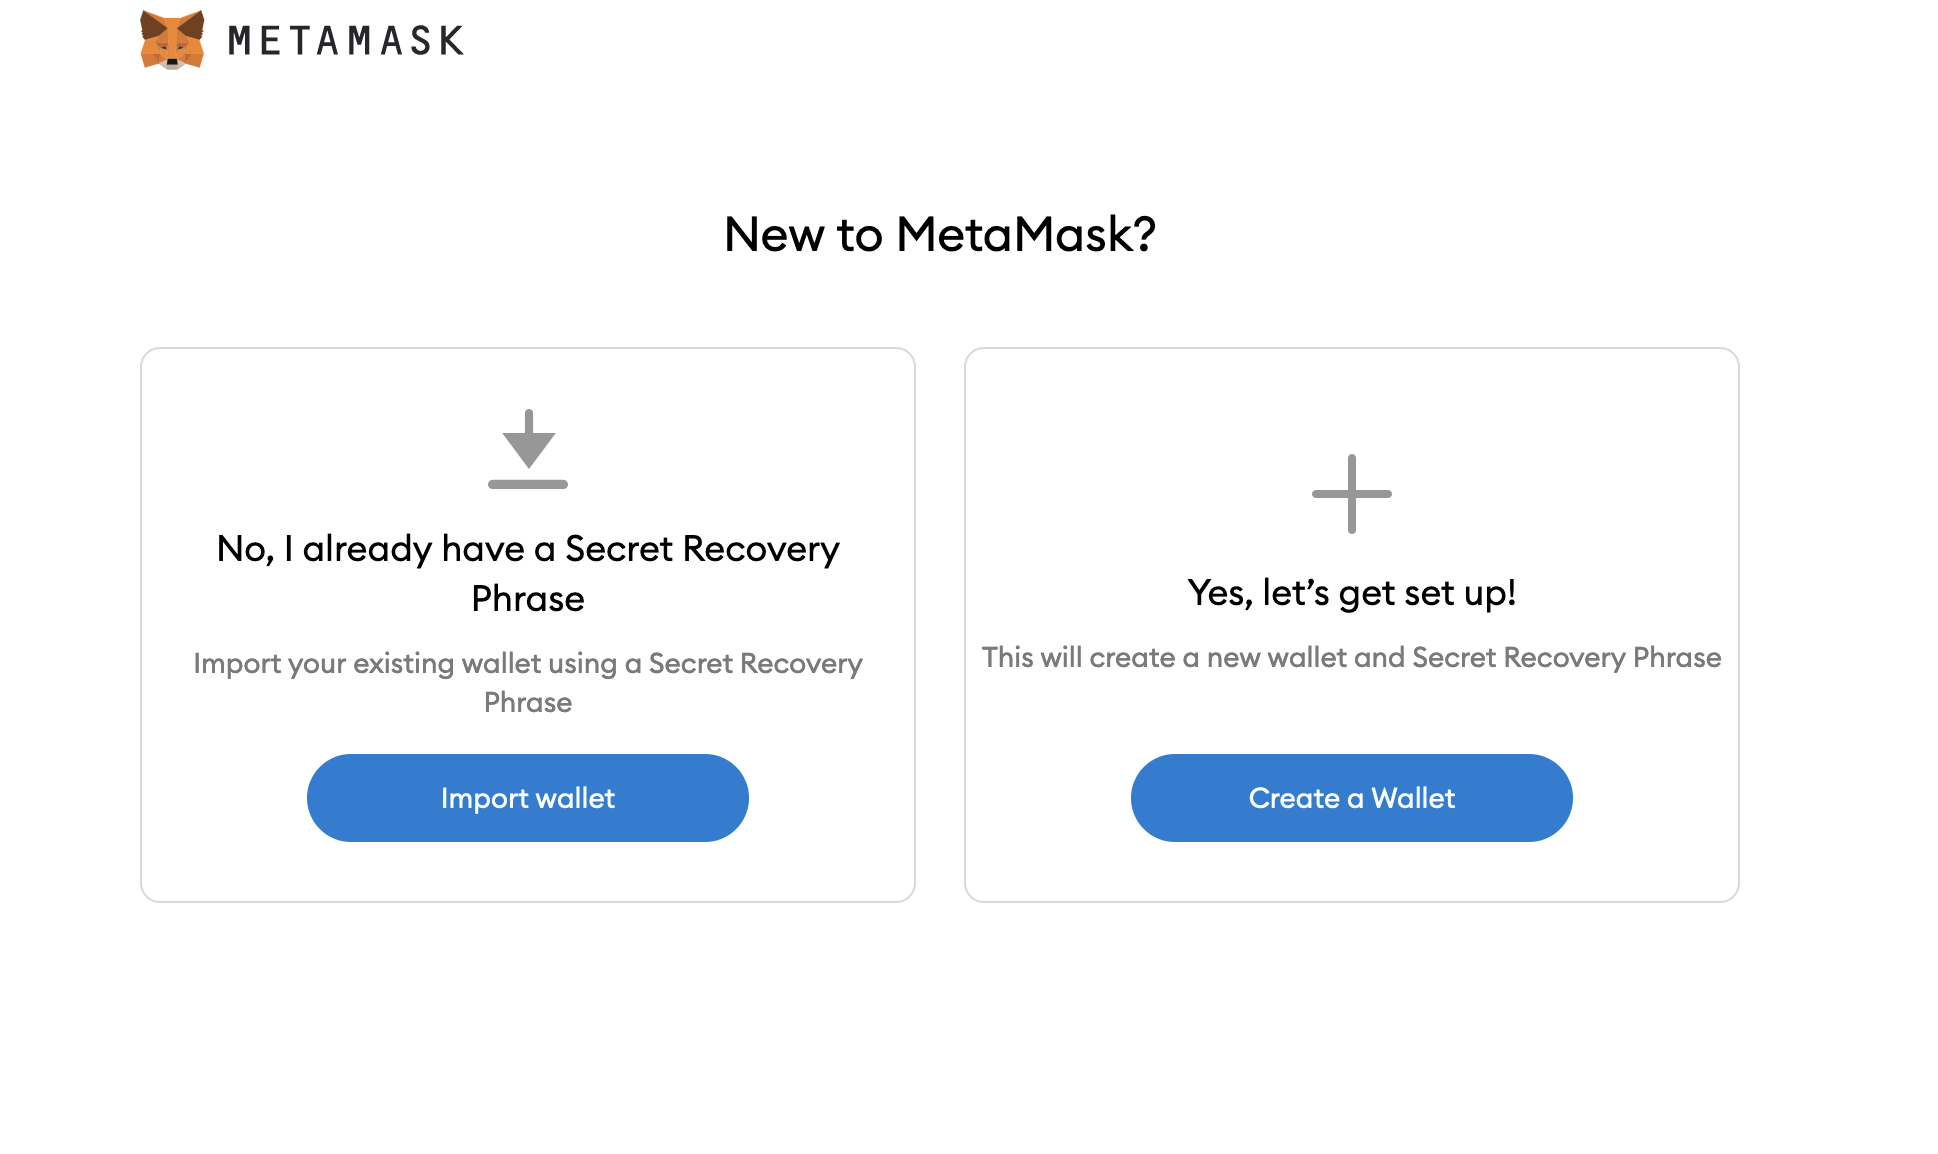
1. navigate to metamask.io
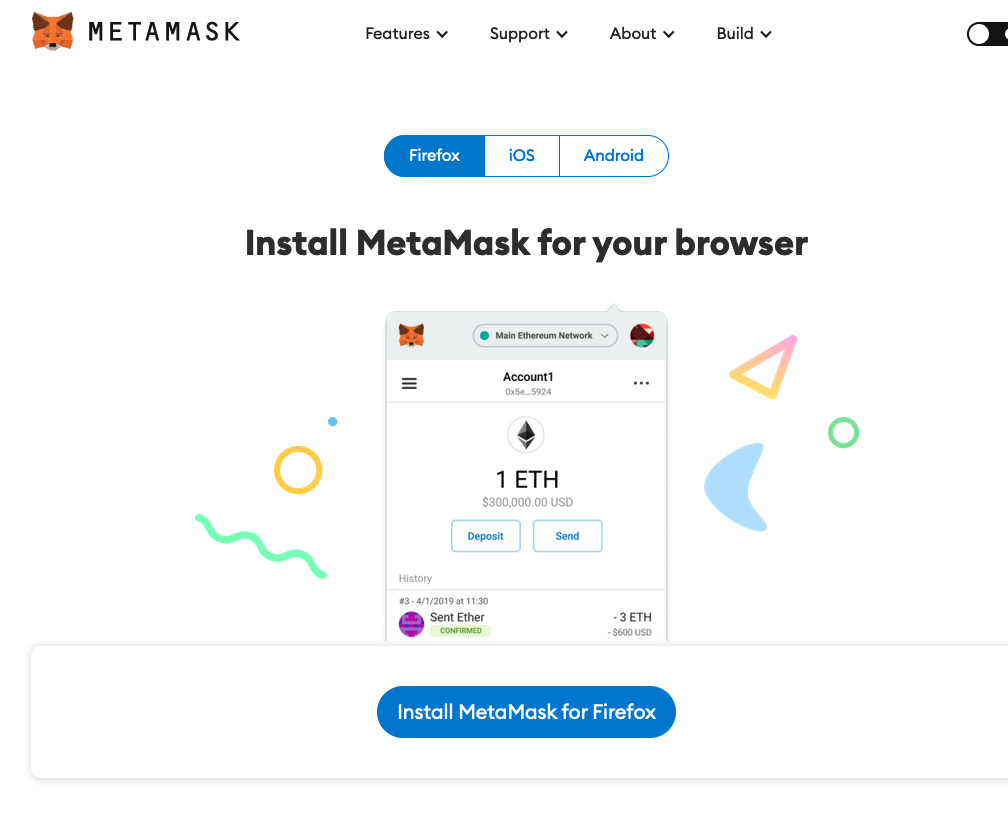
2. click here
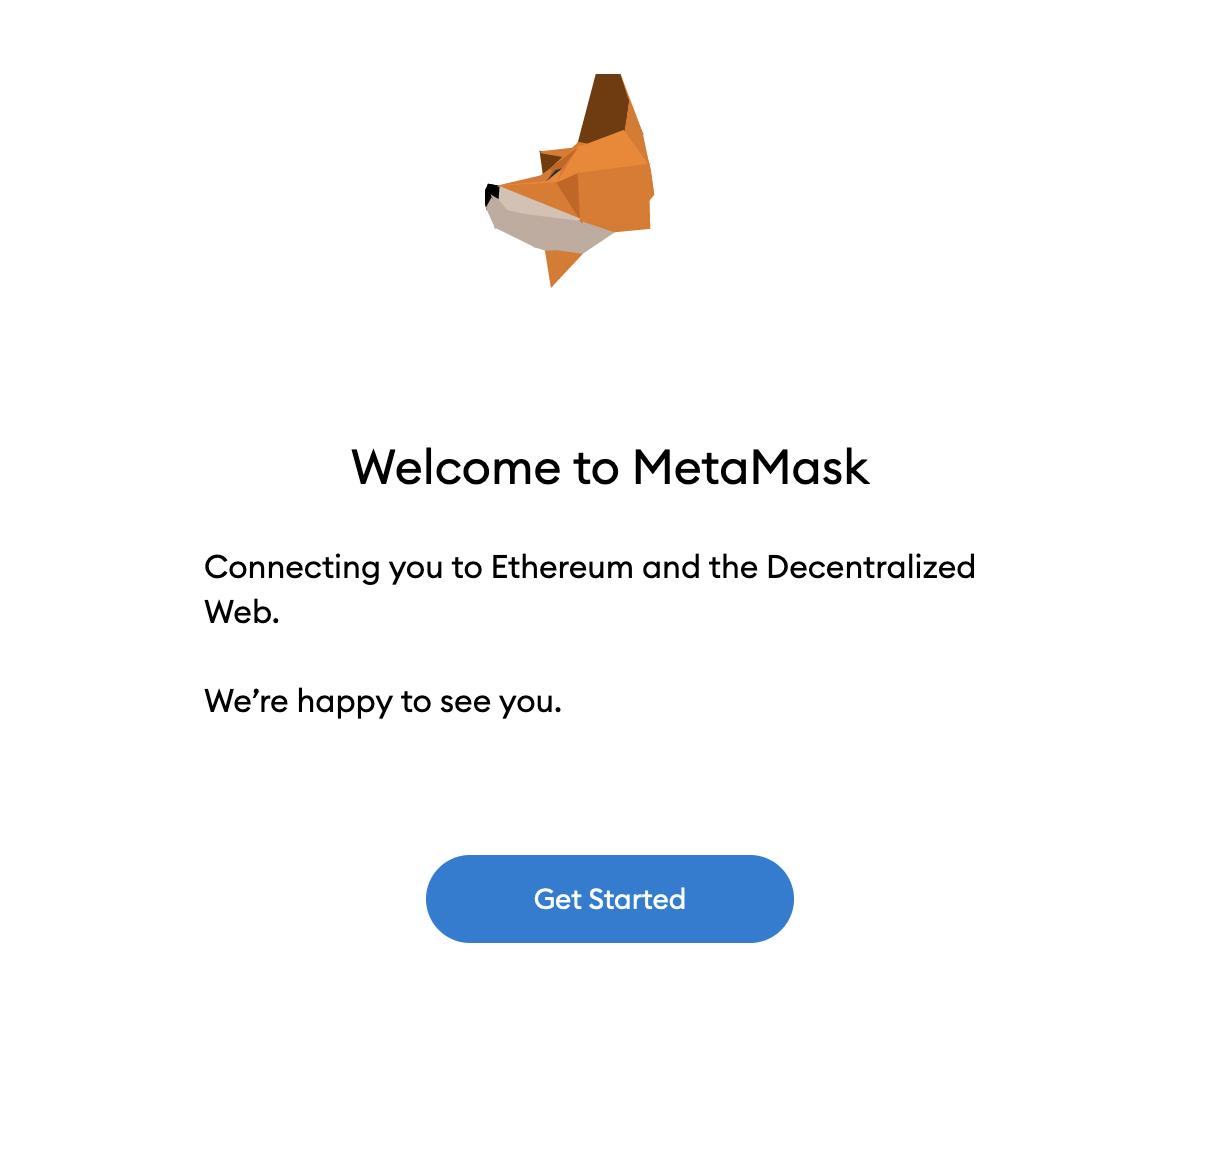
click here and go through the steps
NB: works with the Firefox and Chrome browsers
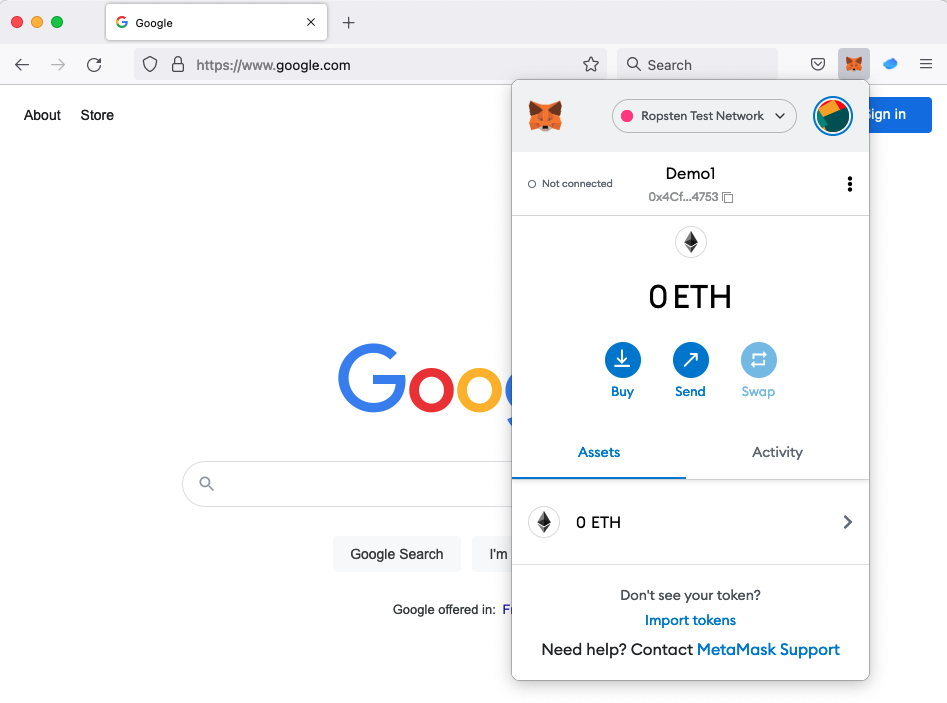
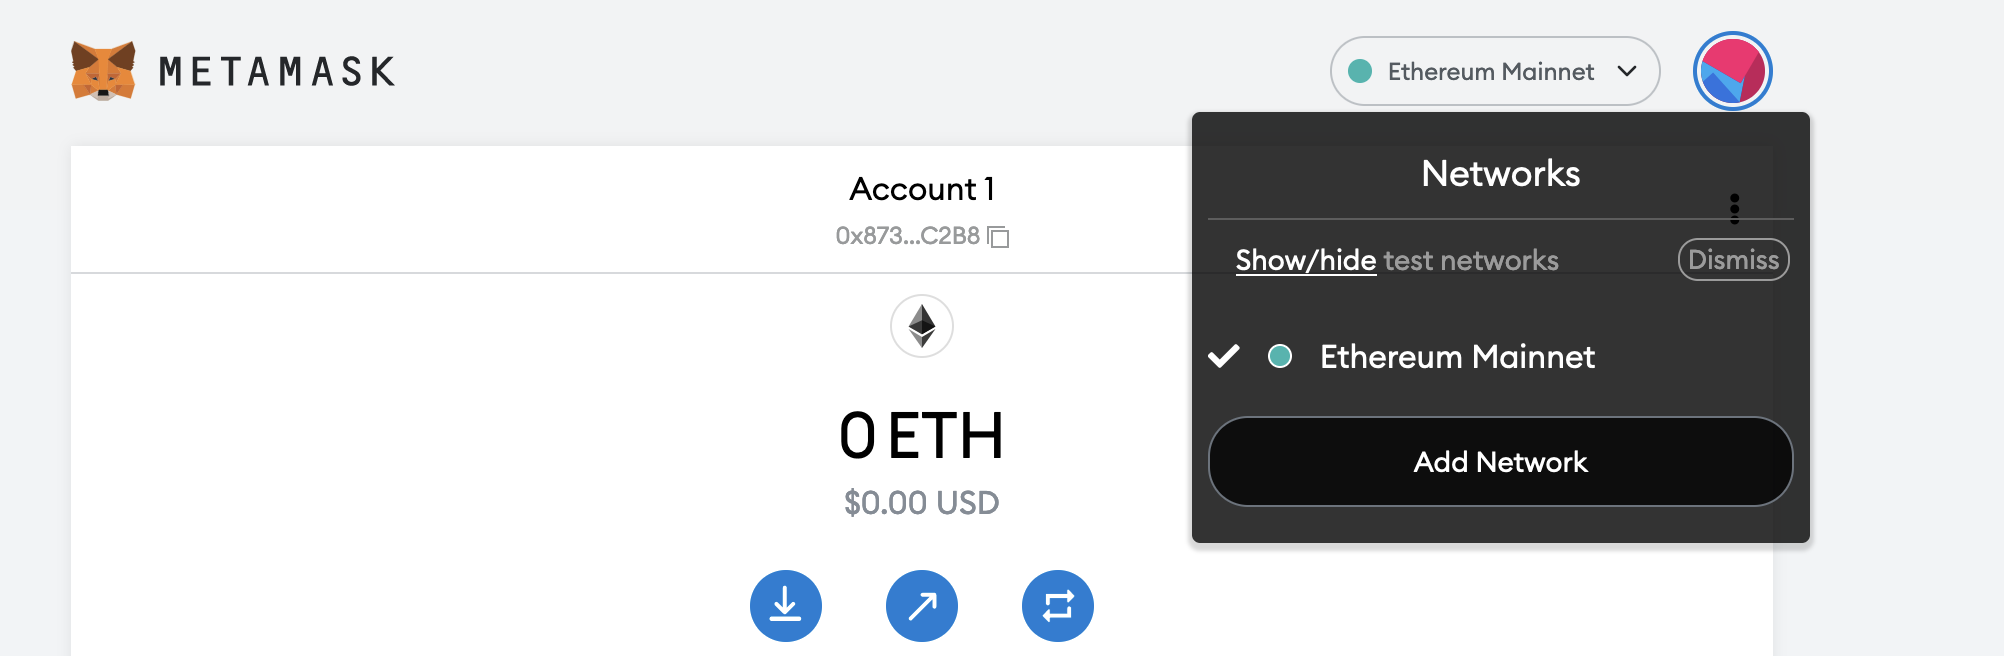
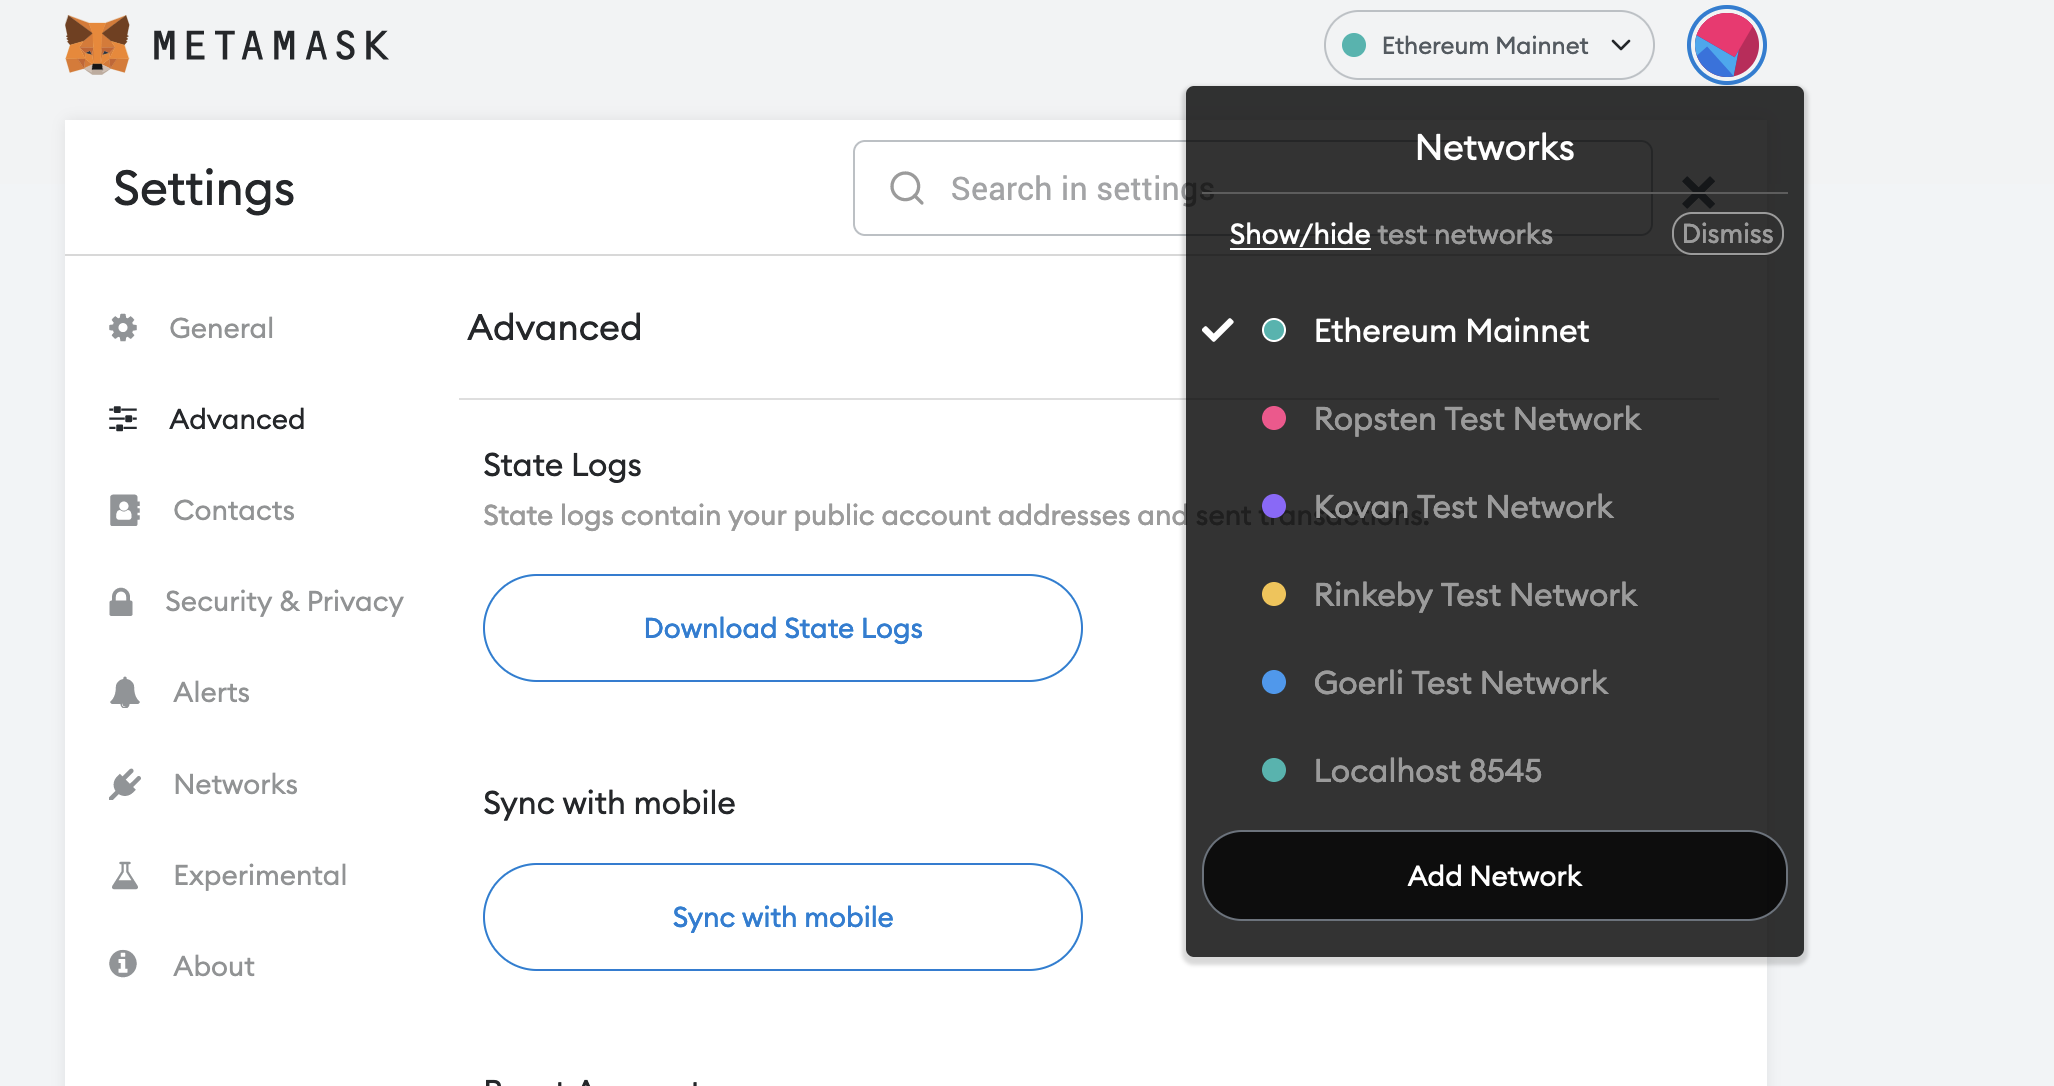
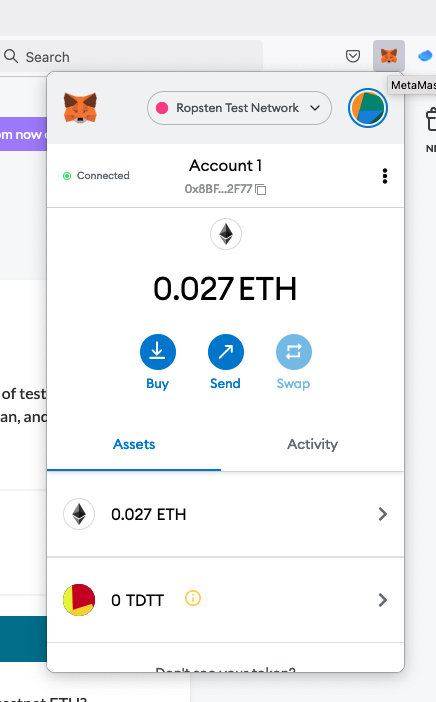
your wallet should be visible among your browser apps
now click on the icon
click here
click here
click here
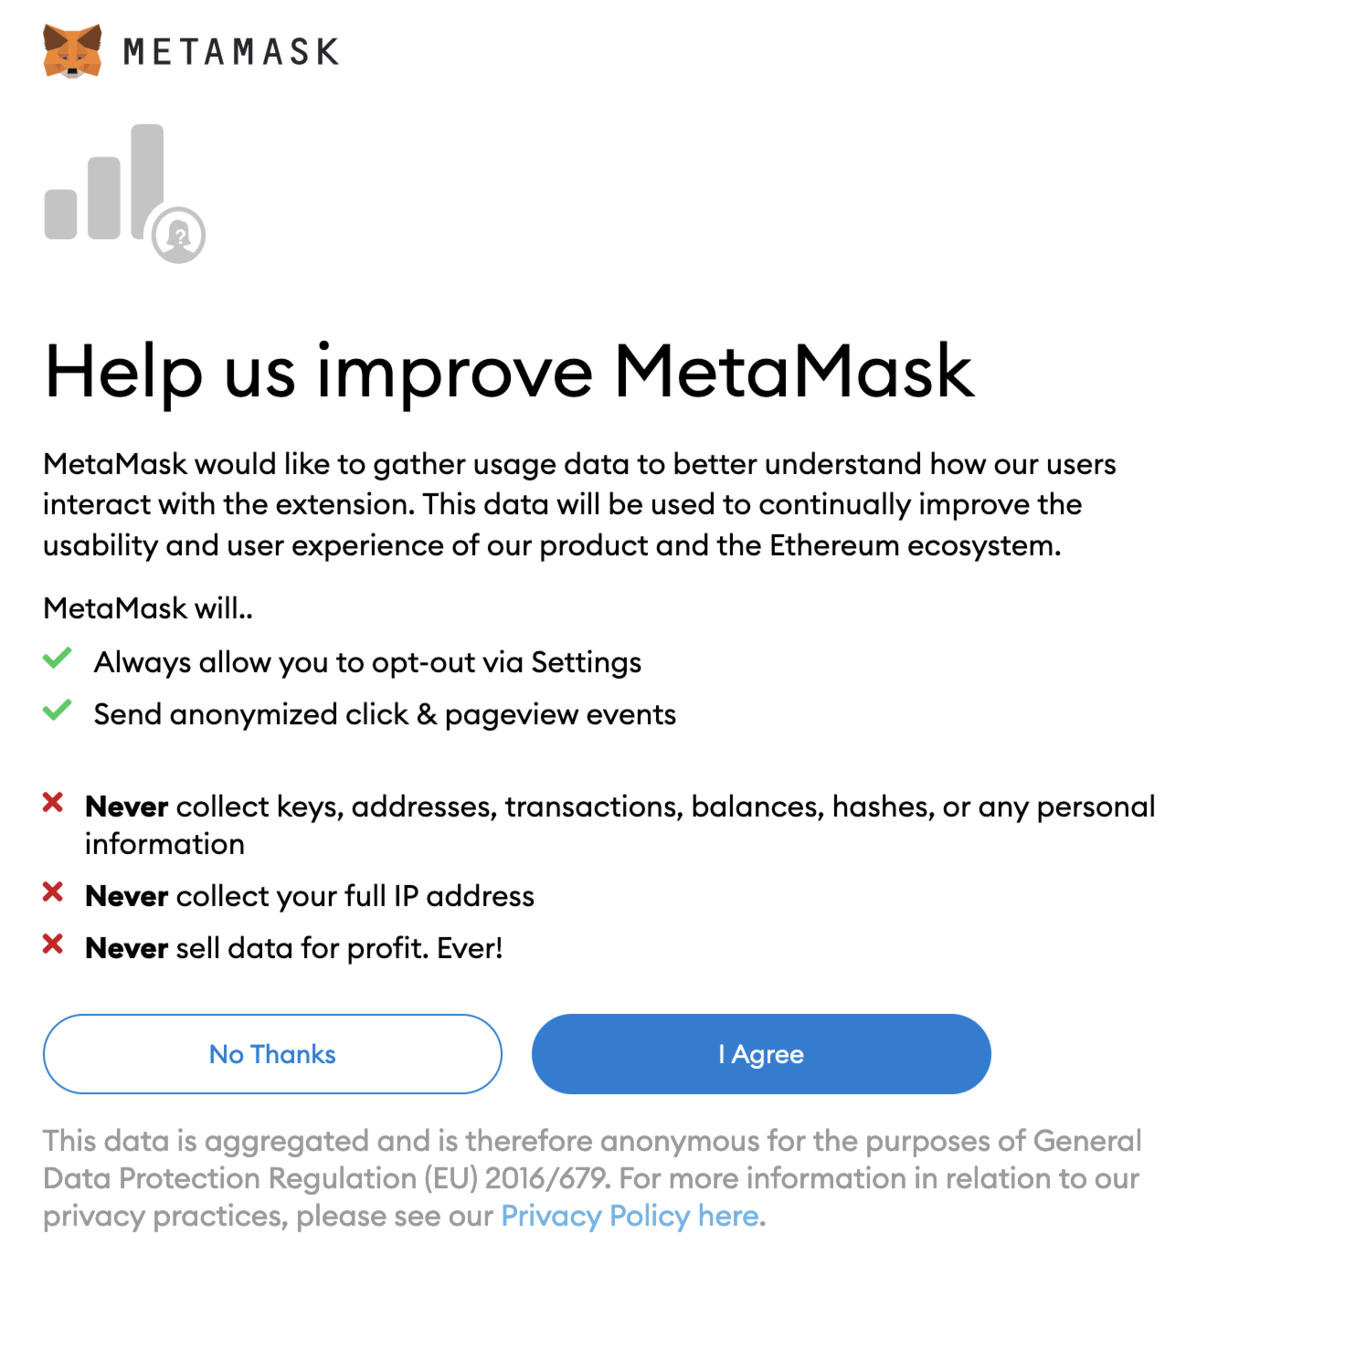
NB: there are other steps that I skip
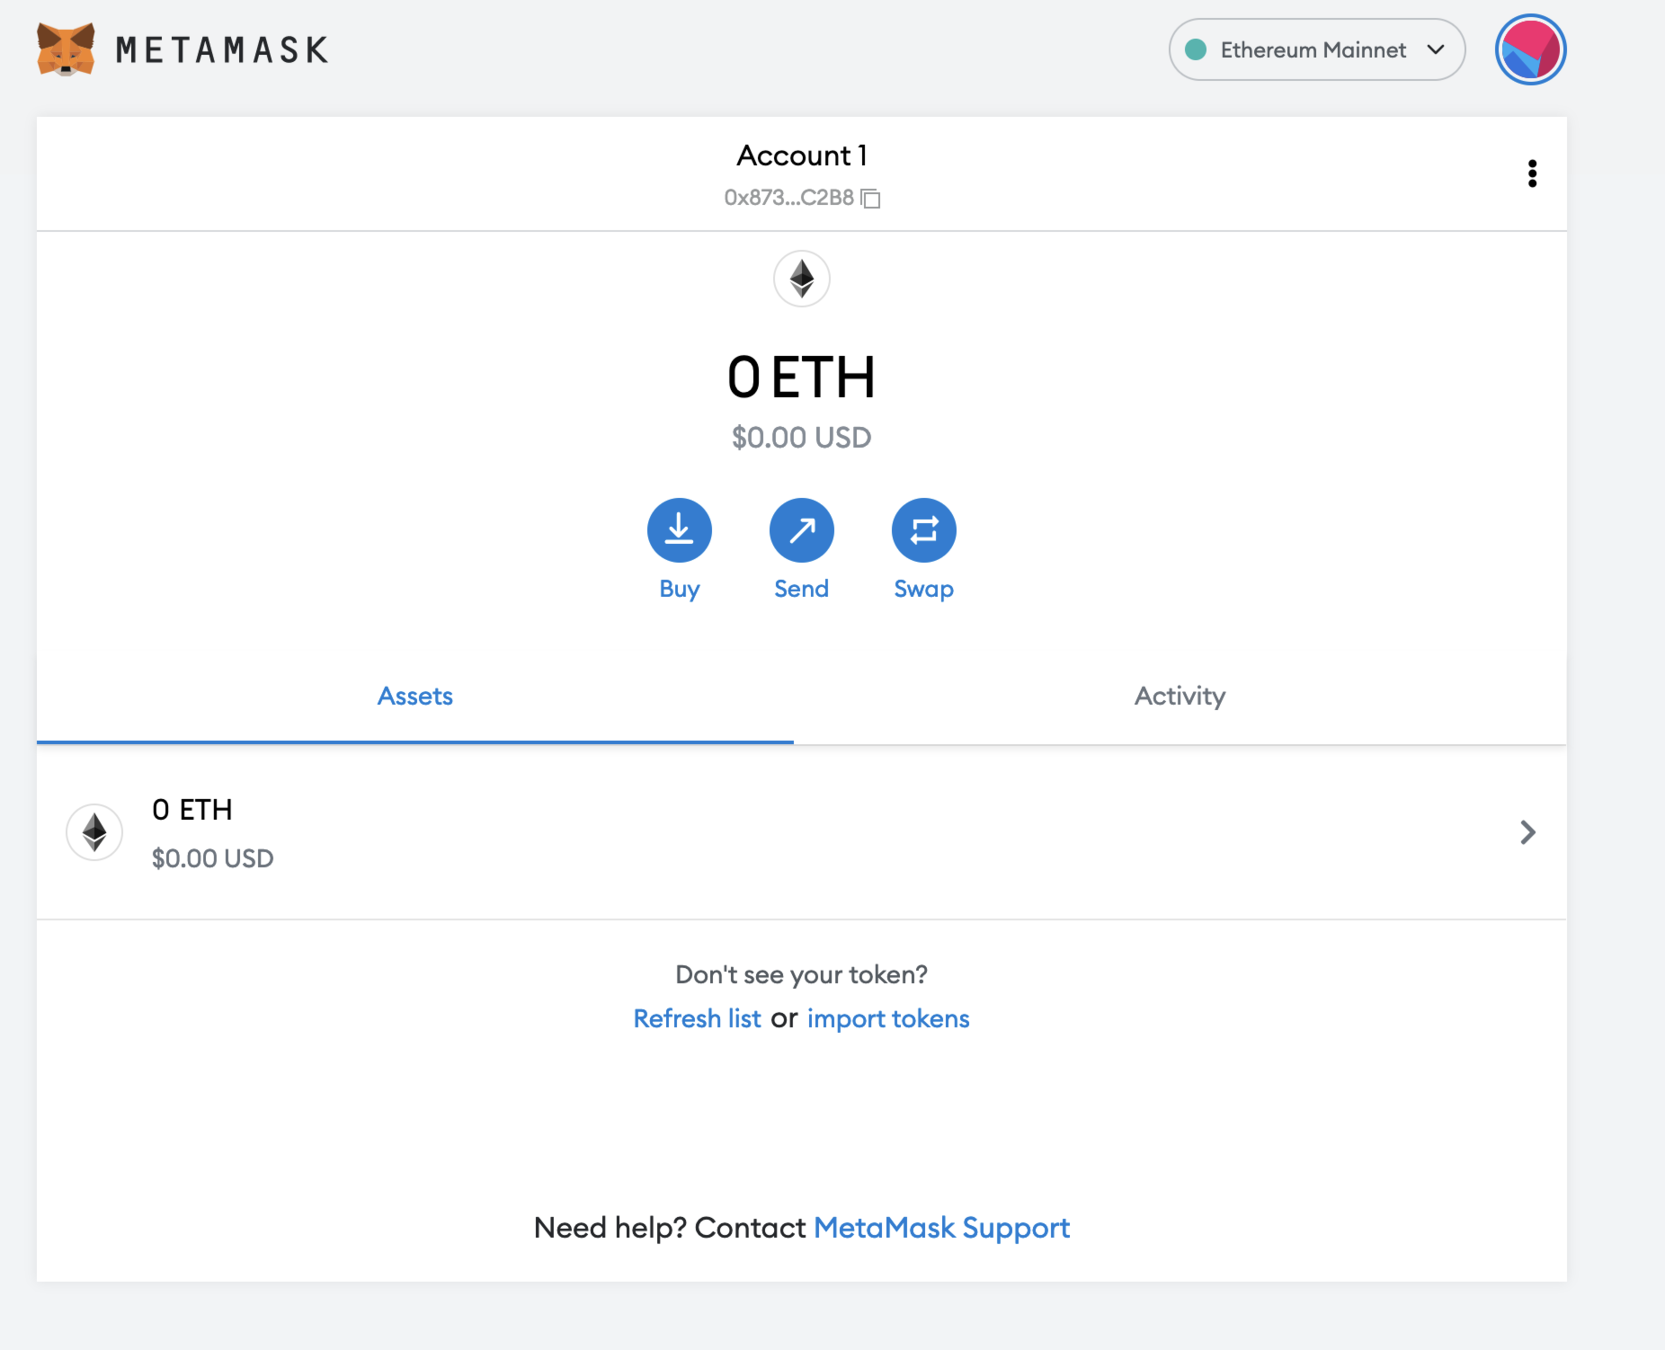
when you reach this screen, your wallet has been created!
if you click on the icon, it will look like this
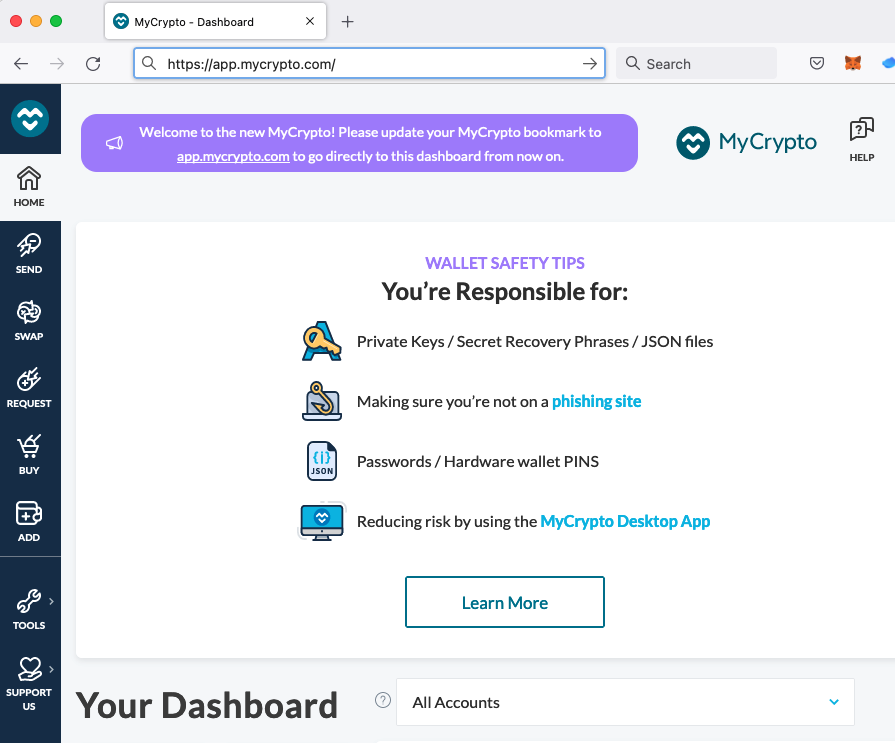
navigate to app.mycrypto.com
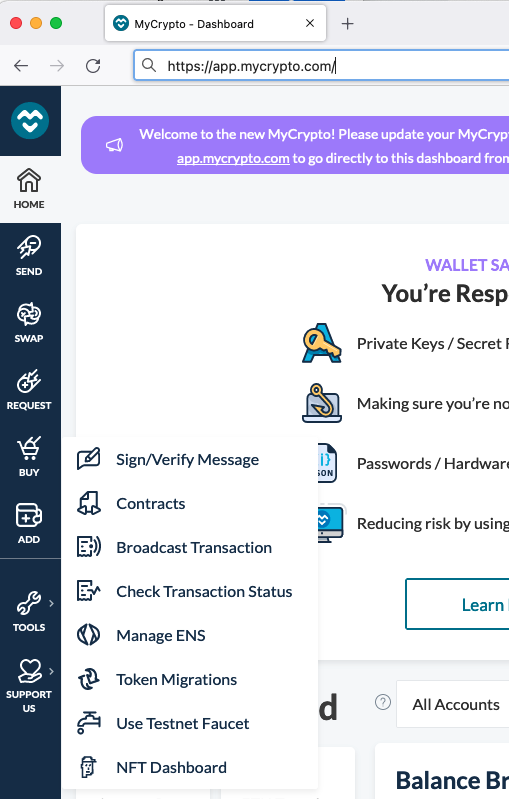
click on tools
click on
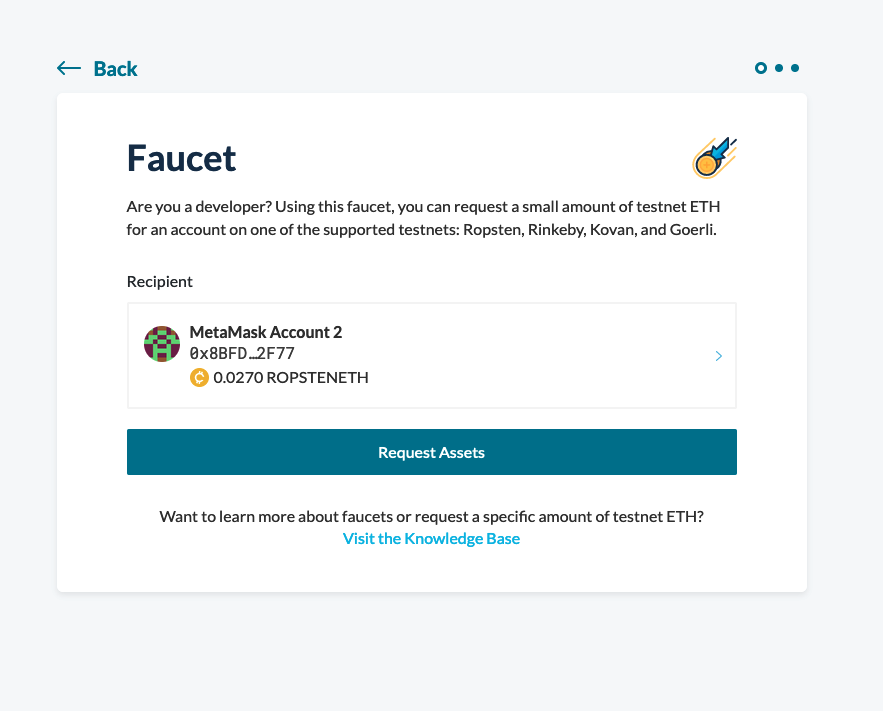
Use Testnet Faucet
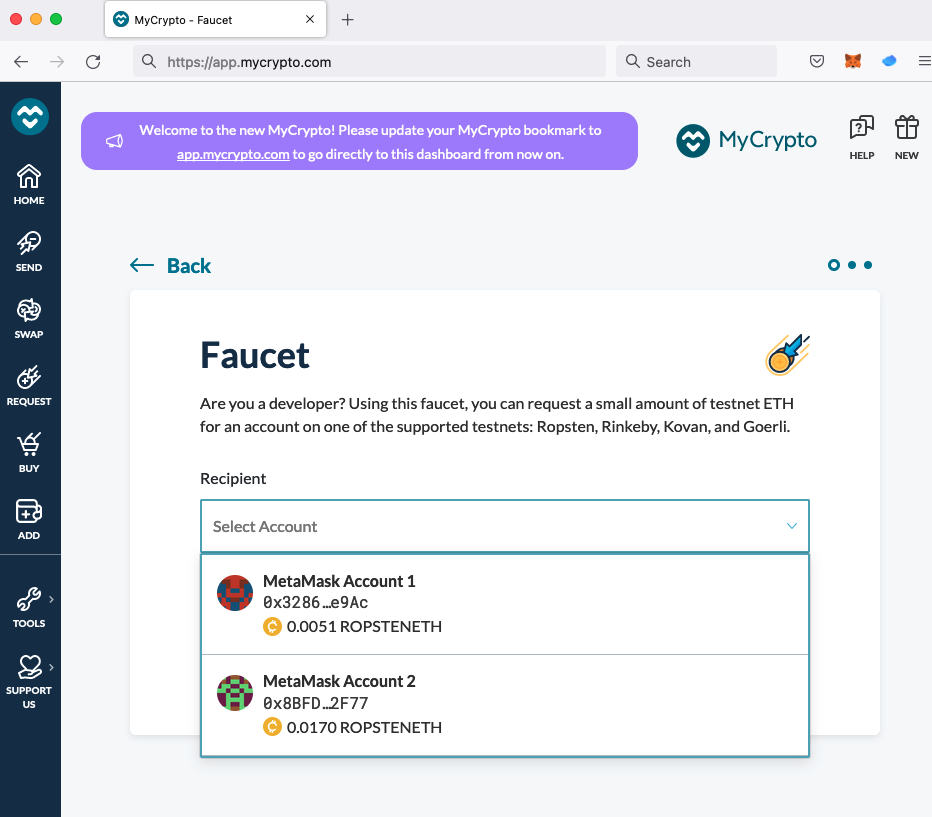
click to select account you want to request funds for
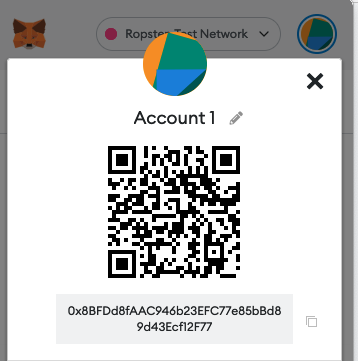
check wallet address you want to request funds to (next page: where to find your wallet address!)
gives the beginning and end of address & allows to copy address
click here to get:
your full public address
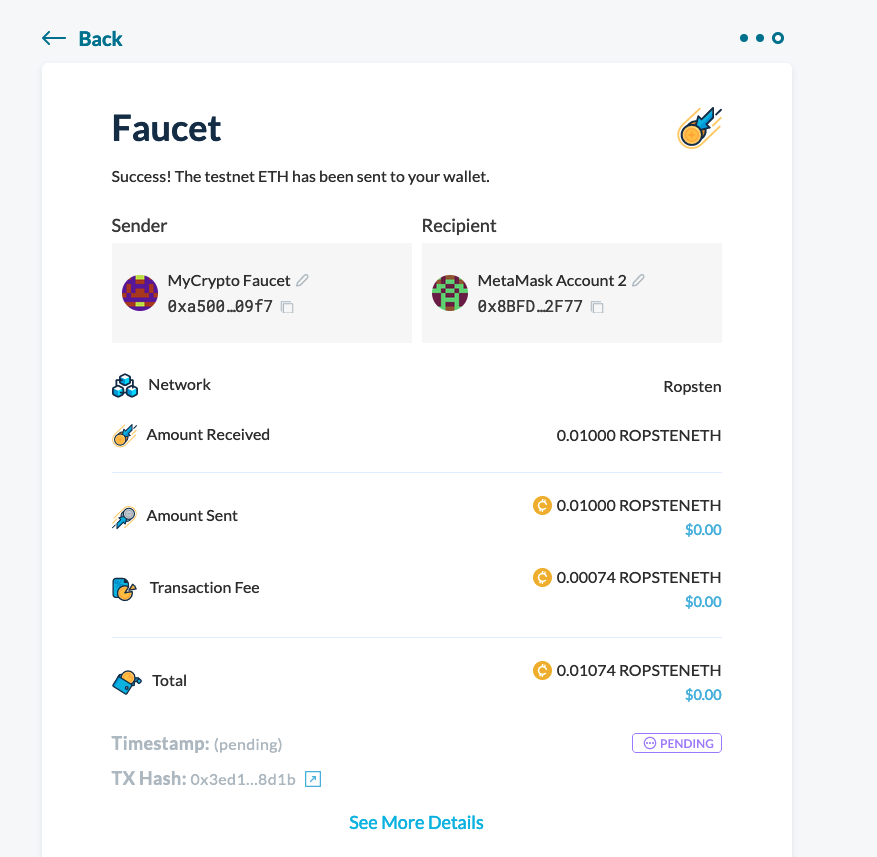
click to get funds
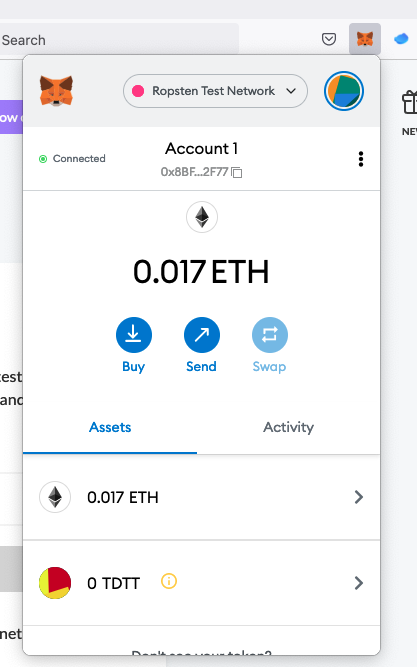
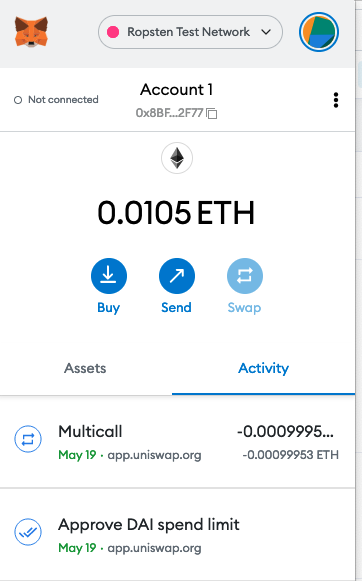
you will have received 0.01 ETH, visible now in your wallet app
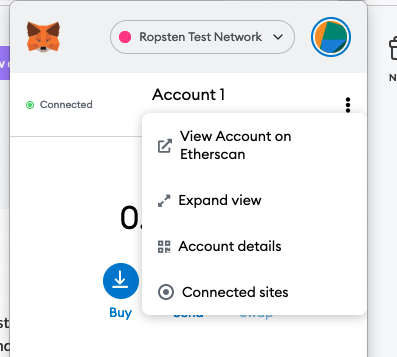
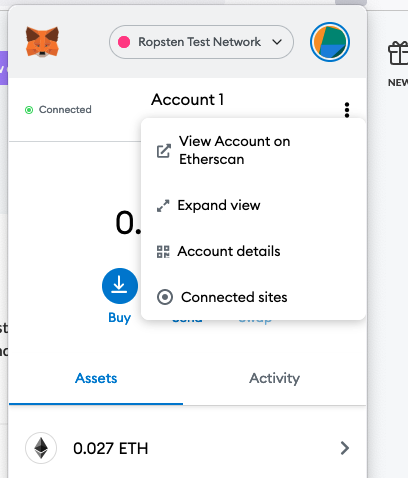
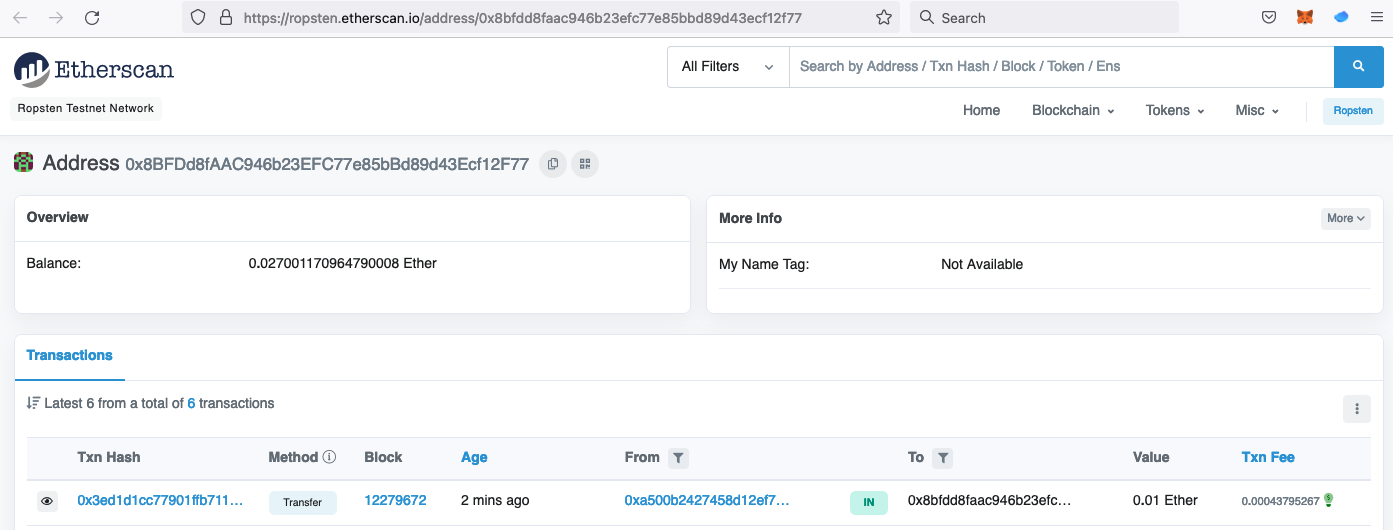
you can view this transaction using a blockchain explorer
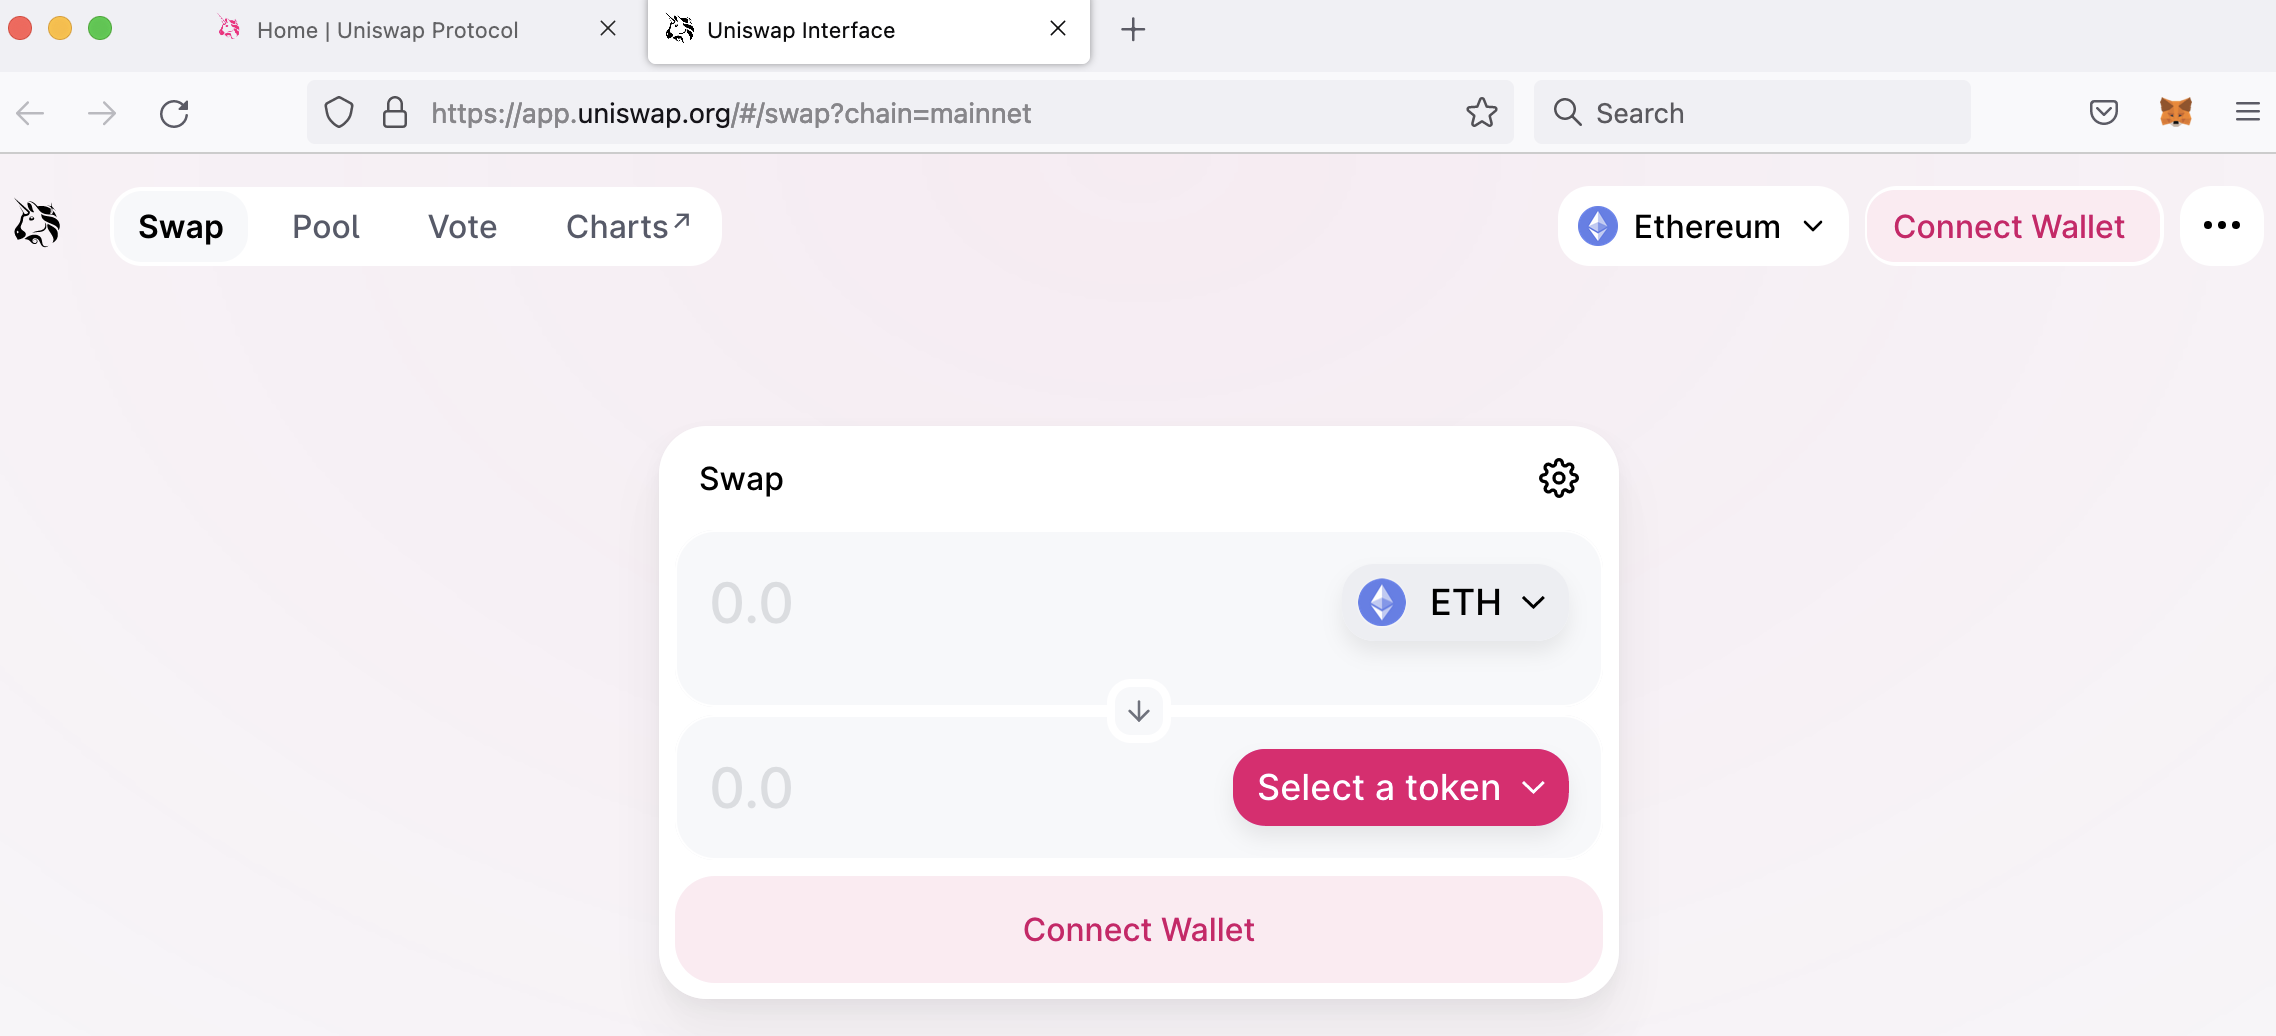
we will trade testnet ETH using uniswap, a decentralized, automated market maker protocol
2. launch app
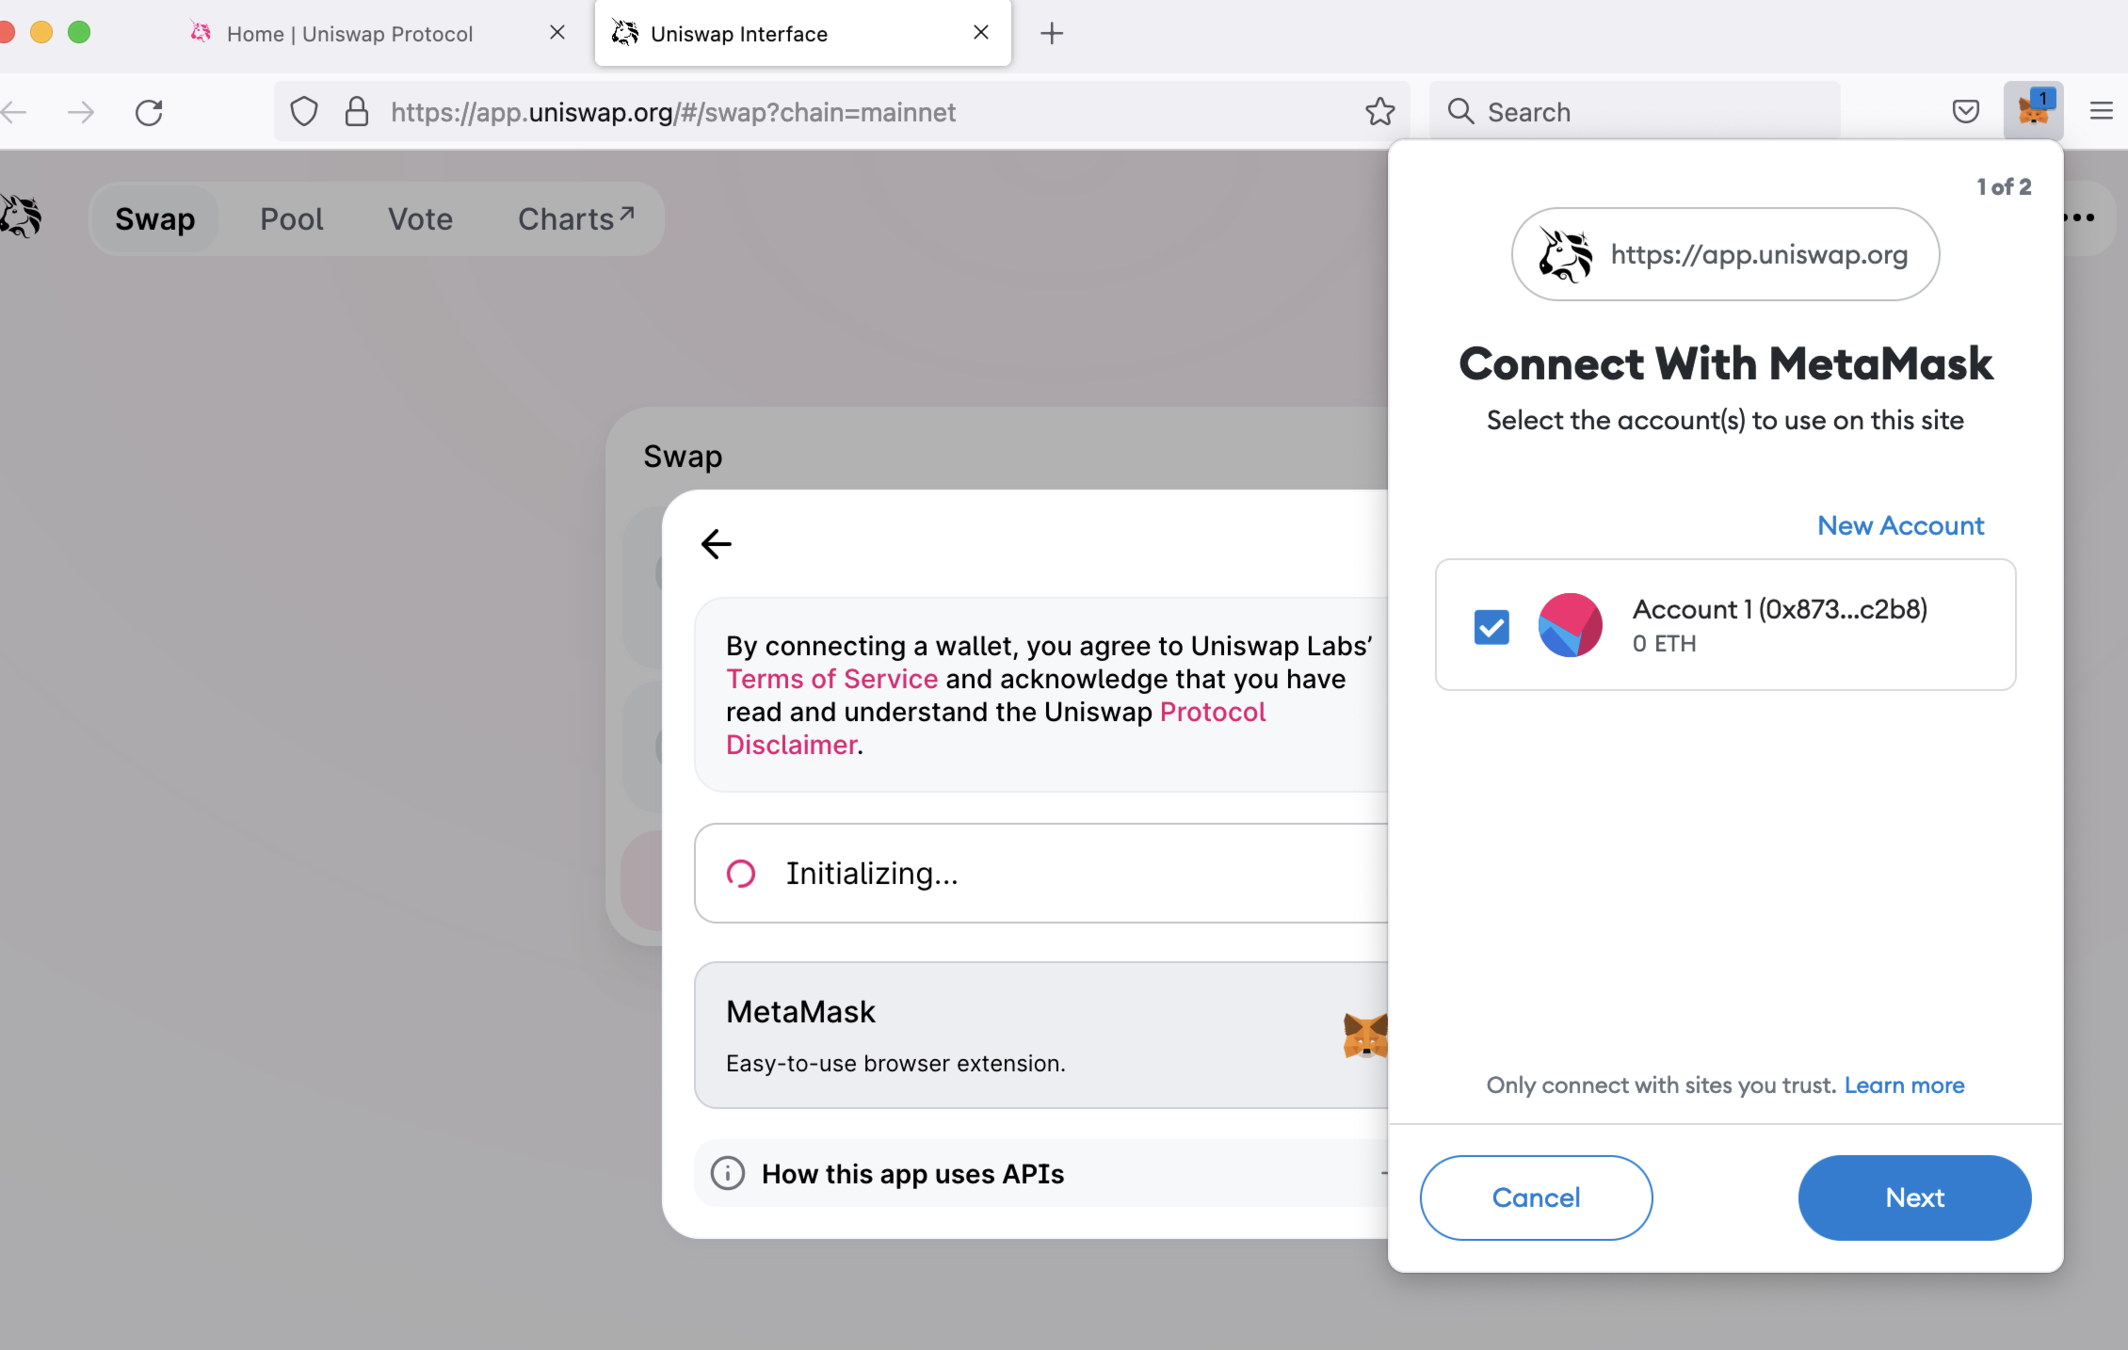
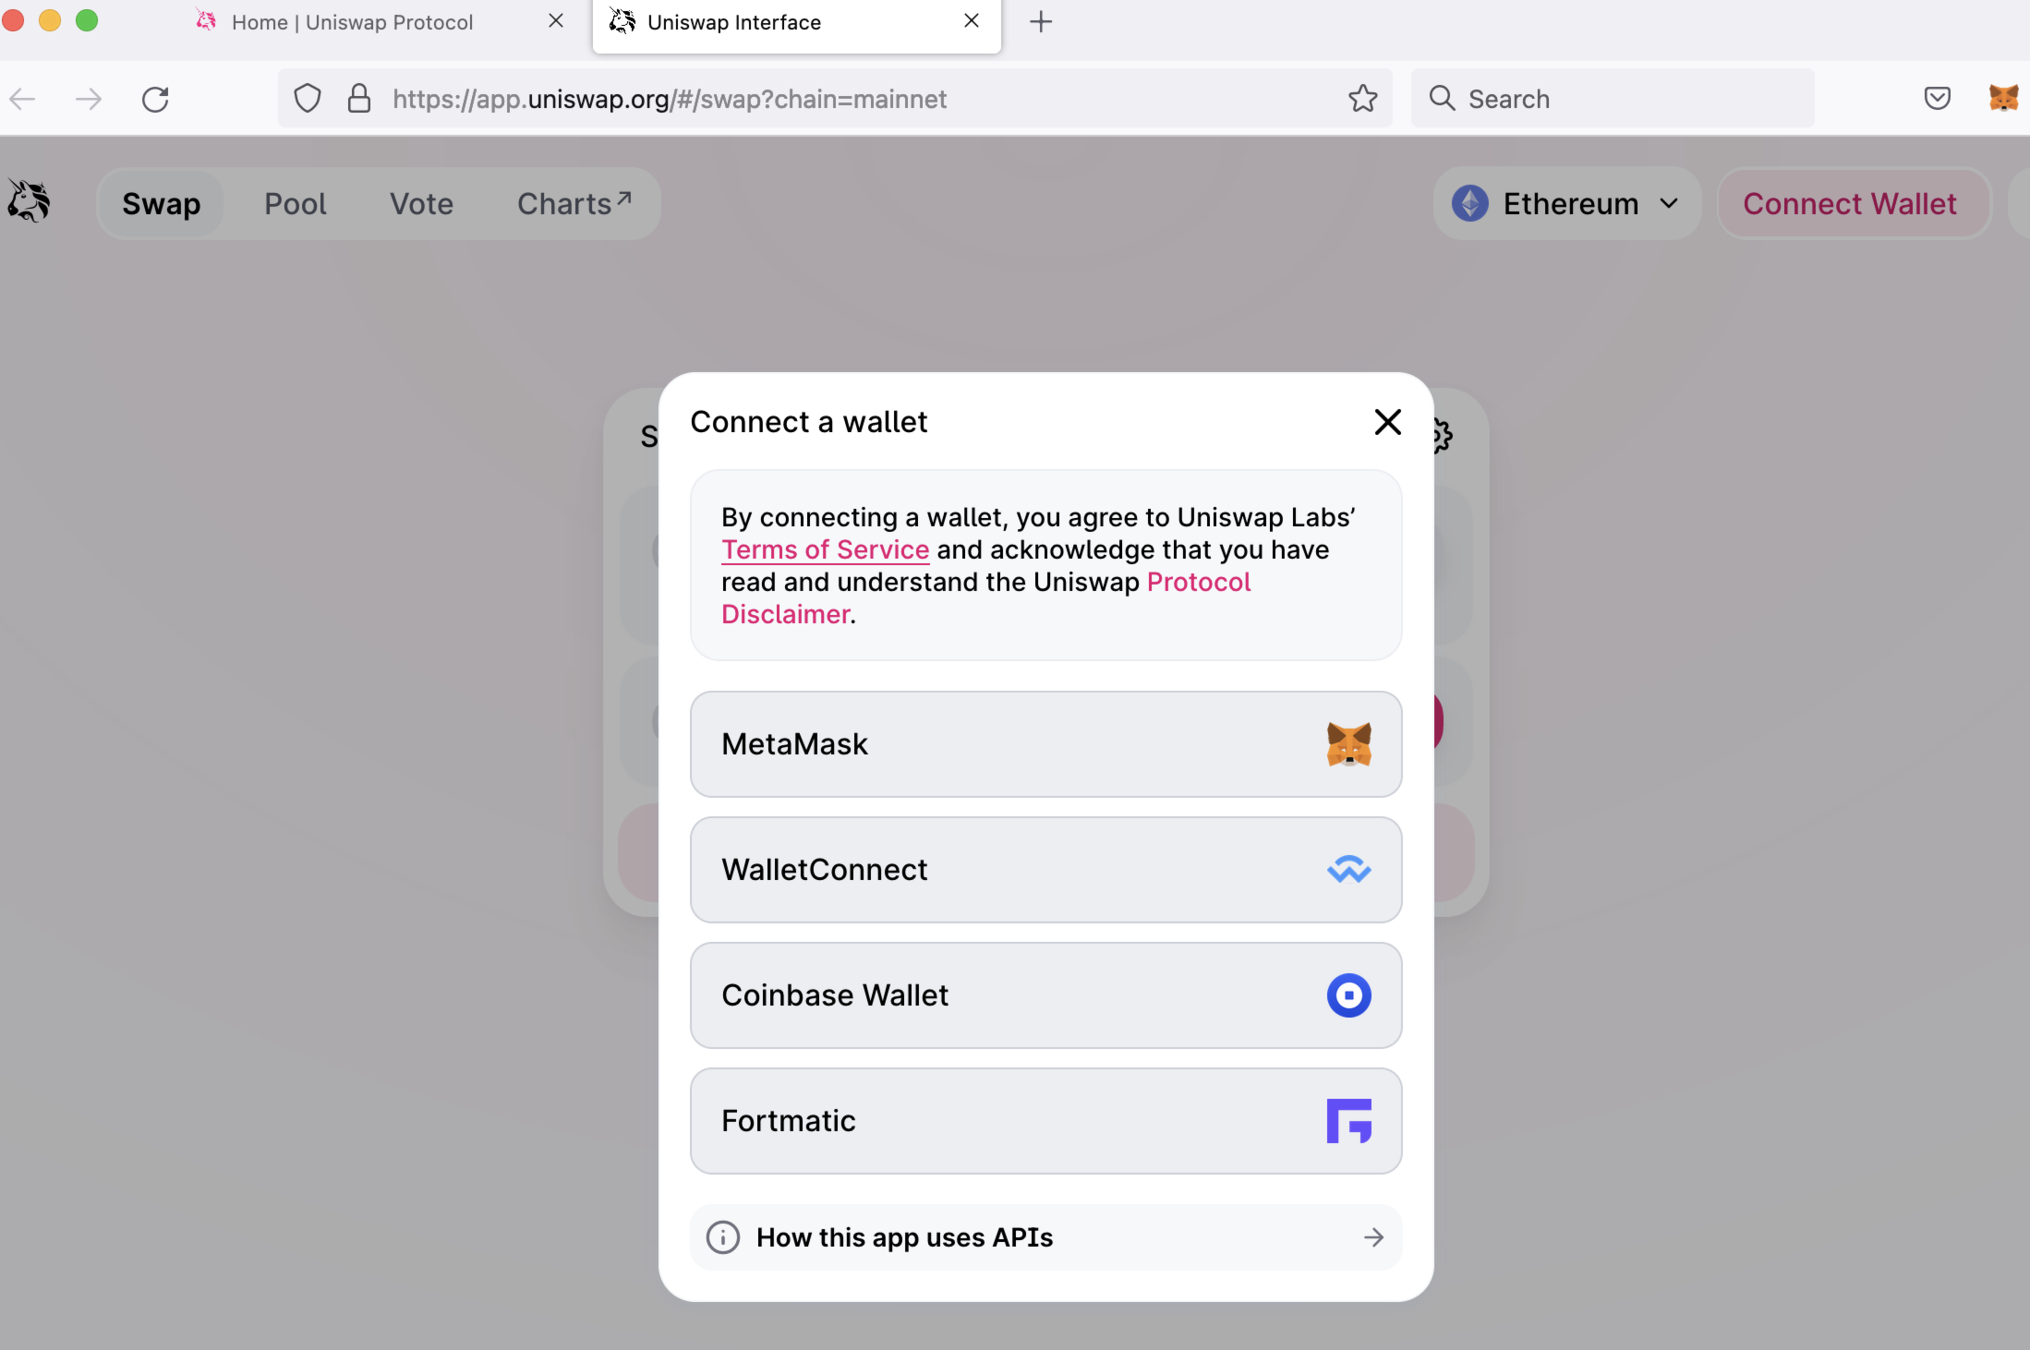
you need to connect your wallet to use the app
Step 1: click on MetaMask
Step 2: authorize connection
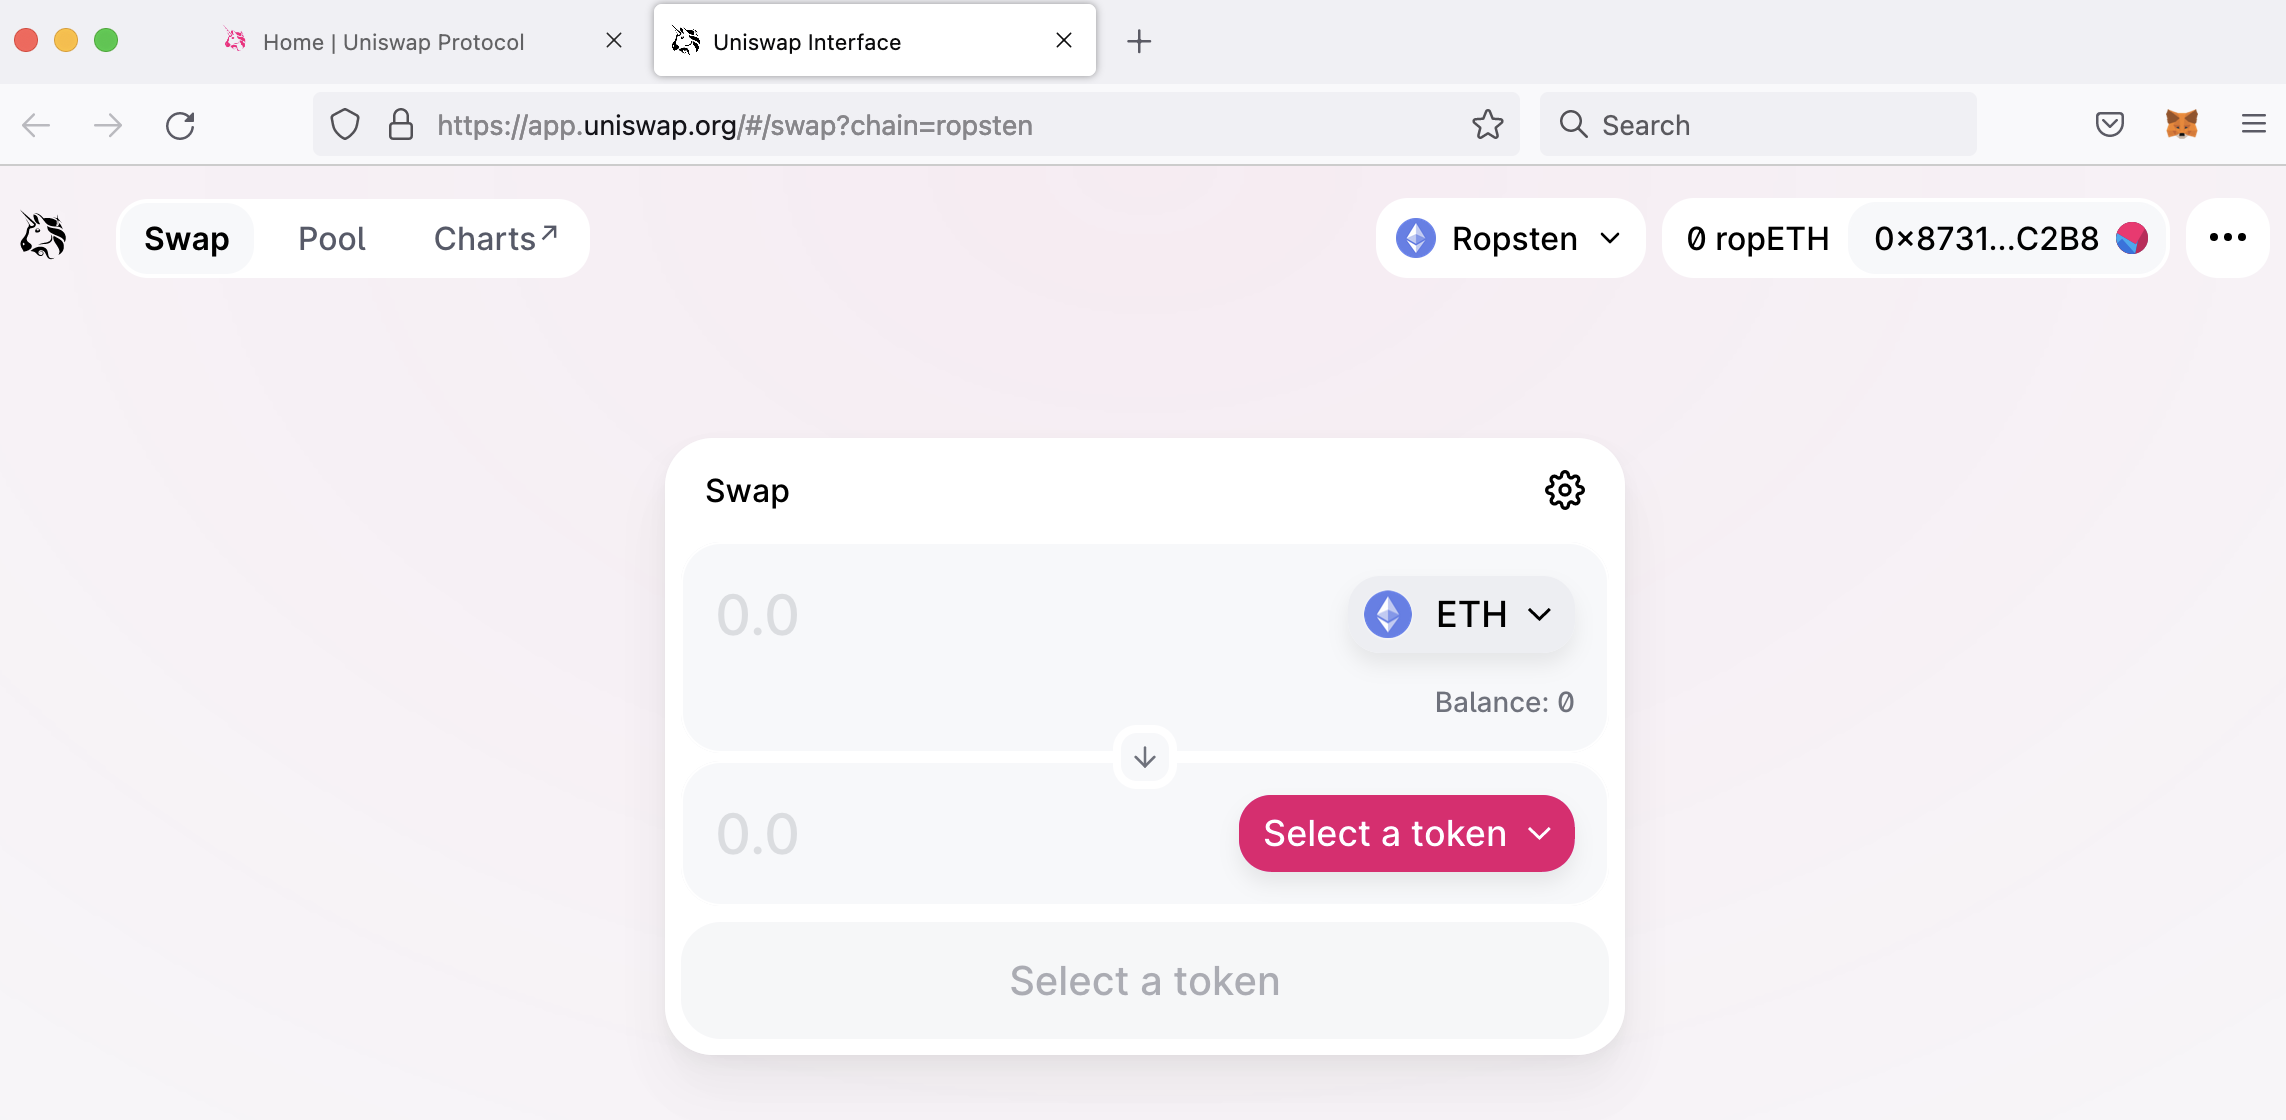
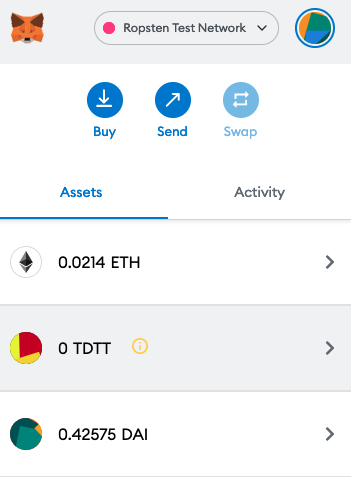
shows your wallet
shows we're in testnet mode
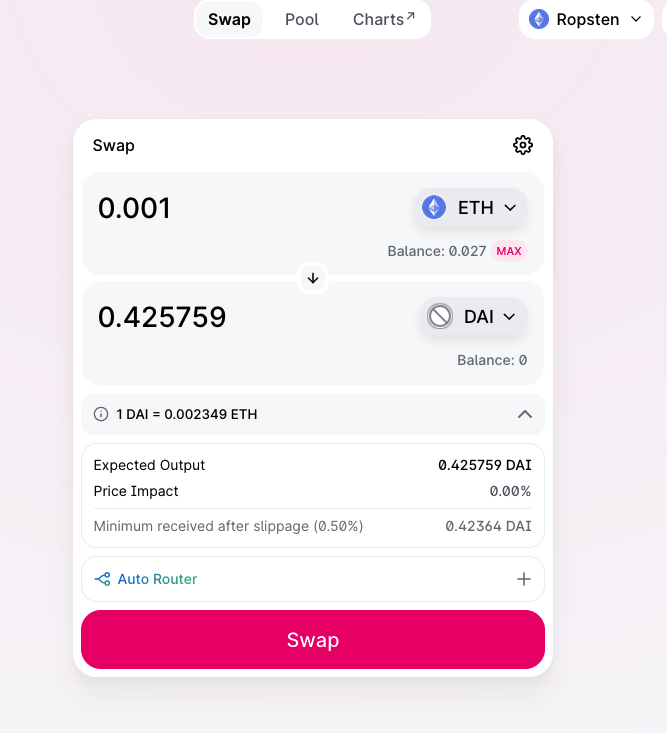
enter an amount to trade (not too much, like 0.001)
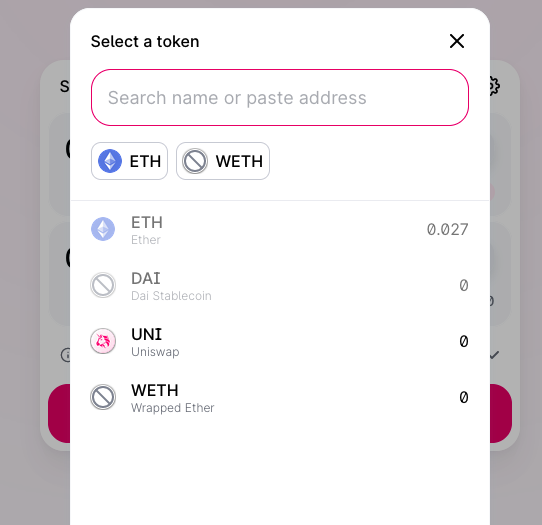
click here to select the token we want to buy
let's use DAI (a digital representation of the USD)
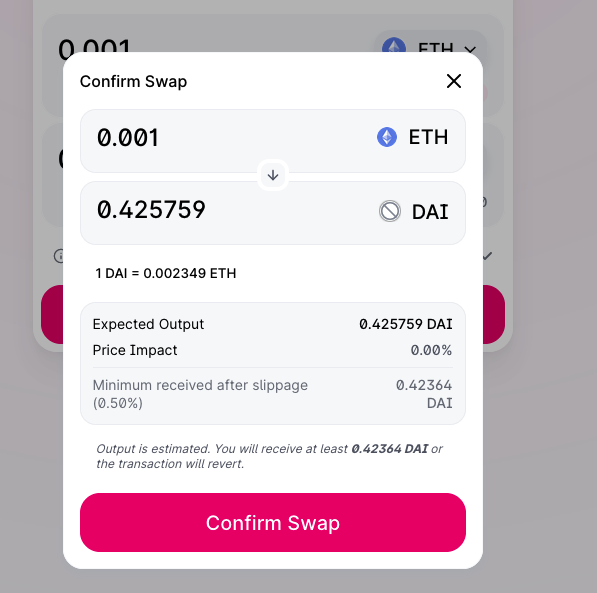
that's the projected amount that you get for 0.001 ETH
click here
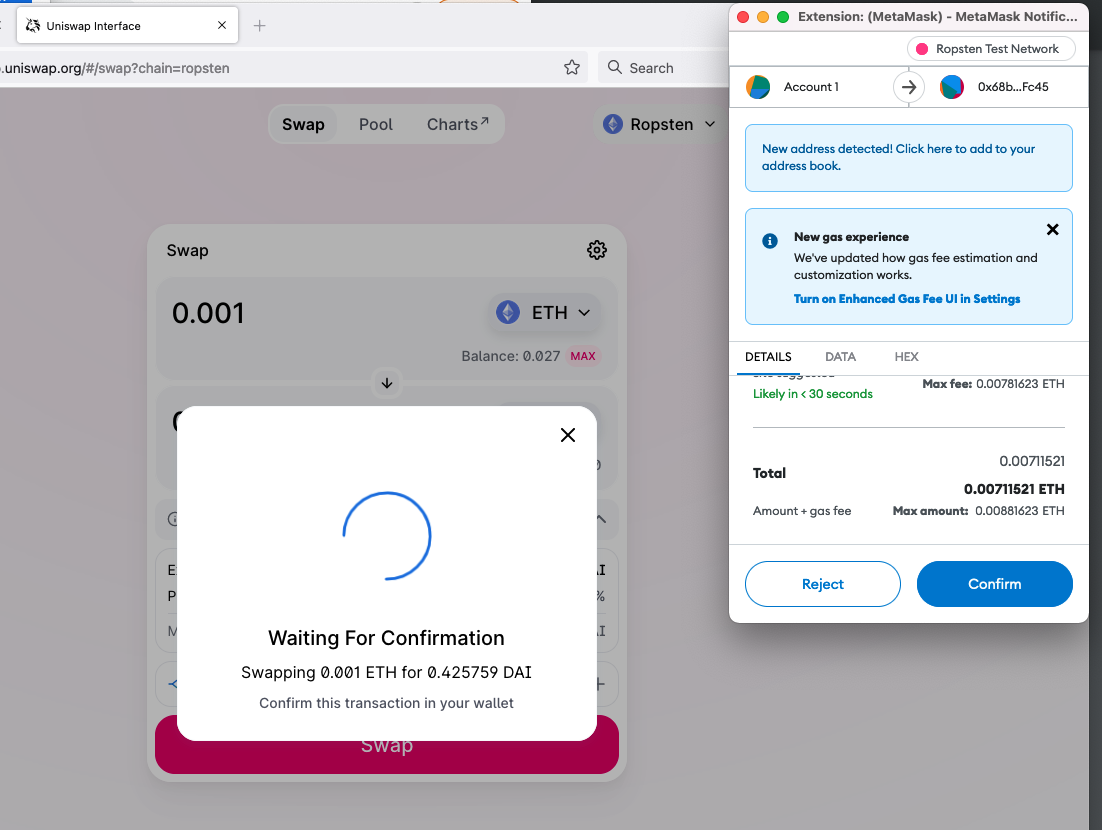
click to confirm
NB: sometimes it doesn't directly go to "confirm"; you may have to navigate to your wallet app (which will show a small notification indicator)
(there may be another step)
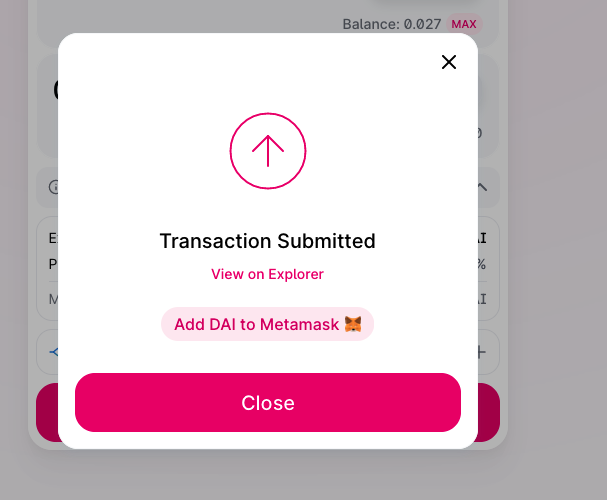
by default, the new token does not show up in your wallet
\(\to\) click on add DAI to Metamask
should now show up in your wallet
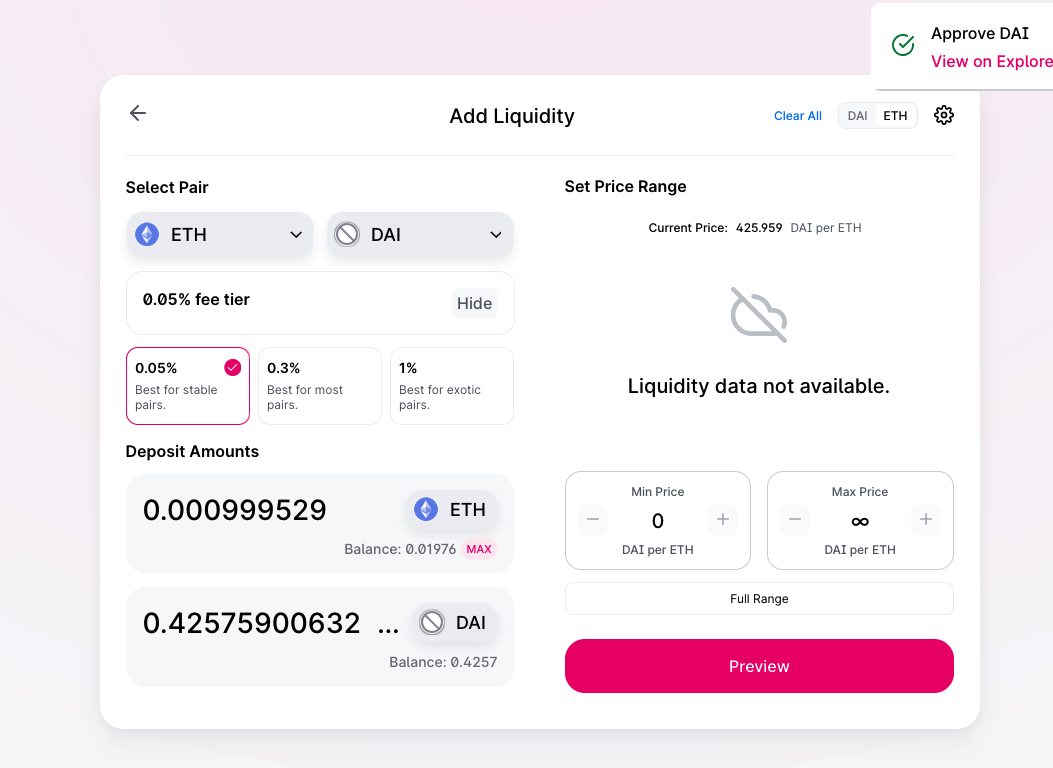
Part 1 of advanced dabbling: we will now put our ETH and DAI to good use and become UniSwap liquidity providers
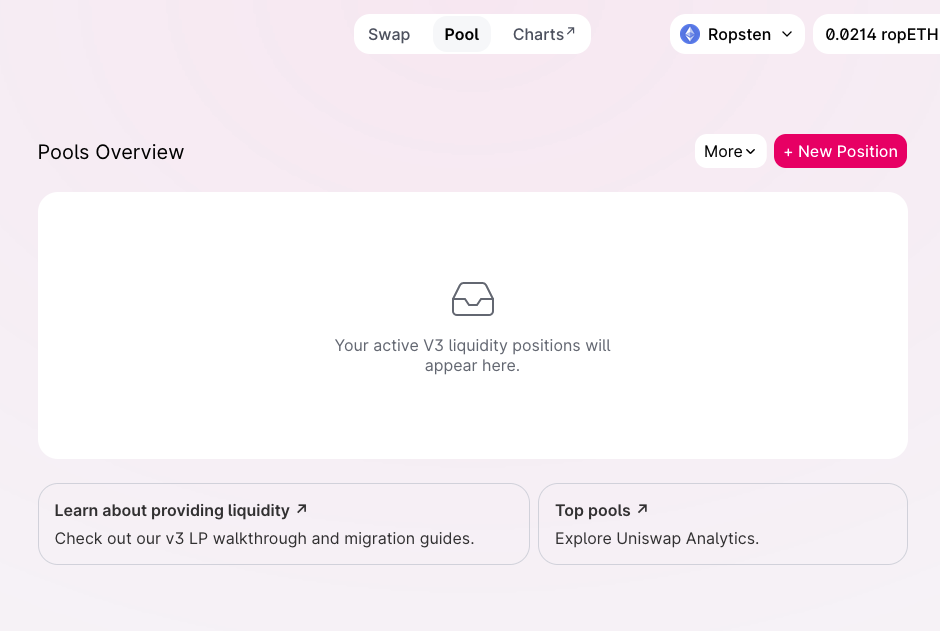
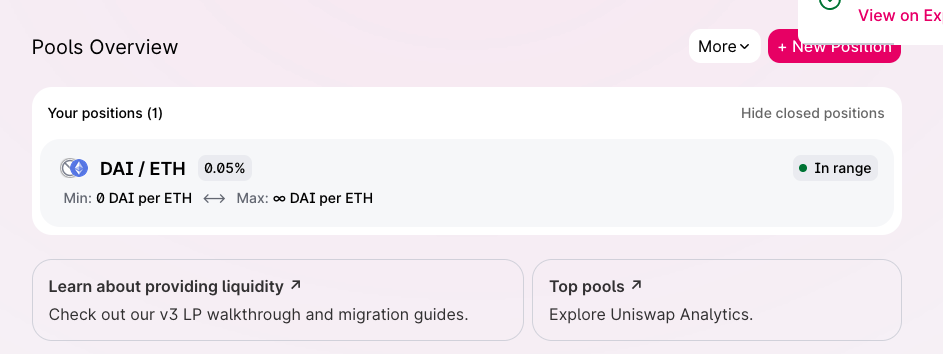
1. navigate to "pool"
2. establish a new position
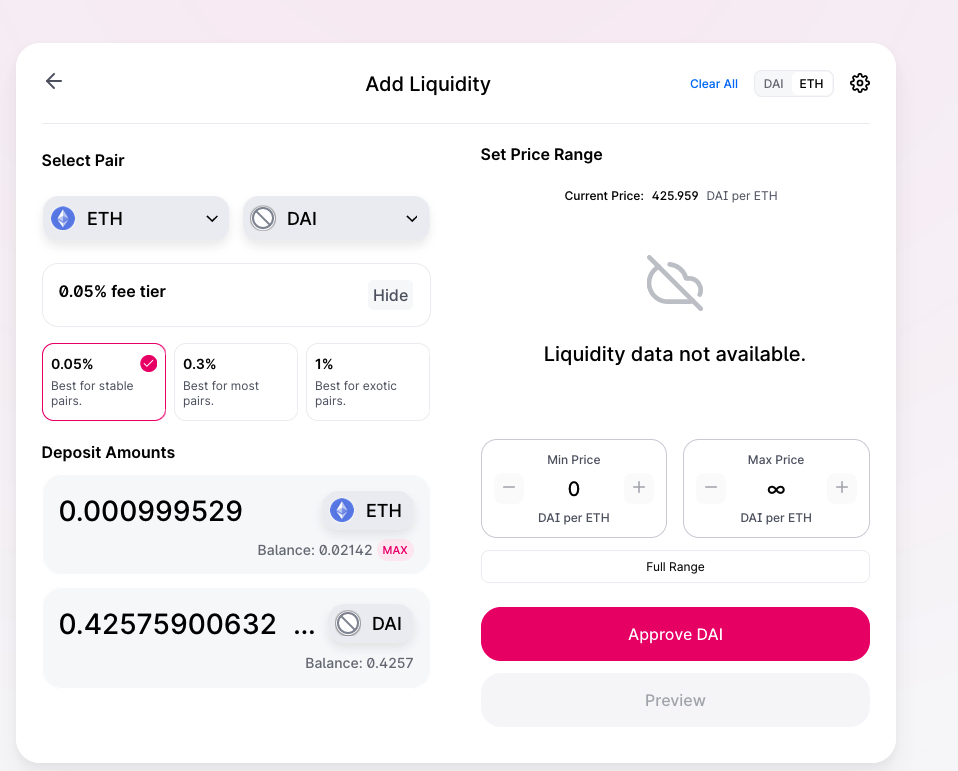
There are lots of options here. I'll keep it simple:
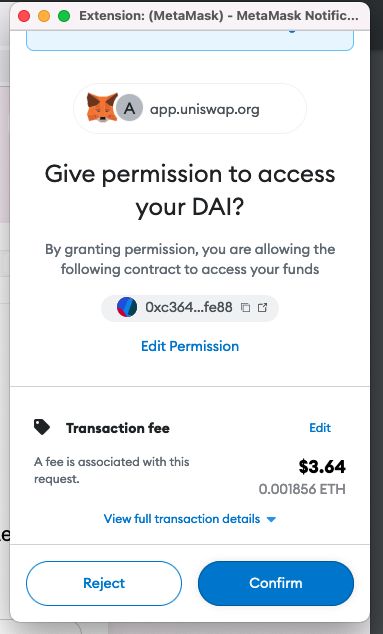
before we can use the DAI tokens, we need to give the app the permission to access the DAI on your behalf \(\to\) you need to sign this as a transaction with your wallet
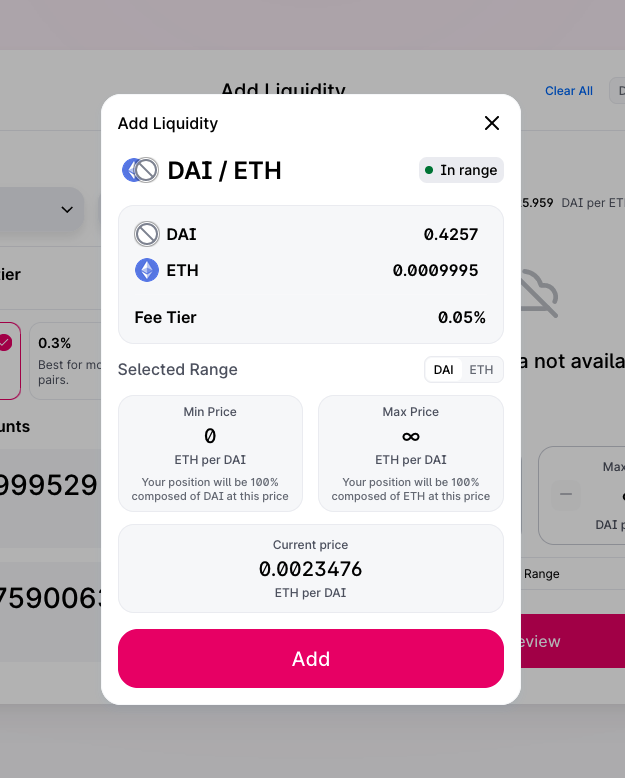
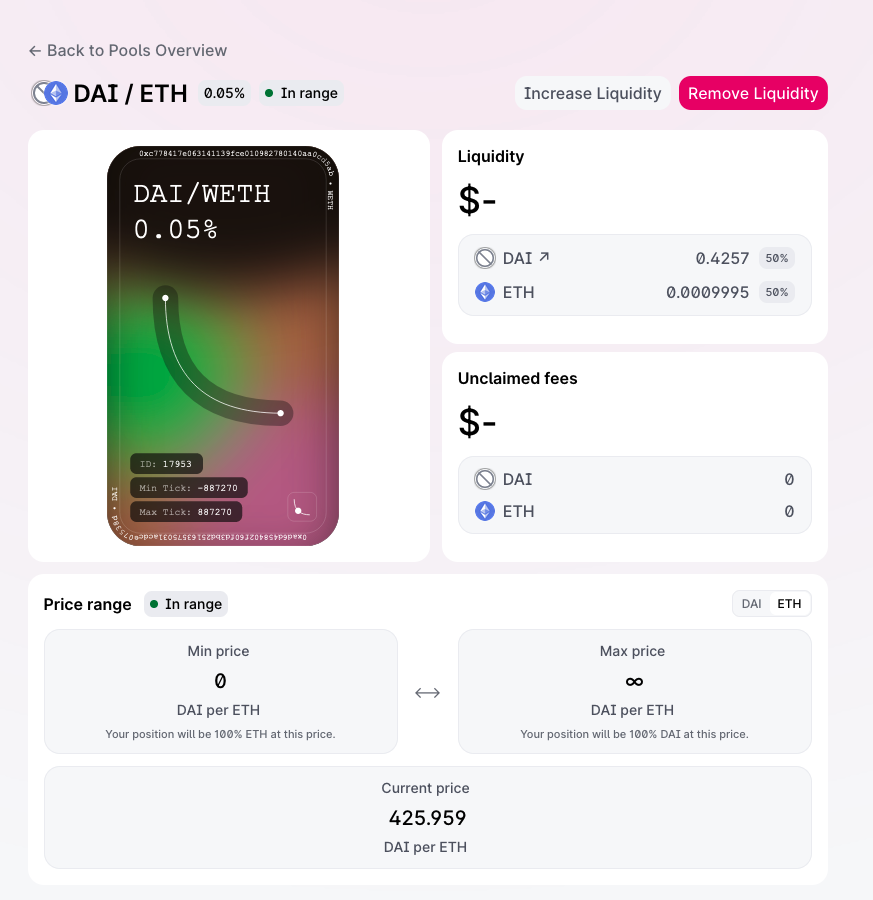
you are now ready to supply liquidity:
Step 1
Step 2
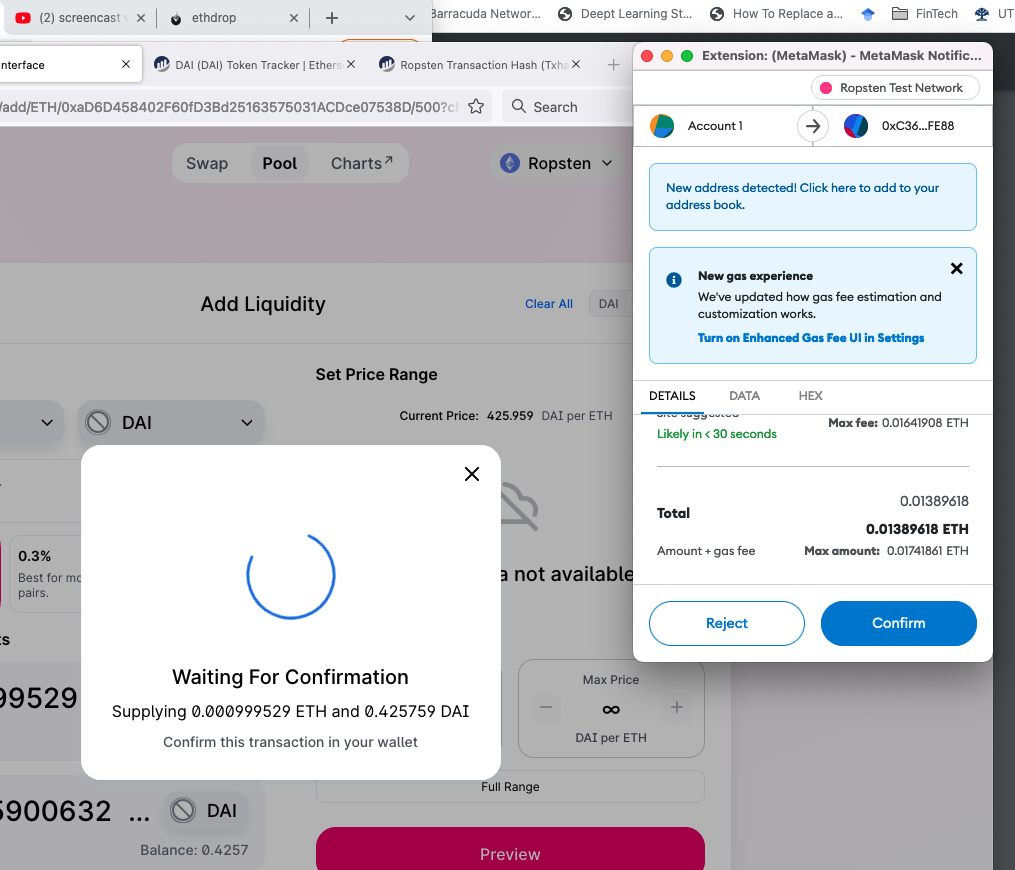
Step 3: sign with wallet
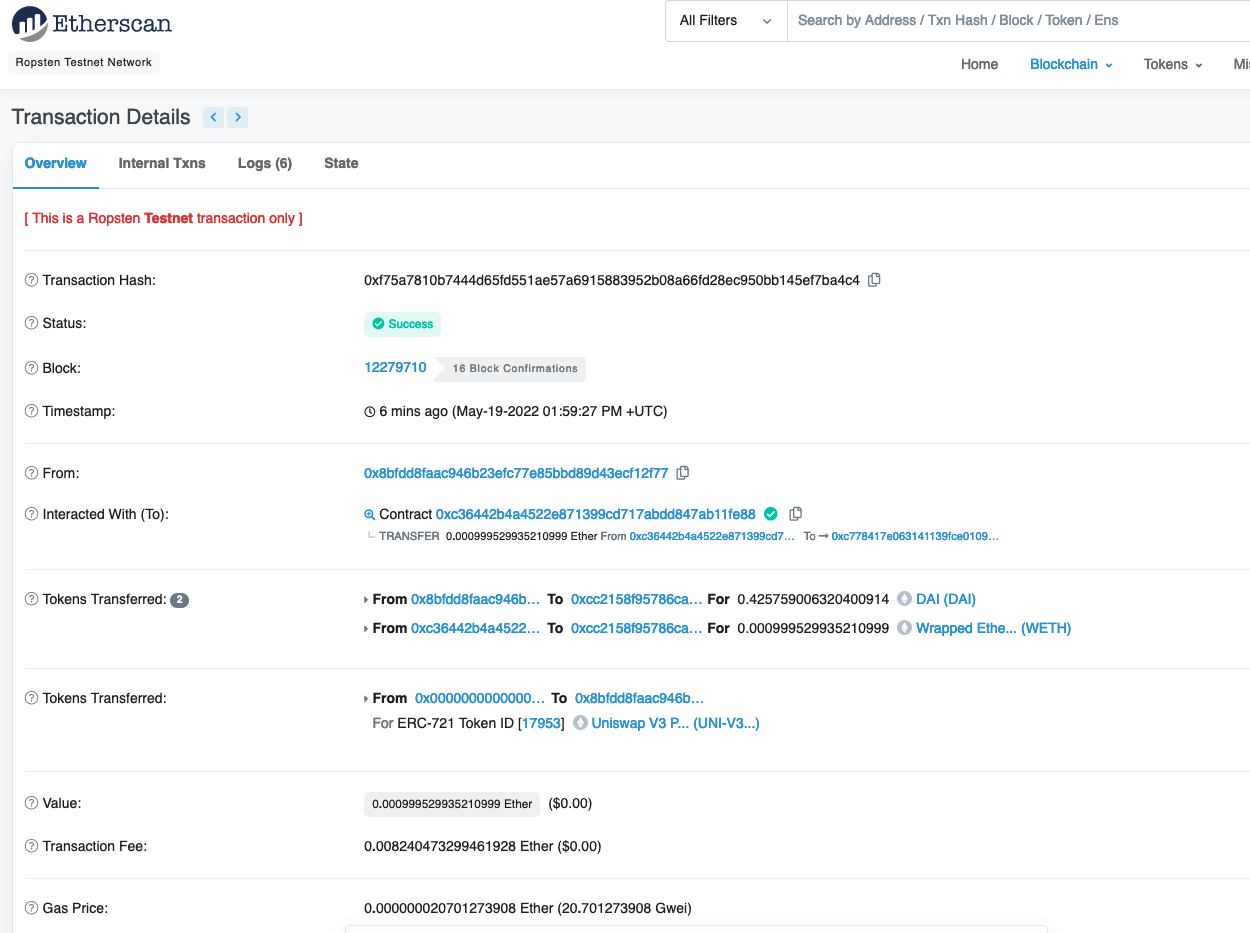
details on Etherscan
your wallet also tells you what you did
the UniSwap App tells you what you have; click on the field to get:
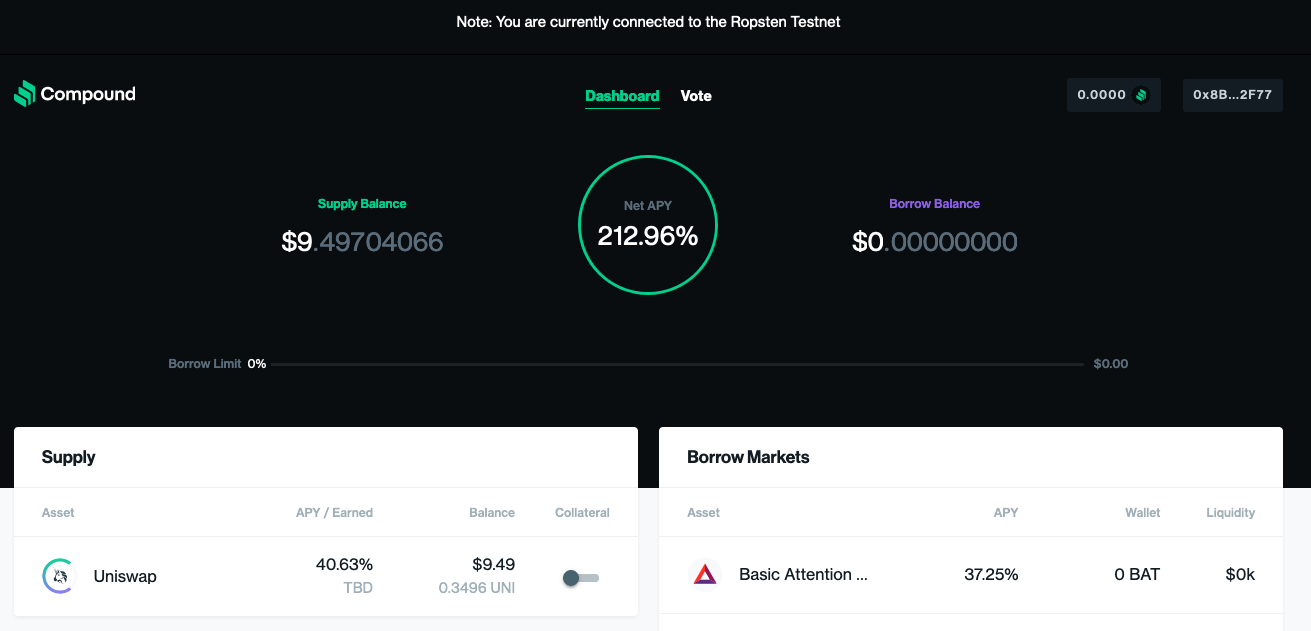
Part 2 of advanced dabbling: we will be lenders in Compound
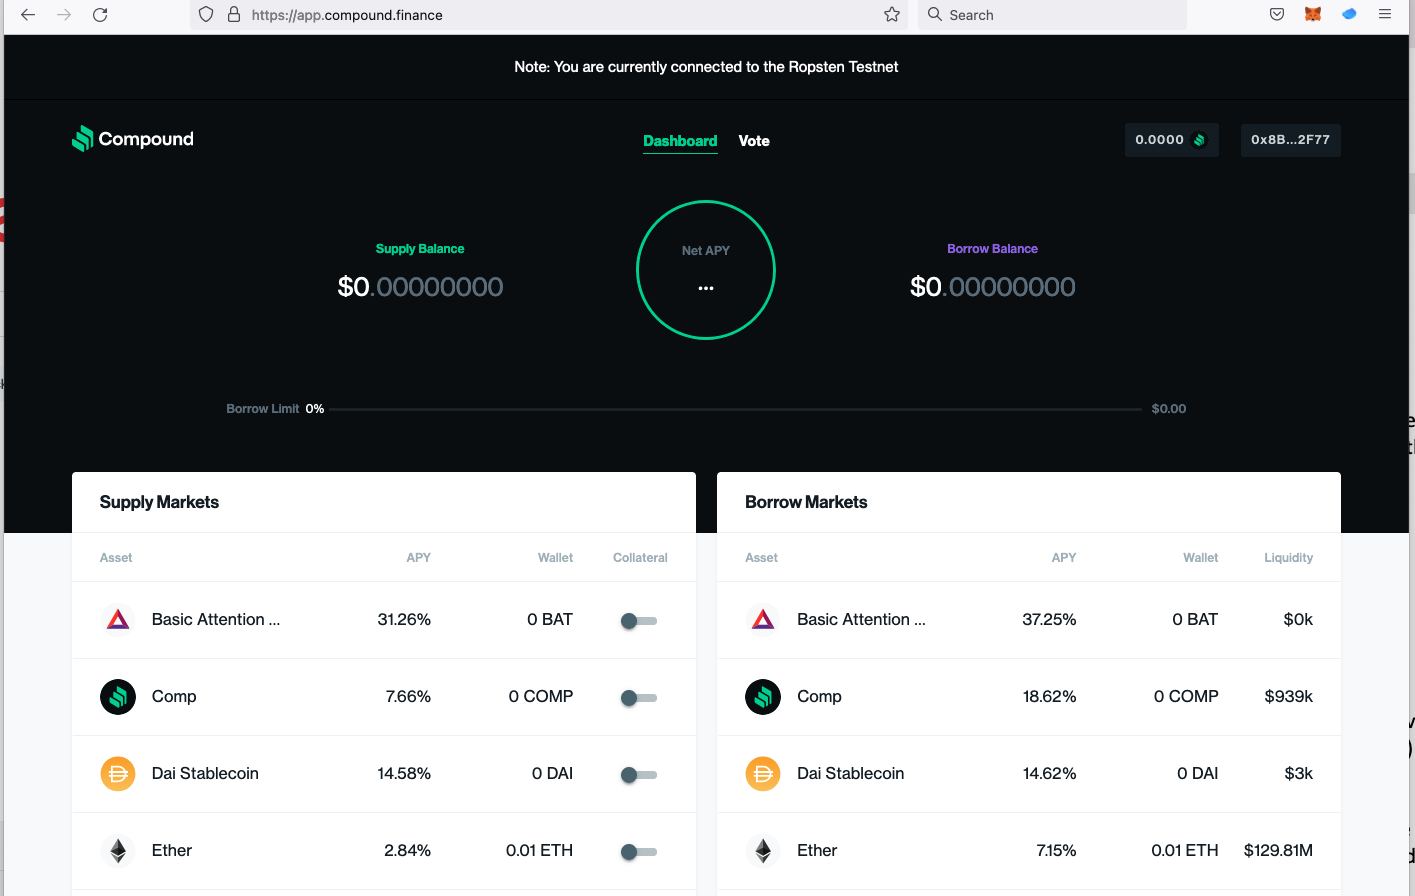
navigate to app.compound.finance and connect your wallet
NB: you may want/have to request more ETH from the faucet and you may want to purchase some other tokens on UniSwap, such as the UNI token
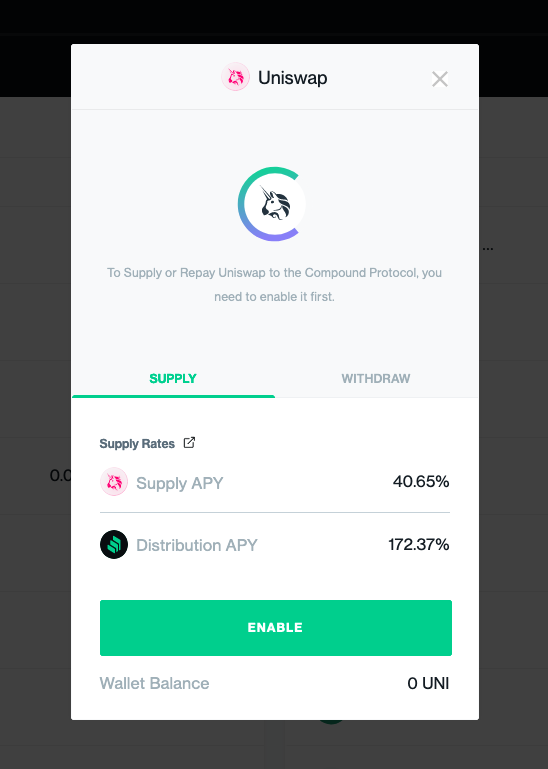
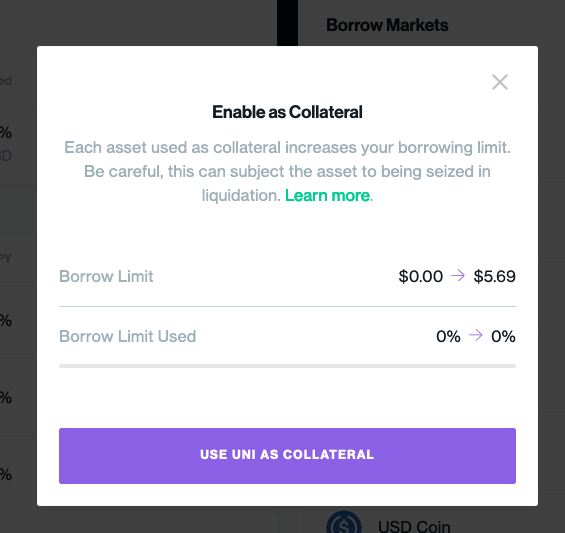
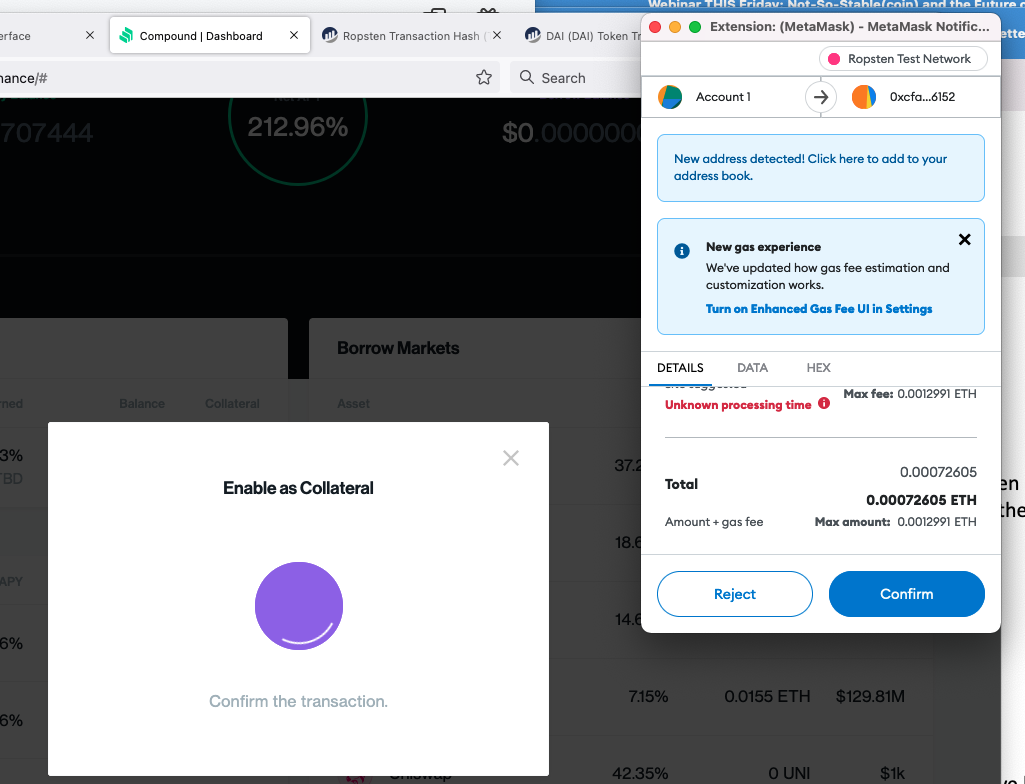
as with UniSwap liquidity supply, you first need to allow the app to use tokens (I am allowing the use of the UNI token) on your behalf
unfortunately, I don't have the UNI token ... but Compound has a faucet to try it out - so click there
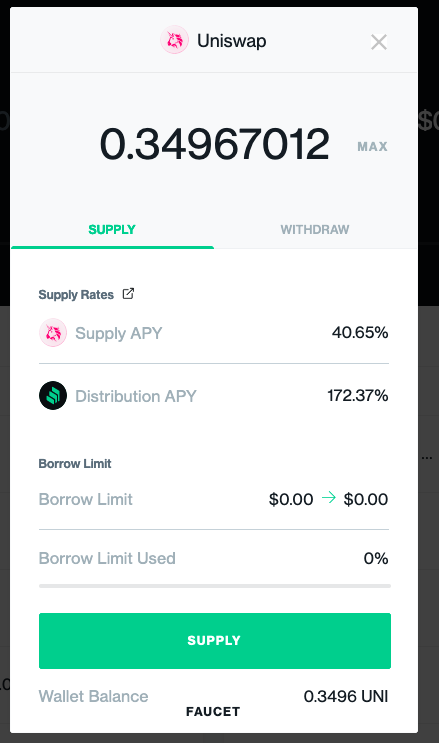
which generously gave me 0.35 UNI
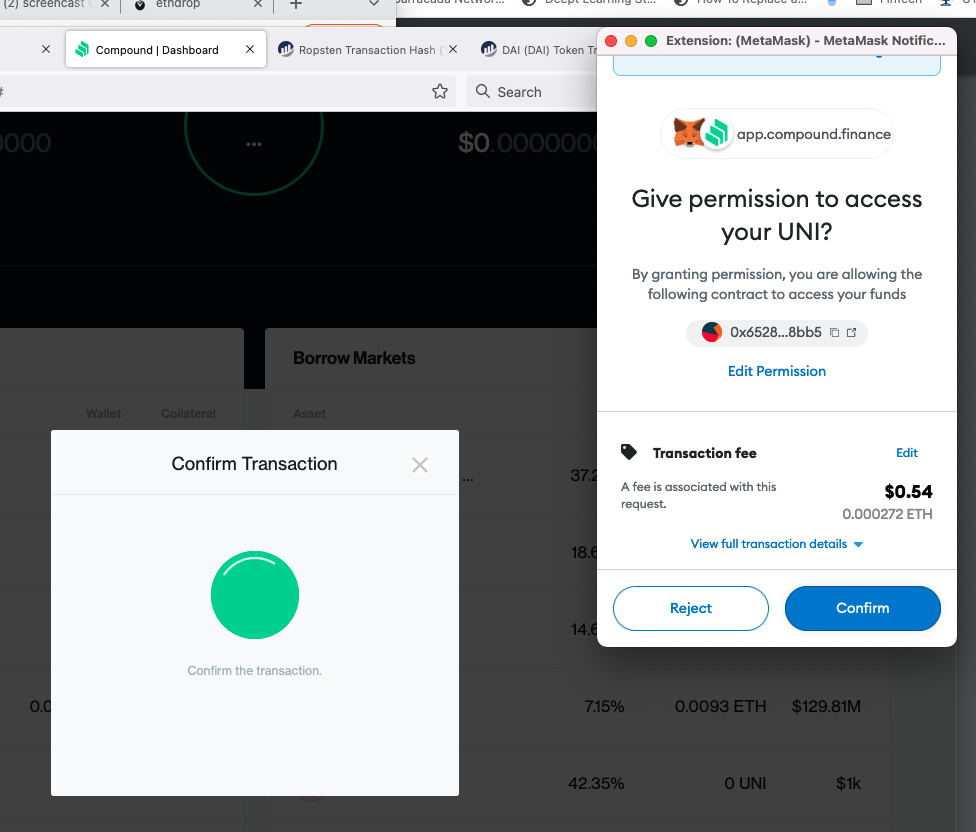
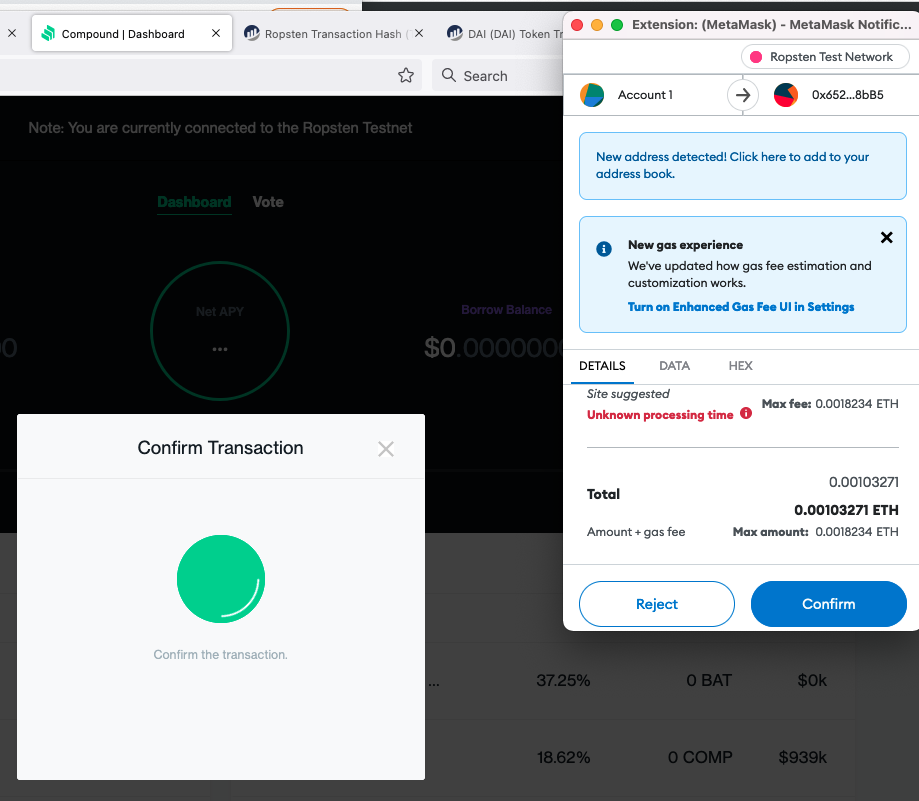
click max and supply
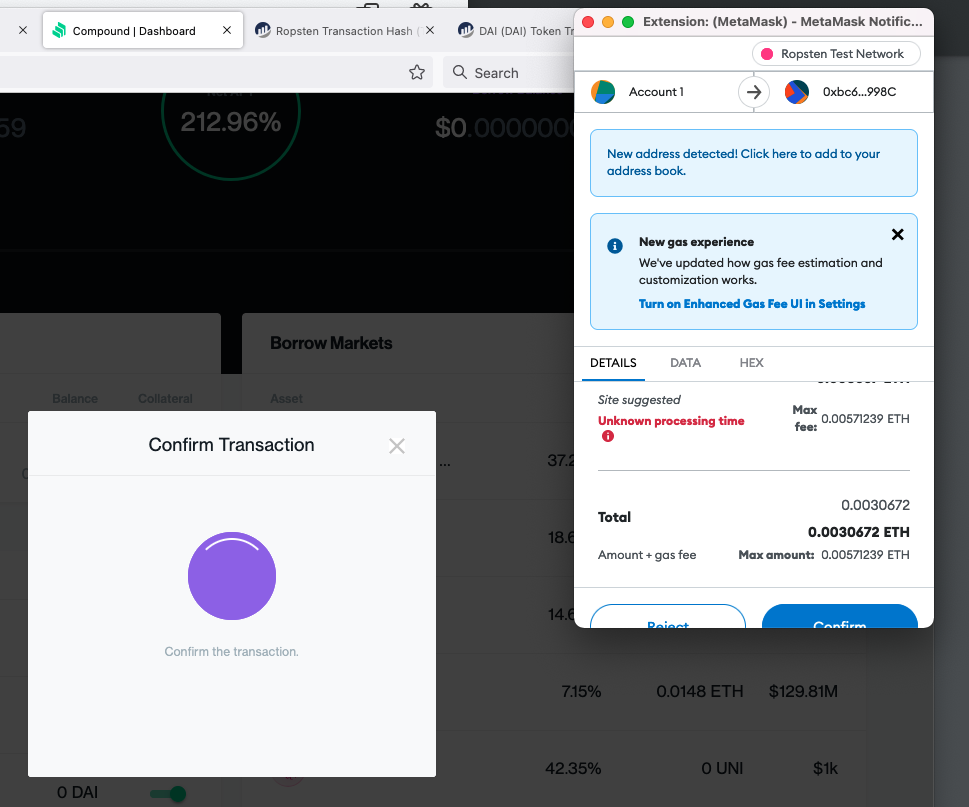
confirm
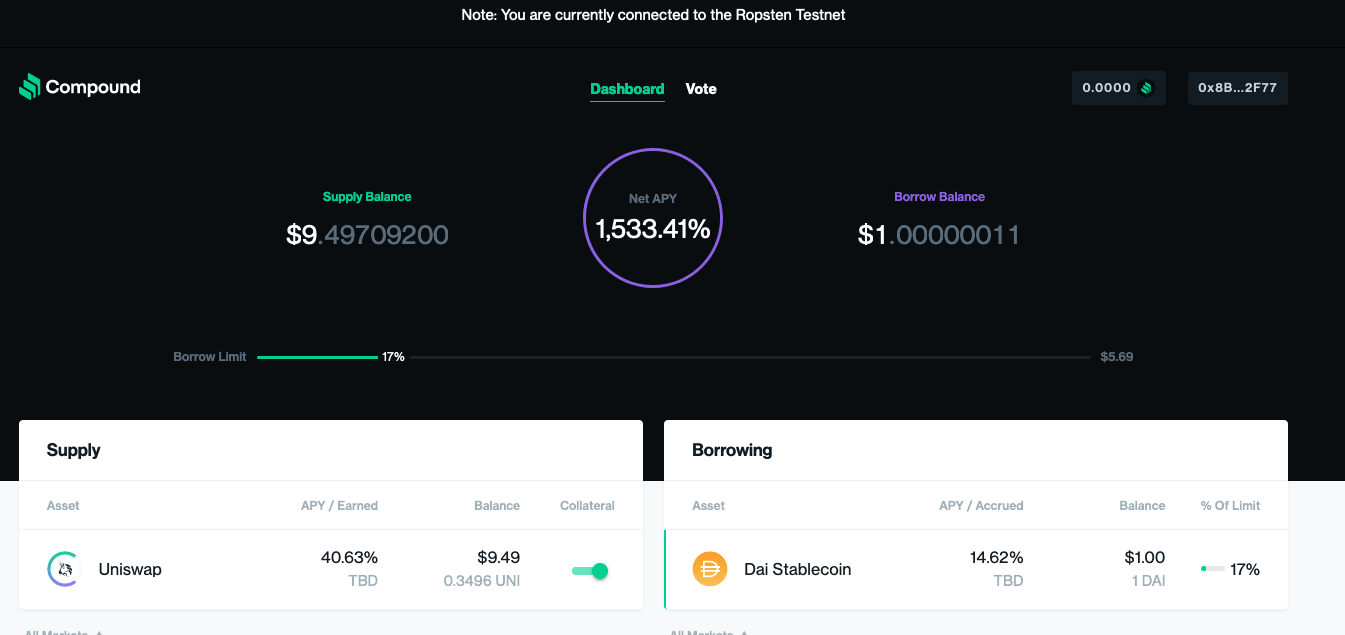
congrats: you are now a supplier of liquidity!
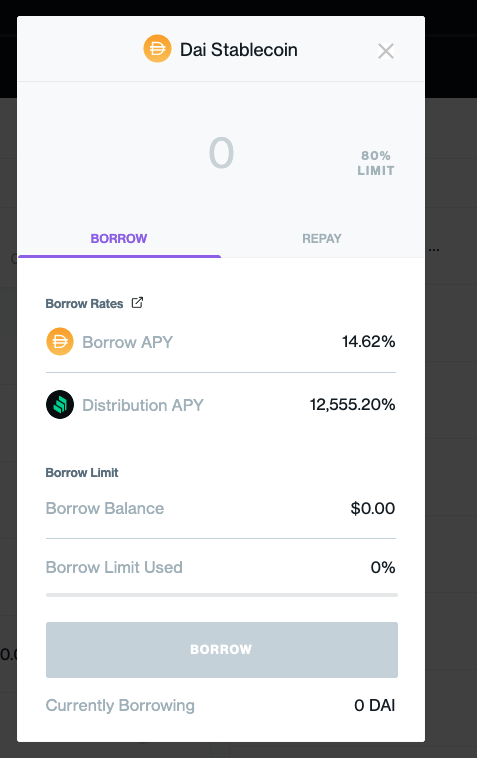
Now on to borrowing:
By Andreas Park
A step-by-step guide on how crypto wallets work, how to operate them, and how to use them for DeFi apps. The guide is based on using the Ropsten Test Network and does not use "real" crypto. No compliance rules will be broken (I hope).


