Simulation + Particle Systems

Last Time: 3D Structures

Project 3: 3D Animation

Same requirements as Project 2, but in 3D.

HOWEVER, 3D is harder than 2D. By a lot.

3D Version of this took 6 days!

Suggestions for Project 3

  • Don't worry about making things look great
  • Use uniform colors, or you can texture very simply geometry (box, sphere)
  • Do not try to get textures working for more complicated shapes!
  • Stick to simple lights: one front light and one side light, both neutral colors.

Scenes you can animate:

  • Snowball "fight" with 3D stick people
  • Solar system
  • Pendulum attached to a moving box
  • Mechanical arm moving things
  • Ferris Wheel (Ferris Triangle?)

In general, if you're interested in working on interesting system interactions, save that energy for P4. Only spend lots of time on P3 if you're specifically interested in learning specifics of 3D rendering and transformations.

Is it possible to calculate lighting/texture numbers, or do you fiddle with things until they look right?

How do you figure out which parameters you need to put in to get the lighting effects you want?

How can we get the material effects we want?

https://www.youtube.com/watch?v=0Gi0ssQkWok&t=4120s

Can I apply textures to shapes that are not boxes or spheres? How?

Hire an artist.

I hate to make it sound like everything is really difficult but....this is the kind of job that takes someone with 10 years of practice days to do really well.

Can we apply textures on overlapping shapes?

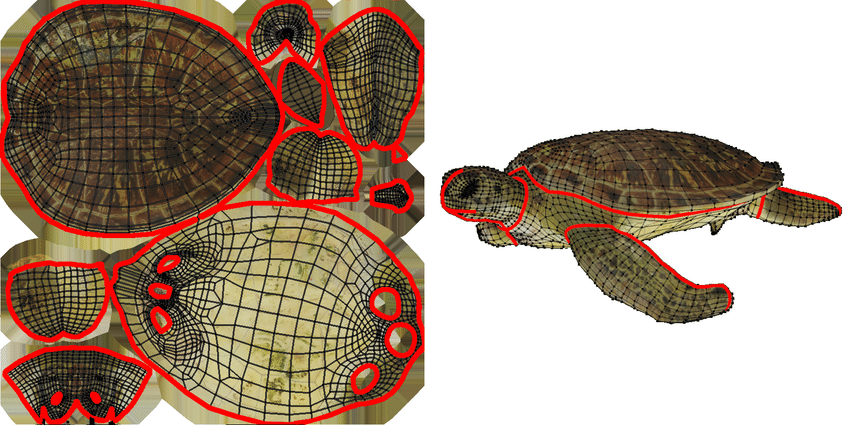
No. Textures map onto a single surface, overlapping shapes are more than one surface. You would have to join the shapes.

Is there an analogue of blendMode() for overlapping objects?

Not in the Phong model, because all objects are opaque. If you allow object transparency, there are some analogues (but this falls squarely in the realm of "advanced shading models").

Is there an analogue of blendMode() for overlapping lights?

No. Light intensities are added.

Can we use SVGs for textures?

Most systems require raster images for textures.

Do we need to know how textures and lights affect the output at the pixel level, or is this all handled for us?

This is all handled for you, though we'll have a peek at how this is done at the end of next week.

Code Review

This Course So Far...

  • How to draw things in 2D
  • How to manage complexity of things we want to draw
  • How to transform things we want to draw
  • How to draw things in 3D

Turns out drawing things is kinda important in graphics (surprise!)

From now on

  • What sorts of systems might we want to draw?
  • How do we make them behave the way we want them to, instead of just looking the way we want them to?
  • Miscellaneous graphics and graphics-adjacent subjects

these eyes will not be blinded by the lights

What is Simulation?

The capture of behaviors based on rules

Many different variations:

  • Physical simulation models phenomena based on physical rules
     
  • Operational simulation models effects that arise out of artificial processes and human interactions (e.g. agent-based disease modeling)
     
  • Simulations can be entirely from first principles, or use empirical rules that have been observed from real phenomena.

Uses for Simulation

Basic Physical Simulation

Classical mechanics is the study of forces on bodies.

Based on well-understood laws (Newtonian)

Our basic quantities:

  • position: the location of a thing
  • velocity: the rate of change in position
  • acceleration: the rate of change in velocity

Velocity isn't Speed

If the car is going 25mph, it's kind of important to know whether it's moving left or right!

25 mph?

25 mph?

Vectors

We can represent velocity and acceleration as vectors.

Vectors have direction and magnitude.

In 1D, vectors are just (signed) numbers.

x
y
\vec{v}
\vec{v} = \begin{bmatrix}x\\ y \end{bmatrix}

Vector Arithmetic

\vec{v} = \vec{v_1} + \vec{v_2} = \begin{bmatrix} x_1\\ y_1 \end{bmatrix} + \begin{bmatrix} x_2\\ y_2 \end{bmatrix}
c\vec{v} = \begin{bmatrix} c x\\ c y \end{bmatrix}

Addition

Scaling

x
y
cx
cy
\vec{v}
c\vec{v}
y_1
\vec{v_1}
x_2
y_2
\vec{v_2}
\vec{v}
x_1

How to Modify Velocity + Acceleration

We can set rules and relationships between our three quantities to modify physical behavior.

For now, we'll work with a simple, intuitive version of Newton's Laws of Motion:

  • Position is changed by velocity over time
  • Velocity is changed by acceleration over time
  • Acceleration is caused by a force \(F = ma\)

1D Example

float y = 0.0;
float r = 30.0;
float vel = 0.0;
float accel = 0.03;

void setup(){
  size(500, 500);
}
void draw() {
  ellipse(250, y, r, r);
  vel += accel;
  y += vel;
  if (y > height) {
    y = 0.0;
  }
}

Problems with this setup

  • The object's speed increases indefinitely since there is no limit on either acceleration or velocity.
     
  • There is no concept of object mass, so we are not conserving energy or momentum.
     
  • The behavior in this system is boring. We need more rules to create interesting behavior.

What other rules can we add to our system?

  • Gravity is a downward force (we already have this).

  • Friction is a force which opposes the velocity.

  • Spring force is the force needed to compress a spring

  • Coefficient of restitution describes the loss of energy when objects collide.

Adding Restitution and Friction

float y = 0.0;
float r = 30.0;
float vel = 0.0;
float accel = 0.0;
float gravity = 0.05;
float coef_fric = 0.001;
float coef_rest = 0.8;

void setup(){
  size(500, 500);
  ellipseMode(RADIUS);
}
void draw() {
  background(210);
  ellipse(250, y, r, r);
  accel = gravity;
  vel += accel;
  vel -= coef_fric * vel;
  y += vel;
  if (y > (height - r)) {
    vel = -(coef_rest * vel);
    y = height - r; // Massive hack
  }
}

Note: we still haven't solved the problem that our simulation is unprincipled---but it sure looks more interesting!

Hands-On Part 1

  1. Encapsulate our simulated particle into a Particle class with at least the members shown to the right.

    You do not need to handle collisions or dissipation---just get a particle that correctly falls off the bottom of the screen.
class Particle {
  float y = 0.0;
  float r = 30.0;
  float vel = 0.0;
  float accel = 0.0;
  float gravity = 0.05;
  
  // Update the particle's acceleration
  void applyForce(){}
  
  // Take a step using the current
  // accleration + velocity settings
  void advanceTime(){}
  
  // Draw the particle
  void draw(){}
}

Making the Jump to N-D

where N > 1

Variables

In 2D, a particle will need six variables to hold its state:

  • Position x, y
  • Velocity x,y
  • Acceleration x, y


In 3D, we'll need nine variables.


Now imagine that we have 50 particles (we're about to have that!). How many variables do we need?

How can we contain this complexity?

Encapsulation

class Particle {
  float x;
  float y;
  float vx;
  float vy;
  float ax;
  float ay;
  
  void applyForce(){
    // Code code code...
  }
}

Can we do a little better?

PVector Class

The PVector class lets us store vectors in a class in Processing.

PVector p1 = new PVector(1,2);
PVector p2 = new PVector(2,4);

PVector p3 = p1.add(p2);
PVector p4 = p3.mult(2);

// Alternate way of creating p4
PVector p5 = p1.add(p2).mult(2);

Basic math operations (+, -, /, *, ^) are not defined on classes, so we need to use methods like .add() or .mult() to do math on PVectors.

class Particle {
  PVector pos;
  PVector vel;
  PVector accel;
  
  void applyForce(){
    // Code code code...
  }
}

Hands-On: Part 2

  1. Modify your Particle class to work in 2D.
     
  2. Modify applyForce() so that it takes a PVector indicating the force acting on the particle at the time.
     
  3. Modify the simulation so that the particle does not move straight down. Maybe there's a wind blowing from left to right, or the world is tilted and gravity pulls in the wrong direction.

Particle Systems

Particle systems dictate the movement and appearance of particles within the world.

Examples: smoke, water, fire, clouds, dust, galaxies, etc.

Particle Systems

Generally, there will be three "stages" in a particle system, though these can be thought more as decisions to make than as discrete stages.

  1. Emission stage: we decide where/how particles are generated and their initial states.
     
  2. Simulation stage: we decide how particles are going to behave (what forces are going to act on them and whether they'll collide, etc.)
     
  3. Rendering stage: we decide how particles are going to be displayed to the user.

What decisions were made for each stage for these particle systems?

Fireworks

Snowstorm

Extending the Particle

Additional rules (usually written as methods) can make the behavior of our Particle class more complex and interesting:

  • Continuous generation of particles
  • Changes to particle appearance over time
  • Application of additional forces on particles
  • Changes in how particles are visualized

These things don't have to be physically based!

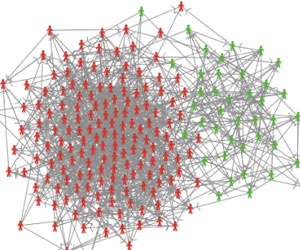
Linked from https://en.wikipedia.org/wiki/Particle_system#/media/File:Particle_Emitter.jpg

Differences in rendering can create a large difference in visual impact!

Hands-On: Particle Systems

Take the Particle class you've written and do one of the following with it:


  1. Generate a continuous stream of particles that "respawn" once they go off the screen.
  2. Create a fountain of particles that bounce against the sides of the screen.


In either case, you should add some randomness to the initial velocity of the particles so that they don't all do exactly the same thing. The random() method may be useful for this.

Index Cards!

  1. Your name and EID.
     
  2. One thing that you learned from class today. You are allowed to say "nothing" if you didn't learn anything.
     
  3. One question you have about something covered in class today. You may not respond "nothing".
     
  4. (Optional) Any other comments/questions/thoughts about today's class.

14: Simulation and Particle Systems

By Kevin Song

14: Simulation and Particle Systems

  • 67